
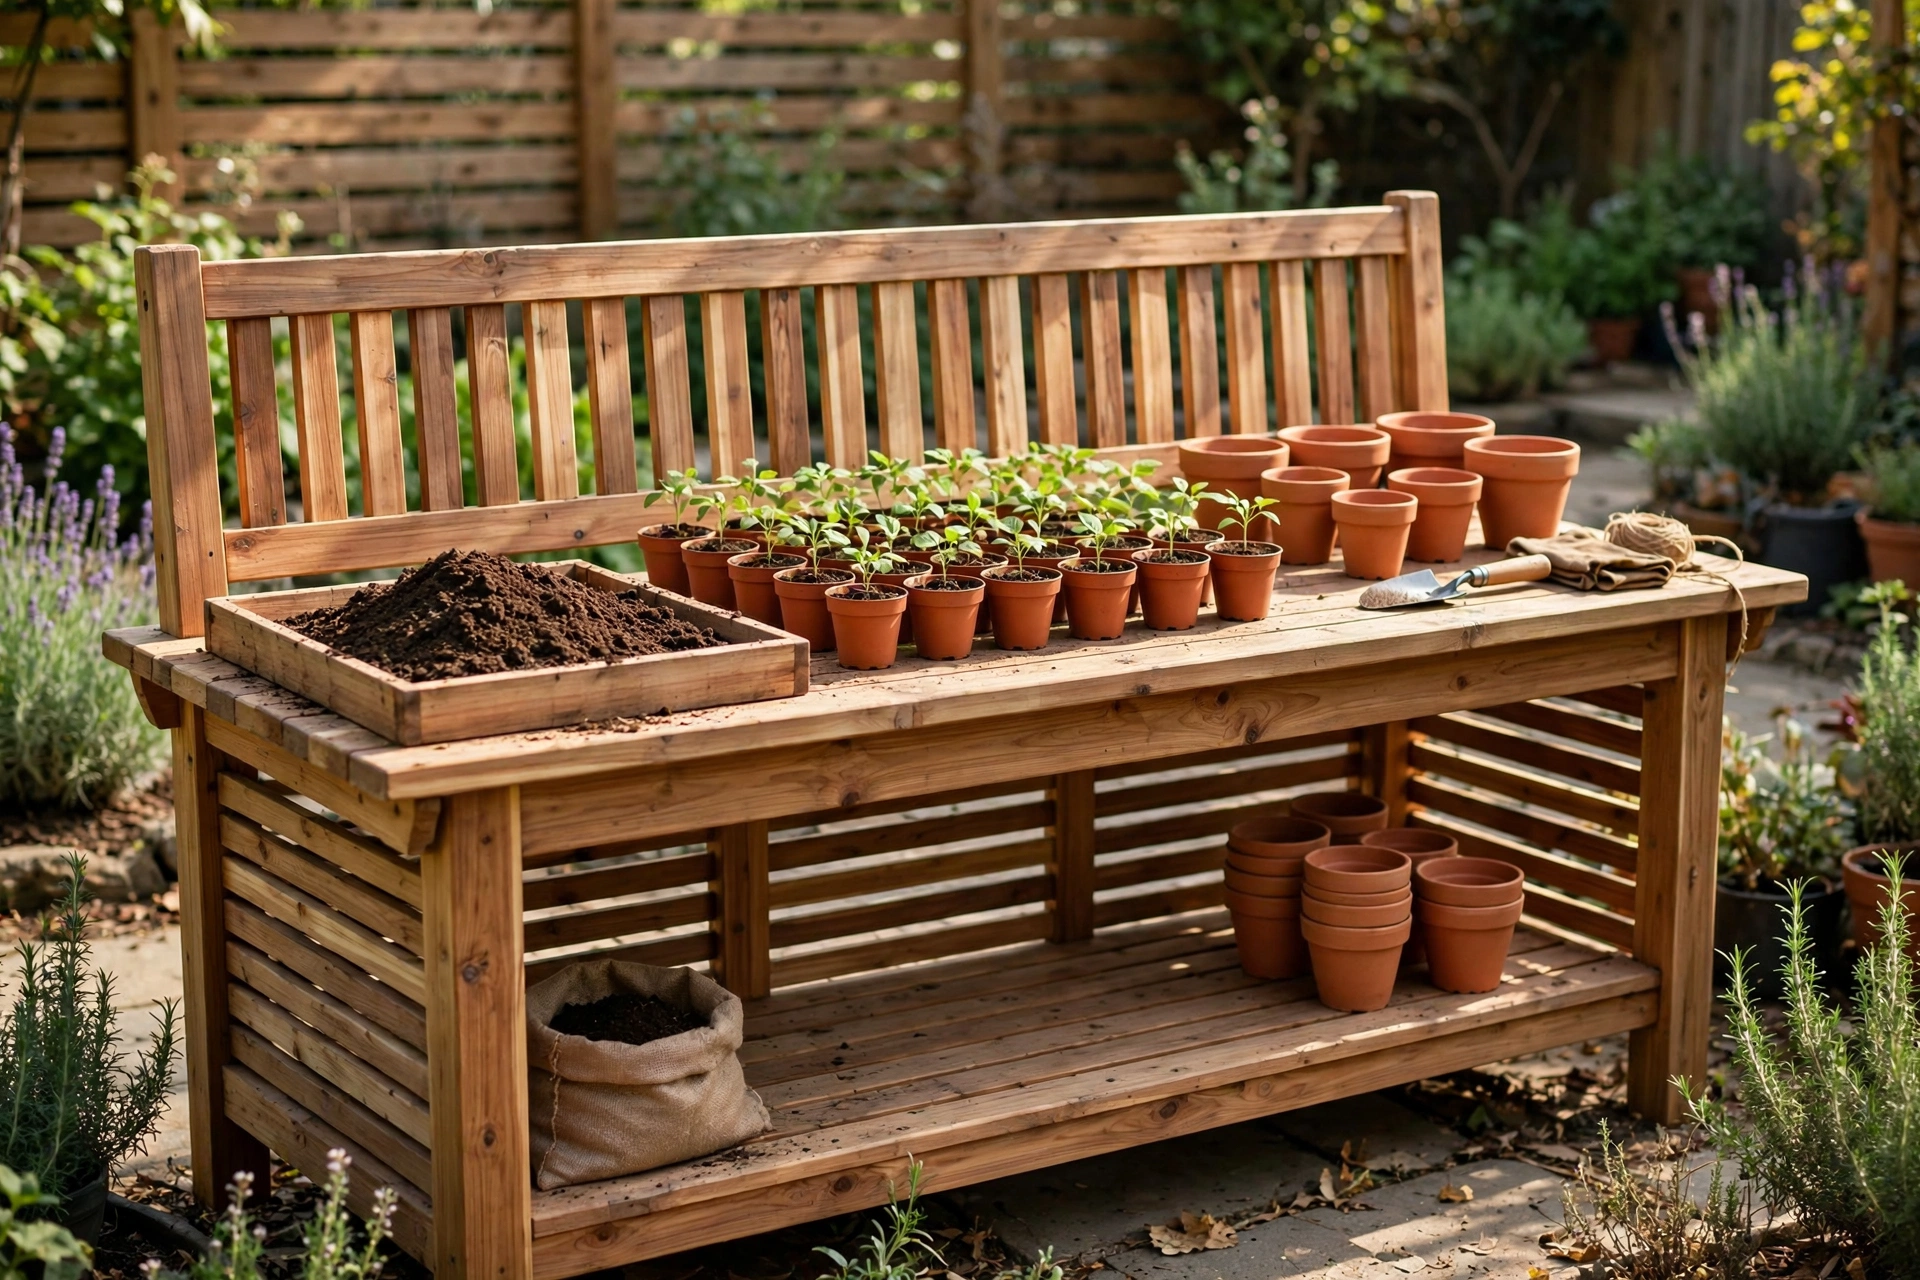
If you love gardening but dread repotting plants on the ground, crouching over a patio, or balancing trays on a wobbly table, learning how to build a wooden potting bench for beginners is one of the most satisfying weekend projects you can take on. A potting bench is a sturdy outdoor workstation built for messy work: filling pots with soil, transplanting seedlings, pruning plants, mixing compost, and storing the tools you reach for every day.
This guide walks you through a measured, beginner-friendly design: 48 inches wide, 20 inches deep, and 36 inches tall. That size is large enough for two decent-sized pots plus a tray of seedlings, small enough to fit on a patio, balcony, or beside a garden shed, and tall enough to work at without bending over. The top is slatted, so spilled soil and water fall through instead of pooling, the lower shelf holds bags of soil and heavy pots, and a row of hooks keeps your trowel, snips, and twine within arm’s reach.
You do not need a fully equipped workshop. A circular saw or a handsaw, a drill, a tape measure, a square, and a sander will do the job. If you can measure twice, cut straight, and drive screws in a straight line, you can build this bench in a single weekend — usually in four to six hours of actual work, plus drying time for the finish.
Best of all, this is a genuinely useful outdoor bench, not a decoration. It is built from weather-resistant cedar or pressure-treated lumber, finished for outdoor use, and designed so soil, water, and sunlight do not ruin it in a single season. If you are new to woodworking, this project pairs well with our broader beginner guides. Start with the pillar guide on easy woodworking projects for beginners that sell to see how simple builds like this one fit into a wider skill-building path, and if you want a sturdier indoor workstation later, our guide on how to build a simple workbench for beginners covers that heavier build in detail.
Why Build a Potting Bench Instead of Buying One?
Shop-bought potting benches come with compromises. Many are too low, too narrow, or made from thin wood that warps after one wet winter. Others are sturdy but cost far more than the lumber to build one yourself. Building your own solves all three problems: you choose the height, you choose the size, and you choose lumber thick enough to last.
A homemade bench also fits your garden and your body. If you are tall, you can raise the working height by an inch or two. If your space is tight, you can keep the 48-inch width or trim it slightly without redesigning the whole bench. If you pot up large shrubs, the slatted top and open lower shelf give you room for big pots that a small store-bought table cannot hold.
There is a practical benefit too. Gardening work is messy, and a dedicated bench keeps that mess in one place. Soil stays off the patio table, pots stay off the lawn, and tools stop disappearing into the shed. Once the bench is in place, everyday jobs — sowing seeds, potting on tomatoes, dividing perennials — become faster and far more comfortable, because everything is at waist height and within reach.
Finally, this is an ideal first outdoor project. Unlike fine furniture, a potting bench forgives small imperfections. A gap of a millimetre here or there will not matter, and the slatted design hides minor unevenness. You will practise measuring, cutting, drilling, screwing, and finishing on a project that is useful from day one.
What Makes a Good Potting Bench? Size, Drainage, and Height
Three things separate a good potting bench from a disappointing one: a comfortable working height, a top that drains, and a structure that stays solid outdoors.
Working height matters more than most beginners expect. Too low, and your back aches after ten minutes. Too high, and your shoulders tire. For most adults, a working height of 34 to 37 inches is comfortable, which is why this design uses 36 inches — standard kitchen-counter height, and a good match for standing work.
Drainage is the second key. A solid top traps water, turns to mud, and rots from underneath. A slatted top, with gaps of about half an inch between boards, lets water and loose soil fall straight through. You can sweep underneath, the boards dry faster after rain, and pots drain freely when you water seedlings on the bench.
The third key is outdoor durability. This bench lives outside, so every joint should be screwed, not just glued, and every board should be finished on all sides — including the undersides and ends, where water soaks in first. Cedar is the classic choice because it resists rot and insects naturally, but pressure-treated pine is a solid budget alternative if you let it dry fully before finishing. Never use untreated indoor-grade boards for an outdoor bench; they will not survive a wet season.
Tools and Materials You Will Need
Tools: Tape measure and pencil; speed square or combination square; circular saw or handsaw (a mitre saw also works well); cordless drill/driver with drill and driver bits; 120-grit and 80-grit sandpaper, or a random-orbit sander; clamps (two are enough); spirit level; paintbrush or rag for applying finish; safety glasses, hearing protection, and a dust mask.
Materials: Cedar or pressure-treated boards per the cut list below; 2.5-inch exterior deck screws (about 60); 2-inch exterior screws for the slats (about 40); 4 screw-in or screw-on metal hooks; exterior wood glue (optional); outdoor wood oil, exterior stain, or spar varnish; a small piece of galvanised mesh or hardware cloth (optional, to line the lower shelf).
Buy your lumber a few days early if you can, and let it sit flat in a dry, shaded spot. Pick the straightest boards you can find, and reject any with large knots on a leg or a deep twist along their length. For a related outdoor seating project that uses many of the same skills, see our guide on how to build a simple garden bench for beginners — the cutting and screwing techniques are almost identical, even though the end result is for sitting rather than potting.
The Exact Cut List
This cut list is for the bench exactly as described: 48 inches wide, 20 inches deep, and 36 inches tall, with a slatted top and a lower shelf. All dimensions are in inches. Cut the longest pieces first, then use the offcuts for shorter parts where possible.
| Part | Quantity | Size (inches) | Notes |
|---|---|---|---|
| Legs | 4 | 2 x 4 x 36 | Front and back legs; these set the bench height |
| Long top aprons | 2 | 2 x 4 x 44 | Run front-to-back under the slats, between the legs |
| Short top aprons | 2 | 2 x 4 x 16 | Join the side frames at the top |
| Long lower aprons | 2 | 2 x 4 x 44 | Support the lower shelf |
| Short lower aprons | 2 | 2 x 4 x 16 | Join the side frames at shelf height |
| Top slats | 5 | 1 x 6 x 48 | Spaced about 0.5 inch apart for drainage |
| Lower shelf slats | 4 | 1 x 6 x 48 | Spaced about 0.5 inch apart |
| Back rail for hooks | 1 | 1 x 4 x 48 | Optional raised rail, mounted 12 inches above the top |
| Hook rail supports | 2 | 2 x 2 x 12 | Hold the hook rail upright, if used |
A quick sanity check before you cut: the legs are 36 inches long because the top slats sit on top of the aprons and add roughly three-quarters of an inch, giving a final working surface just above 36 inches. If you want the finished surface at exactly 36 inches, trim the legs to 35.25 inches. Either way, keep all four legs exactly the same length — a bench that rocks is almost always a bench with one leg cut a fraction short. Label each piece with a pencil as you cut it.
Choosing the Right Height and Size for You
The standard 48 x 20 x 36-inch bench suits most gardeners, but bodies and spaces differ. Use this table to adjust before you cut, because changing the height after assembly means rebuilding the legs.
| Gardener height | Suggested working height | Depth | Width | Notes |
|---|---|---|---|---|
| Under 5 ft 4 in (163 cm) | 33–34 inches | 18–20 inches | 42–48 inches | Lower height prevents shoulder strain |
| 5 ft 4 in to 5 ft 10 in | 35–36 inches | 20 inches | 48 inches | The standard build in this guide |
| Over 5 ft 10 in (178 cm) | 37–38 inches | 20–22 inches | 48–54 inches | Taller bench avoids back bending |
| Small patio or balcony | 34–36 inches | 18 inches | 36–42 inches | Trim slats and aprons to suit; keep leg spacing even |
| Large pots and shrubs | 36 inches | 22–24 inches | 54–60 inches | Wider, deeper top; add a centre support under the slats |
Depth deserves a word of its own. Twenty inches is deep enough for a standard pot plus a tray, but shallow enough that you can reach the back without leaning over the bench. Go much deeper and the back becomes dead space where tools get lost. Width is more flexible: 48 inches is a comfortable two-pot width, and it matches standard 8-foot boards cut in half with almost no waste.
Step 1: Measure, Mark, and Cut the Boards
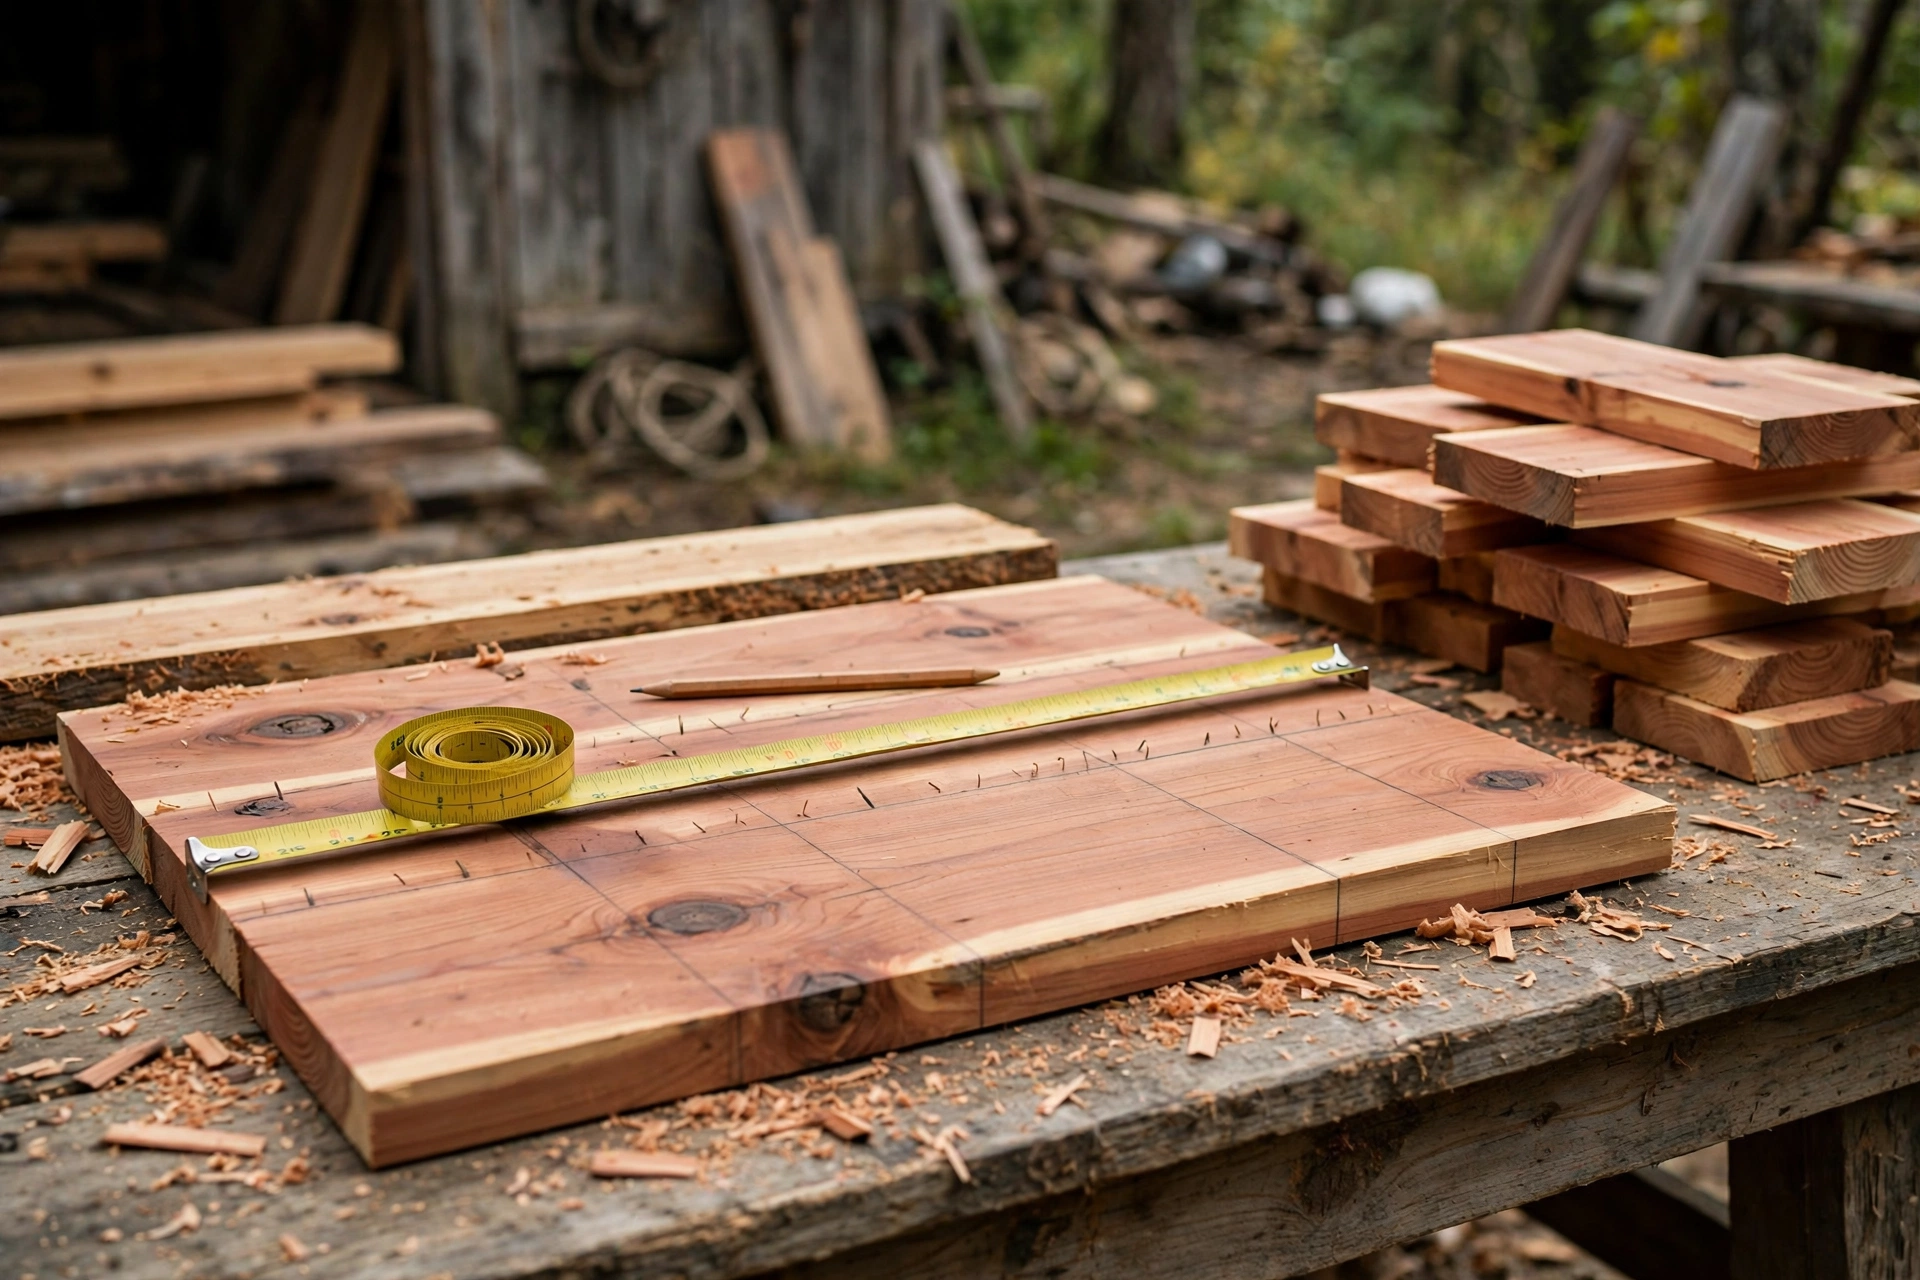
Accurate cutting is the whole secret of a bench that looks good and does not wobble. Work on a flat surface, support long boards at both ends so they do not sag while you cut, and clamp a straightedge as a saw guide if you are using a circular saw and are not yet confident cutting freehand.
Start with the legs. Cut all four to the same length, then stand them together and check that the ends line up perfectly. A tiny difference here becomes a rocking bench later, so it is worth re-trimming now. Next, cut the aprons: the long aprons at 44 inches and the short aprons at 16 inches. The 44-inch length comes from the 48-inch overall width minus the thickness of the two legs (about 1.5 inches each, plus a small allowance). If your lumber measures slightly differently, measure your actual leg thickness and adjust: long apron length equals overall width minus twice the leg thickness.
Cut the slats last, at 48 inches each. You need five for the top and four for the lower shelf. Sand the cut ends lightly to remove splinters, and sand the faces of the slats with 120-grit paper before assembly. It is much easier to sand flat boards now than to sand around screws and corners later. Finally, dry-fit the parts on the ground without screws. Lay out one side frame, check that the aprons sit square against the legs, and confirm the slat spacing looks even.
Step 2: Build the Two Side Frames
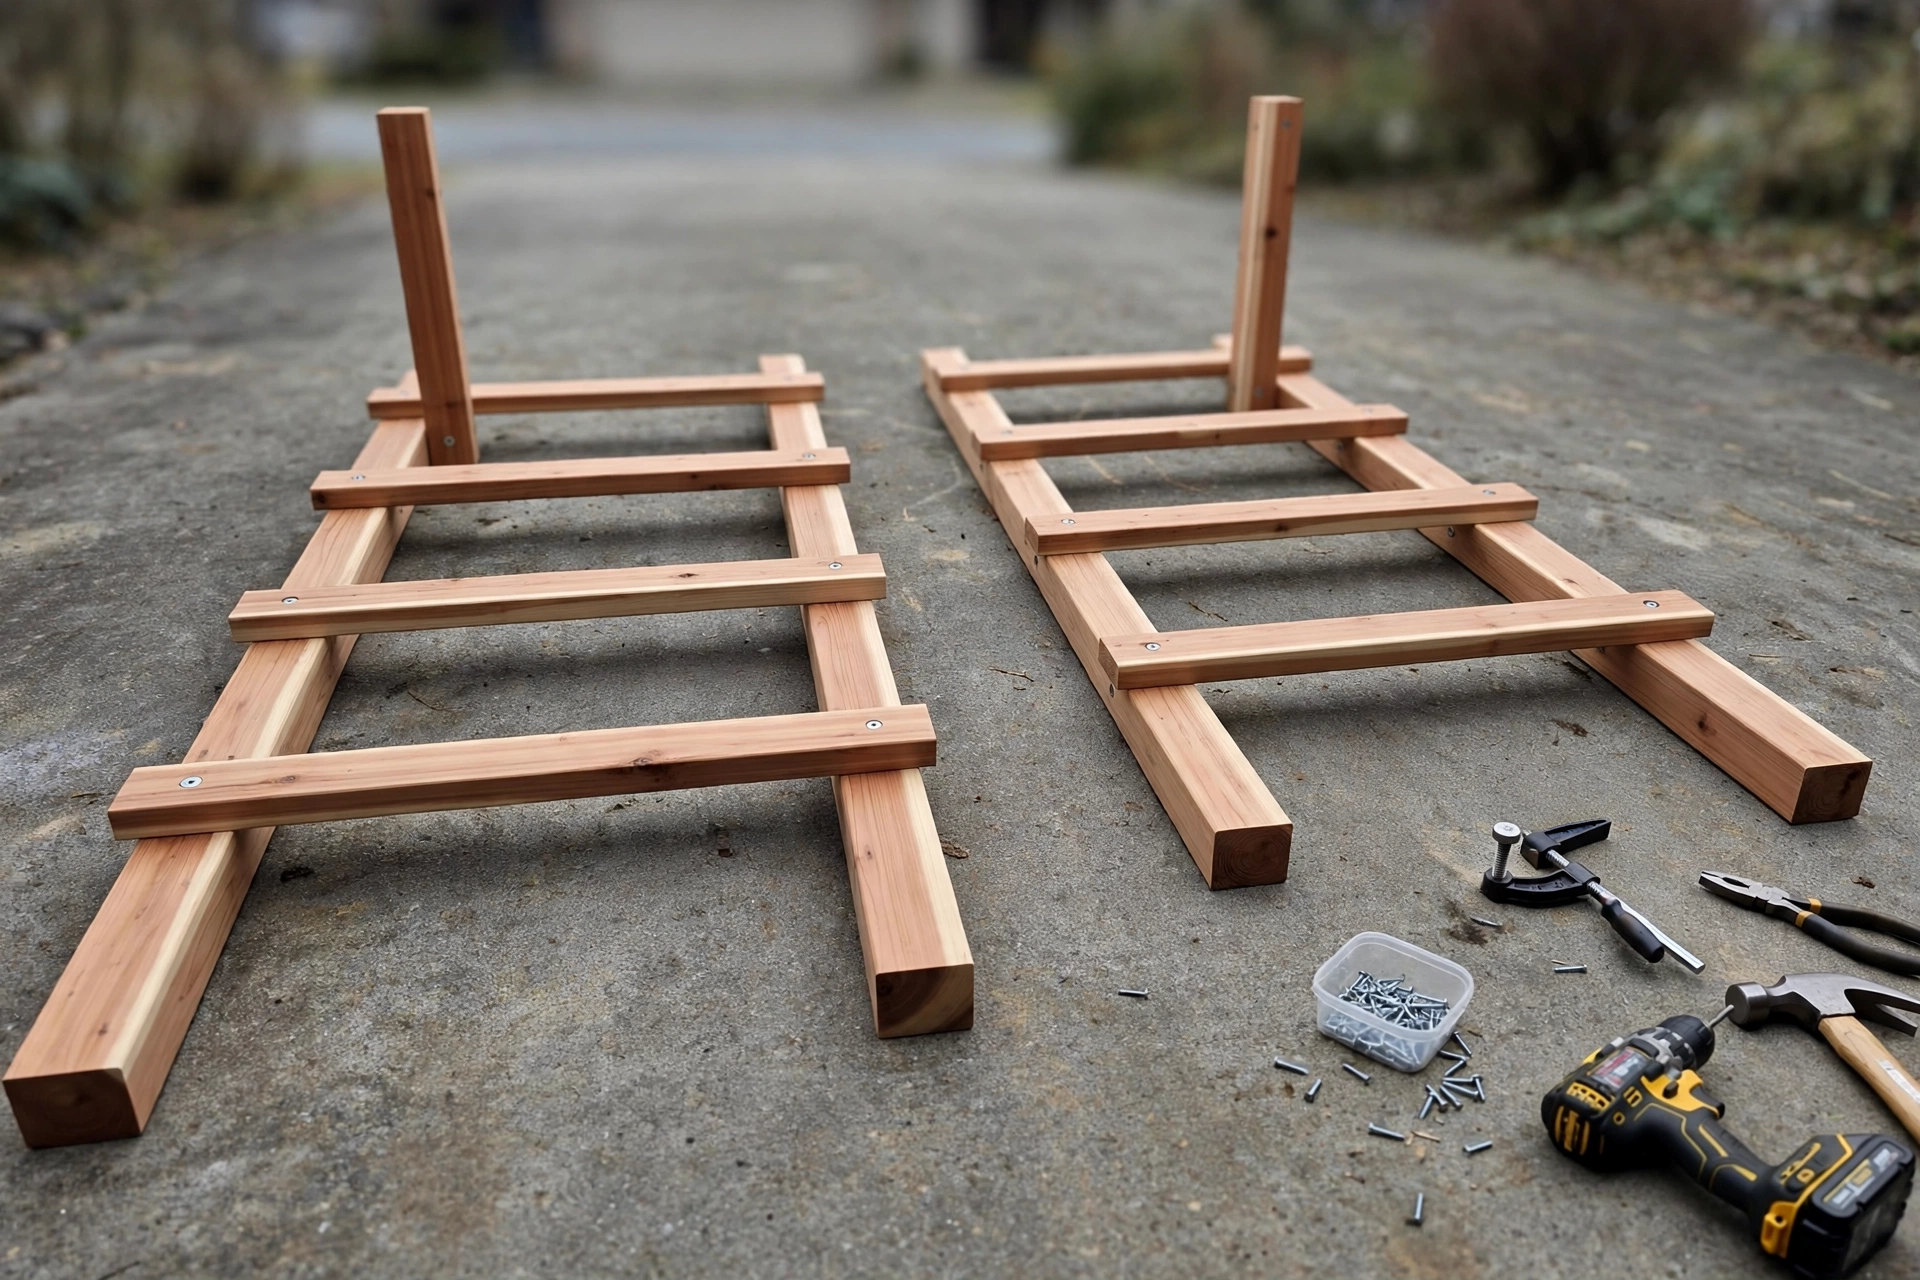
Each side frame is a simple rectangle: two legs joined by a top apron and a lower apron. Build both frames on a flat surface, and build them identically.
Lay two legs parallel on the ground, 16 inches apart on their inside faces. Place a short top apron across the top, flush with the tops of the legs, and a short lower apron about 12 inches above the ground — this lower apron will carry the shelf. Check with a square that the corners are at right angles, then drill pilot holes and drive two 2.5-inch exterior screws through each apron into each leg. Pilot holes matter outdoors: they prevent splitting, especially near the ends of cedar boards.
Repeat for the second side frame, then stand both frames upright and compare them side by side. They should be mirror images of each other, with the lower aprons at the same height. If one frame is slightly off, fix it now. Exterior wood glue adds strength, but it is not a substitute for screws on an outdoor bench.
Step 3: Join the Frames and Assemble the Slatted Top
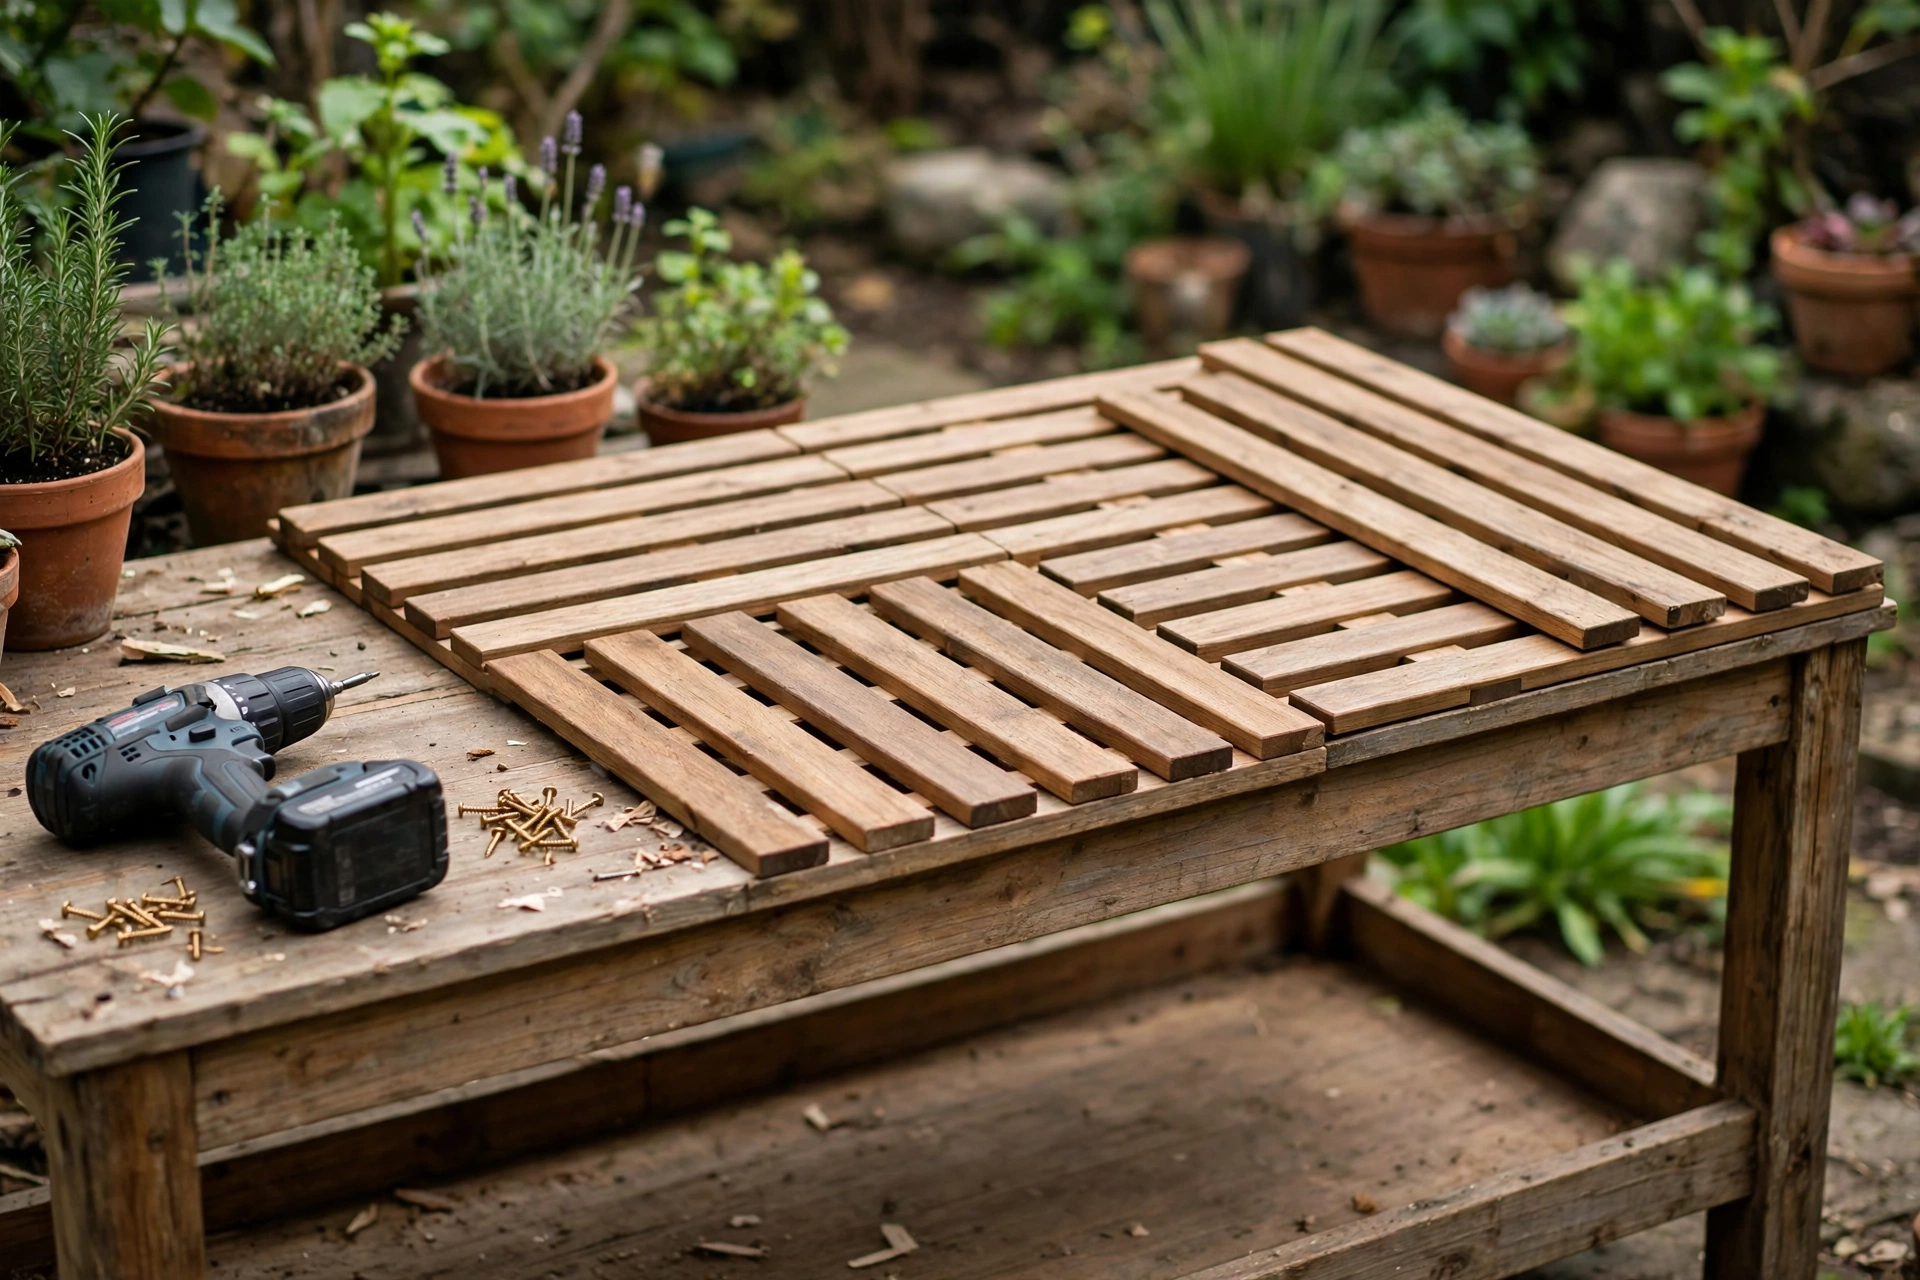
Now join the two side frames with the long aprons. Lay one frame on its side, attach the long top aprons and long lower aprons to it, then bring the second frame into place and screw it on. Work on a flat surface and check with a spirit level that the frame is not twisting. A twisted frame will rock even if all four legs are the same length.
With the frame assembled, lay the top slats across it. Start from the front edge, place the first slat flush with the front of the frame, and use a small offcut or a pencil as a spacer to set a half-inch gap before the next slat. Five 1 x 6 slats, each about 5.5 inches wide, plus four half-inch gaps, fill the 20-inch depth with a small margin to spare — check the fit before screwing, and adjust the gaps slightly if your boards measure a little wide or narrow.
Screw each slat down with two screws at each end, driven into the long top aprons. Keep the screws in a straight line for a tidy look, and countersink them slightly so they sit just below the surface. Stand the bench up and test it. It should feel solid, with no side-to-side sway. If it sways, check that every apron joint has two screws and that the frame is square; a diagonal brace on the back, made from an offcut, will stiffen a wobbly bench dramatically.
Step 4: Add the Lower Shelf and Hooks
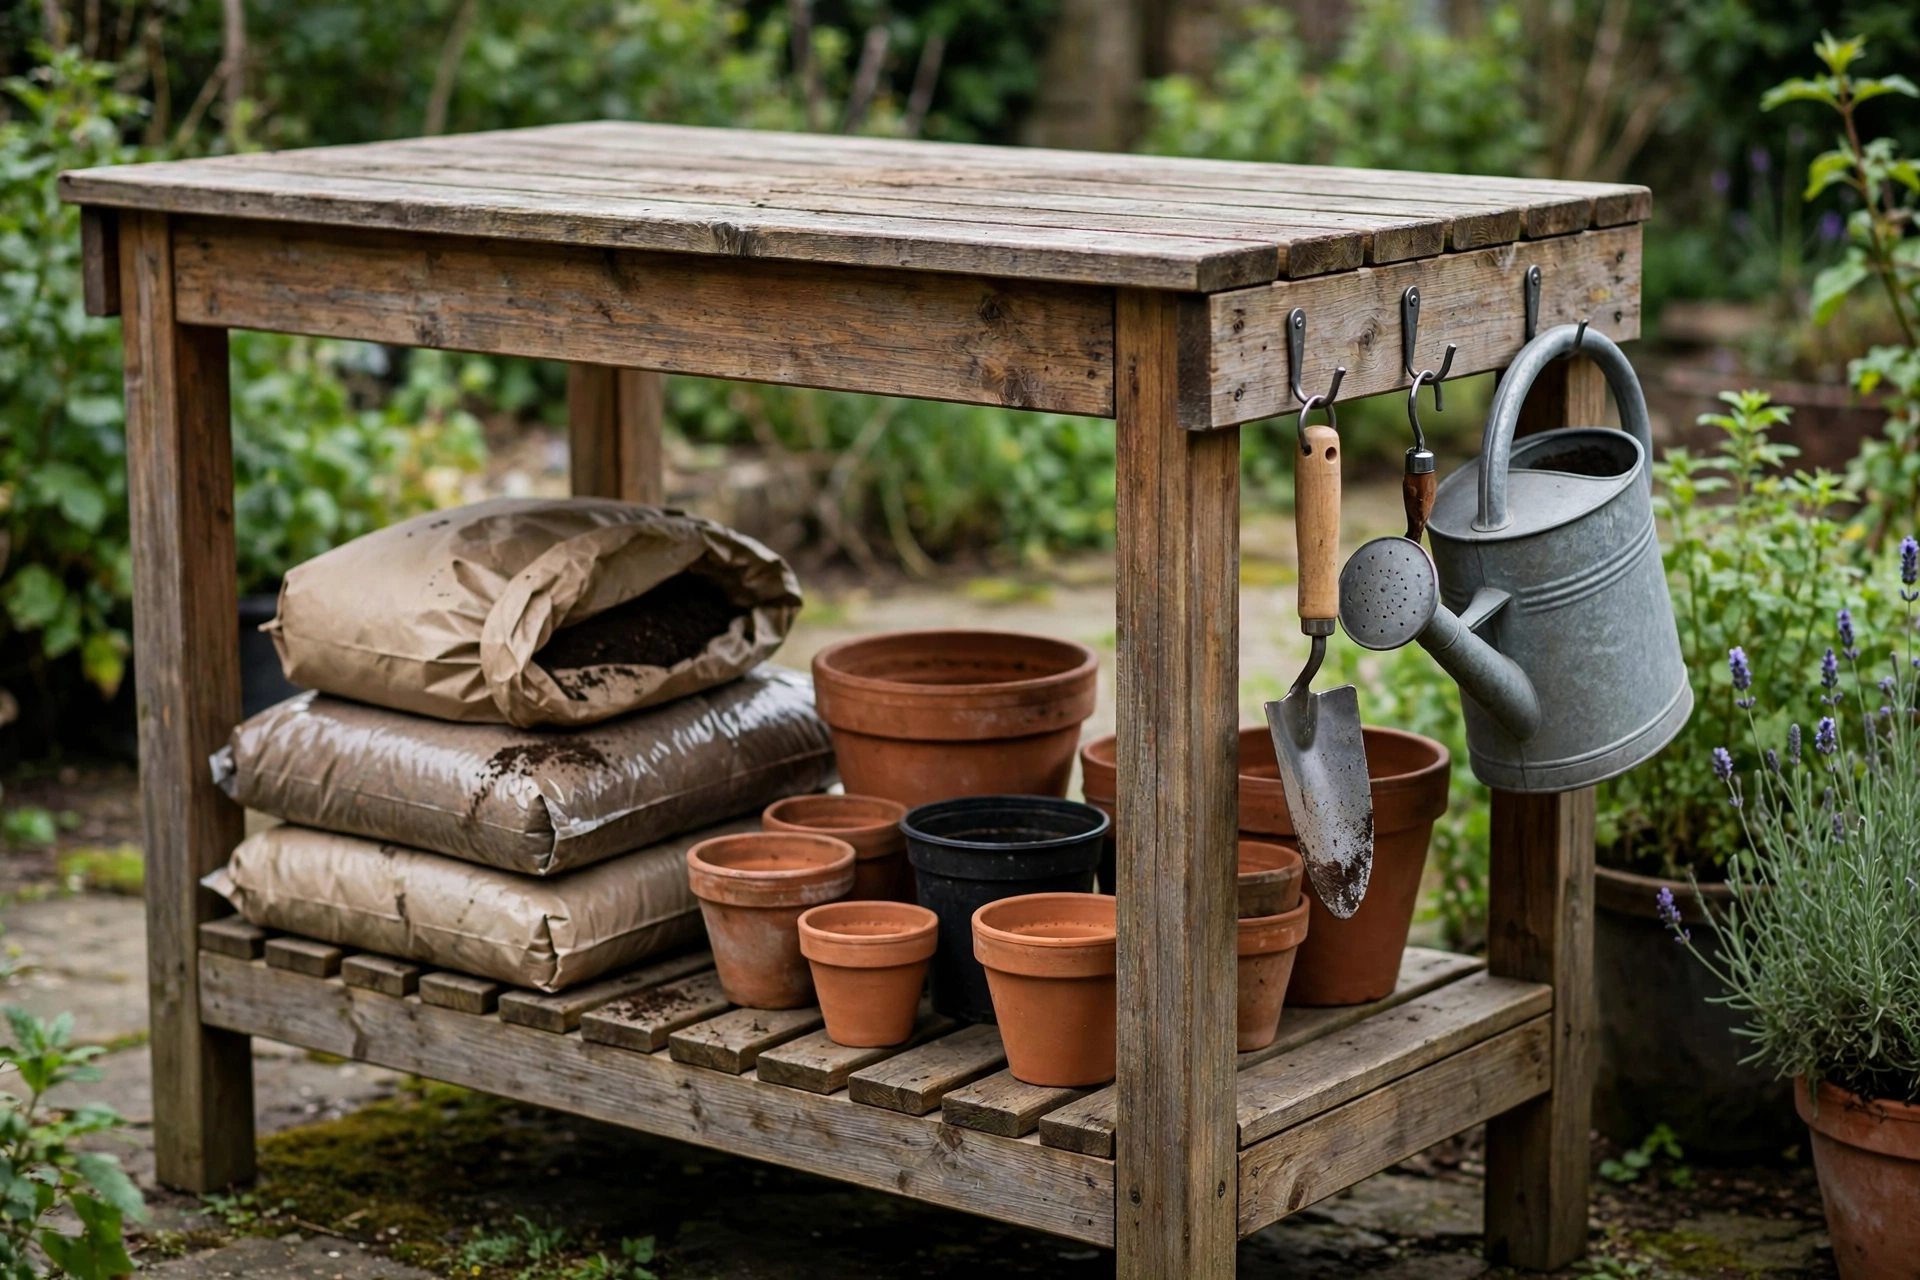
The lower shelf is what turns a table into a potting bench. It holds the heavy, bulky things — bags of compost, spare pots, watering cans — so the top stays clear for actual work.
Lay the four lower shelf slats across the long lower aprons, using the same half-inch spacing as the top. Screw them down the same way, two screws per end. The gaps here serve the same purpose as on top: water and soil fall through instead of pooling, and air circulates around stored bags so they do not go mouldy. If you want, staple a piece of galvanised mesh under the shelf slats. It stops small items falling through the gaps while still letting water drain.
Next, fit the hooks. The simplest option is to screw four sturdy hooks along the front apron or the side of the bench. The more useful option is the raised hook rail: two short uprights screwed to the back legs, rising 12 inches above the top, with a 1 x 4 rail across them. Screw hooks into the rail for your trowel, snips, twine, and a hand fork. A raised rail keeps sharp tools visible and off the working surface, which is safer and tidier. Use exterior-grade hooks — indoor hooks will rust within weeks outdoors.
For more small-space garden storage ideas in the same spirit, our guide on how to build a wooden planter box for beginners pairs naturally with this bench: planters for the plants, a bench for the potting work.
Step 5: Sand, Finish, and Weatherproof the Bench
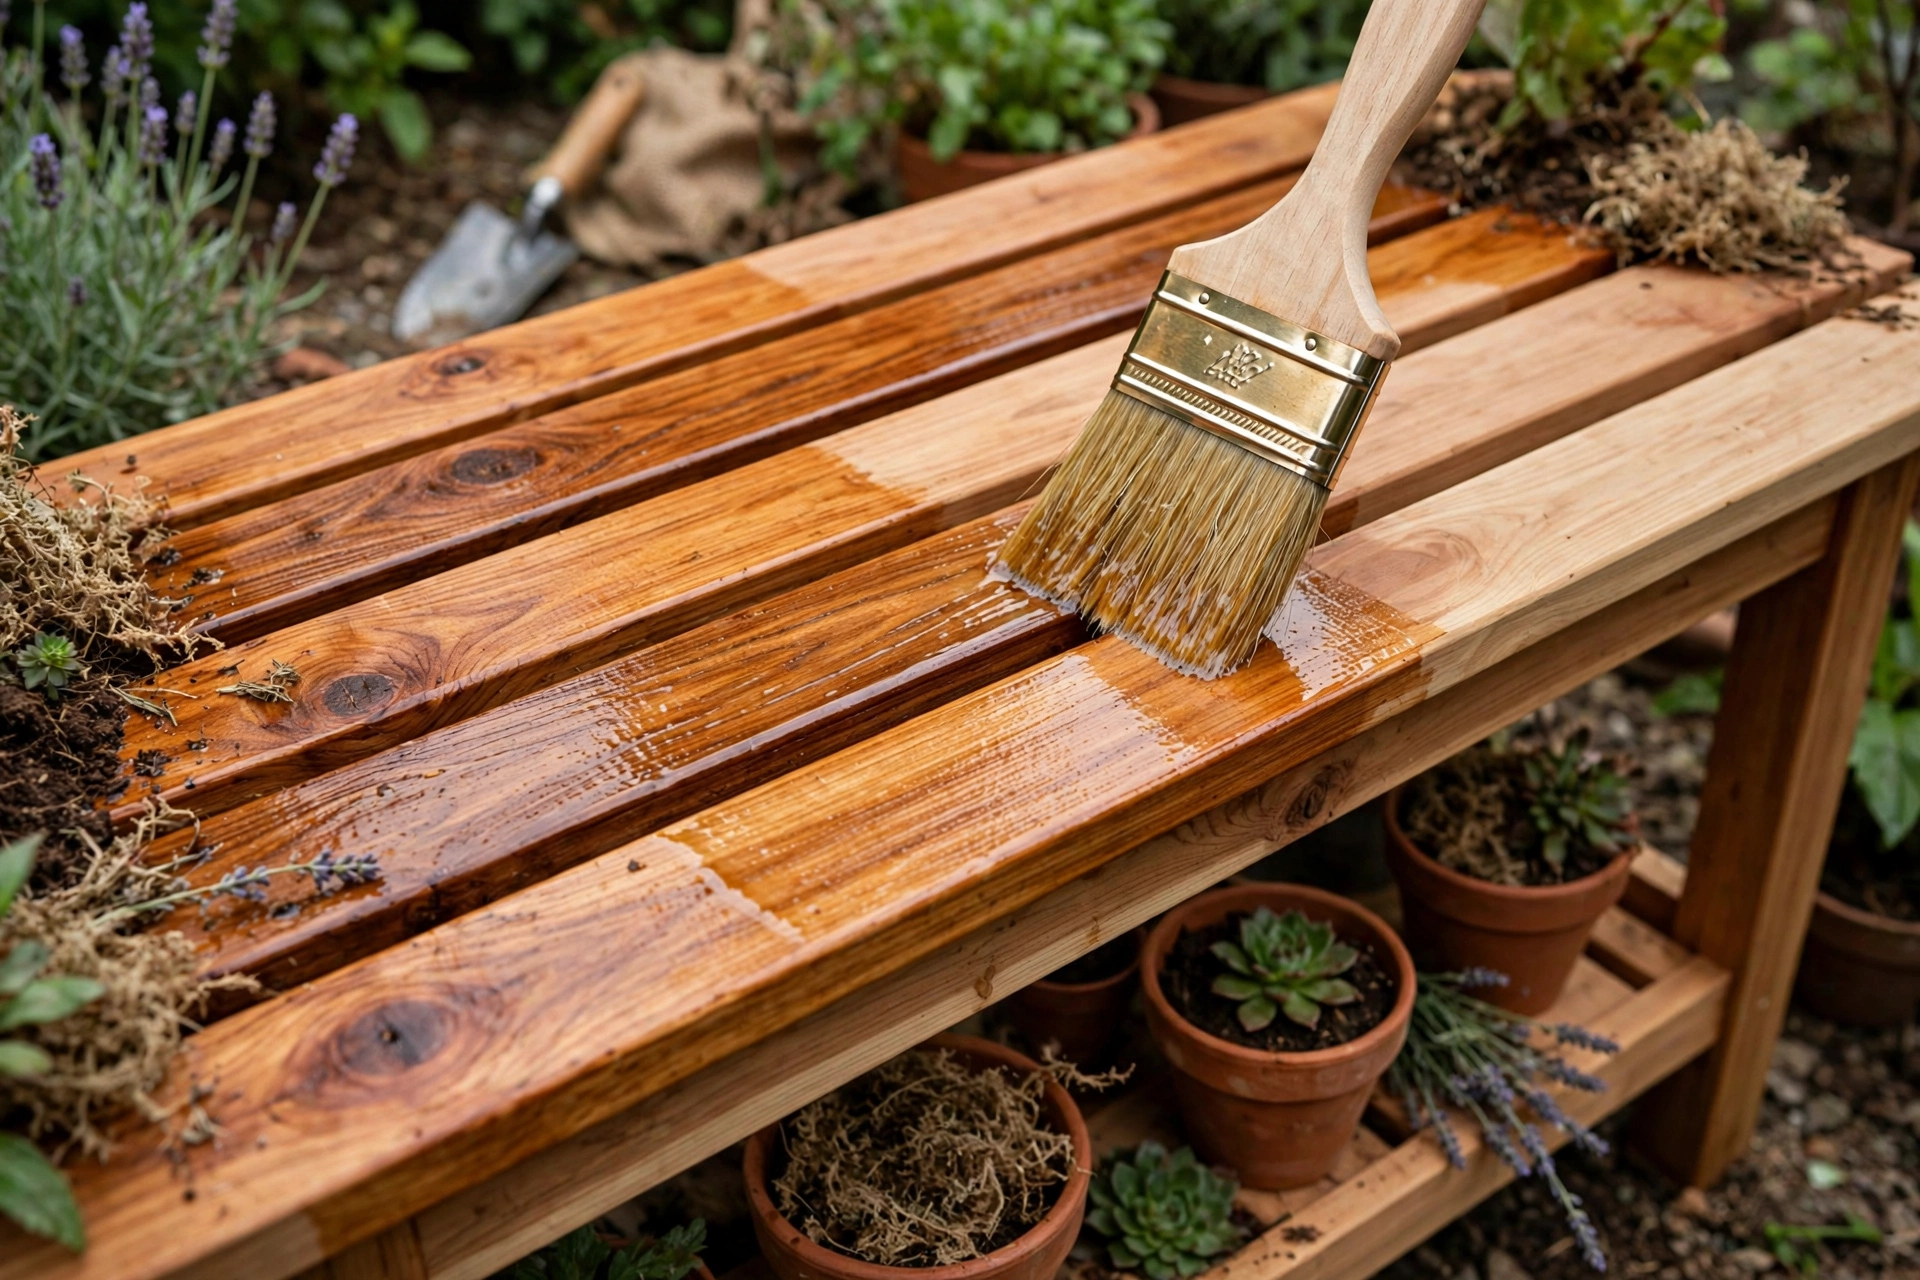
Finishing is not decoration on an outdoor bench — it is what keeps the bench alive. Unfinished wood absorbs water, cracks in the sun, and greys within months. A good outdoor finish slows all three, and it takes less than an hour to apply.
Start by sanding the whole bench with 120-grit paper, working with the grain, and paying attention to edges and corners where splinters hide. Brush off the dust thoroughly, or wipe the bench with a slightly damp cloth and let it dry. Apply the finish to every surface, including the undersides of the slats, the bottoms of the legs, and the end grain — end grain drinks up finish, so give it an extra coat.
| Finish | Look | Durability outdoors | Reapply | Best for |
|---|---|---|---|---|
| Penetrating outdoor wood oil | Natural, warm, matte | Good, 1–2 years | Every 12–18 months | Cedar benches you want to keep looking natural |
| Exterior stain + sealer | Tinted, even colour | Very good, 2–3 years | Every 2–3 years | Matching a fence, shed, or deck colour |
| Spar varnish / spar urethane | Glossy, film-forming | Very good if maintained | Every 2–3 years, sand lightly first | A showpiece bench under partial cover |
| Exterior paint | Solid colour, hides grain | Excellent, 3–5 years | Every 3–5 years | A painted garden scheme, or hiding mixed lumber |
Two practical tips. First, never finish a bench made from pressure-treated lumber until the wood is dry — if it still feels damp, wait. Finishing wet treated wood traps moisture and peels quickly. Second, put the bench on small feet, bricks, or patio pads rather than directly on soil. Legs sitting in wet earth rot from the bottom up, no matter how good the finish is.
For a deeper look at stains and how they behave on beginner projects, see our guide to the best wood stain for beginners before you buy — it covers oil versus water-based products and the mistakes that cause blotchy results.
How Much Does It Cost to Build a Potting Bench?
Costs vary by region and by lumber choice, but this bench is firmly in the affordable weekend-project range. Cedar costs more than pine, but you need relatively little of it, so the difference is smaller than many beginners expect.
| Item | Cedar build (approx.) | Pressure-treated pine build (approx.) |
|---|---|---|
| Lumber (legs, aprons, slats) | $90–$130 | $45–$70 |
| Exterior screws | $10–$15 | $10–$15 |
| Hooks (4) | $8–$12 | $8–$12 |
| Outdoor oil or stain | $15–$25 | $15–$25 |
| Sandpaper, glue, misc. | $8–$12 | $8–$12 |
| Estimated total | $130–$195 | $75–$135 |
These are guide prices for new materials. If you already own screws, sandpaper, and finish from a previous project, the lumber alone may be your only real cost. Compare that with a shop-bought bench of similar size, which commonly costs $150–$300 for a basic model and considerably more for cedar.
Setting Up and Using Your New Potting Bench
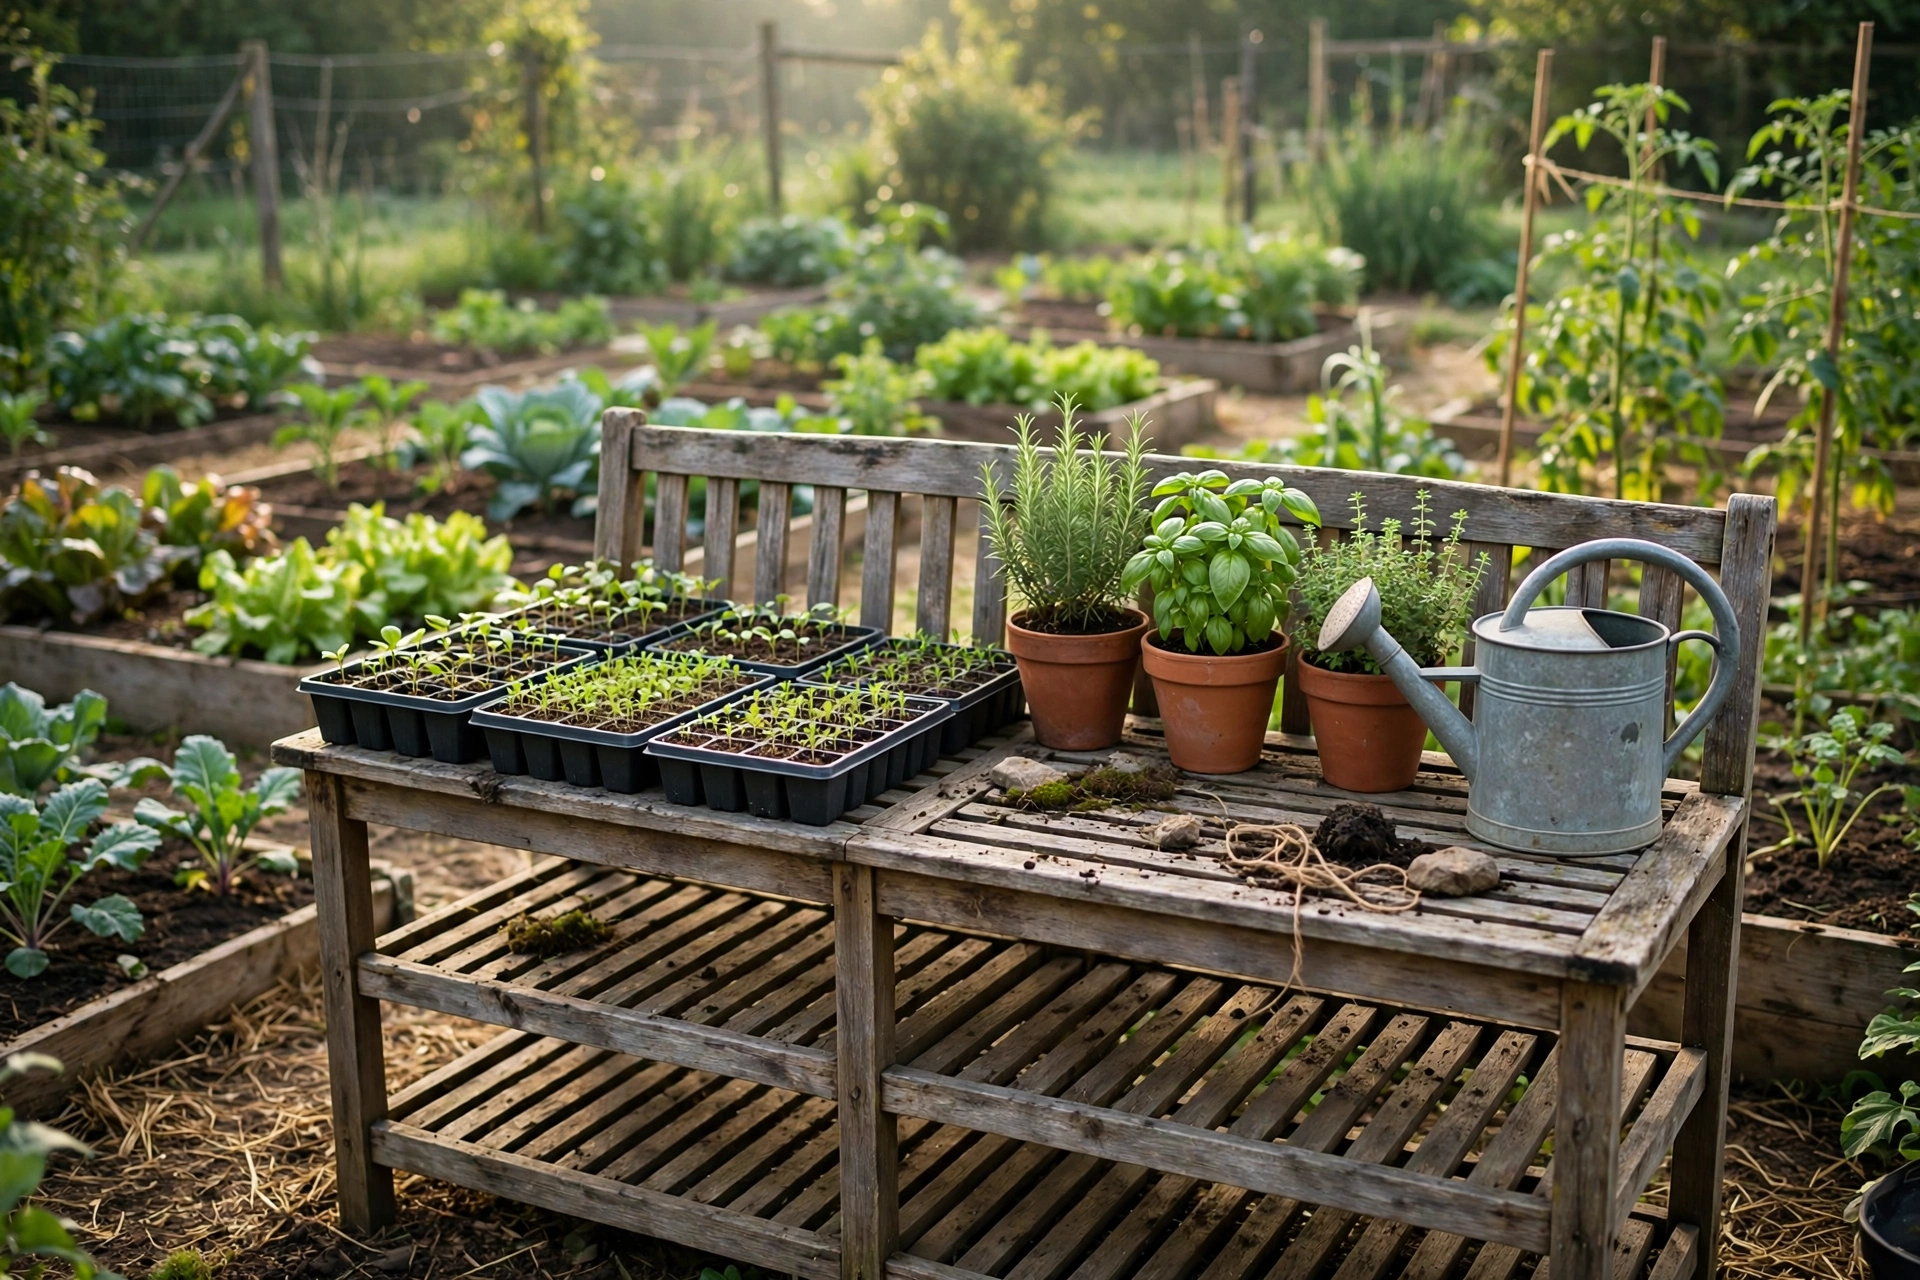
Place the bench where you actually do garden work, not where it looks best in a photograph. Near a tap is ideal, because you will water seedlings and wash pots there. Partial shade is a bonus in hot climates, but the bench itself is happy in full sun as long as the finish is maintained.
Organise the bench into zones and keep them that way. The left side can hold a tray of seedlings, the centre is your working area for filling pots, and the right side holds finished pots ready to go out. Hooks carry the tools you use constantly. The lower shelf carries the heavy, infrequent items. Keep a small brush and a dustpan on the bench. A thirty-second sweep after each session stops soil building up in the slat gaps.
Common Mistakes Beginners Make (and How to Avoid Them)
Building it too low. Stick to 36 inches unless you are notably shorter or taller, and test the height by standing at a counter of that height before you cut.
Using a solid top. A solid top pools water, holds mud, and rots faster. The slatted top is the feature that makes the bench work outdoors.
Skipping pilot holes. Cedar splits easily near board ends. Drill a pilot hole slightly smaller than the screw, and the joint will be stronger and cleaner.
Forgetting the underside. The bottom of the bench is where rot starts. Finish the undersides, the leg bottoms, and the end grain, and lift the bench off bare soil.
Overloading the top. Keep the heaviest bags on the lower shelf, close to the ground, and keep the top for work in progress.
Finishing wet lumber. If the wood feels damp, wait. A week of patience saves a full sanding and refinishing job later.
Seasonal Maintenance: Keeping the Bench Going Year After Year
Each spring, inspect the screws and tighten any that have worked loose over winter. Check the leg bottoms for soft spots — the first sign of rot — and re-coat them if the finish has worn thin. Each autumn, clean off soil and algae, let the bench dry, and apply a maintenance coat of oil or stain if the surface looks dry or faded.
If your winters are harsh and the bench is fully exposed, consider moving it under cover or tipping it against a wall under a tarp for the worst months. When the finish eventually wears, sand lightly, clean off the dust, and apply a fresh coat. That is the entire refinishing process for an oil or stain finish.
Frequently Asked Questions
How long does it take to build a wooden potting bench for beginners?
Most beginners finish the build in four to six hours spread over a weekend, plus drying time for the finish. Cutting takes about an hour, frame assembly about an hour, the slatted top and shelf about an hour, and sanding and finishing the rest.
What is the best wood for a potting bench?
Cedar is the best all-round choice because it resists rot and insects naturally, is light to handle, and looks good with a simple oil finish. Redwood is similar but often pricier. Pressure-treated pine is the best budget option and is very durable once dry, but it is heavier and must dry fully before finishing. Avoid untreated indoor-grade pine or spruce for an outdoor bench.
How wide should a potting bench be?
Forty-eight inches is a good standard width for one gardener working with two pots and a tray. If space is tight, 36 inches still works well. Wider than 60 inches becomes hard to reach across and needs a centre support under the slats to stop them sagging under heavy pots.
Do I need drainage gaps in a potting bench top?
Yes. Gaps of about half an inch between the top slats let water and soil fall through, help the boards dry after rain, and stop the top turning into a muddy puddle. A solid top is the single most common design mistake in homemade potting benches.
Can I build a potting bench without a circular saw?
Absolutely. A handsaw cuts every piece in this design, it just takes longer. A mitre saw is faster and very accurate for repeated cuts like the legs and slats, but it is not required. Whichever saw you use, measure twice, support the board properly, and wear eye protection.
Should I paint or oil my outdoor potting bench?
Oil is the easiest to maintain and keeps the natural cedar look, but it needs reapplying every 12 to 18 months. Paint lasts longer and hides mixed lumber, but it is harder to touch up once it peels. For most beginners, a penetrating outdoor oil is the friendliest first finish.
How do I stop my potting bench from rotting?
Use rot-resistant wood, finish all sides including the undersides and leg bottoms, keep the bench off bare soil with feet or pads, and let the slatted top drain freely. Reapply finish when the surface looks dry or faded, and tighten screws each spring. Those five habits will add years to the bench’s life.
Final Thoughts: A Small Build With a Big Payoff
Learning how to build a wooden potting bench for beginners is about more than one piece of garden furniture. It teaches you to measure accurately, cut confidently, join frames squarely, and finish wood for the outdoors — skills you will use on every garden and workshop project that follows. And unlike a practise piece that ends up in a corner, this bench earns its place from the first weekend: easier potting, tidier tools, and a comfortable height for the work you already love doing.
Start with straight boards, follow the cut list, keep your gaps even, and finish every surface. By Sunday evening, you will have a bench built to your height, your space, and your garden — and a very good reason to start your next project.
Recommended Products for This Project
As an Amazon Associate, I earn from qualifying purchases.

DEWALT Random Orbit Sander, Variable Speed, 5-Inch (DWE6423)
Smooth, swirl-free finish on outdoor boards with variable speed control.

Titebond III Ultimate Wood Glue, 8 oz (1413)
Waterproof wood glue for strong, lasting outdoor joints.

IRWIN QUICK-GRIP Clamps Set, 8-Piece (IRHT83220)
One-handed clamps that hold boards square while the glue sets.

Thompson's WaterSeal Clear Wood Sealer, 1 Gallon
Clear waterproofing sealer that protects outdoor wood from rain and sun.

3M Aluminum Oxide Sandpaper, Assorted Grits, 9-in x 11-in Sheets (9005NA)
Assorted 100/150/220-grit sheets for smoothing rough cuts to a finish-ready surface.


