
Every woodworker remembers their first workbench. Not because it was beautiful, but because it changed everything. Suddenly there was a solid, flat surface to saw on, a place to clamp boards, and a spot sturdy enough to pound on without the whole thing wobbling across the room. If you are learning how to build a simple workbench for beginners, you are about to build the single most useful project in your shop — and you can do it in a single weekend with basic tools.
This guide walks you through the entire build: the tools you need, exactly what to buy, a complete cut list, and step-by-step assembly instructions written for someone who has never built furniture before. The design uses ordinary 2×4 lumber and a sheet of plywood, costs roughly $70 to $110 in materials, and needs nothing fancier than a circular saw and a drill. No complicated joinery, no expensive hardwood, no guesswork.
By the time you drive the last screw, you will know how to measure accurately, cut straight, drill pilot holes, and assemble a frame that stays square — the four skills behind almost every beginner woodworking project you will ever build.
Why Every Beginner Should Build a Workbench First
A workbench is not just another project. It is the tool that makes every future project easier, safer, and more accurate. Sawing a board balanced across two wobbly sawhorses is frustrating and dangerous. Clamping a workpiece to a wobbling folding table teaches you nothing except patience. A real bench gives you a heavy, flat, stable surface at a comfortable height, and that changes the quality of everything you build on it.
Building your own beats buying one for three reasons. First, cost: a decent store-bought workbench runs $200 to $500 or more, while this 2×4 design costs a fraction of that. Second, size: you build it to fit your actual space, whether that is a two-car garage or a small apartment balcony corner. Third, and most important for a beginner, the build itself is the lesson. Measuring, crosscutting, driving screws, and keeping a frame square are the foundation skills of woodworking. This project teaches all four in one satisfying weekend.
If this is your very first build, you are in good company. Many of the most popular easy woodworking projects use exactly these same skills — straight cuts, simple screw joints, and careful measuring. Master them on a workbench, and every project after it gets easier.
Tools You’ll Need
You do not need a full workshop to build this bench. Here is the must-have list:
- Tape measure — for every measurement on the cut list.
- Speed square — for marking square cut lines and checking corners. It also works as a saw guide.
- Pencil — a carpenter’s pencil or any sharp pencil for marking.
- Circular saw or miter saw — for cutting the 2x4s to length. A miter saw is faster and easier for beginners; a circular saw works perfectly with a speed square as a guide.
- Cordless drill/driver — for drilling pilot holes and driving screws. Have a charged spare battery.
- Drill bits and driver bits — a countersink or pilot-hole bit plus a Phillips or star driver bit to match your screws.
- Clamps — two to four bar or spring clamps to hold pieces while you screw them.
- Safety glasses, hearing protection, and a dust mask — non-negotiable every time you cut or sand.
Nice to have but optional: a random orbit sander for smoothing the top, a 4-foot level for checking the bench on uneven floors, and work gloves for handling rough lumber. If you do not own a miter saw, ask at the lumber yard — many home centers will make your straight crosscuts for free or for a small fee, which turns this into a drill-only assembly project.
Materials: What to Buy
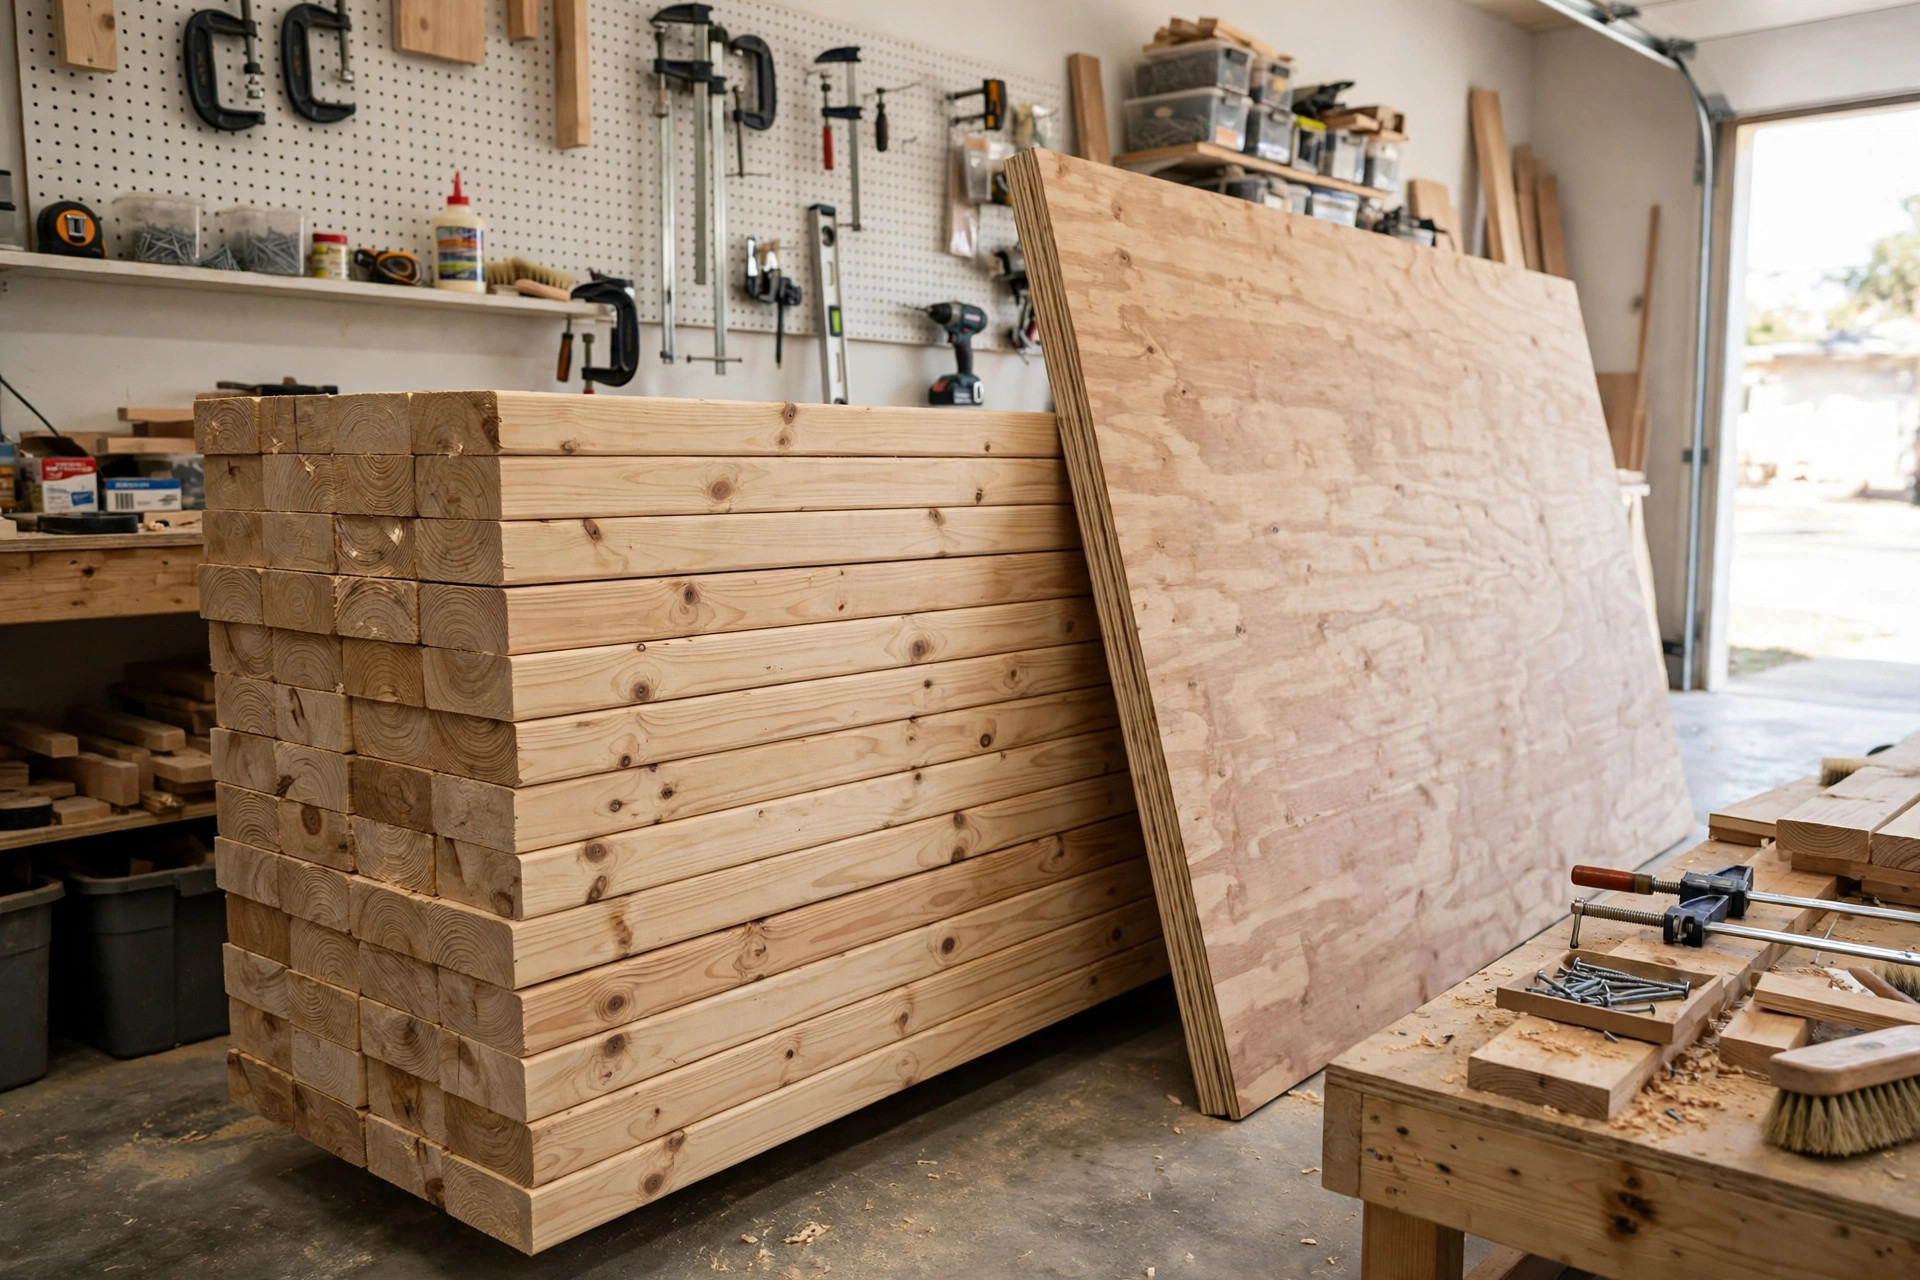
The shopping list is short on purpose. Everything here is available at any home center:
- Five 2×4 x 8 ft studs (buy six if your budget allows, so you can reject the worst one). Choose the straightest boards in the rack: sight down the length of each board like looking down a rifle barrel and put back anything with an obvious bow, twist, or cup. Small, tight knots are fine; big loose knots and cracks are not.
- One 4×8 sheet of 3/4-inch plywood — BC-grade pine or sanded plywood. This becomes both the benchtop and the lower shelf. Many stores will rip it into two 2×4-foot pieces for you, which also makes it fit in most cars.
- One 1 lb box of 2-1/2 inch construction screws (number 8). Use construction or deck screws, not drywall screws — drywall screws are brittle and snap under the racking forces a workbench sees.
- One 1-1/4 inch screw box or a handful of shorter screws for attaching the plywood top and shelf.
- Wood glue — a standard 8 oz bottle of yellow wood glue.
- Sandpaper — a few sheets of 80 and 120 grit if you want to smooth the top.
Let your lumber sit in your garage or shop for a day or two before building so it acclimates to the humidity. Fresh-from-the-store boards can move slightly as they adjust, and you want your cuts to stay true.
The Complete Cut List
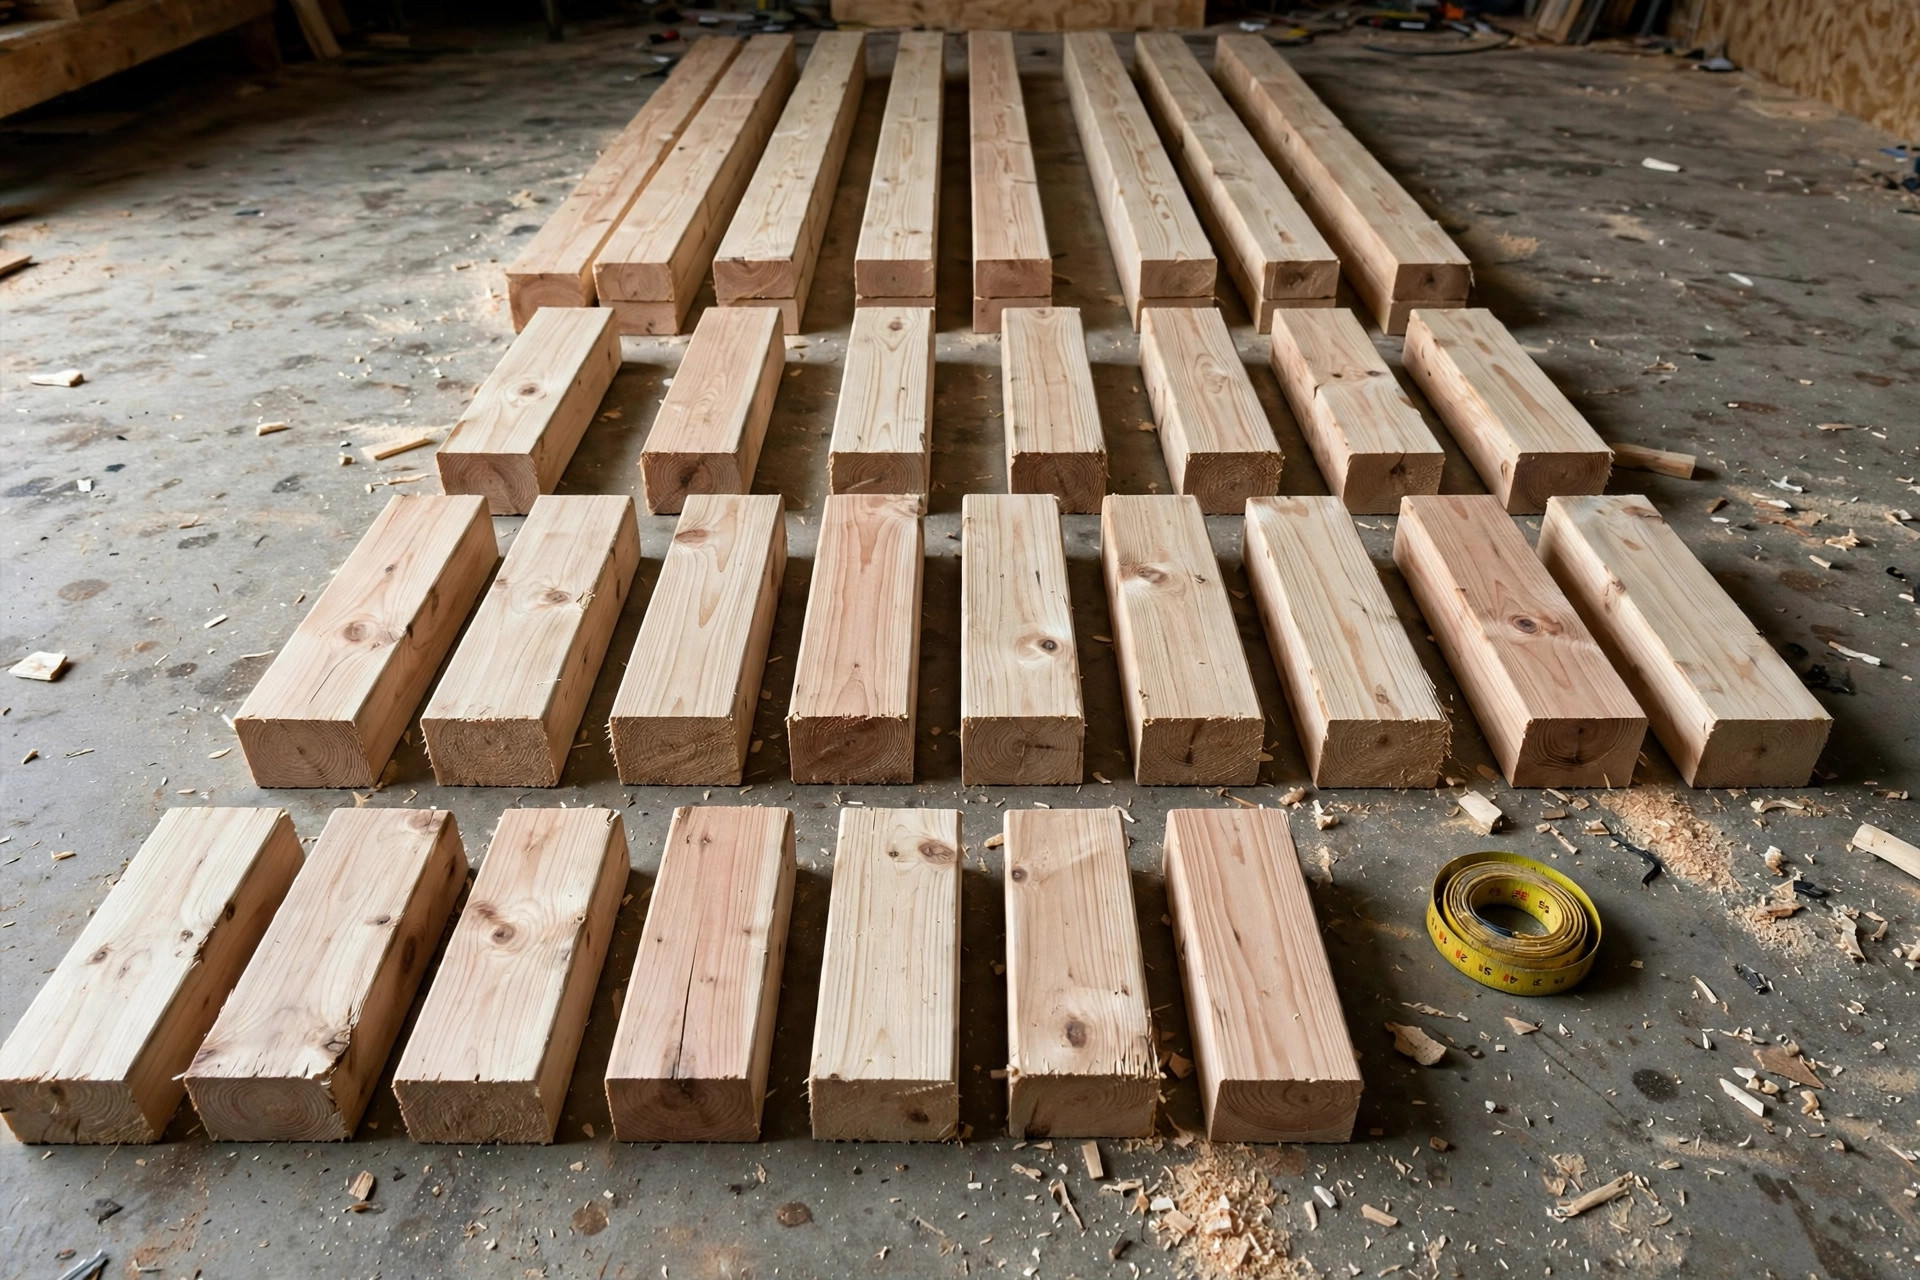
Measure twice, cut once — and cut your longest pieces first, so a mistake on a short piece does not waste a full board. Label every piece with a pencil as you cut it (L1, L2 for legs, and so on). The finished bench will measure 48 inches wide, 24 inches deep, and 36 inches tall.
| Part | Quantity | Dimensions | What it’s for |
|---|---|---|---|
| Legs | 4 | 2×4 at 35-1/4 in. | The four corner legs |
| Long rails | 4 | 2×4 at 45 in. | Front and back rails for the top and lower frames |
| Short rails | 4 | 2×4 at 21 in. | Side rails for the top and lower frames |
| Benchtop | 1 | 3/4 in. plywood at 48 x 24 in. | The work surface |
| Lower shelf | 1 | 3/4 in. plywood at 48 x 24 in. | Storage shelf near the floor |
Five 8-foot 2x4s cover all the solid-wood cuts with room to spare: each board yields two legs (2 x 35-1/4 in. = 70-1/2 in.), two long rails (2 x 45 in. = 90 in.), or four short rails (4 x 21 in. = 84 in.). The single plywood sheet gives you both the top and the shelf with a large offcut left over for future small projects.
Step-by-Step Assembly
Step 1: Cut All Your Pieces to Length
Set two sawhorses or a sturdy table at a comfortable height and lay your first 2×4 across them. Hook your tape measure on the end, mark your length, and draw a square line across the board with the speed square. If you are using a circular saw, clamp the speed square to the board as a fence and run the saw’s base plate against it — this trick gives beginners nearly miter-saw-straight cuts.
Let the blade reach full speed before it touches the wood, and keep both hands on the saw with the cord (if corded) routed away from the cut line. Support the cutoff end so it does not splinter or fall as the cut finishes. Cut all four legs first, then the long rails, then the short rails. Give the cut ends a quick pass with 80-grit sandpaper to knock off splinters, and stack your labeled pieces out of the way.
Step 2: Build the Top and Lower Frames
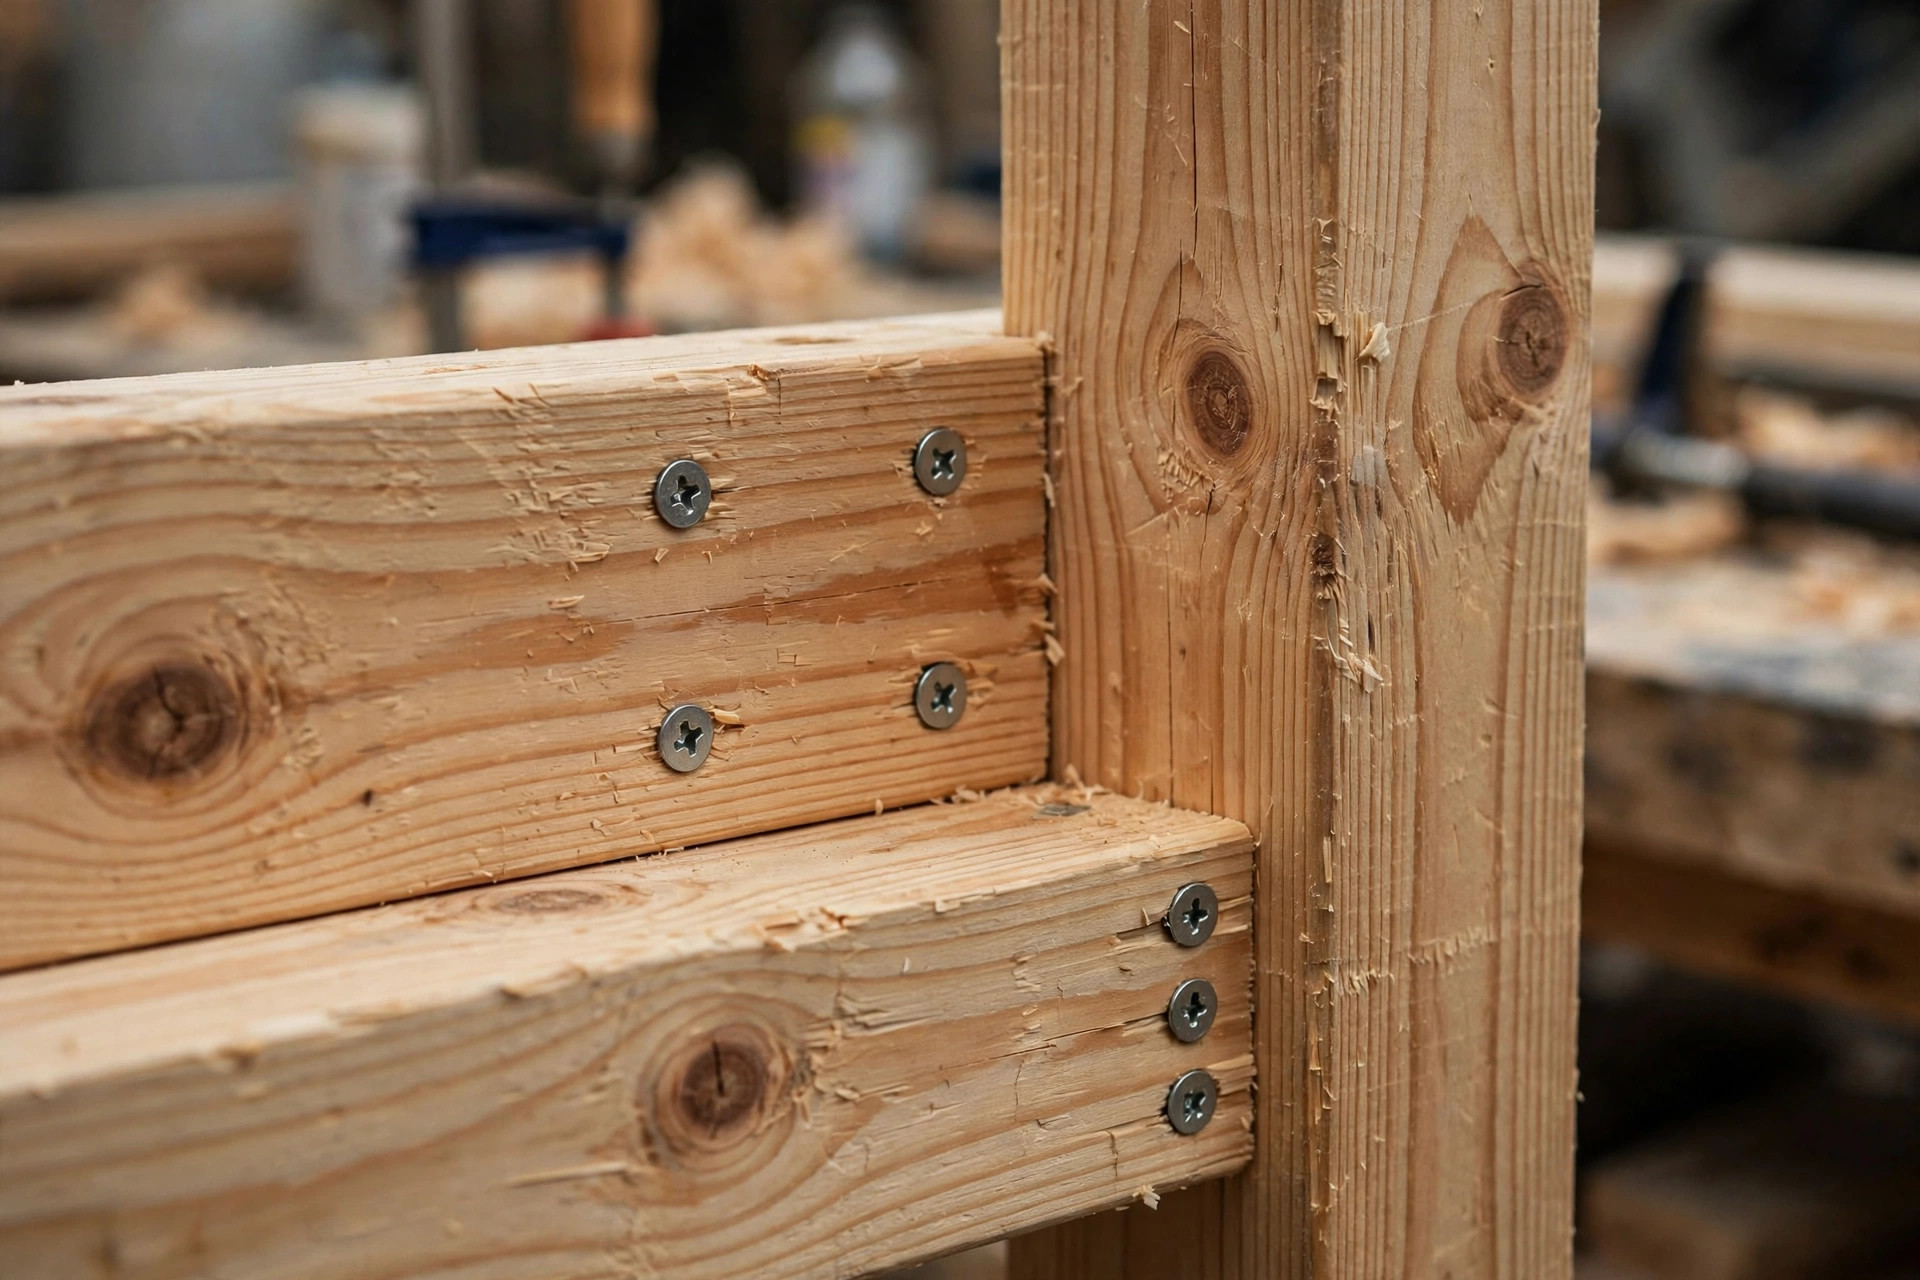
Each frame is a simple rectangle: two 45-inch long rails with two 21-inch short rails fitted between them, giving you a 48 x 24 inch frame. Lay the pieces on a flat floor — the flatter your assembly surface, the squarer your frame. Run a thin bead of wood glue on the end of each short rail, butt it between the long rails, and drive two 2-1/2 inch screws through the long rail into the end of the short rail. Pre-drill pilot holes first, especially within two inches of any board end, to prevent splitting.
Before the glue sets, check the frame for square by measuring diagonally corner to corner. If both diagonal measurements match, the frame is square; if not, push the long corners together gently until they do. Build two identical frames — one becomes the top frame under the benchtop, the other becomes the lower frame that carries the shelf.
Step 3: Attach the Legs
Stand the top frame on edge or lay it flat on the floor and position the four legs at the inside corners, with the top of each leg flush with the top of the frame. The 3-1/2 inch face of each leg should sit flat against the inside of the long rail. Apply glue to the contact faces, clamp the leg in place, and drive two screws through the long rail into the leg and two screws through the short rail into the leg.
Work your way around all four corners, then stand the assembly upright. It should already feel surprisingly rigid. Set the lower frame inside the legs about 8 inches off the floor — measure up from the bottom of each leg and mark the height so the frame sits level — then glue and screw it to the legs the same way, two screws per joint per side. Sight along the bench from the end: all four legs should touch the floor evenly. If one leg floats slightly, note it now; you will fix it with a furniture pad or a sanding pass at the end.
Step 4: Attach the Plywood Top
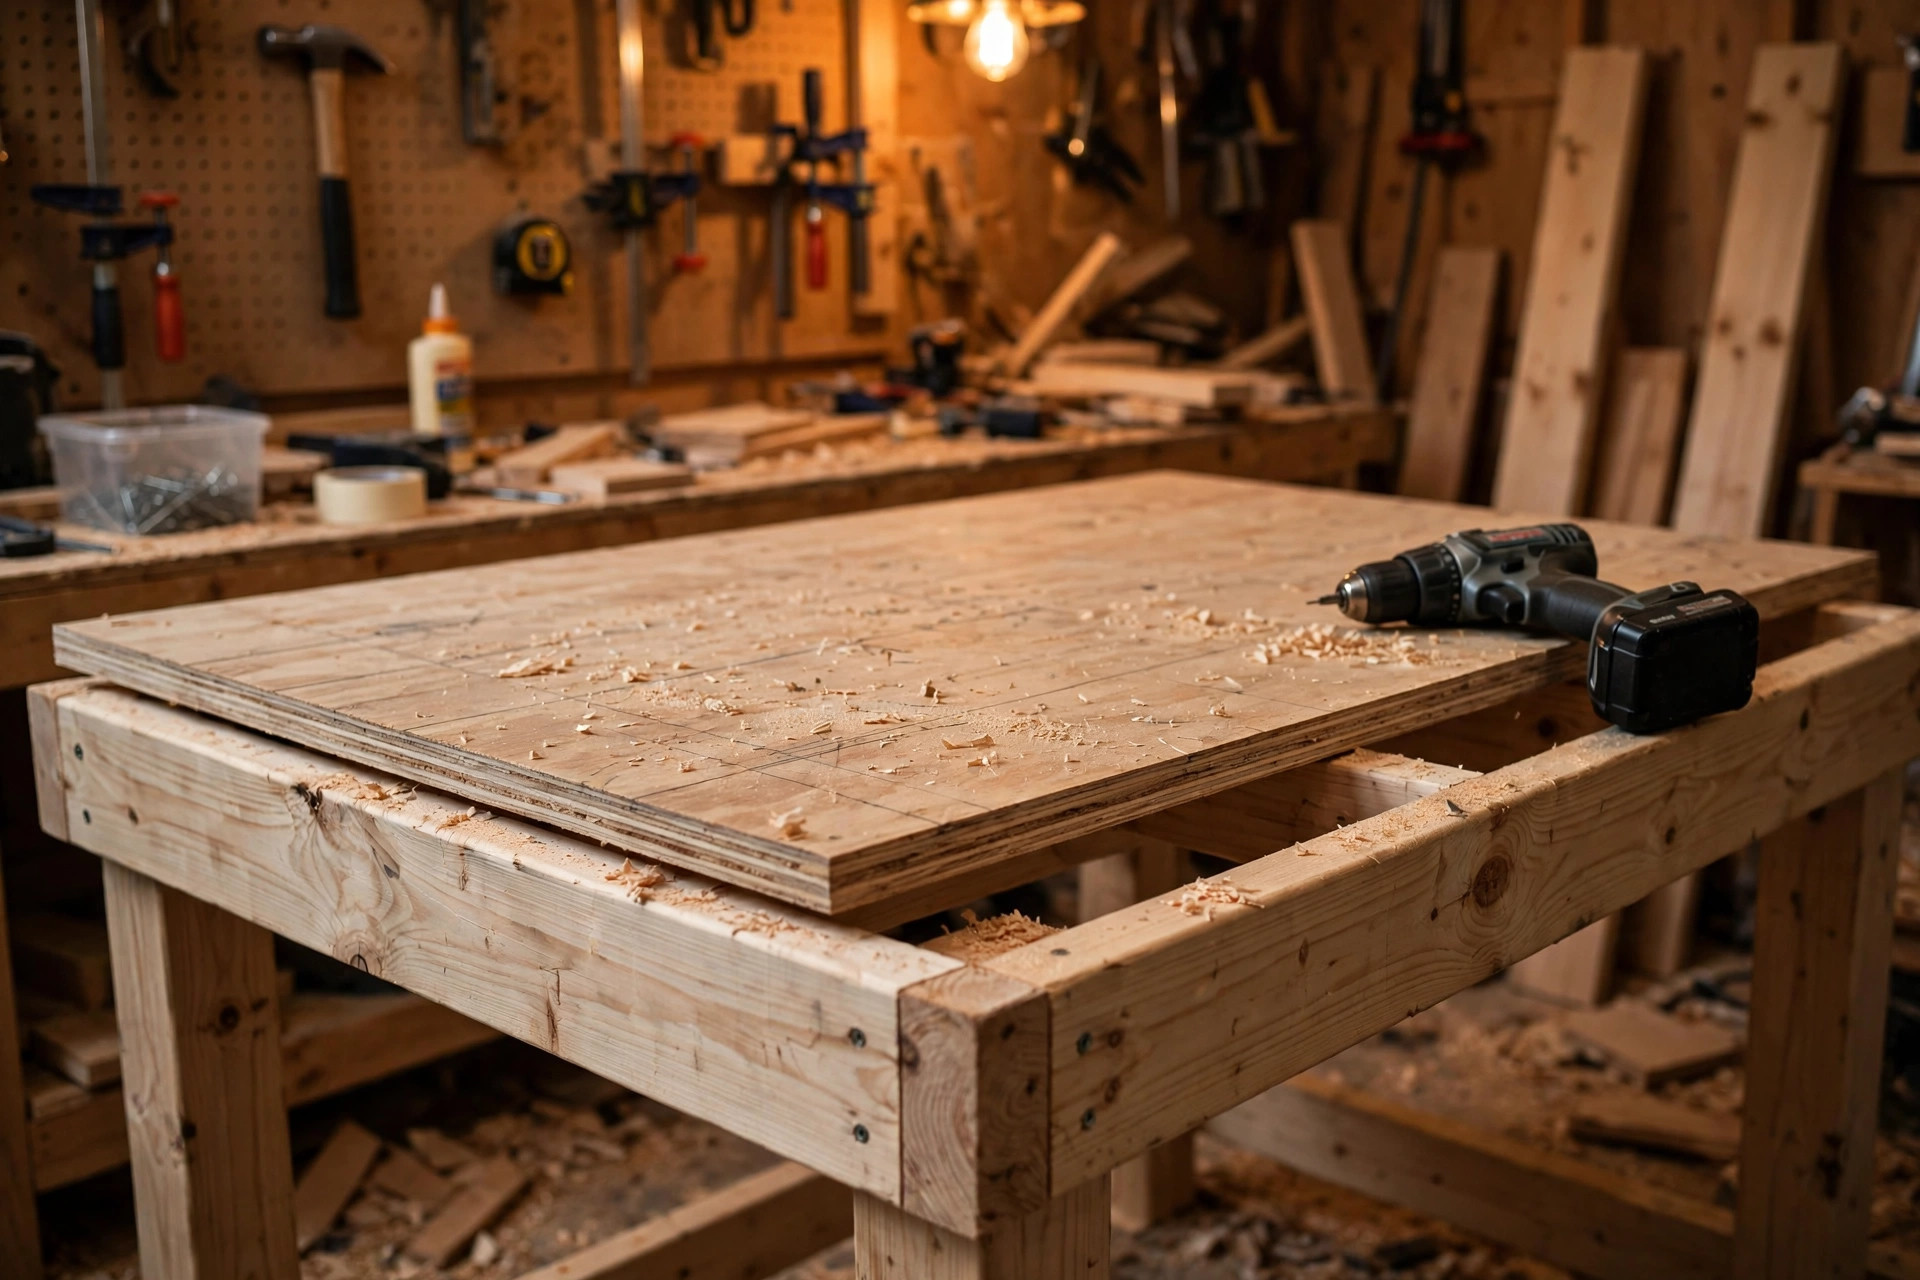
Lay the 48 x 24 inch plywood sheet on top of the frame, flush with the edges all around. The sheet should sit flat with no rocking — if it rocks, one leg or rail is sitting proud, and a few passes with sandpaper or a hand plane on the high spot will fix it. Starting from the center and working outward, drive 1-1/4 inch screws every 8 to 10 inches through the plywood into the rails and legs below. Pre-drilling the plywood prevents the thin face veneer from chipping.
Do not skip the glue here if you want a rattle-free bench: a thin bead of wood glue on the top edges of the frame before you lay the plywood down makes the top and frame behave as one solid unit. Wipe away squeeze-out immediately with a damp rag. Once the top is on, flip the bench upright and give it the wobble test — push hard on opposite corners. A properly squared and glued bench should barely move.
Step 5: Add the Lower Shelf and Organize It
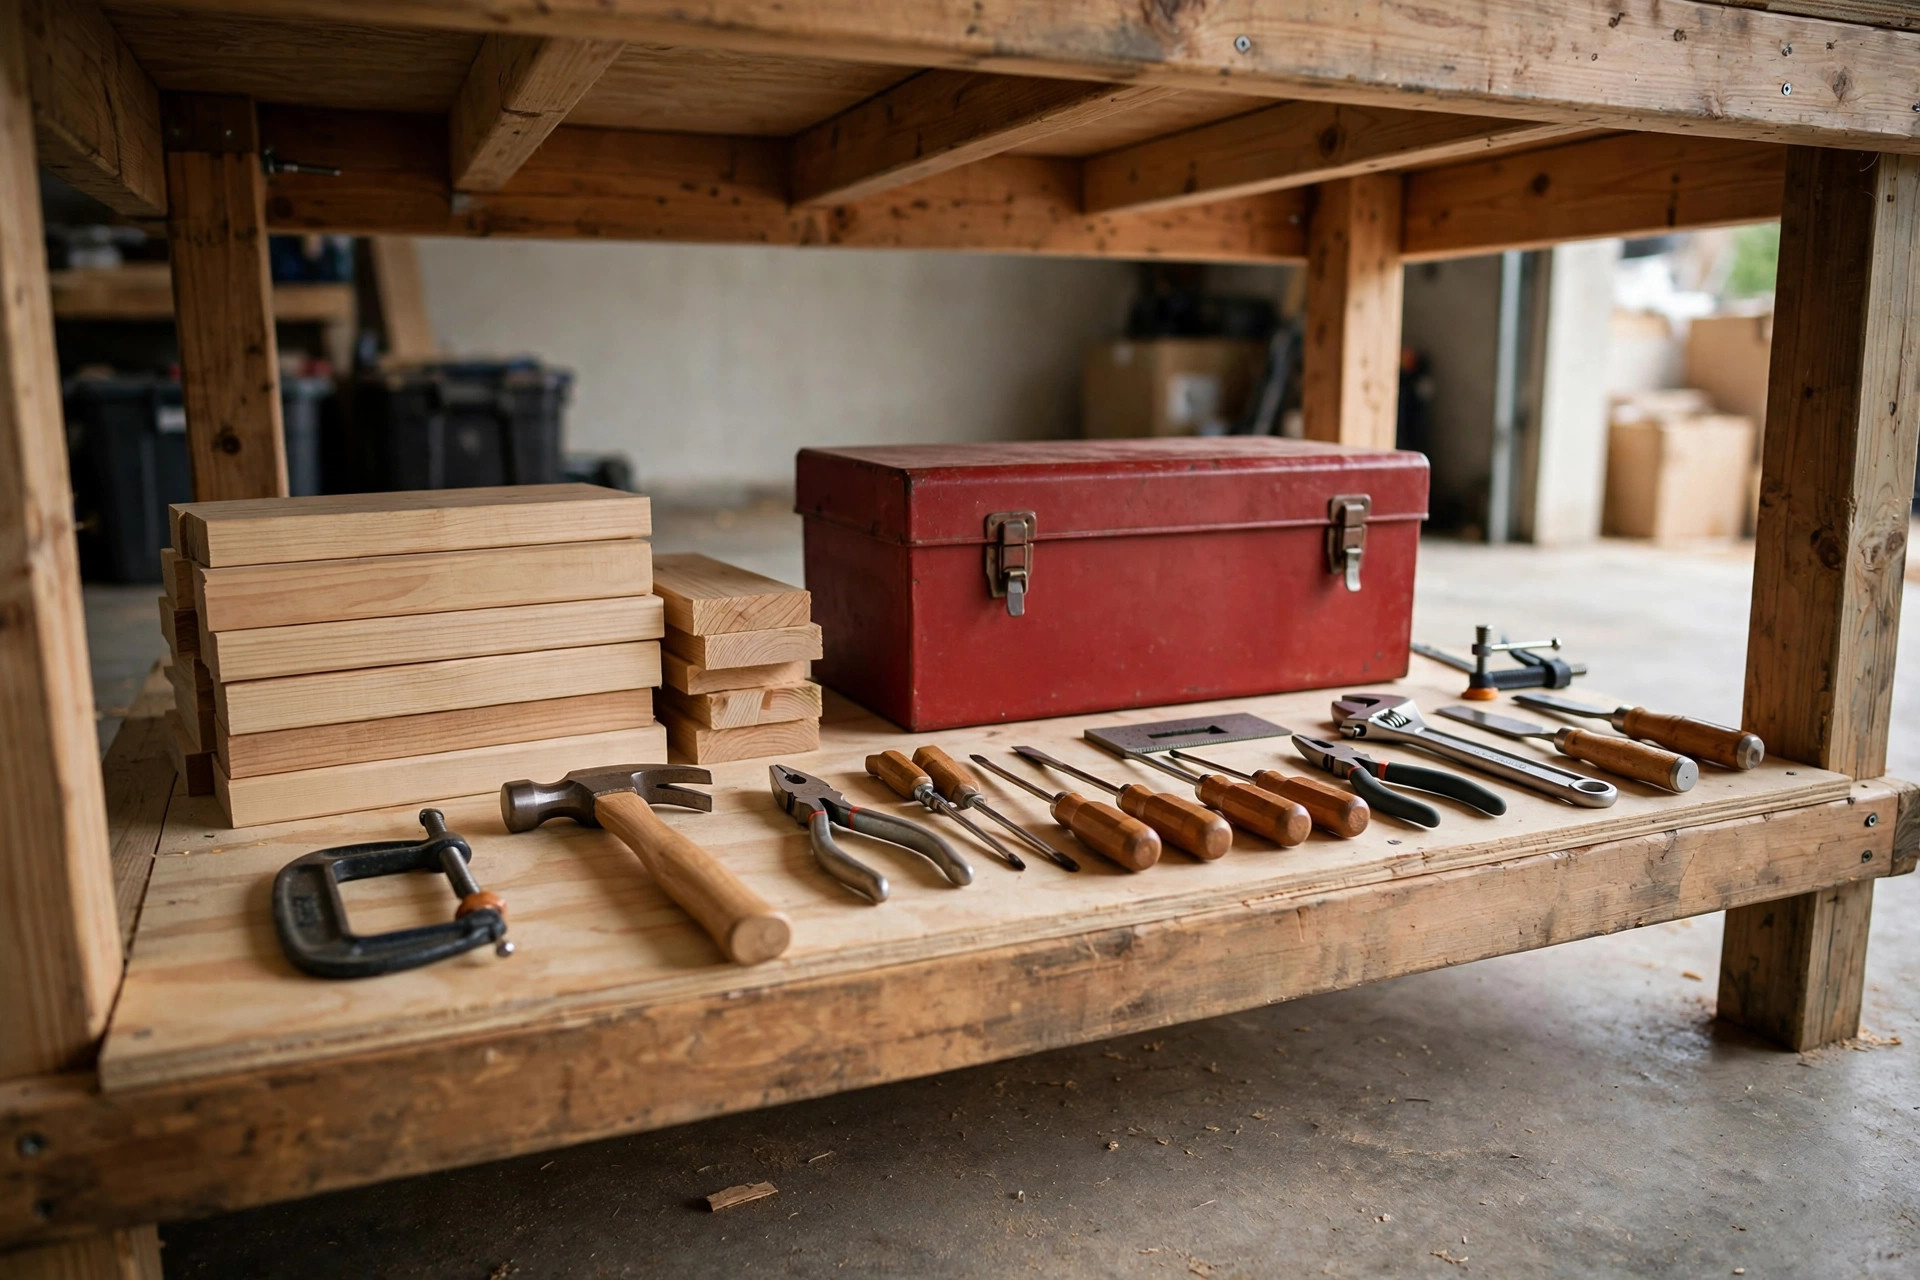
Drop the second 48 x 24 inch plywood sheet onto the lower frame and screw it down the same way, every 8 to 10 inches into the rails. This shelf is the unsung hero of the design: it adds a huge amount of racking strength to the bench (the whole structure gets dramatically stiffer once the shelf ties the lower frame together), and it gives you roughly eight square feet of storage right where you need it.
Load it sensibly — heavy items like toolboxes and paint cans low and toward the middle, lighter items toward the edges. Many beginners add a couple of small plastic bins or a tool roll on the shelf to keep screws, drill bits, and sandpaper sorted. Leave the front edge of the shelf clear of clutter so you can slide a stool or a toolbox underneath if needed.
Cost Breakdown
One of the best things about learning how to build a simple workbench for beginners is how little it costs compared to buying one. Prices vary by region and lumber market, but here is a realistic estimate using home-center pricing:
| Item | Est. cost |
|---|---|
| Five 2×4 x 8 ft studs | $20 – $30 |
| One 4×8 sheet of 3/4 in. plywood | $35 – $55 |
| 2-1/2 in. construction screws (1 lb box) | $8 – $12 |
| 1-1/4 in. screws for the top and shelf | $5 – $8 |
| Wood glue (8 oz bottle) | $5 – $8 |
| Sandpaper (optional) | $4 – $6 |
| Total | $77 – $119 |
Compare that to $250-plus for a comparable ready-made bench, and the savings are obvious. If you already own screws and glue from an earlier project, your out-of-pocket cost can drop under $60. Buying a half sheet of plywood instead of a full sheet also trims the bill, since the bench only needs two 2×4-foot pieces.
Workbench Size Options
The 48 x 24 inch bench in these plans is the sweet spot for most beginners: big enough for real projects, small enough to fit against a garage wall. But it is easy to adapt the design:
- Compact bench (36 x 20 in.): ideal for apartments, balconies, or shared garages. Shorten the long rails to 33 inches and the short rails to 17 inches, and cut the plywood to 36 x 20 inches. Everything else stays the same.
- Standard bench (48 x 24 in.): the size in this guide. Fits a miter saw or a benchtop drill press with room to work beside it.
- Large bench (72 x 30 in.): for a dedicated shop. Lengthen the long rails to 69 inches, the short rails to 27 inches, and use a full 4×8 plywood sheet for the top. Consider adding a fifth leg in the middle of each long side to prevent sagging under heavy loads.
Height is worth a moment of thought too. Thirty-six inches suits most adults for general work. If you are notably tall or short, a quick rule of thumb: stand relaxed and measure from the floor to your wrist — that is a comfortable working height for hand-tool work. For heavy pounding and planing, an inch or two lower feels better; for detail work, an inch or two higher saves your back.
7 Common Mistakes Beginners Make
1. Skipping the square check. A frame that is even half an inch out of square becomes a bench that rocks and racks. Measure those diagonals before the glue dries — it takes ten seconds and saves hours of frustration.
2. Driving screws too close to the ends without pilot holes. Wood splits when a screw wedges fibers apart near the end of a board. Pre-drill every hole within two inches of a board end, and keep screws at least 3/4 inch from edges.
3. Using drywall screws. They look similar and cost less, but drywall screws are hardened and brittle — they snap under sideways loads. Construction or deck screws are designed to flex slightly and hold.
4. Buying twisted lumber. No amount of careful joinery fixes a banana-shaped 2×4. Sight down every board at the store and reject the worst offenders. A slightly bowed board can be forced straight in a frame; a twisted one cannot.
5. Forgetting the saw kerf. A saw blade removes about 1/8 inch of wood with every cut. When cutting multiple pieces from one board, mark each cut from the fresh end rather than measuring all marks from one end, or your last pieces will come up short.
6. Overtightening screws. Driving a screw until it buries itself strips the wood fibers and weakens the joint. Stop when the screw head sits just flush with the surface.
7. Building on an uneven floor and never checking. Assemble on the flattest surface you have, then check the finished bench with a level in its final spot. A wobbling bench is usually a floor problem, not a build problem — a stick-on furniture pad under the short leg fixes it in seconds.
Safety Notes
Woodworking is safe when you respect the tools. Wear safety glasses for every cut and every round of drilling — a splinter in the eye ends a weekend fast. Wear hearing protection with a circular saw or miter saw, and a dust mask when cutting or sanding plywood, whose glue and fine dust irritate lungs.
Keep your work area clean and well lit, with offcuts moved out of the way so you never trip mid-cut. Unplug the saw (or remove the battery) whenever you change blades or clear a jam. Clamp workpieces instead of holding them with your free hand near the blade, and never wear loose sleeves, jewelry, or gloves near a spinning blade. Work in a ventilated space, keep a phone nearby, and never rush the last cut of the day — fatigue causes more mistakes than inexperience.
Frequently Asked Questions
How much does it cost to build a simple workbench for beginners?
Expect to spend $77 to $119 on materials if you are buying everything new: five 2x4s, a sheet of 3/4-inch plywood, construction screws, and wood glue. If you already own screws, glue, and sandpaper, the lumber and plywood alone typically run $55 to $85.
How long does it take a beginner to build this workbench?
Plan on one afternoon — roughly 3 to 5 hours including the lumber-yard trip. Cutting takes about an hour, frame assembly another hour, and attaching the top, shelf, and final checks fill the rest. Letting the lumber acclimate for a day beforehand improves the result but is not required.
What is the best height for a workbench?
Thirty-six inches works well for most adults doing general woodworking. A practical rule: the benchtop should sit roughly at your wrist when you stand relaxed with arms at your sides. Adjust the leg length in the cut list up or down to match your body — the rest of the design does not change.
Can I build this workbench with just a circular saw and a drill?
Absolutely. A circular saw guided by a clamped speed square makes every cut in this project, and a drill/driver handles all the pilot holes and screws. Many home centers will also make the straight crosscuts for you, reducing the tool list to a drill, a tape measure, and a pencil.
Do I need wood glue, or are screws enough?
Use both. Screws provide the clamping force and mechanical strength; glue bonds the wood fibers into a joint that resists racking far better than screws alone. A glued-and-screwed bench feels noticeably more solid than a screwed-only one, and the glue costs a few dollars.
What plywood is best for a workbench top?
Three-quarter-inch BC-grade pine or sanded plywood is the beginner sweet spot: flat, affordable, and tough enough for years of use. Avoid thin 1/2-inch sheets, which flex. If you plan to pound on the bench heavily, you can laminate a second layer of plywood or a hardboard sacrificial top later.
Should I add a vise to my first workbench?
Not right away. Build the bench, use it for a few projects, and notice what you reach for. A simple face vise or a pair of bench dogs is a great second upgrade once you know how you work — and by then, mounting one is an easy afternoon project on the bench you built.
Your Bench Is Done — What Will You Build on It?
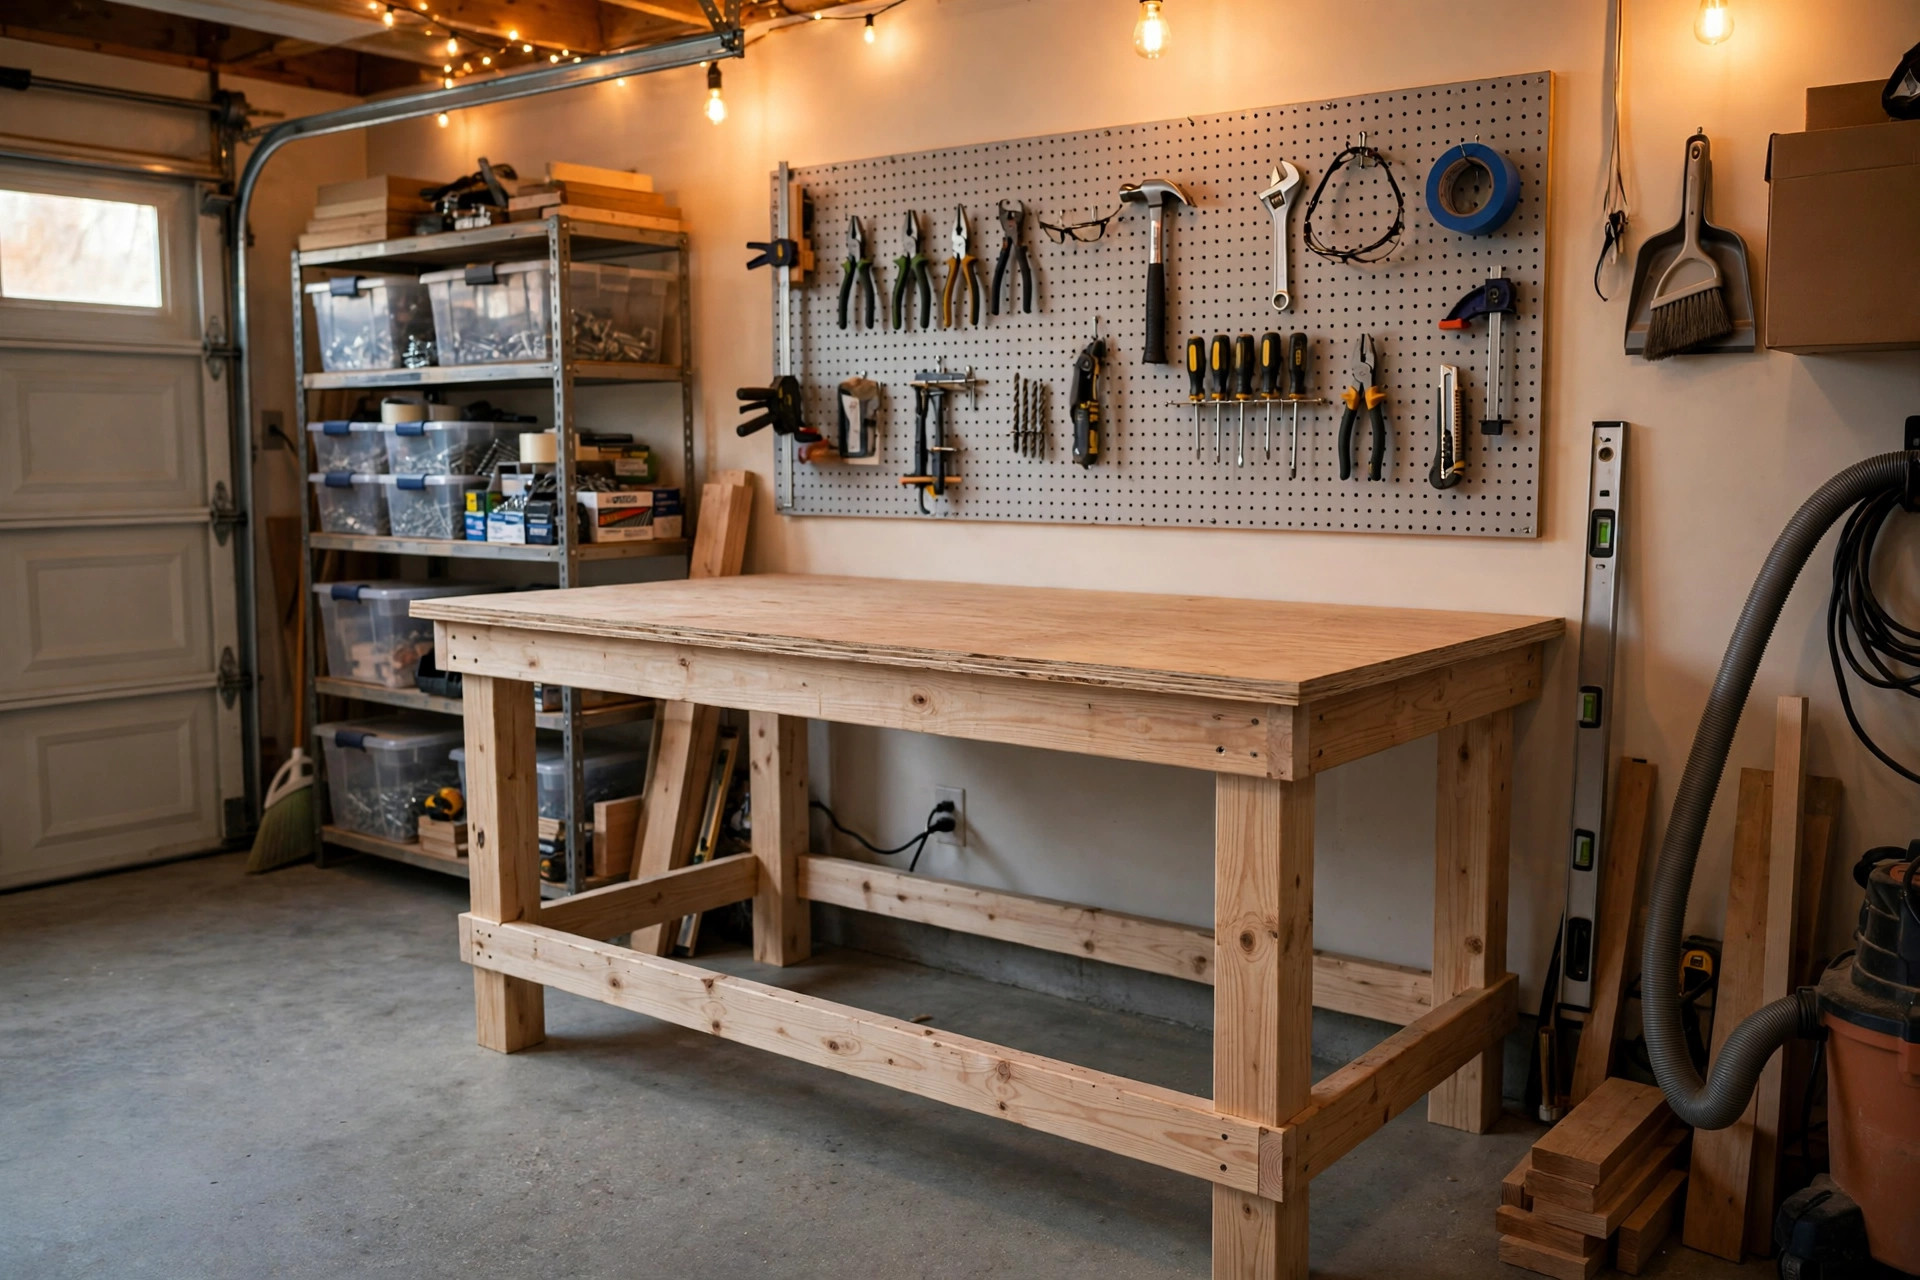
Stand back and look at what you made: a heavy, flat, square workbench built with your own hands for around a hundred dollars. Give the top a final sanding with 120-grit paper, wipe off the dust, and consider a coat of paste wax or polyurethane on the benchtop — it keeps glue drips from sticking and makes the surface easier to clean.
Now the real fun starts. Your new bench is the perfect platform for building the projects that teach the next layer of skills. Browse these easy woodworking projects for beginners that sell for ideas that can turn your new skills into gifts or even a small side income. If you built this bench with your kids watching, these wood projects for kids are a great next weekend build to do together. And when you are ready for your next solo challenge, the classic beginner builds in our easy woodworking projects collection will keep your new workbench busy for months.
Happy building — and welcome to the shop.



Pingback: 3 DIY Dust Collection Builds for Small Workshops ($50)
Pingback: Small Garage Workshop Setup: 9 Layout Ideas That Fit
Pingback: 25 Easy Woodworking Projects for Beginners That Sell Fast
Pingback: Best Clamps for Woodworking Beginners: 5 Types
Pingback: Best Table Saw for Beginners: Fence First Guide