
Walk into any woodworking shop and you will see clamps everywhere — hanging on walls, gripping workbenches, squeezing glued boards into panels. Clamps are the silent partners of nearly every project you will ever build. Glue makes the bond, but clamps make the glue-up work, holding parts in tight, even contact while the adhesive cures. Without enough clamps, even simple projects turn into a frustrating juggling act of slipping boards and open joints.
If you are new to the craft, the sheer variety is intimidating: F-clamps, bar clamps, pipe clamps, parallel clamps, spring clamps, C-clamps, band clamps, corner clamps. Which ones do you actually need? How many is enough? And how much should you spend before you have built your first project? This guide answers all of it. We will walk through the five clamp types every beginner should know, tell you exactly which ones to buy first (and which to skip for now), show you real costs, teach you proper glue-up technique, and help you avoid the dents, slips, and busted joints that catch every beginner off guard.
Whether you are gluing up your first panel on a simple workbench you built yourself or dreaming of selling the beginner projects that actually make money, clamps are one of the first tool investments that genuinely pay off. Let us get you set up right.
Why Clamps Matter So Much for Beginners
Here is something no one tells beginners until it is too late: most early project failures are not sawing failures or measuring failures — they are clamping failures. Boards slip during glue-up and cure crooked. Joints that looked tight at the bench open into gaps because pressure was uneven. A shelf that seemed square turned out to be a rhombus, and you only noticed after the finish was dry.
Clamps solve all of this by doing three jobs at once. First, they hold parts exactly where you want them while glue cures, which takes 30 to 60 minutes for most wood glues and up to 24 hours for a full-strength cure. Second, they squeeze parts together so the glue film is thin and even — thin glue films are dramatically stronger than thick, gappy ones. Third, they let you correct alignment: a gentle extra twist can pull a bowed board straight or nudge a frame into square before everything locks up.
Good clamps also make you safer. Hand-holding a workpiece while routing or sanding is how accidents happen; clamping it to the bench keeps your fingers out of the tool’s path. If your project involves cutting precise joints like the ones in our beginner joinery guide, a clamped workpiece is a stable workpiece, and stability is what makes your cuts repeatable.
And here is the best part: clamps last. A decent clamp bought today will still be squeezing joints together twenty years from now. Unlike sandpaper or glue, clamps do not get used up. That makes them one of the smartest first purchases in any beginner’s tool kit.
The 5 Clamp Types Every Beginner Should Know
1. F-Clamps (The Beginner’s Best Friend)
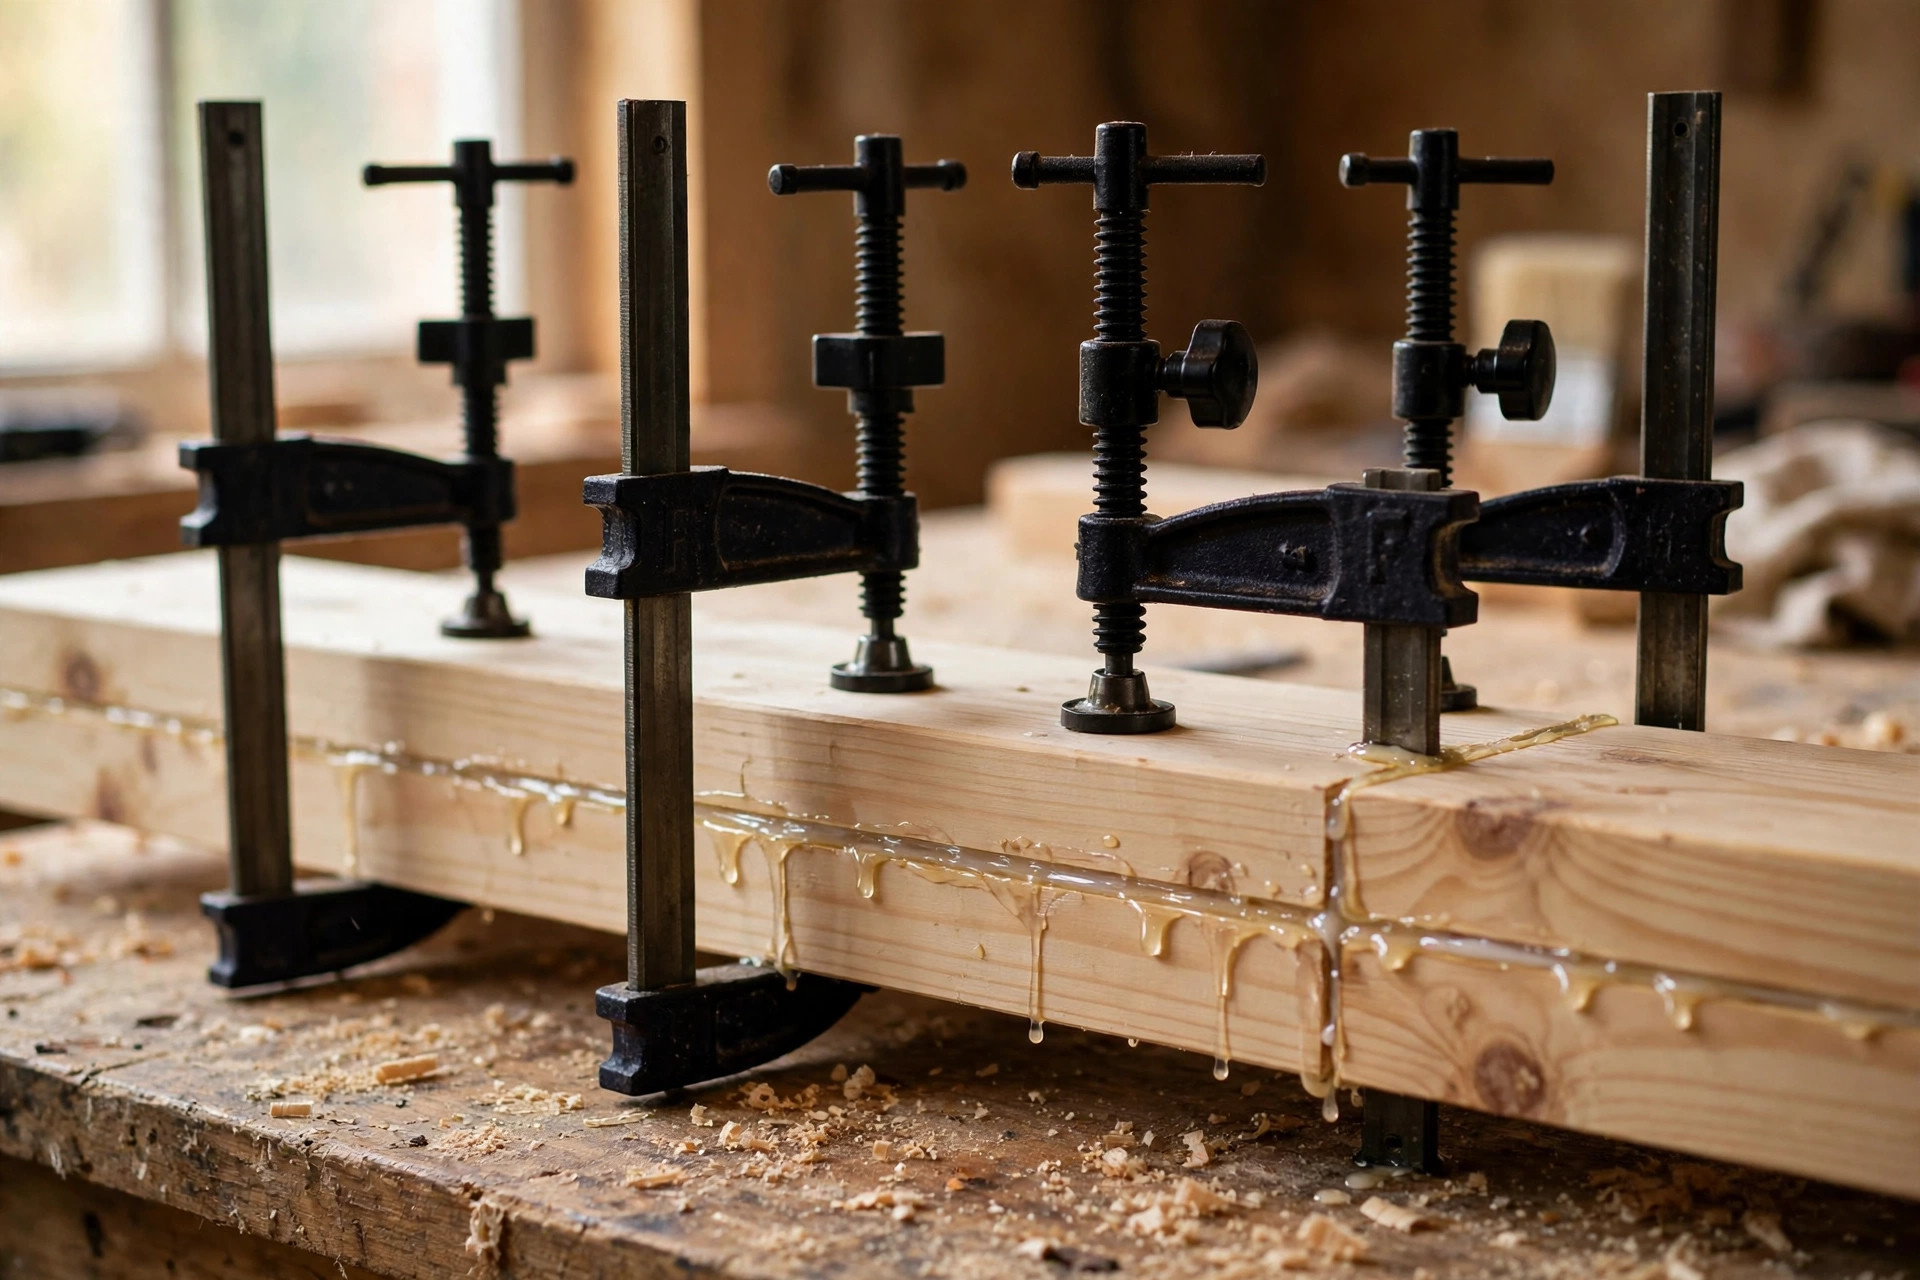
Start here. F-clamps — named for their F-shaped profile — are the single most versatile clamp a beginner can own. A fixed head slides on a steel bar, a screw handle on the sliding jaw provides the squeeze, and plastic pads on the jaws protect your wood. They are light, fast to adjust, and cheap enough that you can buy several without wincing.
Use F-clamps for almost everything: holding boards to the bench while you saw or route, light glue-ups of frames and small panels, and general “hold this still” duty. Sizes from 6 to 24 inches cover most beginner work; 12-inch and 18-inch clamps get the most use by far.
What to look for: a sturdy cast or malleable-iron head (avoid flimsy pressed-steel heads that flex), a comfortable wood or plastic handle, and non-marring jaw pads. Expect to pay about $8–$18 each for good 12–18 inch F-clamps from reputable tool brands. They are not the strongest clamp on this list, but their speed and versatility make them the ones you will reach for daily.
2. Bar Clamps (The Panel Glue-Up Workhorse)
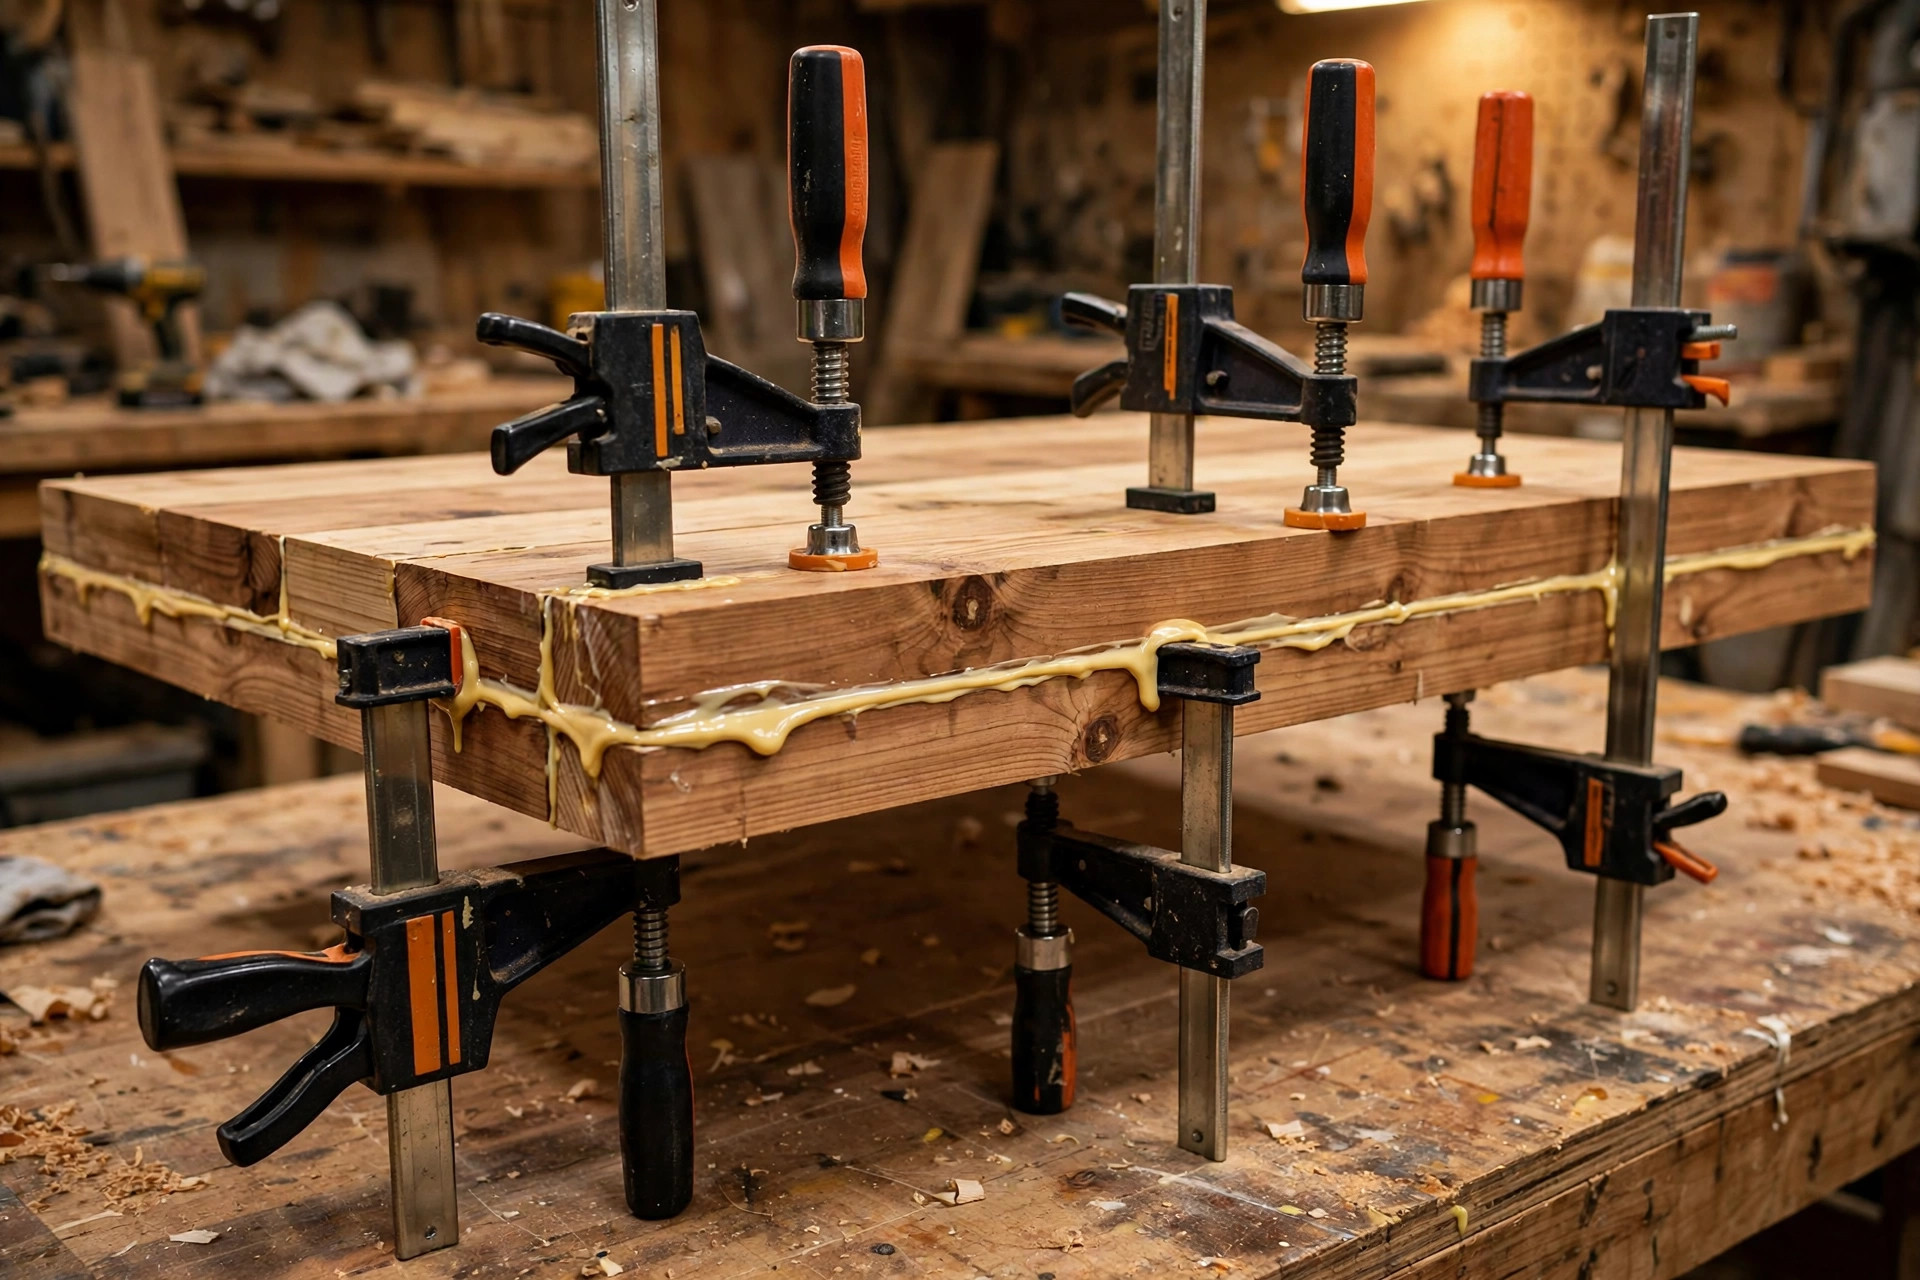
When you need to glue boards edge-to-edge into a wide panel — a tabletop, a cutting board, a shelf — bar clamps are the tool. They look like long F-clamps: a heavy bar, one fixed jaw, and one jaw that slides and locks, tightened by a screw handle. Their long reach and strong, even pressure make them the classic panel clamp.
The secret to good panel glue-ups with bar clamps is alternating them: one clamp underneath with the bar below the panel, the next on top with the bar above. This cancels out the slight bowing force each clamp applies, keeping your panel flat instead of warping it into a banana. You will also want the clamps evenly spaced — roughly every 8 to 12 inches along the glue line — so pressure is uniform from end to end.
For beginners, two to four 24-inch or 36-inch bar clamps handle most panels. They cost about $15–$30 each depending on length and brand. Heavier-duty “I-beam” bar clamps are overkill for beginners; the lighter aluminum or steel bar styles are plenty strong and far easier to maneuver.
3. Pipe Clamps (The Cheap-and-Deep Option)
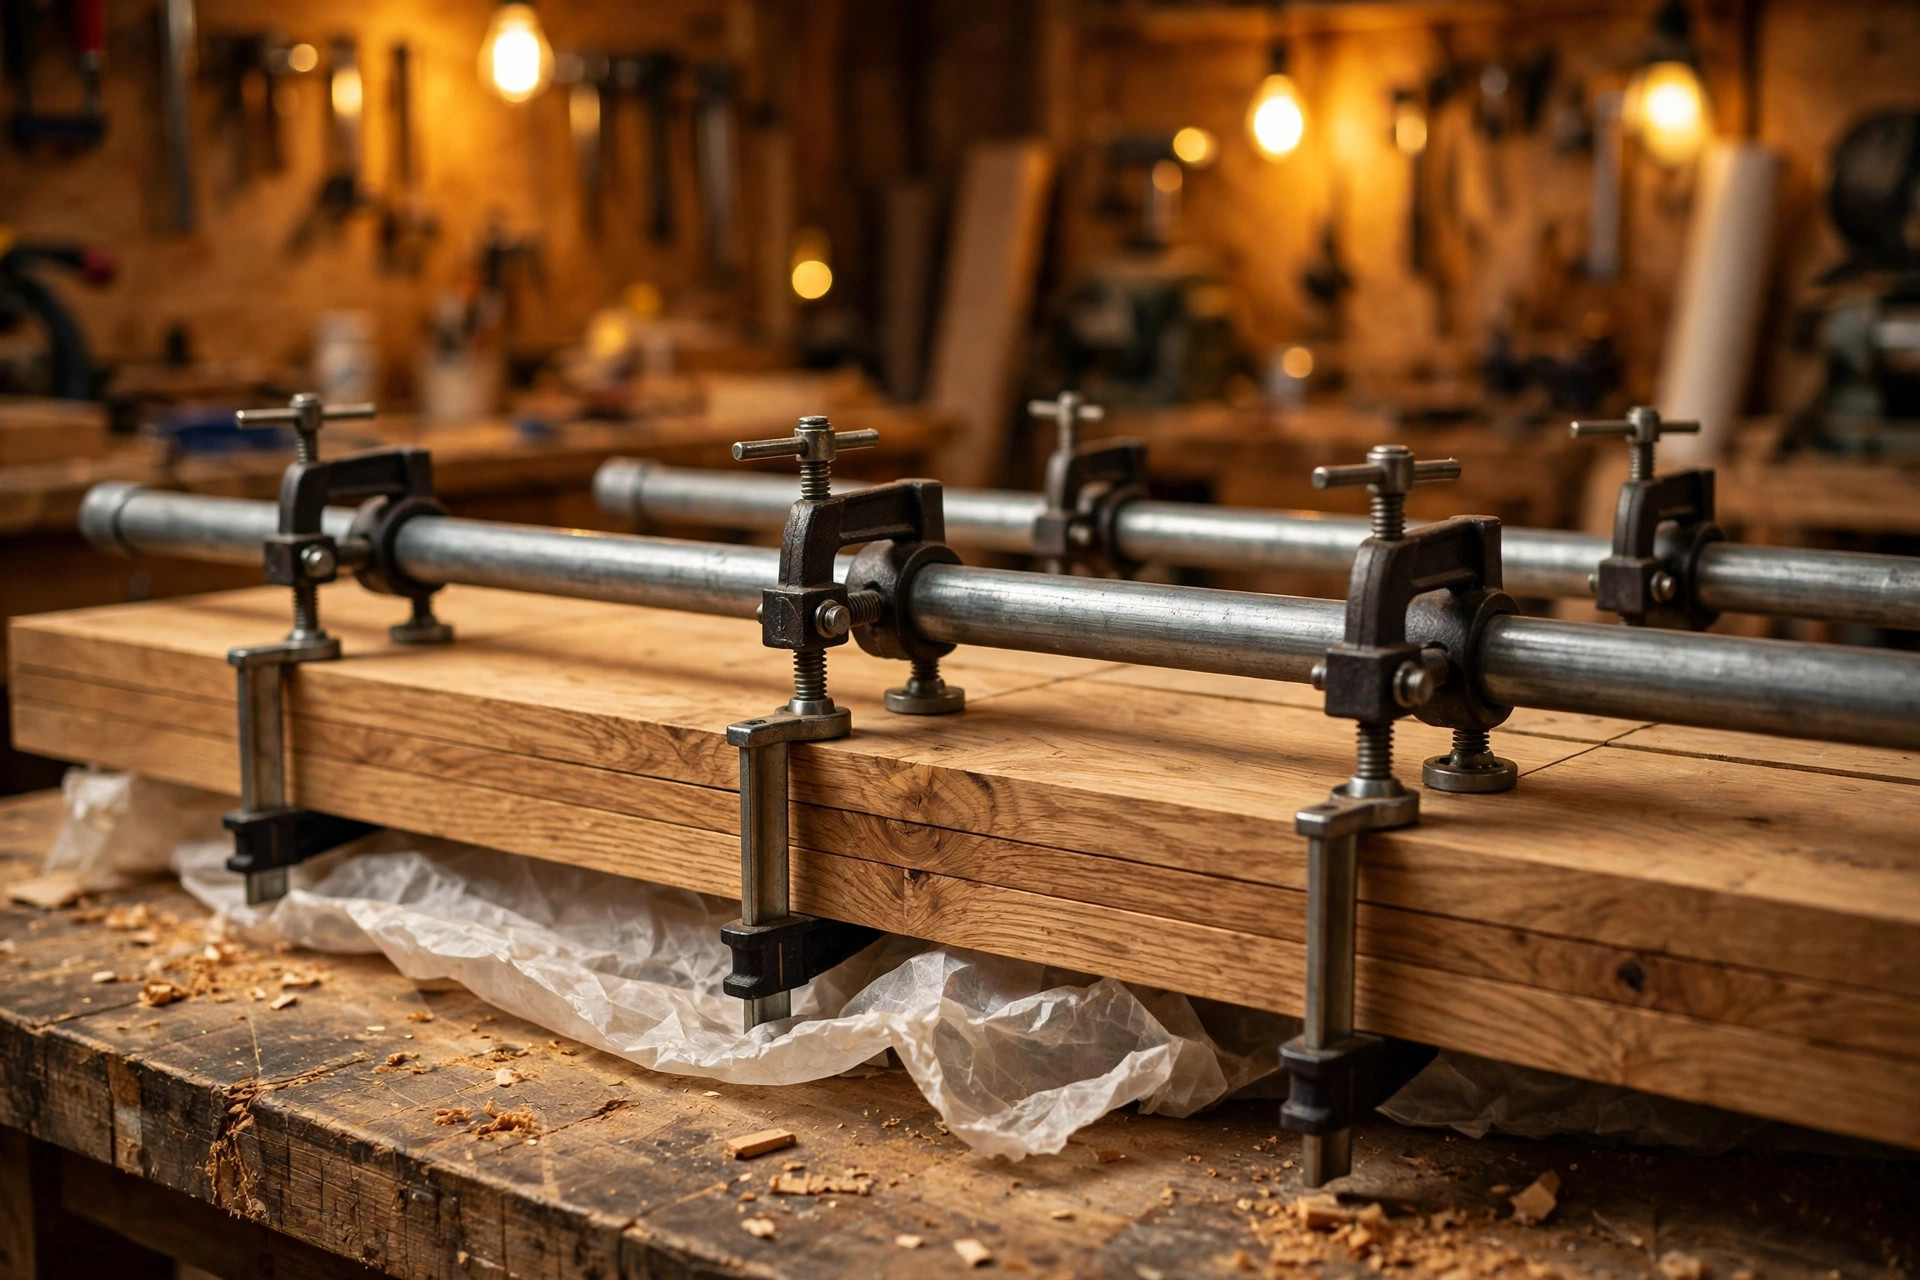
Pipe clamps are the budget hero of woodworking. The clamp heads themselves are sold as a pair — one fixed, one sliding — and you screw them onto ordinary steel pipe from the hardware store. Need a 5-foot clamp for a dining table? Buy a 5-foot pipe. Need a stubby 2-footer for a stool seat? Buy a 2-foot pipe. You can even thread pipes together with a coupling to make extra-long clamps for a few dollars.
They deliver enormous clamping force — often more than parallel clamps costing four times as much — which makes them fantastic for stubborn glue-ups and laminations. The trade-off is weight: a long pipe clamp is heavy and awkward. They also need a little maintenance: the threads can rust, so a quick wipe with oil now and then keeps the sliding jaw moving smoothly.
Watch out for one classic pipe-clamp gotcha: the steel pipe can react with the water in wood glue and leave dark stains on your wood. The fix is simple — lay a strip of wax paper, packing tape, or a thin wood caul between the pipe and your workpiece. Make this a habit from day one and you will never have a stained tabletop.
A pair of 3/4-inch pipe clamp heads runs about $12–$20, plus the pipe itself (often $5–$10 per length at a hardware store). For the money, no clamp stretches your budget further.
4. Parallel Clamps (The Precision Upgrade)
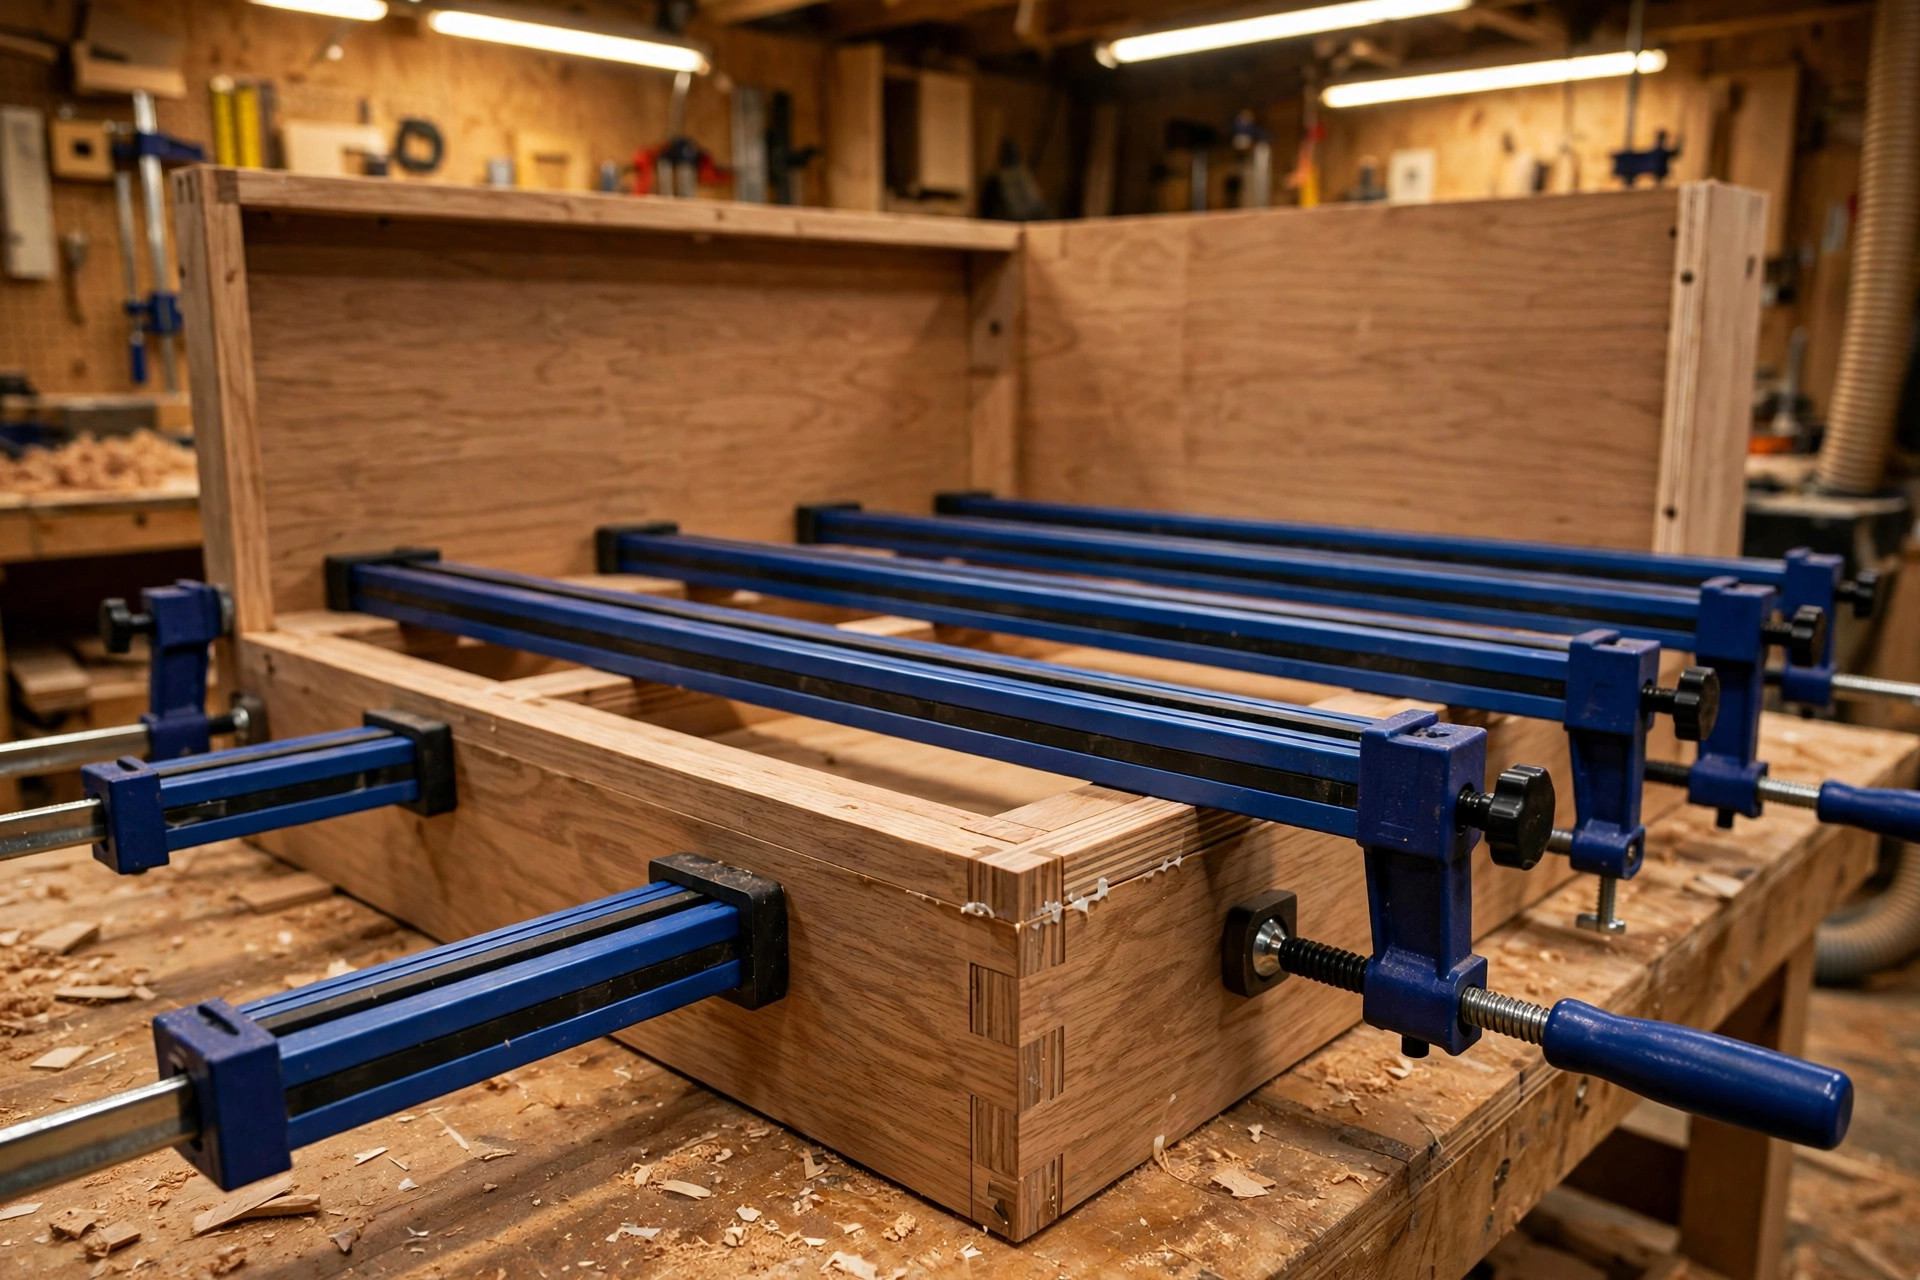
Parallel clamps — sometimes called cabinet clamps — are the luxury sedan of the clamp world. Their jaws stay parallel as they tighten, which means they apply force evenly across a wide surface instead of concentrating it at one edge. That even pressure makes panel glue-ups flatter, cabinet assemblies squarer, and tricky laminations far more predictable.
They are heavier and pricier than F-clamps or bar clamps, typically $30–$60 each depending on length. You do not need a full set as a beginner, but two 24-inch parallel clamps earn their keep the first time you glue up a cabinet carcass or a big panel that has to come out dead flat. Many woodworkers consider them the single best clamp upgrade once the basics are covered.
If you plan to build furniture — cabinets, bookcases, side tables — put two parallel clamps on your “buy next” list after you have your starter kit. They turn glue-ups from anxious guesswork into calm, controlled assembly.
5. Spring Clamps and C-Clamps (Small Jobs and Quick Holds)
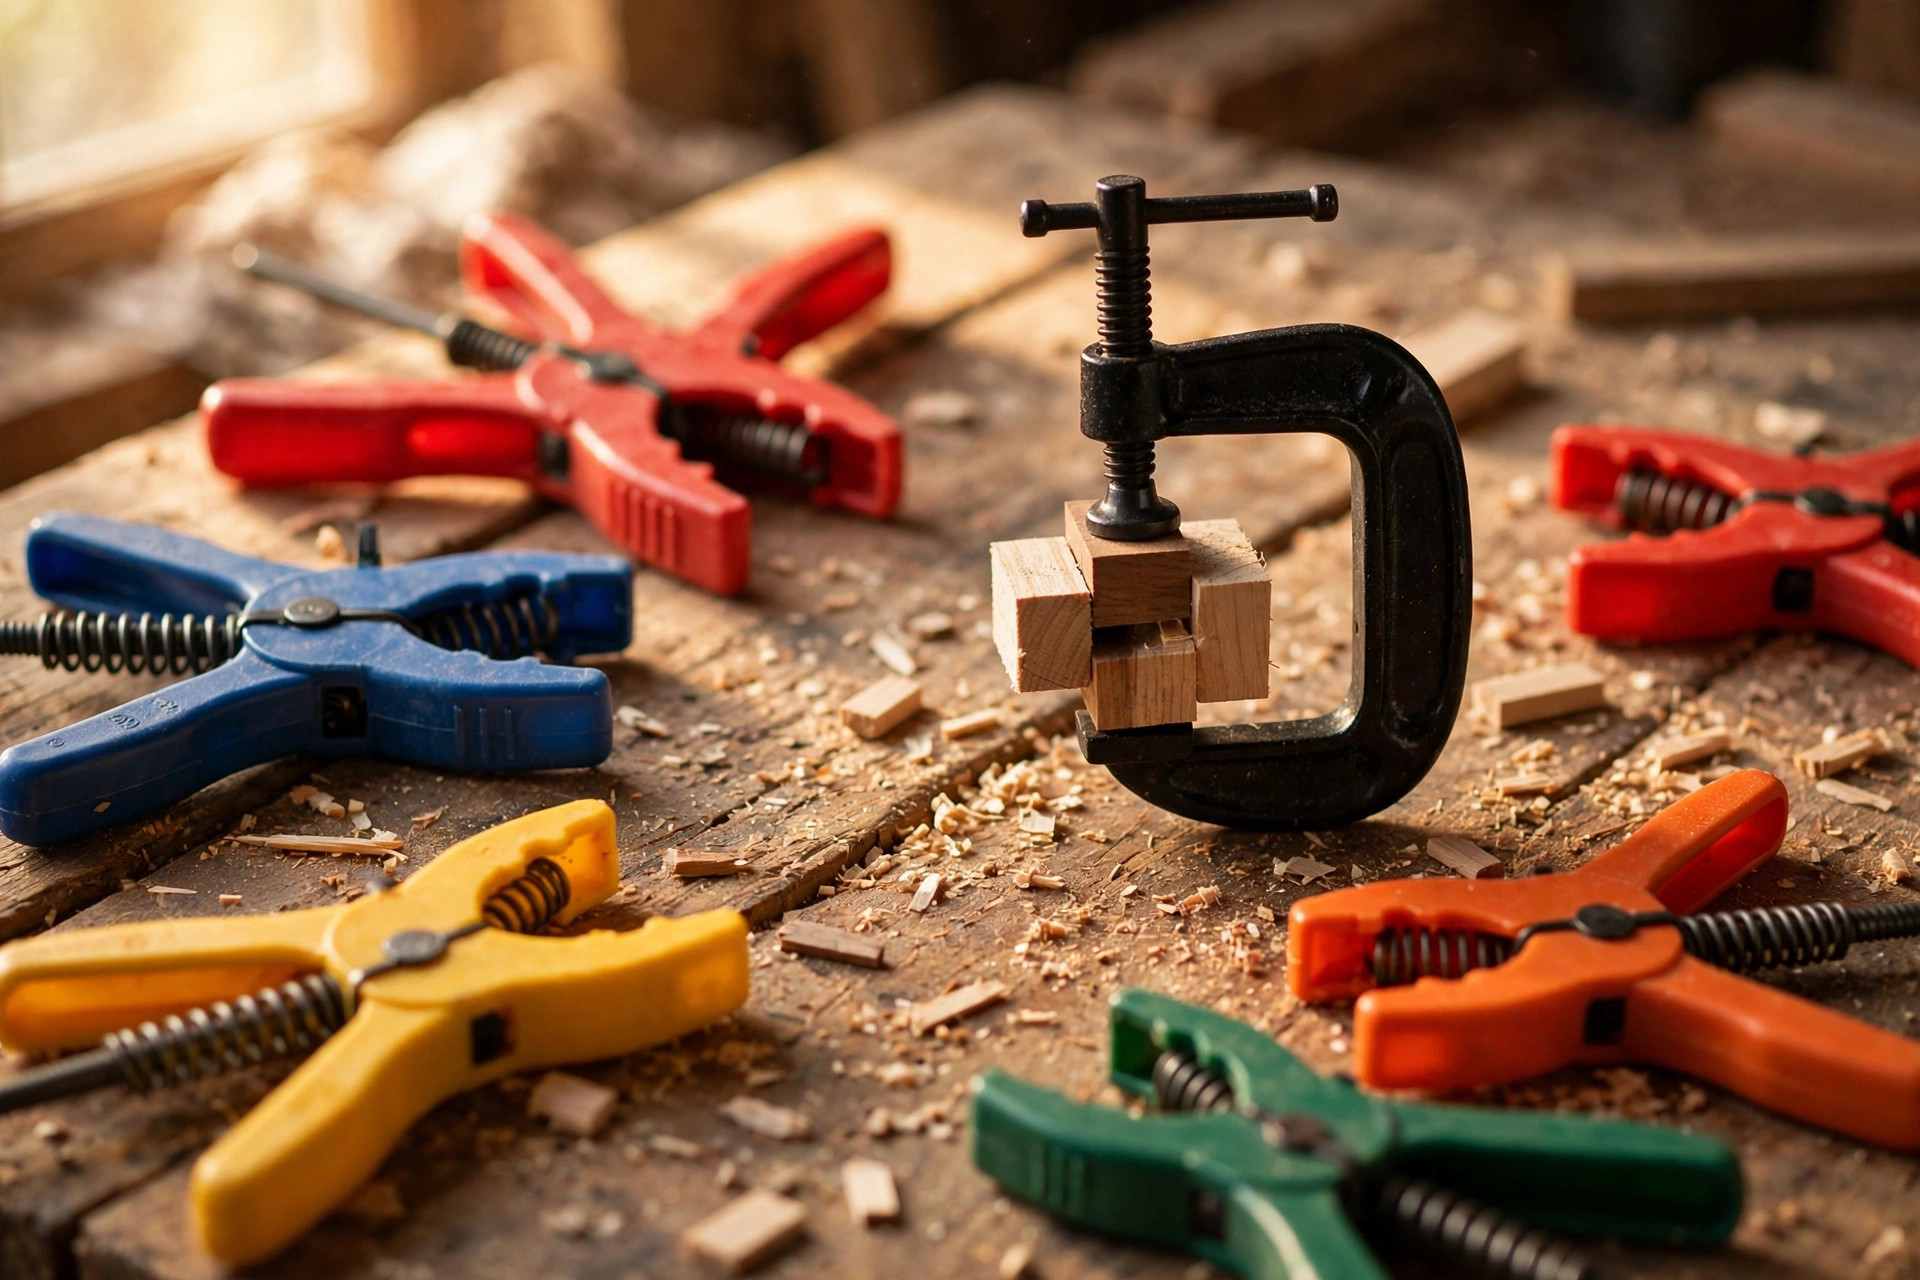
Not every job needs a big screw clamp. Spring clamps — the ones that work like oversized clothespins — are perfect for light, temporary holds: pinning a template to a board, holding a stop block, clamping small parts while glue tacks, or keeping a sandpaper sheet in place. They are cheap (often $2–$5 each), and you can never have too many. Buy a handful in a couple of sizes.
C-clamps (or G-clamps) are the old-school work horses: a C-shaped frame with a screw that delivers serious pressure in a compact package. They are slower to set than F-clamps and the deep frame can get in the way, but their brute strength makes them great for holding jigs, securing a straightedge as a saw guide, or any job where raw squeezing power matters. A 2-inch and a 4-inch C-clamp cover most beginner needs at $5–$12 each.
One caution with both types: their small jaws concentrate a lot of force on a small area, so always use a scrap wood pad between the jaw and your workpiece to avoid dents. This applies double to softwoods like pine, which dent if you look at them wrong.
Also Worth Knowing: Band Clamps and Corner Clamps
Two specialty clamps deserve a quick mention. Band clamps use a woven strap and a ratcheting mechanism to squeeze irregular or round shapes — picture frames, chair seats, hexagonal boxes — applying pressure evenly all the way around. They are brilliant for frames and odd shapes, but the strap can be fiddly and they are a “buy when you need one” tool, not a starter purchase.
Corner clamps (also called miter clamps) hold two pieces at exactly 90 degrees while you fasten or glue them. They are handy for picture frames and small boxes, but they are notorious for slipping at the worst moment. Most experienced woodworkers get better results by clamping a square assembly block or using a dedicated assembly jig instead. Nice to know about, easy to skip for now.
Which Clamps to Buy First: The Beginner Starter Kit
Do not try to buy everything at once. Clamps are a “collect over time” purchase — start with the essentials, then add specialty clamps as real projects demand them. Here is the starter kit that covers roughly 90 percent of beginner projects, with honest prices:
| Clamp | Qty | Typical price each | What it covers |
|---|---|---|---|
| F-clamps, 12″ | 4 | $8–$12 | General holding, small glue-ups, bench work |
| F-clamps, 18–24″ | 2 | $12–$18 | Frames, medium panels, bigger assemblies |
| Bar clamps, 24–36″ | 2 | $15–$30 | Panel glue-ups, tabletops, shelves |
| Pipe clamp heads, 3/4″ | 2 pairs | $12–$20/pair | Long glue-ups, heavy laminations (add pipe) |
| Spring clamps (assorted) | 6 | $2–$5 | Quick holds, templates, small parts |
| C-clamps, 2″ and 4″ | 2 | $5–$12 | Jigs, saw guides, high-pressure spots |
Total starter-kit cost: roughly $110–$220 depending on brands and sales. That sounds like a lot until you remember these clamps will serve you for decades — and that the old workshop saying is true: you can never have too many clamps. Ask any woodworker what they wish they had bought sooner, and “more clamps” is always near the top of the list.
Buy quality where it matters most. Cheap F-clamps with wobbly heads are worse than useless — they slip, flex, and teach you to distrust your tools. Mid-range clamps from established tool brands are the sweet spot for beginners: straight bars, solid heads, smooth screws. Save the premium parallel clamps for your second round of purchases.
How Many Clamps Do I Need?
This is the question every beginner asks, and the honest answer is: more than you think. A glue-up that runs short of clamps is a ruined glue-up — you cannot pause halfway while the glue skins over and run to the store. Here is a practical guide to how many clamps common beginner projects actually require:
| Project | Clamps needed | Notes |
|---|---|---|
| Cutting board / small panel (12″ wide) | 3–4 bar or F-clamps | Space every 6–8″ along the glue line |
| Tabletop (24″ wide) | 4–6 bar/pipe clamps | Alternate above and below to stay flat |
| Simple shelf or box | 4 F-clamps + 2 spring clamps | Corners plus a dry-fit check first |
| Picture frame (mitered) | 2–4 F-clamps or 1 band clamp | Cauls help keep miters aligned |
| Workbench top lamination | 6–10 pipe or bar clamps | Heavy pressure, even spacing both faces |
| Chair or stool assembly | 4–6 F-clamps + spring clamps | Glue and assemble in stages if short |
Notice the pattern: any glue-up needs clamps spaced every 6 to 12 inches along every glue line, on both faces. When you are planning a project, count your glue lines, measure their length, and do the math before you open the glue bottle. And remember the golden rule of clamping: it is always better to have two extra clamps sitting idle than one missing clamp turning a glue-up into a panic.
How to Glue Up Like a Pro (Clamps Are Only Half the Story)
Clamps do not make joints strong — glue does. Clamps just give the glue its best chance. Pair good clamping with the right adhesive, and your joints will be stronger than the wood around them. If you have not chosen a glue yet, our guide to the best wood glue for beginners walks through PVA, polyurethane, and hide glue so you can pick the right one for each project. Then follow this glue-up routine:
- Dry-fit everything first. Assemble the project without glue, clamp it up, and check every joint and angle. This rehearsal catches misaligned parts while they are still fixable. Mark clamp positions with pencil so the real glue-up goes fast.
- Prepare your clamps and cauls. Open every clamp wider than the workpiece and set them within arm’s reach. Cut cauls — straight scrap boards slightly longer than your panel — that spread clamping pressure evenly and keep the surface flat. Have damp rags ready for squeeze-out.
- Apply glue to both surfaces. A thin, even layer on both mating faces gives the strongest bond. Use a brush, roller, or your finger to spread it; starved joints (too little glue) are the number one cause of weak glue-ups.
- Assemble and snug the clamps. Bring the parts together and tighten clamps gradually, working from the center outward, alternating sides. Snug is the goal on the first pass — you want to close the joints, not crush them.
- Check for square, then finalize pressure. Measure diagonals on frames and boxes (equal diagonals = square). Sight along the panel for flatness. Only when everything is aligned do you bring the clamps to full pressure — firm, with a thin bead of squeeze-out along the joint.
- Wipe squeeze-out and walk away. Wipe excess glue with a damp rag before it skins over, or let it gel for 20–30 minutes and pare it off with a chisel. Then leave the assembly alone. Most PVA glues need 30–60 minutes of clamping and a full 24 hours to reach maximum strength. Patience is a clamping skill too.
One more pro habit: never glue up at the end of a long day when you are tired and rushing. Glue-ups go wrong when you hurry. Set aside a calm, unhurried block of time, and the whole process feels almost relaxing.
Protect Your Wood: How to Prevent Dents and Marks
Clamps squeeze hard, and wood — especially soft pine, cedar, and poplar — bruises easily. A single unprotected clamp jaw can leave a permanent dent that shows right through your finish. Fortunately, prevention is easy:
- Use jaw pads or cauls. Most F-clamps and bar clamps come with plastic jaw pads; keep them on. For extra insurance, sandwich a piece of scrap wood or hardboard between the jaw and your workpiece. The scrap spreads the pressure over a larger area, which is exactly what prevents dents.
- Wax your cauls. Rub a little paste wax or paraffin on your cauls so squeezed-out glue does not bond the caul to your project. A caul glued to a tabletop is a special kind of heartbreak.
- Tape the contact points. A strip of masking tape or packing tape on the clamp jaw works as a quick disposable pad — and it doubles as protection against pipe-clamp staining mentioned earlier.
- Do not overtighten. This is the mistake behind most dents. Tighten until you see a thin, even bead of glue squeeze-out along the joint, then stop. Cranking harder does not make the joint stronger — it starves the joint by squeezing out too much glue and risks crushing the wood fibers.
- Mind the bars on panels. On wide panel glue-ups, the clamp bars themselves can leave marks where they touch the wood. Slip a scrap shim under each bar, or use the wax-paper trick along the whole glue line.
Get into the habit of reaching for a caul or pad every time you reach for a clamp, and dent-free glue-ups become automatic.
Smart Clamp Storage for a Small Workshop
Clamps multiply. Start with six, and somehow you own twenty within a year — which is great, until they are piled in a corner where you cannot find the one you need. Good storage keeps clamps accessible, protects the bars from rust, and reclaims your bench.
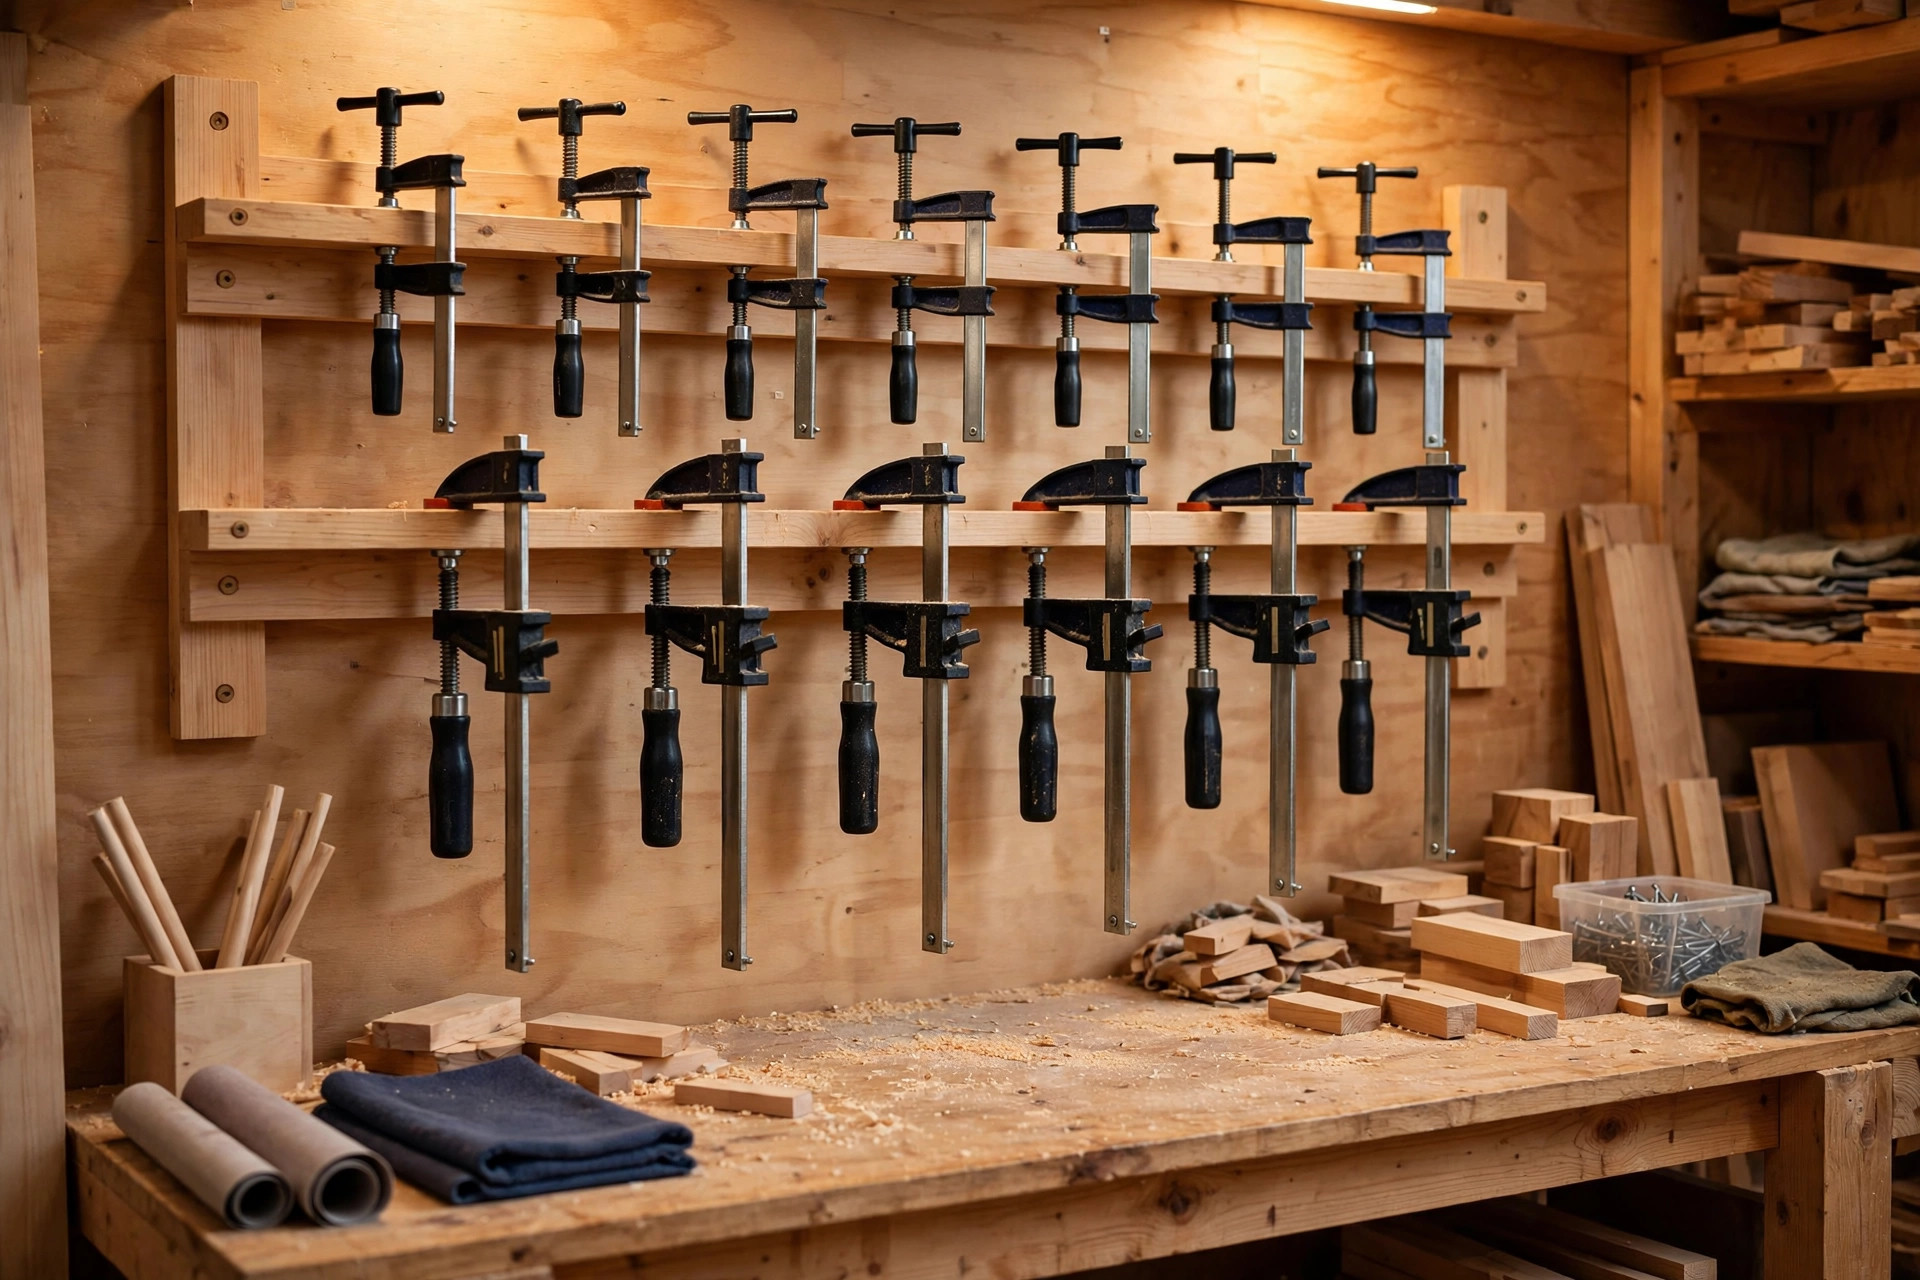
The classic solution is a wall-mounted clamp rack: two horizontal rails (2x4s work fine) screwed to wall studs, spaced so the clamp jaws hook over the top rail and the bars rest against the bottom one. F-clamps and bar clamps hang neatly in a row, visible at a glance, and it takes an afternoon to build. If your shop is a small garage setup like many beginners’, mount the rack right above or beside your simple beginner workbench so clamps are always within reach during glue-ups.
Spring clamps live happily in a bucket, a wall-mounted strip of pegboard hooks, or even a length of PVC pipe screwed to the wall. Pipe clamps, being long and heavy, store best lying flat on a low shelf or on brackets under a workbench — never leaning in a corner, where they slowly bend and the heads slide off.
One maintenance habit keeps all of them working smoothly: wipe the bars with a lightly oiled rag a few times a year. Sawdust, glue drips, and humidity cause rust and sticky sliding jaws, and thirty seconds of prevention beats fighting a seized clamp mid-glue-up.
7 Beginner Mistakes to Avoid
- Buying clamps one at a time. Every beginner does this, then discovers mid-glue-up that three clamps cannot do the job of six. Buy your starter set as a set — your first panel glue-up will thank you.
- Overtightening. More pressure is not more strength. Tighten to a thin glue bead and stop. Starved joints and dented wood are the price of the extra quarter-turn.
- Skipping the dry fit. The glue is already spreading and the clock is ticking, and suddenly the parts do not line up. Dry-fit every assembly first. Every time.
- Clamping everything from one side. On panels, one-sided clamping bows the assembly. Alternate clamps above and below to cancel the force. This single habit separates flat tabletops from potato chips.
- Forgetting to protect the wood. Bare steel jaws on bare wood equals dents and stains. Pads, cauls, tape, wax paper — pick your protection and use it every time.
- Gluing up in a cold shop. Most wood glues need temperatures above about 50°F (10°C) to cure properly. A cold garage in winter can leave joints weak even with perfect clamping. Warm the space or wait for a milder day.
- Removing clamps too early. Thirty minutes of clamping is the minimum for most PVA glues, and the joint keeps gaining strength for 24 hours. If the project will take stress — a chair, a bench — leave the clamps on longer and handle the piece gently for a full day.
Frequently Asked Questions
What are the best clamps for woodworking beginners to buy first? Start with four 12-inch F-clamps, two longer F-clamps or bar clamps, two pipe-clamp pairs, and a handful of spring clamps. This starter set costs roughly $110–$220 and handles about 90 percent of beginner projects, from cutting boards to small furniture. Add parallel clamps later when you start building cabinets or large panels that need perfectly even pressure.
How many clamps do I really need for a glue-up? Plan on one clamp every 6 to 12 inches along each glue line, alternating above and below the workpiece. A 24-inch-wide tabletop typically needs 4 to 6 clamps, while a small cutting board needs 3 to 4. Always count your glue lines and do the math before opening the glue bottle — a glue-up that runs short of clamps cannot be paused.
Are expensive parallel clamps worth it for beginners? Not as a first purchase, but yes as an upgrade. Parallel clamps keep their jaws square as they tighten, giving flatter panels and squarer cabinets with less fuss. Beginners should master F-clamps, bar clamps, and pipe clamps first, then add two 24-inch parallel clamps when furniture projects enter the picture. At $30–$60 each, they are a buy-once, use-forever investment.
How do I keep clamps from denting my wood? Always put something between the steel jaw and your workpiece: the clamp’s own plastic pads, a scrap wood caul, or even masking tape. Tighten only until you see a thin, even bead of glue squeeze out — overtightening is the main cause of dents. Softwoods like pine dent especially easily, so be extra gentle with them.
Can I use too many clamps? It is very hard to use too many, but easy to use too few. Extra clamps sitting snug but not cranked down simply add even pressure and insurance against slipping. What you should avoid is cranking every clamp to maximum force — that starves joints of glue. Aim for even, moderate pressure across the whole glue line rather than extreme pressure at a few points.
Why did my glued panel come out warped? The most common cause is clamping all from one side, which bows the panel — always alternate clamps above and below. Other culprits include uneven glue application, clamping a panel that was not flat to begin with, and gluing up boards with wildly different moisture content. Acclimate your lumber to your shop for a few days before milling and gluing.
How long should clamps stay on a glue-up? For standard PVA wood glue, leave clamps on for at least 30 to 60 minutes, and do not stress the joint for a full 24 hours. Polyurethane glues and cold shop temperatures need longer — check your glue’s label. When in doubt, leave the clamps on: extra clamping time never hurts, but removing them too early can ruin an otherwise perfect glue-up.


