
If you are building furniture, cabinets, or any of the beginner projects that sell well online, you will face one question early: should you join the pieces with pocket holes or dowels? Both are beginner-friendly, both hide well, and both have passionate fans. But opinions are cheap. In this guide, we compare pocket hole joint vs dowel joint strength using real published break-test data, explain how each joint actually works, and show you exactly when to pick one over the other.
The short answer: in every published head-to-head test we could find, dowel joints break at higher loads than pocket hole joints. But the margin varies a lot, the test setup changes everything, and pocket holes still win plenty of real projects on speed and convenience. Keep reading for the full picture.
How a Pocket Hole Joint Works
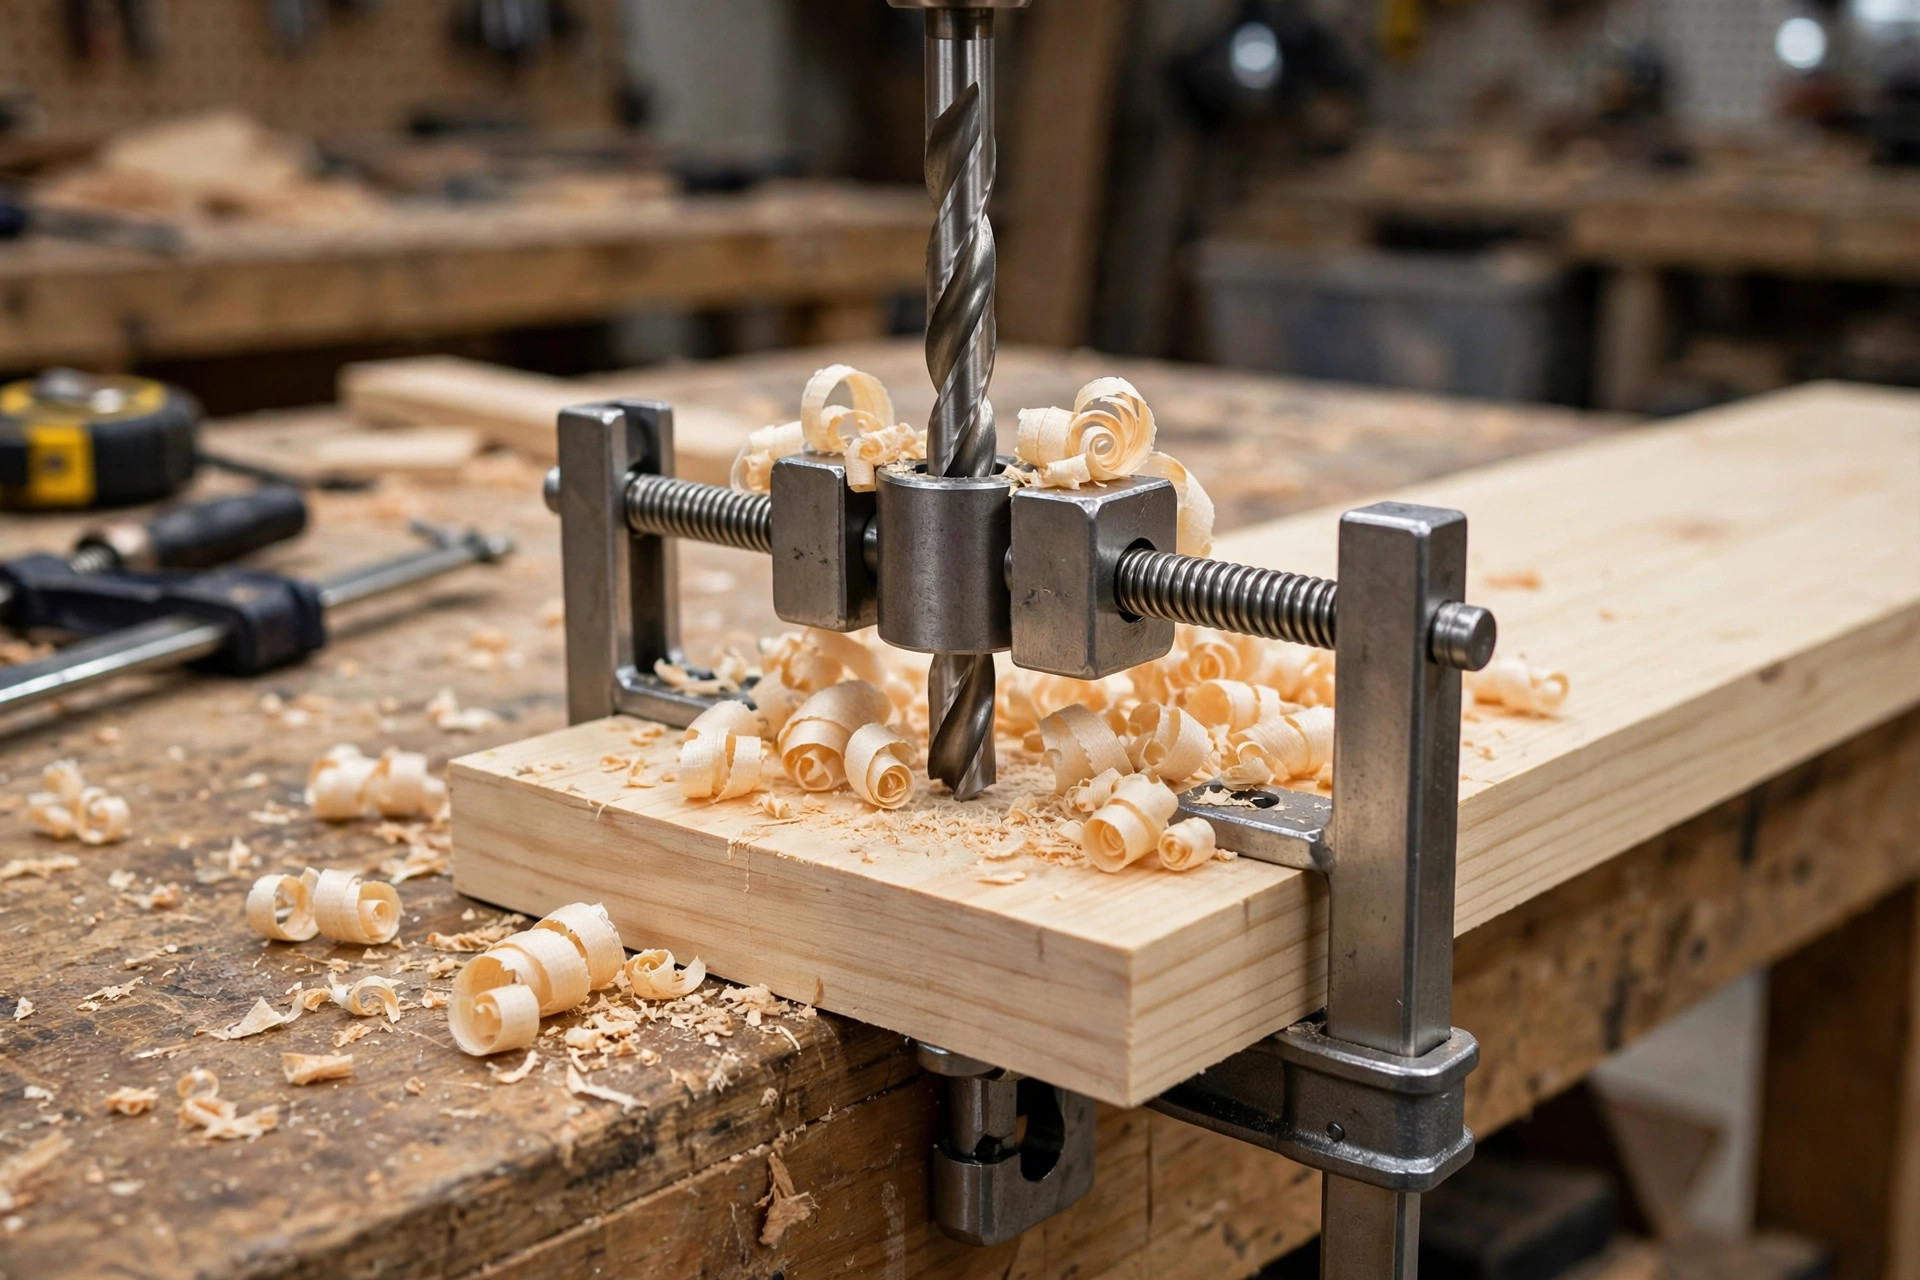
A pocket hole joint is a screwed butt joint with a clever twist. You drill an angled hole into one board using a pocket hole jig, drive a special self-tapping screw through that angled pocket into the face or edge of the mating piece, and the screw pulls the two pieces tightly together. The head of the screw seats in the pocket, and you can leave it exposed, cover it with a wooden plug, or hide the whole pocket on the underside of the work.
The mechanics matter for understanding strength. A pocket hole screw pulls the joint together in one direction only: it draws the mating piece against the shoulder of the board carrying the pocket. There is very little glue surface doing real work. Most of the joint’s holding power comes from the screw threads biting into the wood fibers of the second piece. That is also why the screw keeps the joint clamped as it tightens — there is no separate clamping step and no waiting for glue to cure before you move on.
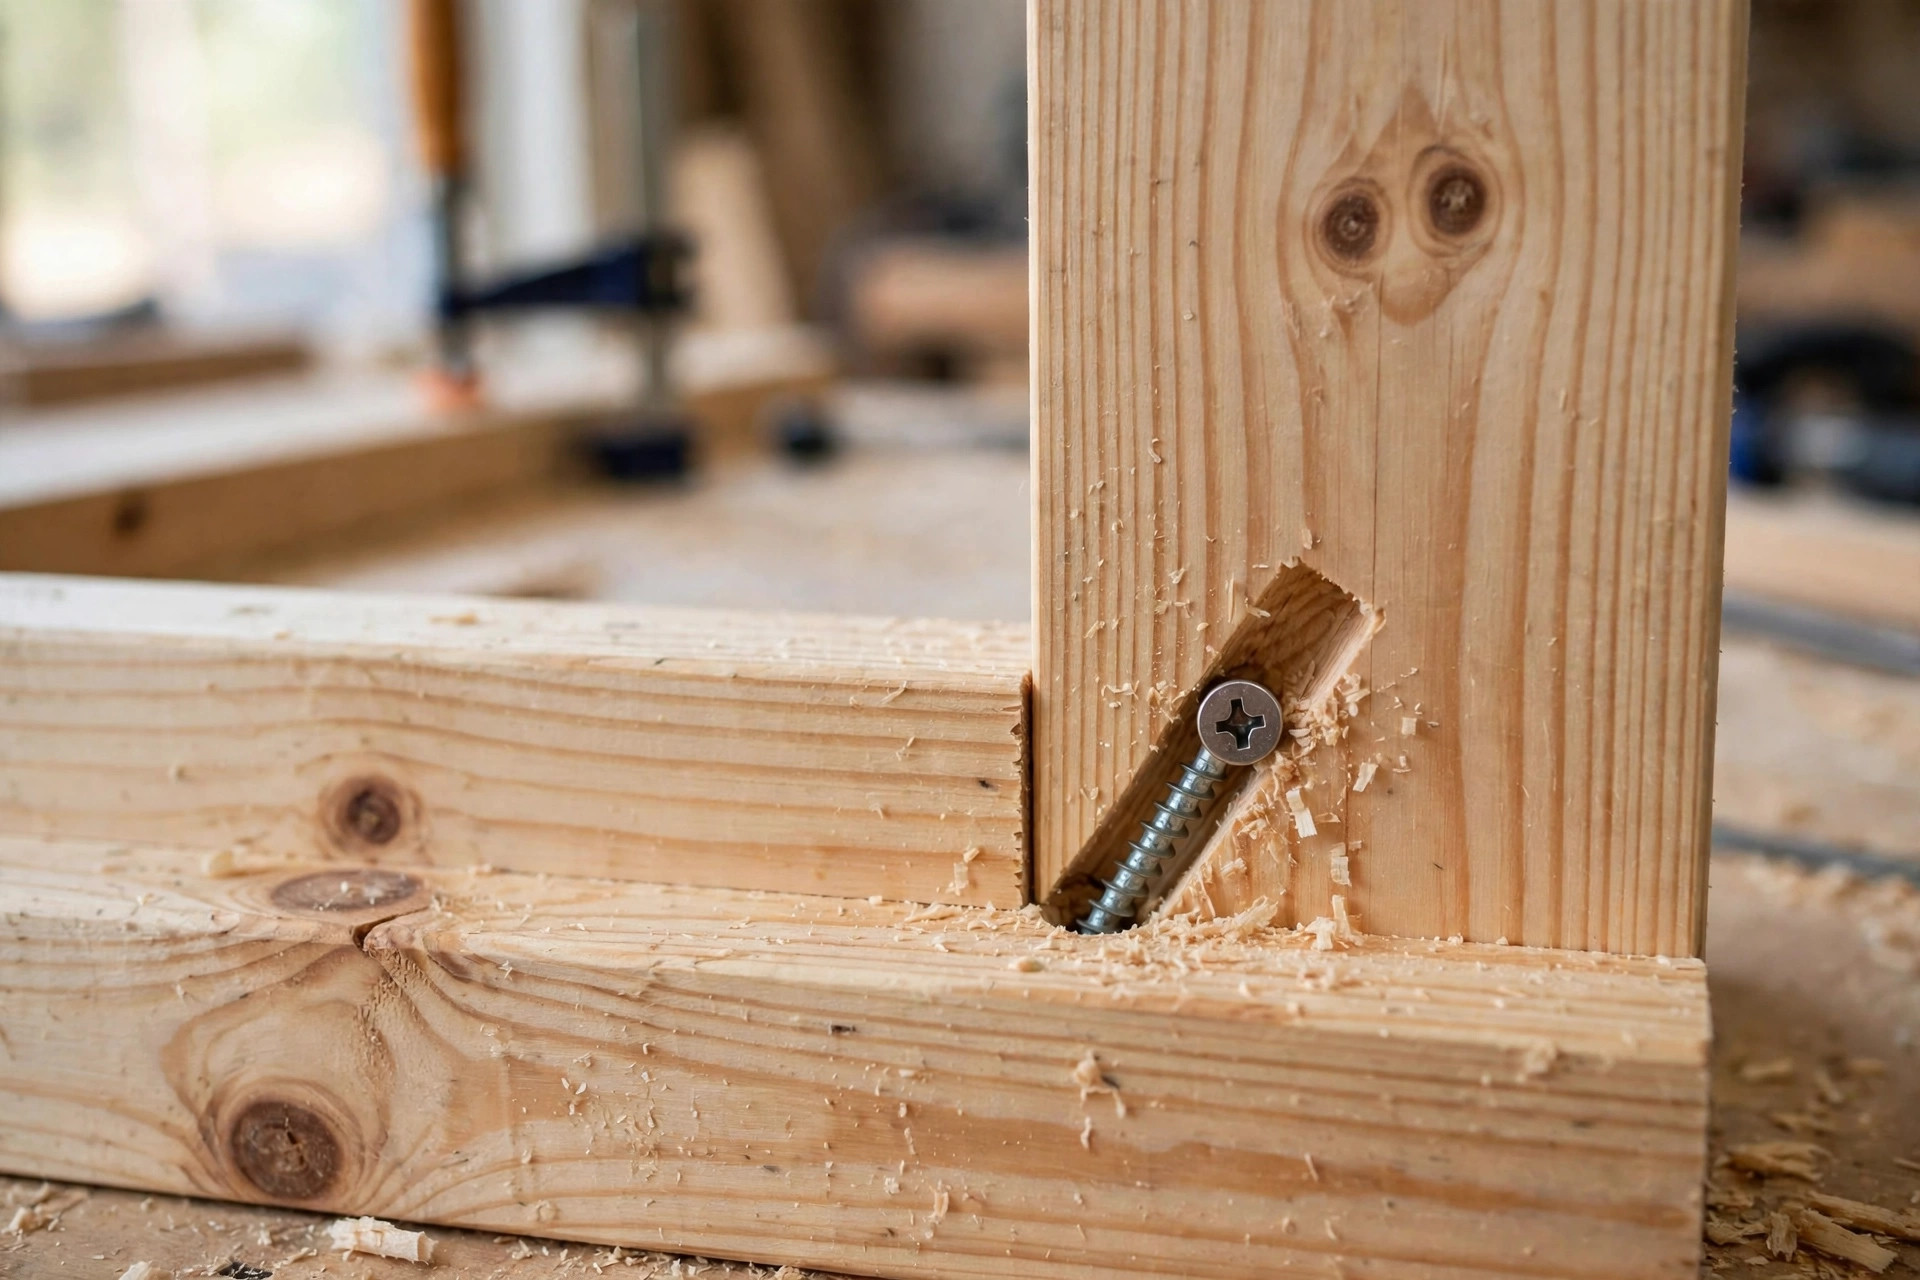
One important detail: the pocket hole jig drills into the face or edge of the board, and the screw enters the face grain of the adjoining piece. Woodworkers favor pocket holes partly because they avoid driving screws straight into end grain, which holds threads poorly. In thin stock (under about 3/4 inch) and in softwoods, though, the screw has less material to bite, and the joint gets noticeably weaker. That is worth remembering, since many beginner furniture projects use pine or plywood.
How a Dowel Joint Works
A dowel joint uses round wooden pins — dowels — glued into precisely matched holes drilled into both mating pieces. When the holes line up, the two dowels (or three, or four) act as internal bridges that align the parts and lock them together. Done correctly, the joint is completely invisible from the outside, which is why it is the classic hidden joint of factory-made furniture.
Strength-wise, the dowel joint works on a totally different principle than a pocket hole. Instead of a single screw pulling in one direction, you get multiple glued cylinders surrounded by long-grain glue surface inside the joint. Wood glue on long-grain surfaces forms a bond that is often stronger than the wood fibers themselves, which is why dowel joints usually fail by the wood tearing around the dowel rather than the glue letting go. If you want the full background on where doweling fits among all the options, our overview of woodworking joinery types breaks the whole family down.
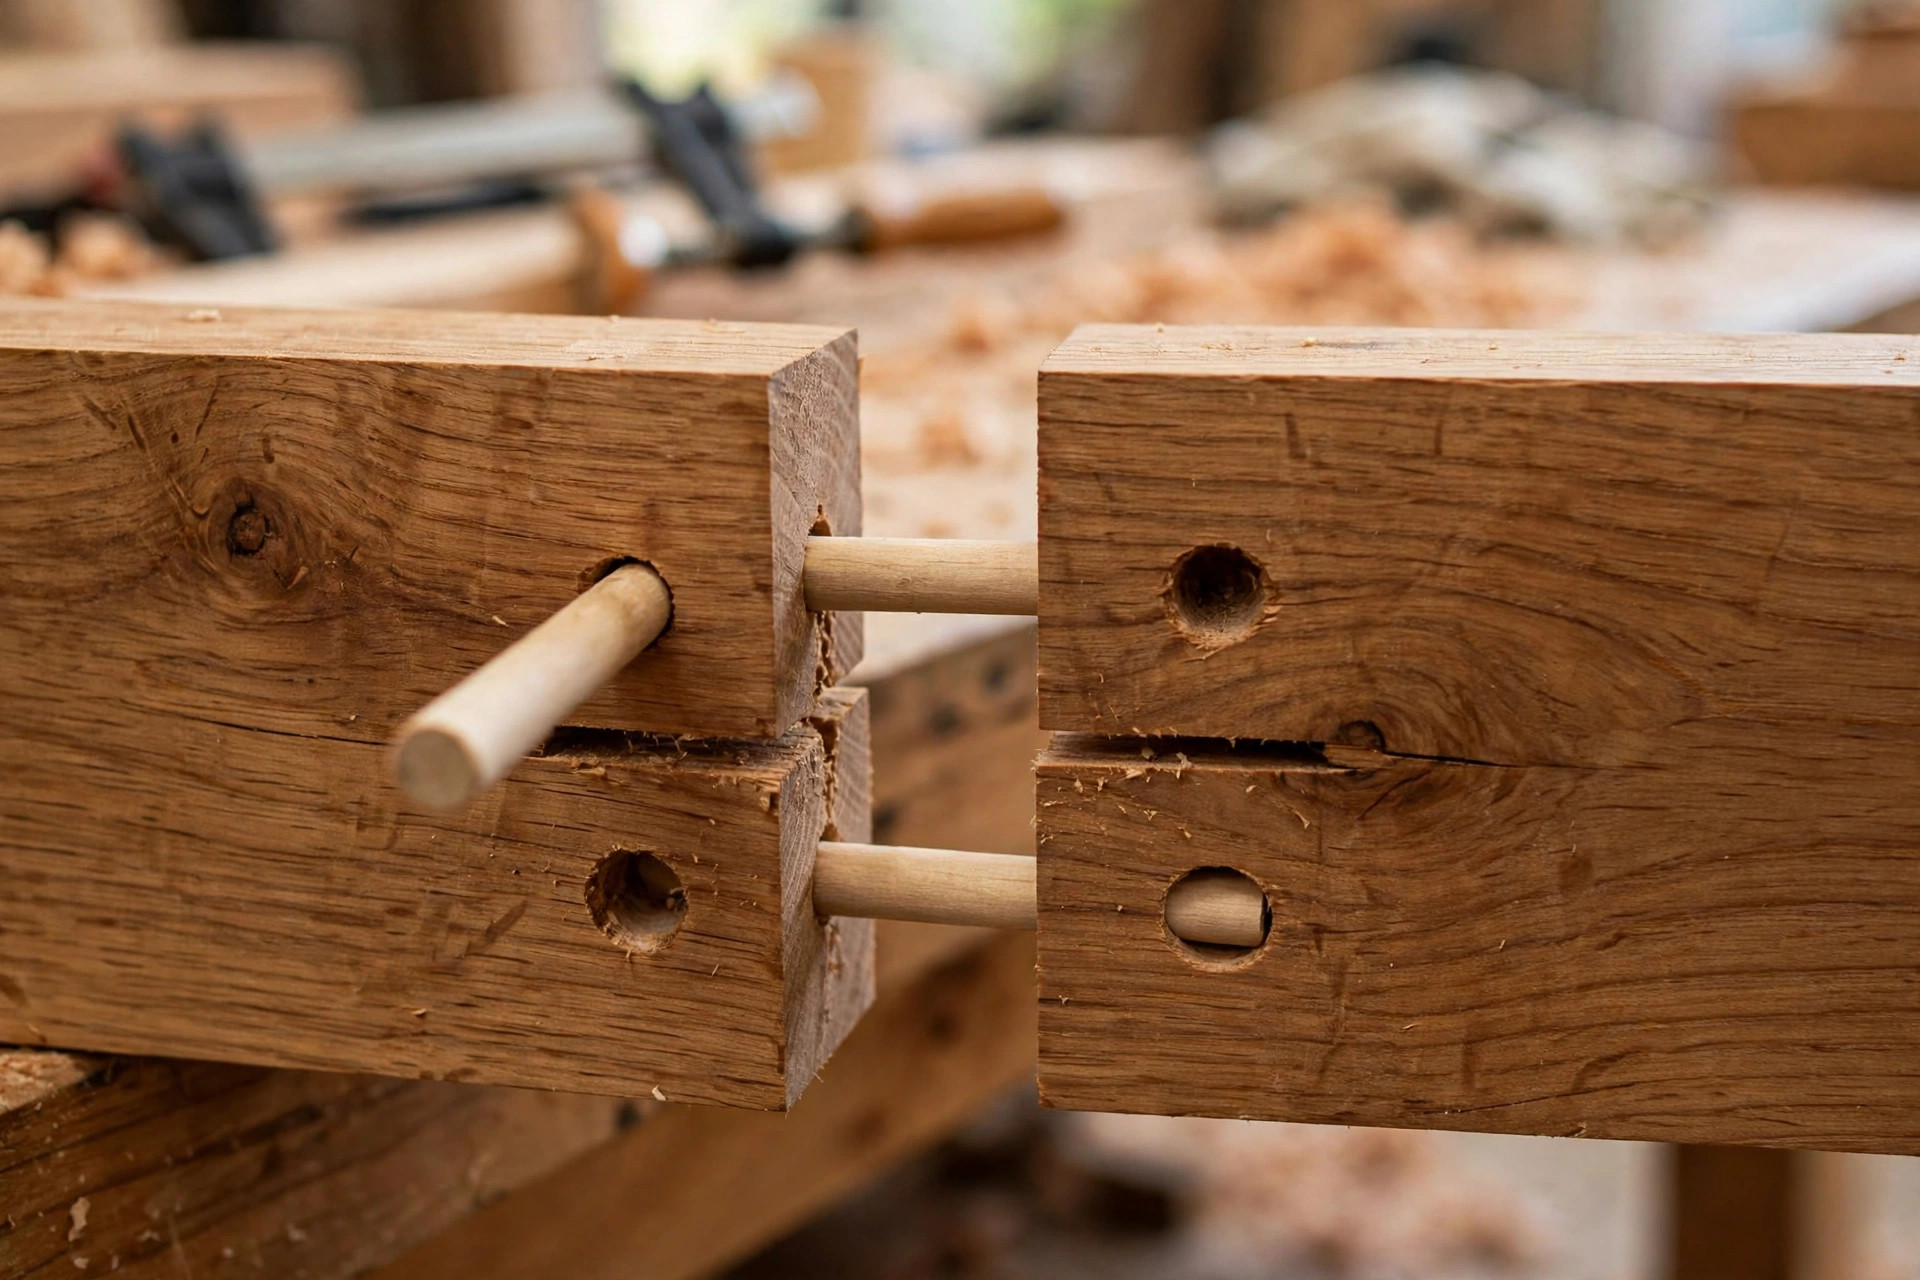
The catch with dowels is precision. If the holes in the two pieces are off by even a fraction of a millimeter, the parts will not sit flush, and forcing them together can split the wood. That is why dowel jigs exist: they register off the edge of the board and guide the drill bit to the same position on every piece. A cheap jig and a little patience are all it takes, but there is no way around the alignment requirement.
What the Strength Tests Actually Show
This is where the pocket hole joint vs dowel joint strength debate gets real. Three independent testers have published actual break-test numbers comparing these two joints, and the pattern is consistent even though their setups differ.
Test 1: WoodGears break-force tests (spruce scraps)
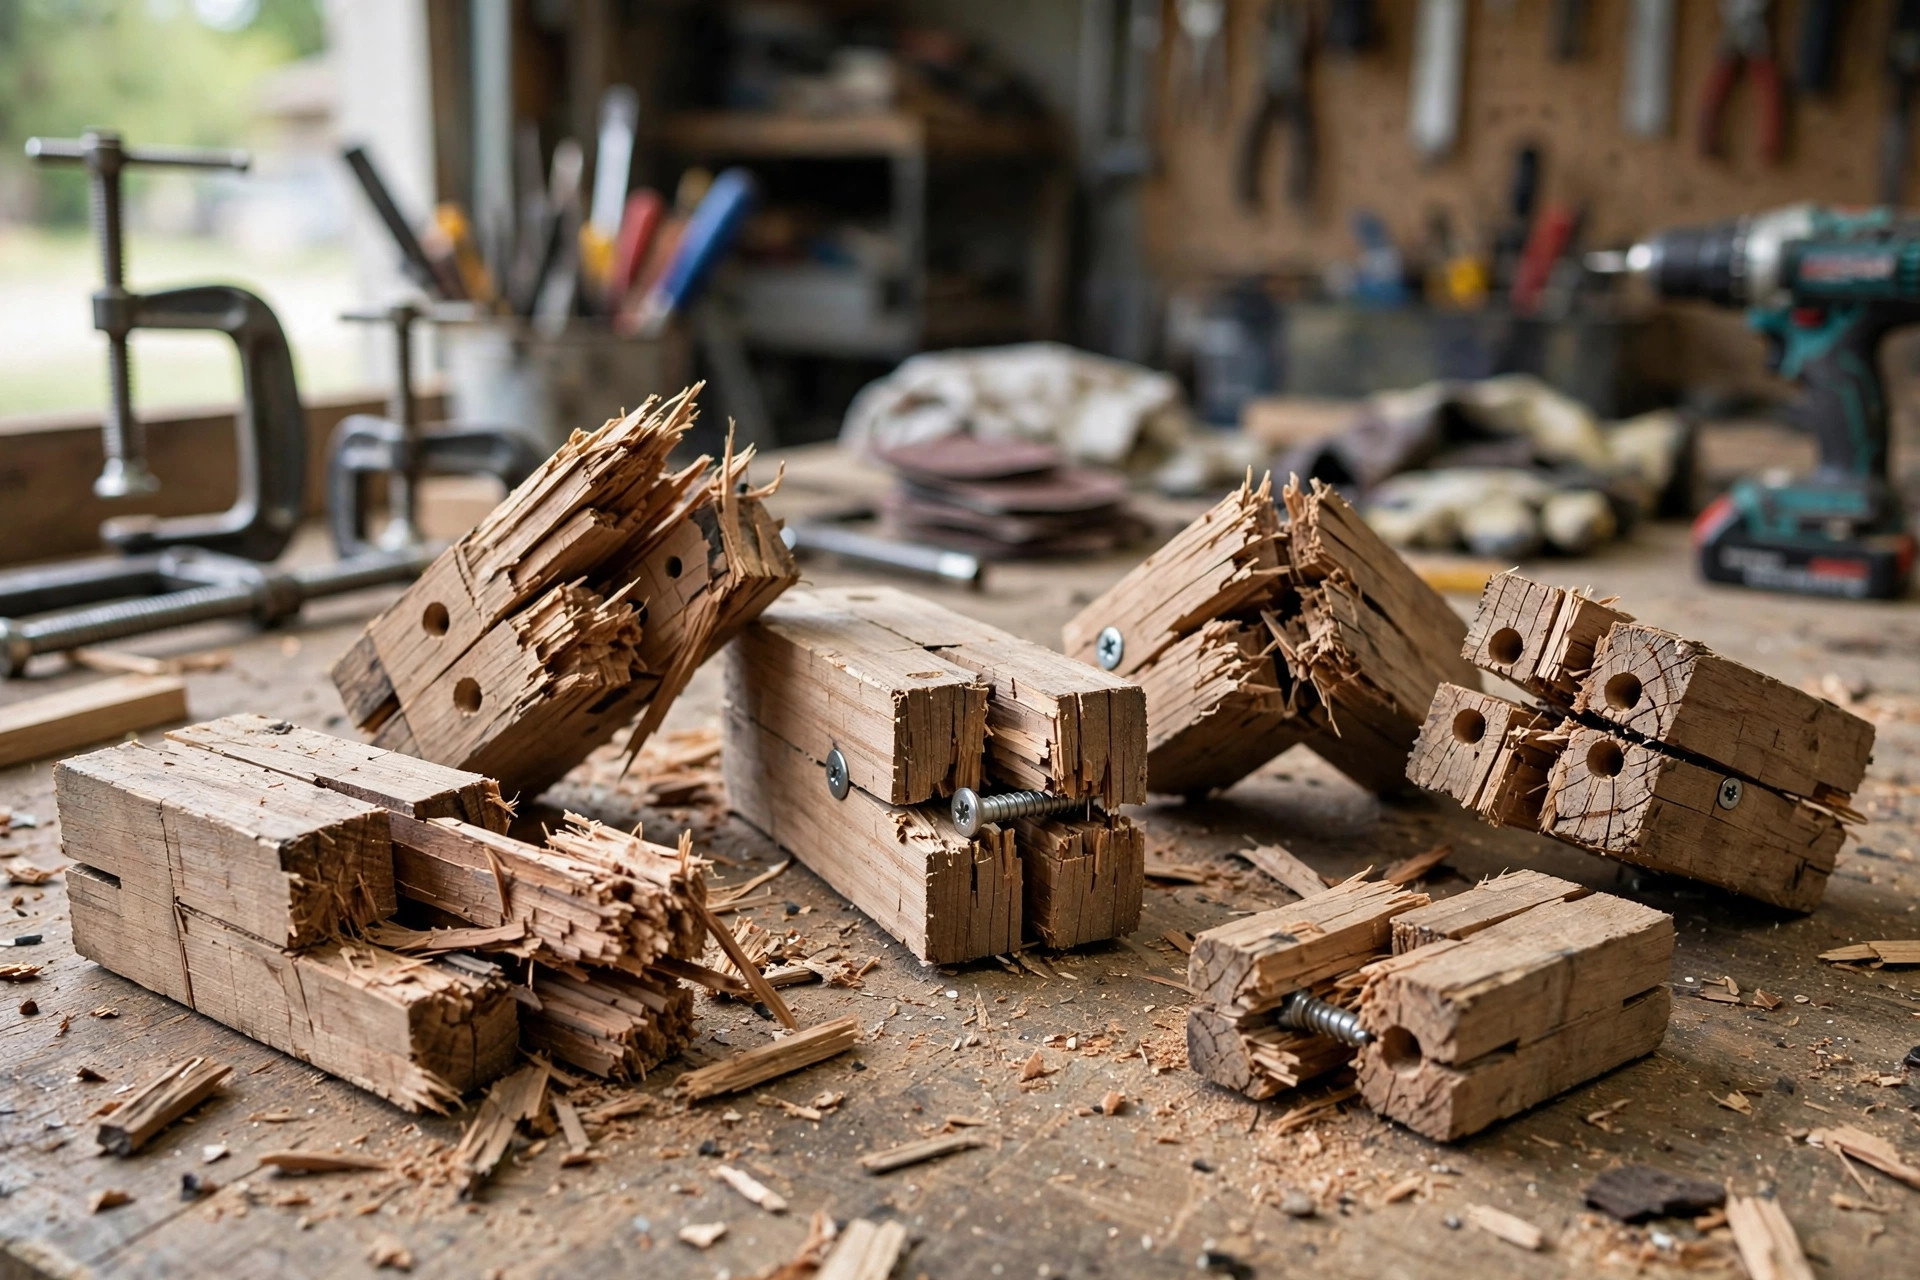
Woodworker and engineer Matthias Wandel tested pocket hole and dowel joints in spruce using a lever-based break tester, measuring the force at which each joint failed. The pocket hole joints — made with screws only, no glue — began to open up at around 50 pounds of force and failed between 75 and 120 pounds, averaging 99 pounds. The dowel joints did not visibly deform before failure; they broke cleanly with a pop at 160, 160, and 149 pounds — averaging 156 pounds, roughly 1.5 times the pocket hole result. Wandel’s own conclusion: the dowel joints were 1.5x stronger than the pocket hole joints in this setup, and he noted that pocket holes opened partially at much lower forces, which matters for furniture that racks and flexes in daily use. Source: WoodGears — Testing pocket holes against mortise and tenon and dowel joints.
Test 2: Fine Woodworking Issue 203 (hardwood, racking force)
The January 2009 issue of Fine Woodworking ran the most professional version of this test: multiple samples of each joint built in hardwood, broken with precision instrumentation under diagonal compression (racking force), averaged over five samples per joint. Reported results: the pocket screw joint failed at 698 pounds of peak load, while the Dowelmax dowel joint held until 759 pounds. That is a smaller margin — about 9 percent — but it is still the dowel joint on top, and it held in a test where every joint was built to the magazine’s standard method. Sources: Sawmill Creek forum — FWW Joint Strength Test and Woodworking Advisor — What’s the Strongest Wood Joint, which also reports dowel joints at 609 to 890 psi in shear versus 420 psi for pocket screws.
Test 3: WoodworkWeb 2×4 tests (construction lumber)
Colin Knecht tested joints in softwood 2x4s with a hydraulic press, which mirrors what many beginners actually build with. His pocket hole joint started failing at around 100 pounds of force, though the screws kept it from falling apart completely until about 175 pounds. His dowel joint began to fail at around 225 pounds — and notably, none of the dowels broke; the wood fibers tore out around them. Source: WoodworkWeb — Joint Testing 2x4s.
The honest comparison
| Source | Test type | Pocket hole result | Dowel result |
|---|---|---|---|
| WoodGears | Break force, spruce, unglued pocket screws | 99 lbs avg (75–120) | 156 lbs avg (149–160) |
| Fine Woodworking #203 | Diagonal racking, hardwood, glued | 698 lbs peak | 759 lbs peak |
| WoodworkWeb | Hydraulic press, softwood 2x4s | ~100 lbs initial, ~175 lbs full failure | ~225 lbs initial failure |
A few honest caveats before you quote these numbers. The three tests cannot be compared against each other directly — different wood species, different force directions, glued versus unglued, and different sample geometry all move the numbers. What can be compared is the result inside each test: in all three, the dowel joint broke at a higher load than the pocket hole joint. The margin ranged from roughly 9 percent (Fine Woodworking’s racking test in hardwood) to about 60 percent (WoodGears’ spruce test). Note also that WoodGears’ pocket holes were unglued while the dowels were glued — and Fine Woodworking’s professional test, with hardwood and careful construction, still favored dowels.
Why Dowels Beat Pocket Holes on Pure Strength
The test data is not a coincidence. It follows directly from how the two joints carry load. A dowel joint surrounds multiple pins with glue over a large area of long-grain wood, and long-grain glue bonds are famously strong — often stronger than the wood itself. When a dowel joint fails, the wood usually tears apart around the dowels while the dowels and the glue stay intact, which is exactly what WoodworkWeb observed.
A pocket hole joint, by contrast, puts nearly all of its faith in one screw per pocket. The screw threads grip the wood of the second piece, and threads in wood can slowly creep, compress, and loosen — especially in softwood, and especially under the cyclic racking loads furniture sees every day. WoodGears’ observation that pocket holes partially open at forces well below their breaking point is the practical version of this: the joint does not have to break to become wobbly.
There is also the question of glue surface. A pocket hole joint has the butt joint’s end-grain or edge-grain glue surface plus whatever the screw adds, but end grain glues poorly. A dowel joint adds the entire cylindrical surface of each dowel, all of it in glue-friendly long-grain contact. More good glue surface simply means more strength.
Where Pocket Holes Hold Their Own
None of this makes pocket holes a bad joint — and one of the testers says so explicitly. Wandel wrote that he feels better about pocket hole joints than he did before testing them, calling them “a good match for rough pallet wood projects,” and the Sawmill Creek community came away from the Fine Woodworking data noting that pocket holes were “surprisingly strong and can’t be beat for fast and easy” work like utilitarian drawer boxes.
Pocket holes win on speed and workflow. A pocket hole joint is drilled, driven, and done in under two minutes with no clamping and no waiting for glue to cure. For face frames, cabinet carcasses, shop furniture, and quick repairs, that speed is the whole point. Pocket holes also shine where alignment is forgiving: the screw pulls the joint tight even if the fit is not perfect, which is forgiving for beginners still developing hand skills.
Pocket holes are also the better choice when you want a mechanical connection without glue — for knockdown furniture you plan to disassemble, or for joints that might need re-tightening later. Dowels, once glued, are permanent.
Tools You Need: Pocket Hole Joinery
Getting started with pocket holes is refreshingly simple. Here is the complete kit:
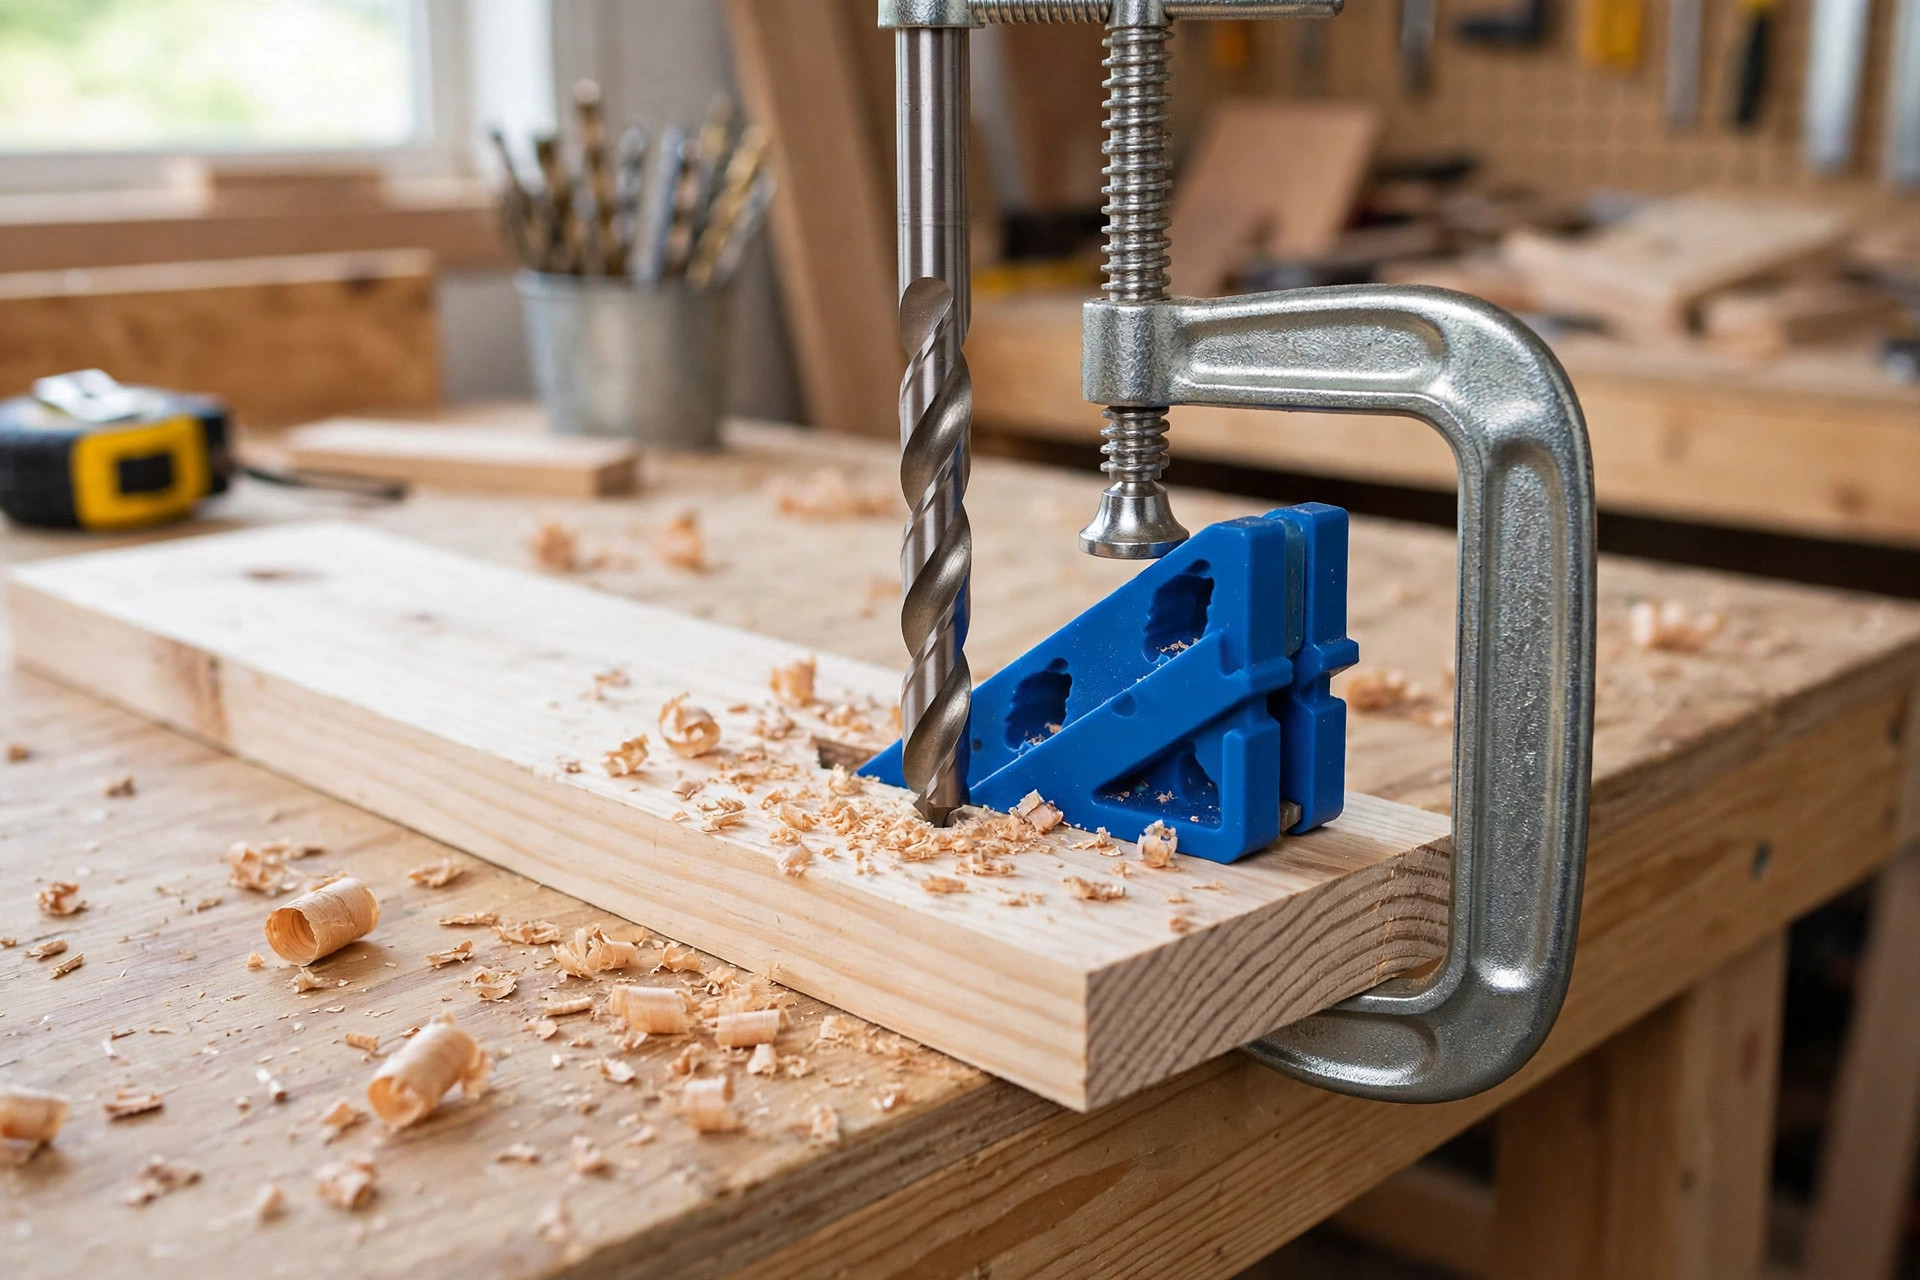
- Pocket hole jig. The single-purpose Kreg-style jig is the classic choice; entry-level jigs cost roughly $30 to $60 and work perfectly for beginners. It sets the drilling angle and depth automatically.
- Stepped pocket hole drill bit. Usually included with the jig. The stepped design drills the pilot hole and the pocket for the screw head in one pass.
- Drill or driver. Any cordless drill or impact driver works. No drill press required.
- Pocket hole screws. These are not regular wood screws: they have self-tapping tips, washer heads that seat in the pocket, and thread patterns designed for the job. Use coarse threads for softwood and plywood, fine threads for hardwood. Budget about $8 to $15 for a box of 100.
- Face clamp or pocket hole clamp. Keeps the mating piece from creeping while you drive the screw — the number one cause of misaligned pocket hole joints.
Total startup cost for a beginner: roughly $50 to $90, and you can build a simple workbench with nothing more than this kit and a drill.
Tools You Need: Dowel Joinery
Dowel joinery needs slightly more care in setup, but the tool list is just as short:
- Dowel jig. A self-centering dowel jig registers off the board edge and guides your drill bit to identical positions on both pieces. Basic jigs run $20 to $50; premium ones like the Dowelmax cost more but deliver dead-on alignment.
- Brad point drill bits. Sized to match your dowels (commonly 1/4, 5/16, or 3/8 inch). Brad point bits cut clean, accurate holes in wood — twist bits wander too much for dowel work.
- Dowels. Fluted dowels are best; the flutes give excess glue somewhere to escape. A bag of 100 costs about $6 to $10.
- Wood glue. Standard yellow PVA wood glue (Titebond Original or similar) is ideal. A bottle runs $6 to $10.
- Clamps. Bar clamps or pipe clamps to hold the joint tight while the glue cures. If you do not own clamps yet, this is the real startup cost — but clamps are the most useful tool in any shop.
- Mallet. For seating dowels that fit snugly.
Total startup cost if you already own clamps: roughly $35 to $75. If you need to buy clamps too, add $40 to $80 for a basic set — an investment that pays off across every project you ever build.
Step-by-Step: Building a Pocket Hole Joint
Let us join a rail to a stile — the classic face-frame joint — with pocket holes:
- Set the jig for your stock thickness. Most jigs have a sliding guide you set to 3/4 inch for standard boards. Set the drill bit stop collar to the matching depth mark.
- Clamp the board in the jig. The end you want to join goes into the jig, face side up (the pocket will be on this face, so plan for it to be hidden).
- Drill the pockets. Drive the stepped bit until the stop collar touches the jig guide. Drill two pockets for a standard rail, spaced evenly.
- Position the mating piece. Butt the drilled end against the mating piece in final position. A face clamp holding both pieces to your bench stops the joint from creeping.
- Drive the screws. Choose the right screw length for your stock (1-1/4 inch for 3/4-inch stock is standard). Drive each screw until the washer head seats firmly in the pocket — snug, not buried.
- Check and finish. Verify the joint is flush and square. Plug the pockets with matching wood plugs and a dab of glue if they will be visible.
Step-by-Step: Building a Dowel Joint
Now the same rail-to-stile joint with dowels:
- Mark the joint locations. Lay the pieces in final position and mark matching centerlines across the joint on both pieces. Two dowels are standard for a rail; wider boards get three or four.
- Set up the dowel jig. Adjust the jig for your stock thickness and dowel diameter. The jig’s fence registers against the edge of the board so every hole lands in the same place.
- Drill the first piece. Clamp the jig on your marks and drill to the depth stop — slightly deeper than half the dowel length so glue has room. Blow or brush the dust out of the holes.
- Drill the mating piece. Move the jig to the matching marks on the second piece and drill identical holes. This is the step where the jig earns its keep: identical holes mean a flush joint.
- Dry-fit first. Tap the dowels into one side and test-fit the joint without glue. The fit should be snug but not require a mallet swung in anger. If a dowel is too tight, sand it lightly.
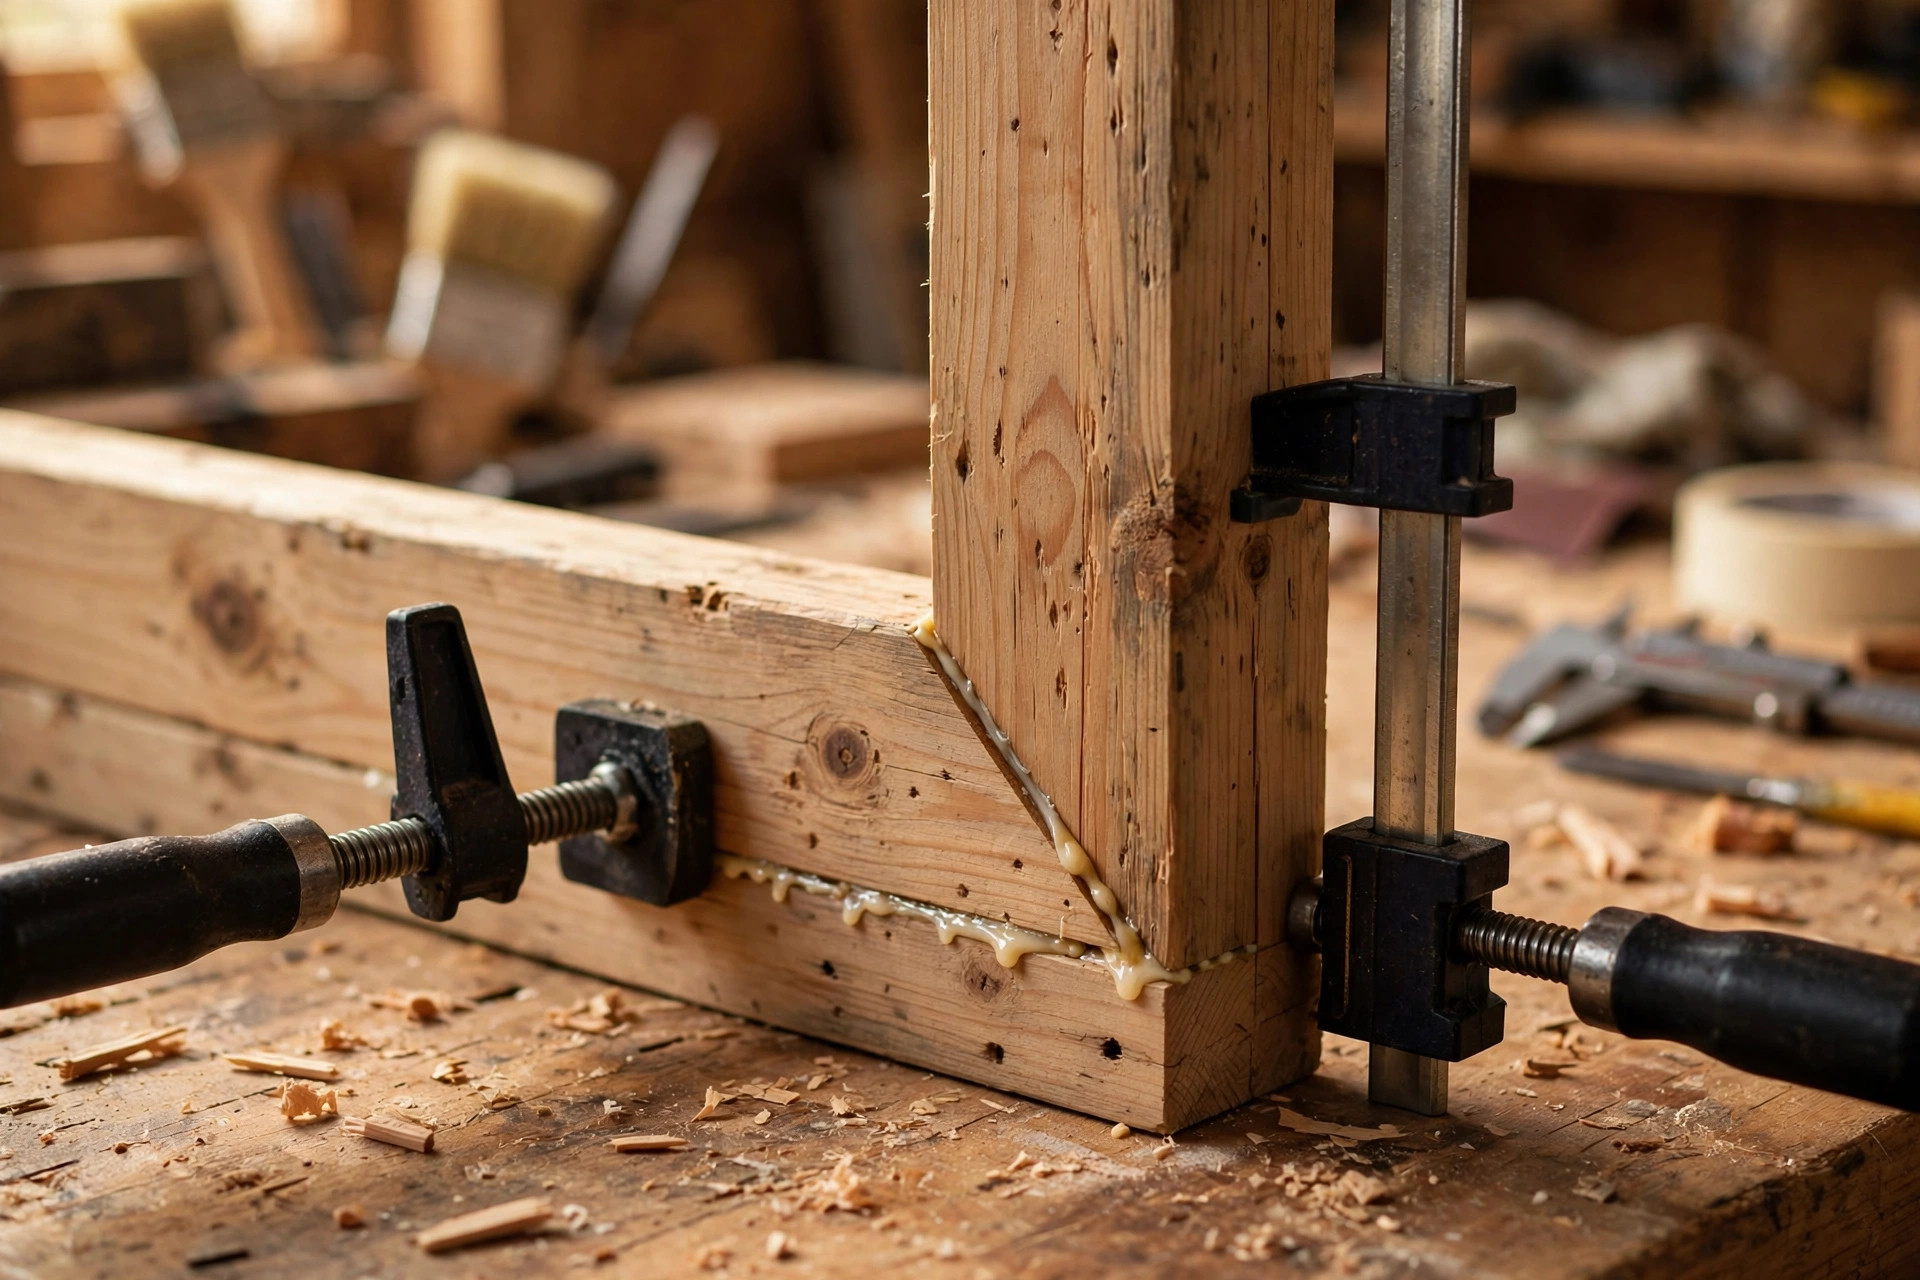
- Glue and assemble. Spread glue inside the holes (a small brush or nozzle helps), coat the dowels, tap them into one piece, then join the second piece with a mallet.
- Clamp and cure. Apply clamps across the joint and check for square. Wipe squeezed-out glue with a damp cloth. Let it cure for the full time on the glue bottle — usually 24 hours for full strength — before stressing the joint.
Cost Comparison
Pocket hole tooling costs a little more up front: a jig runs $30 to $60 with the stepped bit usually included, plus $8 to $15 per box of 100 pocket hole screws (glue is optional at $6 to $10). Dowel tooling is cheaper to start if you already own clamps — a basic jig runs $20 to $50, brad point bits $10 to $20, a bag of 100 fluted dowels just $6 to $10, and wood glue $6 to $10 — but if you are buying your first set of clamps, add $40 to $80 for a basic set, which erases the dowel advantage for a true beginner.
Over time, though, dowel joinery is the cheaper system to run. A box of pocket hole screws runs out noticeably faster than a bag of dowels, and each dowel costs pennies per joint. That said, clamps are the most useful tool in any shop, so the “clamp tax” pays for itself across every project you ever build.
When to Use Which Joint
Here is the practical decision guide, based on the test data and real shop experience:
Choose dowels when:
– Strength and longevity matter most — chairs, tables, bed frames, bookshelves carrying real weight.
– The joint will be visible in the finished piece — dowels are completely invisible; pockets need plugs.
– You are building with hardwood and want the joint to last decades.
– The piece will see racking or flexing loads in daily use.
– You have the time to let glue cure (this is a feature, not a bug, for heirloom pieces).
Choose pocket holes when:
– Speed matters — face frames, cabinet carcasses, shop jigs, and quick repairs.
– You want to skip clamping and keep building immediately.
– The pockets will be hidden (undersides, interiors, backs).
– You are working with plywood or MDF, where screws grip well and dowel holes can blow out thin plies.
– The furniture may need to come apart later — pocket hole screws back out cleanly.
– You are building painted pieces, where plugged pockets disappear under paint.
For many projects, the honest answer is “both”: pocket holes for the carcass and face frames where speed rules, dowels for the structural joints where strength rules. And if you are setting up your first workspace to build either kind of joint, our guide to small garage workshop setup ideas covers the shop side of the equation.
One more factor: wood choice changes everything about joint strength. Soft pine behaves very differently from hard maple in both tests and in real life, so check our guide to the best wood for beginner woodworking projects before you commit to a design.
Mistakes to Avoid With Each Joint
Pocket hole mistakes:
– Skipping the clamp. The driving screw pushes the mating piece sideways — without a clamp, your “flush” joint creeps out of alignment every time.
– Wrong screw length. A screw that is too long pokes through the far face; too short and it barely grips. Match screw length to stock thickness using the chart on the screw box.
– Wrong thread for the wood. Coarse threads for softwood and plywood, fine threads for hardwood. Mixing them up is the most common cause of stripped, weak pocket hole joints.
– Overdriving the screw. The washer head should seat snugly in the pocket, not bury itself. Overdriven screws crush the pocket and weaken the joint.
– Using pocket holes in thin stock. Under 1/2 inch, there is barely enough material for the screw to grip — switch to dowels or another method.
Dowel mistakes:
– Misaligned holes. The number one dowel killer. Mark carefully, register the jig on the same reference edge for both pieces, and dry-fit before gluing.
– Holes drilled too shallow. Dowels bottom out before the joint closes, leaving a gap. Drill slightly deeper than half the dowel length.
– Starving the joint of glue. Coat both the hole walls and the dowels. A dry dowel in a dry hole is just a loose pin.
– Forcing a too-tight fit. If a dowel needs hammering to seat during dry-fit, sand it down. Forcing swollen dowels splits the board — especially near edges.
– Stressing the joint before full cure. Give the glue its full 24 hours. A joint tested at 4 hours is a joint tested at a fraction of its strength.
Pocket Hole vs Dowel: Quick Reference
| Pocket hole joint | Dowel joint | |
|---|---|---|
| Strength (test averages) | Lower in every published test | Higher in every published test |
| Speed | Under 2 min per joint, no cure time | 5–10 min per joint + 24 h cure |
| Visibility | Pockets visible unless plugged | Completely invisible |
| Clamping | Optional | Required |
| Best wood | Plywood, MDF, softwood carcasses | Hardwood, visible furniture |
| Skill floor | Very low | Low with a jig |
| Repairability | Screws back out easily | Permanent once glued |
| Per-joint cost | Higher | Lower |
Frequently Asked Questions
Are dowel joints really stronger than pocket holes? Yes — in every published head-to-head test we found. WoodGears’ spruce tests averaged 99 lbs for pocket holes versus 156 lbs for dowels, Fine Woodworking’s hardwood racking test measured 698 lbs versus 759 lbs, and WoodworkWeb’s 2×4 tests showed dowels failing around 225 lbs versus about 175 lbs for pocket holes. The margin varies by setup, but the winner does not.
Can I use glue with pocket hole joints to make them stronger? You can, and it helps — but it changes the workflow that makes pocket holes attractive. A glued pocket hole joint is stronger than a screwed-only one, yet you lose the “no clamping, keep building immediately” advantage. If you are going to clamp and wait for glue anyway, dowels usually give you more strength for the same patience.
How many dowels should I use per joint? Two is the standard minimum for a rail-width joint. WoodGears’ tester noted that four dowels instead of two would have made his dowel joints nearly as strong as mortise and tenon joints in his setup. For wide boards, space dowels every 3 to 4 inches.
Do pocket hole joints loosen over time? They can. WoodGears observed pocket hole joints partially opening at forces well below their breaking point, and the screw-thread grip in wood can creep under cyclic loads, especially in softwood. If you build furniture with pocket holes, leave the pockets accessible so you can re-tighten the screws later rather than filling them permanently.
Which joint is better for plywood? Pocket holes generally win in plywood and MDF. Dowels need solid material around the hole, and thin plywood plies can split or blow out; pocket hole screws grip plywood’s layered structure well. For solid hardwood furniture, dowels are the stronger and prettier choice.
Is a pocket hole joint strong enough for a chair? Borderline. Chairs take brutal racking loads, and the test data puts pocket holes at the weaker end of the spectrum — especially in softwood with unglued screws. For chairs and other load-bearing furniture, dowels or mortise and tenon joints are the safer, longer-lasting choice.


