
Walk into any lumber aisle as a beginner and the choice can feel overwhelming. Pine, poplar, oak, cedar, plywood, MDF — dozens of options, all claiming to be the right material, with price tags that range from a few dollars to more than your first project is worth. Pick the wrong wood and you’ll fight tearout, dull blades, and warping boards. Pick the right one and your saw glides, your joints fit, and your first build actually looks like the picture in your head.
The truth is that the best wood for beginner woodworking projects isn’t the fanciest or the most expensive — it’s the wood that forgives your mistakes. Soft, stable, affordable lumber lets you practice cuts, learn joinery, and finish projects without burning through your budget or your patience. This guide walks you through everything you need to know: how lumber is sold and measured, the best beginner-friendly softwoods, when sheet goods make sense, which hardwoods to grow into later, the woods you should avoid for now, where to buy lumber, what it costs, and how to pick straight boards at the store. By the end, you’ll be able to walk into any home center and buy with confidence.
How Lumber Is Sold: A Beginner’s Crash Course
Before you compare species, you need to speak the language of the lumber aisle. A few key concepts will save you from confusion — and from buying the wrong sizes.
What Is a Board Foot?
Hardwood lumberyards often price wood by the board foot, a unit of volume equal to 144 cubic inches — imagine a board 12 inches wide, 12 inches long, and 1 inch thick. To calculate board feet for any board, use this formula:
(Thickness in inches x Width in inches x Length in feet) / 12 = Board Feet
So a board that is 1 inch thick, 8 inches wide, and 6 feet long contains 4 board feet. If the yard charges $6 per board foot, that board costs $24. Big-box stores usually skip this and price by the piece, but once you graduate to a real lumberyard, board-foot math is how you’ll compare prices fairly.
Nominal vs. Actual Dimensions: Why a 2×4 Isn’t 2 Inches by 4 Inches
This trips up nearly every beginner. Lumber is sold by its nominal size — the rough size it was when first cut at the mill — but what you take home is the actual size after the board has been dried and planed smooth. A “2×4” is actually 1-1/2 inches by 3-1/2 inches. Common conversions worth memorizing:
- 1×2 = 3/4″ x 1-1/2″
- 1×4 = 3/4″ x 3-1/2″
- 1×6 = 3/4″ x 5-1/2″
- 1×8 = 3/4″ x 7-1/4″
- 1×12 = 3/4″ x 11-1/4″
- 2×4 = 1-1/2″ x 3-1/2″
Sheet goods play the same game: a “3/4-inch” sheet of plywood is usually 23/32″ (about 0.71″) thick. Always measure your actual boards before cutting joinery, and design your projects around real dimensions, not the names on the price tags.
S4S, S2S, and Rough-Sawn: Which Should You Buy?
You’ll see these abbreviations at lumberyards. S4S means “surfaced four sides” — the board is planed smooth on all faces and edges, ready to use. S2S is surfaced on two faces only, leaving the edges rough. Rough-sawn is straight off the saw, with a coarse texture and often slightly oversized.
As a beginner without a planer or jointer, buy S4S lumber. It costs a bit more, but every board is flat, smooth, and a consistent thickness, which means your joints will actually fit together. Home centers sell almost exclusively S4S boards, which is one reason they’re the easiest place to start.
The Best Softwoods for Beginner Woodworking Projects
Softwoods come from coniferous (needle-bearing) trees, grow fast, and are generally cheaper and easier to cut than hardwoods. These four are the backbone of beginner woodworking.
Pine: The Beginner’s Best Friend
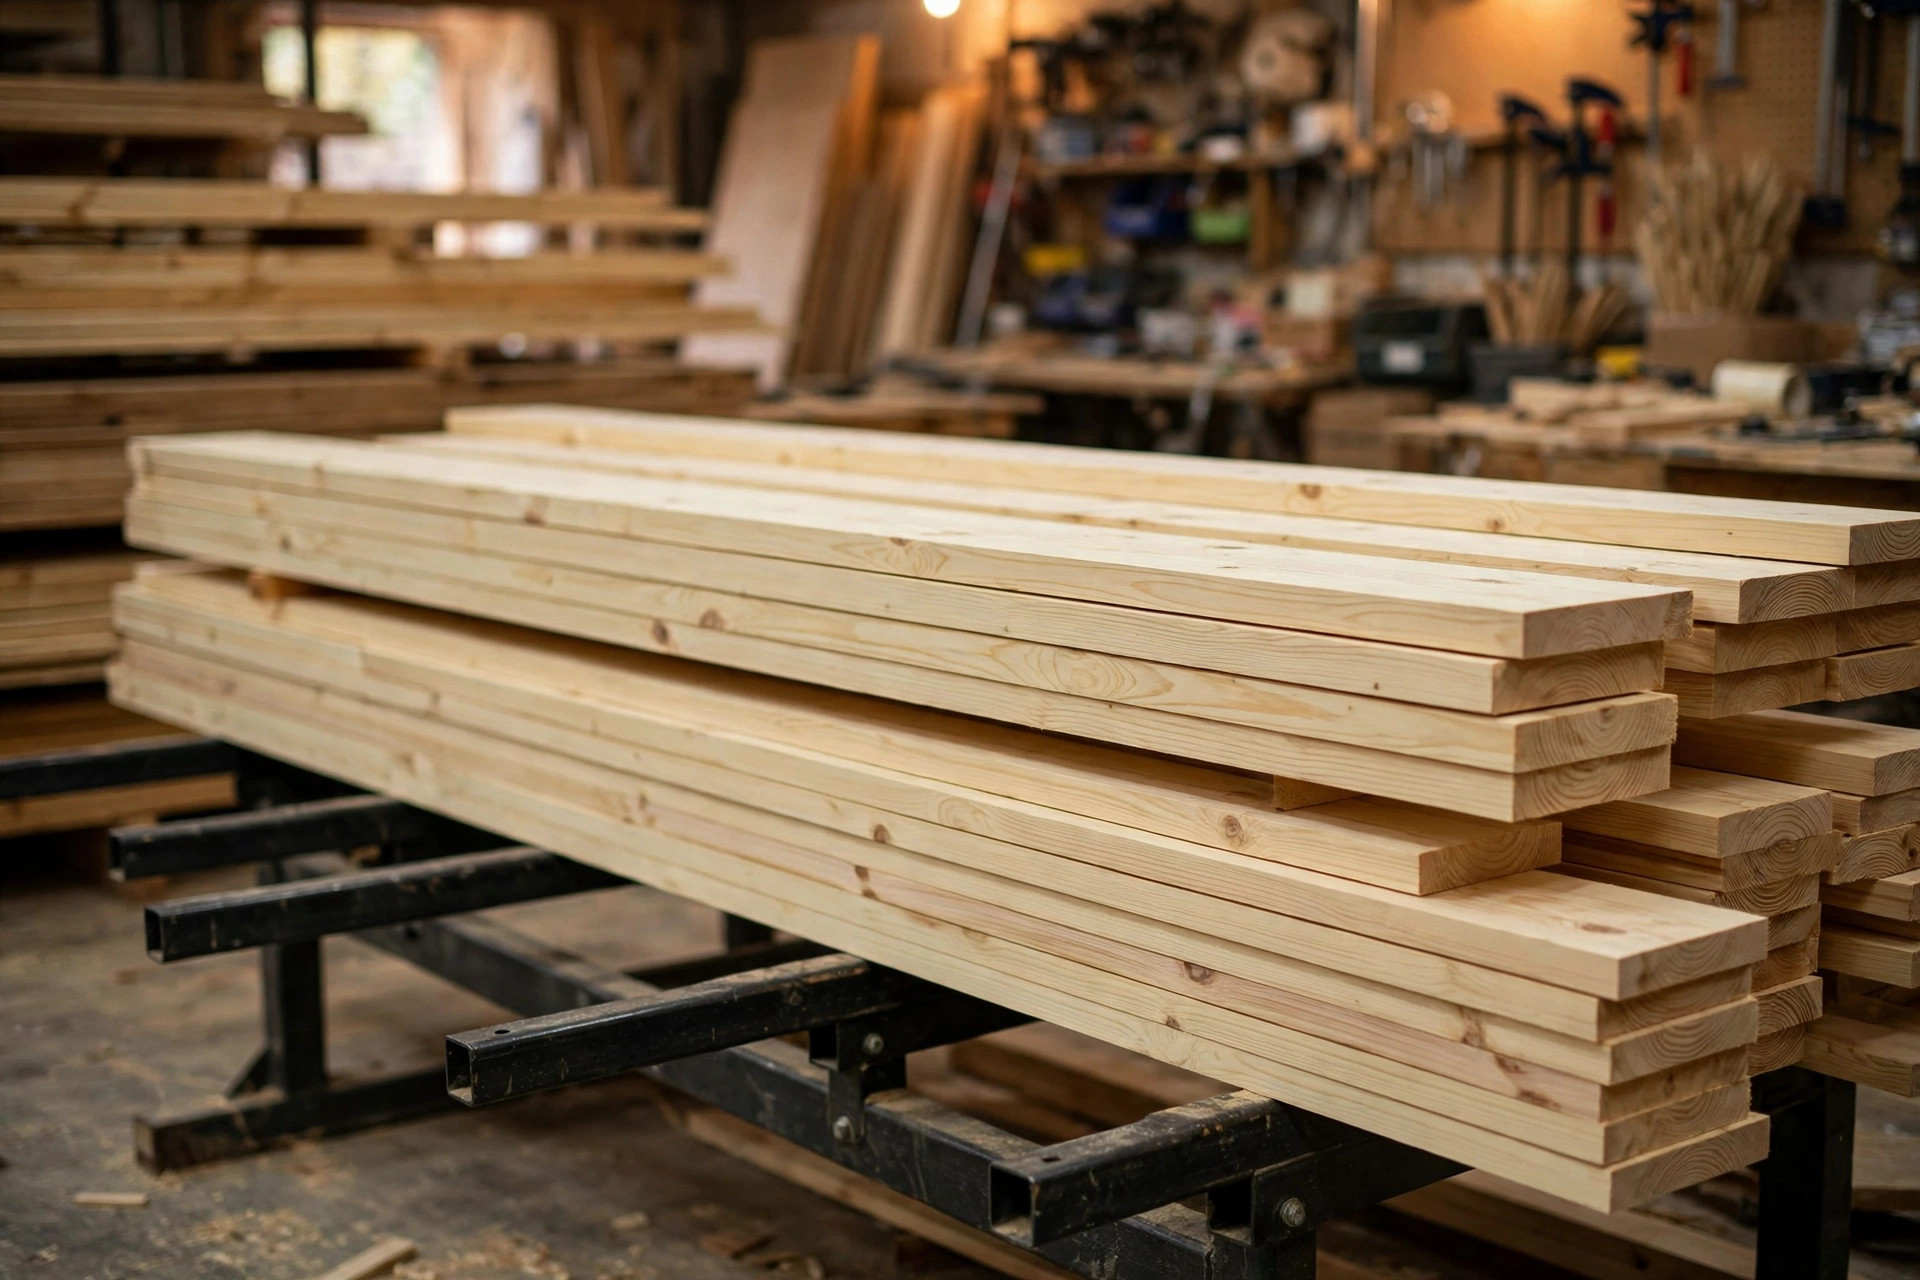
If you build your first five projects from a single species, make it pine. Eastern white pine and ponderosa pine are soft (around 380 on the Janka hardness scale), which means hand saws, jigsaws, and even basic hand planes cut through them with little effort. Pine is sold everywhere, it’s the cheapest solid wood you’ll find, and it takes stain and paint reasonably well — though its softness means it dents if you look at it too hard, so save it for pieces that won’t take abuse.
Pine’s biggest quirk is knots. Cheap construction-grade pine is full of them, and knots can chip, crack, or bleed resin through your finish. For furniture and visible projects, spend slightly more on “select” or “#2 and better” pine with fewer, tighter knots. Many of our favorite easy woodworking projects — shelves, planter boxes, simple benches — are designed around inexpensive pine boards you can grab on a single store trip.
Best for: shelves, workbenches, shop furniture, outdoor-adjacent projects, practice cuts.
Watch out for: knots, dents easily, can warp if stored poorly.
Poplar: The Painter’s Favorite
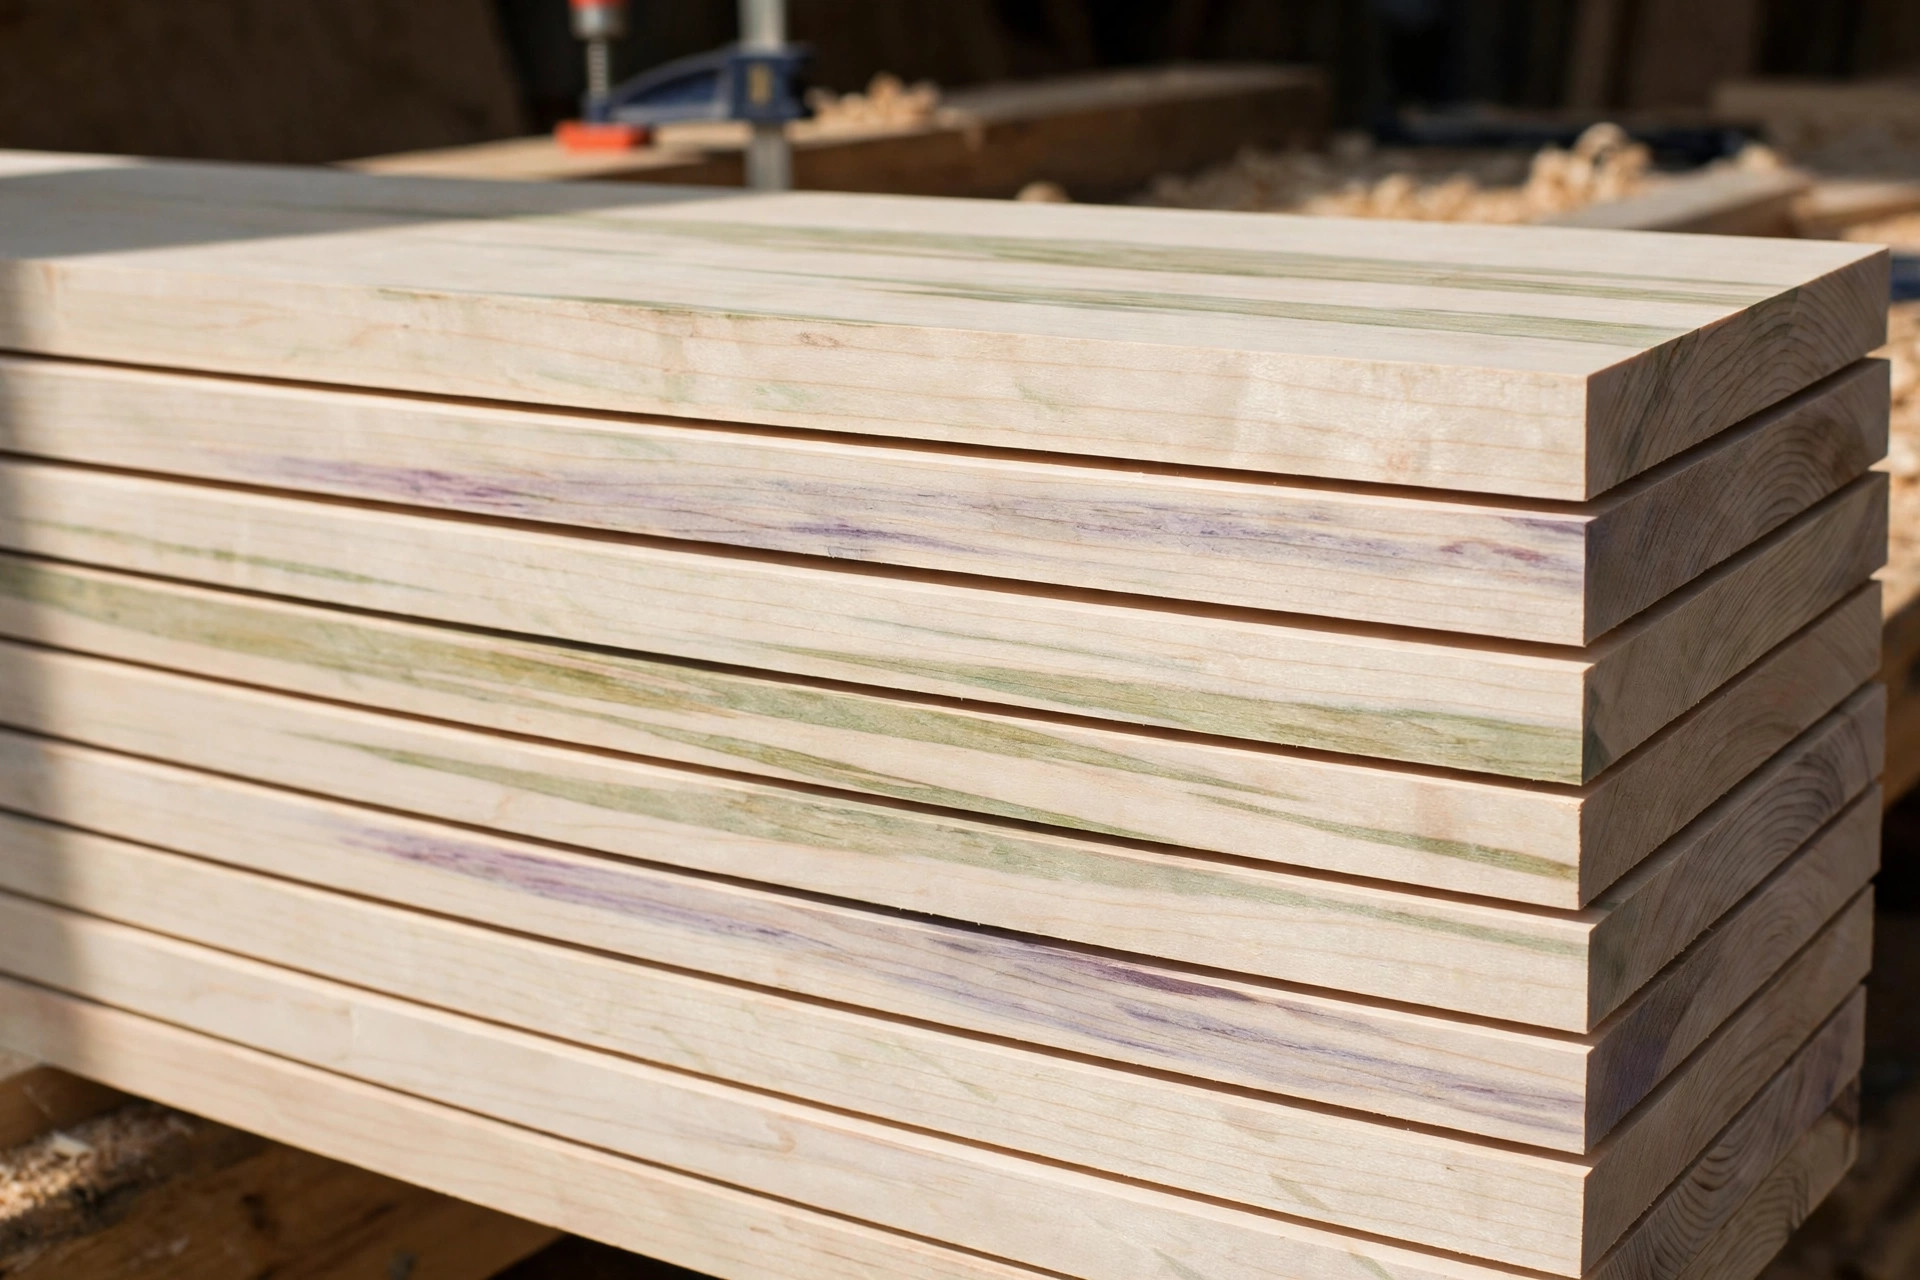
Poplar is technically a hardwood, but it behaves like a softwood in the shop — and it’s arguably the best-kept secret for beginners who plan to paint their projects. It machines beautifully: crisp edges, minimal tearout, and a fine, even grain that disappears under paint for a flawless finish. At around 540 on the Janka scale, it’s a touch harder and more dent-resistant than pine, yet still easy on tools and beginner blades.
The catch is color. Poplar heartwood streaks green, purple, and brown, which looks odd under clear finishes — this is a paint-grade wood, not a stain-grade one. But if your project ends with a coat of paint (and most beginner furniture does), poplar gives you near-hardwood results at a softwood price. It’s also the go-to wood for drawer boxes, face frames, and trim.
Best for: painted furniture, small boxes, picture frames, drawer parts, anything getting a topcoat of paint.
Watch out for: streaky color under clear finishes; slightly pricier than pine.
Basswood: The Carver’s Dream
Basswood is the softest, most even-grained wood most beginners will ever touch (about 410 Janka, but it feels softer because the grain is so uniform). It has almost no visible grain pattern, cuts like firm butter, and holds fine detail without crumbling — which is why it’s the standard wood for whittling, chip carving, and wooden toys. If your interests lean toward carving, spoons, or small decorative pieces rather than furniture, start here.
Basswood is also an excellent choice for wood projects for kids — it’s soft enough for young hands to sand safely and forgiving under beginner carving tools. You won’t find it in big-box lumber aisles, but craft stores and online carving suppliers stock basswood blocks, boards, and cutouts in small, affordable sizes.
Best for: carving, whittling, wooden toys, small crafts, scroll-saw work.
Watch out for: too soft for structural furniture; limited availability in long boards.
Cedar: The Outdoor Specialist
Western red cedar (around 350 Janka) is the beginner-friendly answer to one specific question: “What wood can I use outside?” Cedar contains natural oils that resist rot, decay, and insects without chemical treatment, so it’s ideal for planter boxes, birdhouses, garden benches, and outdoor shelving. It’s lightweight, smells wonderful when cut, and weathers to an attractive silvery gray if left unfinished.
Cedar splits more easily than pine, so always pre-drill screw holes near the ends of boards. It’s also pricier than pine — you’re paying for that natural weather resistance. For anything that lives indoors, pine or poplar is the better value.
Best for: planters, birdhouses, outdoor benches, garden structures.
Watch out for: splits easily near ends; costs more than pine; soft enough to dent.
Beginner Wood Comparison Table
| Wood | Janka Hardness | Workability | Typical Price* | Beginner Rating |
|---|---|---|---|---|
| Pine (white) | ~380 lbf | Very easy | $ | ★★★★★ |
| Poplar | ~540 lbf | Very easy | $$ | ★★★★★ |
| Basswood | ~410 lbf | Extremely easy | $$ | ★★★★☆ |
| Cedar | ~350 lbf | Easy | $$ | ★★★★☆ |
| Birch plywood | ~1,260 lbf (face veneer) | Easy | $$ | ★★★★☆ |
| MDF | N/A (engineered) | Easy, very dusty | $ | ★★★☆☆ |
| Red oak | ~1,290 lbf | Moderate | $$$ | ★★★☆☆ |
| Hard maple | ~1,450 lbf | Moderate–hard | $$$ | ★★☆☆☆ |
| Black walnut | ~1,010 lbf | Moderate | $$$$ | ★★☆☆☆ |
*Approximate U.S. retail price ranges in 2026, from big-box stores and lumberyards. Prices vary by region, grade, and store. $ = cheapest, $$$$ = premium.
Sheet Goods: Plywood and MDF
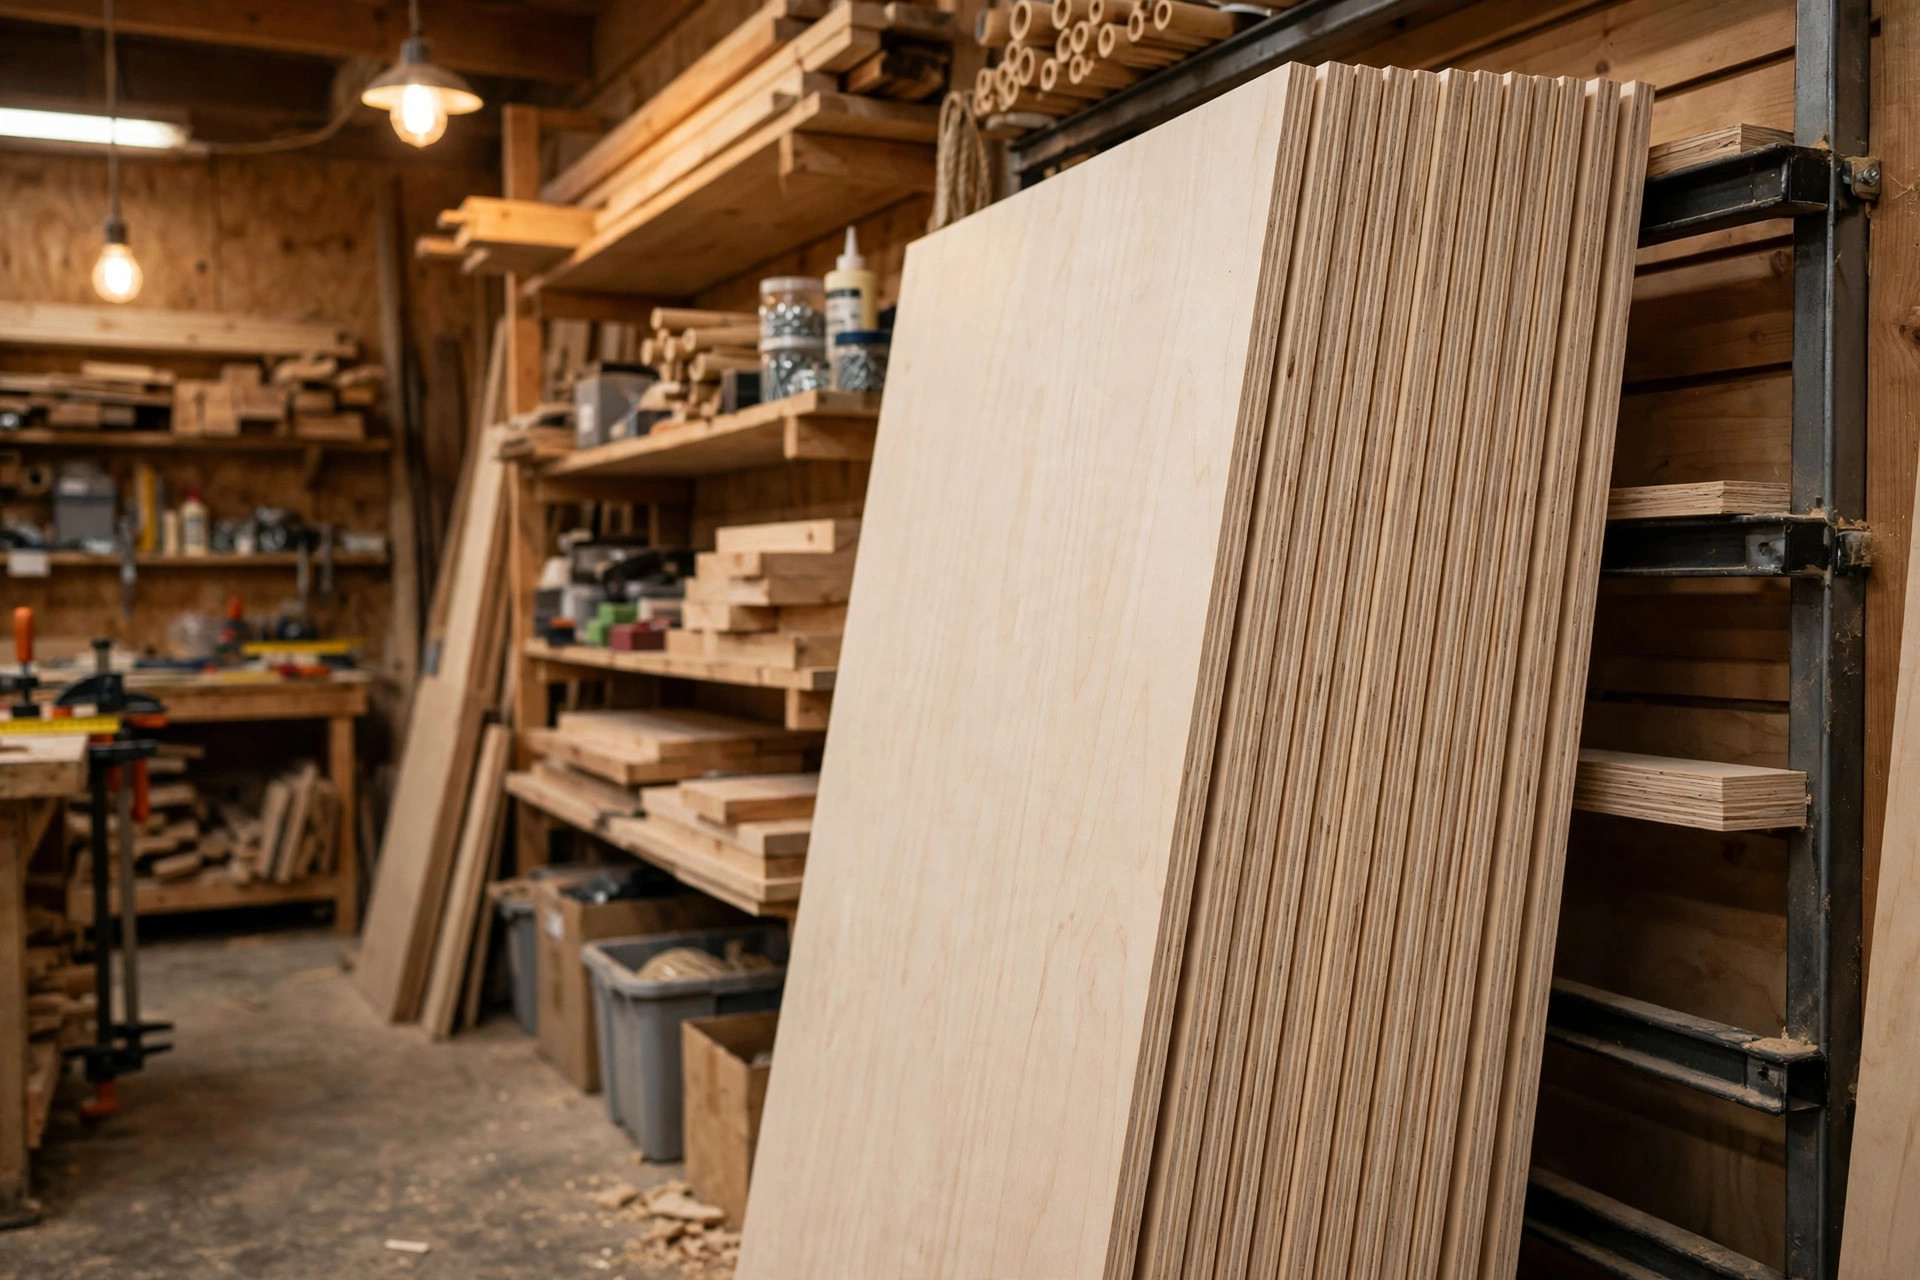
Not every project starts with boards. Sheet goods — large flat panels manufactured from wood — are often the smartest choice for beginners building cabinets, shelves, and shop furniture.
Plywood: Big Panels, Stable and Strong
Plywood is made of thin wood veneers glued together with the grain of each layer running perpendicular to the next. That cross-grain construction makes it remarkably stable — it barely expands, contracts, or warps compared to solid wood — and strong for its weight. A single 4×8 sheet gives you 32 square feet of material, which makes plywood the most economical way to build anything with large flat surfaces: bookcases, storage cabinets, workbench tops, and closet organizers.
For beginners, birch plywood (often labeled “Baltic birch” or “birch ply”) is the sweet spot. Its many thin plies and void-free core cut cleanly with minimal splintering, and the pale face takes paint beautifully and stain acceptably. Cheaper construction-grade plywood (CDX, OSB) is fine for shop projects and jigs but looks rough on visible furniture. One practical tip: plywood edges show the layered plies, so plan to cover them with edge banding or solid-wood trim on finished pieces.
MDF: The Ultra-Smooth Painted Surface
Medium-density fiberboard (MDF) is made from wood fibers glued under heat and pressure into a dense, perfectly flat panel with no grain at all. It cuts and routs beautifully, and because there is no grain to telegraph through, it produces the smoothest painted finish of any wood product — cabinet shops use it for painted doors and drawer fronts for exactly this reason.
MDF has real downsides, though. It creates extremely fine, irritating dust — always wear a respirator when cutting or sanding it. It swells and falls apart if it gets wet, so it’s indoor-only. And it holds screws poorly along its edges, so joinery needs pilot holes, glue, and care. Use MDF for painted shop cabinets, jigs, and templates, not for fine furniture or anything structural.
Hardwoods to Grow Into: Oak, Maple, and Walnut
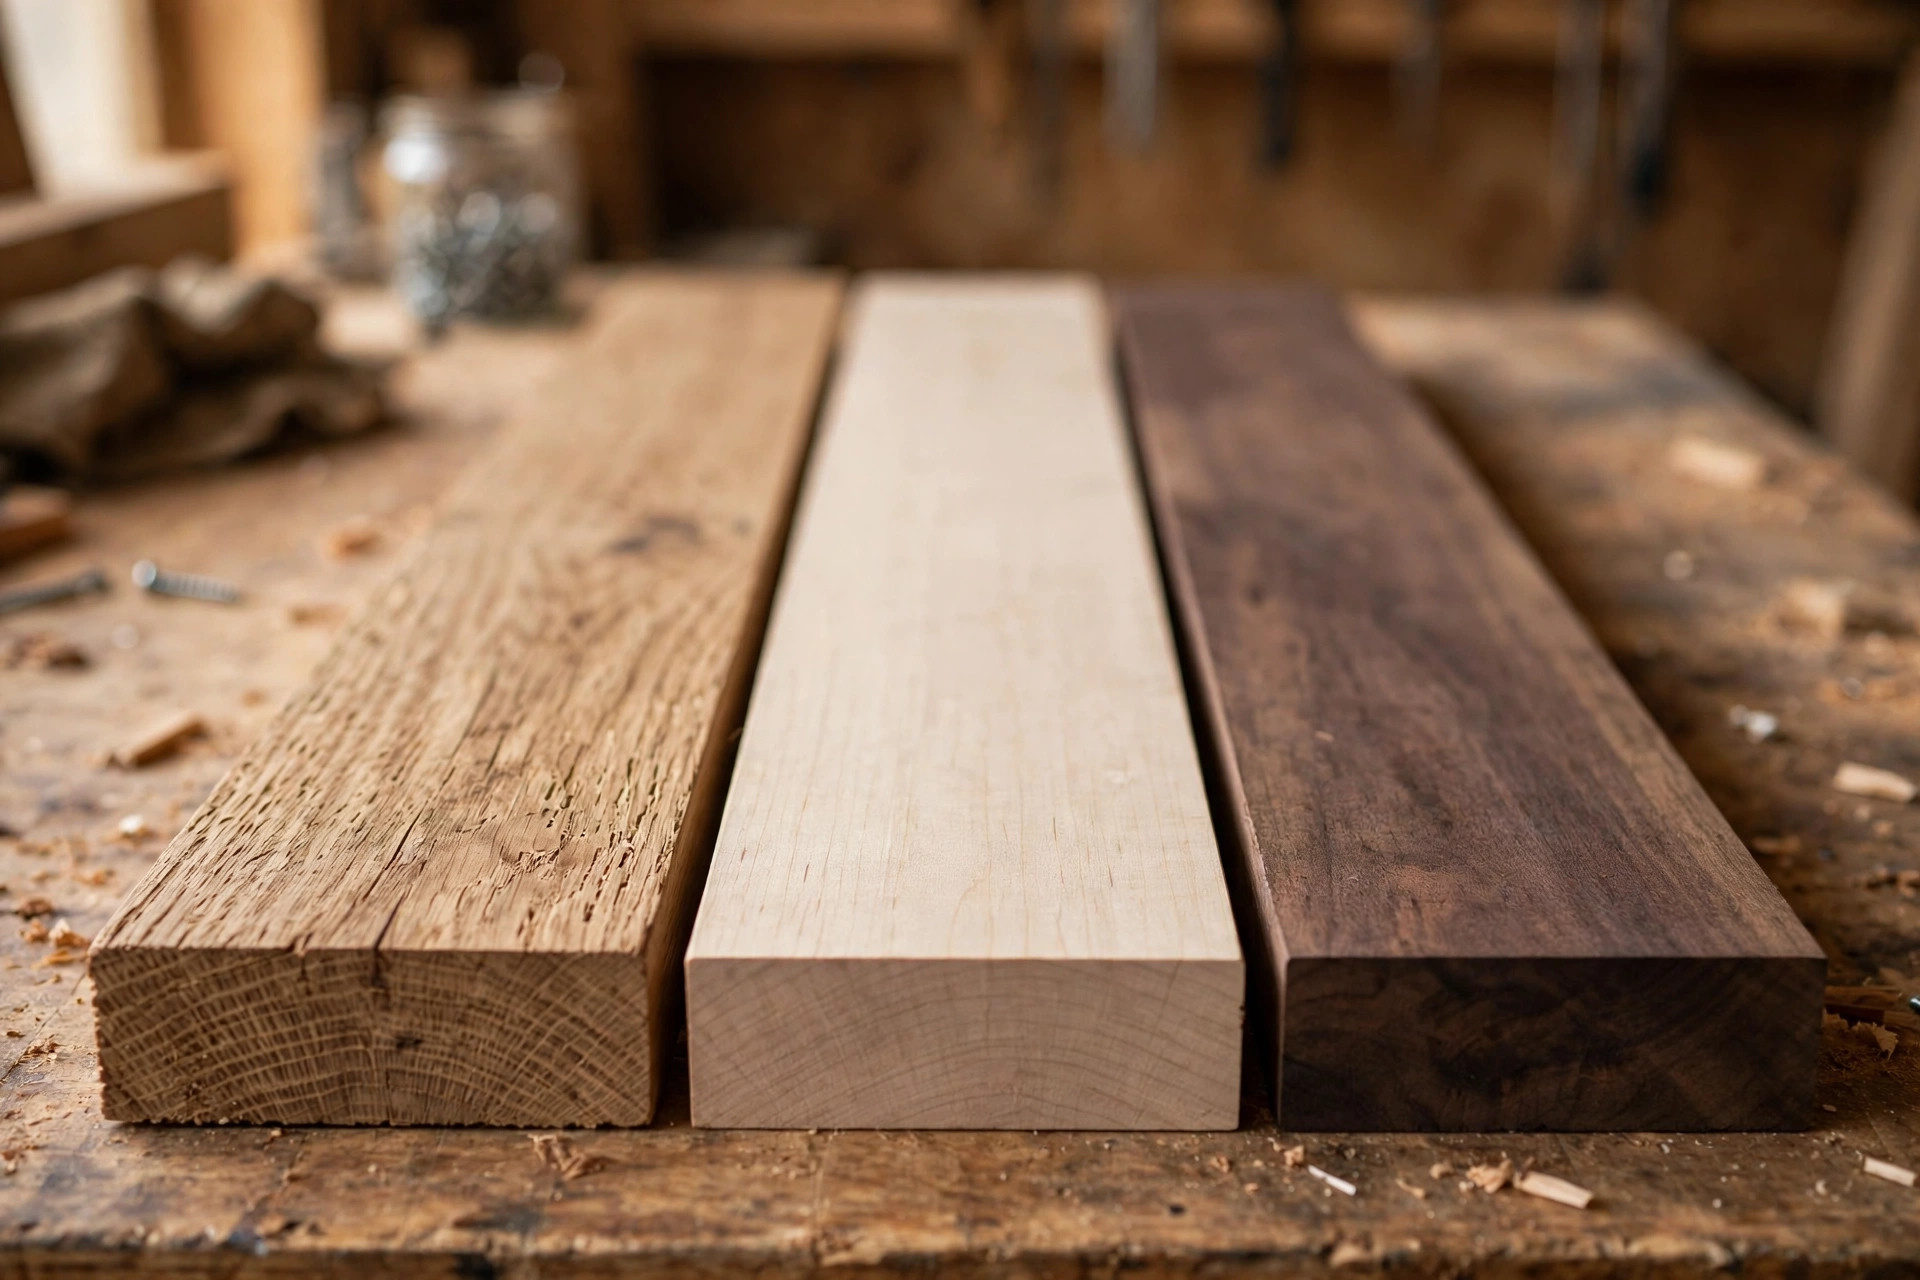
Once you’ve built a few pine and poplar projects and your skills are solid, hardwoods open up a new world of durability and beauty. These three are the classic next step — but go in with honest expectations about cost and tooling.
Red and White Oak
Oak is the traditional “real furniture” wood: strong, with a bold open grain that looks great under stain. Red oak (about 1,290 Janka) is the more affordable and widely available of the two; white oak (about 1,360) is tougher and naturally water-resistant, which is why it’s favored for outdoor furniture and boats. Both are dramatically harder than pine, so expect slower cutting, more sanding, and the need for sharp blades and pre-drilled screw holes. Oak’s open grain also needs grain filler if you want a glass-smooth finish.
Hard Maple
Hard maple (about 1,450 Janka) is one of the hardest domestic woods — it’s what cutting boards, butcher blocks, and bowling alley lanes are made from. It has a fine, subtle grain that looks clean and modern, and it’s incredibly dent-resistant, making it ideal for workbench tops, cutting boards, and small items that take daily abuse. The tradeoff: it burns easily under a dull blade, tears out if your tools aren’t sharp, and blotches under stain unless you use a pre-stain conditioner. Many beginners’ first maple project is a cutting board — small, simple, and a perfect introduction to hardwood.
Black Walnut
Walnut (about 1,010 Janka) is the wood that makes beginners’ eyes widen: rich chocolate-brown color, gorgeous grain, and a smooth machining quality that feels luxurious under a hand plane. It’s softer than oak and maple, so it’s actually pleasant to work — the barrier is purely price. Walnut typically costs two to three times what oak does, which makes mistakes expensive. Buy a single small walnut board for an accent piece — a box lid, a picture frame, cutting-board stripes — and enjoy it as a reward wood while your skills catch up to its price tag.
The honest caveats for all three: hardwoods cost 2–4x more than pine, they demand sharp blades and bits (dull tooling burns and tears hardwood fast), and mistakes get expensive. Build your joinery skills on pine first, then step up.
How to Read Wood Grain Before You Cut
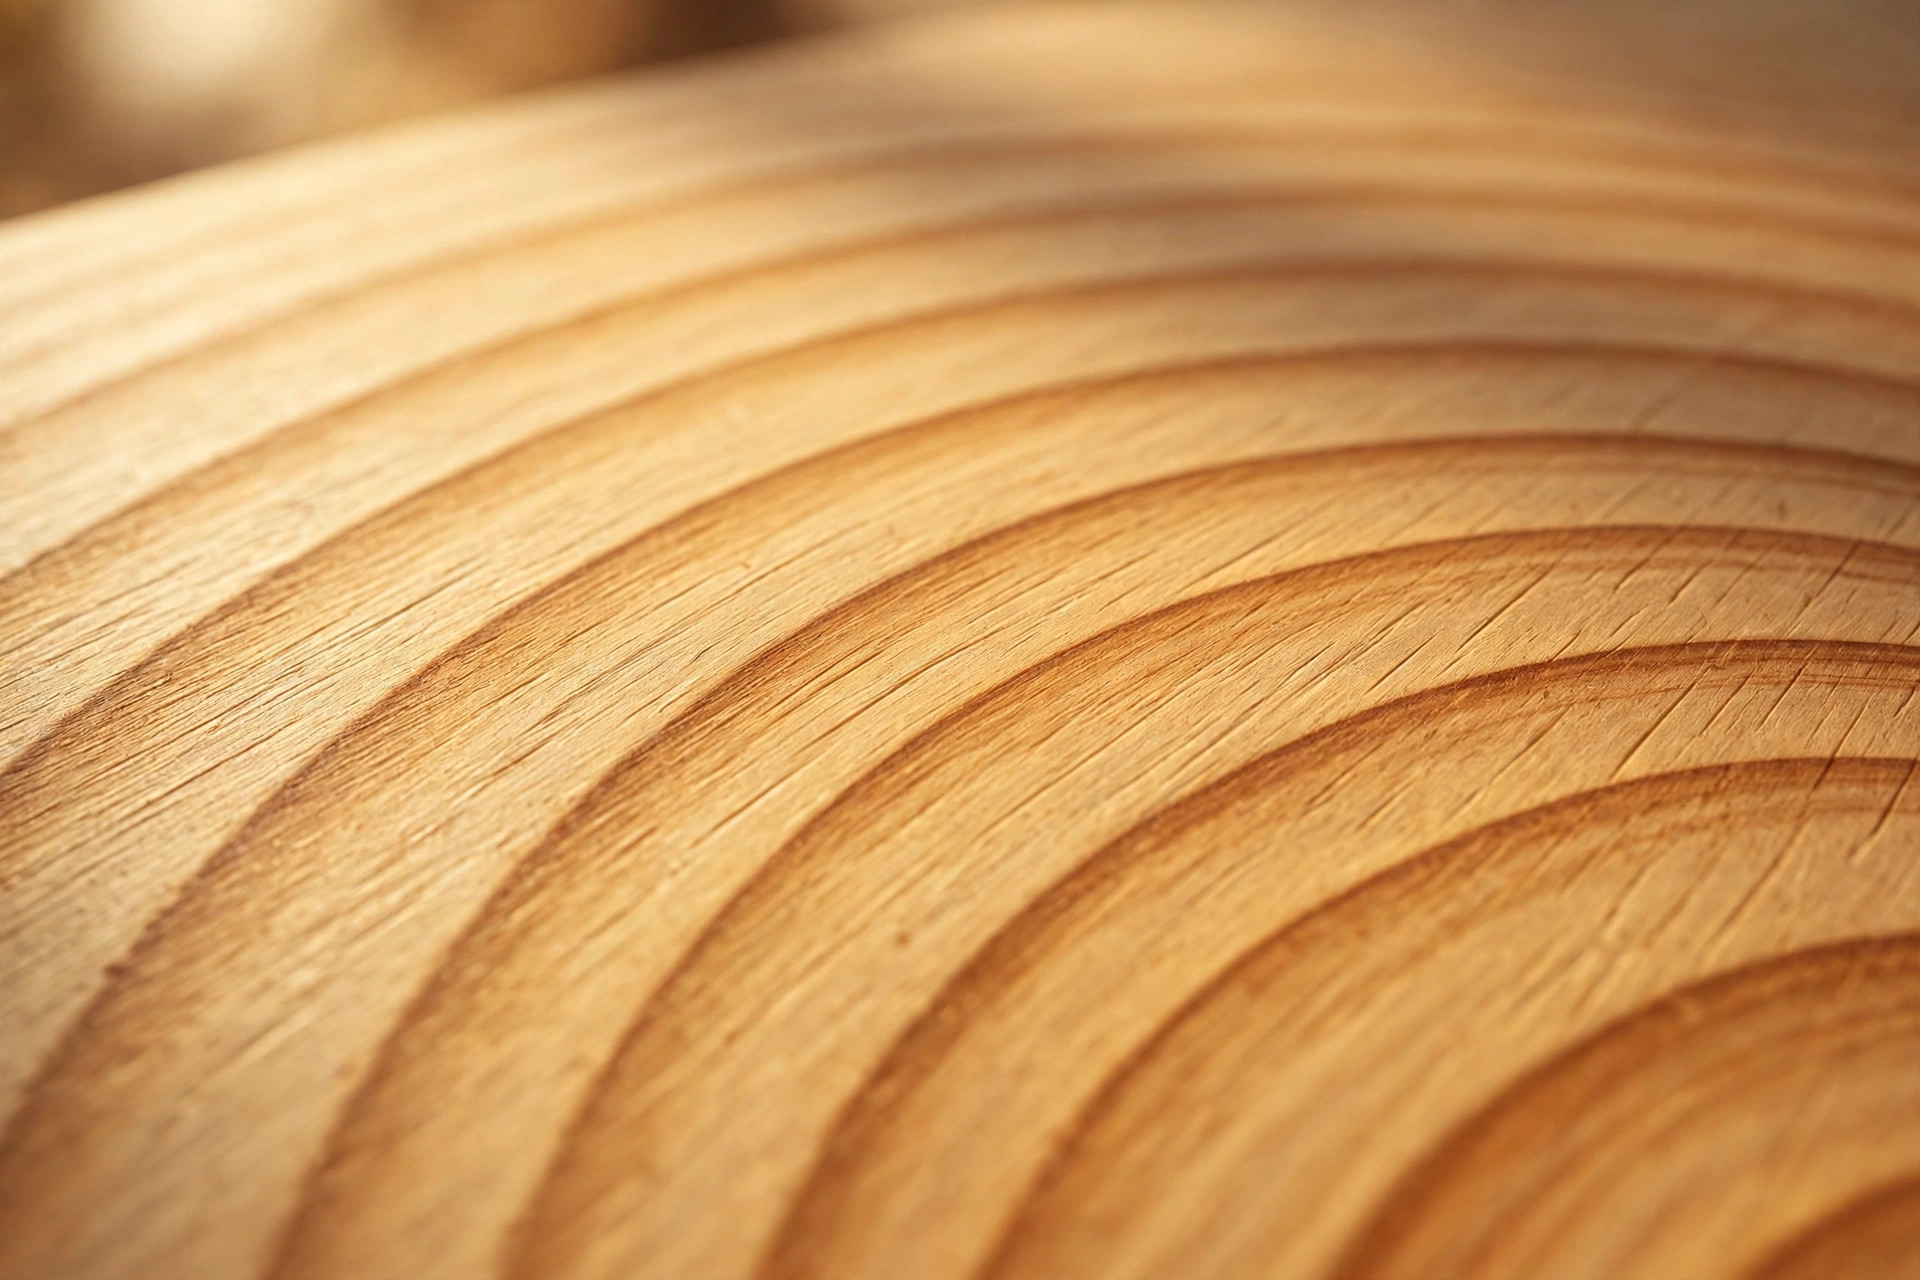
One skill separates frustrating builds from smooth ones, and it costs nothing: reading grain direction. Wood is weakest along its grain lines, and every cutting operation goes better when you work with the grain rather than against it.
Look at the face of any board and you’ll see the grain lines running lengthwise. When planing or routing, work in the direction the grain “lies down” — run your finger along the board; the smooth direction is downhill, and that’s the direction your tool should travel to avoid tearout. On the end of a board, you’ll see the growth rings as arcs: boards cut so the rings run across the width (quartersawn) are more stable than those with rings running flat (plainsawn), though plainsawn is more common and cheaper.
Also learn to spot the board’s story: cathedral-shaped arches in the grain mark the center of the tree and the least stable part of the board, while straight, parallel grain lines indicate stable, easy-working wood. When gluing up panels, alternate the end-grain ring direction (one board’s rings curving up, the next curving down) to keep the panel flat as humidity changes. These habits matter most with pine, which moves a lot — master them on cheap wood and they’ll serve you forever on expensive wood.
Woods Beginners Should Avoid (For Now)
Not every wood belongs in a beginner’s shop. These are all beautiful materials — they’re just the wrong teachers:
- Exotic hardwoods (ipe, padauk, purpleheart, wenge): Extremely hard, often oily (glue won’t stick well), sometimes toxic dust, and very expensive. A single ruined board can cost more than an entire pine project.
- Pressure-treated lumber: Fine for decks and fence posts, but the chemical preservatives make it a poor choice for indoor furniture, cutting boards, or anything kids touch. It’s also typically wet and prone to twisting as it dries.
- Reclaimed pallet wood: Romantic in theory, miserable in practice. Hidden nails destroy blades, unknown finishes and treatments are a health risk, and the wood is often warped, split, or infested. Learn on clean new lumber first.
- Balsa and other ultra-soft craft woods: Too fragile for anything beyond models — they crush under clamps and dent during normal handling.
- Highly figured woods (burl, curly maple): Stunning to look at, but figured grain tears out badly under beginner tooling and wastes expensive material while you learn.
None of these are “bad” woods — they’re advanced woods. Revisit them after a dozen successful builds.
Where to Buy Lumber and What It Costs
You have three main options, each with tradeoffs:
Big-box home centers are the easiest starting point. The selection is limited to pine, poplar, cedar, oak (small selection), plywood, and MDF, but the boards are S4S, the prices are posted per piece, and you can be in and out in twenty minutes. Expect roughly $4–$7 for a pine 2x4x8, $8–$14 for a pine 1x6x8, $10–$16 for a poplar 1x4x8, $12–$20 for a cedar 1x6x8, $35–$55 for a 3/4″ sheet of construction plywood, $55–$85 for birch plywood, and $35–$50 for a 3/4″ MDF sheet. (Approximate U.S. prices, 2026 — your region will vary.)
Local lumberyards offer better quality, wider species selection, and staff who actually know wood. Many sell hardwoods by the board foot at better per-foot prices than home centers, and they’ll often make a few cuts for free. Call ahead and ask if they sell to hobbyists — most do, and some even have a bargain bin of shorts and offcuts perfect for small beginner projects.
Online and specialty suppliers are the route for basswood, carving blocks, and small hardwood pieces. Craft stores carry basswood in project-friendly sizes, and online hardwood dealers sell curated “project packs” — a box of assorted small hardwood boards ideal for boxes, cutting boards, and gifts without committing to full-length lumber.
Start at the home center for your first projects. Graduate to the lumberyard when you want better wood at better prices, and you know enough to pick through a stack with confidence.
How to Pick Straight Boards at the Store
Lumber straightness matters more than species for your first builds — a warped pine board will ruin a project faster than any “wrong” wood choice. Here’s the quick routine:
- Sight down the board like a rifle barrel. Look along its length from one end: the edges should run straight, not curve. Reject anything with an obvious bow (curve along the length) or crook (curve across the width).
- Check for twist by laying the board flat and pressing opposite corners. If it rocks like a wobbly table, put it back — twist is the hardest defect to work around without a jointer.
- Look at the end grain. Tight, even growth rings signal stable wood. Avoid boards where the pith (the tree’s center, often darker and soft) runs through the board — it will crack.
- Check moisture. Boards should feel dry and room-temperature, not cool or damp. Wet-feeling boards will shrink and twist as they dry in your shop.
- Dig through the stack. The straightest boards are rarely on top. Pull from the middle of the pile, and always buy 10–20% more than your cut list needs — a spare board is cheaper than a second trip.
Buy your lumber a week or two before you build and let it acclimate in your shop, stickered (stacked with small spacers between boards) so air circulates. Wood that adjusts to your shop’s humidity before you cut it stays flat after you build with it.
Storing Your Lumber the Right Way
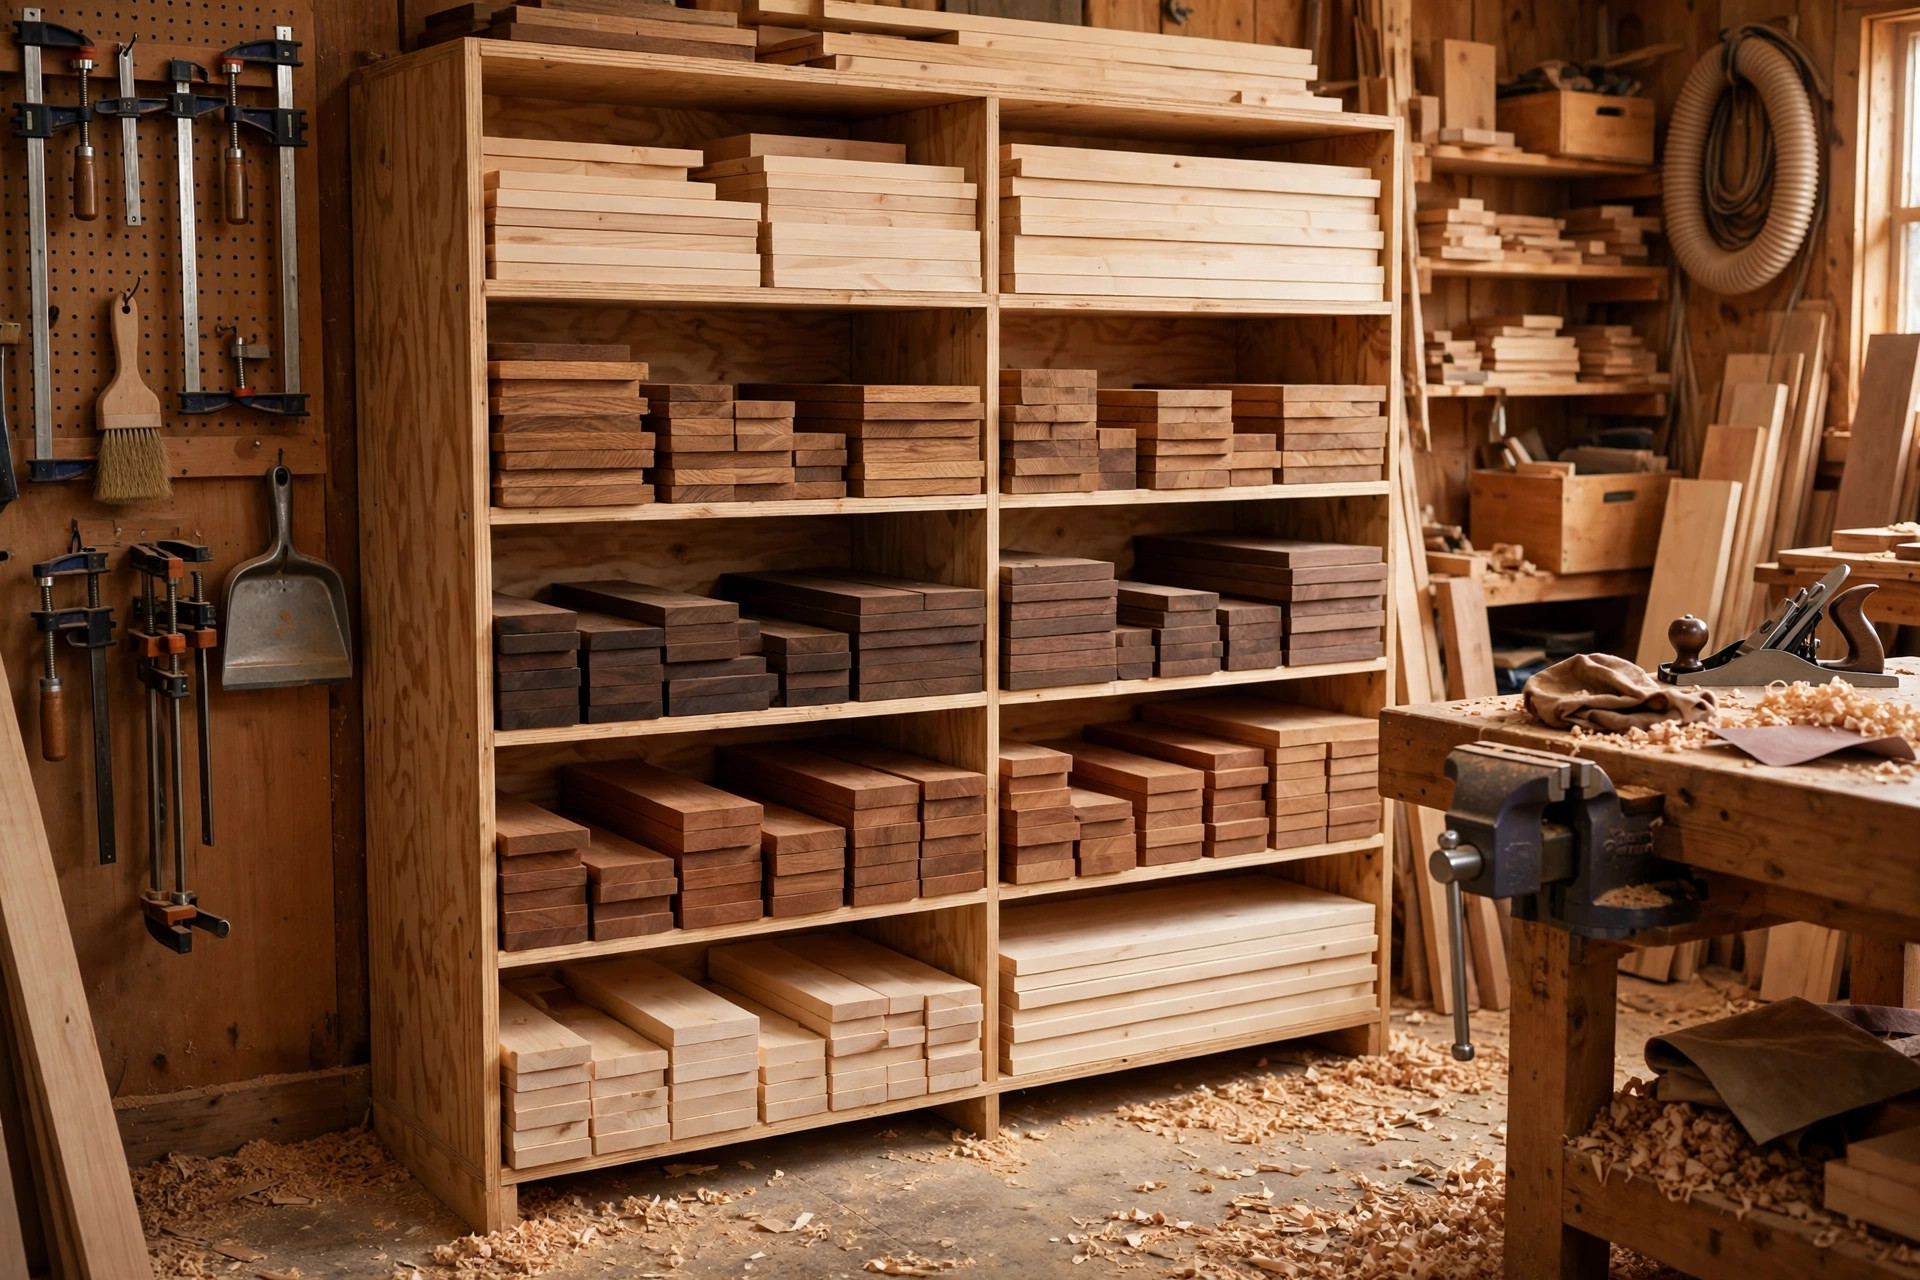
Good storage is what keeps straight boards straight. The rules are simple: keep lumber flat, supported, dry, and out of direct sun. A simple wall-mounted rack with arms every 16–24 inches works for most home shops — never lean long boards against a wall for weeks, or they’ll take on a permanent bow. For sheet goods, store them flat on the floor (on 2×4 sleepers to allow airflow) or vertically in a dedicated rack with full support along the bottom edge.
Keep your shop reasonably consistent in temperature and humidity — wild swings are what make boards cup and twist. And cut your offcuts down to usable sizes and sort them into bins; a labeled offcut bin is a goldmine for small parts, test cuts, and jigs. If you’re dreaming up builds to use those offcuts on, our roundup of easy woodworking projects for beginners that sell is full of small-project ideas that turn scrap into finished pieces.
Which Wood for Which Project?
| Project | Best Wood Choice | Why It Works |
|---|---|---|
| Floating shelves, bookcases | Pine boards or birch plywood | Affordable, easy to cut, strong enough for the load |
| Painted side table or nightstand | Poplar | Flawless painted finish, stable, machines cleanly |
| Small keepsake box | Poplar or basswood | Fine detail work, smooth surfaces, takes finish well |
| Carved spoons, whittling | Basswood | Soft, even grain — the carver’s standard |
| Planter box, birdhouse | Cedar | Naturally rot-resistant outdoors |
| Workbench | Southern yellow pine 2x4s | Cheap, tough, and replaceable when scarred |
| First cutting board | Hard maple (small piece) | Food-safe, dent-resistant; buy one short board |
| Painted shop cabinets | MDF or birch plywood | Dead-flat, glass-smooth under paint |
| Kids’ craft project | Pine or basswood | Soft, safe to sand, forgiving of mistakes |
| Outdoor bench | Cedar or white oak | Weather resistance without chemical treatment |
Frequently Asked Questions
What is the absolute best wood for a complete beginner?
Pine. It’s the cheapest solid wood, available in every home center, soft enough to cut with basic tools, and forgiving of mistakes. Build your first three to five projects from pine before spending money on anything fancier — the skills transfer directly when you step up to hardwood.
Is poplar better than pine for beginners?
They’re the top two for different reasons. Pine wins on price and availability; poplar wins on finish quality and dent resistance, especially for painted projects. If your project will be painted, choose poplar. If budget is the priority, choose pine. Most beginners end up using both.
Can beginners use hardwood like oak or walnut?
Yes, but strategically. Start with small hardwood accents — a walnut box lid, oak trim on a pine shelf — rather than a full hardwood build. You’ll learn how hardwood cuts, sands, and finishes without risking a $60 board on your first attempt at joinery.
What’s the difference between hardwood and softwood, really?
It’s botanical, not a hardness rating: hardwoods come from deciduous (leaf-shedding) trees like oak and maple, softwoods from conifers like pine and cedar. Some “softwoods” (like Southern yellow pine) are harder than some “hardwoods” (like basswood). For buying purposes, think of it as price and workability categories, not a strict rule.
Should I buy wood online or at a local store?
Buy locally for your first projects. You need to see, lift, and sight down each board — something you can’t do online. Online suppliers make sense later for specialty items like basswood carving blocks or curated hardwood project packs that local stores don’t carry.
How much wood should I buy for my first project?
Follow your cut list, then add 10–20% extra for mistakes, test cuts, and the occasional warped board you’ll reject at the store. An extra $8 pine board is the cheapest insurance in woodworking — running out mid-project and finding the store’s new batch is a different shade is far more frustrating.
The Bottom Line
The best wood for beginner woodworking projects is the wood that lets you finish: pine for everyday building, poplar for anything painted, basswood for carving, cedar for the outdoors, and plywood or MDF when you need big flat panels. Learn how lumber is measured, buy S4S boards, sight every board before it goes in your cart, and let your wood acclimate before you cut. Master these humble materials first — the oak, maple, and walnut will still be there when your skills are ready for them.
Ready to put your lumber to work? Browse our 25 easy woodworking projects for beginners that sell for build ideas matched to exactly these woods, from simple pine shelves to poplar keepsake boxes.



Pingback: Pocket Hole vs Dowel Joint: Which Is Stronger?
Pingback: Easy Woodworking Projects for Beginners (2026 Guide)