
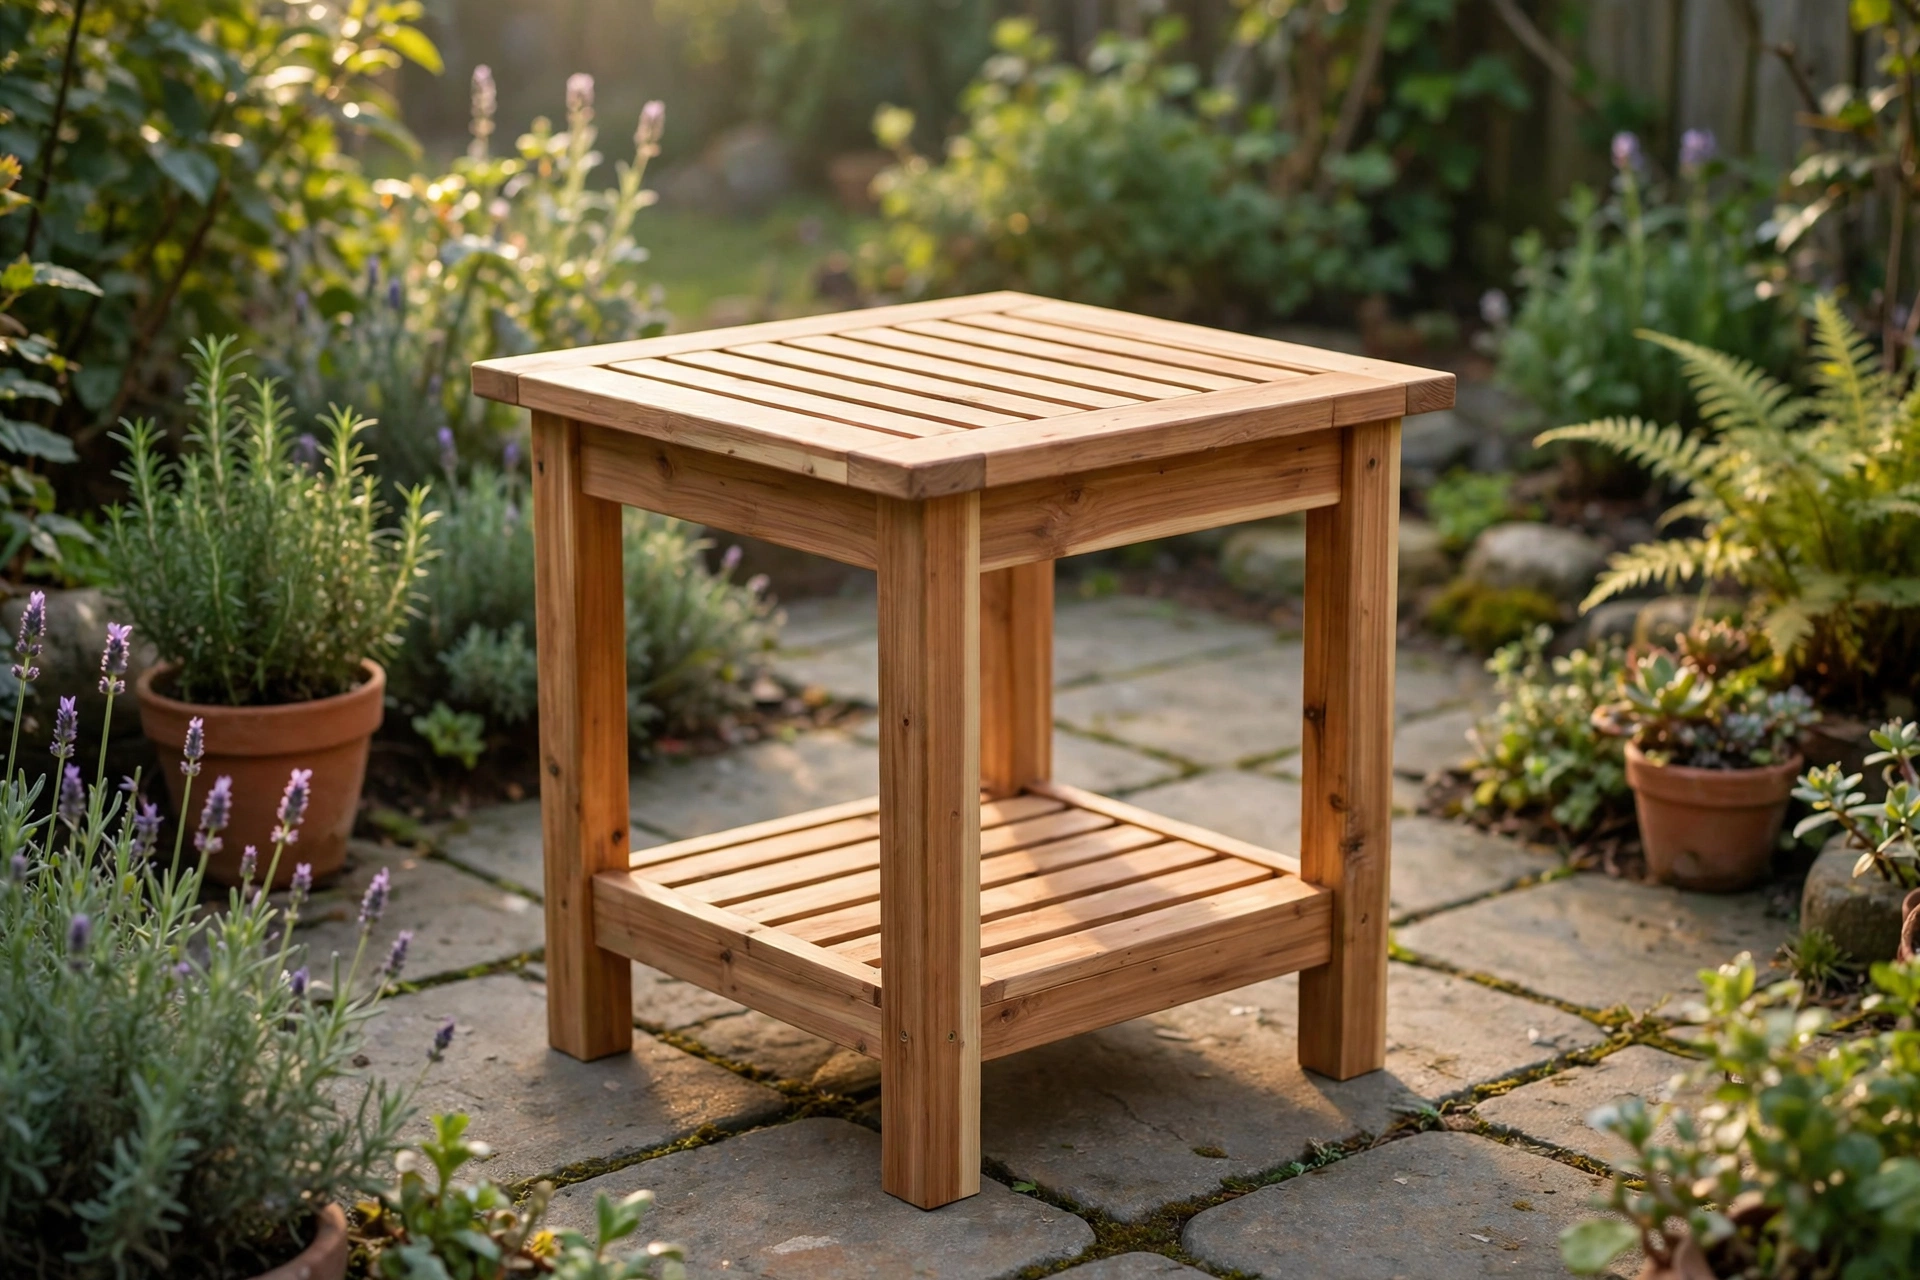
If you have ever wanted a small piece of outdoor furniture that is genuinely useful, looks good on a patio, and does not demand advanced joinery, this project is the one to start with. Learning how to build a wooden outdoor side table for beginners is one of the most satisfying first builds because the project is small enough to finish in a weekend, forgiving enough to survive a few beginner mistakes, and practical enough that you will use it every single day once it is outside.
This guide walks you through a measured, beginner-friendly slatted side table made from cedar. The finished table is about 22 inches wide, 20 inches deep, and 22 inches tall. That size is deliberate. It is wide enough for a coffee mug, a book, and a small plant, deep enough to sit comfortably beside a chair without crowding the walkway, and tall enough to reach easily from a seated position without stooping. It pairs beautifully with a garden bench, a lounge chair, or a pair of patio chairs, and because the top is slatted, rain drains through instead of pooling on the surface.
You do not need a fully equipped workshop for this build. A circular saw or a miter saw, a drill, a tape measure, and some sandpaper will carry you through the whole project. If you have already built a simple project or two, this table will feel like a natural next step. If this is your very first build, take your time, measure twice, and follow the steps in order. By the end, you will have a sturdy, weather-resistant table and a set of skills you can reuse on almost any outdoor project.
For a broader starting point, the easy woodworking projects for beginners that sell pillar guide shows how small beginner projects like this one fit into a larger woodworking journey, from first cuts to finished pieces people actually want.
Why a Small Outdoor Side Table Is the Perfect Beginner Project
A side table is small, but that is exactly why it teaches so much. In a single weekend you will practise measuring and marking, making straight cuts, drilling pilot holes, driving screws squarely, checking for square, sanding through the grits, and applying an outdoor finish. Those are the core skills behind almost every piece of outdoor furniture, and you will learn them on a project where a small error is easy to fix and cheap to replace.
Size also keeps the cost down. This table uses a handful of cedar boards, not a stack of expensive hardwood. Cedar is the right choice for a first outdoor table because it is naturally resistant to rot and insects, it is light and easy to cut and sand, and it smells wonderful when you work it. It does weather to a soft silver-grey if left unfinished, which some people love, but a simple oil finish will keep its warm colour for much longer.
Another advantage is that a side table is genuinely useful in a small space. A full dining table needs a big patio, but a 22-by-20-inch table tucks beside almost any chair. It holds your morning coffee, your evening drink, a phone, sunglasses, and a book. If you already have outdoor seating but nowhere to set things down, this table solves that problem in one afternoon of building.
Getting the Size Right: Height, Width, and Depth
Before you cut anything, it helps to understand why this table is 22 inches wide, 20 inches deep, and 22 inches tall, and how you could adjust it if your seating is different. The most common beginner mistake is building a table that looks right in the workshop but feels wrong next to a chair. A table that is too tall forces you to lift your arm awkwardly; one that is too low makes you reach down every time you pick up a drink.
Standard armchair seat height is roughly 17 to 19 inches, and most patio lounge chairs sit in that range. A side table that is 22 inches tall sits just above the arm of many chairs, which makes it easy to set down and pick up a mug without looking. If your chair is unusually low, such as a deep lounge chair with a seat height near 15 inches, you could drop the legs to 20 inches overall height and the table will still work well. If your seating is a taller upright chair, 22 to 24 inches is comfortable. The table in this guide is designed so that changing the leg length is the only adjustment you need to make: shorten or lengthen the four legs and everything else stays the same.
Width and depth matter too. At 22 inches wide, the table offers a generous top without dominating a small patio. At 20 inches deep, it sits close to a chair without jutting into a walkway. If you plan to pair it with a bench, keep the depth at 20 inches or less so the table does not stick out awkwardly beyond the bench’s footprint.
Side Table Size and Height Guide
| Seating type | Seat height (approx.) | Good table height | Why it works |
|---|---|---|---|
| Low lounge chair | 14–16 inches | 20–21 inches | Table sits just above the seat, easy to reach |
| Standard patio armchair | 17–19 inches | 22 inches (this build) | Level with or just above the chair arm |
| Upright garden chair | 18–20 inches | 22–24 inches | Comfortable reach without stooping |
| Garden bench | 17–18 inches | 22 inches (this build) | Matches bench height and pairs neatly beside it |
| Bar-height outdoor seating | 28–30 inches | 30 inches (custom legs) | Needs longer legs; top and frame stay the same |
Measure your own chair before you cut the legs. Sit in it, rest your arm naturally, and have someone measure from the ground to a comfortable hand height. That number, within an inch or two of 22 inches, is your ideal table height.
Tools and Materials
You do not need specialty tools for this project. Everything below is standard beginner equipment, and most of it you may already own.
Tools You Will Need
- Tape measure and pencil
- Circular saw or miter saw
- Drill/driver with drill bits and a countersink bit
- Speed square or combination square
- Two clamps (helpful but not essential)
- Orbital sander or sanding block
- Sandpaper in 80, 120, and 220 grit
- Safety glasses and hearing protection
- Paintbrush or clean rags for finishing
- A spacer block or a few coins for even slat gaps (a 1/4-inch spacer works well)
Materials You Will Need
- Cedar boards for the top, frame, and legs (see the cut list below)
- 2-inch exterior wood screws (for the frame and legs)
- 1-5/8-inch exterior wood screws (for the slats)
- Exterior wood glue (waterproof rated)
- Outdoor wood oil or spar urethane (see the finish section)
- Wood filler rated for exterior use (optional, for screw holes if you want a clean look)
Buy your cedar from a lumber yard or home centre and pick boards that are straight. Sight down each board like looking down a rifle barrel: if it twists or bows noticeably, set it aside. Slightly bowed boards can still work for short slats, but the legs and frame pieces should be as straight as you can find. If you are unsure how to choose boards, the general advice in our guide to the best wood stain for beginners also covers how different finishes behave on softwoods like cedar, which will help when you reach the finishing step.
The Exact Cut List
Here is the complete cut list for a table 22 inches wide, 20 inches deep, and 22 inches tall. All measurements are finished sizes after cutting. Cut the longest pieces first, then use the offcuts for the shorter pieces where possible. Label each piece with a pencil as you cut it so you do not mix up similar lengths.
Cut List for a Cedar Slatted Side Table
| Part | Quantity | Board size | Cut length | Notes |
|---|---|---|---|---|
| Top slats | 5 | 1×4 cedar | 22 inches | Laid across the width, spaced 1/4 inch apart |
| Top end caps (breadboard ends) | 2 | 1×4 cedar | 20 inches | Run front to back under the slat ends |
| Long aprons | 2 | 1×3 cedar | 18 inches | Run along the length under the top |
| Short aprons | 2 | 1×3 cedar | 16 inches | Join the long aprons into a frame |
| Legs | 4 | 2×2 cedar | 21 inches | Top sits 1 inch above leg tops; total height 22 inches |
| Lower stretchers (long) | 2 | 1×3 cedar | 18 inches | Brace between legs, 6 inches from the floor |
| Lower stretchers (short) | 2 | 1×3 cedar | 16 inches | Complete the lower frame for stability |
A note on the leg math, because beginners often ask about it: the legs are 21 inches long, and the tabletop assembly (slats plus the frame beneath them) adds roughly 1 inch of height on top of the legs, giving a total height of 22 inches. If you want a 20-inch-tall table for a low lounge chair, cut the legs to 19 inches and change nothing else. If you want a 24-inch table, cut them to 23 inches. Keep the rest of the cut list exactly the same.
Before you start cutting, double-check every measurement against your own chair height using the size guide above. Cutting is the one step you cannot undo, so measure twice and cut once, and cut one test piece first if you are using a saw you have not used before.
Step 1: Measure, Mark, and Cut Your Boards
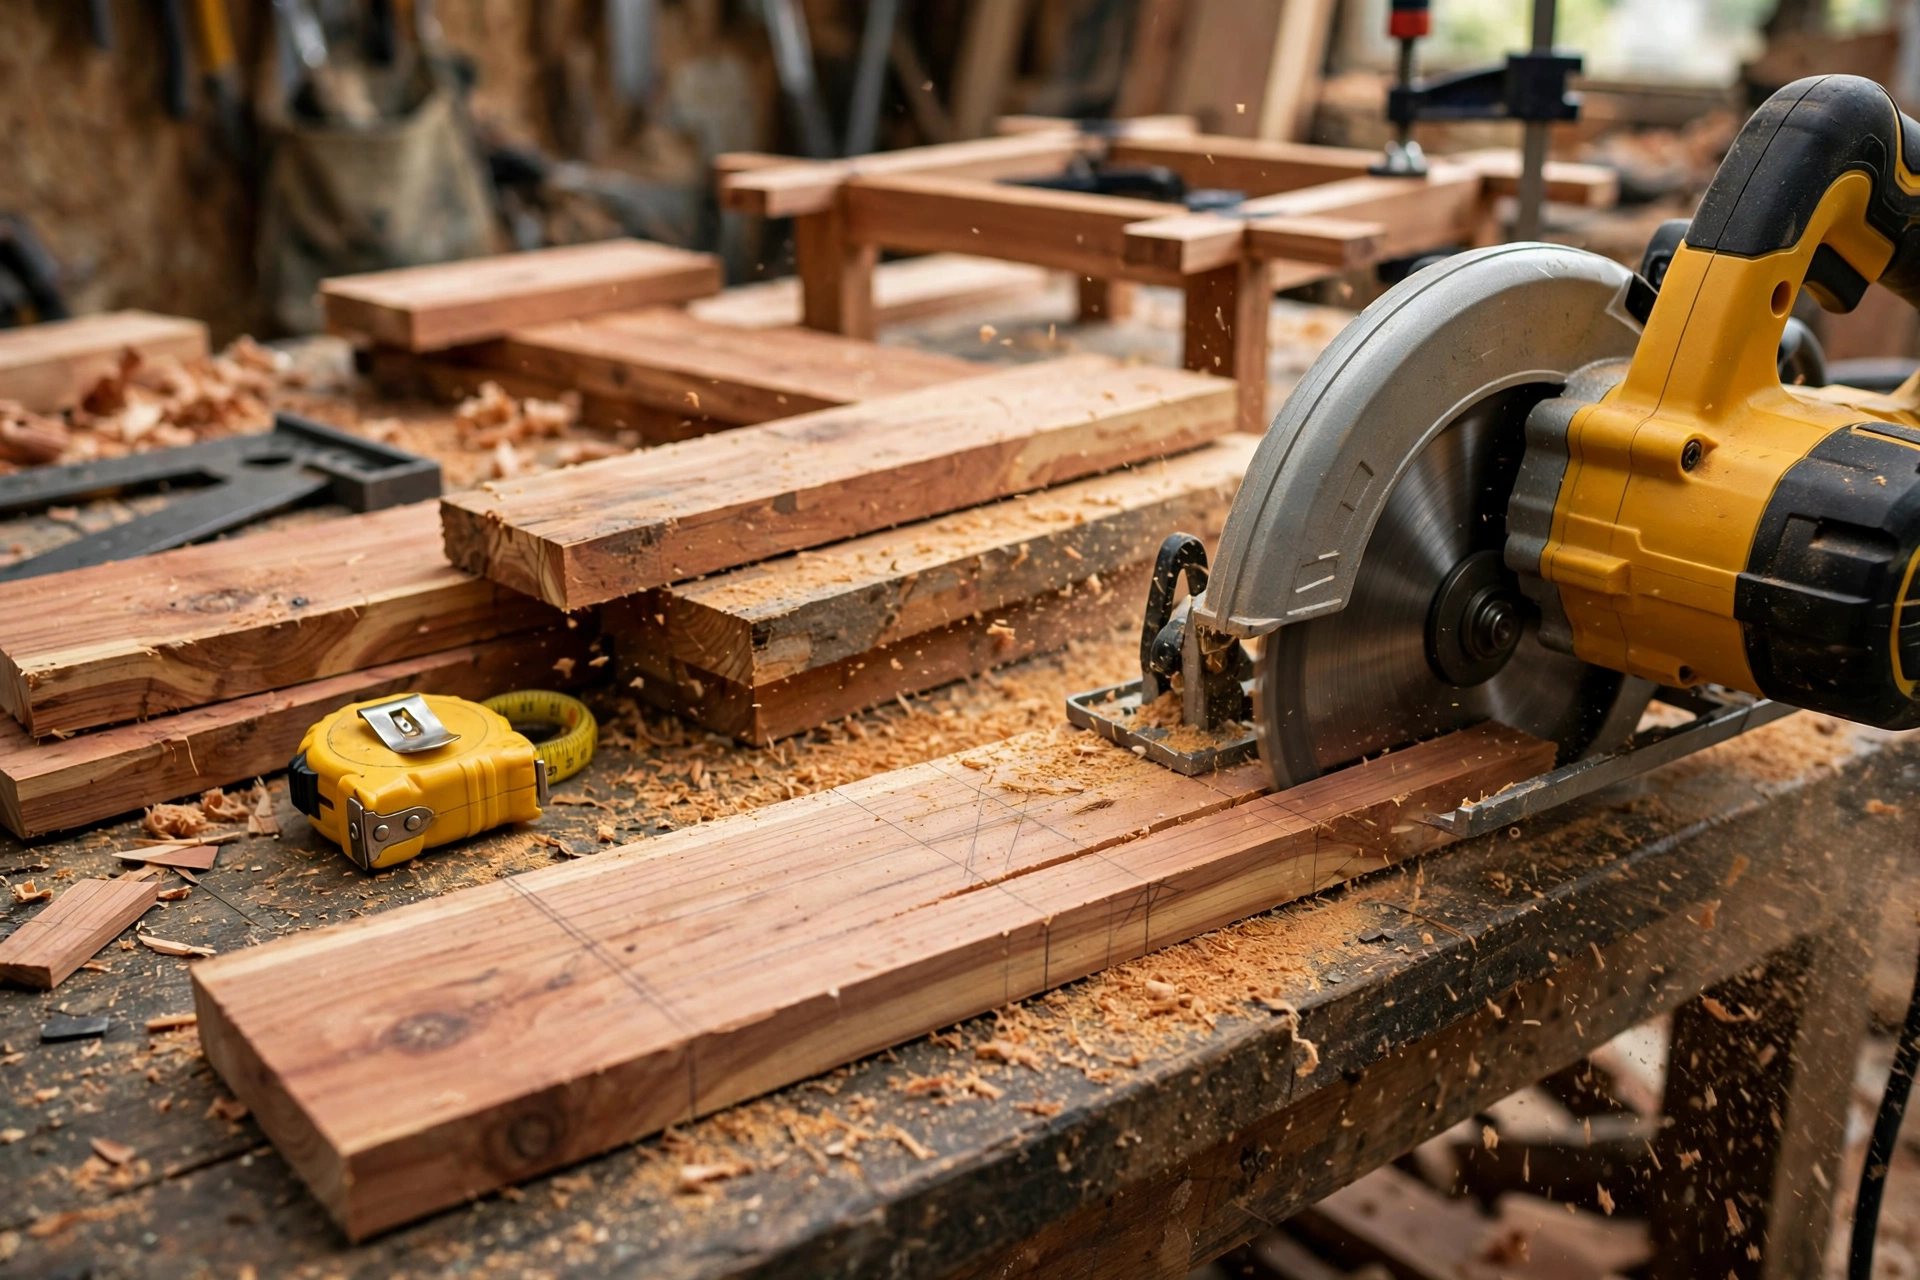
Start by marking all your cuts on the boards before you switch the saw on. Use a tape measure and a sharp pencil, and mark a small “X” on the waste side of each line so you always know which side of the line to cut. A speed square is your best friend here: it helps you draw a square line across the board and guides a circular saw for a straight cut.
Cut the five top slats first, all at 22 inches. Then cut the two end caps at 20 inches, the aprons, the stretchers, and finally the four legs at 21 inches. Stack each group together and check that pieces in the same group are truly the same length. If one slat is a fraction longer than the others, trim it now, while the saw is still set up. Small differences are invisible in a pile of lumber and very visible in a finished tabletop.
Safety matters more than speed. Clamp the board before cutting, keep both hands clear of the blade path, wear safety glasses and hearing protection, and never rush a cut to save a minute. A steady, unhurried cut is almost always a straighter cut, and a straight cut makes every later step easier.
If your cuts are new territory, practising on a scrap piece first is time well spent. You will quickly learn how your saw behaves, how much pressure it wants, and how to follow a line without forcing the blade.
Step 2: Build the Top Frame
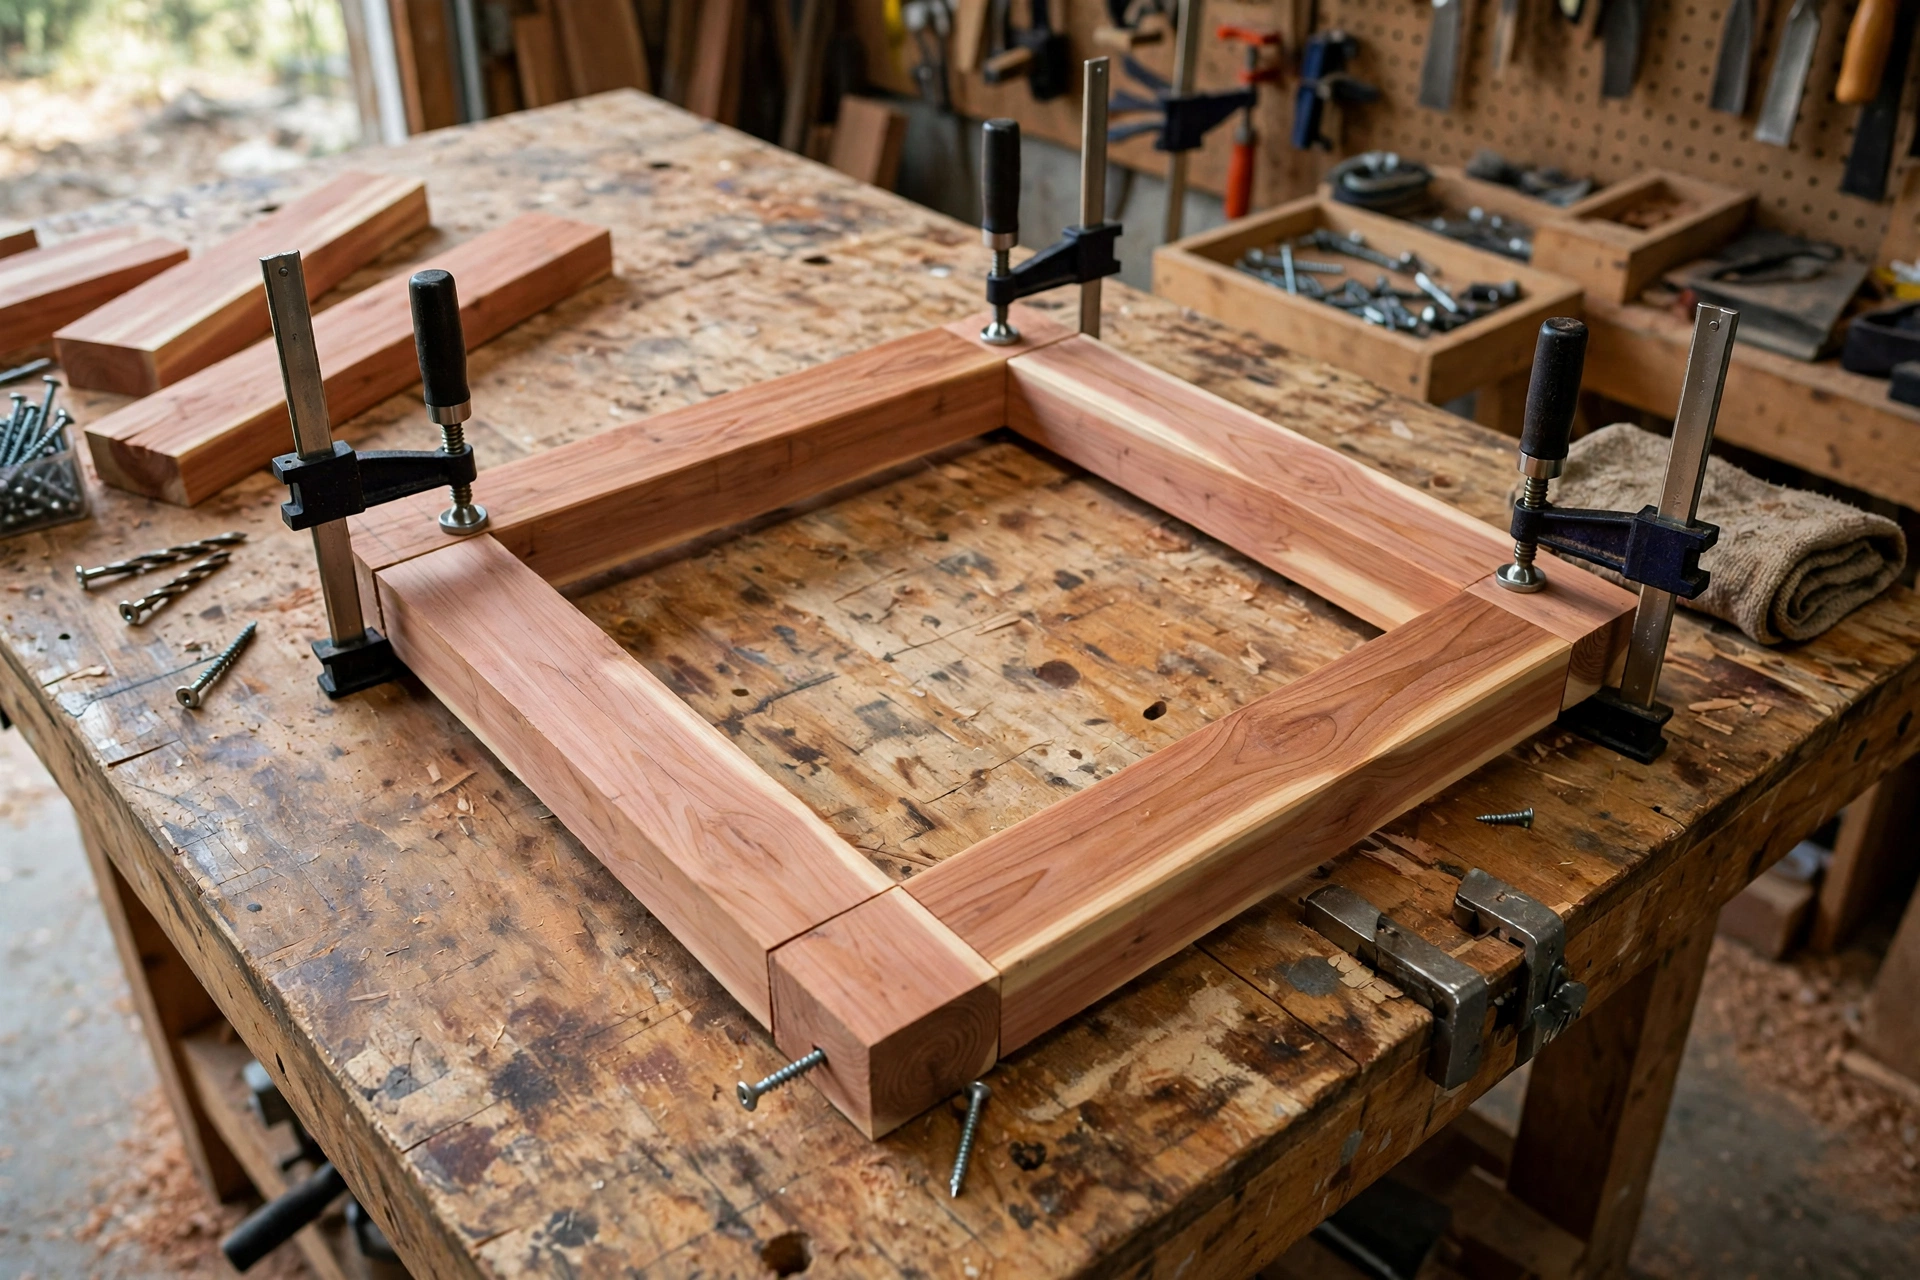
The top frame is the hidden skeleton that holds the slats flat and gives the legs something solid to attach to. Lay the two long aprons parallel on your workbench, 16 inches apart on the inside, and fit the two short aprons between their ends so the whole frame measures 20 inches by 18 inches on the outside. Check that the frame is square by measuring diagonally from corner to corner: both diagonal measurements should match. If they do not, gently push the frame until they do, then clamp it in place.
Drill pilot holes before driving screws. Cedar splits easily near the ends of boards, and a pilot hole is cheap insurance. Drill two pilot holes at each apron joint, add a dab of exterior wood glue, and drive 2-inch exterior screws through the long aprons into the ends of the short aprons. Countersink the screw heads slightly so they sit just below the surface.
Once the frame is assembled, lay it on a flat surface and check for rocking. A frame that rocks now will make a table that rocks later. If it rocks, one apron may be slightly twisted; flipping it over or swapping it for a straighter piece usually solves the problem. Do not move on until the frame sits flat, because every later step builds on it.
Step 3: Add the Slats for a Classic Slatted Top
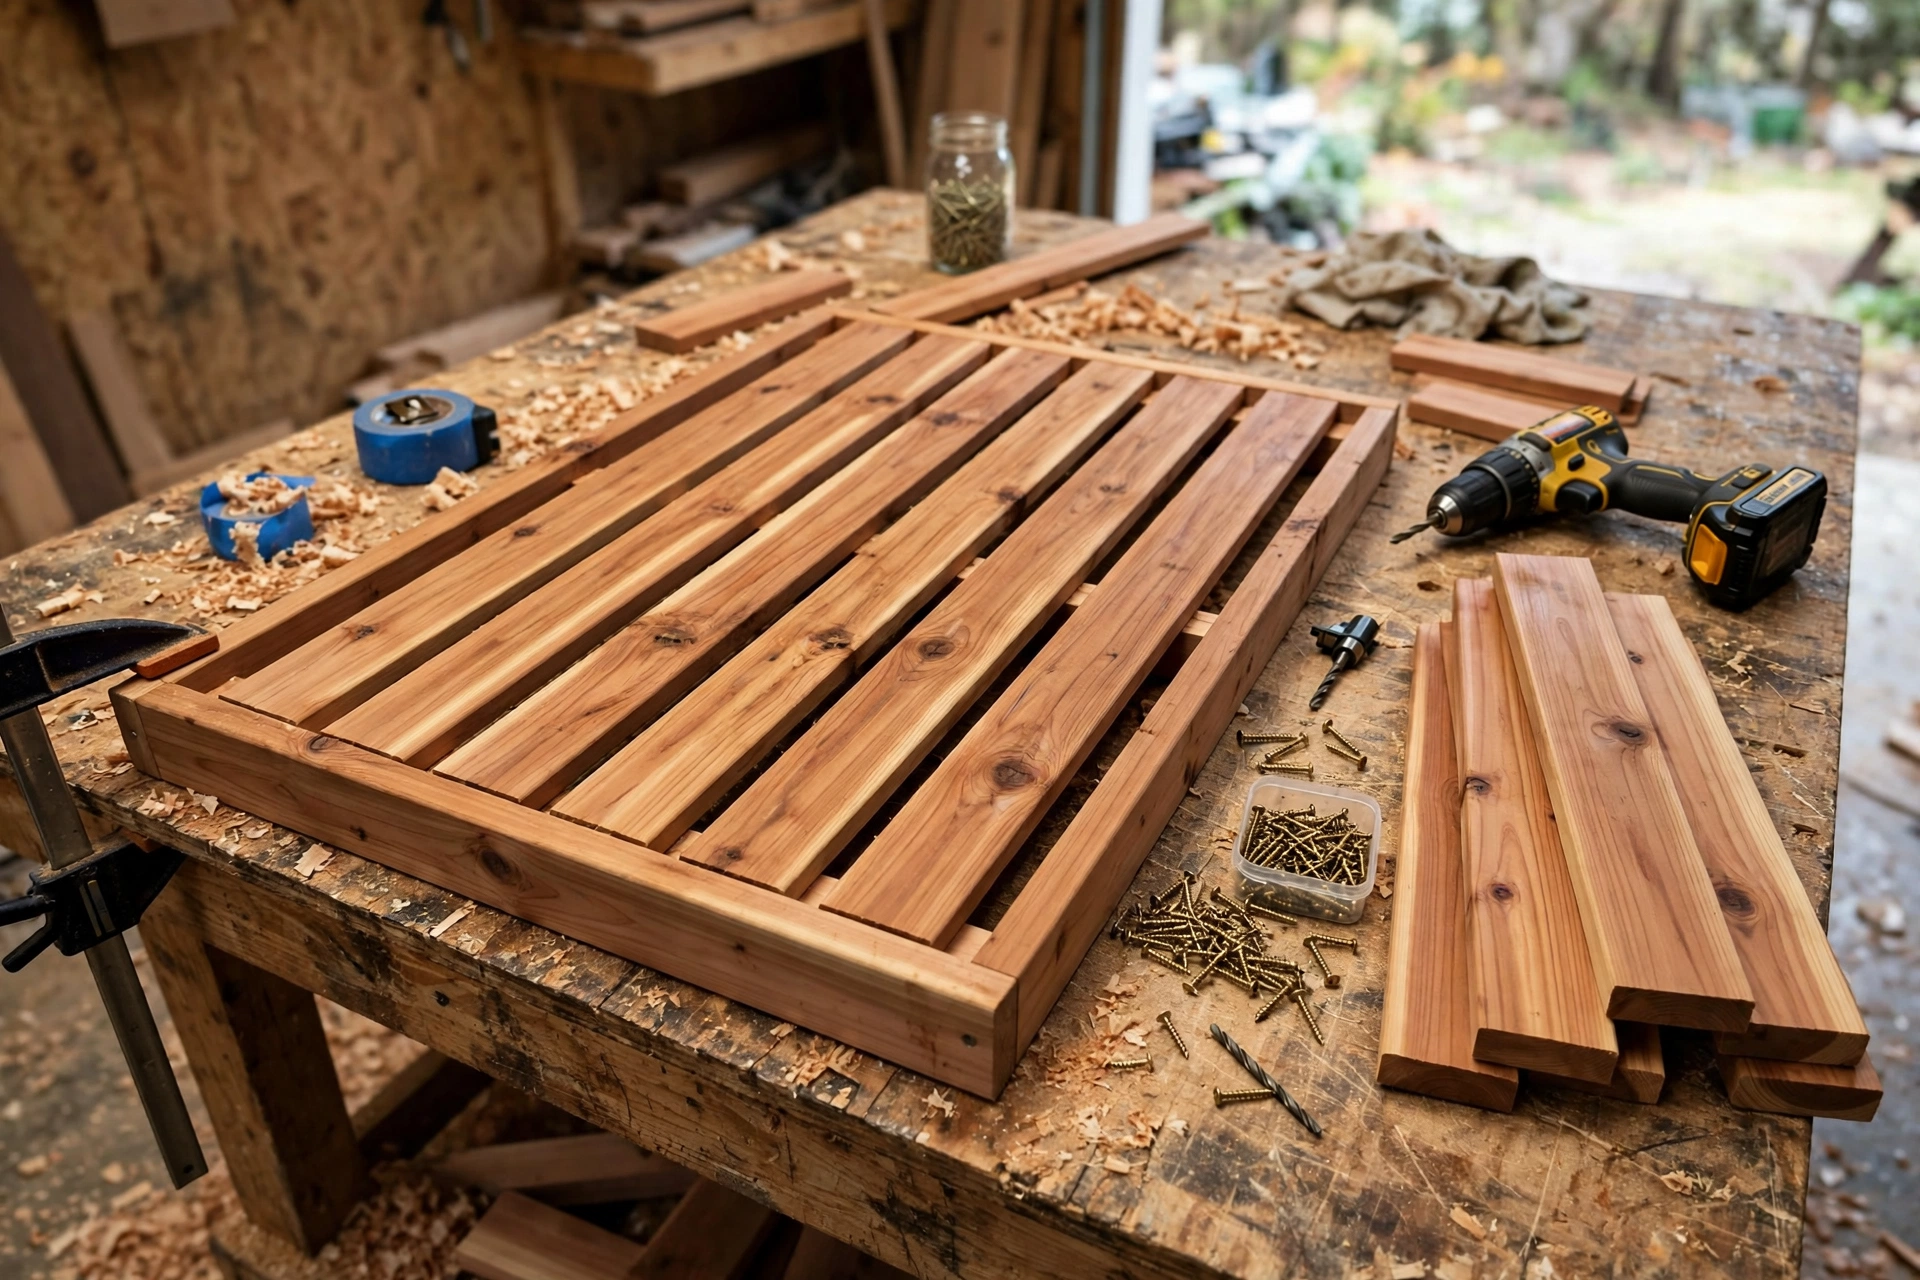
Now lay the five top slats across the frame. The slats run across the 22-inch width, and the two 20-inch end caps sit underneath their ends, front to back, to tie the slats together and give the top a finished edge. Start by placing the two outside slats flush with the ends of the frame, then space the three middle slats evenly. A 1/4-inch spacer between slats gives you the classic look and lets rain drain through. A scrap of 1/4-inch plywood, a couple of stacked coins, or a purpose-made spacer all work; the key is using the same spacer for every gap so the spacing looks intentional, not accidental.
Before you screw anything down, stand back and look at the top. The slats should overhang the frame by a small, even amount on each side, and the gaps should look uniform. Adjust now, because screws make adjustments permanent. When you are happy, drill pilot holes through each slat into the frame and the end caps, and drive 1-5/8-inch exterior screws. Two screws per slat per side keep the slats from cupping over time.
The slatted top is what makes this table so well suited to the outdoors. Solid tops pool water after rain, and pooled water is what shortens the life of outdoor furniture. Slats shed water, dry quickly, and still give you a stable surface for a mug or a book. This is also why this table pairs so well with a bench: both pieces share the same practical, slatted outdoor logic. If you are planning a matching set, our guide on how to build a simple garden bench for beginners uses the same beginner-friendly approach, and building the bench and the table in the same cedar gives you a coordinated patio set.
Step 4: Attach the Legs and Lower Stretchers
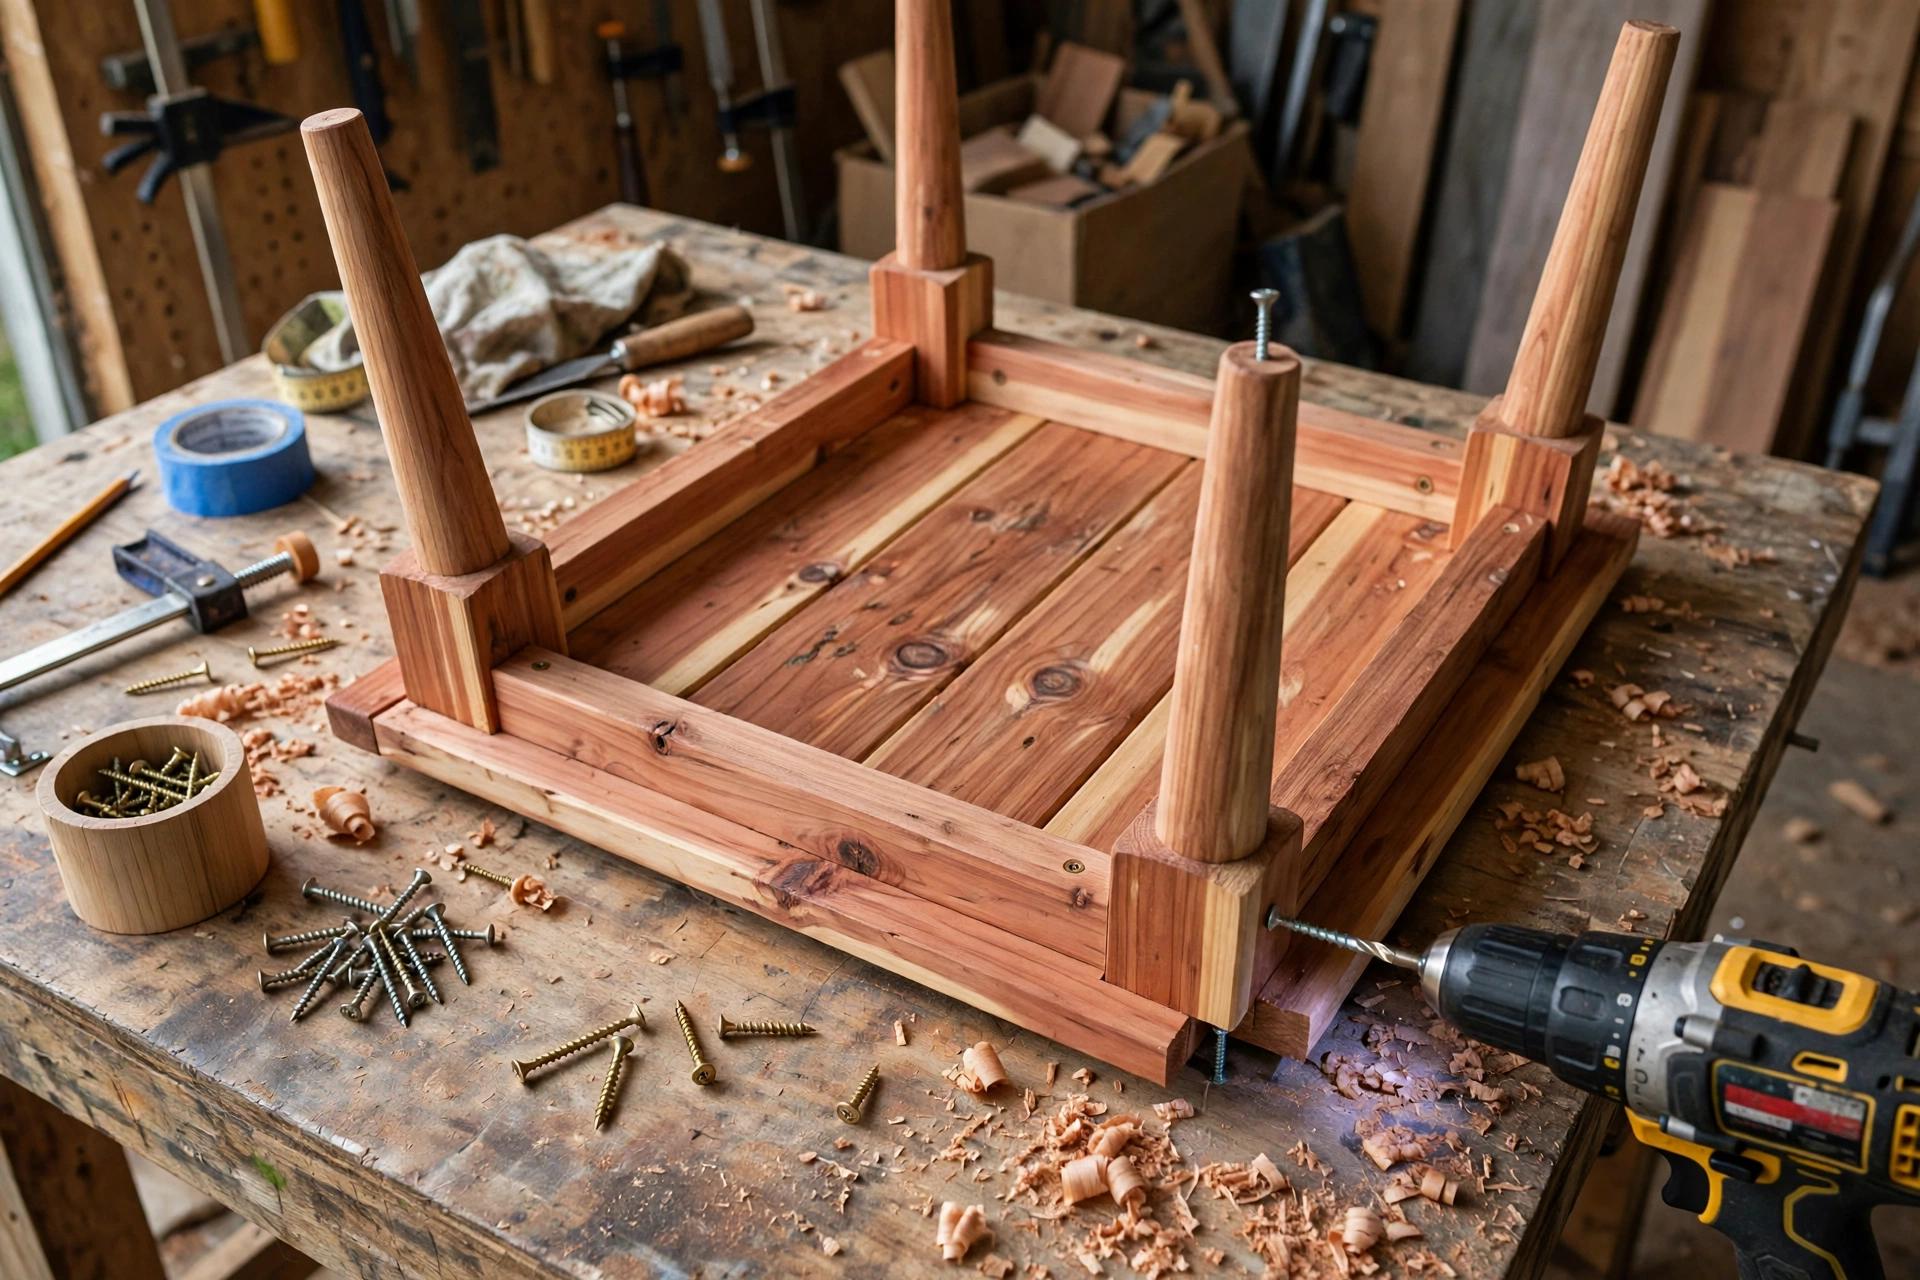
Flip the tabletop upside down on your workbench, resting it on a towel or a piece of cardboard so you do not scratch the top. Position one leg inside each corner of the frame, flush with the inside faces of the aprons. Each leg should extend 21 inches below the frame, giving the 22-inch total height once the top is counted. Check that each leg sits square to the frame with your speed square, then drill pilot holes and drive two 2-inch exterior screws through each apron into each leg, with a dab of glue on the joint for extra strength.
With all four legs attached, add the lower stretchers. These run between the legs about 6 inches up from the floor and stop the table from racking, which is the sideways wobble that makes cheap outdoor furniture feel flimsy. Attach the two long stretchers first, then the two short ones, using the same pilot-hole, glue, and screw method. The lower frame also gives the table a finished, furniture-like look from every angle, rather than four bare legs.
Stand the table upright and test it on a flat floor. Press down on opposite corners in turn. A well-built table should feel solid with no rocking. If it rocks slightly, check whether one leg is a fraction longer than the others: a few passes with sandpaper or a careful trim on the long leg usually fixes it. If it wobbles sideways, check that the stretchers are tight and that every screw is fully driven. Fixing wobble now is easy; fixing it after finishing is annoying, so take the time here.
Step 5: Sand Smooth, in the Right Order
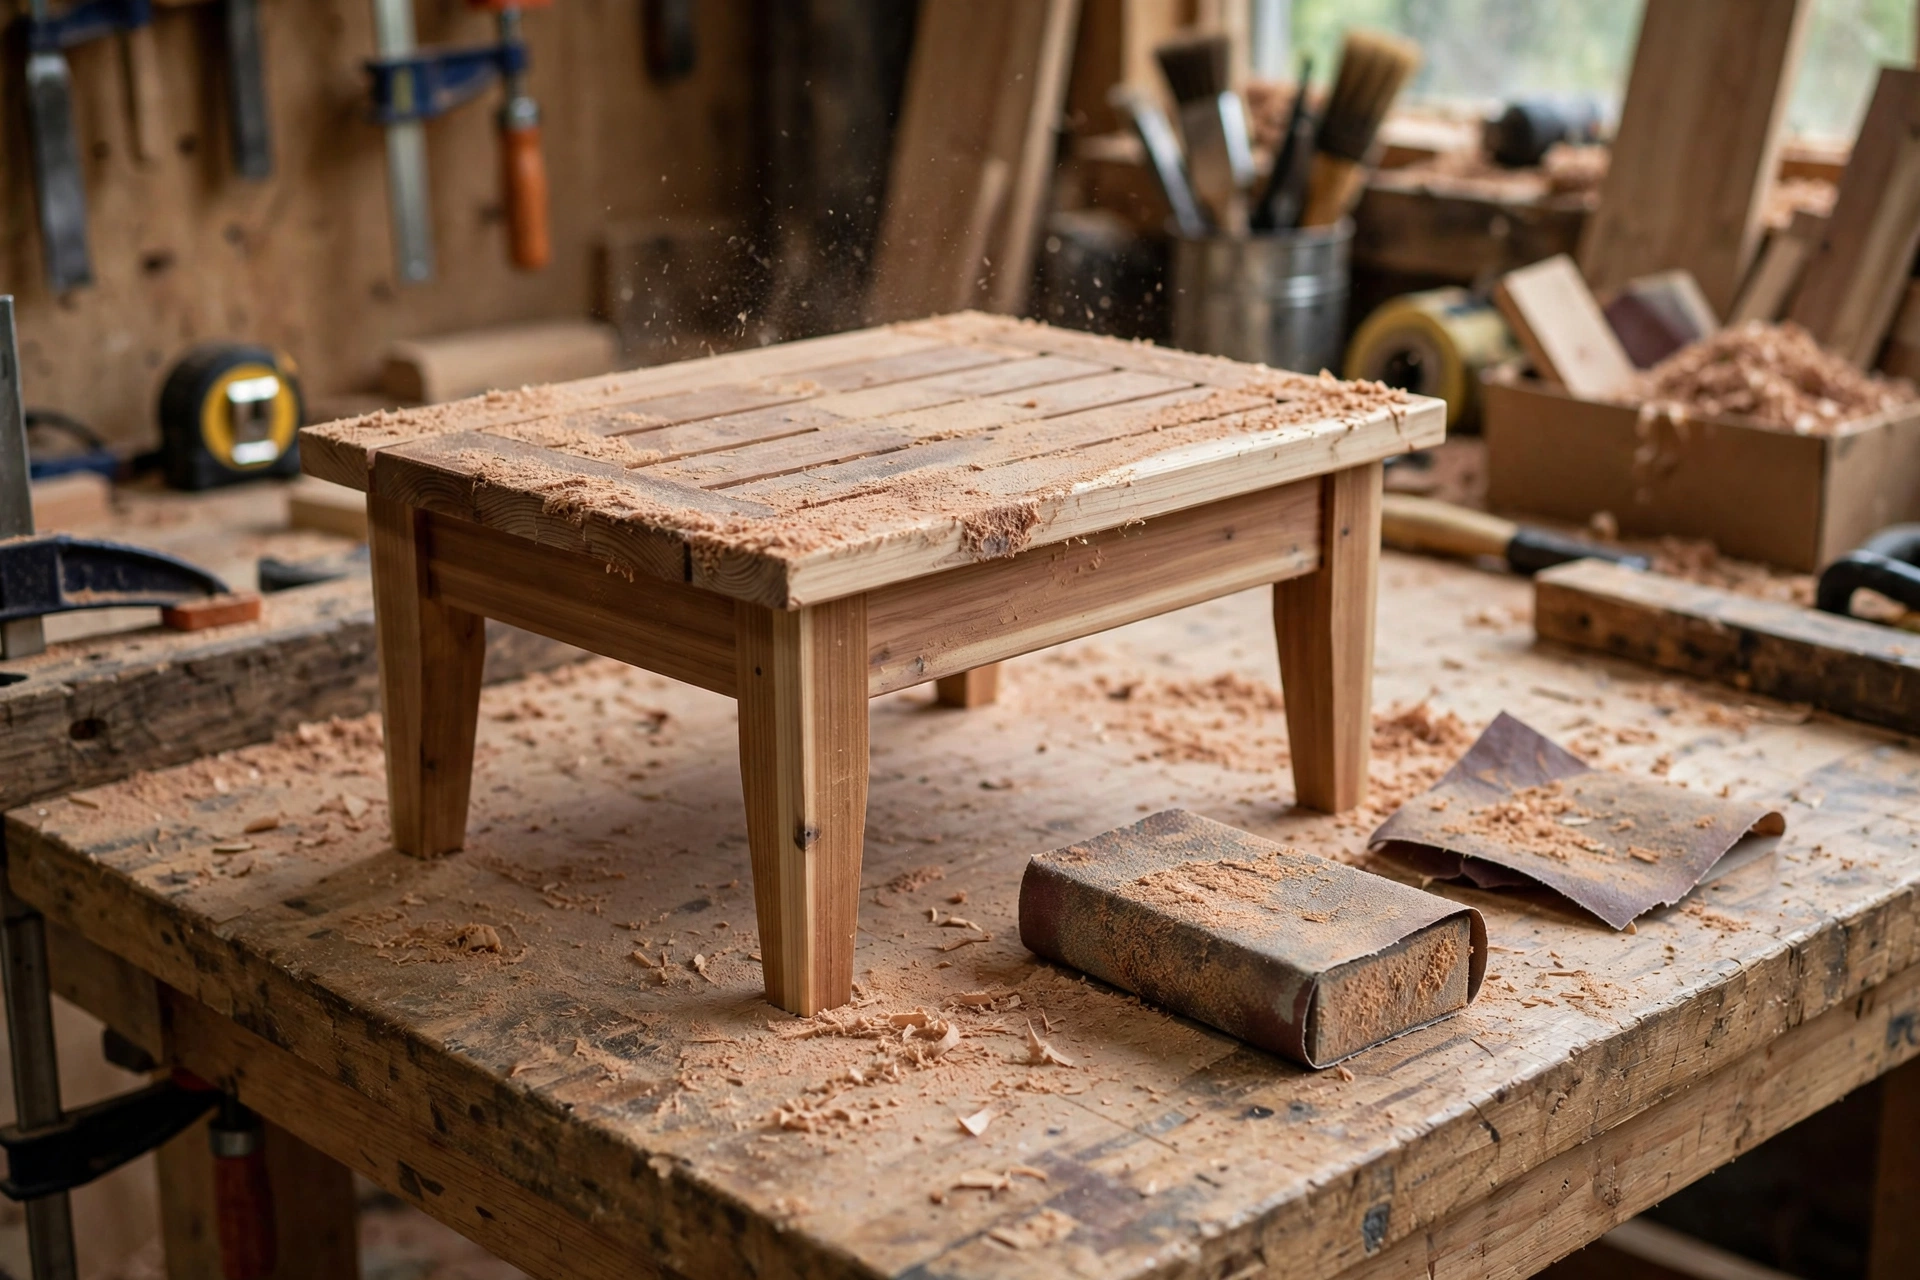
Sanding is the step that separates a table that looks homemade from one that looks handcrafted, and the secret is simply working through the grits in order and sanding with the grain, never across it. Start with 80-grit sandpaper to remove saw marks and soften sharp edges. Pay attention to the slat edges and the leg corners: slightly rounding over sharp edges makes the table more comfortable to bump into and helps the finish stick, because finishes peel first from sharp edges.
Next, move to 120-grit to remove the scratches left by the 80-grit, then finish with 220-grit for a smooth surface that feels silky to the touch. After each grit, brush or vacuum off the dust and run your hand over the surface. Your hand will find rough spots your eyes miss. If you want a deeper guide to this part of the process, our article on how to sand and finish wood for beginners explains grit progression, dust removal, and common sanding mistakes in more detail.
Do not skip sanding the underside and the insides of the legs. You may not see those surfaces every day, but you will feel them when you move the table, and a finish applied over rough wood will not last as long. Once you have sanded everything, wipe the whole table down with a slightly damp cloth or a tack cloth and let it dry completely before finishing. Dust left on the surface will show up as bumps under the finish.
Step 6: Choose and Apply an Outdoor Finish
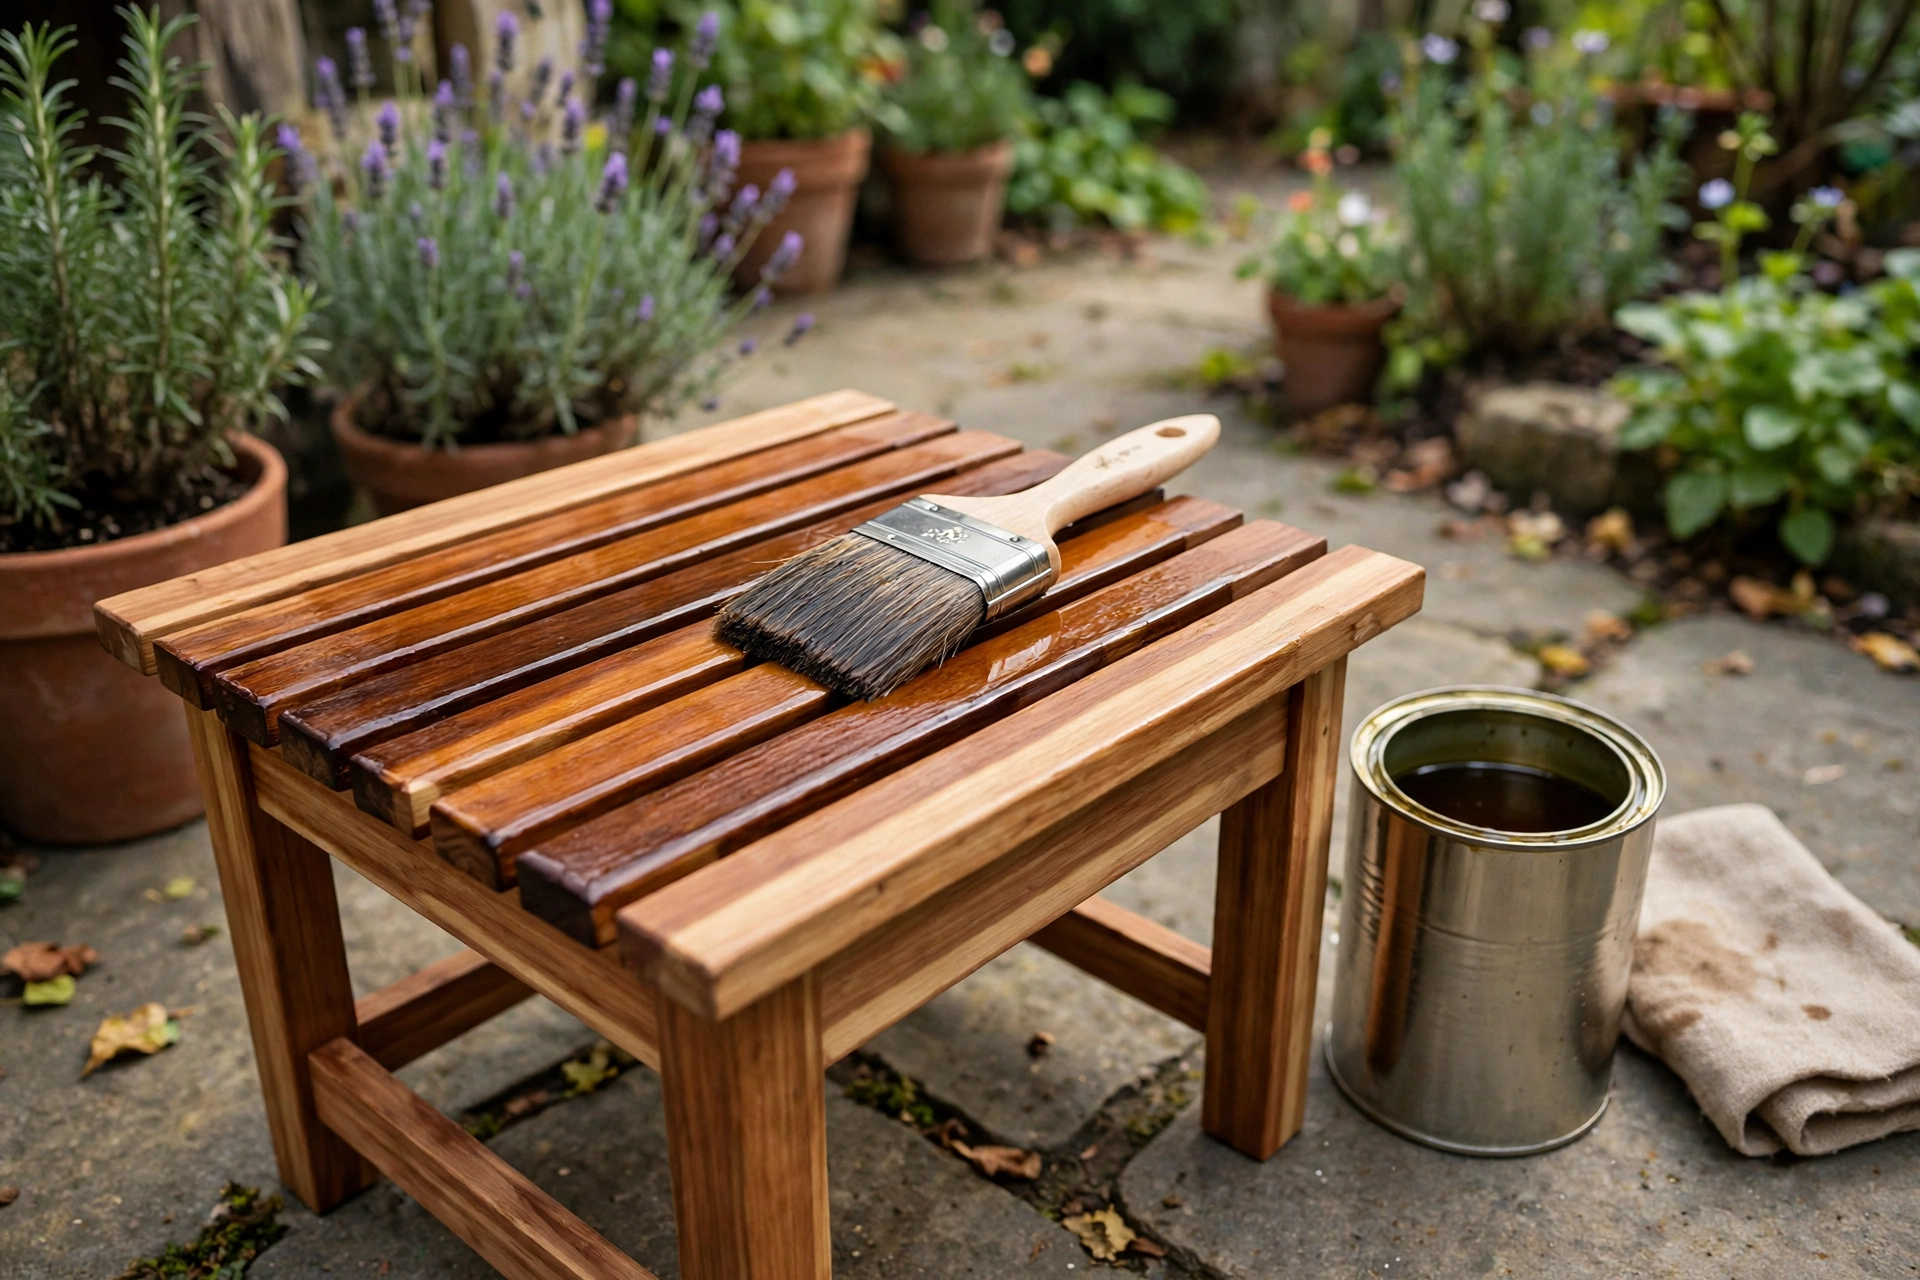
Cedar will survive outdoors unfinished, but it will turn silver-grey within a season or two. Some people like that weathered look, and if you do, you can leave the table bare and simply clean it once a year. Most beginners, though, prefer to keep the warm cedar colour, and that means applying an outdoor finish. The two best beginner options are outdoor wood oil and spar urethane, and they suit different priorities.
Outdoor oil soaks into the wood, is very easy to apply with a rag or brush, and is easy to refresh: when the colour starts to fade, you clean the table and wipe on another coat. It does not form a hard film, so it will not peel, but it does need reapplying once or twice a year depending on sun and rain exposure. Spar urethane forms a protective film on the surface, lasts longer between coats, and gives a slightly glossier look, but it demands more careful application to avoid drips and bubbles, and when it eventually wears it needs sanding before recoating.
Outdoor Finish Comparison
| Finish | Look | Durability | Reapply | Best for |
|---|---|---|---|---|
| Outdoor wood oil | Natural, matte, warm cedar tone | Good; needs regular top-ups | Every 6–12 months | Beginners who want easy maintenance |
| Spar urethane | Slight sheen, film-forming | Longer lasting, 1–2 years | Sand lightly, then recoat | Tables left out all year in harsh weather |
| No finish (weathered) | Silver-grey over time | Wood survives; colour changes | None, just annual cleaning | A rustic, low-effort look |
For a first table, outdoor oil is the friendliest choice. Apply it in thin coats with a brush or rag, following the grain, and wipe off any excess after 15 minutes so it does not dry sticky. Let the first coat dry fully, usually 24 hours, then apply a second coat the same way. Two thin coats always beat one thick coat. Work in the shade if you can: direct sun makes finishes dry too fast and can leave lap marks. If you choose spar urethane instead, apply thin coats with a good brush, watch for drips on the leg edges, and lightly sand with 220-grit between coats.
Whichever finish you pick, let the table cure for at least 48 hours before putting it into daily use, and keep it out of heavy rain for the first few days. That patience pays off in a finish that lasts.
What This Table Costs
Prices vary by region and lumber yard, but a cedar side table of this size is an affordable build. The table below gives realistic planning figures so you can budget before you buy.
Estimated Cost Breakdown
| Item | Estimated cost (USD) |
|---|---|
| Cedar boards (top, frame, legs, stretchers) | $45–$70 |
| Exterior wood screws (one box covers the build) | $8–$12 |
| Exterior wood glue | $5–$8 |
| Sandpaper set (80, 120, 220 grit) | $5–$8 |
| Outdoor wood oil or spar urethane | $12–$20 |
| Brushes/rags | $3–$5 |
| Total | $78–$123 |
If you already own screws, glue, and sandpaper, the out-of-pocket cost drops to roughly the price of the cedar and the finish alone. Buying slightly more cedar than the cut list calls for is wise: one spare board covers a miscut without a second trip to the store, and offcuts are perfect for small projects. Those offcuts, in fact, are ideal for a quick companion project such as easy wooden coasters for beginners, which turn leftover cedar into something useful for the very table you just built.
Pairing Your Side Table With a Garden Bench
A side table earns its place when it sits next to seating, and the most natural partner is a garden bench. Place the table at one end of the bench, or between two chairs, at the same 22-inch height so the set reads as one intentional arrangement rather than a collection of separate pieces. Keeping the same wood, cedar in this case, and the same finish across both pieces ties them together visually even if they were built months apart.
Think about how you will actually use the pairing. A table beside a bench holds drinks during a conversation, a book during a quiet morning, and a lantern in the evening. Leave at least a few inches between the table and the bench so people can sit down without catching a hip on the table corner, and place the set where it gets a mix of sun and shade if you can. A table that bakes in full sun all day will need its oil finish refreshed more often, while one in deep shade stays damp longer after rain. A spot with morning sun and afternoon shade is ideal.
If you build the bench later, build it from the same cedar supplier if possible, because cedar colour varies between batches. Even so, a small difference in tone between two pieces looks natural outdoors, so do not worry about a perfect match. The goal is a comfortable, usable corner of the garden, not a showroom set.
Common Beginner Mistakes (and How to Avoid Them)
- Skipping pilot holes. Cedar splits, especially near board ends. Drill a pilot hole slightly smaller than your screw every time, and you will almost never split a board.
- Uneven slat gaps. Eyeballing gaps gives a wavy top. Use one spacer for every gap and the top will look professionally made.
- Forgetting to check for square. Measure the frame diagonally before screwing it together. A frame that is out of square makes a tabletop that never quite lines up.
- Sanding across the grain. Cross-grain scratches are hard to remove and show up under finish. Always sand in the direction of the wood grain.
- Applying finish too thickly. Thick coats drip, bubble, and peel. Two thin coats, wiped or brushed evenly, always outperform one heavy coat.
- Building to the wrong height. Measure your chair first. A table built to a guessed height is the most common reason a finished table feels awkward to use.
- Rushing the cure time. Putting a mug on a table before the finish has cured can leave a ring that is difficult to remove. Give it 48 hours.
Caring for Your Outdoor Side Table
Once a year, give the table a proper clean: brush off dirt, wash it with mild soap and water, let it dry fully, and check the finish. If water no longer beads on the surface, or the colour looks faded and dry, it is time for a maintenance coat of oil. Lightly sand with 220-grit, wipe off the dust, and apply one thin coat. That single annual habit is the difference between a table that lasts three years and one that lasts ten.
In winter, if your climate brings heavy snow or long wet spells, moving the table under cover or tipping it on its side under a porch extends its life considerably. Cedar handles weather well, but no wood enjoys sitting in standing water for months. Even simply raising it off the ground on a dry surface helps. Check the screws once a year too: outdoor wood moves with the seasons, and a screw that has worked slightly loose is a two-minute fix with a driver if you catch it early.
Frequently Asked Questions
How long does it take to build a wooden outdoor side table for beginners?
Most beginners finish this table in one weekend: a few hours for cutting and assembly on the first day, and sanding and finishing on the second. The finish needs drying time between coats, so plan for the table to be usable about three days after you start, even though the hands-on work is only four to six hours.
What is the best wood for a beginner outdoor side table?
Cedar is the best choice for most beginners because it resists rot and insects naturally, is light and easy to cut and sand, and looks beautiful with a simple oil finish. Pine is cheaper but needs more protection outdoors and will not last as long unless it is pressure-treated and well finished. Hardwoods like teak last longer but cost much more and are harder to cut with beginner tools.
Can I build this table with only a circular saw?
Yes. Every cut in this project is a straight crosscut, which a circular saw with a speed square guide handles well. A miter saw makes the work faster and more repeatable, but it is not required. Whichever saw you use, clamp your workpiece, mark your cut clearly, and make a test cut on scrap first.
Should the slats have gaps, or should the top be solid?
Gaps are better outdoors. A 1/4-inch gap between slats lets rain drain instead of pooling, helps the top dry faster, and reduces the risk of warping. Solid tops look fine indoors but hold water outside, which shortens the life of the finish and the wood underneath.
How do I stop my outdoor side table from wobbling?
Check three things in order: legs of equal length, a square frame, and tight lower stretchers. Most wobble comes from one leg being slightly longer than the others, which a few passes of sandpaper or a careful trim will fix. If the table racks sideways, tighten or add screws at the stretcher joints, and confirm the frame was assembled square.
How often should I refinish a cedar outdoor side table?
With outdoor oil, plan on a maintenance coat every 6 to 12 months, depending on sun and rain exposure. With spar urethane, you will usually get one to two years before a recoat is needed. The simplest test is water: if water stops beading on the surface and instead soaks in and darkens the wood, it is time to refinish.
Can I change the size of this table?
Yes, easily. The leg length controls the height, so change only the legs to adjust height. To make the table wider, add a slat or lengthen the slats and the long aprons by the same amount. To make it deeper, lengthen the end caps and short aprons. Keep the slat gaps at 1/4 inch and the stretcher height at about 6 inches from the floor whatever size you choose.
Recommended Products for This Project
As an Amazon Associate, I earn from qualifying purchases.

DEWALT Random Orbit Sander, Variable Speed, 5-Inch (DWE6423)
Smooth, swirl-free finish on outdoor boards with variable speed control.
DEWALT 20V MAX Circular Saw, 6-1/2-Inch (DCS391B, Tool Only)
Cordless 6-1/2-inch circular saw for fast, straight cuts in boards (battery sold separately).

DEWALT 20V MAX Cordless Drill/Driver Kit (DCD771C2)
Compact drill/driver with two batteries for drilling pilot holes and driving screws all day.
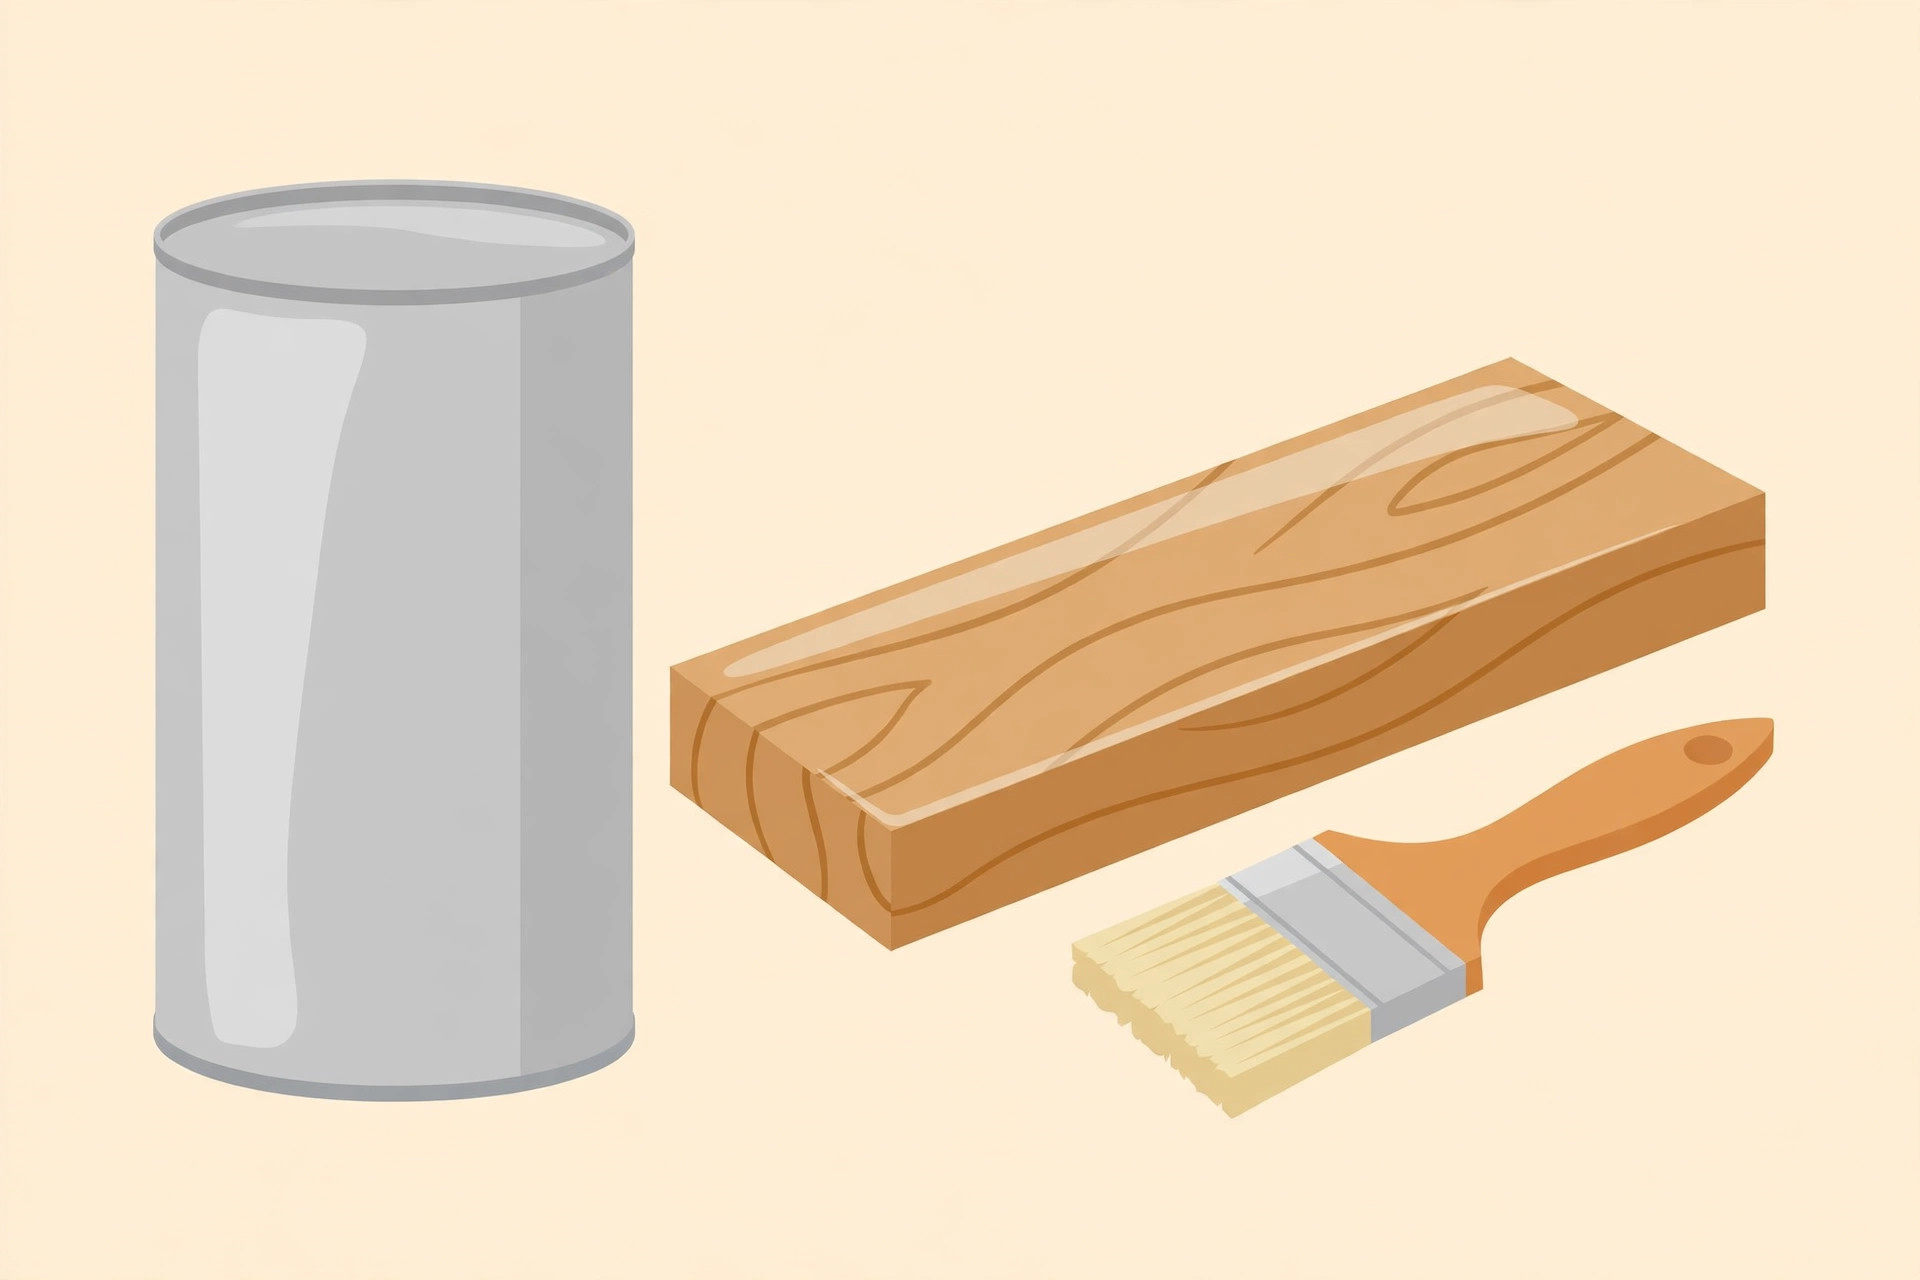
Minwax Water Based Helmsman Spar Urethane, Gallon, Gloss (710500000)
Clear gloss spar urethane with UV blockers for sun- and rain-exposed wood.
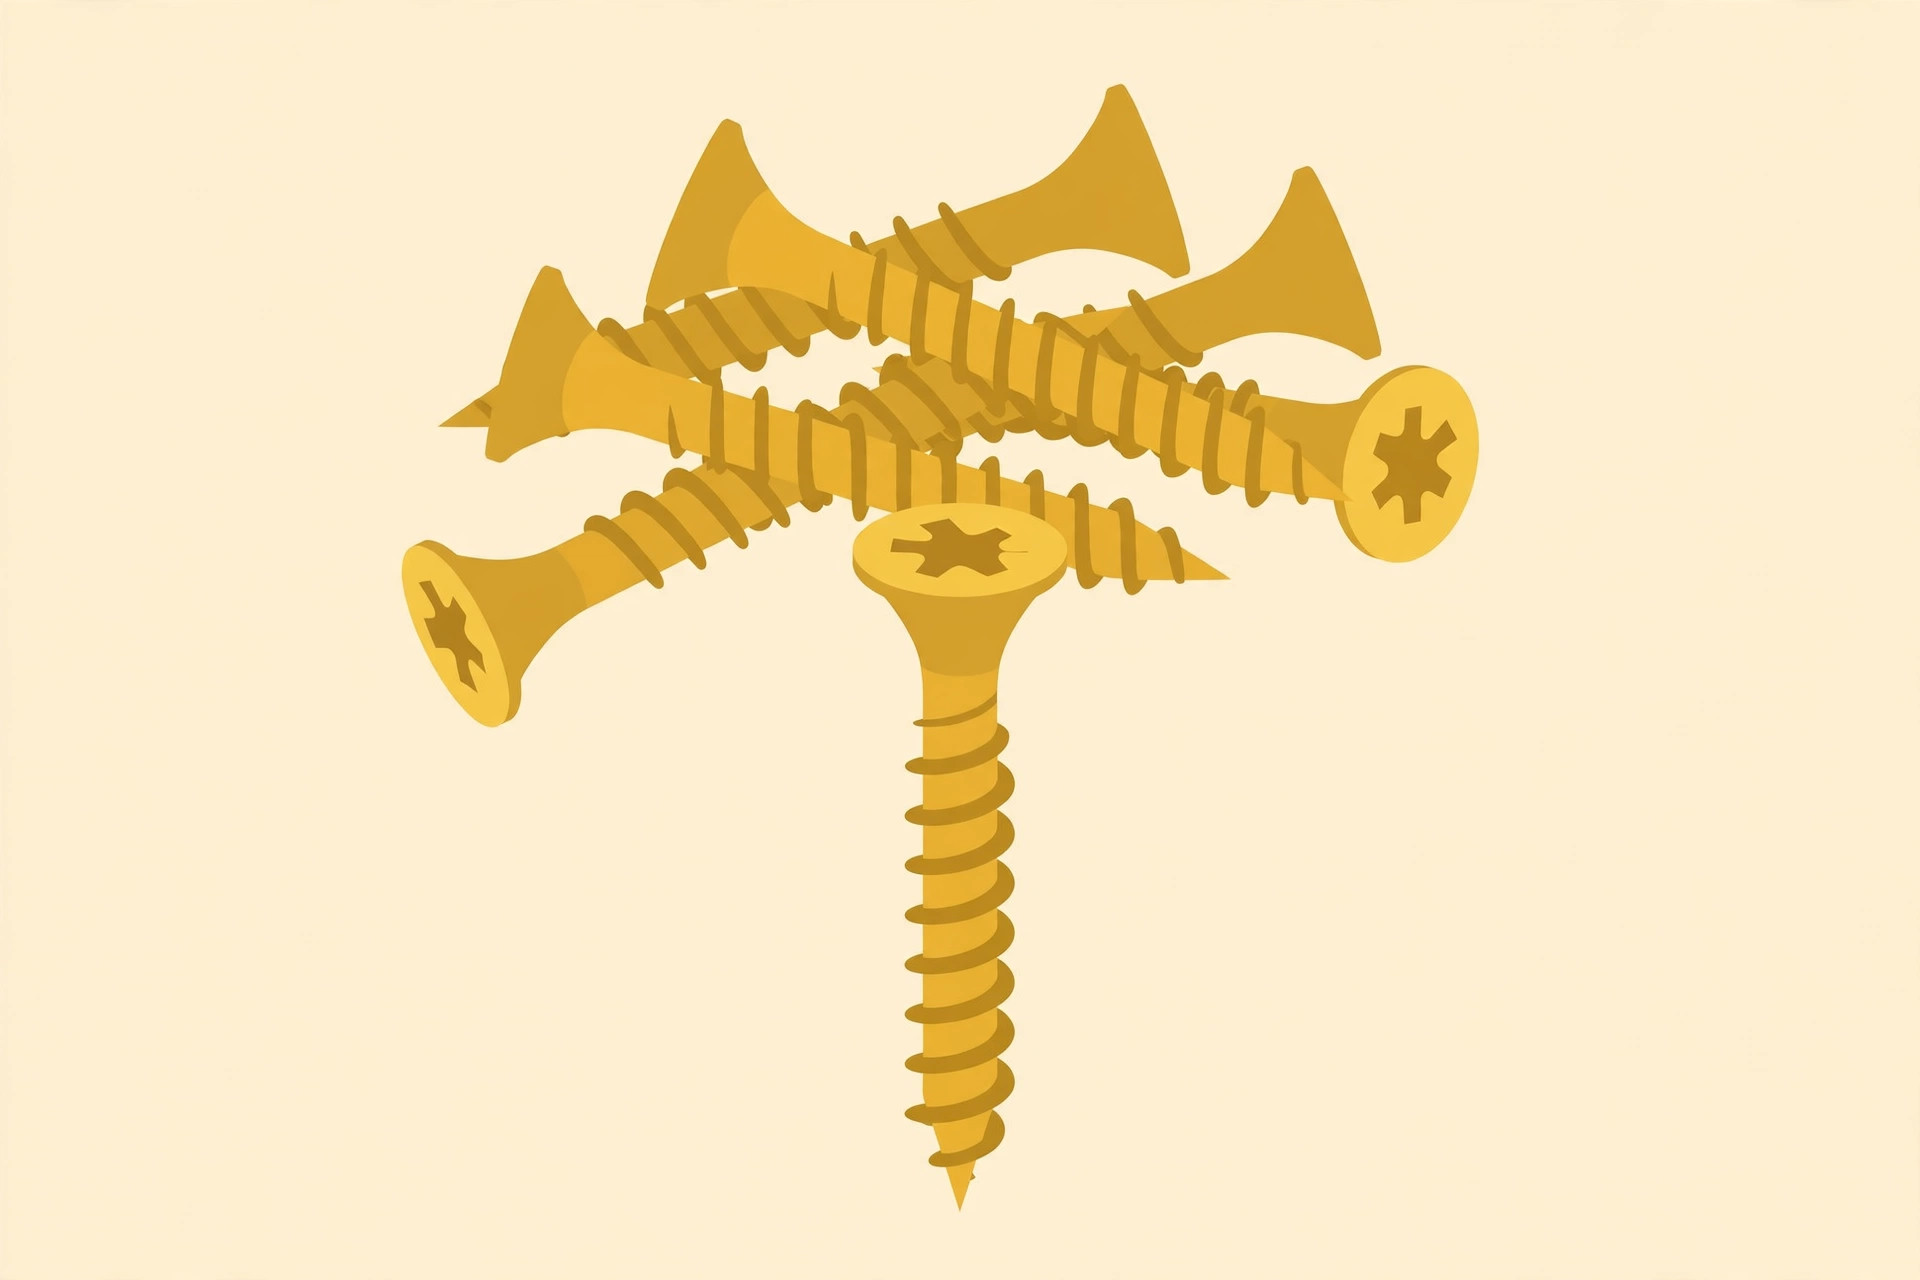
FIXLINK Deck Screws #8 x 2 Inch, 310-Pack
Rust-resistant coated screws that hold outdoor table joints tight.



Pingback: How to Build a Wooden Side Table for Beginners - Daily Wood Craft