
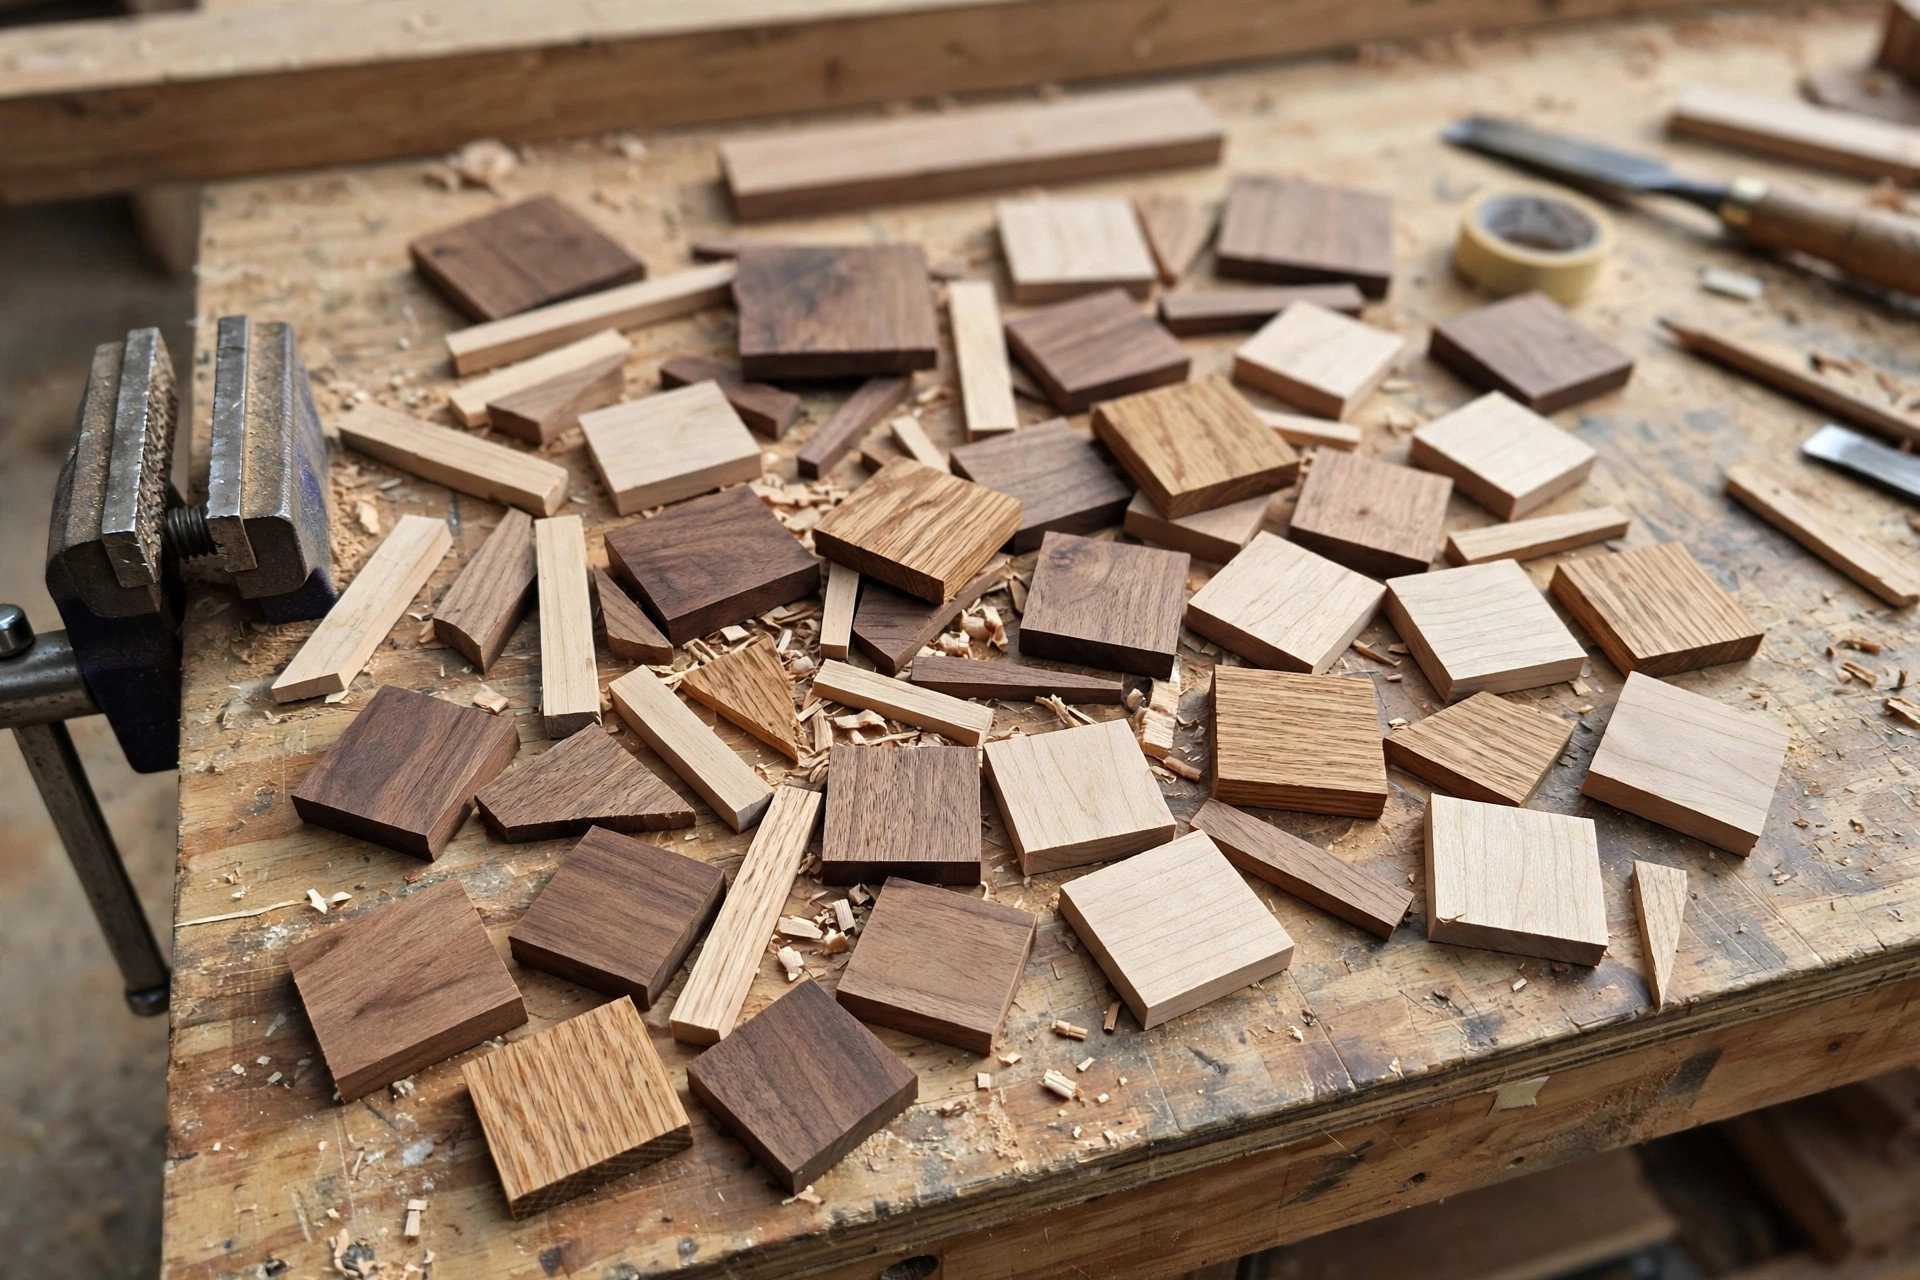
Coasters are the perfect first scrap-wood project: small, cheap, useful, and forgiving enough that a beginner can finish a whole gift set in an afternoon. Learning to make easy wooden coasters for beginners teaches the same skills as larger projects — square cuts, flat glue-ups, sanding through the grits, and applying a finish that survives water — but on pieces so small that a mistake costs a few centimetres of scrap instead of a whole board. This guide makes a set of four coasters from 4×4 offcuts or glued strips, in square and hexagon options, with a finish that resists condensation rings and a simple holder that turns the set into a gift.
The secret to coasters that stay flat is not fancy wood or expensive finish — it is sealing all sides equally. A coaster finished on the top only absorbs moisture from below, cups upward, and rocks on the table. A coaster sealed on every face, including the bottom and edges, moves evenly and stays flat. That single rule, plus cutting all four coasters from the same board so they expand and contract together, is most of what separates a coaster set that lasts from one that warps in the first month. The rest is straightforward: cut, sand, finish, add feet, and build a holder from the offcuts.
If this is one of your first builds, start with the pillar guide to easy woodworking projects for beginners that sell to see where coasters fit among the best beginner projects, then come back here for the full measured build.
Choosing Scrap Wood for Coasters
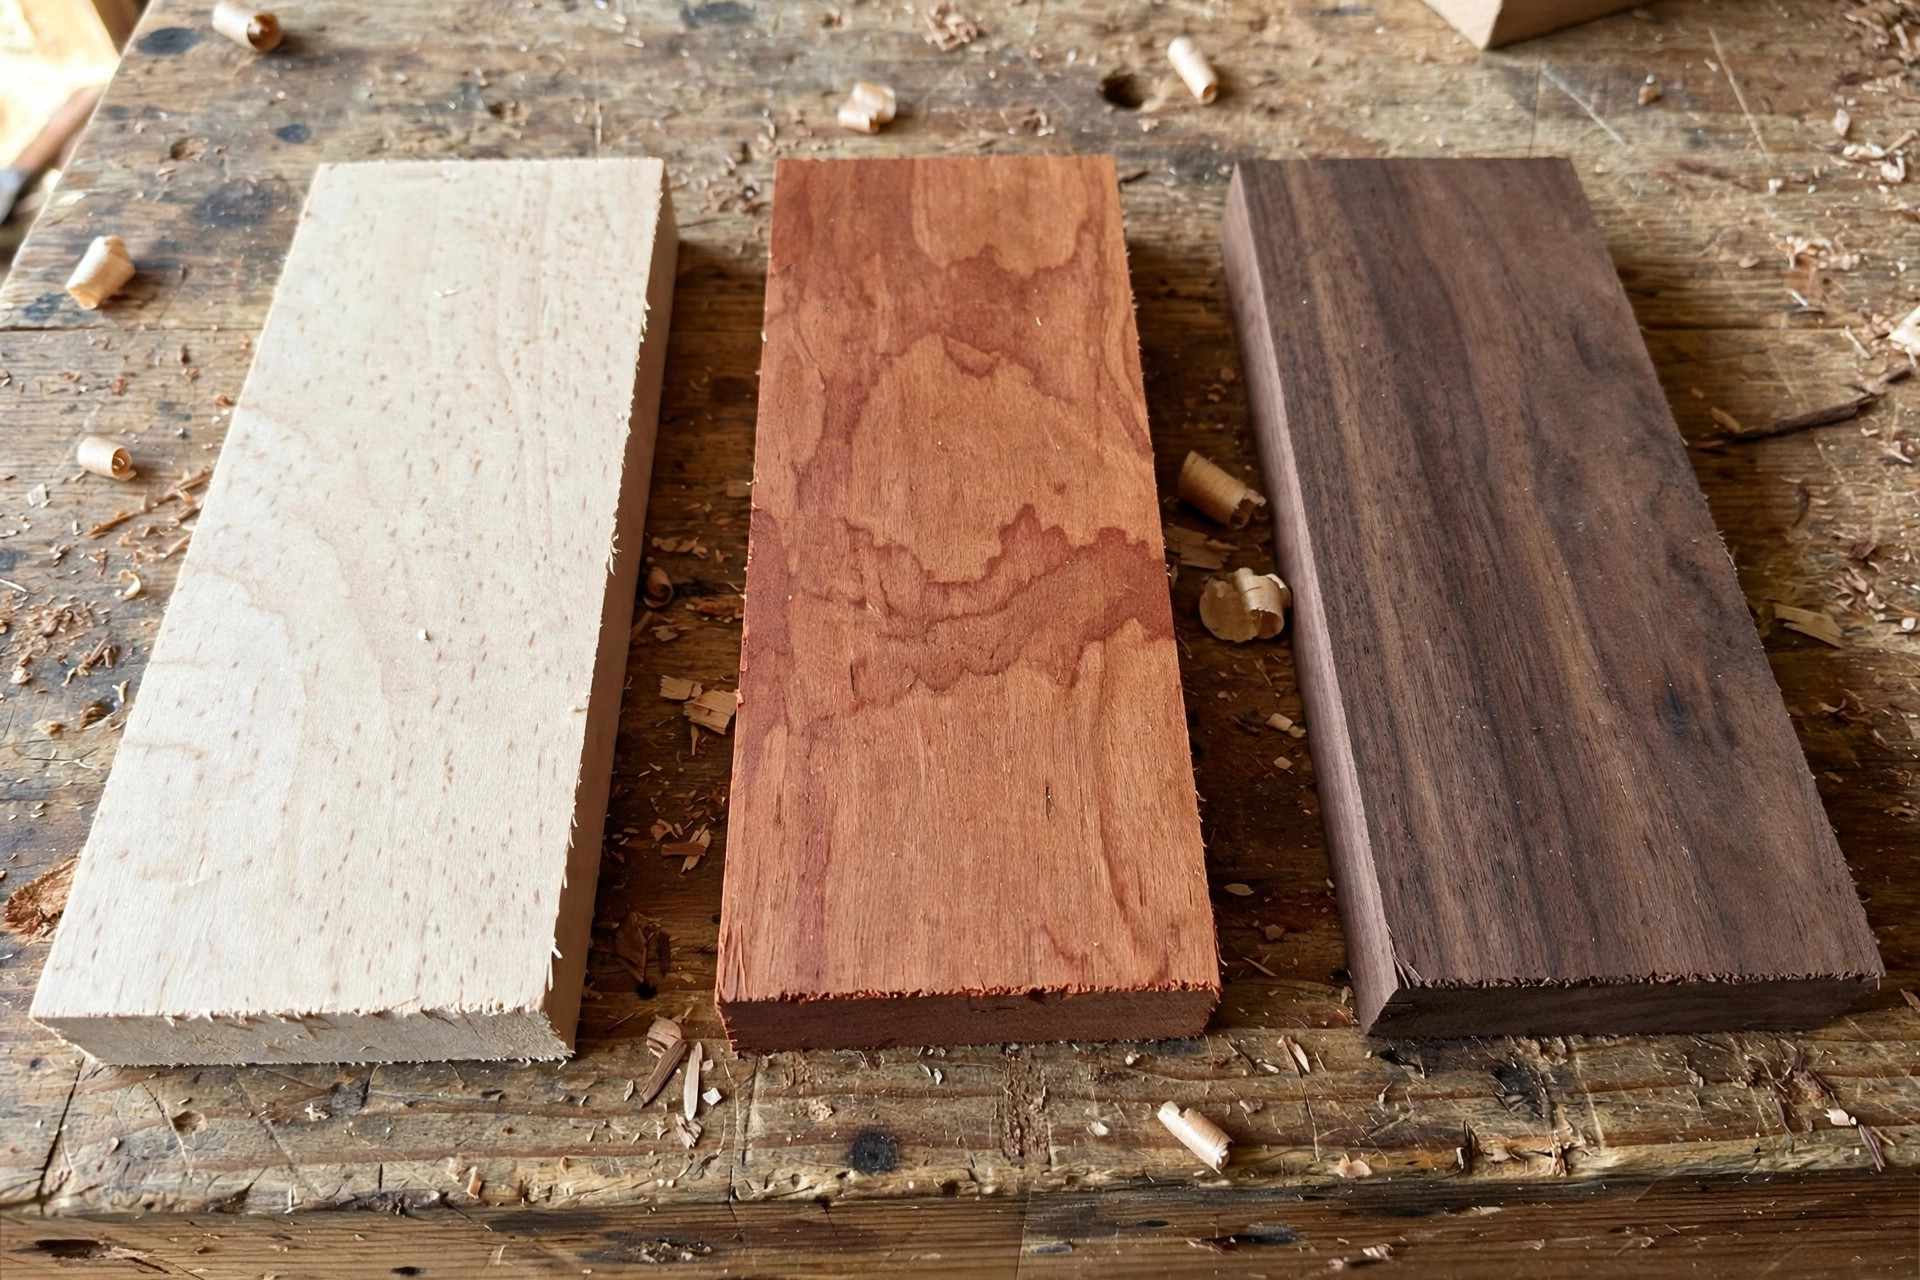
Not every offcut makes a good coaster. The best coaster wood is a stable hardwood offcut at least 15 millimetres thick: maple, walnut, cherry, and oak offcuts from larger projects are ideal, and a single 4×4 post offcut gives you several coasters in one piece. Pine works but dents easily under heavy mugs and shows every ring; it is fine for practice sets, less good for gifts. Avoid plywood for coasters unless you edge-band it — exposed plywood edges soak up water, swell, and look unfinished — and avoid wood with large knots in the coaster area, since knots crack and fall out as the wood moves.
Thickness matters more than beginners expect. Coasters thinner than about 12 millimetres feel flimsy, tip under tall glasses, and warp easily. Coasters thicker than about 20 millimetres feel clunky and take too long to dry between finish coats. The sweet spot is 15 to 18 millimetres: substantial in the hand, stable, and quick to finish. If your only scrap is thinner, glue two pieces face to face into a thicker blank and let the glue cure fully before cutting — a laminated blank is stronger and more stable than a single thin piece. Our guide to the best wood for beginner woodworking projects compares these species across projects if you are choosing between offcuts.
Tools and Materials
You need a saw for square cuts — a miter saw is ideal, a circular saw with a guide works, and a handsaw works for a small set — plus sandpaper from 80 to 220 grit, a pencil and square, wood glue if you are laminating strips, and a drill or Forstner bit only if you are building the dowel holder. No clamps larger than a spring clamp are needed; coaster glue-ups are small enough to hold with tape and a flat weight. A random orbital sander helps but is not essential at this size — a sanding block gives you more control on small pieces and is less likely to round over edges you want crisp.
| Item | Specification | Quantity | Notes |
|---|---|---|---|
| Hardwood offcuts | 15–18 mm thick | Enough for 4 coasters + holder | 4×4 offcut, 1×4 boards, or glued strips |
| Cork sheet, 3 mm | Feet | 1 sheet, 15 x 15 cm | Self-adhesive cork is easiest |
| Wood glue | Strip glue-ups | Small bottle | See our best wood glue for beginners guide |
| Sandpaper | 80, 120, 220 grit | A few sheets each | Our best sandpaper grit for beginners guide explains the sequence |
| Finish | Oil + wax, or water-resistant varnish | Small tin | See finish comparison table below |
| Dowel, 6 mm | Holder posts (optional) | 4 pieces, 60 mm | Only for the dowel holder design |
Step 1: Cut Square Coasters
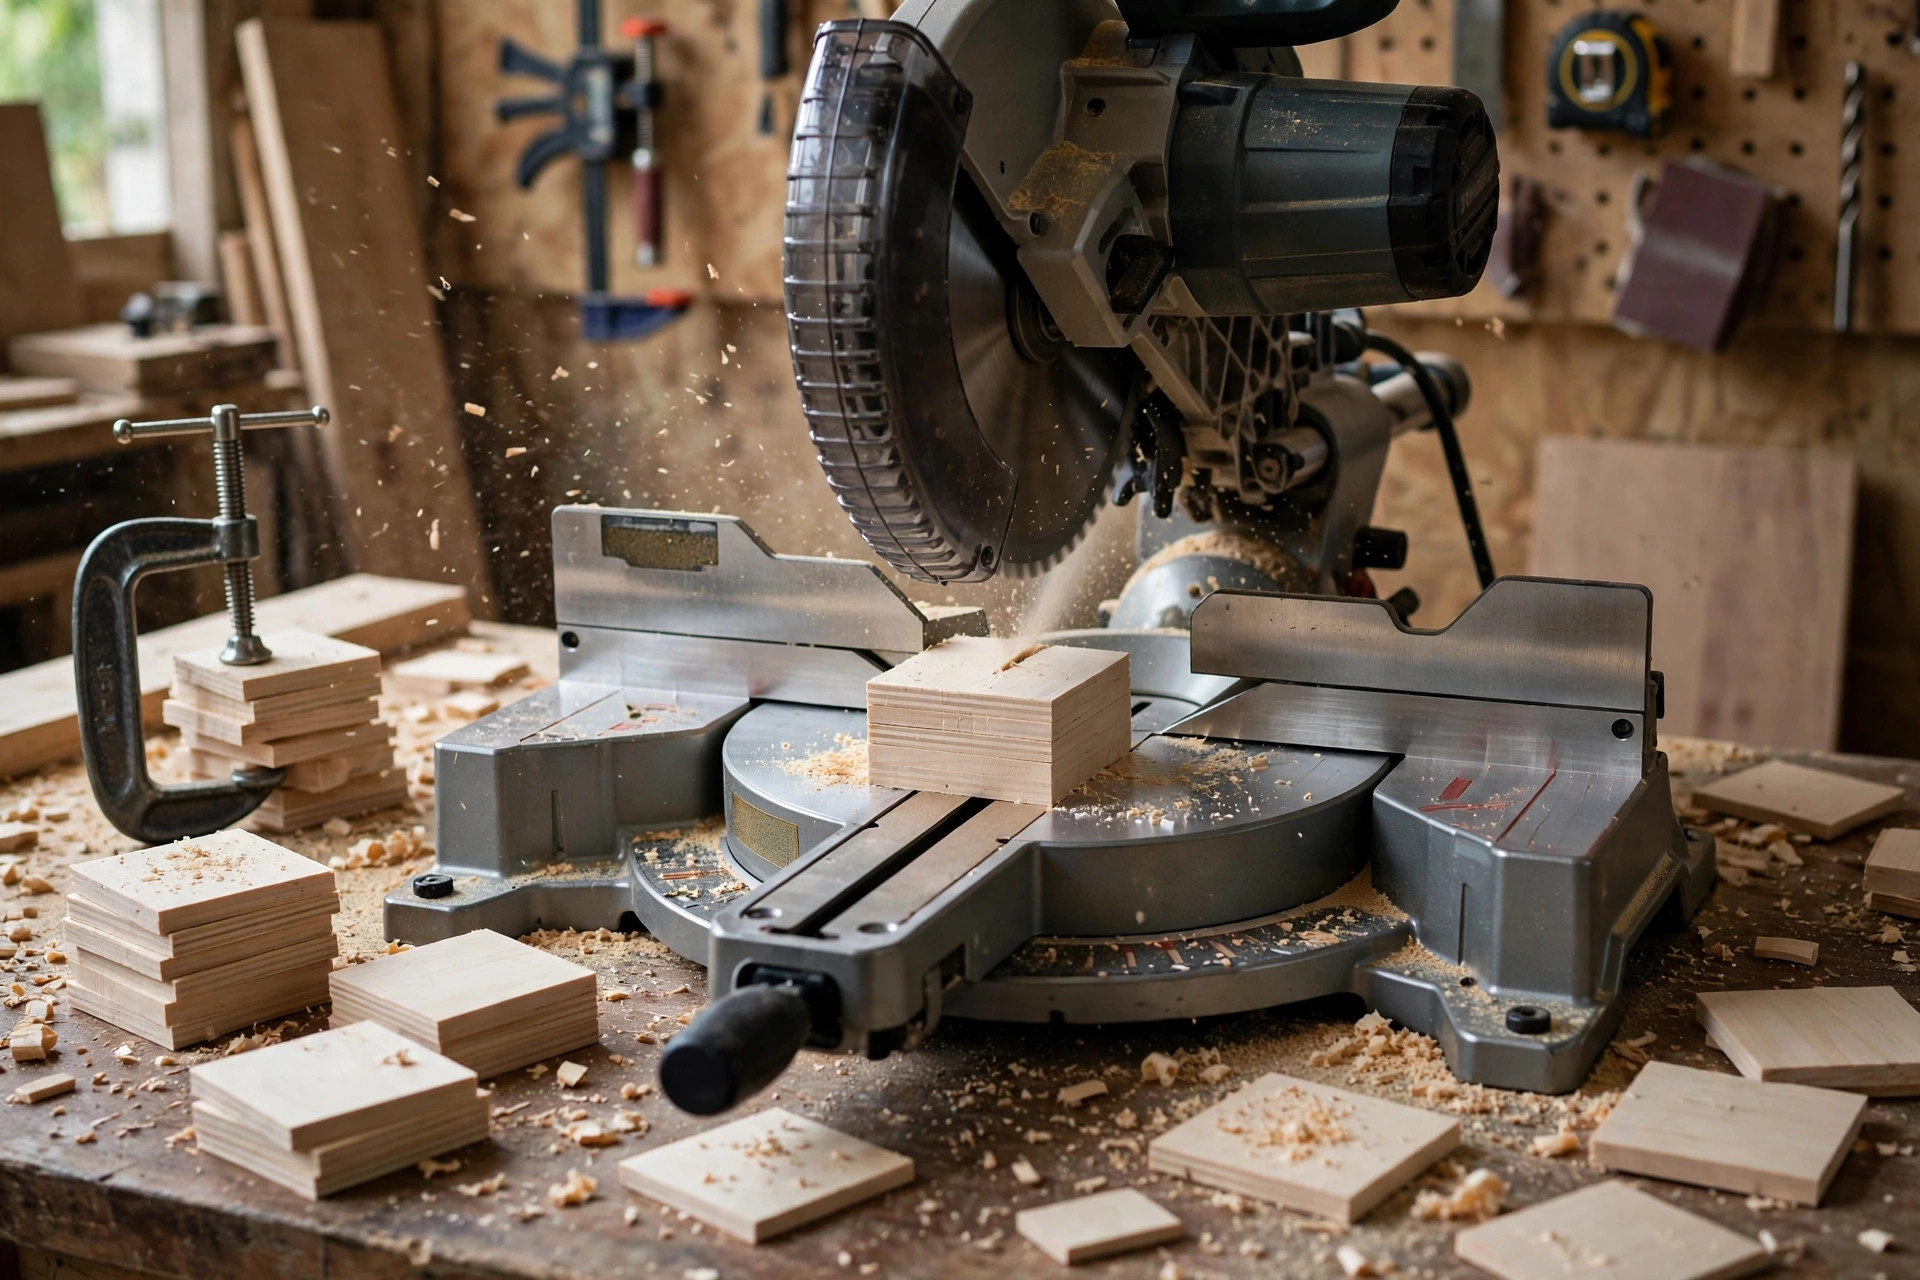
Square coasters are the simplest version and the best place to start. Mark 100-millimetre squares on your scrap — 100 millimetres suits most mugs and glasses, while 90 millimetres suits espresso cups and small glasses — and cut four identical squares. Cut all four from the same board, in sequence, so the grain and colour match across the set; a set cut from four different offcuts looks assembled rather than designed. If you are cutting from a 4×4 offcut, slice across the post into 15 to 18-millimetre-thick squares, which gives you beautiful end-grain coasters — but note that end grain absorbs far more finish than face grain, so budget extra oil coats for end-grain sets.
Check each square with a square tool after cutting: a coaster that is not square rocks on one corner and looks wrong in a stack. Trim any out-of-square piece before sanding, not after, since sanding cannot fix a bad cut. Keep the offcuts — the holder in step 5 is built from them.
Step 2: Hexagon Coasters (Optional, But Impressive)
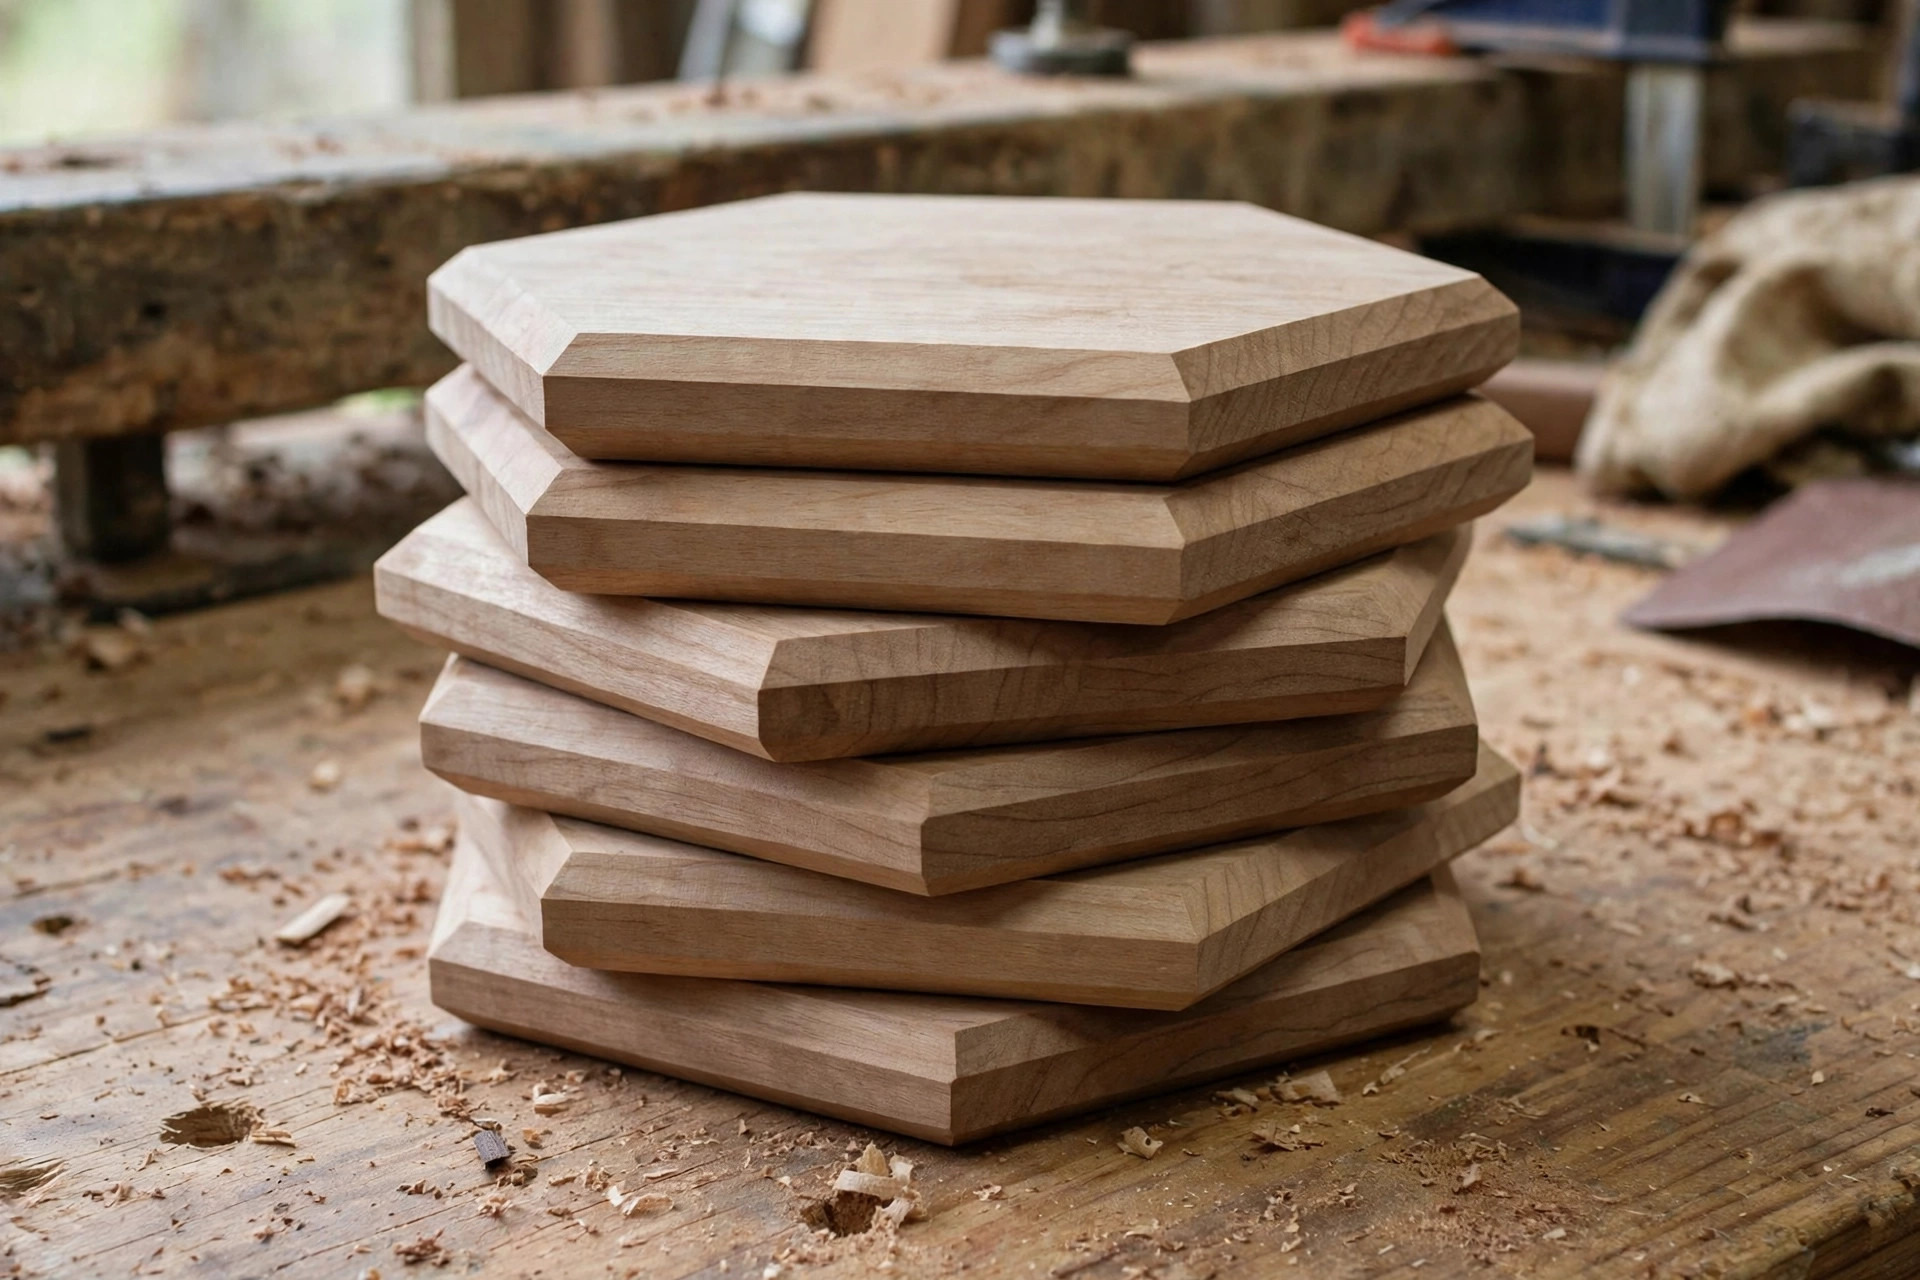
Hexagon coasters look far more advanced than they are. A hexagon is a square with its four corners cut off at 45 degrees, and the trick is a simple jig: mark the hexagon on one coaster, cut it carefully, then use that first coaster as a template for the other three, tracing around it and cutting to the lines. Set your miter saw to 45 degrees for the corner cuts, or mark the corners and cut them with a handsaw and clean up with sandpaper — at coaster size, hand tools are precise enough and safer for small pieces than power tools if you clamp the piece properly.
Hexagons stack beautifully and suit round mugs better than squares do, which is why they make popular gifts. They also teach a real skill: cutting the same angle four times on four pieces and getting four matching results. If your first hexagon comes out uneven, keep it as a practice piece and cut another — at this size, a second attempt costs minutes, not money.
Step 3: Sand Flat and Smooth
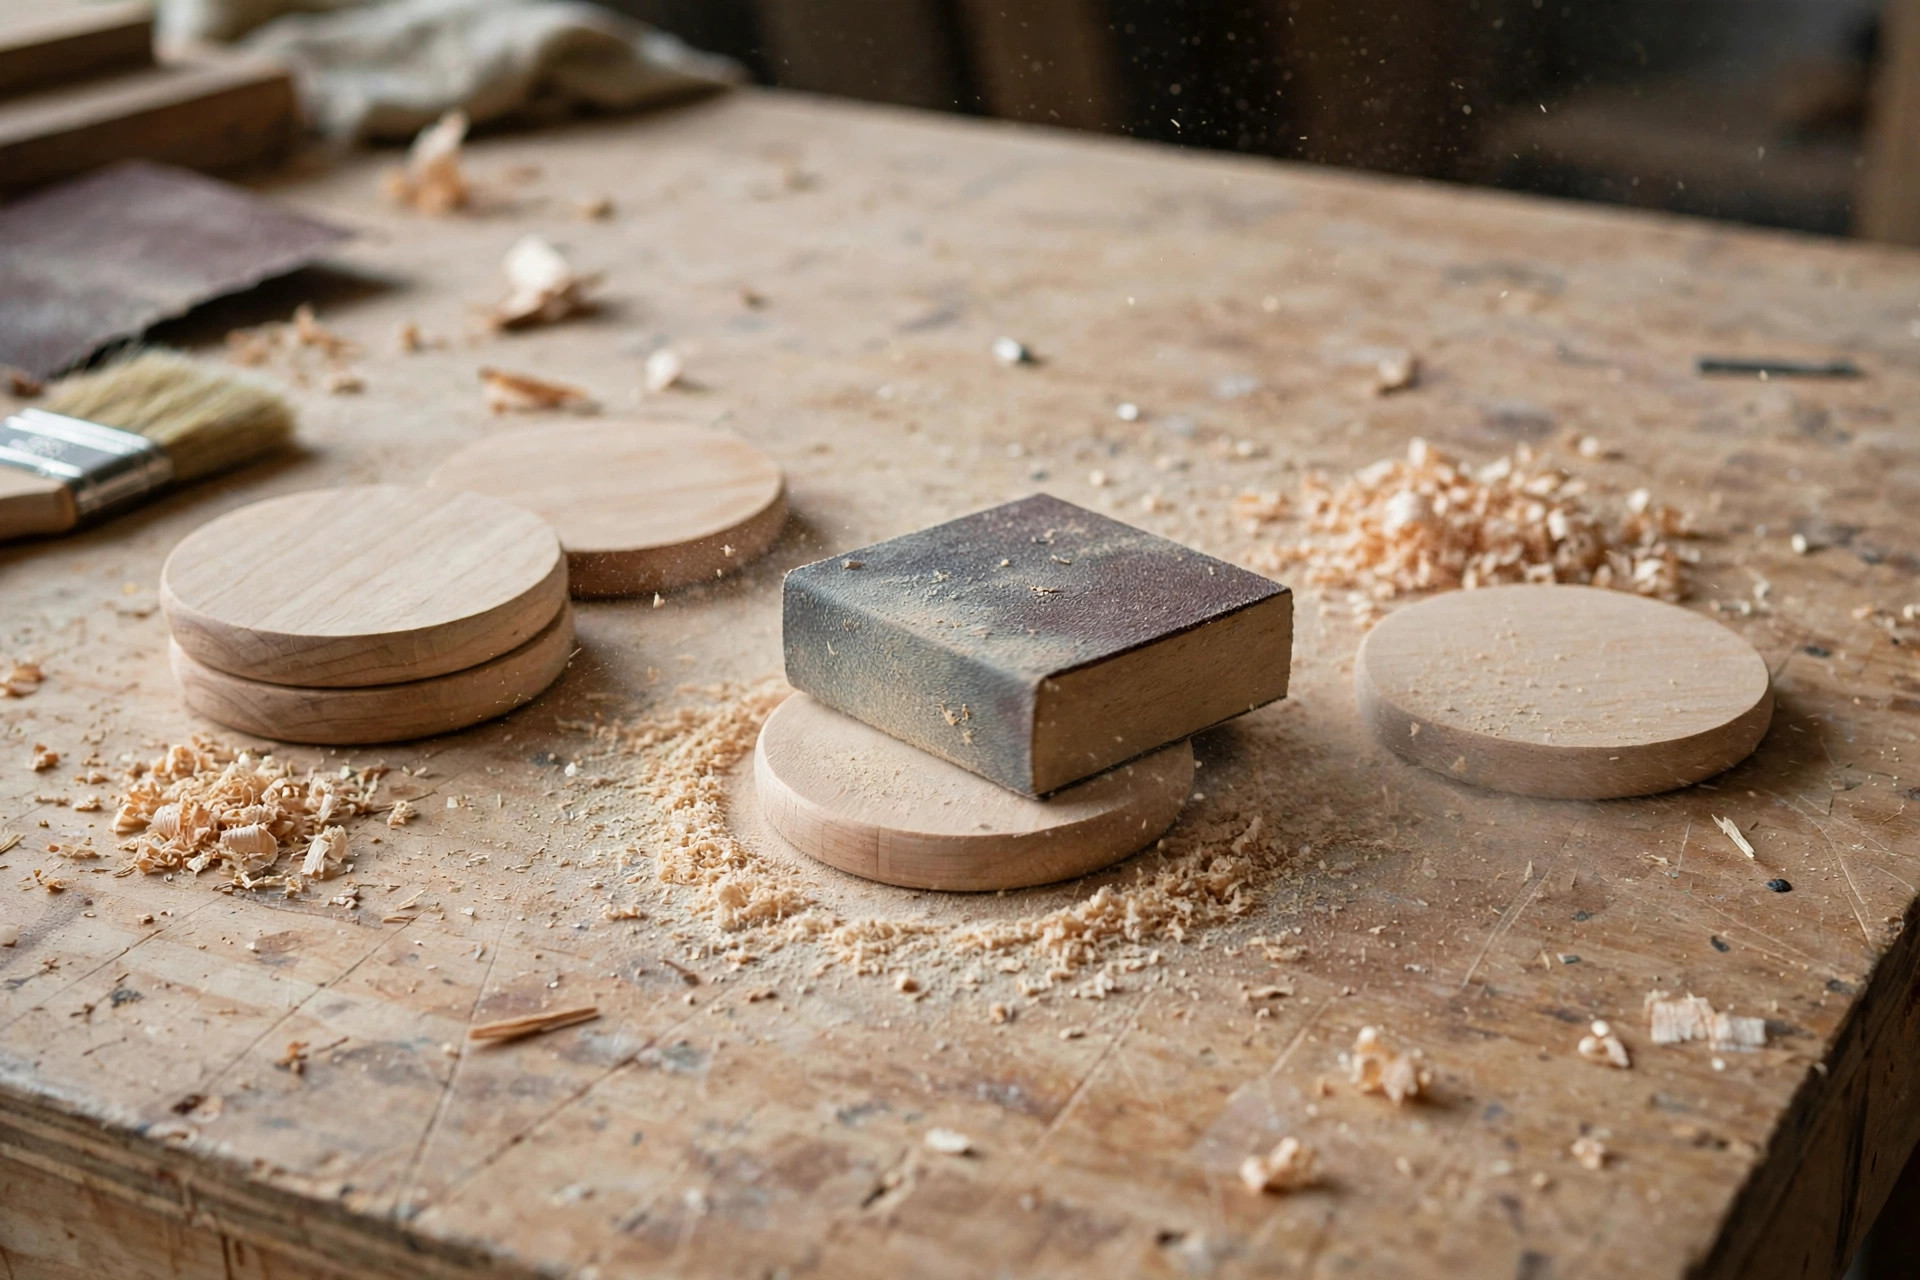
Sand every coaster through 80, 120, then 220 grit, sanding the top, bottom, and all edges — remember, every face gets finished, so every face gets sanded. For flatness, sand on a flat surface with the paper face up and the coaster face down, moving in circles; this keeps the coaster flat in a way that hand-sanding in the air does not. Check flatness by setting each coaster on a known-flat surface and pressing each corner: a coaster that rocks has a high spot, and a few more passes on the flat sanding surface will fix it.
Round the edges slightly — a sharp coaster edge chips in a stack and feels unpleasant — but keep the corners fairly crisp on square coasters, since fully rounded corners make a square set look like a different design. Wipe off all dust before finishing; dust in the finish shows on a coaster more than on any larger piece because the whole surface is always in view.
Step 4: Finish That Survives Condensation
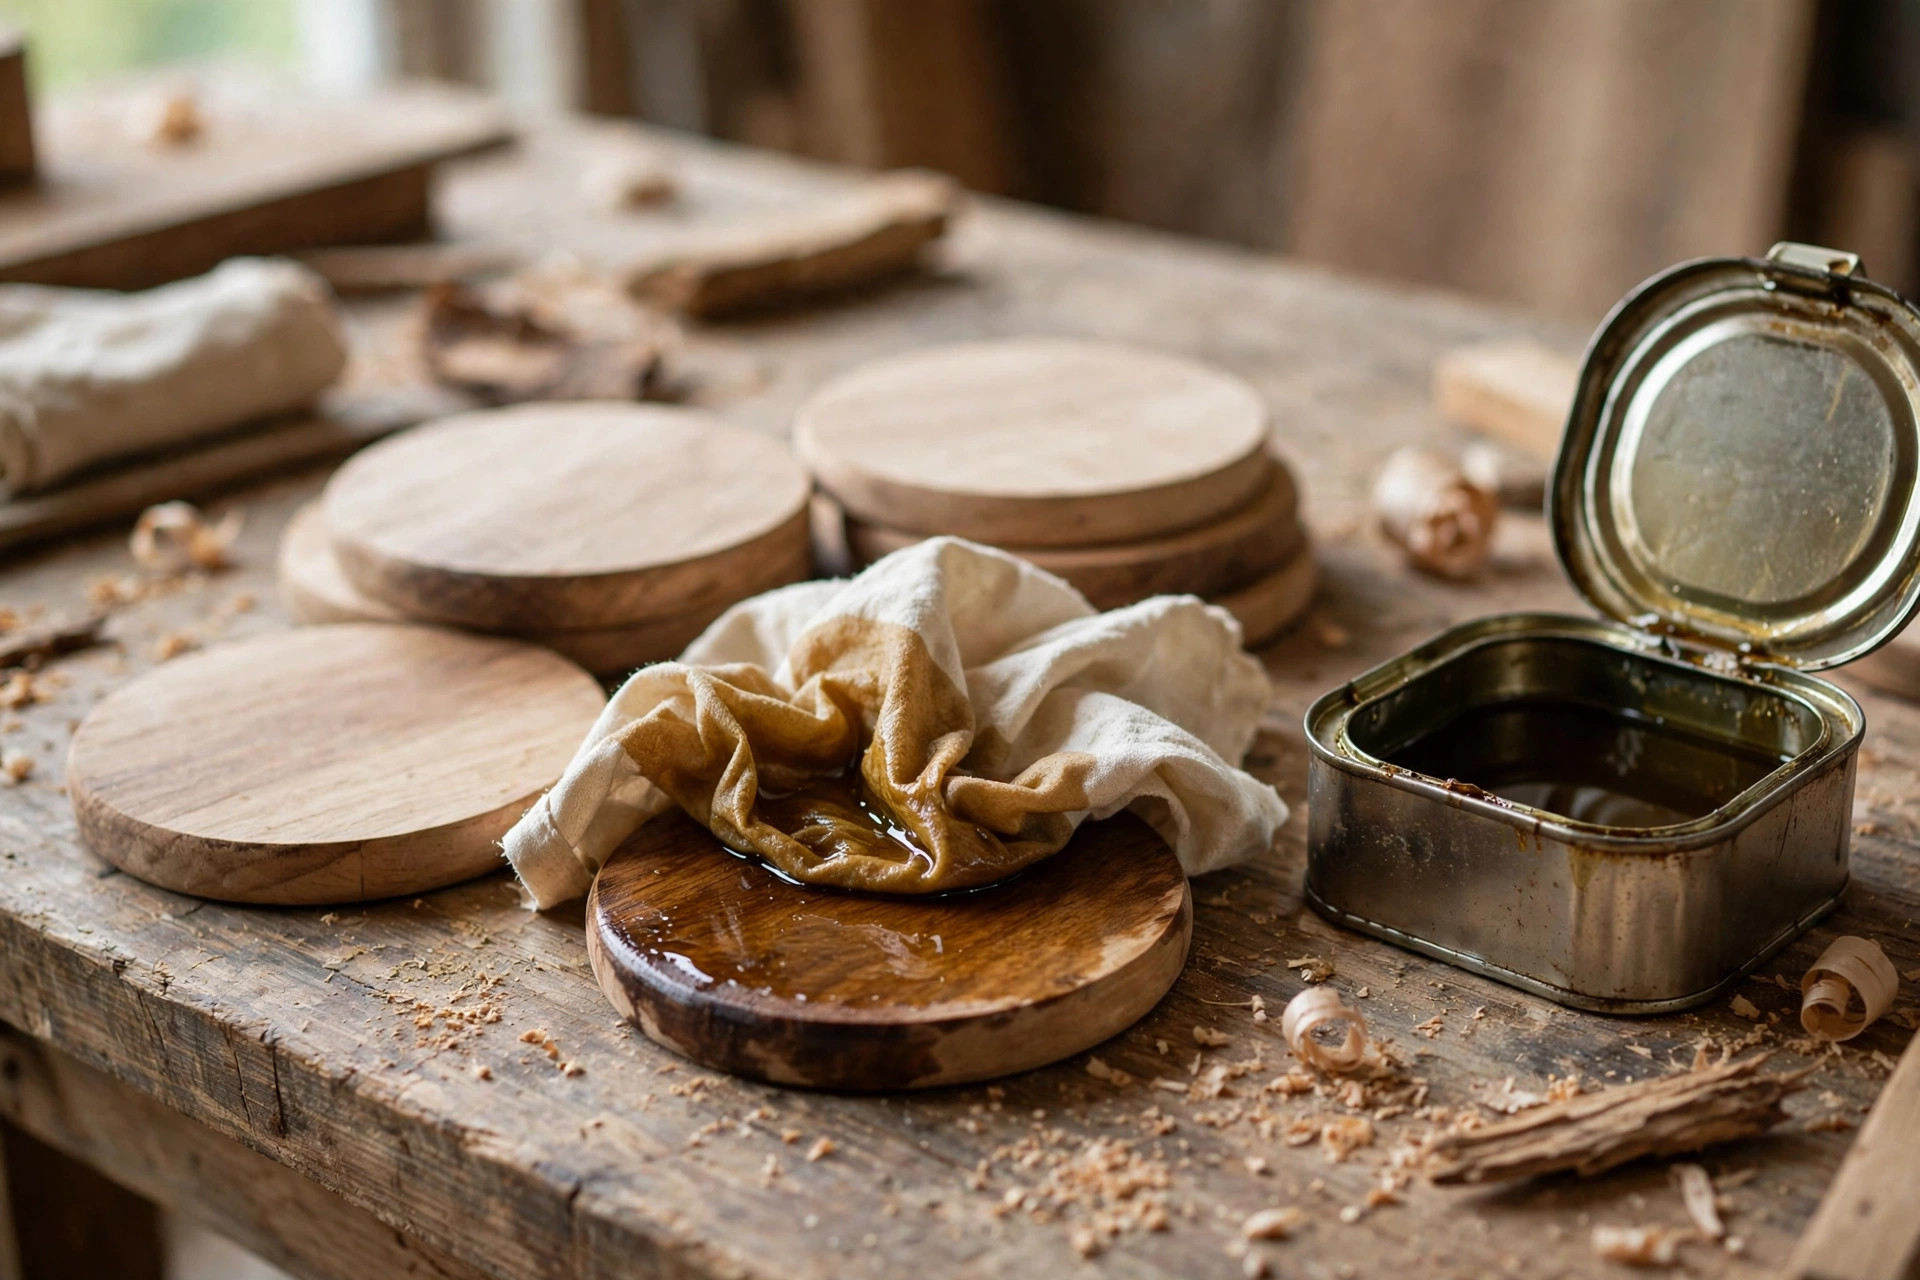
Coaster finish must survive its actual job: a cold glass sweating condensation onto wood for an hour. The finishes that survive, and the ones that do not, are:
| Finish | Water resistance | Feel | Recoat / refresh | Best for |
|---|---|---|---|---|
| Mineral oil + beeswax (board butter) | Good, if maintained | Warm, natural | Re-oil monthly | Everyday sets you maintain |
| Danish oil / tung oil (pure, cured) | Very good | Warm, satin | Re-oil every few months | Gift sets; our tung oil vs Danish oil for beginners guide compares them |
| Water-based polyurethane (3 coats) | Excellent | Slightly plastic feel | Sand and recoat yearly | Hard-use sets, hot mugs |
| Spar urethane (3 coats) | Excellent | Clear, tough | Sand and recoat yearly | Outdoor or heavy-use sets |
| Single coat of oil, top only | Poor | Natural | Fails quickly | Never do this — warps the coaster |
Apply finish to all faces and edges, equally, in thin coats. For oil finishes, flood the surface, let it soak, wipe off all excess, and repeat for three coats, letting each coat dry fully. For polyurethane or spar urethane, apply three thin coats with a foam brush, sanding lightly with 220 grit between coats. Whichever finish you choose, test it: leave a cold, sweating glass on a finished coaster for an hour, then check for a ring. A properly finished coaster shows no ring at all; if yours rings, add another coat and test again. Our guide to how to apply polyurethane for beginners covers the varnish route in full.
Step 5: Cork Feet and a Simple Holder
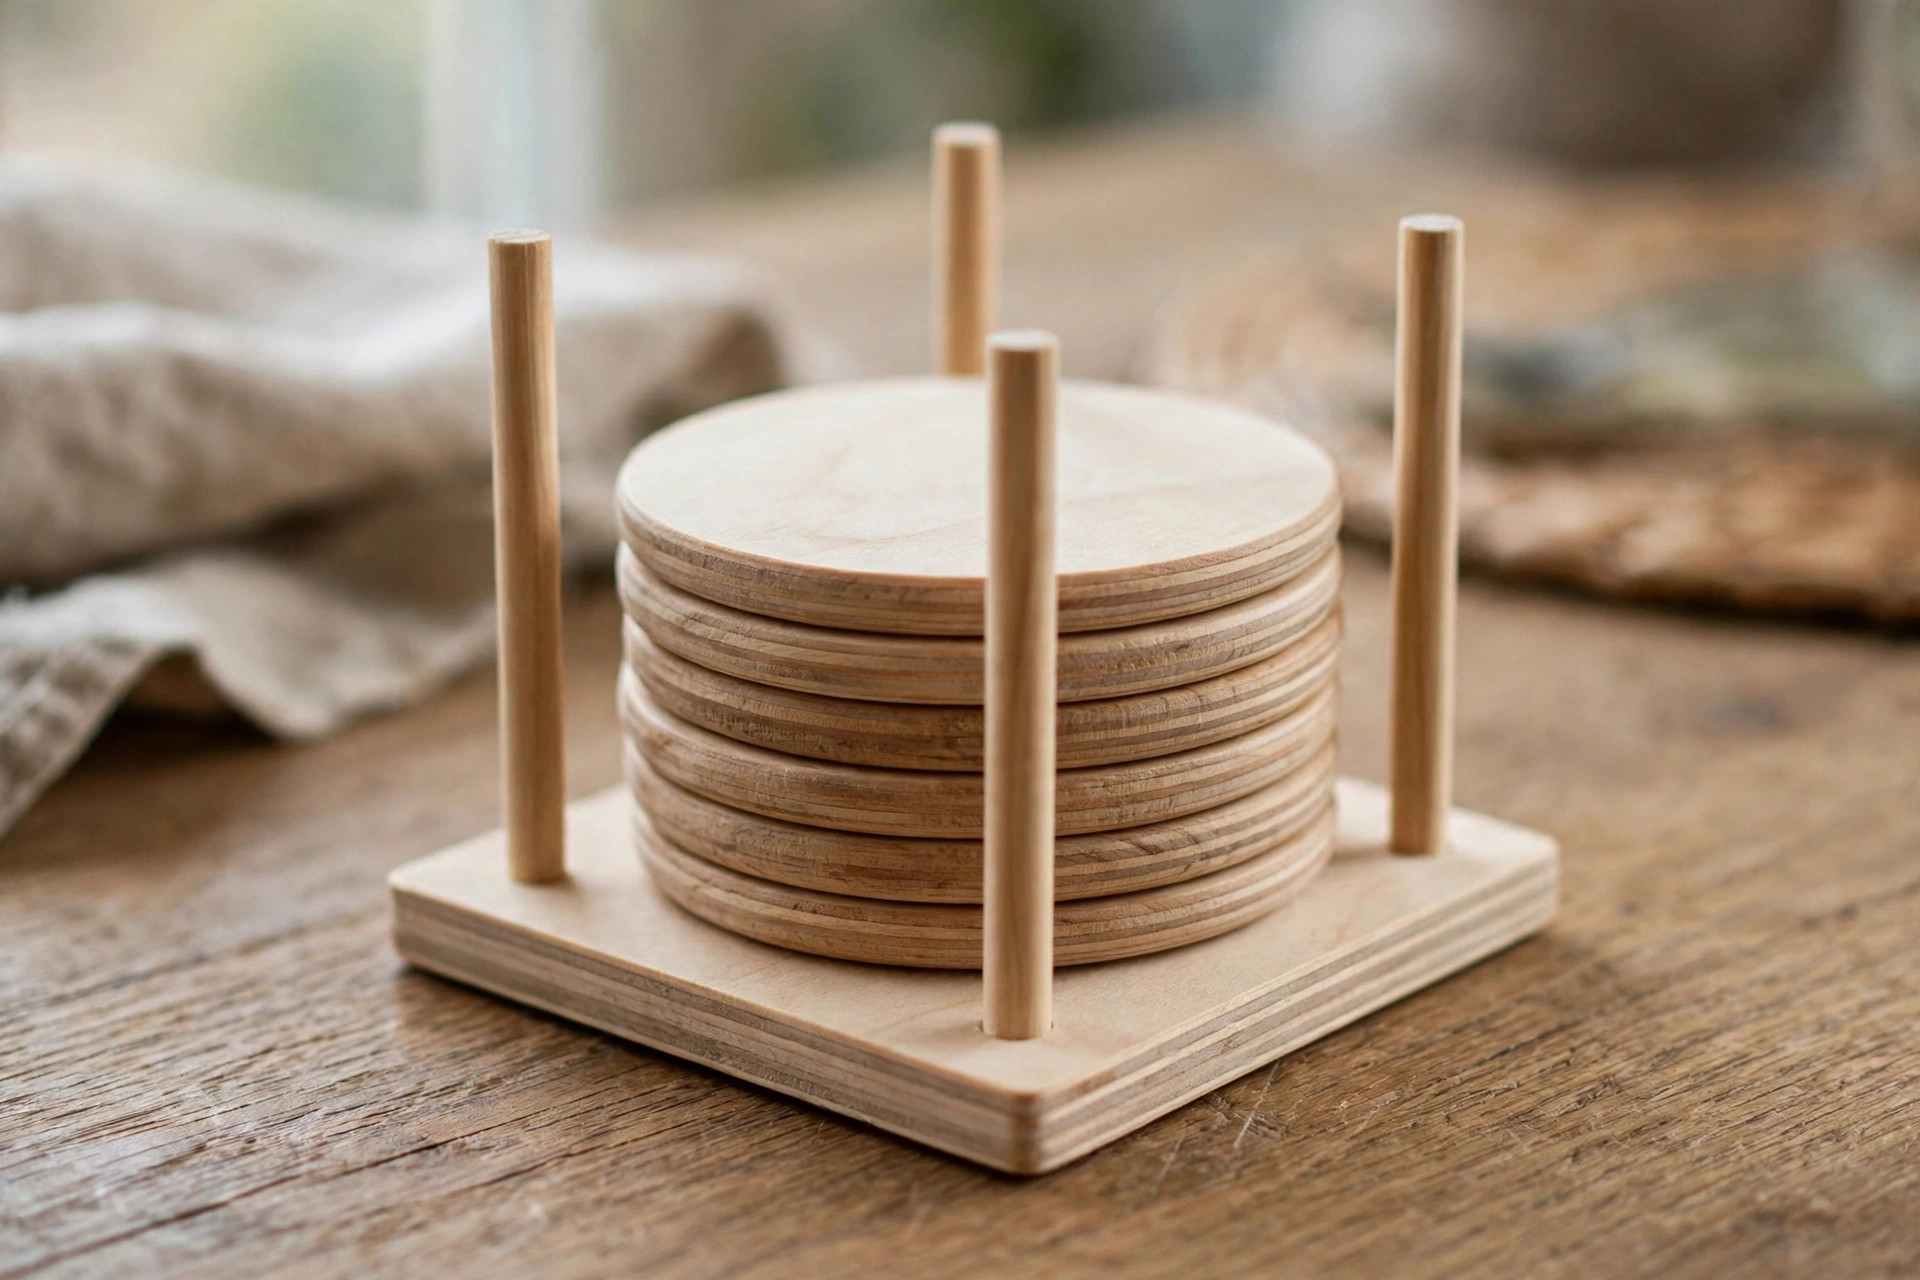
Cork feet are small but essential: they stop coasters sliding on polished tables, protect the table from any finish transfer, and stop a coaster sticking to a wet glass base. Cut four small cork squares or circles per coaster, about 20 millimetres across, and stick or glue them near the corners on the underside. Self-adhesive cork sheet is easiest — cut it with scissors, peel, and press. If you glue cork, use a thin, even layer and weight the coaster overnight so the cork bonds flat.
The holder turns four coasters into a gift set. The simplest holder is a base square (about 120 millimetres square, from the same wood as the coasters) with four short dowel posts at the corners, tall enough to hold the stack — drill 6-millimetre holes at the corners, glue in 60-millimetre dowels, and the coasters slide down over the posts. A second option is a shallow tray: a base with four low sides, just tall enough to contain the stack. Either holder uses offcuts, takes under half an hour, and makes the set look finished instead of loose. Finish the holder with the same finish as the coasters so the set matches.
Common Mistakes Beginners Make
The most common mistake is finishing only the top face, which guarantees warping — seal every face and edge, equally. The second is cutting coasters from four different offcuts and getting a mismatched set; cut all four from one board. The third is making coasters too thin, under 12 millimetres, which warp and tip. The fourth is skipping the cold-glass test and discovering rings on the first use. The fifth is gluing cork feet unevenly so the coaster rocks — press feet flat and weight the coaster while the glue dries. The sixth is sanding in the air instead of on a flat surface, which rounds the coaster’s face and makes it rock.
Frequently Asked Questions
What size should wooden coasters be? 100 millimetres square (or across the flats for hexagons) suits most mugs and glasses. Use 90 millimetres for espresso cups and small glasses, and 110 millimetres for oversized mugs and tankards.
How do I stop wooden coasters warping? Seal all faces and edges equally with the same number of finish coats, cut all coasters from the same board, and store them flat or in their holder — never leaning against a damp surface.
What is the best finish for wooden coasters? Three coats of water-based polyurethane or spar urethane give the best water resistance for hard use. Oil and beeswax feel nicer but need monthly re-oiling to stay water-resistant.
Can I make coasters from pine? Yes, for practice or casual use, but pine dents easily and shows rings sooner than hardwood. For gifts, use maple, walnut, or cherry offcuts.
Do coasters need cork feet? They work without feet, but cork feet protect tables, stop sliding, and prevent a coaster sticking to a wet glass. They cost almost nothing and are worth adding to every set.
Can I wash wooden coasters? Wipe them with a damp cloth and dry them promptly. Never soak wooden coasters or put them in a dishwasher — prolonged soaking warps them and strips the finish.
The Bottom Line
Making easy wooden coasters for beginners is really a lesson in finishing disguised as a small project: cut four matching squares from one board, sand them flat on a flat surface, seal every face equally, test with a cold glass, add cork feet, and build a holder from the offcuts. Get the finishing right and a scrap-wood afternoon project becomes a gift set people actually use every day. Make one set for yourself first to prove the finish, then make the next set for someone else — by the second set, you will be cutting hexagons and wondering why you ever bought coasters.
If you enjoyed this build, our guide to how to make a wooden cutting board for beginners uses the same flat-and-finish skills at a larger scale, and the pillar guide to easy woodworking projects for beginners that sell has more first projects in the same spirit.
Recommended Tools and Safety Gear for This Project

Titebond III Ultimate Wood Glue 1413 (8 oz)
Why it fits these coasters: it bonds the strip glue-ups and holder pieces so each coaster stays flat and square.

IRWIN QUICK-GRIP Woodworking Clamps Set, 8-piece (IRHT83220)
Why it fits these coasters: the set holds the small strip glue-ups and holder pieces square while the glue dries.

DEWALT Concealer Safety Goggles DPG82-11C
Why it fits these coasters: they protect your eyes from dust and chips while cutting the small square and hexagon blanks.

DEX FIT Cru553 Level 5 Cut Resistant Gloves, Size L
Why it fits these coasters: they give cut protection while handling hardwood offcuts and sharp small pieces.
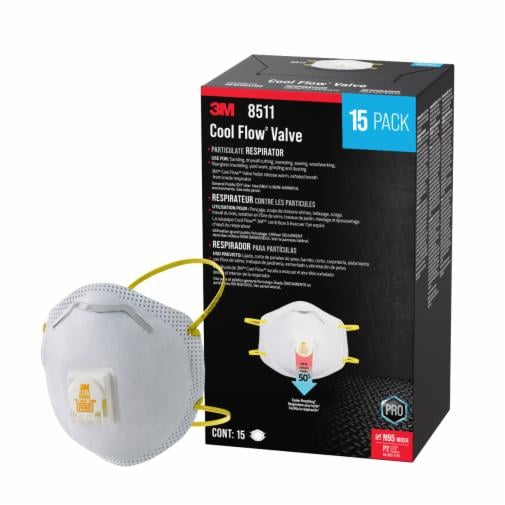
3M 8511 N95 Respirator, 10-pack
Why it fits these coasters: it protects against fine sanding dust while sanding the coasters flat and smooth.
As an Amazon Associate, I earn from qualifying purchases.


