
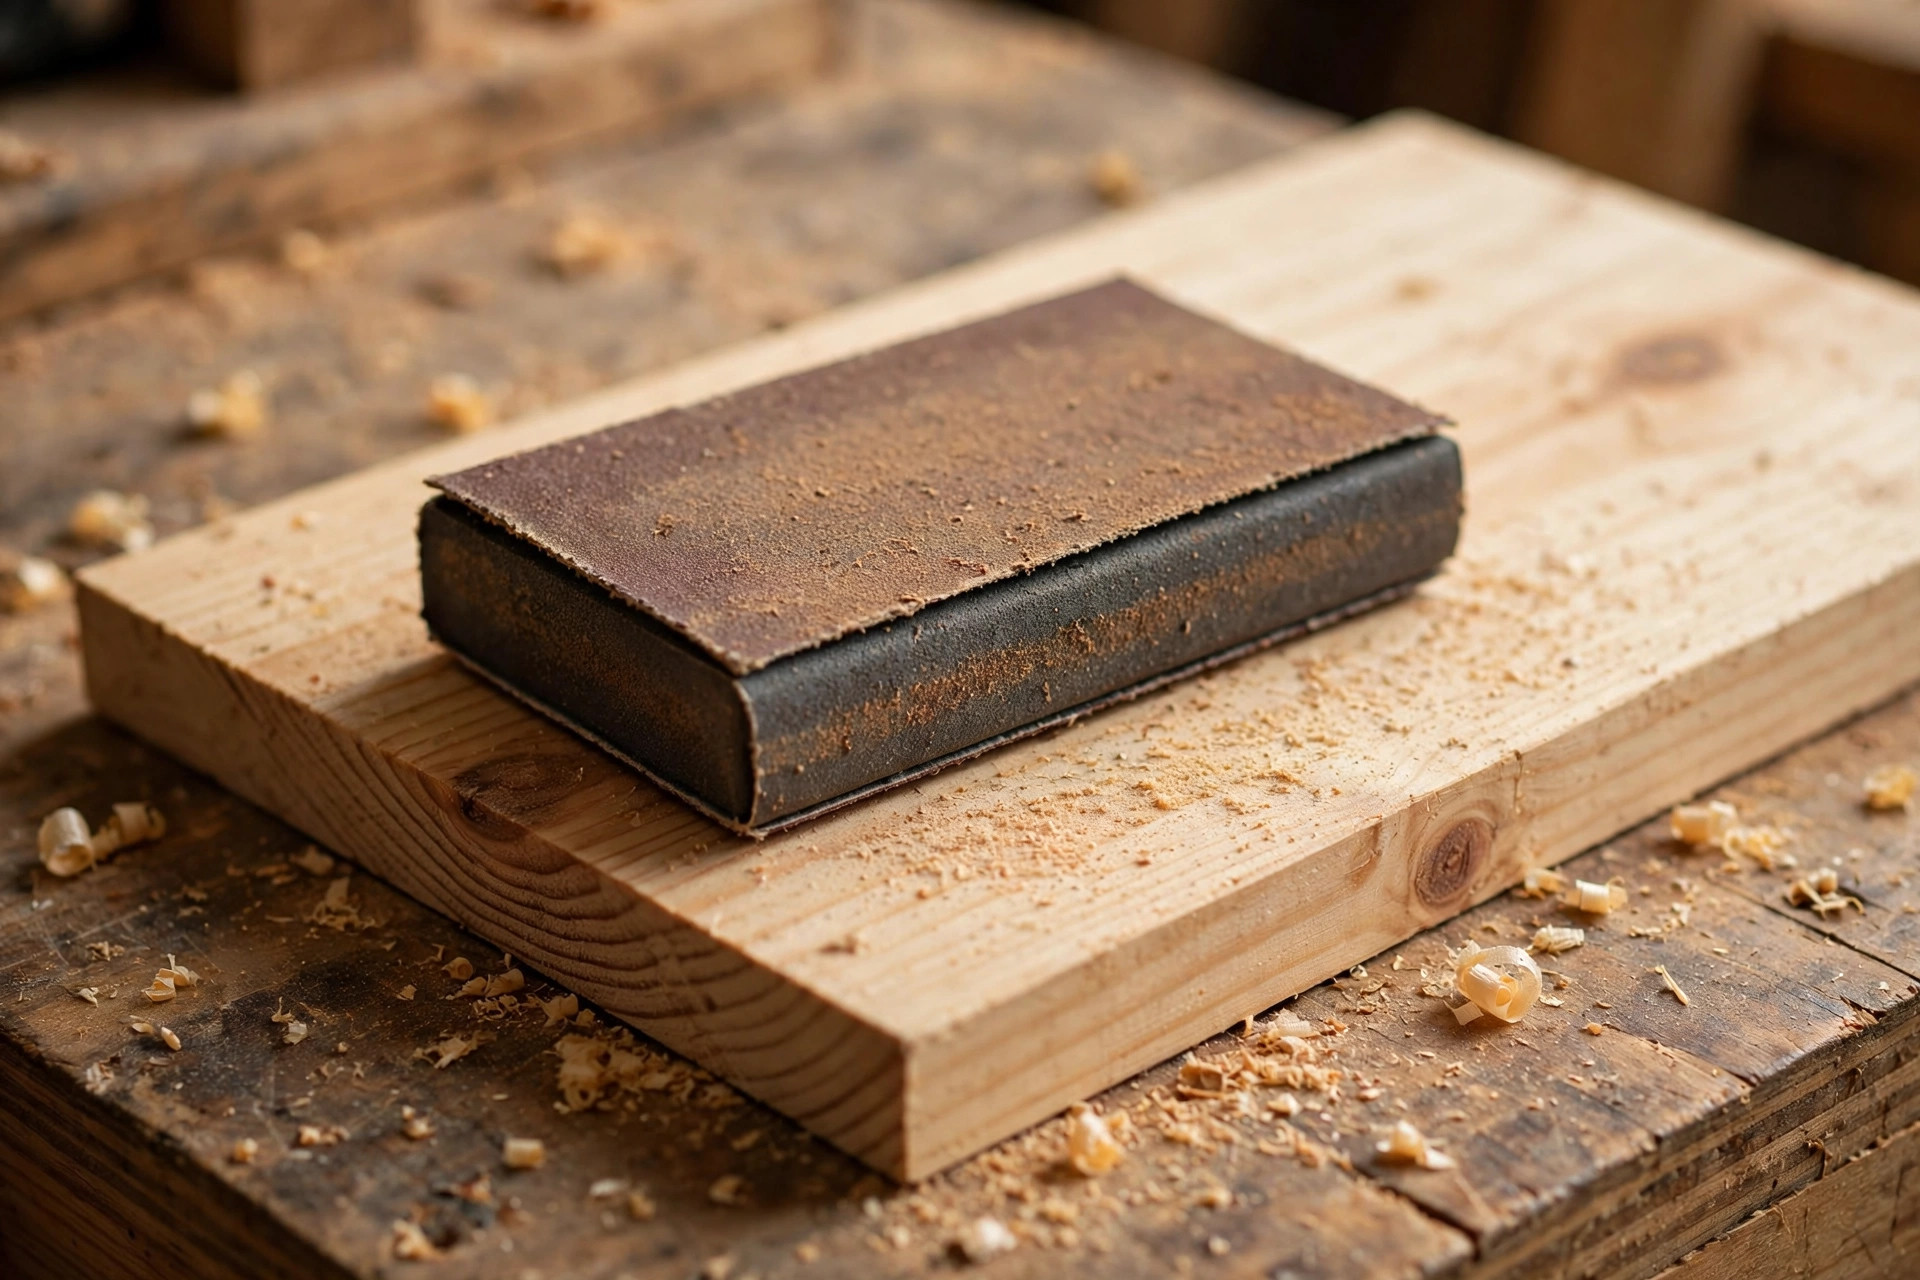
Walk into any hardware store and the sandpaper aisle looks simple until you actually have to choose. There are sheets, discs, rolls, sponges, and packs labelled 40, 80, 120, 180, 220, 320, 400, and far beyond, each one promising a smoother finish than the last. For a beginner, the obvious question is which of those numbers you actually need, and the honest answer is far fewer than the shelf suggests. Choosing the best sandpaper grit for woodworking beginners is not about buying every grit on the rack. It is about buying a small, sensible kit, using the grits in the right order, and knowing when to stop before you sand away the very surface you are trying to improve.
This guide is the buying guide that sits alongside technique. Our companion guide to how to sand and finish wood for beginners covers the step-by-step sanding process itself, so this article keeps technique brief and points you there for the full walkthrough. Here, the focus is on the numbers, the abrasive materials, the formats, and the project-by-project chart you can actually shop from. By the end, you will know which grits to buy first, which abrasive suits your sander and your wood, whether discs or sheets save you more money, and why sanding finer is not always sanding better.
The short answer is reassuringly small. The beginner grit kit is 80, 120, 180, and 220, plus 320 for sanding lightly between finish coats. That five-grit kit covers rough lumber, planed boards, plywood, stain preparation, clear finishes, and paint preparation for almost every beginner project, from shelves and planter boxes to the small furniture pieces in our pillar guide to easy woodworking projects for beginners that sell. You do not need 40-grit for most indoor beginner work, and you do not need 400-grit or finer for ordinary furniture, because at that point you are polishing a finish, not preparing wood. Start with the five grits above, learn how each one feels and what it leaves behind, and add specialist grits only when a specific project asks for them.
The Beginner Grit Kit: 80, 120, 180, 220 — Plus 320 Between Coats
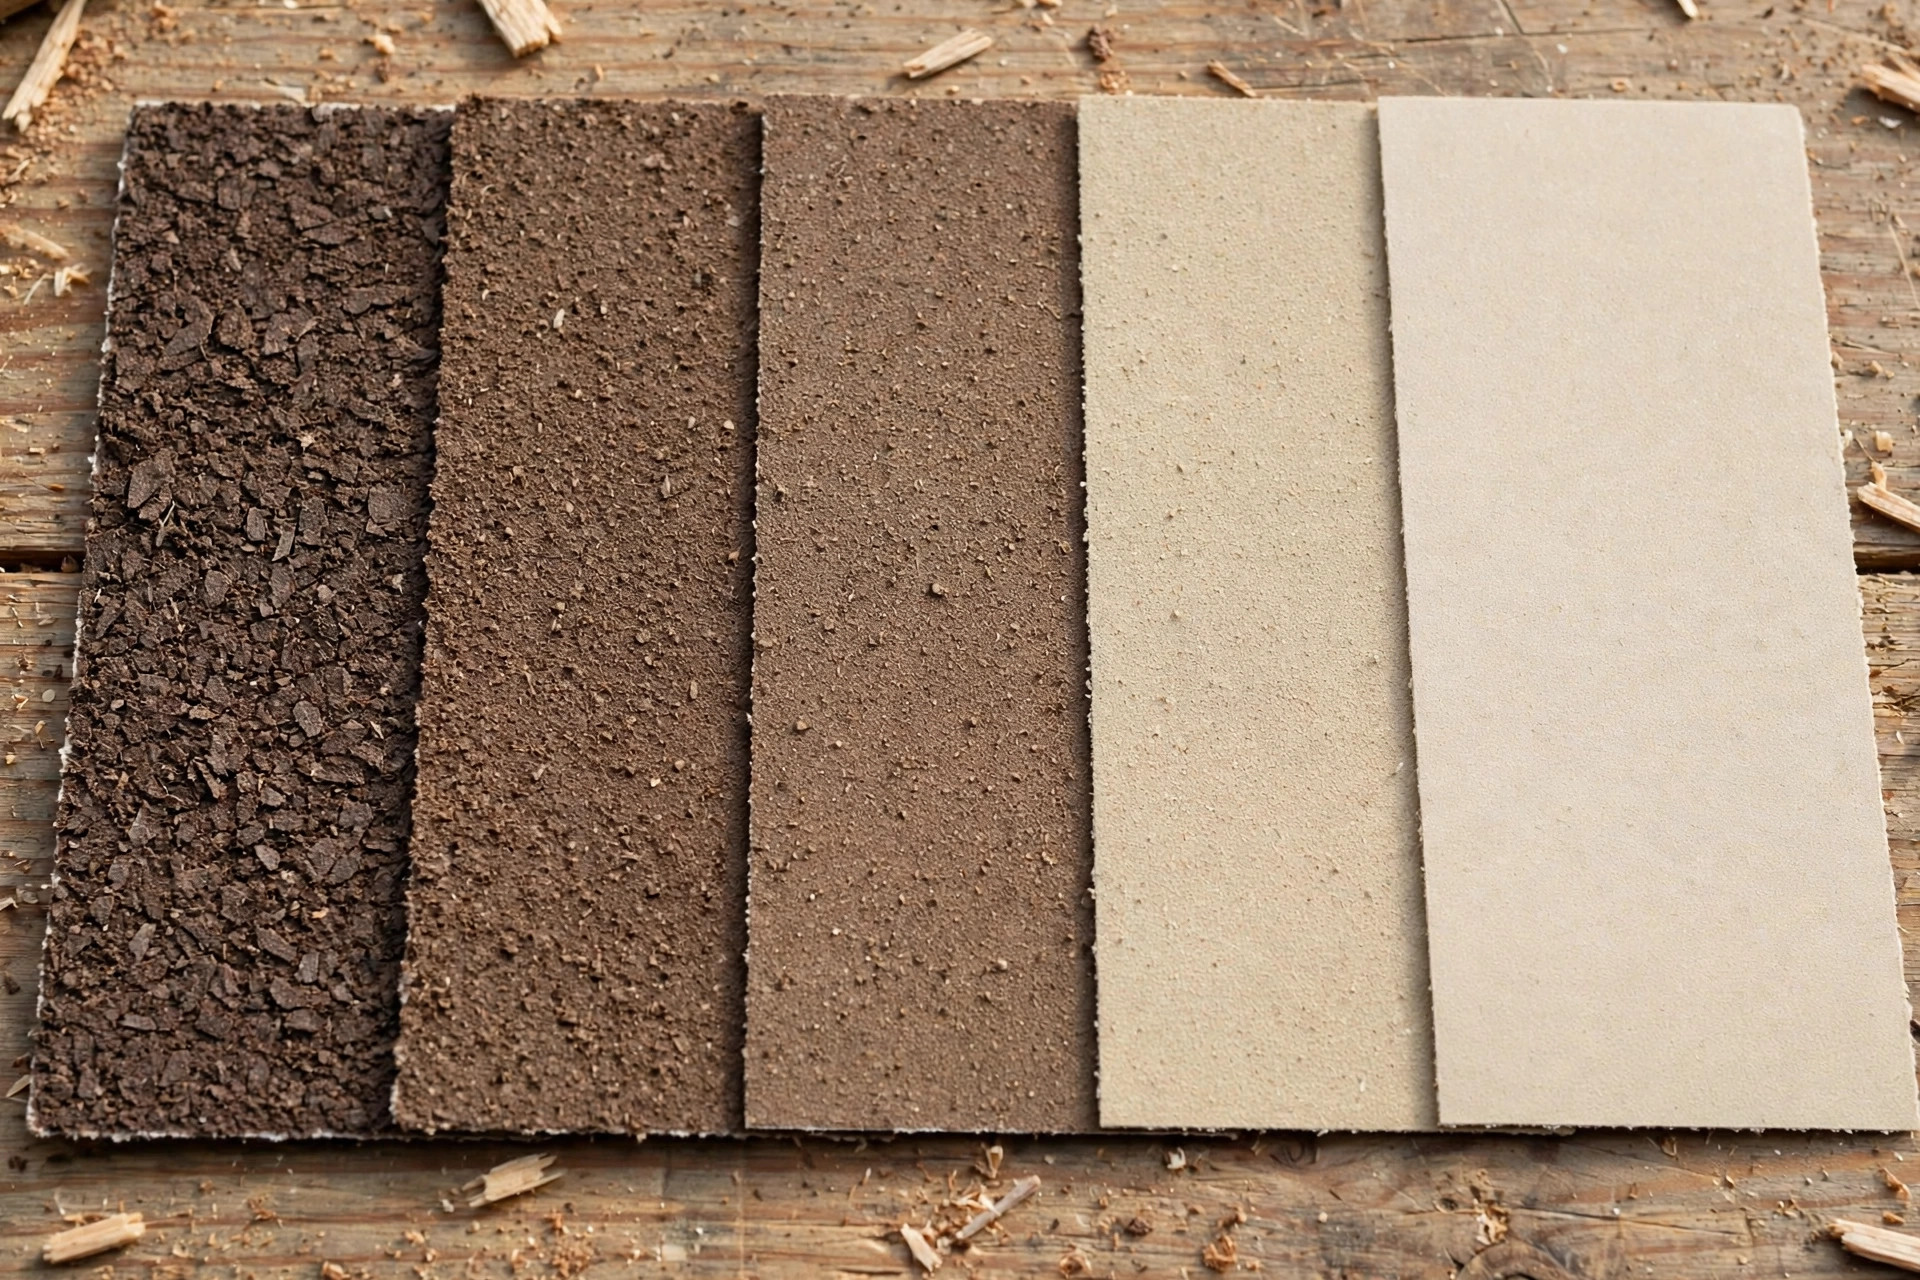
Think of grit numbers as a ladder, and think of your job as climbing it one rung at a time. The number on a sheet of sandpaper tells you roughly how many abrasive particles fit in a given area: a lower number means fewer, larger, more aggressive particles, while a higher number means many smaller, gentler particles. That is why 80-grit feels rough and removes wood quickly, while 220-grit feels almost smooth to the touch and leaves a surface ready for finish. Lower is coarser, higher is finer, and the whole system only works if you move through it in order.
The golden rule of grit progression is never to skip more than one step in the sequence. Going from 80 straight to 220 sounds efficient, but it is not. The deep scratches left by 80-grit are too deep for 220-grit to remove in any reasonable time, so you will either spend far longer sanding than you saved, or you will finish over scratches that only become visible once stain or a clear coat goes on. The standard beginner sequence is 80, then 120, then 180, then 220, and each step removes the scratches left by the one before it while leaving finer scratches of its own. If a board is already fairly smooth, you can start higher, at 120 or even 180, and you can skip the coarsest step altogether. What you should not do is jump from 80 to 180, or from 120 to 220 and expect a flawless surface, because the gap is too wide for the finer grit to clean up properly.
Here is what each grit in the beginner kit is actually for. Use 80-grit for removing saw marks, mill marks, and rough surfaces on rough-sawn lumber, and for shaping and levelling a surface that is genuinely uneven. It is aggressive, so use it only where you need it, and always follow it with 120. Use 120-grit as your general workhorse: it removes the 80-grit scratches, smooths planed boards, and prepares most surfaces for the next step. Use 180-grit as your final sanding step before stain on most woods, because it leaves a surface smooth enough to feel good while still open enough to accept stain evenly. Use 220-grit as your final step before a clear finish such as polyurethane, oil, or varnish, where a slightly finer surface gives a cleaner, more even coat. Finally, use 320-grit very lightly between finish coats, not to sand the wood itself, but to knock down dust nibs and roughness in the dried finish before the next coat goes on. Used that way, 320-grit is a finishing tool, not a wood-preparation grit, and a light touch matters more than pressure.
A useful way to judge whether you are ready to move up a grit is to look at the surface in raking light, with a lamp held low across the board. Scratches from the previous grit show up as lines running with the grain, and when those lines are gone, you can move on. Wipe the surface with a slightly damp cloth or a tack cloth between grits if you want a clearer view, and let the wood dry before continuing. It takes a few extra minutes, but it is far cheaper than discovering scratches under a coat of stain, when the only fix is sanding the whole piece back down and starting again.
For shopping, the simplest beginner buy is a mixed pack of sheets or discs in 80, 120, 180, and 220, plus a small pack of 320-grit for between coats. Mixed packs are usually cheaper per sheet than buying each grit separately, and they stop you from overbuying one grit you rarely use. As a rough price guide only, and with prices varying by brand, store, and pack size, expect a basic multi-grit sheet pack to sit in the budget range, a branded hook-and-loop disc pack to cost somewhat more, and a large bulk roll to cost more up front but less per sheet over time. Treat those bands as approximate, check current local prices before you buy, and let the size of your project list, not a sale, decide how much you stock.
Abrasive Types: Aluminium Oxide, Garnet, Silicon Carbide, Ceramic, and Zirconia
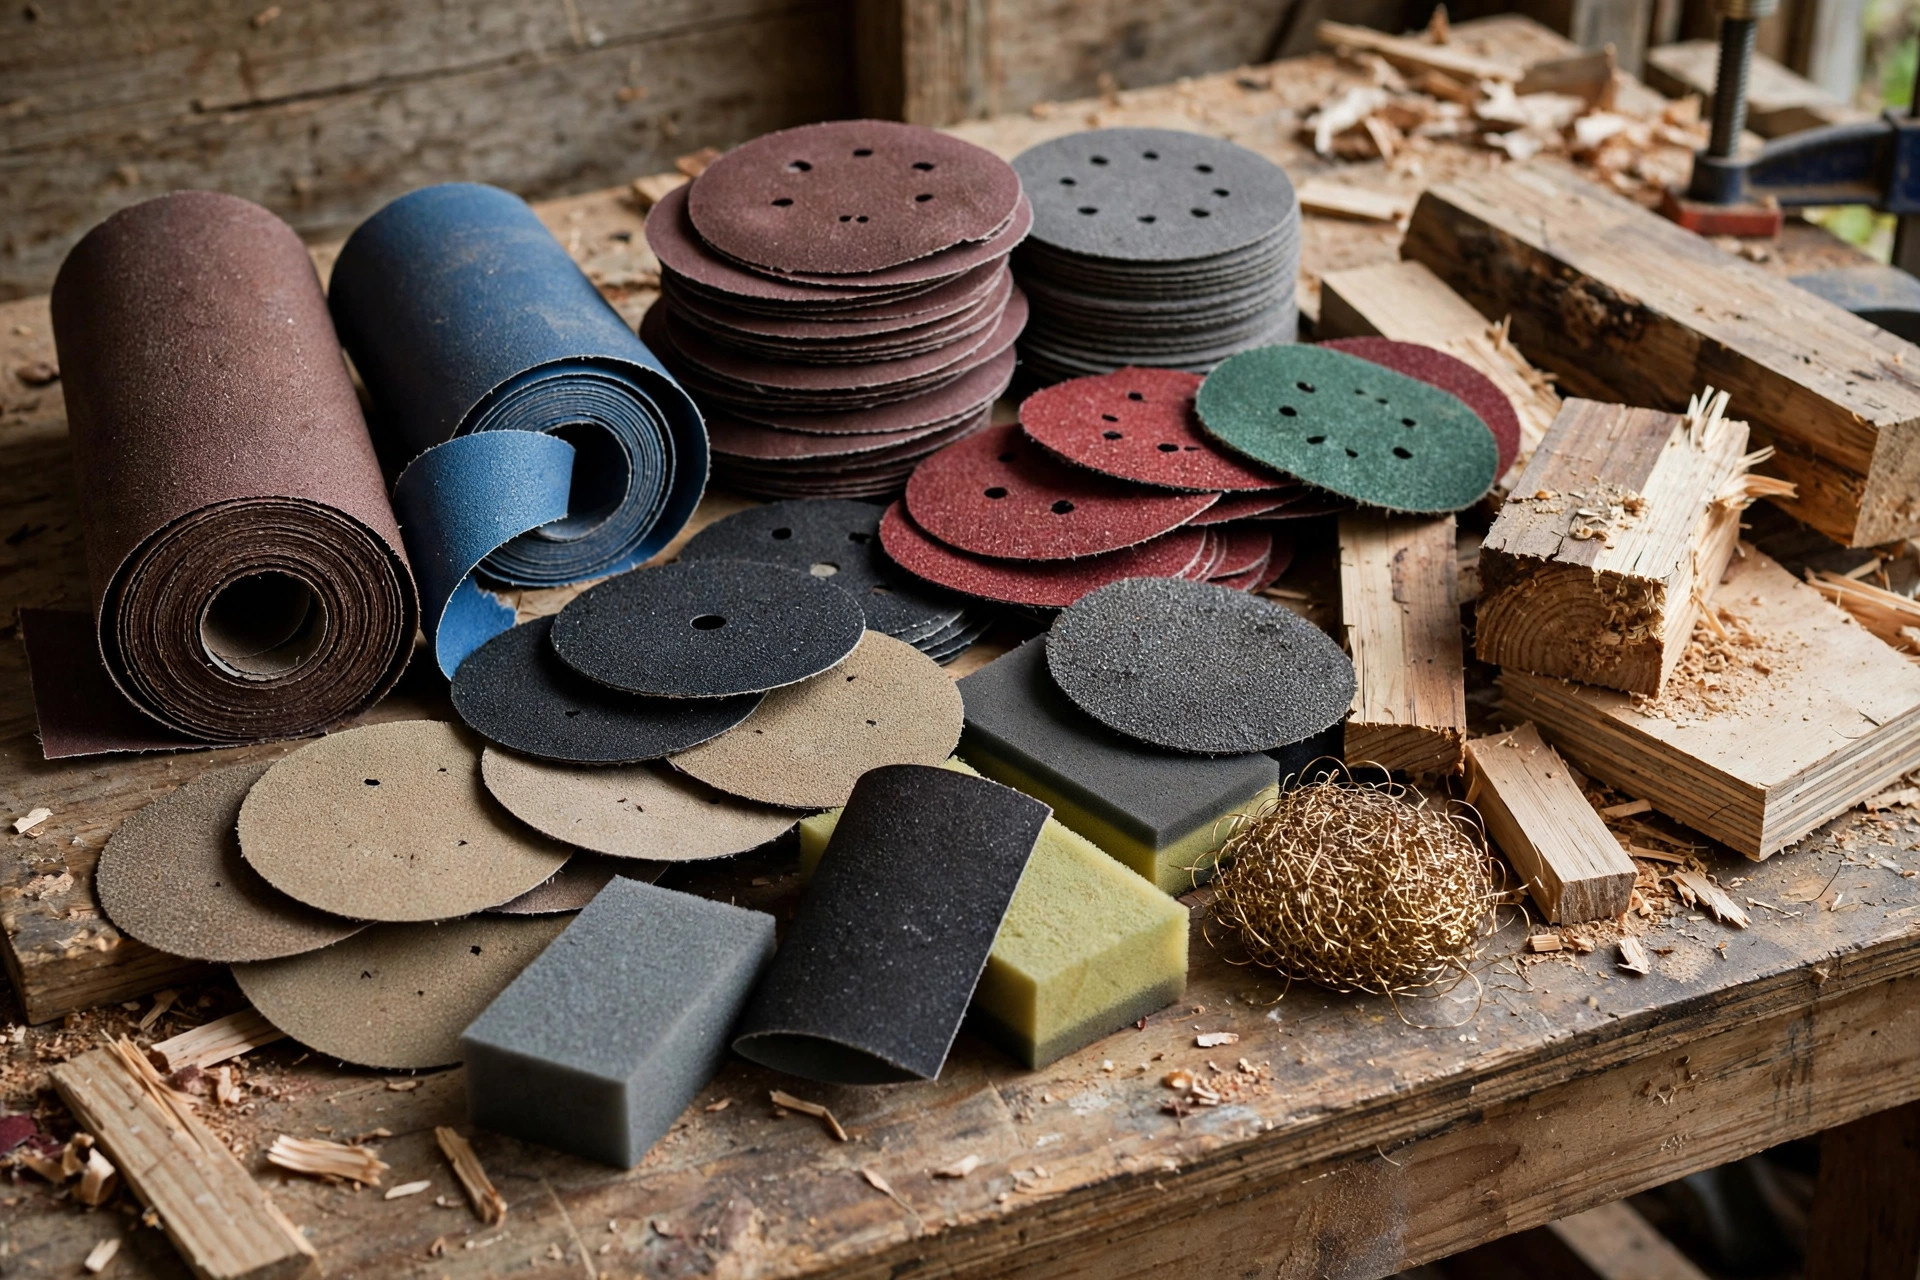
Grit number is only half the buying decision. The other half is the abrasive material itself, the hard mineral glued to the backing, and different minerals behave quite differently on wood. Beginners often ignore this and buy whatever is cheapest, which works for a while, but knowing the five common types helps you spend wisely and avoid the frustration of sandpaper that clogs, tears, or wears out halfway through a board.
Aluminium oxide is the default beginner choice, and for good reason. It is durable, it cuts wood well, it resists clogging better than many older abrasives, and it is widely available in sheets, discs, rolls, and belts. If you buy only one abrasive type for general woodworking, buy aluminium oxide. It works on softwoods and hardwoods, on solid wood and plywood, and with hand sanding and power sanders alike, and it holds up long enough that a sheet does not feel wasted after one board. For most beginners, aluminium oxide in 80 through 220 grit is the entire abrasive story, and there is no need to look further until a specific job demands it.
Garnet is the traditional woodworker’s abrasive, and it has a particular feel that some woodworkers still love. It cuts a little more gently than aluminium oxide and produces a very smooth, almost polished surface on bare wood, which is why it was the classic choice for hand sanding furniture before modern abrasives took over. Its weakness is durability: garnet grains break down faster, so sheets wear out sooner, especially on a power sander or on hardwoods. Garnet is a fine choice for gentle final hand sanding and for anyone who enjoys the traditional feel, but it is not the best value as your everyday abrasive, and beginners should not pay a premium for it as their main stock.
Silicon carbide is the specialist for very fine work and for sanding finishes rather than bare wood. It is harder and sharper than aluminium oxide, and it cuts well on hard, dense surfaces, but it wears faster on softwood and can be more brittle. Where silicon carbide earns its place in a beginner’s kit is in the fine grits, especially 320 and above, for sanding between finish coats, smoothing a cured finish, and wet sanding where the product is designed for it. It is also the usual choice for sanding metal, glass, and some plastics, though that is outside this guide’s woodworking focus. Do not buy silicon carbide as your main wood-sanding abrasive, but do consider it for your between-coats pack.
Ceramic and zirconia abrasives sit at the aggressive, long-life end of the range. Ceramic grains are engineered to fracture as they wear, constantly exposing fresh cutting edges, which makes ceramic discs excellent for heavy stock removal and for hardwoods, and gives them a much longer life than aluminium oxide in the same grit. Zirconia is similarly tough and is commonly found on belts and discs for aggressive sanding and grinding. Both are overkill for most beginner furniture sanding, and both cost more, but they make sense if you regularly flatten rough hardwood, remove old finishes, or run a belt sander hard. A beginner who buys ceramic discs for an orbital sander will notice the longer life, but should not buy them for fine finishing, where their aggression is a disadvantage rather than a benefit.
The practical buying rule is simple. Stock aluminium oxide for everyday wood sanding from 80 to 220 grit, add a small pack of silicon carbide at 320 grit for between-coats work, and consider ceramic discs only if you do a lot of heavy removal on hardwood or you are tired of burning through standard discs. Ignore garnet and zirconia until a project gives you a reason to try them, and never choose an abrasive on price alone if it means buying a grit range you do not need. A cheap pack that clogs on pine and tears on plywood is not a bargain, however low the price band looks on the shelf.
The Grit Chart: What to Use for Every Beginner Project
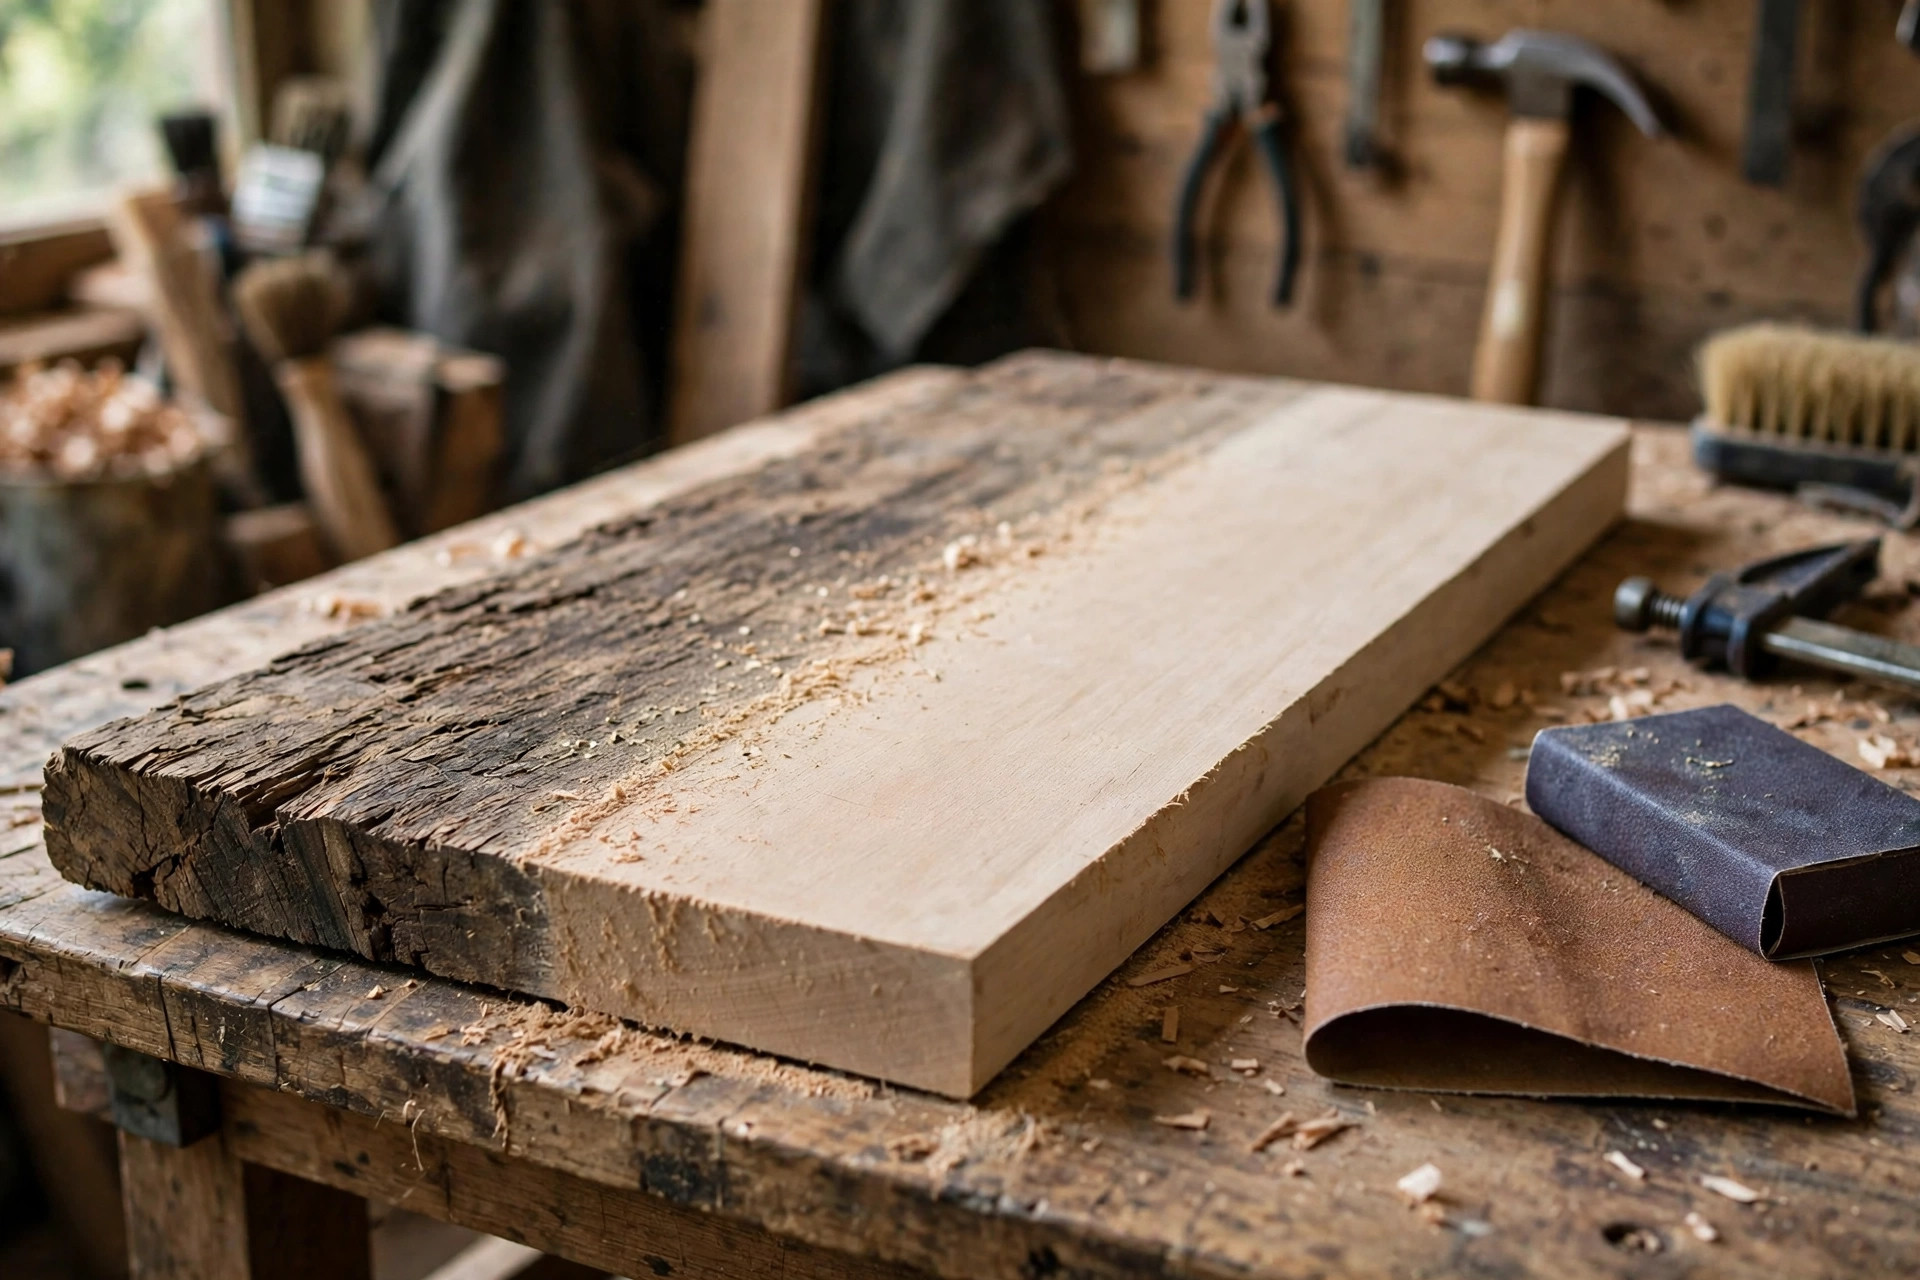
This is the chart to keep near your workbench. It assumes you are sanding with the grain, moving one step at a time, and checking your work in raking light. If your starting surface is smoother than the chart assumes, start at a higher grit and skip the coarser steps; if it is rougher, start lower and work up. The chart gives the finishing grit for each job, which is the grit you end on, not the only grit you use.
| Project or surface | Start at | Work through | Finish at | Notes |
|---|---|---|---|---|
| Rough-sawn lumber, heavy saw marks | 80 | 120, 180 | 180 or 220 | Remove marks fully before moving up; check in raking light |
| Planed or dressed boards | 120 | 180 | 180 or 220 | Skip 80 unless saw marks or dents remain |
| Plywood and veneered panels | 120 or 150 | 180 | 180 | Never start coarse on veneer; the skin is thin and sands through fast |
| Before stain (most woods) | 120 | 180 | 180 | Finer than 180 can burnish the surface and block even stain absorption |
| Before a clear finish (oil, varnish, polyurethane) | 120 | 180 | 220 | A finer final surface gives a cleaner, more even clear coat |
| Between finish coats | 320 | — | 320 | Light touch only, to remove dust nibs; wipe clean before the next coat |
| Paint preparation, bare wood | 80 or 120 | 180 | 180 | Paint hides finer scratches, but rough scratches still show through thin coats |
| Paint preparation, previously painted wood | 80 or 120 | 180 | 180 | Sand to key the surface, not to bare wood, unless the old paint is failing |
| Removing an old finish | 80 | 120, 180 | 180 | Work patiently; let the grit do the work rather than pressing hard |
| End grain | 120 | 180, 220 | 220 or finer | End grain absorbs more finish, so sand it one step finer than the face |
Two rows in that chart deserve extra attention, because they are where beginners most often go wrong. The first is stain preparation. It feels logical that smoother must mean better, so many beginners sand to 220 or even 320 before staining, only to find the stain goes on blotchy, pale, or uneven. The reason is that very fine sanding burnishes the wood surface, closing the tiny pores that stain needs to enter, and different areas of the board burnish differently, so absorption becomes uneven. For most stain work, 180 is the stopping point, and our guide to the best wood stain for beginners pairs naturally with this chart if you are choosing a stain as well as a grit. The second is plywood and veneer. A veneer skin can be less than a millimetre thick, so one careless pass with 80-grit, or heavy pressure on an edge, can sand straight through to the core underneath, and there is no way to sand that back. On plywood, start fine, use light pressure, and never sand edges aggressively.
End grain is the other special case worth learning early. The cut ends of a board absorb stain and finish far more greedily than the long-grain faces, which is why table ends and shelf ends often come out darker than the rest of the piece. Sanding end grain one step finer than the faces helps even that out, because a finer surface absorbs a little less. It will not make end grain identical to face grain, since the structure is different, but it noticeably reduces the dark-end effect, especially under stain. If you are building a first shelf or table, try this on scrap first and compare the result before you commit to a finished piece.
Formats Compared: Sheets, Discs, Rolls, and Sponges
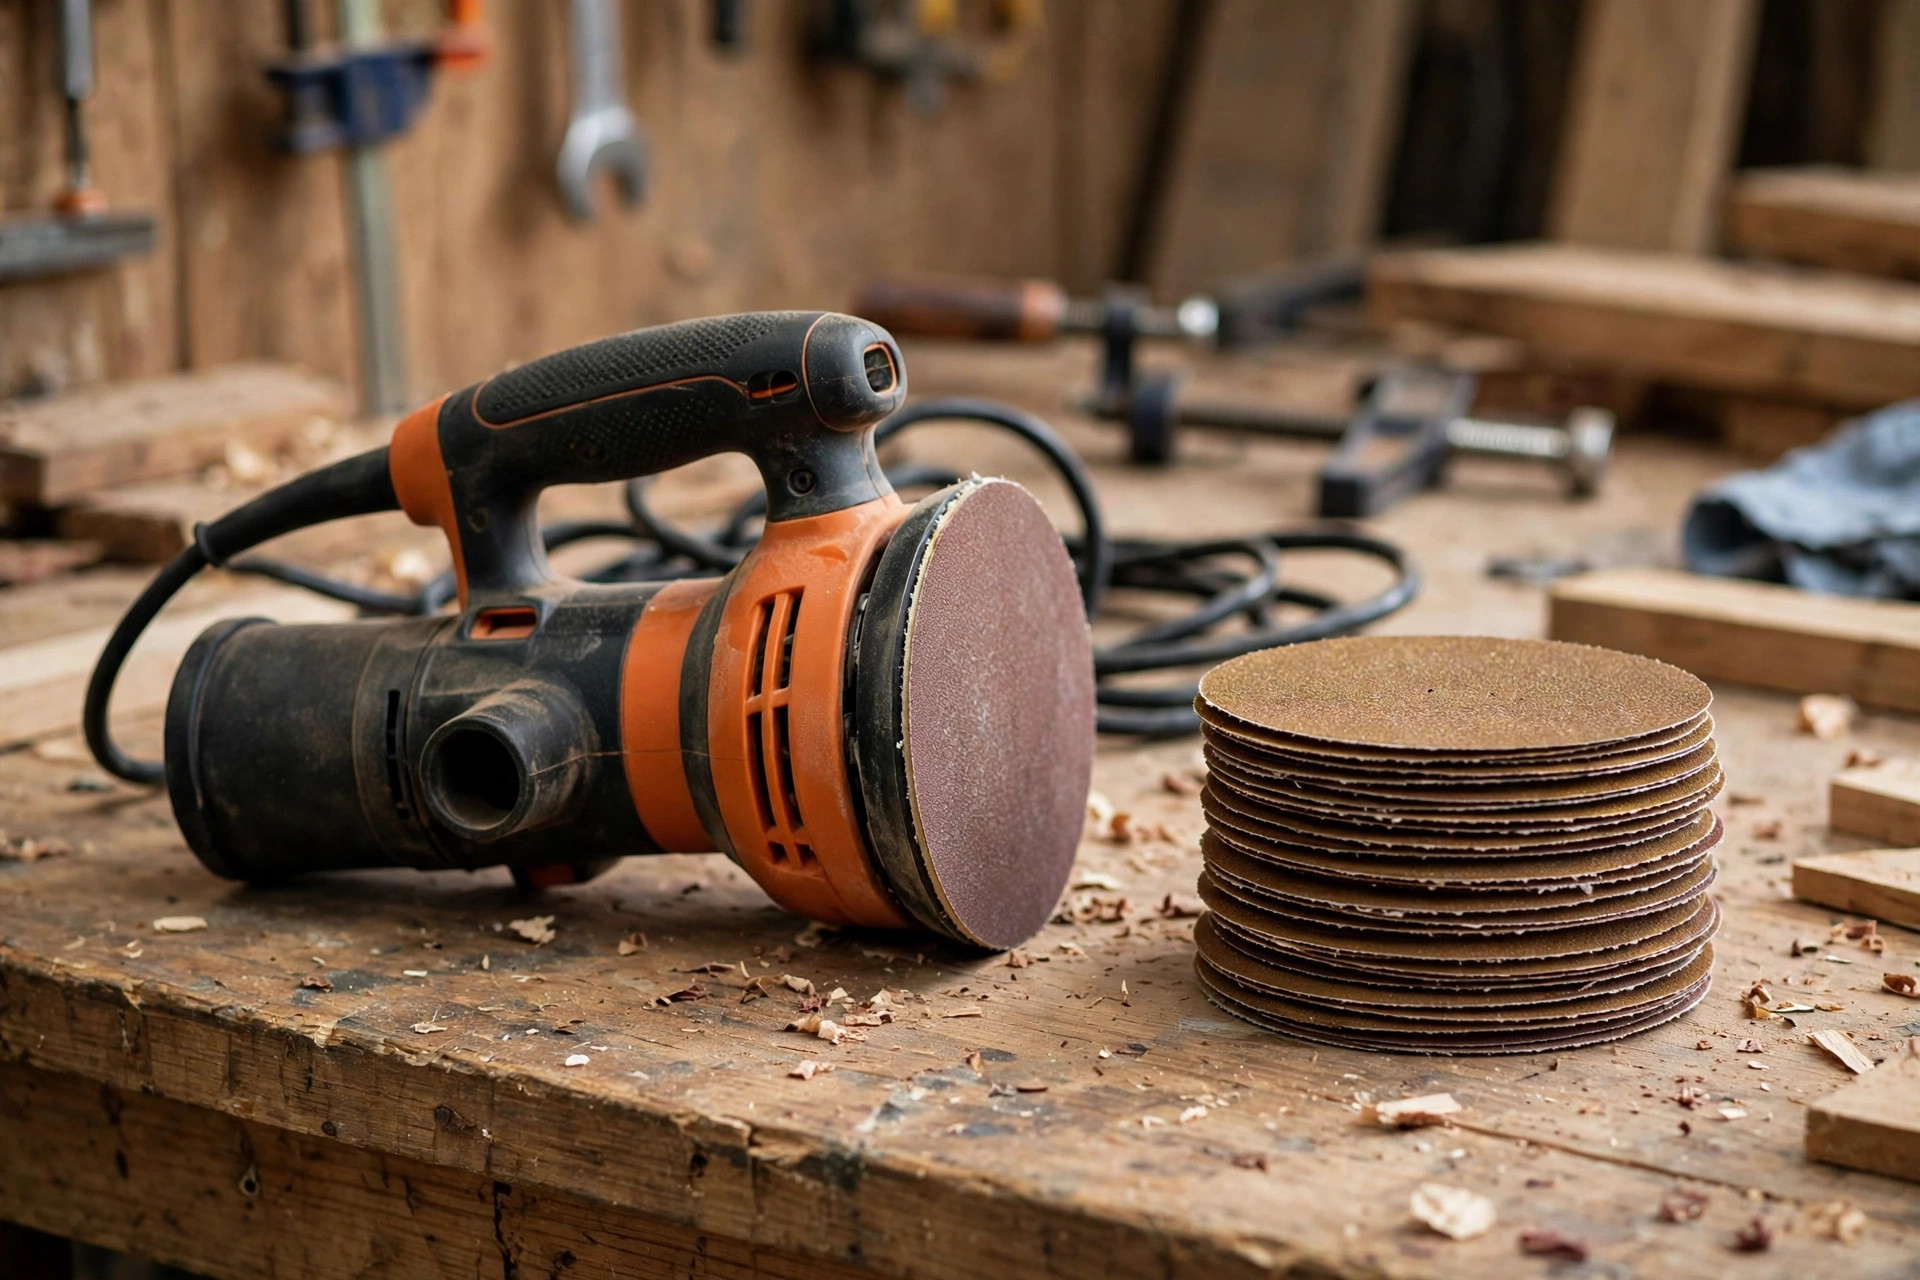
Sandpaper comes in four main formats, and the right one depends less on the grit and more on how you sand. Sheets are the classic format: rectangular paper sheets, usually quarter-sheet size for a palm sander or full sheets torn or cut for hand sanding, often folded around a sanding block. They are cheap, widely available, easy to store, and ideal for hand sanding, detail work, and flat surfaces where a block keeps the paper flat. Their weakness is speed on larger surfaces, where a power sander with discs will cover ground far faster, and sheets wear faster than discs on a machine because they are not designed for that use.
Discs are made for random orbital sanders, and they are the format most beginners will use most once they own a power sander. The standard beginner size is a 5-inch disc, which fits the common 5-inch random orbital sander, and discs come in two attachment styles: hook-and-loop, which sticks to a soft pad and peels off for reuse, and adhesive-backed, which sticks once and is thrown away when worn. Hook-and-loop is the beginner-friendly choice, because you can swap grits mid-project, reuse a disc that still has life in it, and keep a used disc for a later job. Adhesive discs are cheaper per disc in some ranges, but you cannot easily remove and reuse them, and removing a half-worn adhesive disc usually destroys it. If you are buying discs, check your sander’s pad size and hole pattern before you buy, because a disc that does not match your sander’s dust-extraction holes will clog faster and collect less dust. For sander choice itself, our guide to the best random orbital sander for beginners explains pad sizes, dust collection, and what to look for in a first sander.
Rolls are long strips of abrasive on a roll, which you tear or cut to length. They are economical for hand sanding and for sanding blocks, because you cut exactly what you need, and they store neatly in a workshop. Rolls suit woodworkers who sand a lot by hand, who use profile sanding blocks, or who want one roll in a commonly used grit rather than a stack of loose sheets. They are less convenient for power sanders, where discs are the designed format, and a roll in a grit you rarely use can sit untouched for a year. Sponges, sometimes called sanding sponges or foam-backed pads, are abrasive bonded to a flexible foam block. They conform to curves, profiles, mouldings, and rounded edges far better than a flat sheet, and they are excellent for light between-coats sanding and for sanding contoured pieces. They cost more per piece than a sheet, and they are not the tool for flattening a large board, but for a chair leg, a routed edge, or a curved box lid, a sponge is often the only format that reaches the surface properly.
| Format | Cost per use | Best sander or method | Best use | Watch out for |
|---|---|---|---|---|
| Sheets | Lowest | Hand sanding, sanding block, palm sander | Flat surfaces, detail work, general hand sanding | Slower on large areas; wears faster on a machine |
| Discs (hook-and-loop) | Mid-range | 5-inch random orbital sander | Fast, even sanding on flat and large surfaces | Must match pad size and dust holes; check disc size before buying |
| Discs (adhesive-backed) | Low per disc, higher waste | Random orbital sander | Budget disc sanding where reuse is not needed | Cannot easily remove and reuse a half-worn disc |
| Rolls | Low over time | Hand sanding, profile blocks | Cutting custom lengths, frequent hand sanding | Poor fit for power sanders; a rarely used grit ties up money |
| Sponges | Highest per piece | Hand sanding | Curves, profiles, mouldings, between-coats work | Not for flattening large boards; wears on sharp edges |
A sensible beginner shopping list covers all of this without overbuying. Buy a mixed sheet pack in 80, 120, 180, and 220 for hand sanding and detail work, a mixed hook-and-loop disc pack in the same grits for your orbital sander, and a small pack of 320-grit sponges or sheets for between-coats work. That combination handles flat boards, curved pieces, stain preparation, and finish work, and it keeps your spending in the budget to mid-range band rather than the premium band that comes from buying every format in every grit. Add a roll only when you find yourself cutting sheets every week, and add ceramic discs only when standard discs are wearing out noticeably fast on hardwood.
When to Stop Sanding, Dust Safety, and Looking After Your Sandpaper
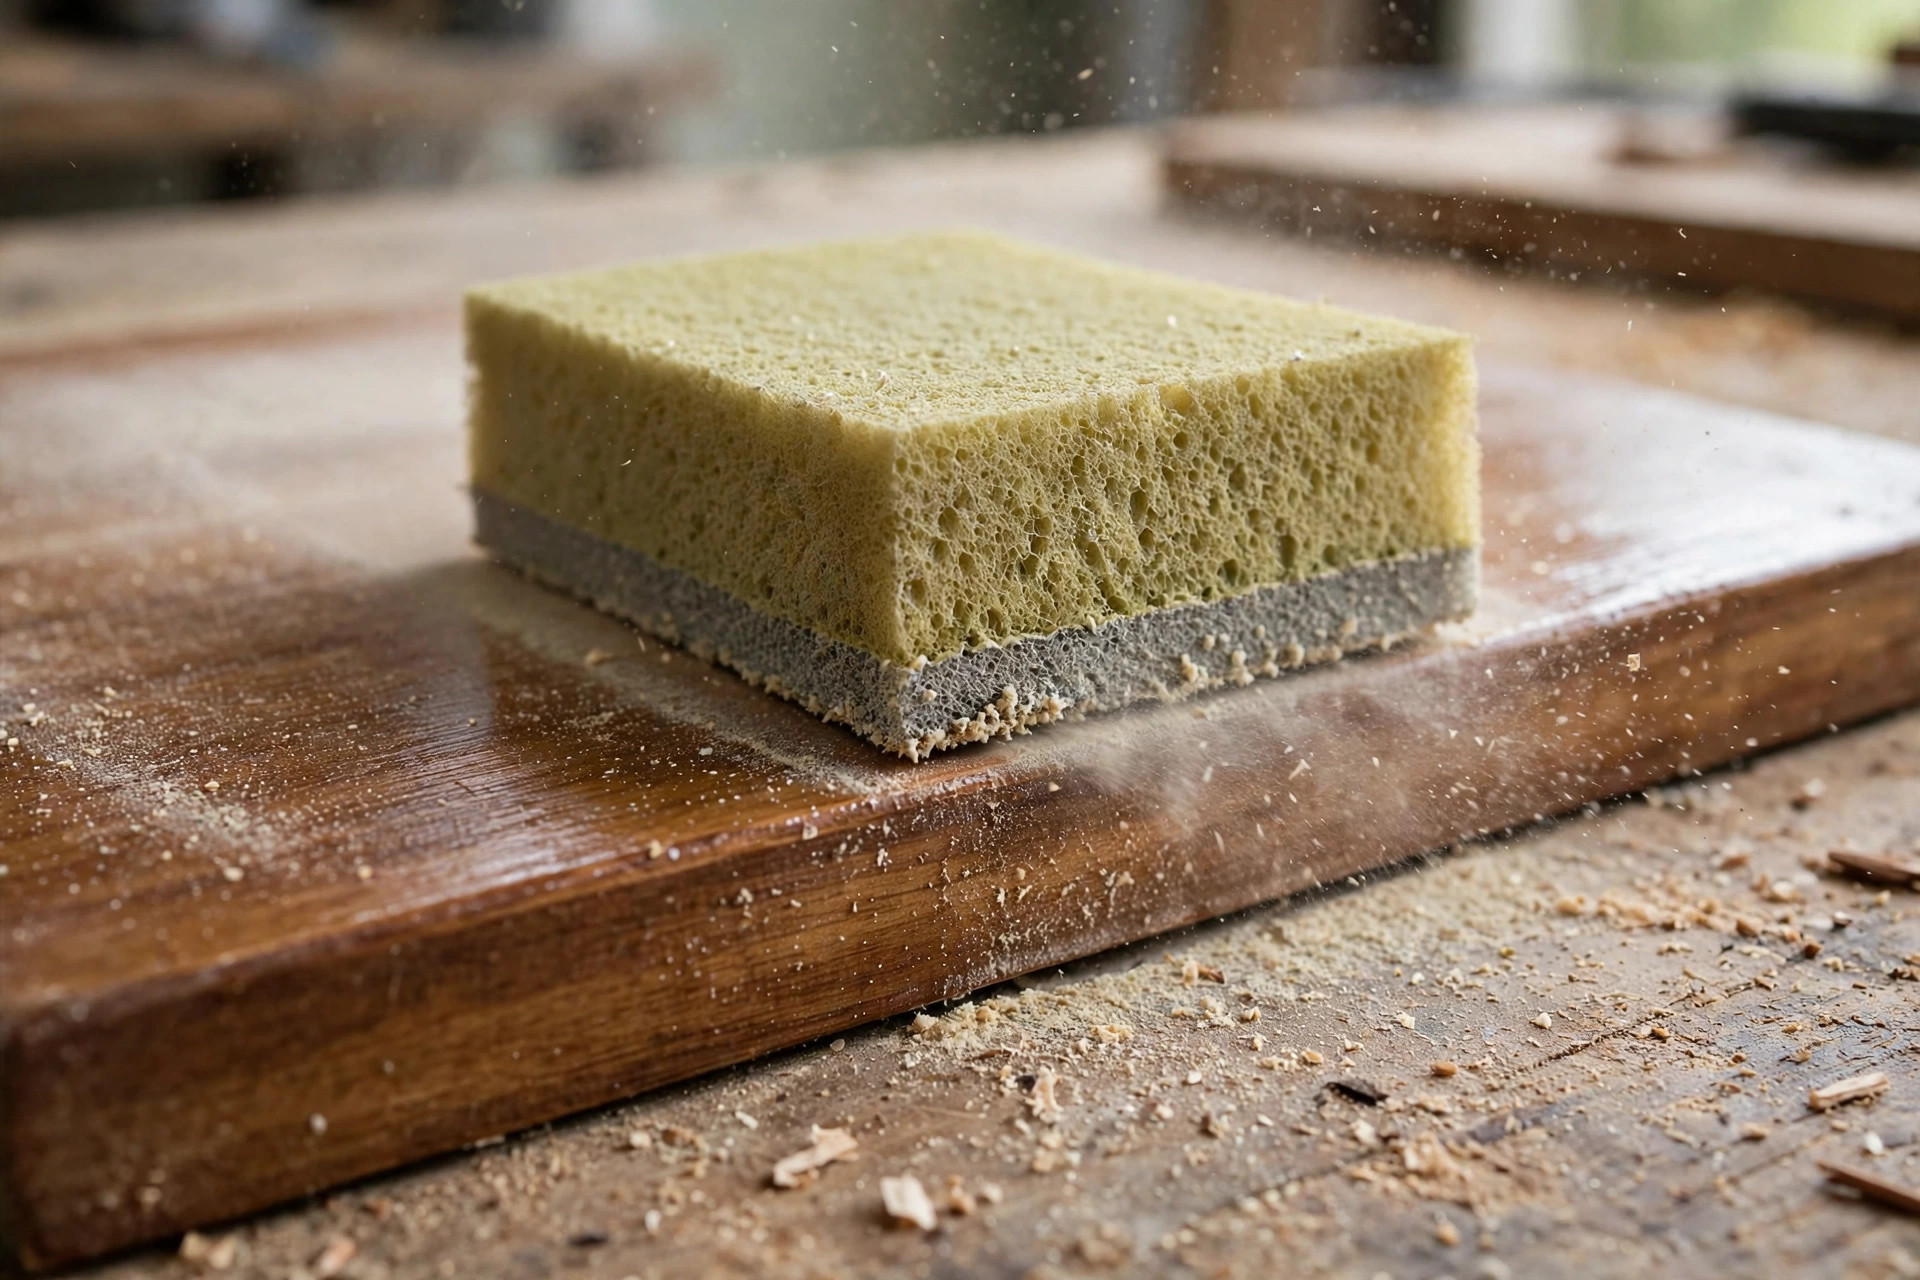
Knowing when to stop is as important as knowing where to start, and it is the skill that separates a good finish from a sanded-to-death surface. For stain, stop at 180, as explained above, because finer sanding blocks stain absorption. For a clear finish, stop at 220 on bare wood, because the finish itself will add smoothness, and over-sanding beyond that point gives you almost nothing while increasing the risk of rounding edges and thinning veneer. Between coats, sand only enough to remove dust nibs and give the next coat something to grip, which means a few light passes with 320-grit and no pressure. If you sand through a finish coat back to bare wood, you will see a pale patch that the next coat may not hide, so stop the moment the surface feels smooth and even, and wipe away the dust before recoating.
Dust safety belongs in every sanding guide, because sanding produces fine dust that stays in the air long after the sander stops. Always sand in a ventilated space, connect your sander to a shop vacuum or dust extractor where possible, and wear a properly fitting dust mask or respirator, not just a loose paper mask that gaps at the cheeks. This matters more with manufactured boards such as MDF and plywood, whose dust is more irritating than solid-wood dust, and it matters for everyone, not just people with allergies. A respirator with replaceable filters is a sensible workshop investment, and it should be part of the same shopping trip as your first sandpaper pack. Sweep and vacuum between grits as well, because dust left on the surface can get trapped under the next grit and cause fresh scratches, and a clean bench makes it far easier to see the scratches you still need to remove.
Looking after sandpaper saves real money, because a sheet that clogs is often not worn out, it is just full of dust. Tap sheets and discs clean regularly, brush them with a stiff brush or a rubber cleaning stick, which is a cheap block that pulls clogged dust out of the abrasive and noticeably extends a sheet’s life. Store sandpaper flat, dry, and away from damp workshop corners, because damp paper curls, tears, and loses its grip, and damp discs can lose their hook-and-loop backing. Keep used discs that still have life in them, labelled by grit, rather than throwing them away after one session, and keep a separate small stock of worn, fine-grit sheets for gentle jobs such as easing a sharp edge or smoothing a finish, where a half-worn sheet is actually gentler and more controllable than a fresh one. None of this is glamorous, but it is how a beginner’s sandpaper budget stretches across many projects instead of disappearing on the first two.
One more practical point on technique, kept brief by design: always sand with the grain, never across it, and let the abrasive do the work rather than pressing hard. Heavy pressure does not sand faster, it clogs paper, creates uneven dips, and rounds edges. For the full step-by-step process, including how to sand a project from start to finish and how to apply stain and finish after sanding, see our companion process guide to how to sand and finish wood for beginners, which walks through the sequence in detail. This buying guide and that process guide are designed to be read together: this one tells you what to buy and when to stop, that one shows you how to use it.
Common Mistakes That Ruin a Finish
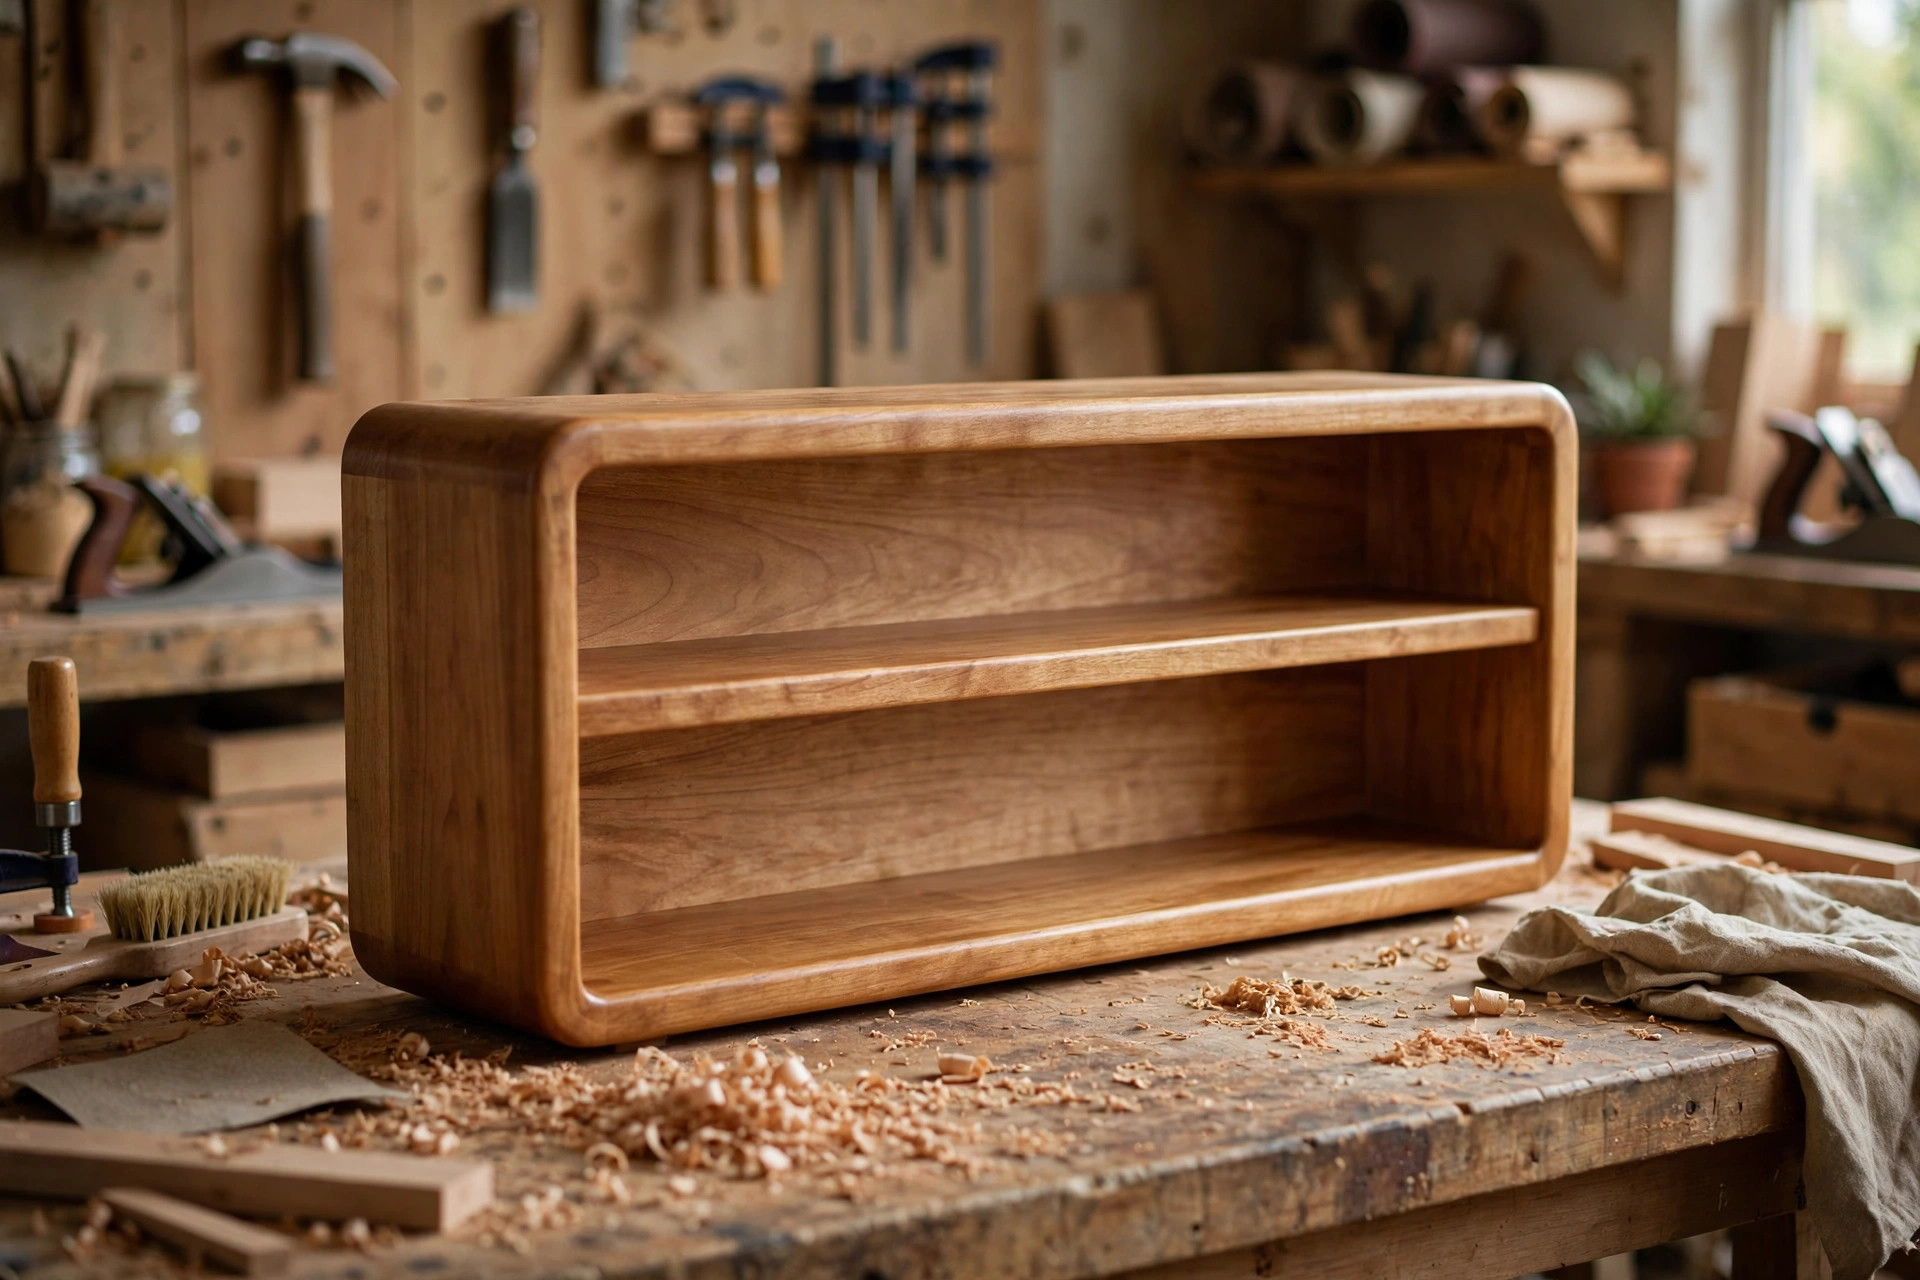
Most sanding mistakes are easy to avoid once you know what they look like, and they almost all show up at the finishing stage, when fixing them is hardest. The first mistake is skipping grits, already covered above, but worth repeating because it is the single most common beginner error. If you jump from 80 to 220, the deep scratches stay, and stain or clear finish will highlight them rather than hide them. The fix is unglamorous and effective: go back to the grit you skipped, work through the sequence properly, and check in raking light before moving on. It feels like going backwards, but it is far faster than finishing a piece, spotting scratches, and sanding the finish off to start again.
The second mistake is sanding across the grain. Cross-grain scratches are far more visible than with-grain scratches, because they cut across the wood fibres rather than along them, and they show up dramatically under stain. Always sand in the direction of the grain, including on the ends of boards where the grain direction can be less obvious, and be especially careful where grain changes direction around knots or figured wood. The third mistake is over-sanding edges and veneer. Edges round quickly under a power sander, and a rounded edge on a tabletop or shelf looks soft and amateurish rather than crisp, while veneer sands through with no warning. Sand edges lightly, by hand where possible, and stop well before the surface looks perfect, because the finish will add the final smoothness.
The fourth mistake is sanding finer and finer in the belief that smoother is always better, which, as the stain section explains, can actually ruin stain absorption. If a piece is destined for stain, 180 is the finish line, and going to 220 or 320 before staining is not an improvement, it is a problem. The fifth mistake is using worn-out sandpaper for too long. A dull sheet does not cut, it polishes and burns, leaving shiny patches that absorb finish unevenly and a surface that feels smooth but is not properly prepared. Change the sheet when it stops cutting, not when it falls apart, and keep a fresh sheet within reach so changing it feels easy rather than wasteful. Finally, do not forget the companion mistake of sanding a project after assembly without protecting joints and corners: glue squeeze-out, for example, must be removed before finishing, because dried glue blocks stain and shows as a pale patch, and sanding alone will not always remove it. Check joints in good light before you start finishing, scrape or sand glue spots carefully, and wipe the surface clean before the first coat.
If you have already made one of these mistakes, the remedy is usually the same: sand back to the stage before the mistake, work through the grits in order, and refinish. It is frustrating, but wood is forgiving in a way that few other materials are, and a piece sanded back properly and refinished is usually indistinguishable from one sanded right the first time. Keep scrap pieces from each project for practice, try new grits and finishes on scrap before the real piece, and treat every mistake as a cheap lesson rather than a ruined project. That habit, more than any single purchase, is what turns a beginner into a confident woodworker.
Frequently Asked Questions
What is the best sandpaper grit for woodworking beginners to start with?
Start with a kit of 80, 120, 180, and 220 grit, plus 320 grit for sanding lightly between finish coats. That kit covers rough lumber, planed boards, plywood, stain preparation, clear finishes, and paint preparation for almost every beginner project.
Should I sand to 220 grit before staining wood?
No, stop at 180 grit before stain on most woods. Sanding finer than 180 can burnish the surface, close the wood pores, and cause stain to absorb unevenly, leaving a blotchy or pale finish.
What grit should I use before applying polyurethane or a clear finish?
Sand bare wood to 220 grit before a clear finish, then sand very lightly with 320 grit between coats to remove dust nibs. Do not sand the bare wood finer than 220, because the finish itself adds smoothness.
Can I skip from 80 grit straight to 220 grit?
No, never skip more than one grit step. The deep scratches from 80 grit are too deep for 220 grit to remove efficiently, so you will either spend longer sanding or finish over visible scratches that stain and clear coats will highlight.
Are sanding discs or sheets better for a beginner?
Both have a place. Sheets are cheapest and best for hand sanding and detail work, while hook-and-loop discs are best for a random orbital sander on larger flat surfaces. Most beginners should buy both: a mixed sheet pack and a mixed 5-inch hook-and-loop disc pack in the same grits.
What is the difference between aluminium oxide and silicon carbide sandpaper?
Aluminium oxide is the durable, general-purpose abrasive for sanding bare wood from 80 to 220 grit. Silicon carbide is harder and sharper, and is best for fine work such as 320-grit sanding between finish coats, rather than as your everyday wood abrasive.
Final Verdict
The best sandpaper grit for woodworking beginners is not a single number, it is a small kit used in the right order: 80 for rough work, 120 as the workhorse, 180 as the stopping point before stain, 220 as the stopping point before a clear finish, and 320 used lightly between coats. Buy aluminium oxide for everyday sanding, add silicon carbide at 320 for finish work, choose hook-and-loop discs for your orbital sander and sheets for hand sanding, and resist the urge to sand finer than the job needs. Sand with the grain, never skip more than one grit, check your work in raking light, and protect your lungs with proper dust extraction and a respirator. Get those habits right, and the finish on your next shelf, table, or box will show the difference immediately. For the full sanding and finishing process, pair this buying guide with our companion guide to how to sand and finish wood for beginners, and for your next project idea, browse our pillar guide to easy woodworking projects for beginners that sell.



Pingback: How to Build a Wooden Bird Feeder for Beginners
Pingback: How to Build a Wooden Toy Box for Beginners
Pingback: How to Make a Wooden Napkin Holder for Beginners