
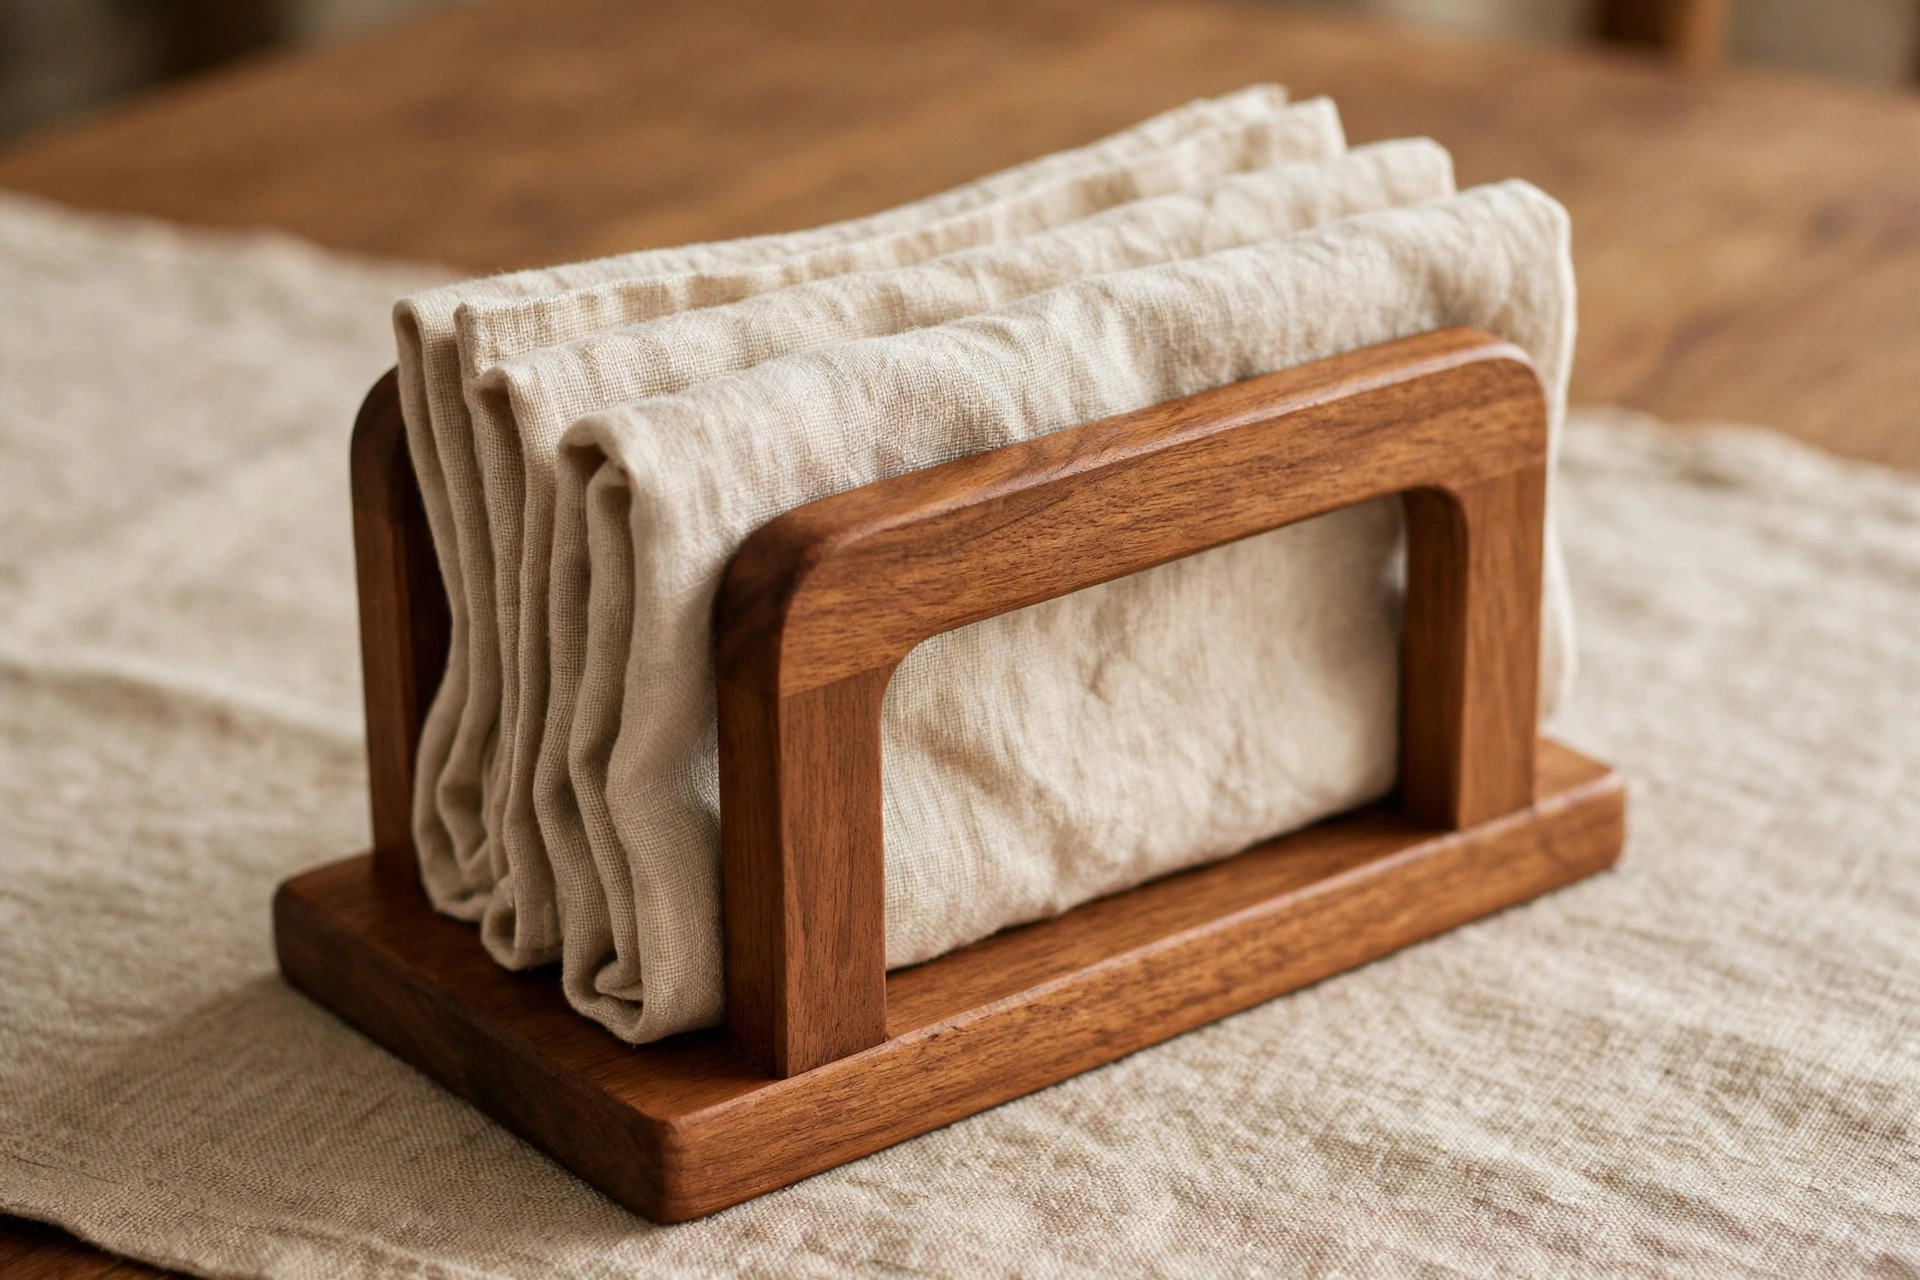
A wooden napkin holder is one of those small projects that earns its place on the table every single day. It takes an afternoon to build, uses offcuts you may already have, and teaches the core beginner skills — measuring, square cuts, gluing, sanding, and finishing — without the pressure of a large piece of furniture. If you can cut a straight line and sand a board smooth, you can make this.
This guide walks you through a simple upright holder: a solid base, two shaped side panels, and a centre divider that keeps napkins standing neatly instead of flopping over. We will size it for the napkins you actually use, check that it will not tip over when half empty, and finish it with stain or paint so it survives daily use in the kitchen or dining room.
Choosing Your Design
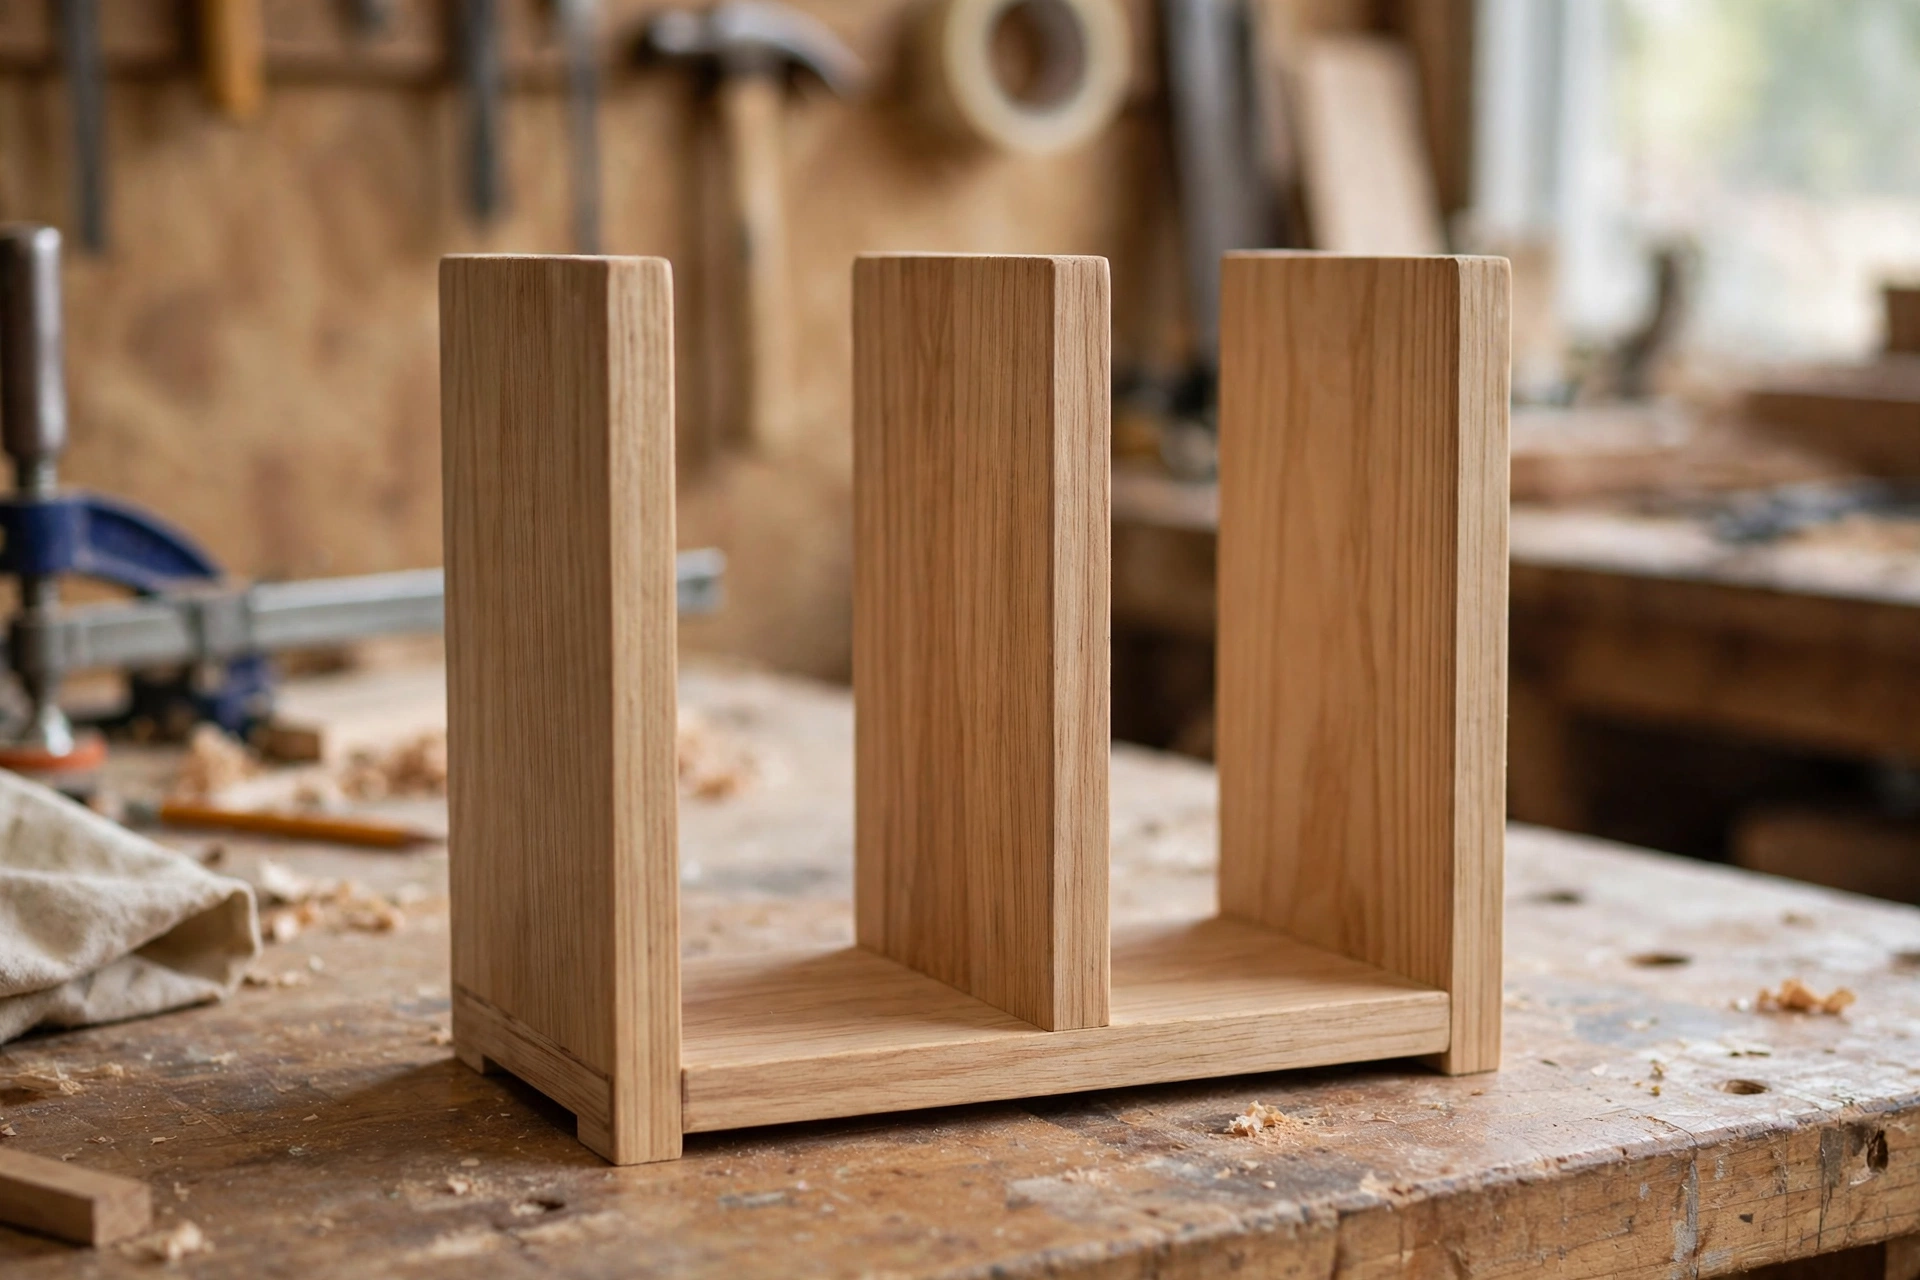
There are three common napkin holder designs, and the upright style in this guide is the friendliest for a first build. A flat tray holder looks tidy but lets napkins slide around, while a ring-style holder suits one napkin at a time. An upright holder, by contrast, holds a whole stack, keeps the top edges visible so guests can pull one napkin free, and stands on its own without fixings.
Start by deciding which napkins the holder will serve. Cocktail napkins are smaller and lighter, dinner napkins are taller and heavier, and cloth napkins are thicker than paper ones. A holder built only for paper cocktail napkins will look lost with dinner napkins, and a holder built for tall dinner napkins will swallow small cocktail napkins so far down that they are hard to grab. The answer is to size the side panels to your most-used napkin, then check the other sizes against the napkin-size table below.
Shape matters too. Straight rectangular sides are the easiest to cut and look clean and modern. A gentle curve or a rounded top corner softens the look and is still beginner-friendly if you cut it with a jigsaw and sand it smooth. Avoid fussy scrollwork on a first build: every extra curve is another edge to sand, and a simple shape finished well always looks better than a complicated shape finished in a rush.
Think about where the holder will live. A kitchen counter holder gets splashes and needs a sealed finish, while a dining table holder is handled more gently and can show off a nicer wood grain. A wider base suits a busy kitchen, where the holder may be knocked, while a slimmer base suits a formal table where space is tight. Sketch your holder on paper first, with the height, width, and base depth written in. That five-minute sketch prevents the most common beginner mistake: cutting first and discovering the proportions afterwards.
If you are new to shaping wood, a look at a beginner-friendly saw guide will help before you start. Our guide to the best jigsaw for beginners explains which features actually matter for small curved cuts like these side panels.
Materials and Tools You Need
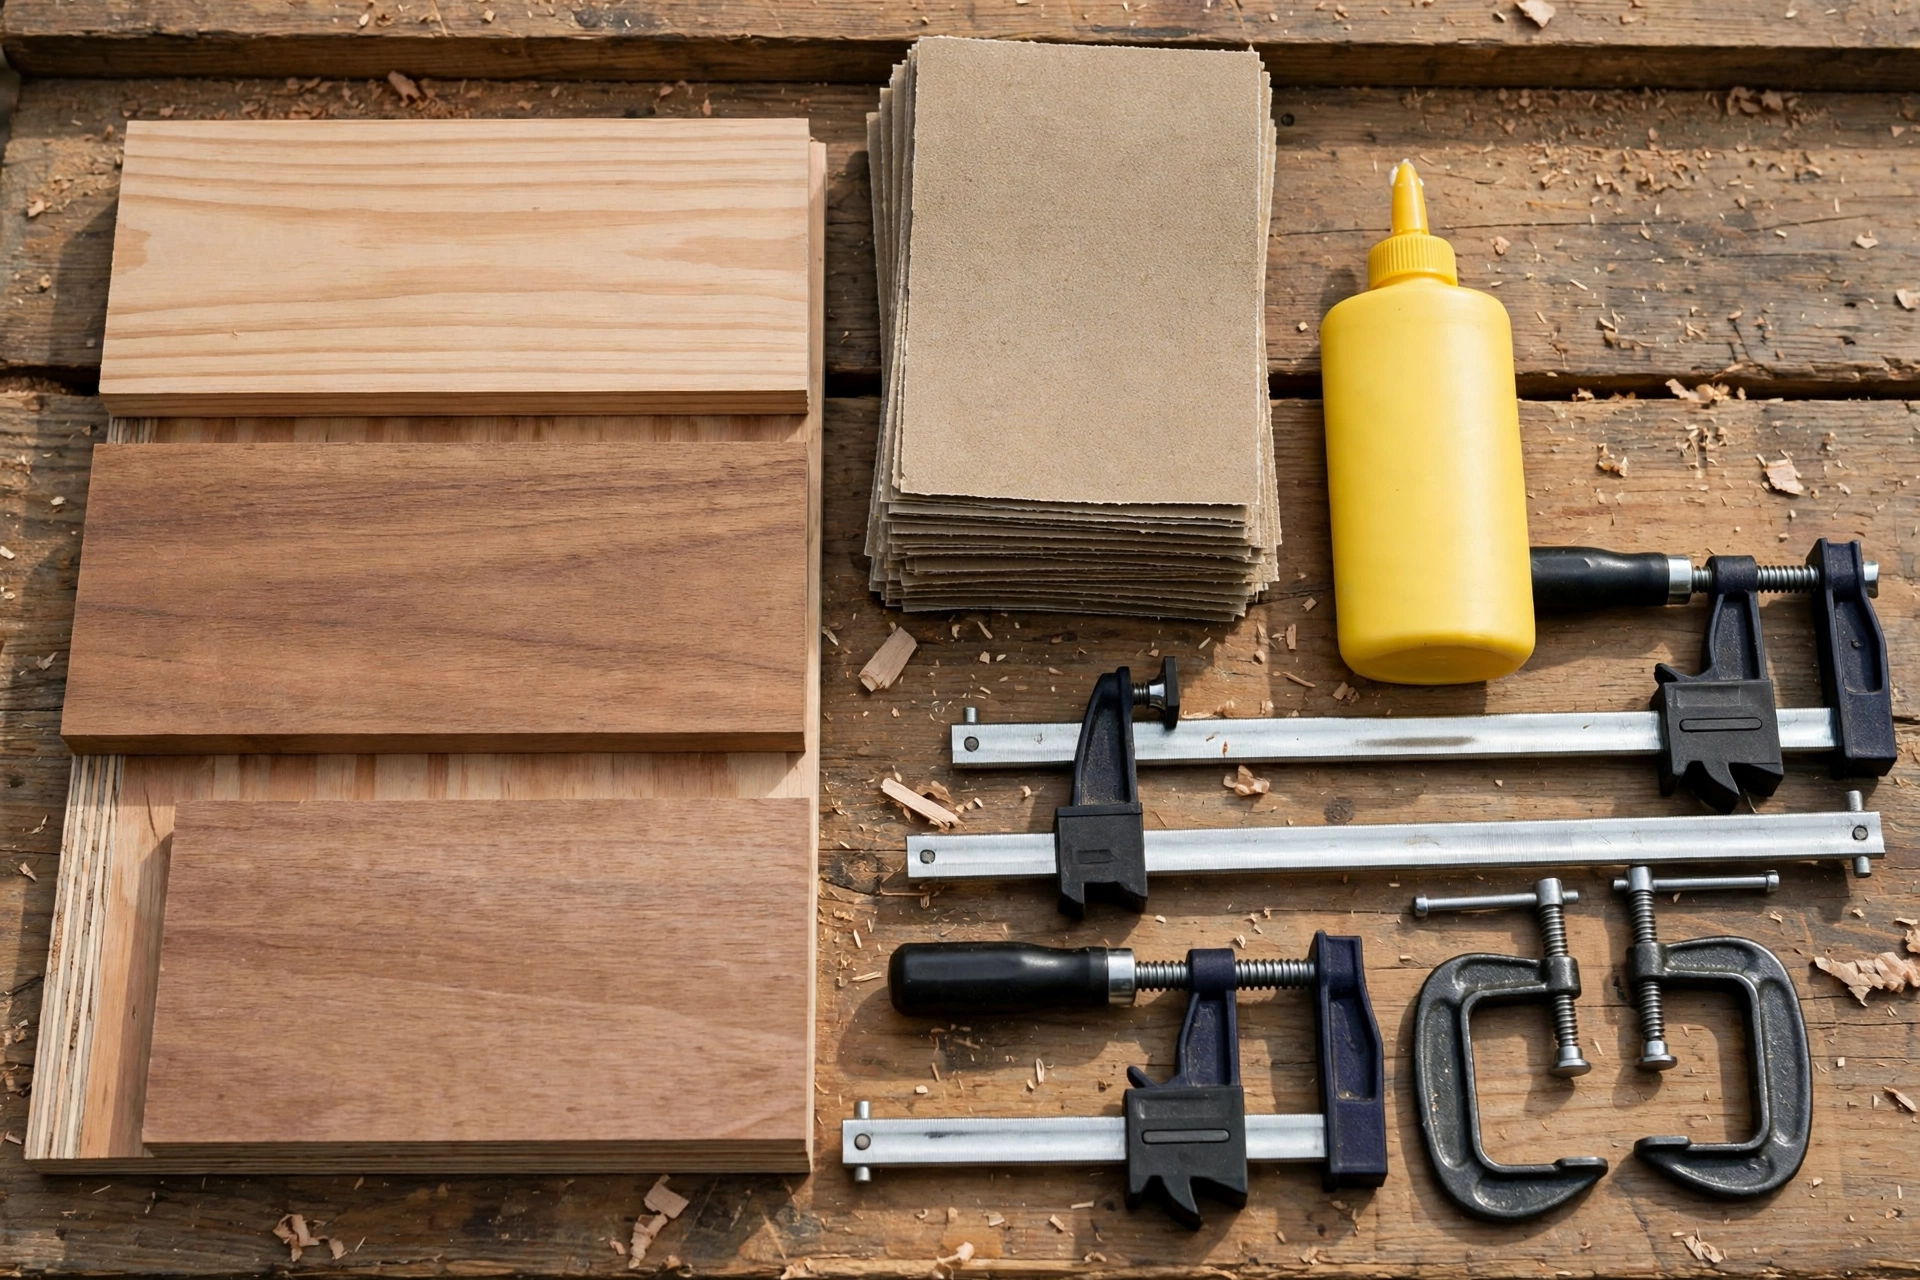
You do not need expensive hardwood for this project. Pine is cheap, easy to cut, and takes stain and paint well, which makes it ideal for a first holder. If you want a richer look, oak or walnut offcuts work beautifully, but keep the board thickness consistent so the joints sit flush. Aim for boards around 12–15 mm (about 1/2 inch) thick: thinner boards feel flimsy, and much thicker boards make the holder heavy and bulky for a tabletop.
For the wood, you need one board for the base, two boards for the side panels, and one narrow strip for the centre divider. A single board roughly 600 mm long and 150 mm wide, cut down to size, is usually enough, and this is a perfect use for a scrap board left over from a larger project. Check that the board is flat, not cupped or twisted, and that it has no large knots exactly where a side panel will be shaped — a knot in a curved edge can chip out.
The tool list is short. You need a saw (a jigsaw for shaped sides, or a handsaw plus a coping saw for curves), a tape measure or ruler, a pencil, a square, wood glue, two clamps, sandpaper in 120-grit and 220-grit, and a brush or rag for finishing. A drill is handy if you want to add a small dowel detail, but it is not required. Keep a damp cloth nearby for wiping up glue squeeze-out before it dries, because dried glue shows up as a pale blotch under stain.
Sanding is where a beginner project either looks handmade in the best sense or looks unfinished, so choose your abrasives deliberately. Our guide to the best sandpaper grit for beginners explains when to move from coarse to fine grit and how to avoid sanding through a corner.
Cut List and Napkin Sizes
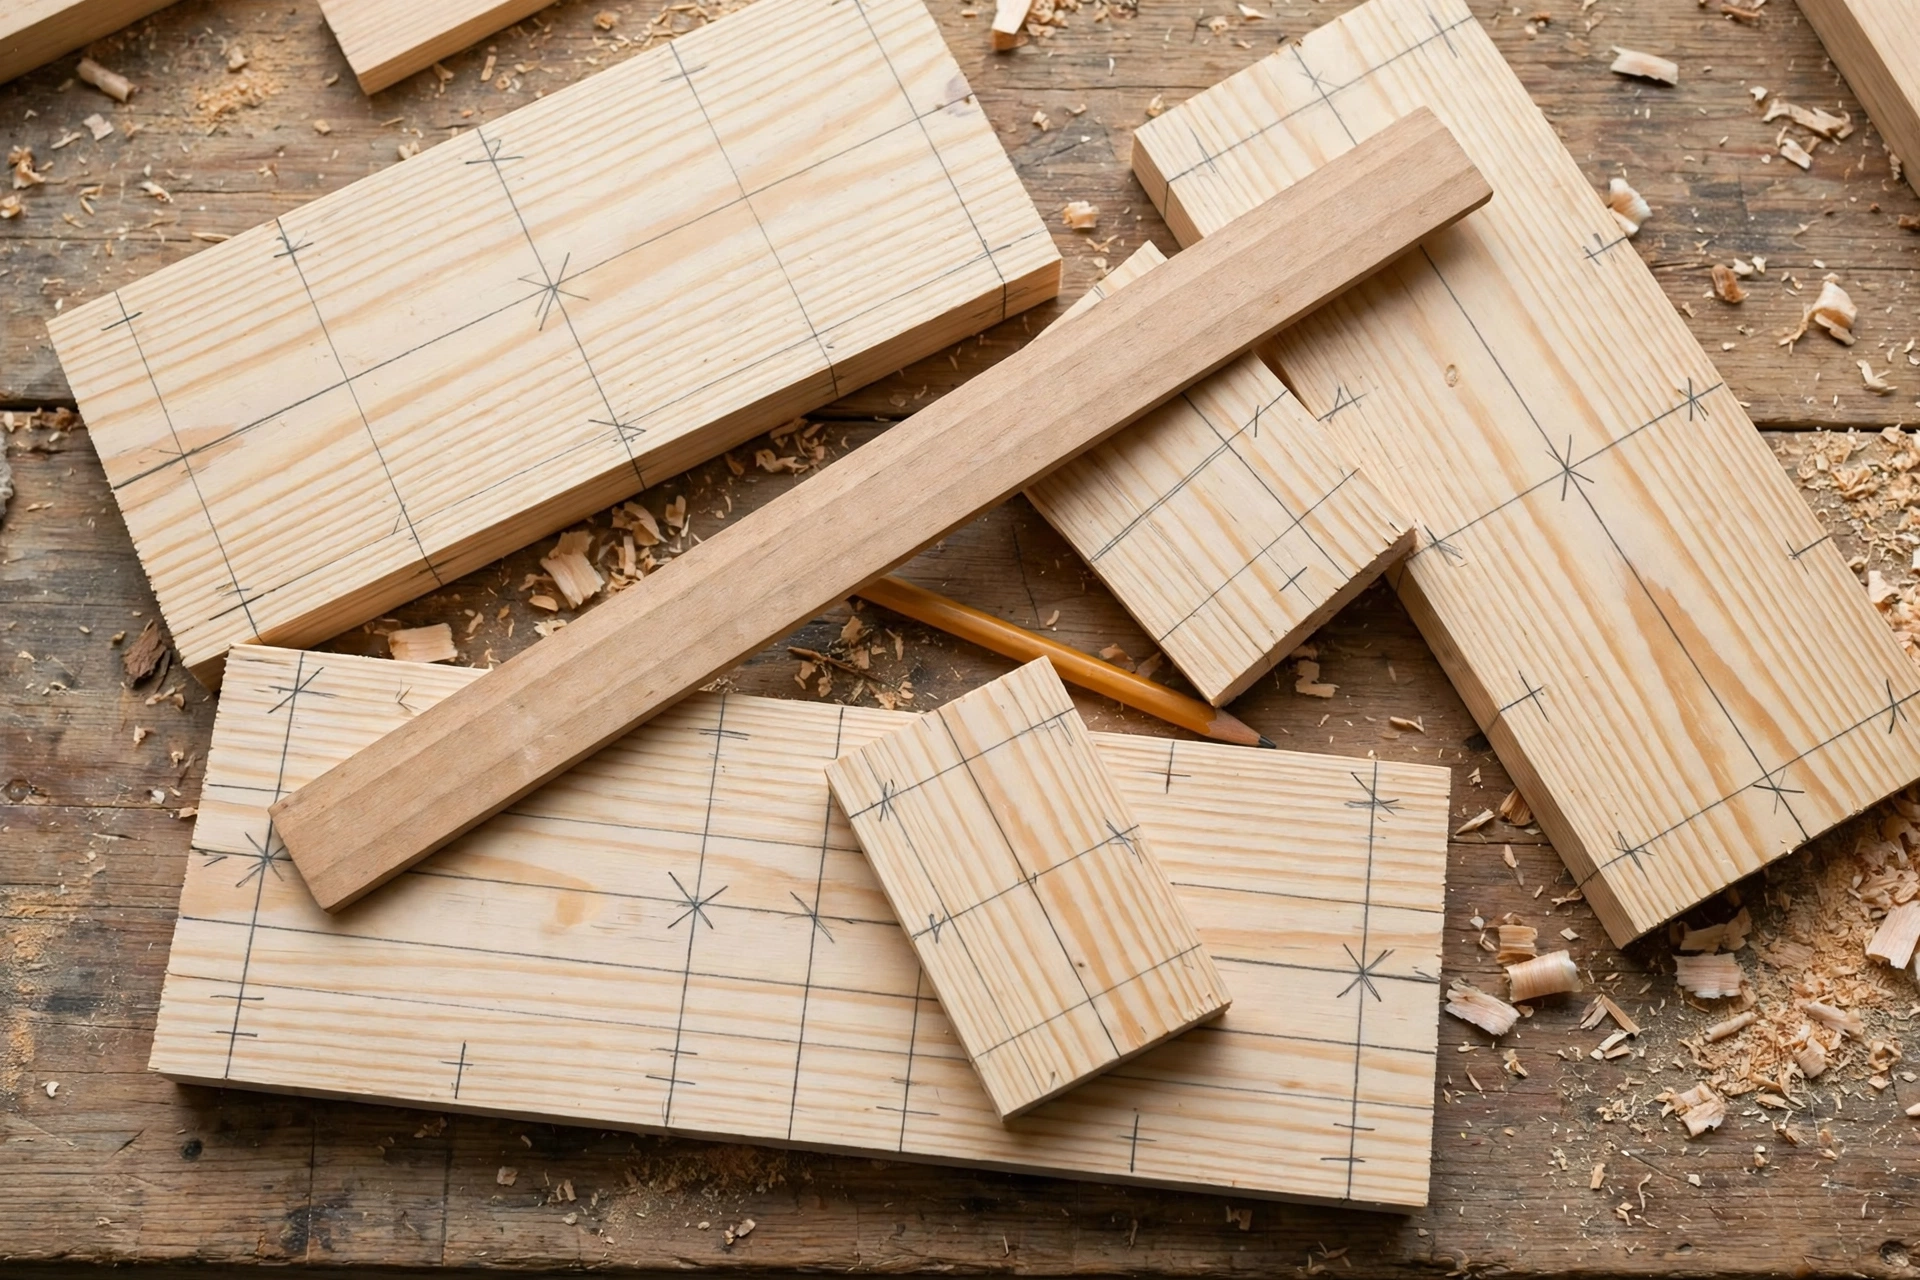
Measure twice, cut once, and label every piece as you cut it. The dimensions below suit folded dinner napkins, which are the most common table napkin, with notes for adapting the holder to cocktail napkins. If your napkins are cloth, measure a folded stack of ten rather than a single napkin, because cloth stacks are thicker and that thickness decides how wide the gap between the side panels must be.
Cut list
| Piece | Quantity | Dimensions (length × height × thickness) | Notes |
|---|---|---|---|
| Base | 1 | 180 mm × 110 mm × 15 mm | Wide enough to stop tipping |
| Side panel | 2 | 150 mm × 120 mm × 12 mm | Shape the top edge if desired |
| Centre divider | 1 | 150 mm × 90 mm × 12 mm | Sits upright in the middle of the base |
| Optional feet | 4 | 20 mm × 20 mm × 5 mm | Small felt or wood pads to protect the table |
For cocktail napkins, reduce the side panel height to about 90 mm and the base length to about 150 mm. For tall dinner napkins, keep the side panels at 120–130 mm so at least half the napkin is supported. Do not make the sides taller than two-thirds of the napkin height, or guests will struggle to pull a napkin out.
Napkin-size guide
| Napkin type | Typical folded size | Recommended side-panel height | Holder gap (between panels) |
|---|---|---|---|
| Cocktail (paper) | About 125 mm × 125 mm | 85–95 mm | 40–50 mm |
| Dinner (paper) | About 165 mm × 165 mm | 115–130 mm | 45–60 mm |
| Dinner (cloth) | About 150–200 mm square | 120–135 mm | 55–70 mm |
| Luncheon (paper) | About 165 mm × 165 mm unfolded smaller | 100–115 mm | 45–55 mm |
The holder gap is the space between the two side panels, and it is set by the thickness of your napkin stack, not by the napkin height. Too narrow a gap crushes cloth napkins and makes paper ones tear when pulled; too wide a gap lets the whole stack lean and fall. Test the gap with a real stack before you glue anything, and leave a little slack so the last few napkins still stand up.
Step-by-Step Build
Step 1: Mark out the pieces
Transfer the cut list to your board with a pencil and square. Mark the base first, then the two side panels, then the divider. If you are shaping the side panels, draw the curve on both panels at the same time, or cut one panel and use it as a template for the second, so the pair matches exactly. Number the pieces lightly on the inside face that will not be seen.
Step 2: Cut the base and divider
Cut the base and the centre divider with straight cuts, keeping the saw just outside the pencil line and then trimming to the line. Check each cut with a square: a base that is not square will make the whole holder sit crooked. Lightly sand the cut edges now, before assembly, because inside corners are much harder to sand once the holder is glued together.
Step 3: Cut and shape the side panels
Cut the side panels to their rectangular outline first, then cut the shaped top edge. With a jigsaw, move slowly and let the blade do the work; forcing the saw causes wandering cuts and rough edges. If you are cutting by hand, a coping saw handles gentle curves well. Sand the shaped edge through 120-grit and then 220-grit until it feels smooth to the touch from every direction.
Step 4: Dry-fit before gluing
Stand the pieces together without glue and load the holder with a stack of your napkins. Check the fit: do the napkins stand upright, can you pull one out without the rest collapsing, and does the holder feel stable? Adjust the gap or trim a panel now, while changes are still easy. A dry-fit takes five minutes and saves a glued mistake that would take an hour to fix.
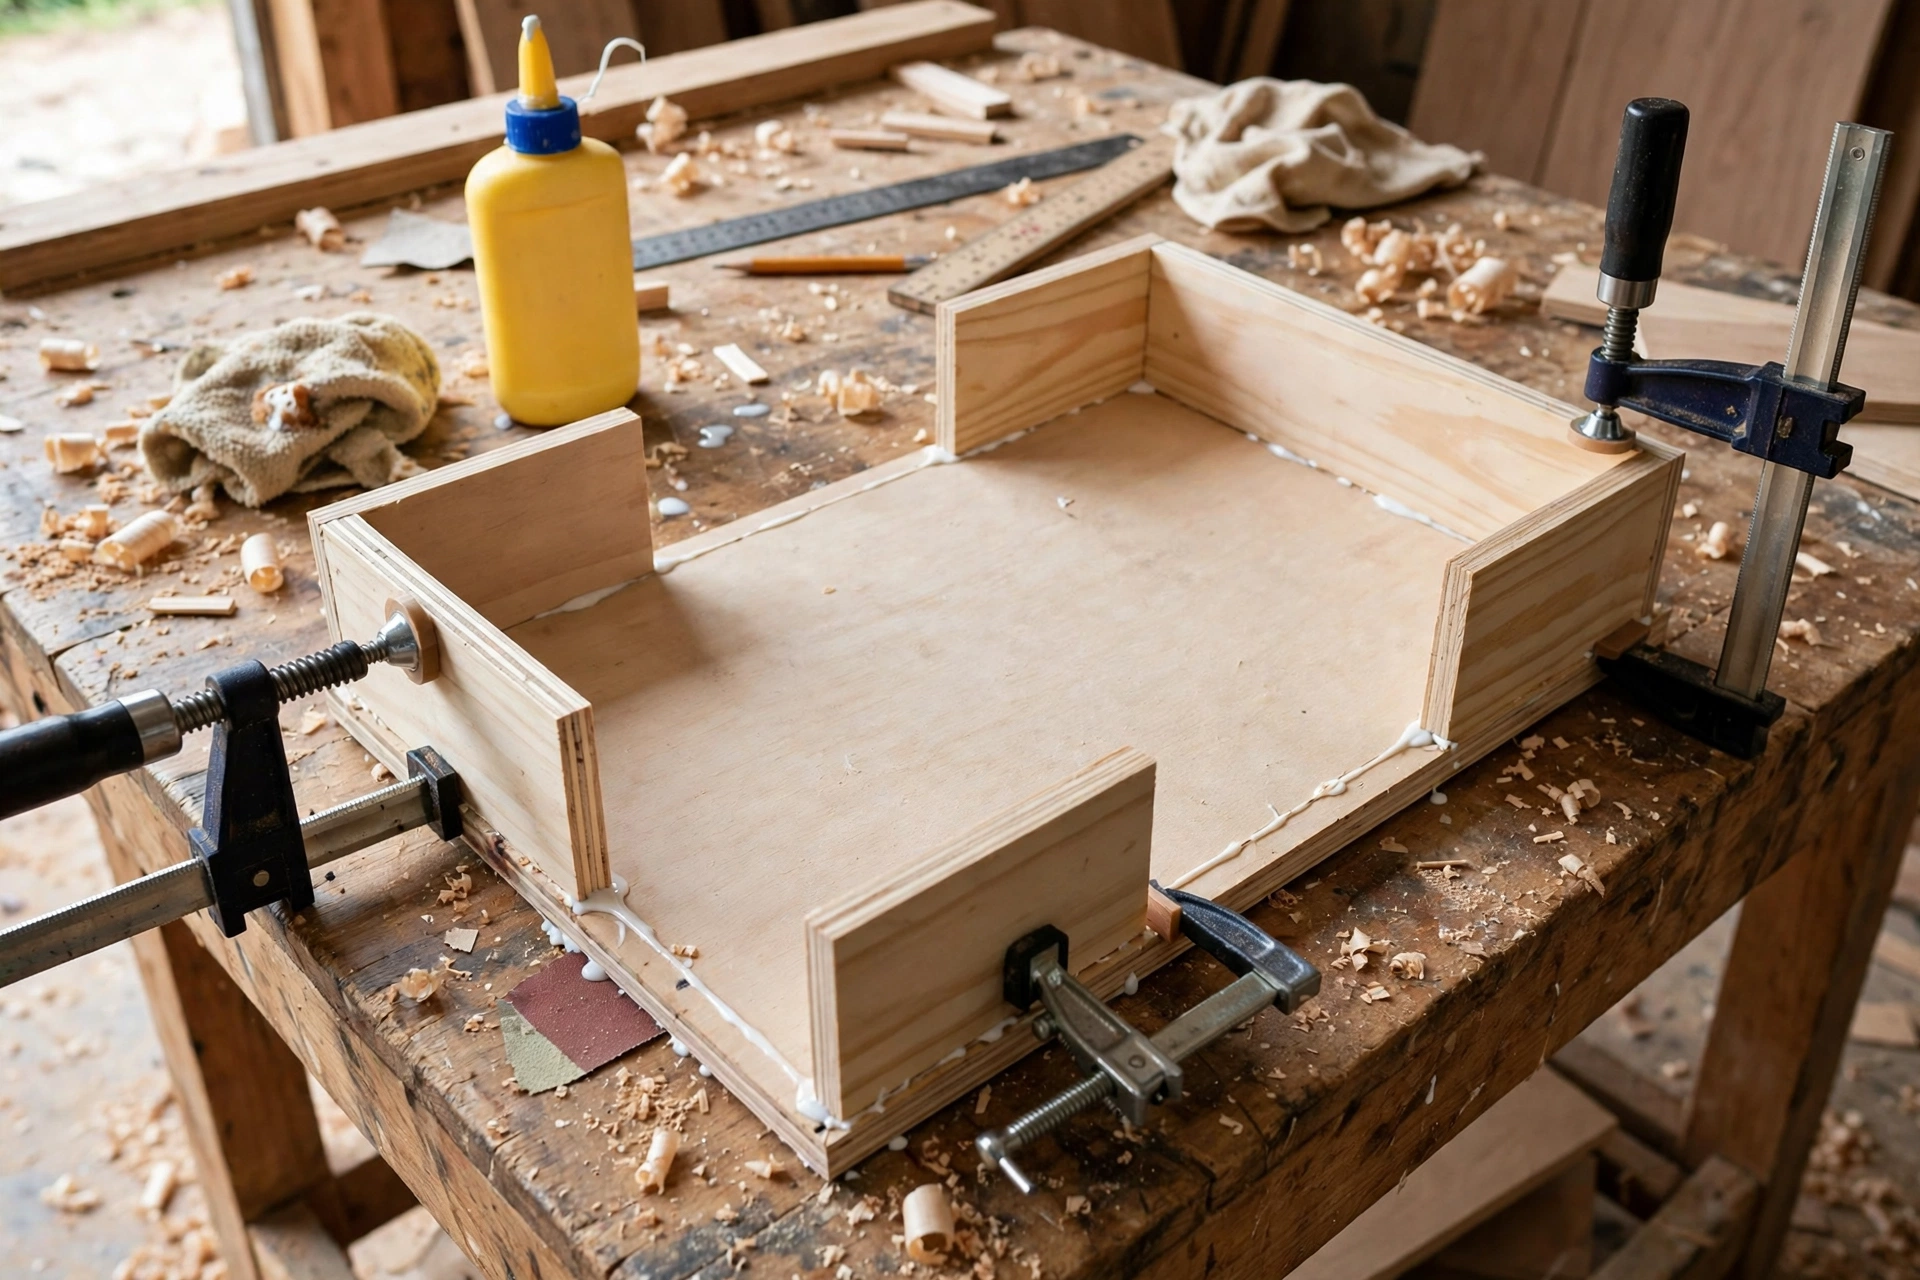
Step 5: Glue and clamp
Apply a thin, even layer of wood glue to the bottom edge of each side panel and the divider, and press them onto the base. Wipe away squeeze-out immediately with a slightly damp cloth. Clamp each joint lightly — enough to hold it closed, not so tight that you squeeze out all the glue or dent the wood — and check with a square that the panels are vertical. Leave the glue to cure for at least an hour, or overnight if you can, before handling the holder roughly.
Step 6: Final sanding
Once the glue has cured, sand the whole holder: 120-grit to level any small steps at the joints, then 220-grit for a smooth finish. Round over the sharp top edges very slightly with sandpaper so the holder feels comfortable to pick up and will not snag a napkin. Brush or vacuum off all dust, then wipe the wood with a dry cloth. Any dust left on the surface will show up as rough spots under the finish.
If you enjoy small tabletop builds like this one, you will like our beginner coaster project too — it uses the same measuring, cutting, and finishing skills on an even smaller scale. See our guide to easy wooden coasters for beginners for a matching set to go with your holder.
Stability Check: Will It Tip Over?
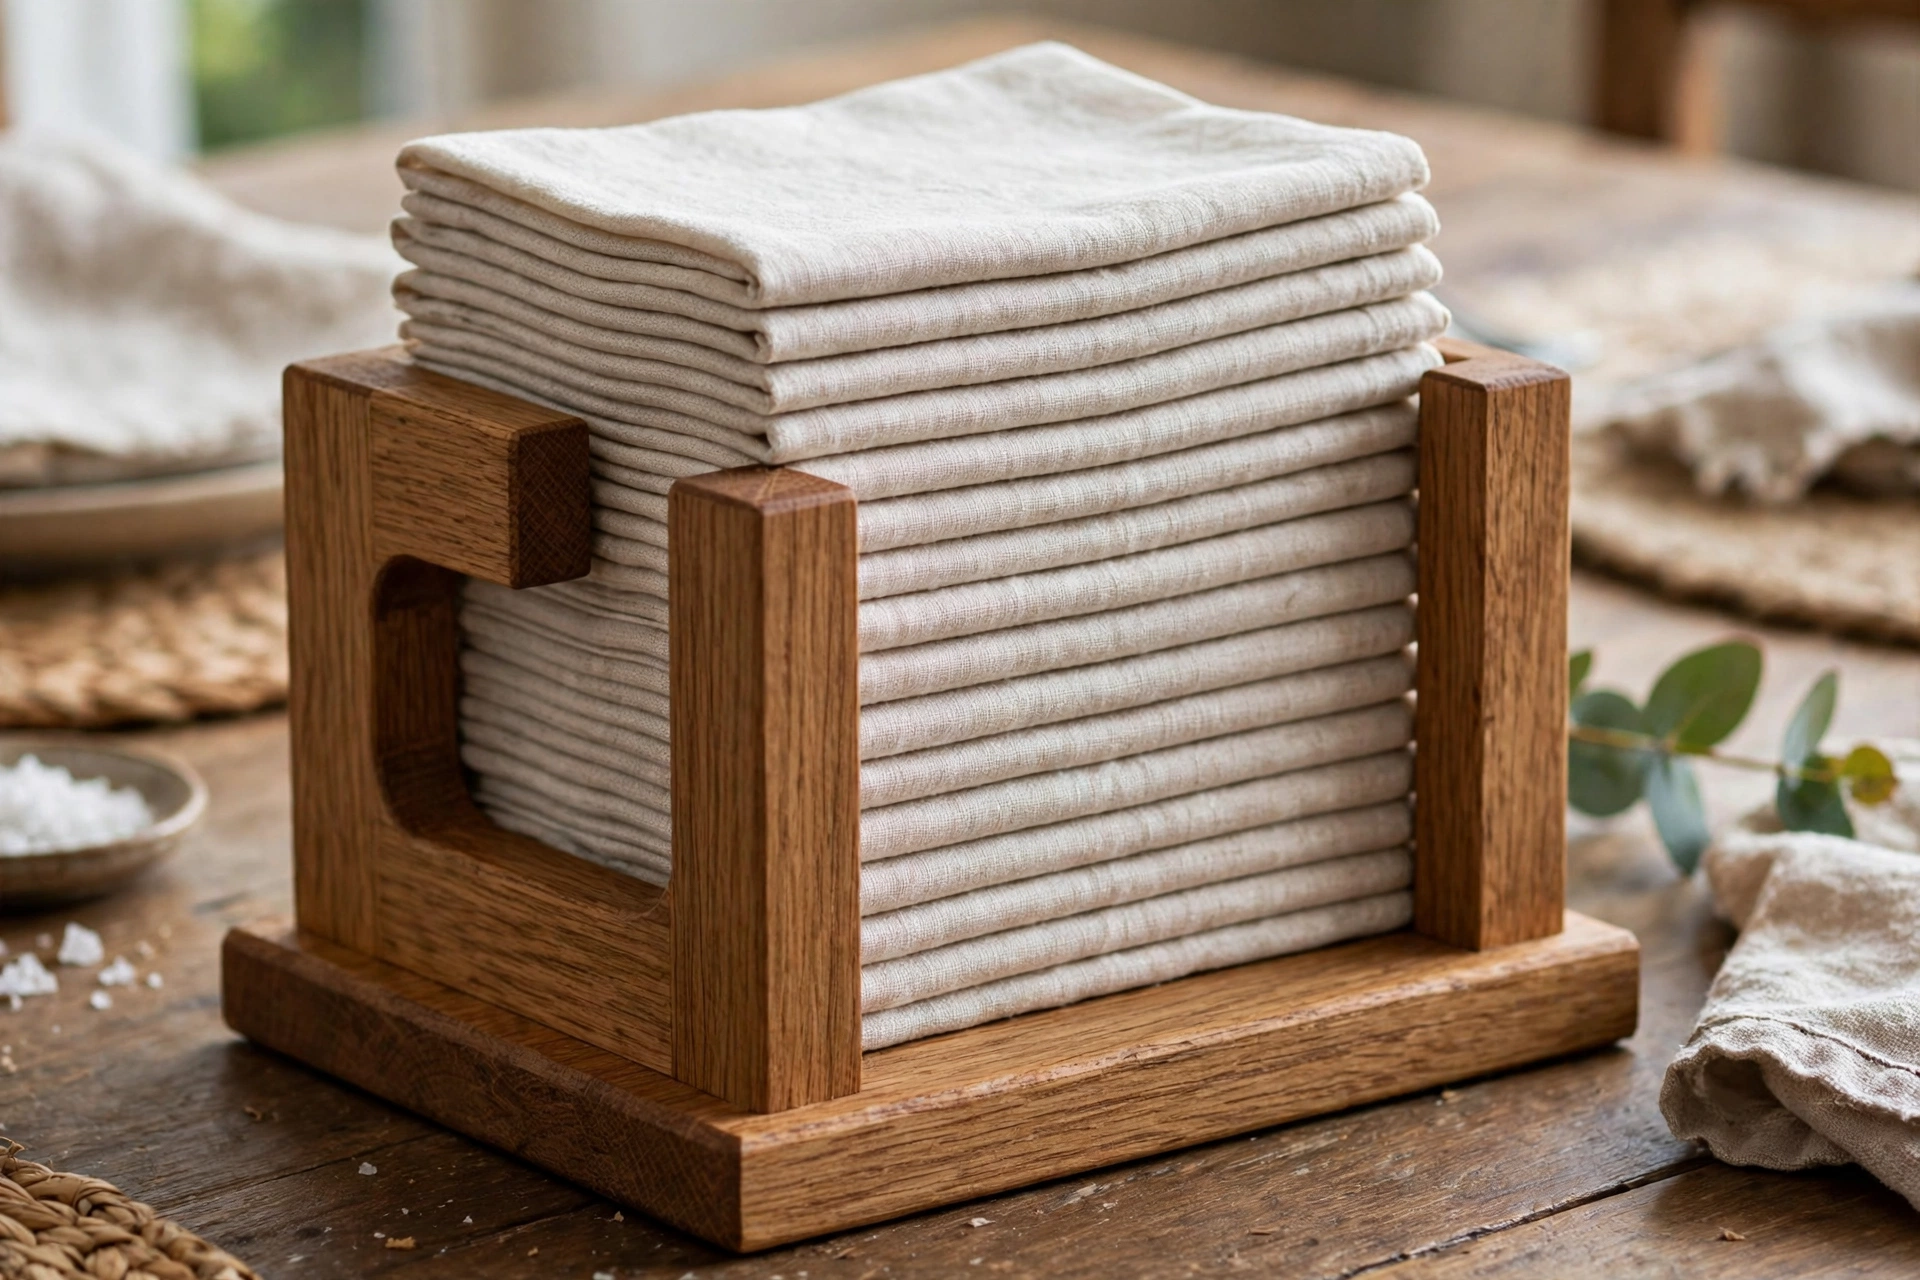
A napkin holder fails in one very specific way: it tips over when someone pulls a napkin from a nearly empty holder. The fix is in the base, not in heavier wood. A wide base, low centre of gravity, and a gap that matches the stack all work together to keep the holder upright.
Use this simple wide-base stability check before you finish the holder. First, load it with a full stack and pull napkins out one at a time from the front of the stack, as a guest would. Then repeat the test with only three napkins left, which is the hardest case, because a small stack has little weight to anchor the holder. Finally, push the top of the holder gently sideways with one finger: it should rock slightly and settle, not topple. If it topples, widen the base by 10–20 mm, add small feet to increase grip, or lower the side panels slightly to bring the centre of gravity down.
Weight distribution matters as much as width. A thick hardwood base adds useful weight low down, while tall, heavy side panels raise the centre of gravity and make tipping more likely. That is why the cut list keeps the base slightly thicker than the sides and the side panels no taller than they need to be. If your holder will sit on a smooth or polished table, add felt pads to the feet: they protect the table and add just enough grip to stop the holder sliding when a napkin is pulled.
Also test the holder where it will actually be used. A holder that is stable on a workbench can slide on a tablecloth, and a holder that is stable on a bare table can catch on a woven placemat. Run the three-napkin test on the real surface, with the real napkins, before you call the build finished.
Finishing: Stain or Paint?
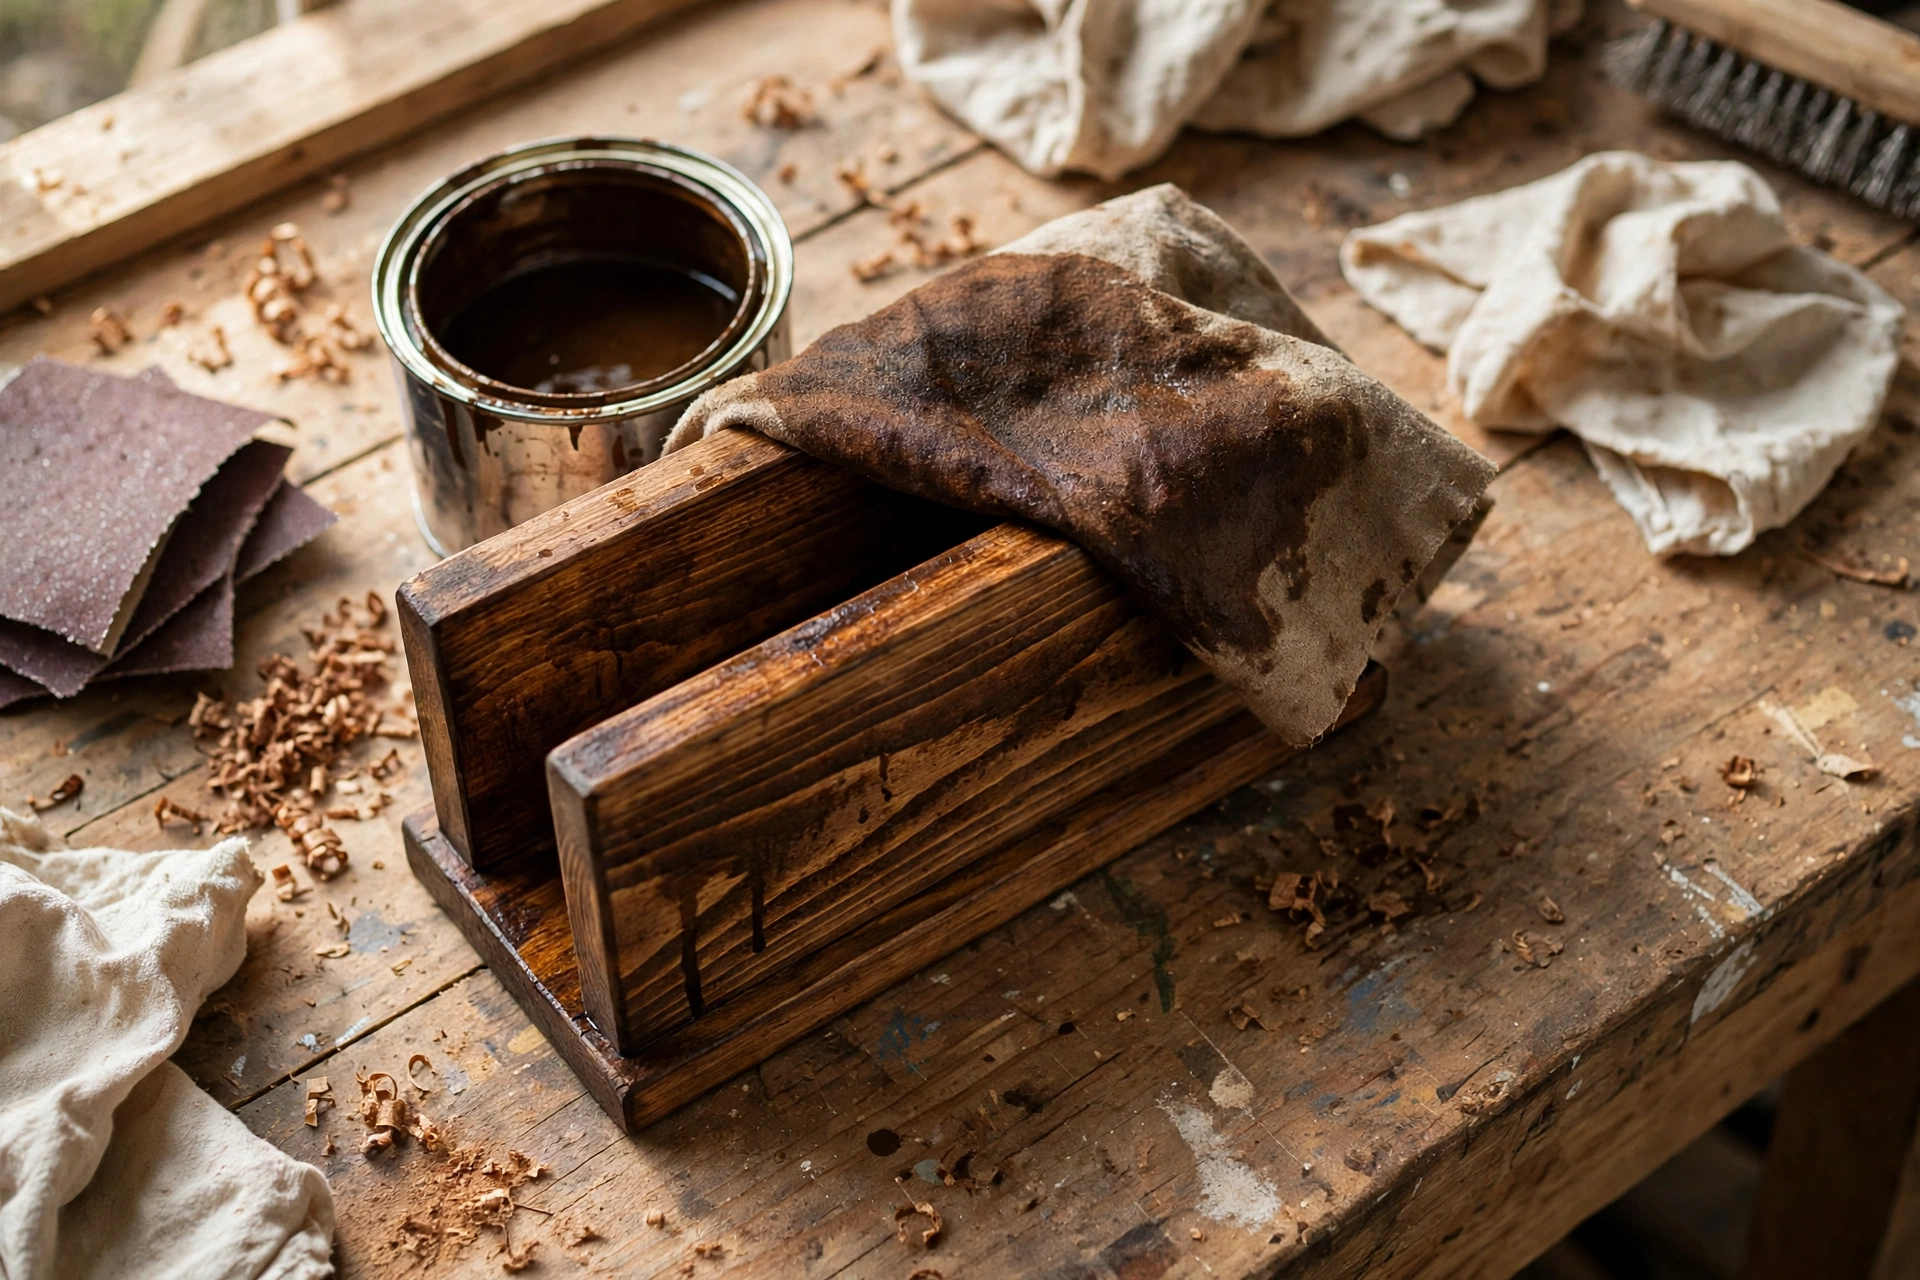
Finishing protects the wood and decides how the holder looks on the table. Stain shows off the grain and suits a natural or rustic table, while paint gives a clean, coloured look that matches a kitchen or a themed table setting. Both are beginner-friendly, but they need different preparation, so choose before you open a tin.
For stain, sand to 220-grit, wipe off the dust, and apply a thin coat with a rag or brush, working with the grain. Let it soak in for the time on the tin, wipe off the excess, and let it dry fully before adding a clear topcoat such as wipe-on polyurethane or food-safe oil. Two thin coats always beat one thick coat, which can look blotchy and take far longer to dry. Test the stain on an offcut first: pine in particular can absorb stain unevenly, and a test piece tells you the true colour before it is on the finished holder.
For paint, sand to 220-grit, apply a primer, sand lightly again, and then apply two thin coats of paint, letting each coat dry fully. A satin or semi-gloss paint is easier to wipe clean than flat paint, which matters for something handled at every meal. If you want the wood grain to show through, use a wash of thinned paint instead of full coats, and seal it with a clear topcoat.
Whichever finish you choose, seal the base well, because that is the part most likely to meet spills. A clear topcoat over stain, or a second coat of paint on the base, adds real durability. Let the finish cure fully — at least 24 hours for most topcoats — before putting the holder into daily use, and avoid stacking damp napkins in it until the finish is hard.
If you are choosing a stain for the first time, our guide to the best wood stain for beginners covers which types are easiest to apply evenly and which suit a tabletop project like this.
Approximate Cost
| Item | Approximate cost (estimate only) |
|---|---|
| Pine board or offcut | $3–$10, or free from scrap |
| Wood glue (small bottle) | $4–$7 |
| Sandpaper (120- and 220-grit) | $3–$6 |
| Stain or paint + topcoat | $8–$15 |
| Felt pads (optional) | $2–$4 |
| Total if buying everything new | About $20–$40 |
These are rough estimates only, not store prices, and they fall sharply if you already own glue, sandpaper, or a finish. A holder made from a genuine scrap board and leftover finish can cost almost nothing, which is part of why this project is such a good first build.
Common Mistakes to Avoid
The most common mistake is gluing before testing the fit, which leaves a holder that crushes napkins or lets them fall over. The second is skipping the final sanding: rough inside edges snag paper napkins and leave fibres on cloth ones. The third is applying finish too thickly, which pools in the inside corners and dries sticky. Thin coats, a dry-fit, and a patience check at each stage prevent all three.
Another frequent error is making the sides too tall. Tall sides look protective, but they hide the napkins and make the holder awkward to use. Remember the two-thirds rule: the side panel should support, not swallow, the napkin. Finally, do not forget the base. A beautiful pair of side panels on a narrow base will tip over at the first family dinner, while a plain holder on a wide base will be used every day.
Frequently Asked Questions
What wood is best for a wooden napkin holder?
Pine is the best choice for a first holder because it is cheap, easy to cut, and finishes well. Oak, maple, or walnut give a more premium look if you have offcuts, but any flat, straight board around 12–15 mm thick will work.
What size should a wooden napkin holder be?
For dinner napkins, aim for side panels about 115–130 mm high, a base about 180 mm long, and a gap between the panels that matches your folded napkin stack — roughly 45–60 mm for paper and 55–70 mm for cloth. For cocktail napkins, reduce the height to about 85–95 mm.
Can I make a napkin holder without a jigsaw?
Yes. Use straight-sided panels cut with a handsaw, or cut gentle curves with a coping saw. The upright design works perfectly well with plain rectangular sides, and many beginners prefer that cleaner look.
How do I stop my napkin holder from tipping over?
Widen the base, keep the side panels no taller than needed, and test the holder with only three napkins left in it. A base about 110 mm deep, felt pads for grip, and a slightly thicker base board all help keep it upright.
Should I stain or paint a wooden napkin holder?
Stain if you want to show the wood grain and match a natural table setting; paint if you want a specific colour or a wipe-clean kitchen finish. Either way, seal the base well and let the finish cure for at least 24 hours before daily use.
Can I use scrap wood for this project?
Absolutely — this is an ideal scrap project. Check that the board is flat, free of large knots in the shaped areas, and thick enough to feel solid. A single offcut board is often enough for the whole holder.
How long does this project take?
Most beginners finish in two to three hours of active work, plus glue and finish drying time. Cutting and shaping takes about an hour, gluing and sanding another hour, and finishing takes 30 minutes spread over two thin coats.
Final Thoughts
A wooden napkin holder is a small build with an outsized payoff: it sits on the table, gets used daily, and quietly shows off the skills you practised to make it. Size it to your napkins, test it before you glue, give it a wide base, and finish it patiently. Then make a second one — they make thoughtful handmade gifts, and the second build always goes faster than the first.
For more beginner projects in the same spirit, explore our pillar guide to easy woodworking projects for beginners that sell, which gathers simple, useful builds you can complete in a weekend.
Recommended Products for This Project
As an Amazon Associate, I earn from qualifying purchases.

Titebond III Ultimate Wood Glue 1413 (8 oz)
Water-resistant wood glue for strong joints in this small tabletop build.
IRWIN QUICK-GRIP Mini Bar Clamp 4-pack, 6-inch (1964758)
Small clamps that grip tiny parts without marring the wood.
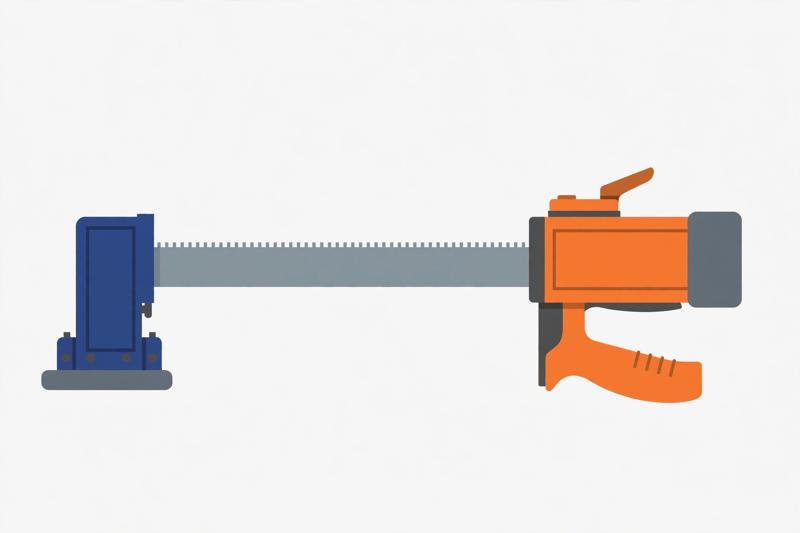
IRWIN QUICK-GRIP 12-inch Heavy-Duty Bar Clamp (1964712)
One-handed clamping with 600 lbs of force for the base panel glue-up.

DEWALT Random Orbit Sander DWE6423, 5-inch
Smooths small edges and faces to a splinter-free, table-ready finish.

DEX FIT Cru553 Level 5 Cut Resistant Gloves, Size L
Level 5 cut resistance for safer handling of sharp tools and fresh-cut stock.


