
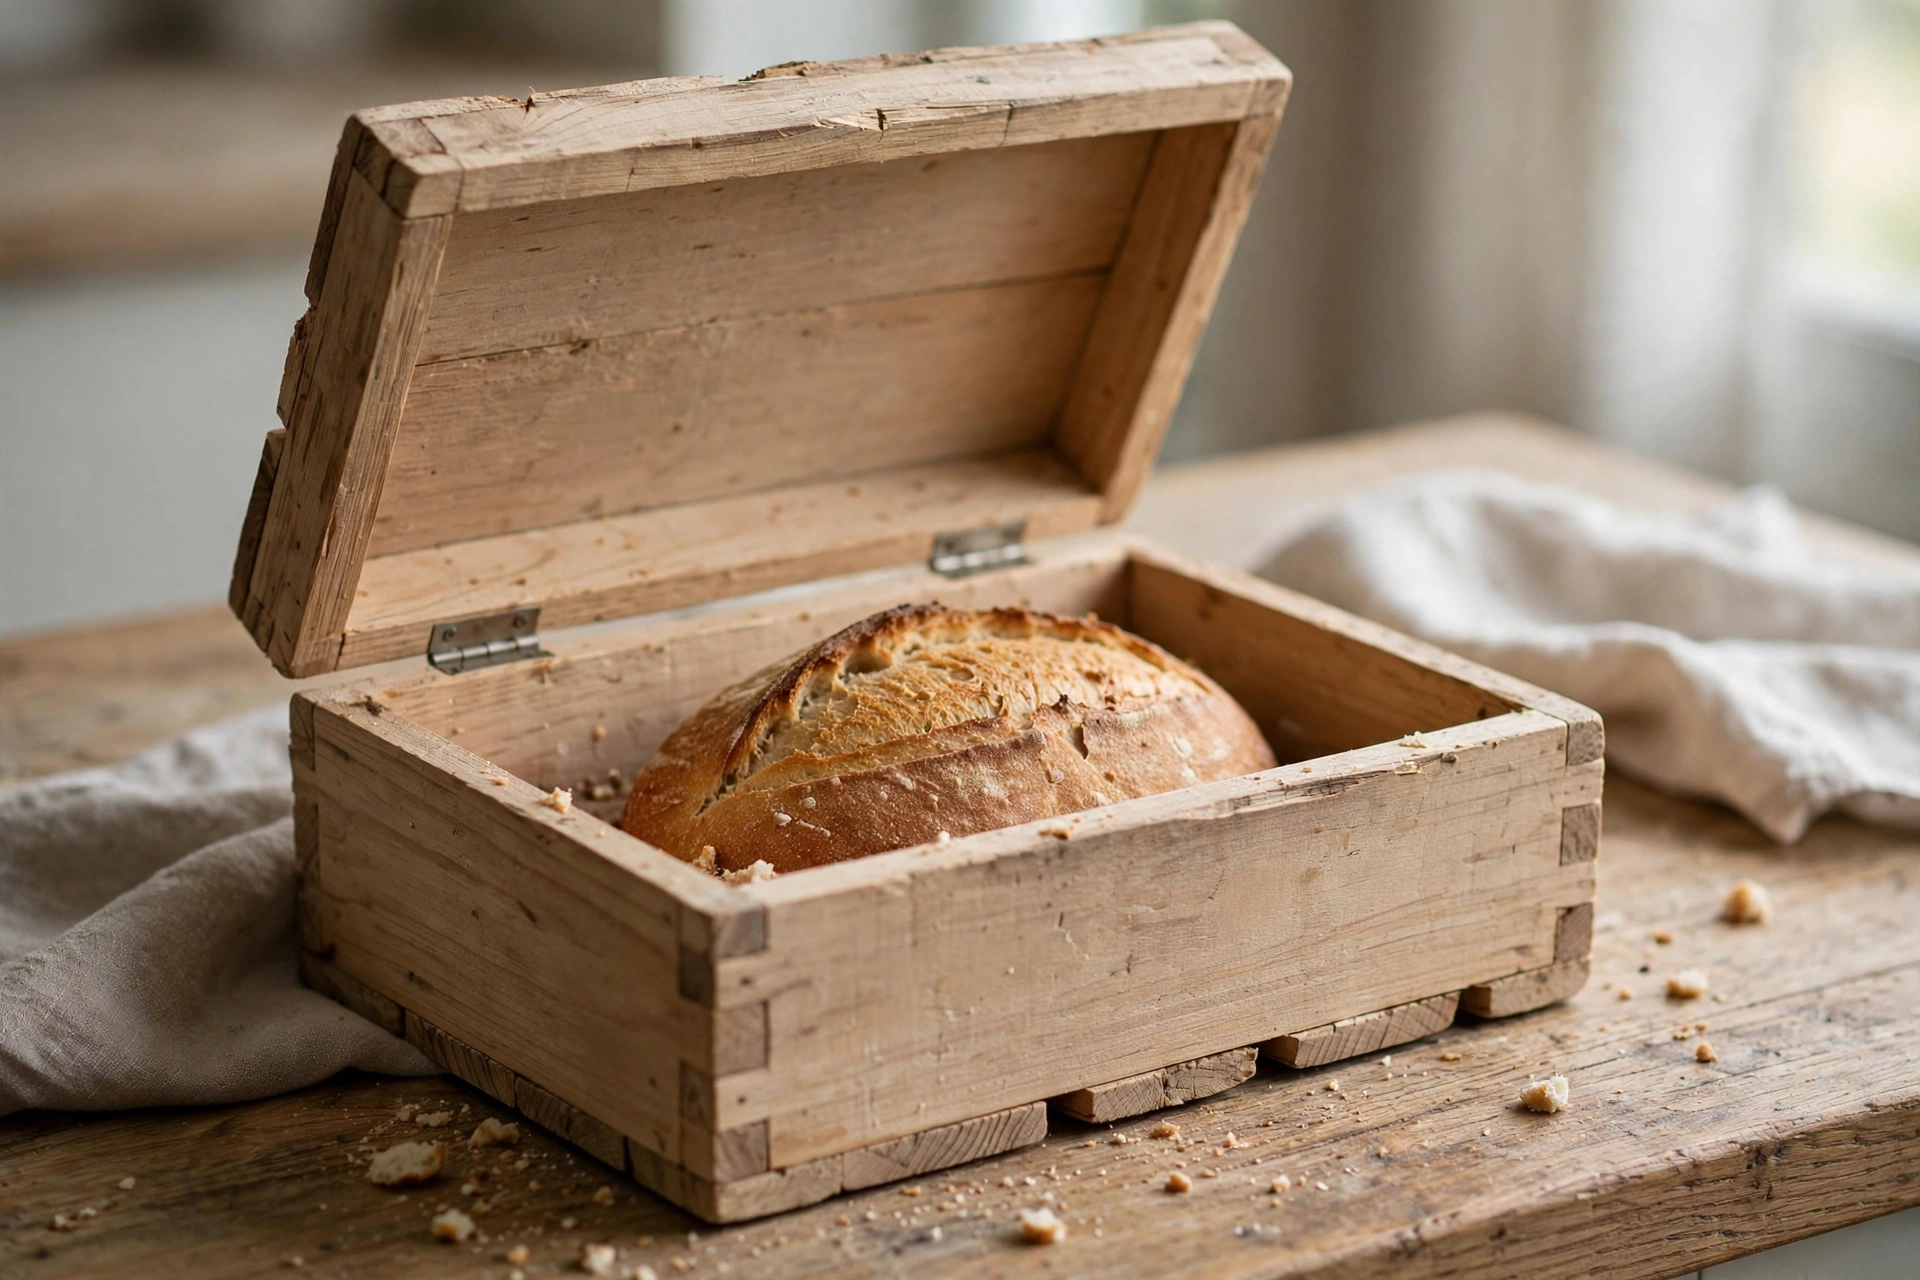
A loaf of good bread deserves better than a plastic bag on the counter. A wooden bread box keeps bread fresh for days longer than leaving it out, looks beautiful in any kitchen, and is one of the most satisfying first projects a beginner woodworker can build. It is essentially a simple box with a lid — no drawers, no complicated joinery, no curved parts — yet the finished piece looks like something you would happily buy in a homeware shop.
This guide covers the whole project: choosing wood, cutting the pieces, assembling a sturdy box, fitting a hinged lid, and finishing the inside so it is food-safe. You will also find a full cut list, a loaf-size table, ventilation guidance, a cost breakdown, and the mistakes most beginners make.
If you can measure accurately, make straight cuts, and drive a few screws, you can build this box in a single weekend afternoon — and end the day with a kitchen piece you will use every single day.
Why a Wooden Bread Box Actually Works
Bread goes stale two ways: it dries out, or it picks up moisture and turns mouldy. A plastic bag traps moisture and makes bread soggy; leaving bread uncovered dries it out within a day. A wooden bread box sits in the sweet spot between the two.
Wood breathes. It absorbs a little excess moisture when the air inside the box is humid and releases it slowly as the air dries. That gentle buffering keeps the crust from going soft while slowing the drying of the crumb, so bread stays edible for three to five days instead of a day or two on the counter.
A bread box also protects your loaf from dust, splashes, and curious hands, and it tidies the countertop. If you bake your own bread, it is almost essential, because homemade bread has no preservatives and stales faster than shop-bought loaves.
The design here is deliberately simple: a rectangular box with a fixed base, four sides, and a hinged lid that lifts up and stays open while you take bread out. There is no sliding door, no roll-top, and no tambour to build or repair. A hinged lid is easier to make, easier to clean, and far more forgiving if a measurement is a millimetre or two out.
Choosing Your Design: A Hinged Lid, Not a Sliding Door
Many shop-bought bread boxes have a roll-top or sliding door. They look clever, but they are a poor first project: a sliding door needs grooves cut to an exact depth and width, a perfectly flat door, and clearance that stays consistent as the wood moves with humidity. If any of those are slightly off, the door sticks, rattles, or falls out of its track.
A hinged lid avoids all of that. Two small hinges and the lid opens and closes. If it is a fraction too tight, sand a whisker off the edge. If it sits slightly proud, nobody notices, because a lid is supposed to overhang the box a little. This design forgives beginner-level accuracy, which is exactly what you want.
For this project, the box measures roughly 40 cm wide, 28 cm deep, and 20 cm tall on the outside — generous enough for a standard sandwich loaf or a round sourdough boule, while still fitting a normal kitchen counter. If your kitchen is small, you can shrink the width to 35 cm, but do not go smaller or a standard loaf will not fit. Check the loaf-size table below before changing any dimensions.
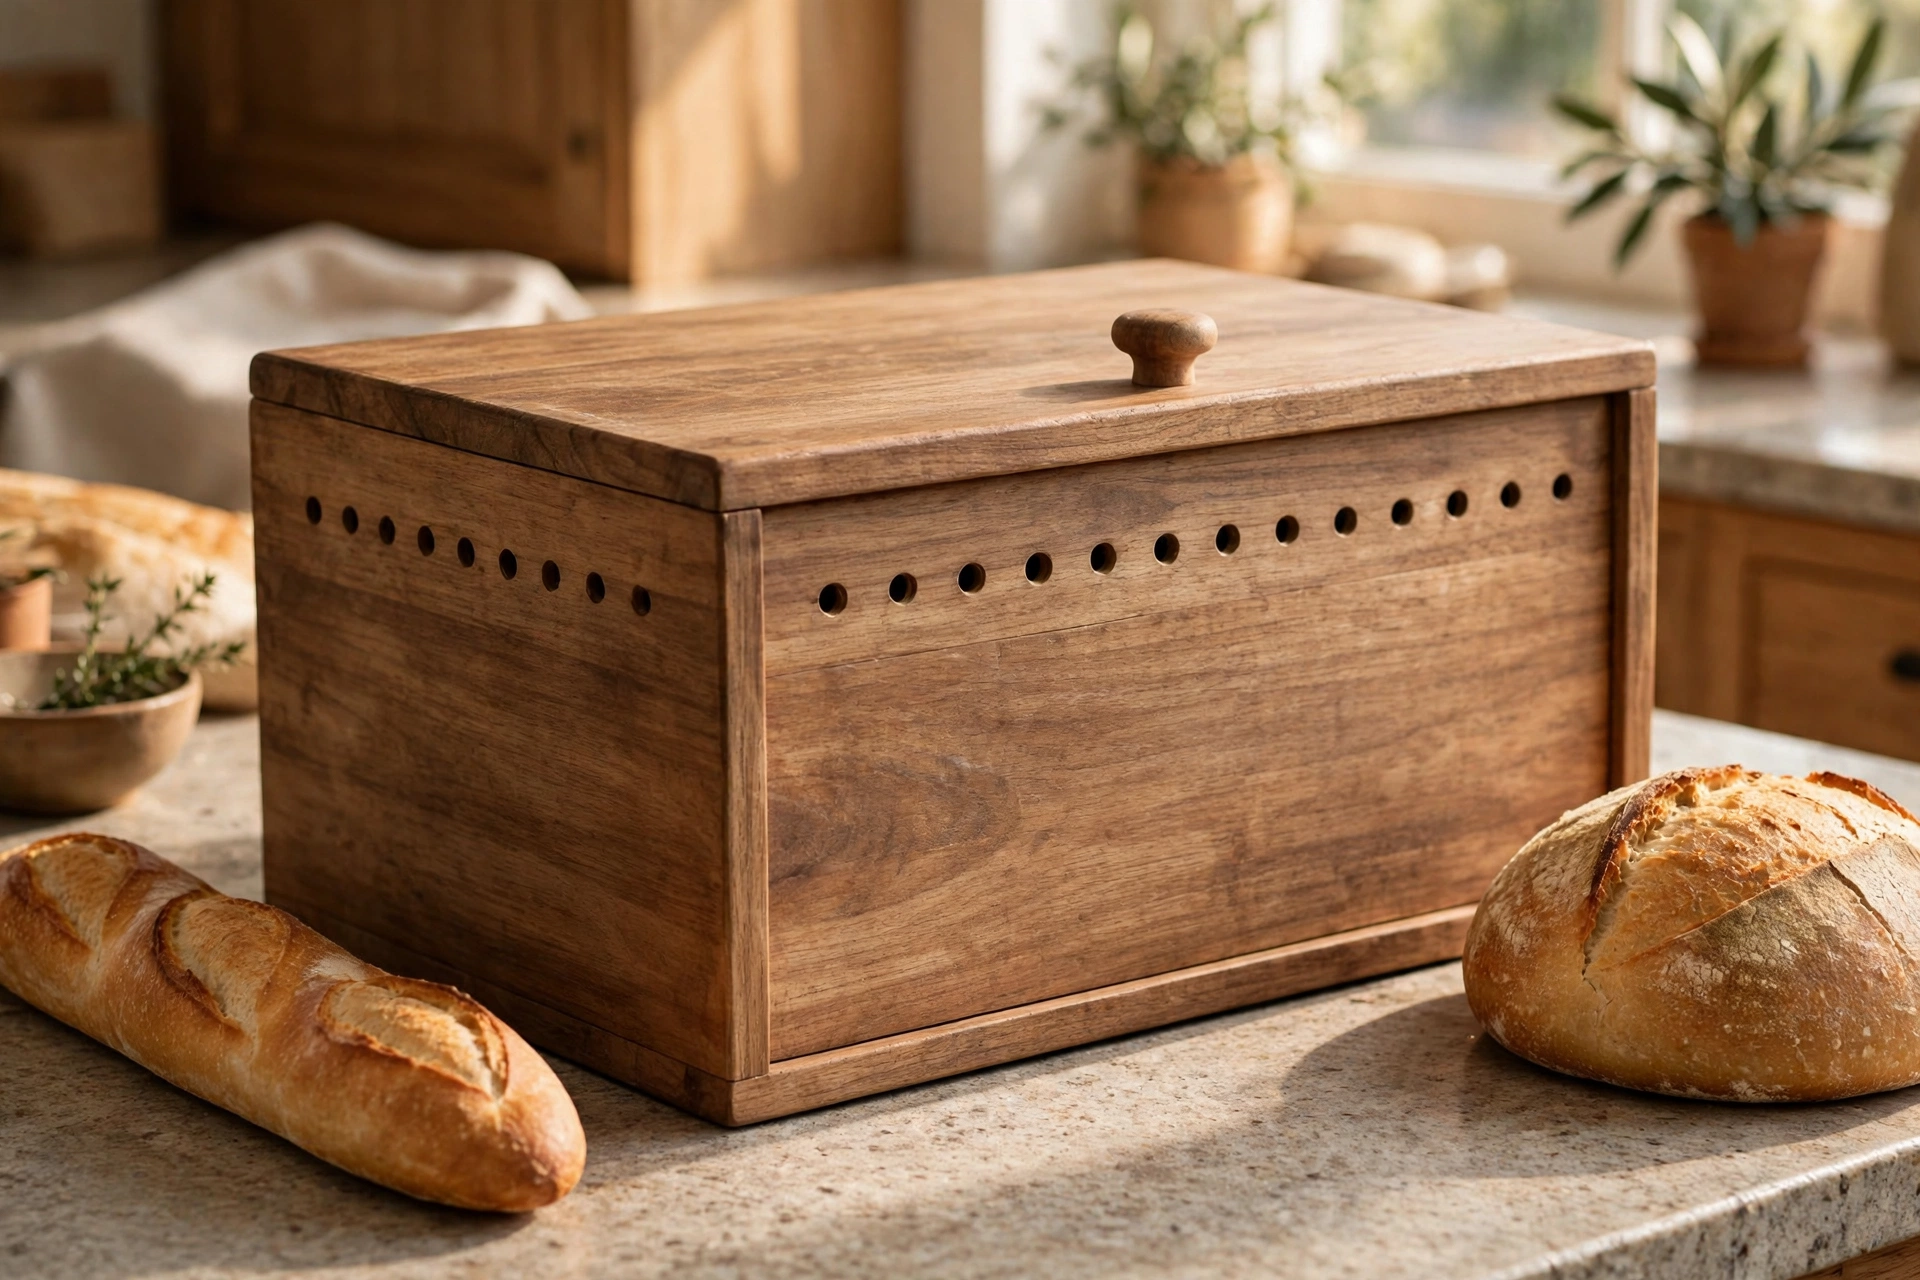
The lid is a flat panel with a small wooden knob — simpler than a routed finger pull: drill one hole, screw it on, done. The back panel gets small ventilation holes, because a completely sealed box traps too much moisture. Ventilation is covered in detail later, as it is the single most common thing beginners get wrong.
Before cutting, decide where the box will live. Measure your counter space, check the height under your wall cabinets so the lid can open fully, and think about which bread you buy most often. A box built around your actual loaf is a box you will actually use.
Materials and Tools
You do not need expensive hardwood. Pine is the classic beginner choice: cheap, light, easy to cut and sand, and it takes a food-safe oil finish beautifully. Poplar is another affordable option. Avoid strongly scented woods like cedar for the inside, because the smell can transfer to bread. Oak looks wonderful but is heavier, harder to cut, and more expensive — save it for your second bread box.
Buy the straightest boards you can find. Sight down each board in the shop and reject anything bowed, twisted, or cupped: warped boards make a box that rocks and a lid that will not sit flat, and no amount of sanding fixes a twist.
See our guide to the best wood glue for beginners for glue choice. Standard interior wood glue is all you need here.
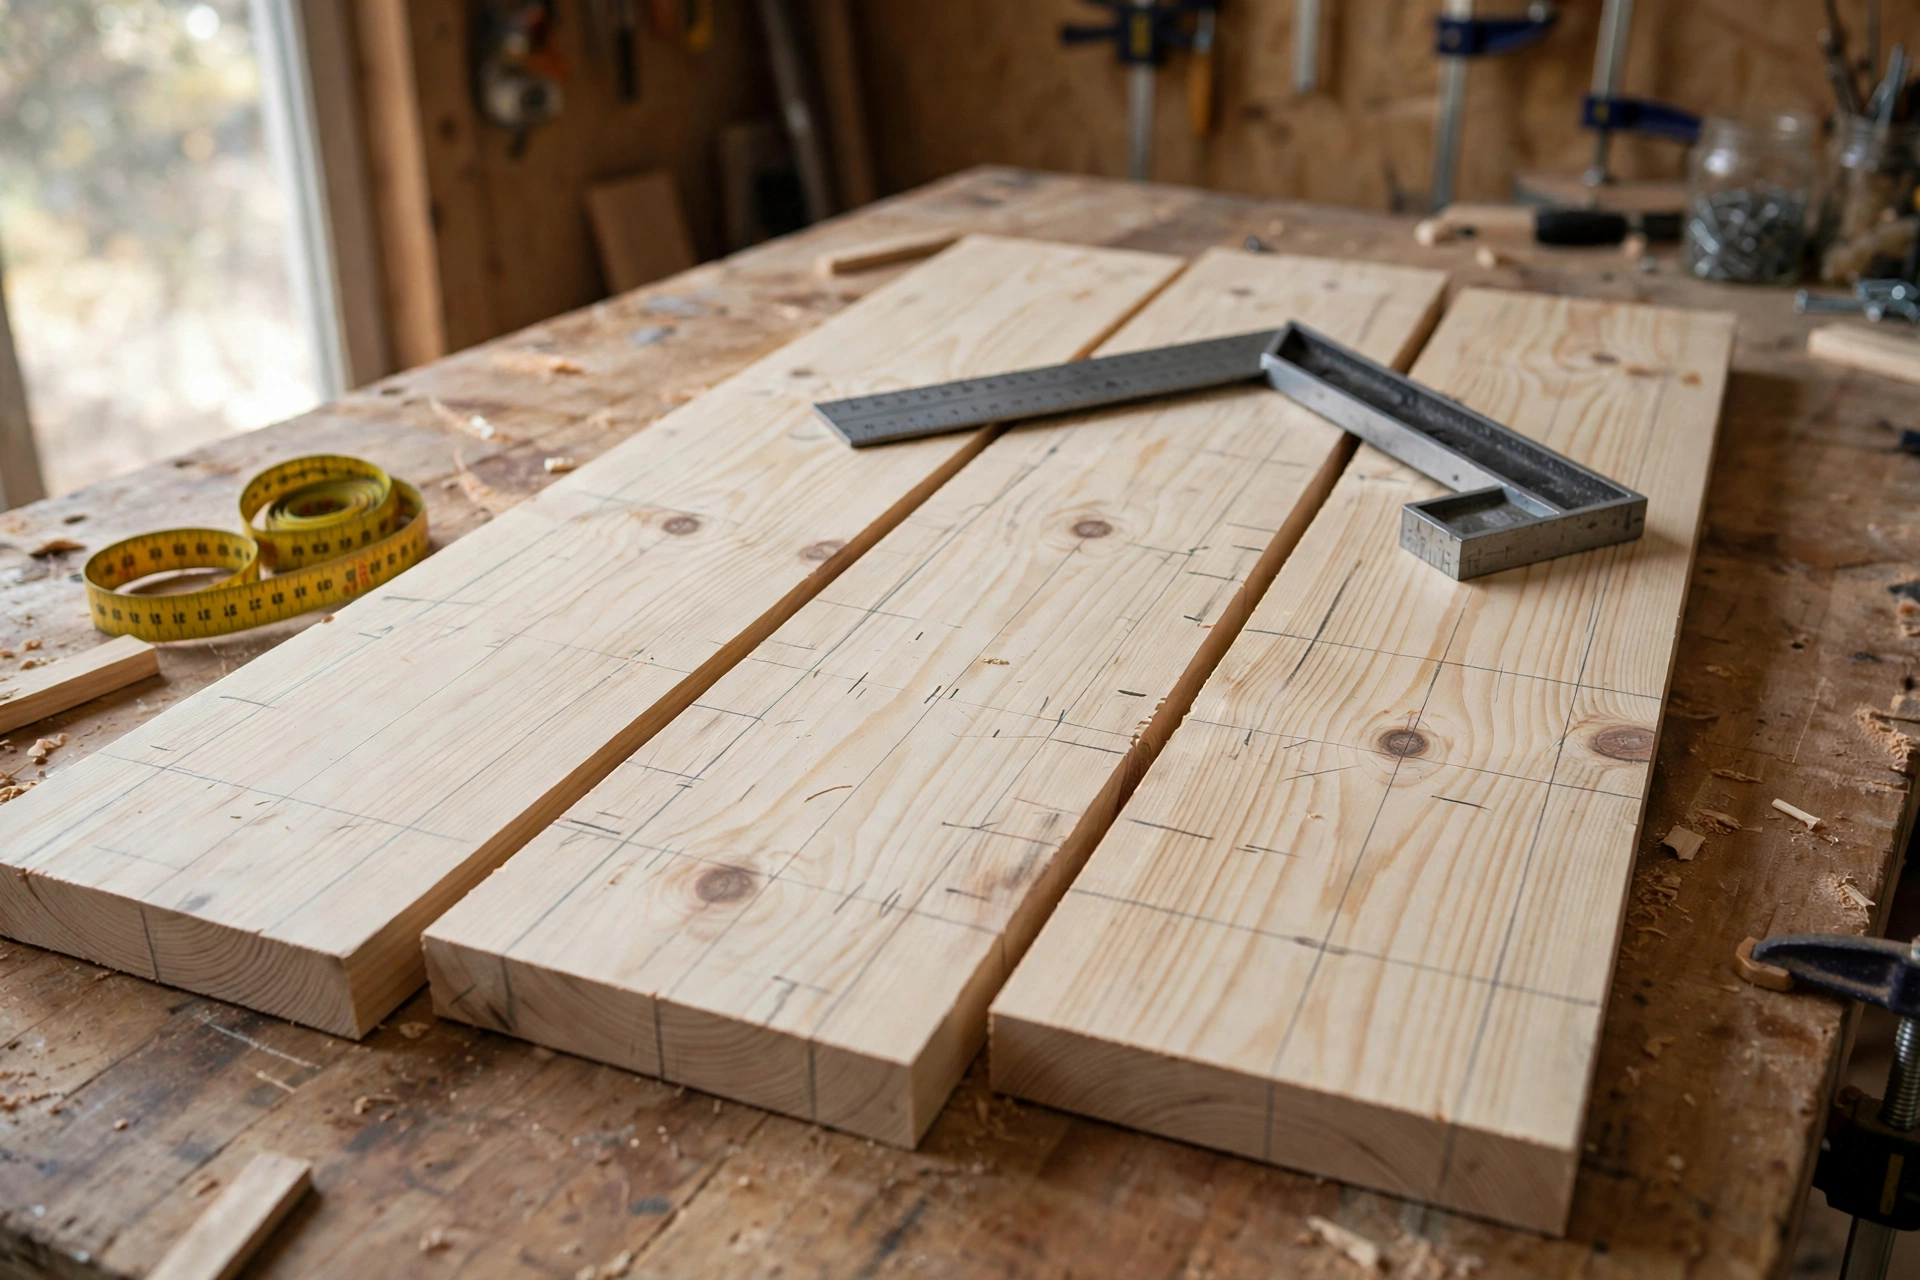
Materials
- One pine board, 20 cm wide and 2.4 metres long, 18 mm thick (for the sides, back, and front)
- One pine board, 28 cm wide and 1.2 metres long, 18 mm thick (for the base and lid), or two narrower boards glued together
- Two small butt hinges, about 40 mm, with screws
- One small wooden knob
- Wood glue
- 30 mm wood screws (for extra strength at the corners, optional but recommended)
- Sandpaper in 120, 180, and 240 grit
- Food-safe mineral oil or a food-safe board oil finish
- A small amount of beeswax, optional, for a final buff
Tools
- Circular saw, table saw, or hand saw with a guide for straight cuts
- Tape measure, pencil, and a combination square
- Drill and drill bits, including a countersink bit and a 10 mm bit for ventilation holes
- Screwdriver or drill driver
- Two or three bar clamps
- Random orbital sander or a sanding block
- Safety glasses and hearing protection
This project pairs naturally with a wooden cutting board for beginners, which uses the same saws, sanding steps, and oil finish.
Cut List
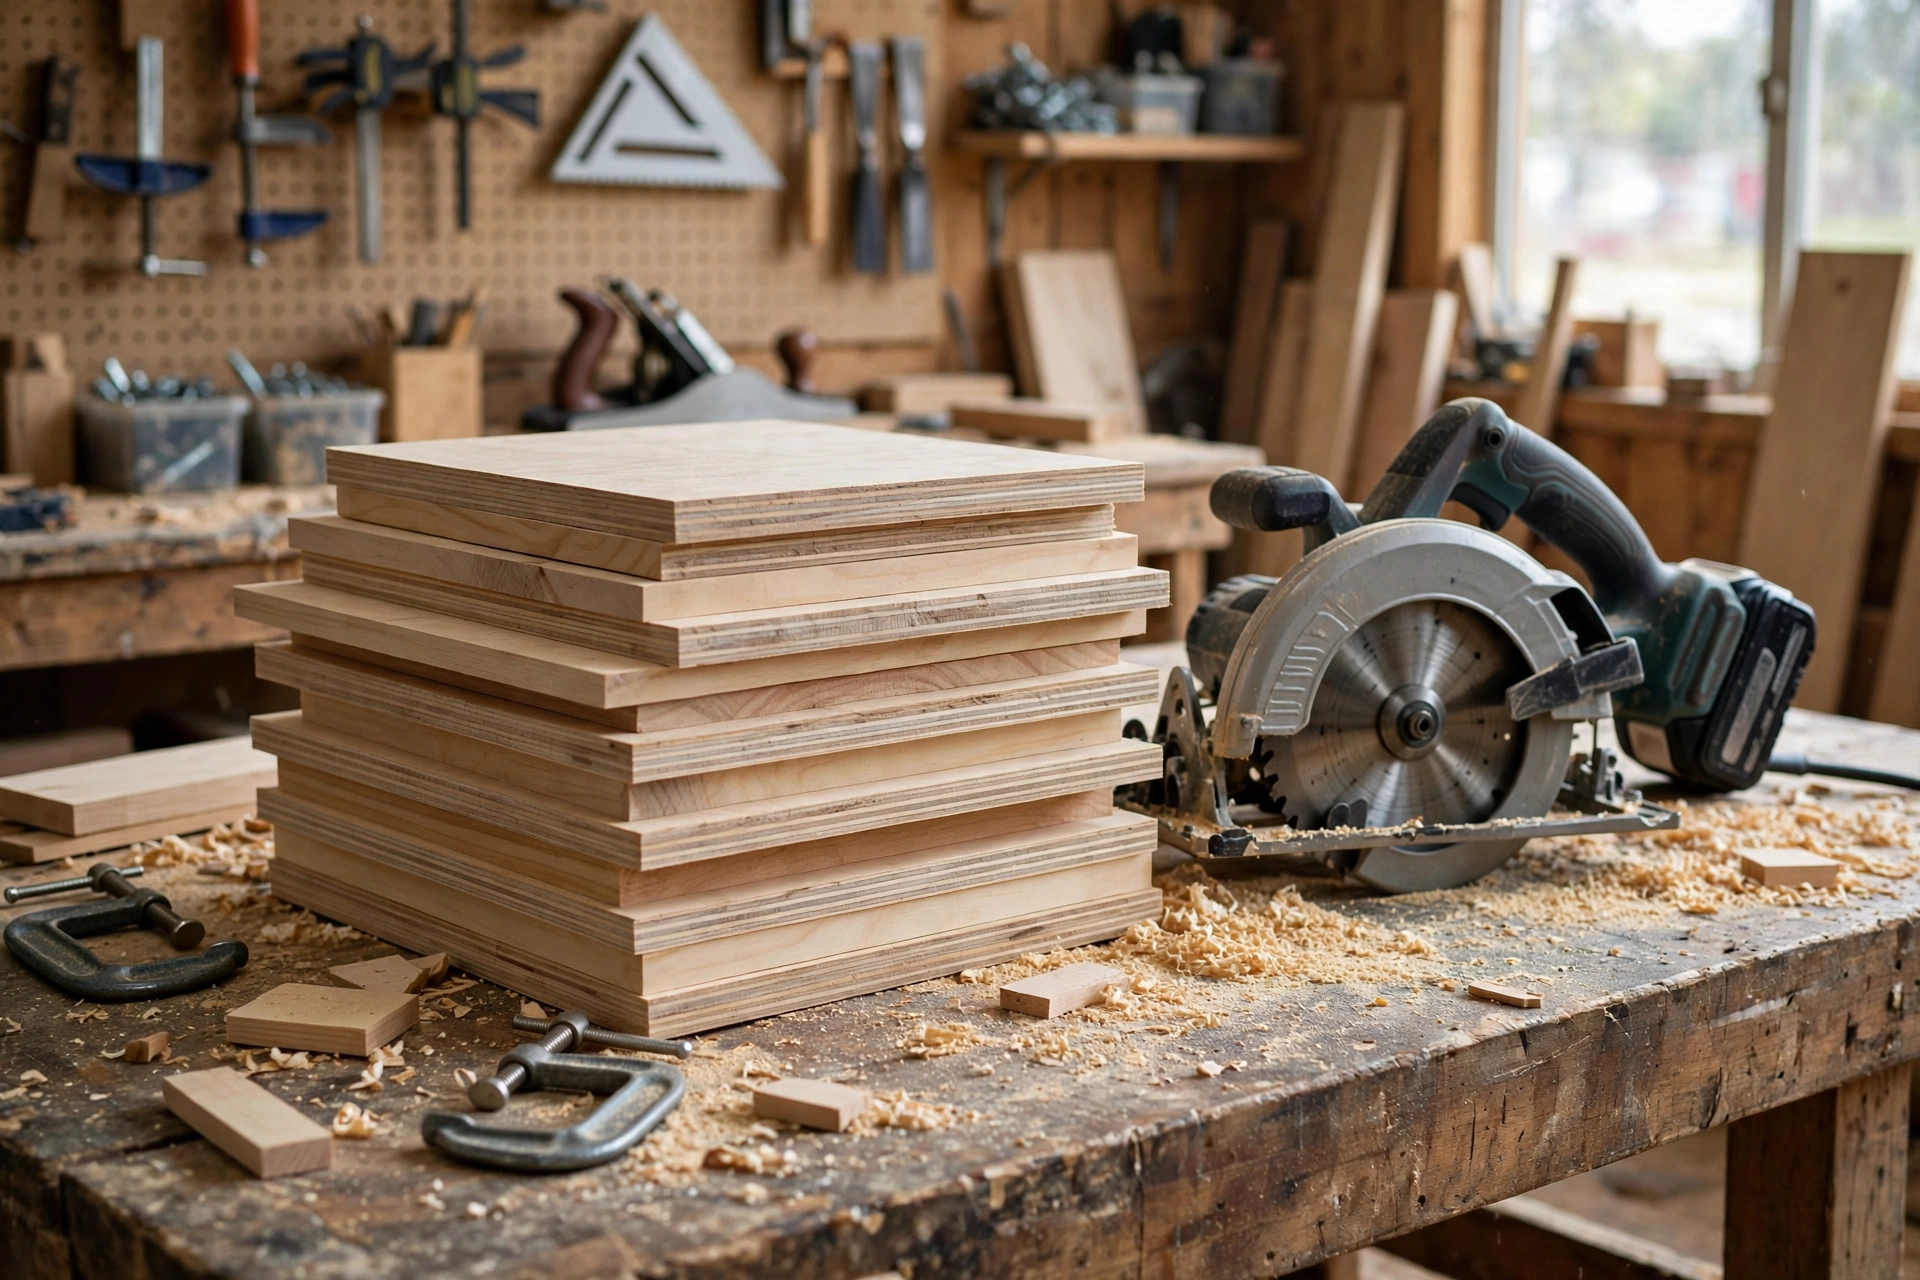
Measure twice, cut once — then measure the cut pieces against each other before gluing anything. The dimensions below assume 18 mm boards; if yours differ, adjust so the outside width stays at 40 cm.
| Piece | Quantity | Dimensions (length x height/depth x thickness) |
|---|---|---|
| Base | 1 | 40 cm x 28 cm x 18 mm |
| Front panel | 1 | 40 cm x 18 cm x 18 mm |
| Back panel | 1 | 40 cm x 18 cm x 18 mm |
| Side panels | 2 | 24.4 cm x 18 cm x 18 mm |
| Lid | 1 | 42 cm x 30 cm x 18 mm |
| Lid lip (front strip, optional) | 1 | 42 cm x 3 cm x 18 mm |
A note on the side panels: they are 24.4 cm long because they sit between the front and back panels. The box is 28 cm deep overall, and the front and back panels take up 18 mm each, so 28 cm minus two thicknesses (3.6 cm) leaves 24.4 cm for the sides. If your boards are 20 mm thick instead of 18 mm, the sides become 24 cm long. Always work from your actual board thickness.
The lid is deliberately larger than the box — 42 cm by 30 cm against 40 cm by 28 cm — so it overhangs by 1 cm on every side. That overhang makes the lid easy to grip and hides tiny unevenness in the box edges.
Step-by-Step: Building the Box
Work on a flat surface and label each piece with a pencil as you cut it. Identical-looking panels are easy to mix up, and a pencil mark costs nothing.
Step 1: Mark and cut all the pieces
Mark each piece using a square to keep lines true. Cut the base first, then the front and back, then the sides, then the lid. After each cut, check it against your tape measure; if it is a millimetre out, trim it now rather than discovering the problem at glue-up time.
Sand each piece’s edges lightly with 120-grit paper to remove splinters and saw marks.
Step 2: Drill the ventilation holes
Before assembly, drill the ventilation holes in the back panel: a row of five 10 mm holes, evenly spaced, about 5 cm down from the top edge. Drill from the outside face inwards, with a scrap board behind the panel to prevent tear-out.
Step 3: Glue and screw the box together
Stand the front and back panels upright and fit a side panel between them. Apply a thin, even bead of glue to the joining edges, press the pieces together, and check the corner with your square. Clamp it and drive two 30 mm screws through the front panel into the end of the side panel, using pilot holes and a countersink so the heads sit flush.
Repeat for the other side, then check the frame by measuring diagonally from corner to corner. If both diagonals match, the frame is square. If they differ by more than a couple of millimetres, gently push the longer diagonal’s corners together until they match, then tighten the clamps.
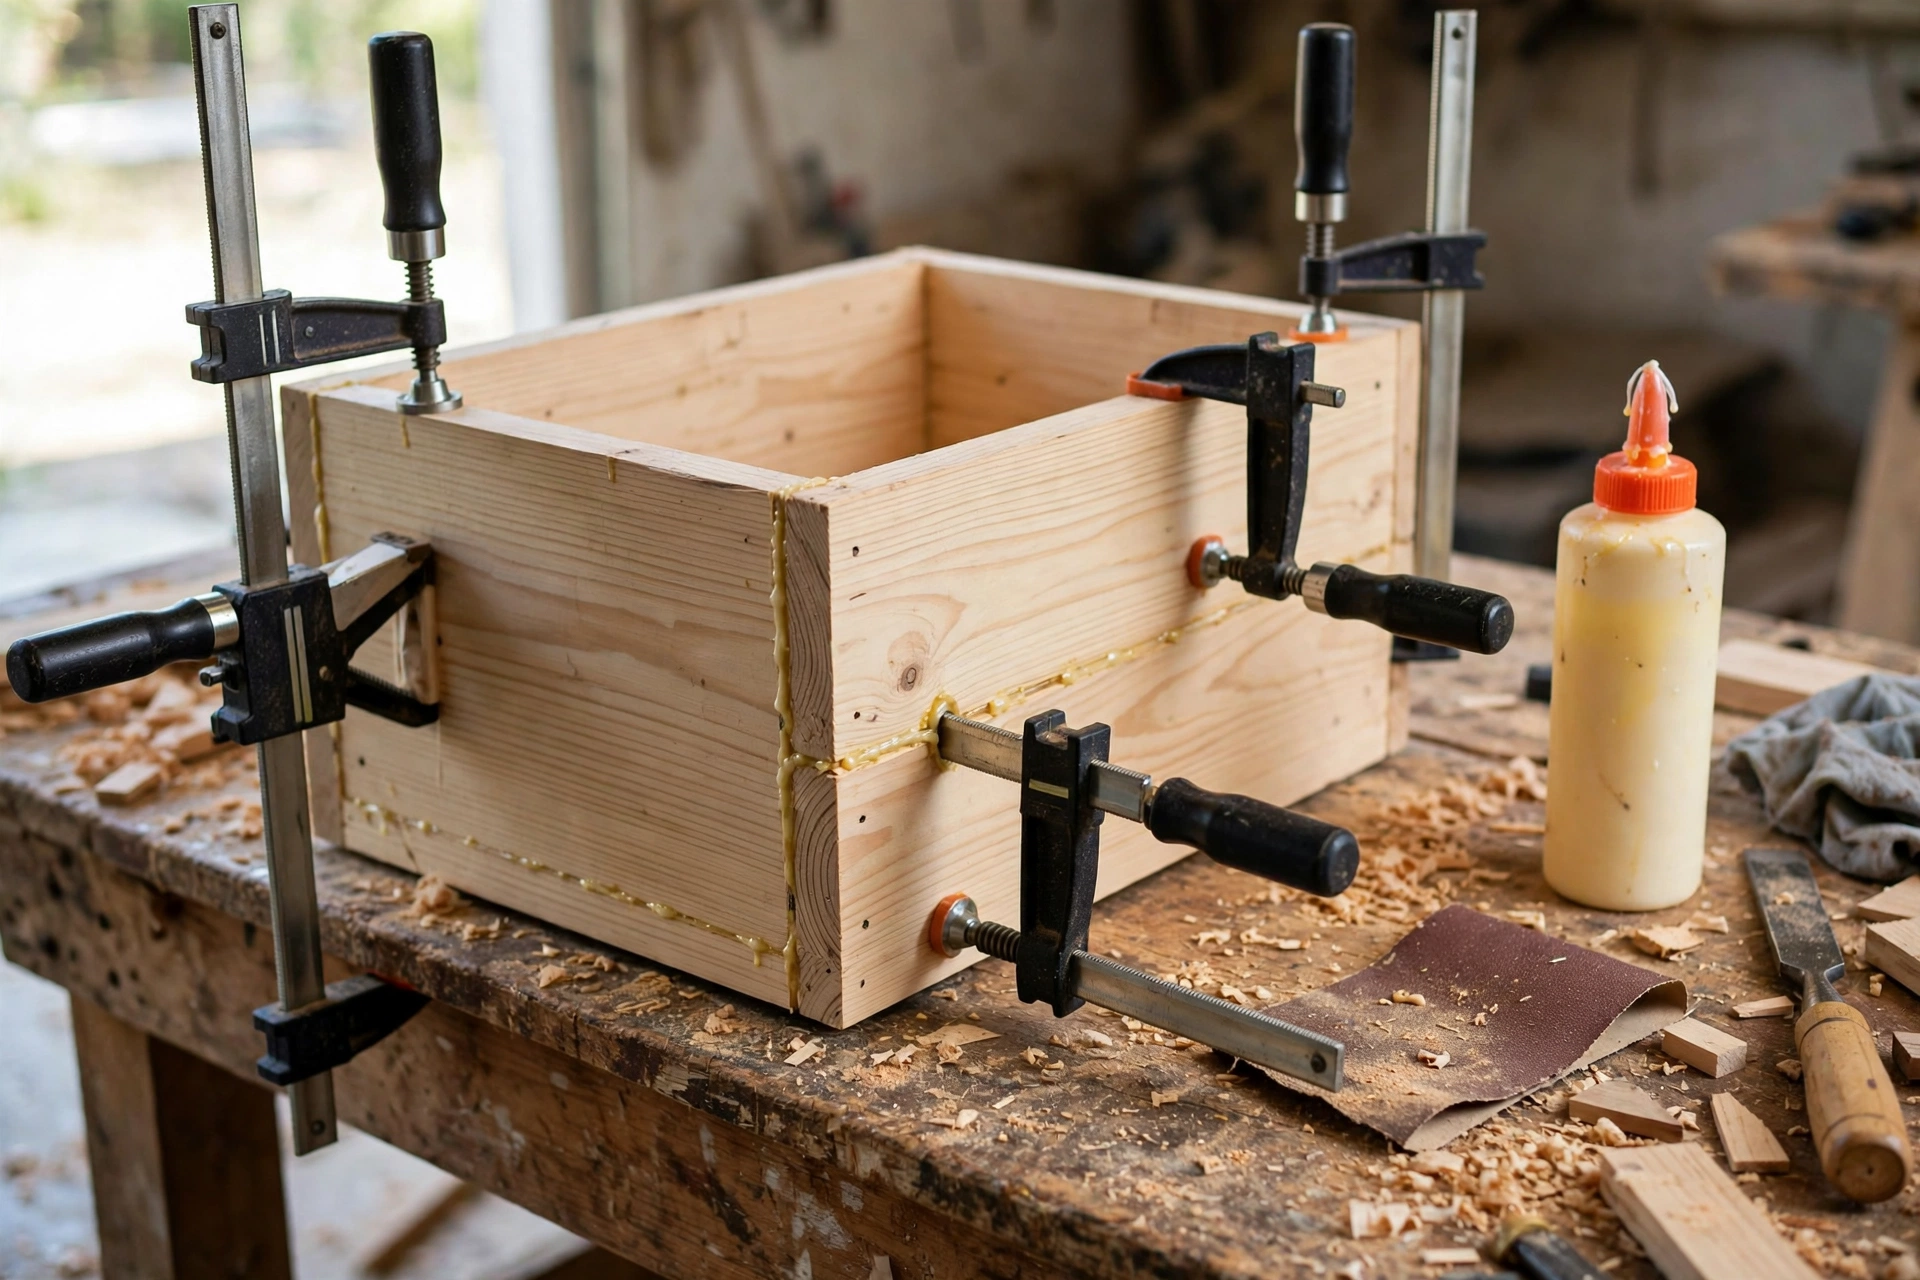
Now glue and screw the base underneath the frame, again with pilot holes and countersunk screws. Wipe away glue squeeze-out immediately with a slightly damp cloth: dried glue shows up as a blotchy patch under an oil finish and is far harder to sand off later.
Step 4: Let the glue cure
Leave the box clamped for at least an hour, ideally overnight, before doing anything else. Wood glue reaches handling strength quickly but full strength slowly, and a box knocked about too early can develop a cracked joint that is hard to repair neatly.
Fitting the Hinged Lid
A lid that binds or sits crooked ruins an otherwise good box, so take your time here. Lay the lid upside down on your bench and position the box upside down on top of it, centred so the overhang is equal on all sides. Mark the hinge positions on the back edge, about 8 cm in from each end.
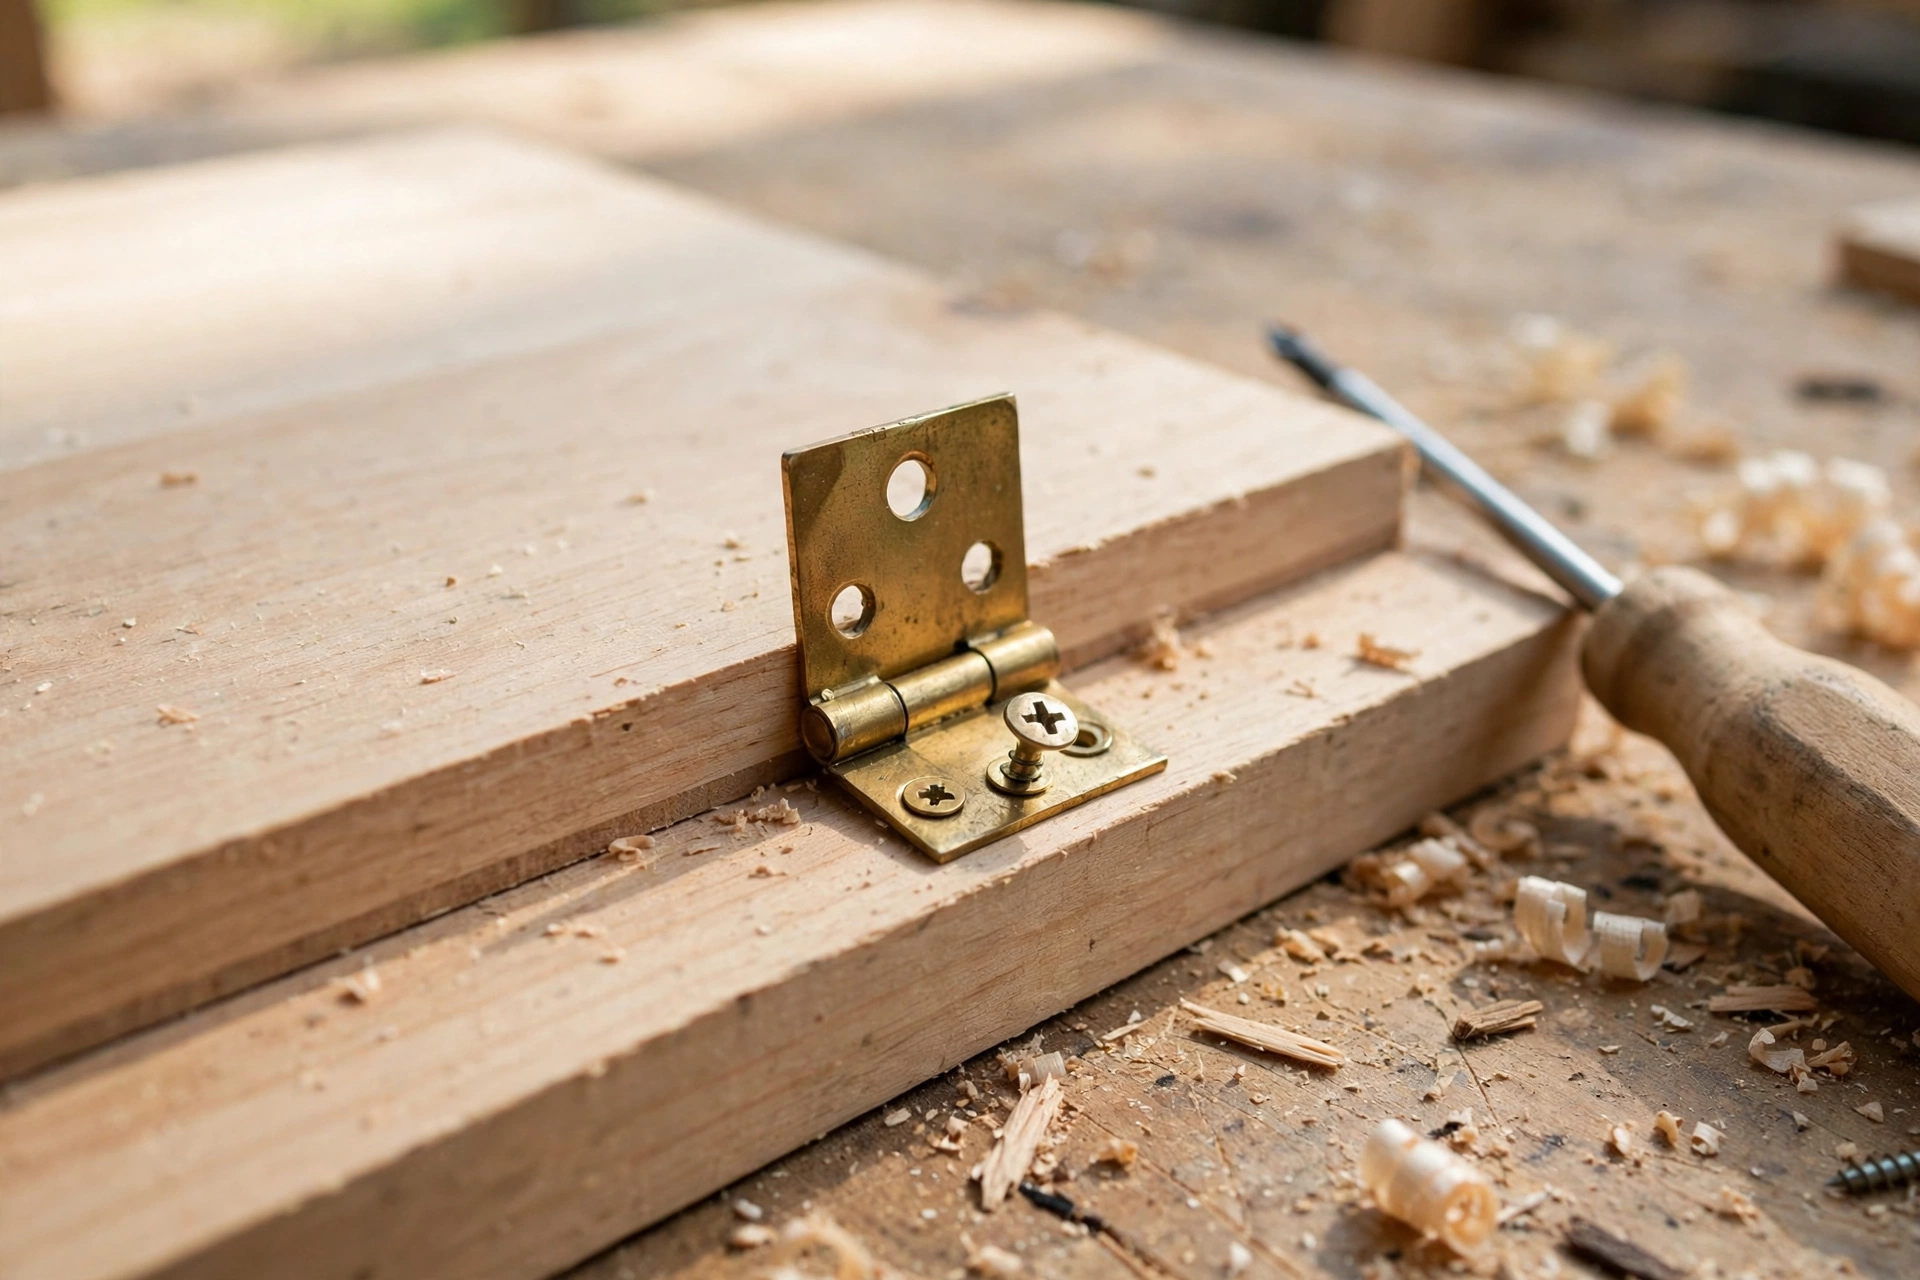
Attach the hinges to the lid first. Mark the screw holes, drill small pilot holes, and drive the screws by hand — a power driver strips small hinge screws easily. Then, with the box still upside down on the lid, mark the hinge positions on the back panel, drill pilot holes, and attach the other leaf of each hinge.
Turn the box right side up and test the lid. It should open smoothly and stay open at any angle. If it rubs on one side, mark the spot, remove the lid, and sand that edge lightly. Repeat until the lid swings freely with an even gap all round.
Fit the knob last: drill a hole through the centre of the front edge of the lid, or through the optional front lip strip, and screw the knob on from underneath. A knob is simpler and looks classic.
Sanding and Food-Safe Finishing
Sanding is what separates a project that looks homemade from one that looks handmade. Work through the grits in order: 120 to remove saw marks and level joints, 180 to smooth the surface, and 240 for a final silky feel. Sand with the grain, never across it, and pay special attention to the edges of the box and lid, which your hands touch every day.
For the full technique, read our guide on how to sand and finish wood for beginners. The same steps apply here, except the inside must be finished with a food-safe product.
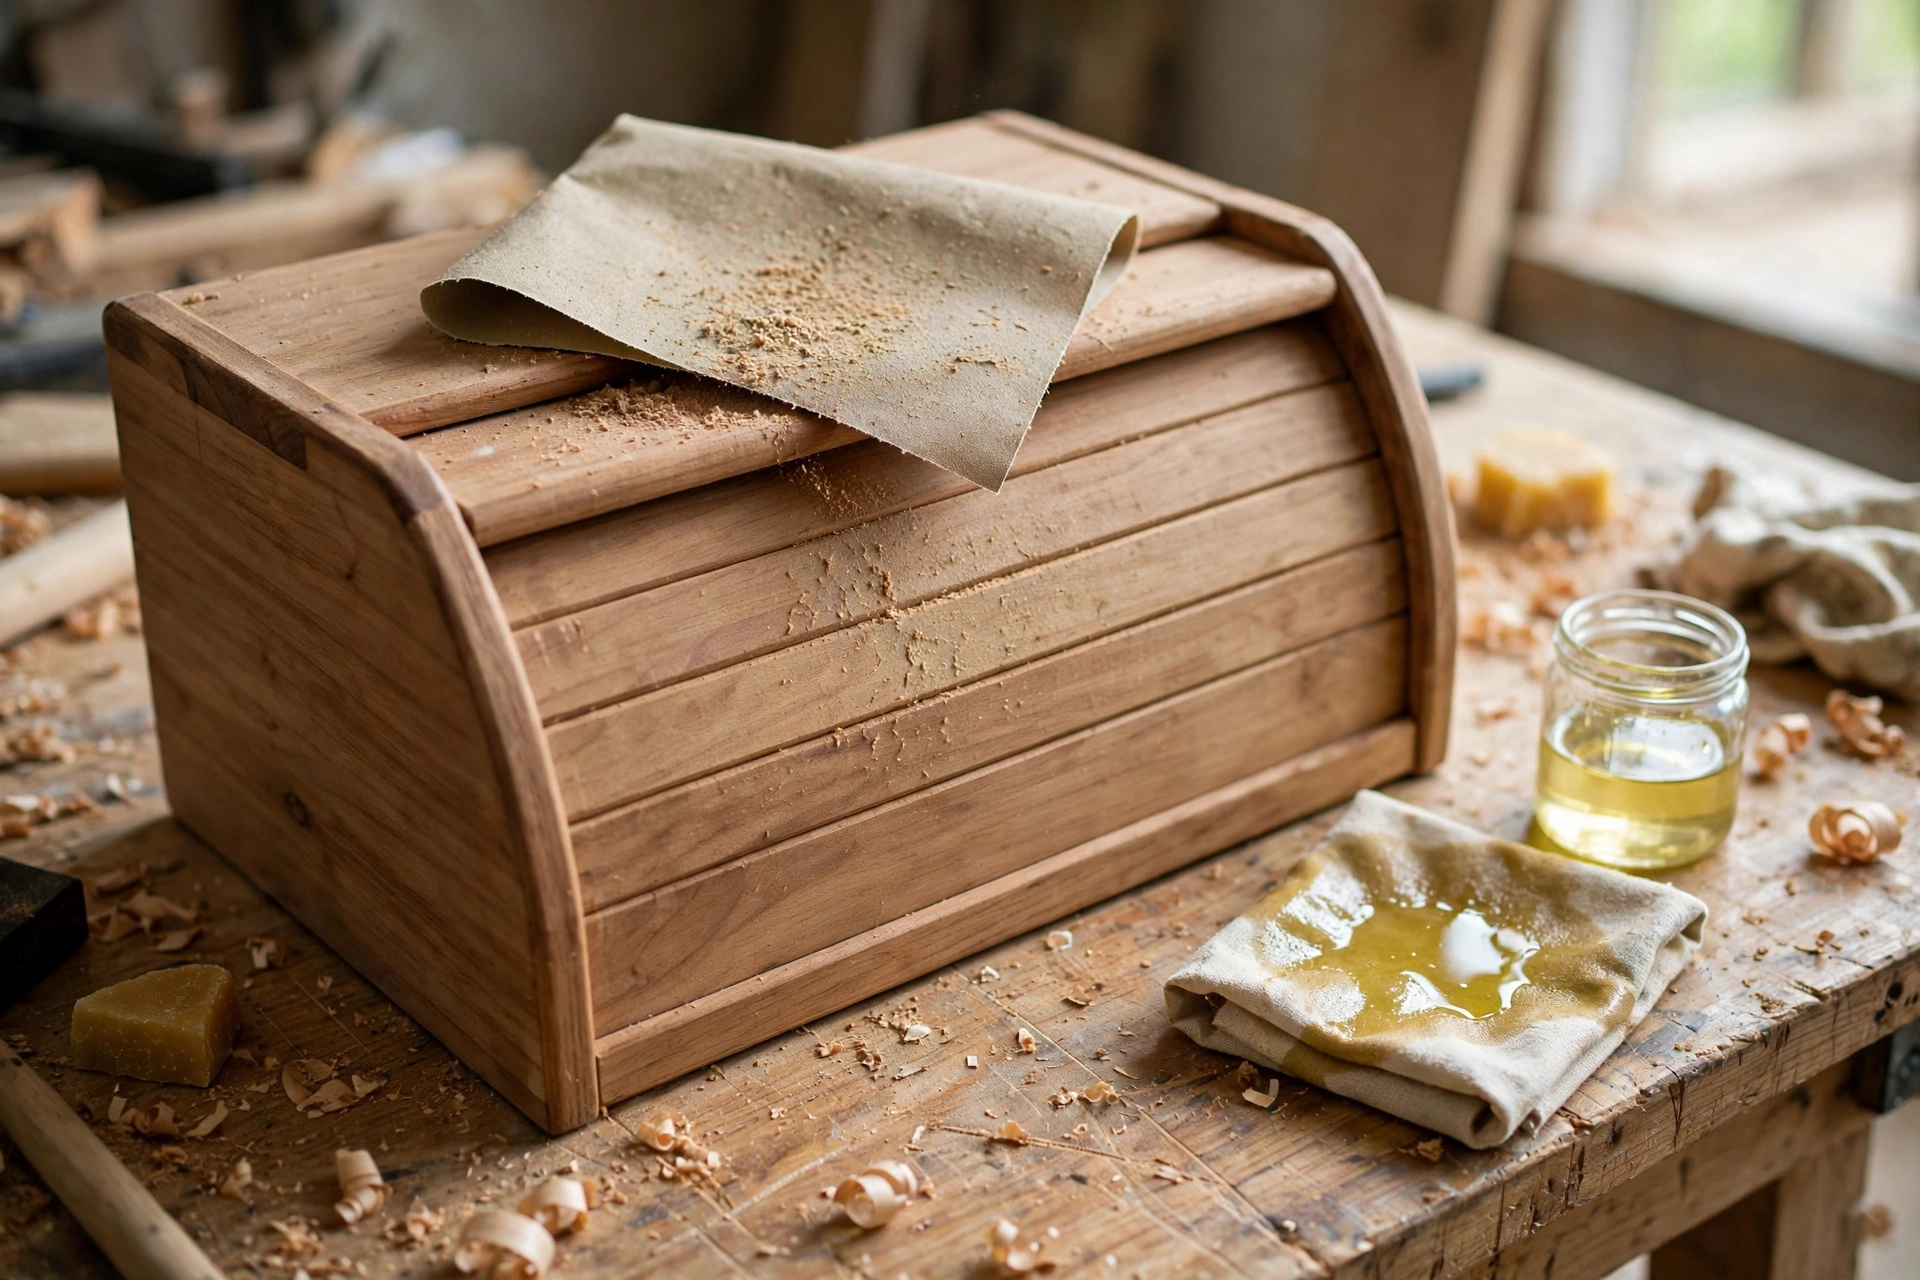
Food-safe mineral oil is the right finish for the inside: tasteless, odourless, and it will not go rancid. Apply it generously with a cloth, let it soak in for a few hours, and wipe off the excess. Repeat for two or three coats. The outside can take the same oil for a consistent look, or a hardwearing furniture oil for a tougher surface.
Do not use varnish, polyurethane, or lacquer inside the box. These finishes seal the wood completely, defeating the moisture-buffering effect that makes a bread box work, and they can trap odours that transfer to bread — and chip into food over time. Keep the inside oiled, not sealed.
Re-oil the inside every few months, or whenever the wood looks dry and pale. It takes five minutes: wipe on a coat, leave it overnight, wipe off the excess in the morning. A box finished this way will last for decades and look better with age.
Ventilation: The Detail That Keeps Bread Fresh
Ventilation is the most misunderstood part of building a bread box. It needs some airflow, but not too much: too little air and moisture builds up, the crust goes soft, and mould appears within days; too much air and the box is barely better than leaving bread on the counter.
The five 10 mm holes in the back panel are a good balance for a box of this size. They sit near the top, where warm, moist air naturally rises and escapes, while the lid and front stay closed. In a very humid climate, add a second row or enlarge the holes to 12 mm. In a very dry kitchen, cover one or two holes from the inside with tape.
Never store warm bread in the box. Bread straight from the oven releases a lot of steam, and sealing it inside guarantees a soggy crust and mould. Let bread cool completely — at least two hours for a large loaf — before storing it, and wipe the inside dry if you ever spill anything.
Clean the box weekly: take the bread out, shake out the crumbs, and wipe the inside with a dry cloth. If you spot mould, wipe the area with white vinegar, let it dry completely, and re-oil that spot before putting bread back in.
Loaf Sizes: Will Your Bread Fit?
There is nothing more frustrating than building a beautiful box and discovering your usual loaf does not fit. The table below covers the most common loaf shapes. Measure your own loaf before you cut.
| Loaf type | Typical size | Fits this box? |
|---|---|---|
| Standard sandwich loaf | 22 cm long x 12 cm wide x 12 cm tall | Yes, easily |
| Round sourdough boule | 22 cm diameter x 12 cm tall | Yes, easily |
| Oval sourdough batard | 30 cm long x 15 cm wide x 12 cm tall | Yes |
| Long baguette | 60 cm long x 6 cm wide | Only laid diagonally, and only if cut in half |
| Small ciabatta loaf | 25 cm long x 12 cm wide x 6 cm tall | Yes, easily |
| Large farmhouse loaf | 32 cm long x 18 cm wide x 15 cm tall | Yes, with room to spare |
| Tall tin loaf (home-baked) | 25 cm long x 13 cm wide x 14 cm tall | Yes |
The only common loaf that does not fit whole is a full-length baguette, and very few countertop bread boxes fit one. If baguettes are your daily bread, either build the box 65 cm or wider — a very large box for a small kitchen — or simply cut the baguette in half, as most people do. The diagonal of this box is just under 49 cm, so a baguette cut to 45 cm fits diagonally.
Height matters too. The interior is about 16 cm tall once base and lid thickness are accounted for, comfortably fitting loaves up to 15 cm tall. If very tall artisan loaves are a concern, add 2 cm to the height of the front, back, and side panels when you cut them.
What It Costs
One of the pleasures of this project is that it is genuinely cheap: pine is among the least expensive timber you can buy, and the hardware is just two hinges and a knob. If you already own basic tools and sandpaper, the out-of-pocket cost is very small. The figures below are approximate estimates and will vary depending on where you shop.
| Item | Approximate cost |
|---|---|
| Pine boards (two boards as listed) | $15 – $25 |
| Two butt hinges with screws | $3 – $6 |
| Wooden knob | $2 – $5 |
| Wood glue (if you need a new bottle) | $4 – $8 |
| Sandpaper set (120, 180, 240 grit) | $3 – $6 |
| Food-safe mineral oil | $5 – $10 |
| Screws (if not already in the workshop) | $2 – $4 |
| Total estimated cost | $34 – $64 |
Compare that with a shop-bought wooden bread box, typically two to three times as much, and yours is made to fit your kitchen and your bread.
Common Mistakes Beginners Make
All of these are fixable if caught early.
Cutting the sides to the wrong length. The side panels sit between the front and back panels, so they must be shorter than the overall depth by twice the board thickness. Double-check against your actual boards before cutting, not just against the cut list.
Skipping pilot holes. Pine splits easily, especially near board ends and close to edges. A pilot hole takes ten seconds and saves a split panel that would take an hour to repair.
Using varnish inside the box. Varnish seals the wood, traps odours, and can flake into food. Mineral oil is the right finish for the inside, even if the outside is finished differently.
Storing warm bread. Putting bread in the box while still warm creates condensation, a soggy crust, and mould within days. Always let it cool completely first.
Forgetting clearance for the lid. Many bread boxes live under wall cabinets. Measure the space above the box and make sure the lid opens fully — a lid that only opens halfway is annoying every single day.
Glue squeeze-out left to dry. Dried glue shows up under an oil finish as a pale, blotchy stain. Wipe it off while wet, and check again after ten minutes, because glue keeps seeping out as clamps tighten.
Over-tightening hinge screws. Small hinge screws strip easily in soft pine. Drive them by hand, stop as soon as they are snug, and if one strips, fill the hole with a glued toothpick, let it dry, and re-drive the screw.
Frequently Asked Questions
What is the best wood for a bread box?
Pine is the best choice for a first bread box: cheap, light, and easy to work with. Poplar is another good affordable option. Avoid strongly scented woods like cedar for the interior, since the scent can transfer to bread. Whatever wood you choose, finish the inside with food-safe mineral oil.
Do I really need ventilation holes in a bread box?
Yes. A completely sealed box traps moisture, softens the crust, and encourages mould. A few small holes in the back panel let humid air escape while the box still protects bread from drying out too fast. Five 10 mm holes near the top of the back panel are a good starting point, adjustable to your climate.
Can I use varnish or polyurethane on a bread box?
You can use them on the outside if you like a tougher finish, but not on the inside. The inside should be finished with food-safe mineral oil only, so the wood can still breathe and regulate moisture, and nothing flakes or smells its way into your bread.
How long will bread stay fresh in a wooden bread box?
Most bread stays fresh for three to five days in a wooden bread box, compared with one to two days left on the counter. Homemade bread without preservatives sits at the shorter end of that range, and very crusty breads like baguettes still lose their crunch after a day or two, though the inside stays soft longer.
What size should I build my bread box?
The 40 cm by 28 cm box in this guide fits standard sandwich loaves, round sourdough boules, and oval batards comfortably. Measure your usual loaf, add at least 3 cm of clearance on each side for air circulation, and check the loaf-size table above before cutting.
Can a complete beginner build a bread box?
Yes. This is one of the best first woodworking projects: only straight cuts, simple butt joints, glue, screws, and two hinges. No curves, no drawers, no complex joinery. If you can measure accurately and make a straight cut, you can build this box in an afternoon.
How do I clean a wooden bread box?
Shake out crumbs once a week and wipe the inside with a dry cloth. If you spot mould, wipe with white vinegar, let it dry fully, and re-oil the spot. Never soak the box in water or put it in a dishwasher — that warps the wood and ruins the finish.
A Kitchen Project Worth Building
A wooden bread box is a rare beginner project: simple to build, genuinely useful, and sitting on your counter reminding you every day that you made it. Start with straight, flat pine boards, measure carefully, take your time with the hinges, and finish the inside with food-safe oil. Keep the ventilation holes in, let bread cool before storing it, and re-oil the inside every few months.
It is also a natural starting point for a small kitchen collection. A matching wooden cookbook stand for beginners uses the same skills and looks wonderful next to the bread box, and our pillar guide to easy woodworking projects for beginners that sell has more ideas in the same beginner-friendly style. Build the box, buy a good loaf, and enjoy opening a lid you made yourself.
Recommended Products for This Project
As an Amazon Associate, I earn from qualifying purchases.

Titebond III Ultimate Wood Glue 1413 (8 oz)
Water-resistant wood glue for strong, lasting joints on the box panels.

IRWIN QUICK-GRIP Woodworking Clamps Set, 8-piece (IRHT83220)
A versatile clamp assortment that holds the box square while the glue dries.
DEWALT 20V MAX Circular Saw DCS391B, 6-1/2-inch
Cordless 20V power for straight, fast cuts in boards and plywood.

DEWALT Concealer Safety Goggles DPG82-11C
Sealed eye protection against dust and flying chips while cutting and sanding.
3M PELTOR X4A Over-the-Head Earmuffs, NRR 27 dB
NRR 27 dB hearing protection for loud saws and sanders.


