
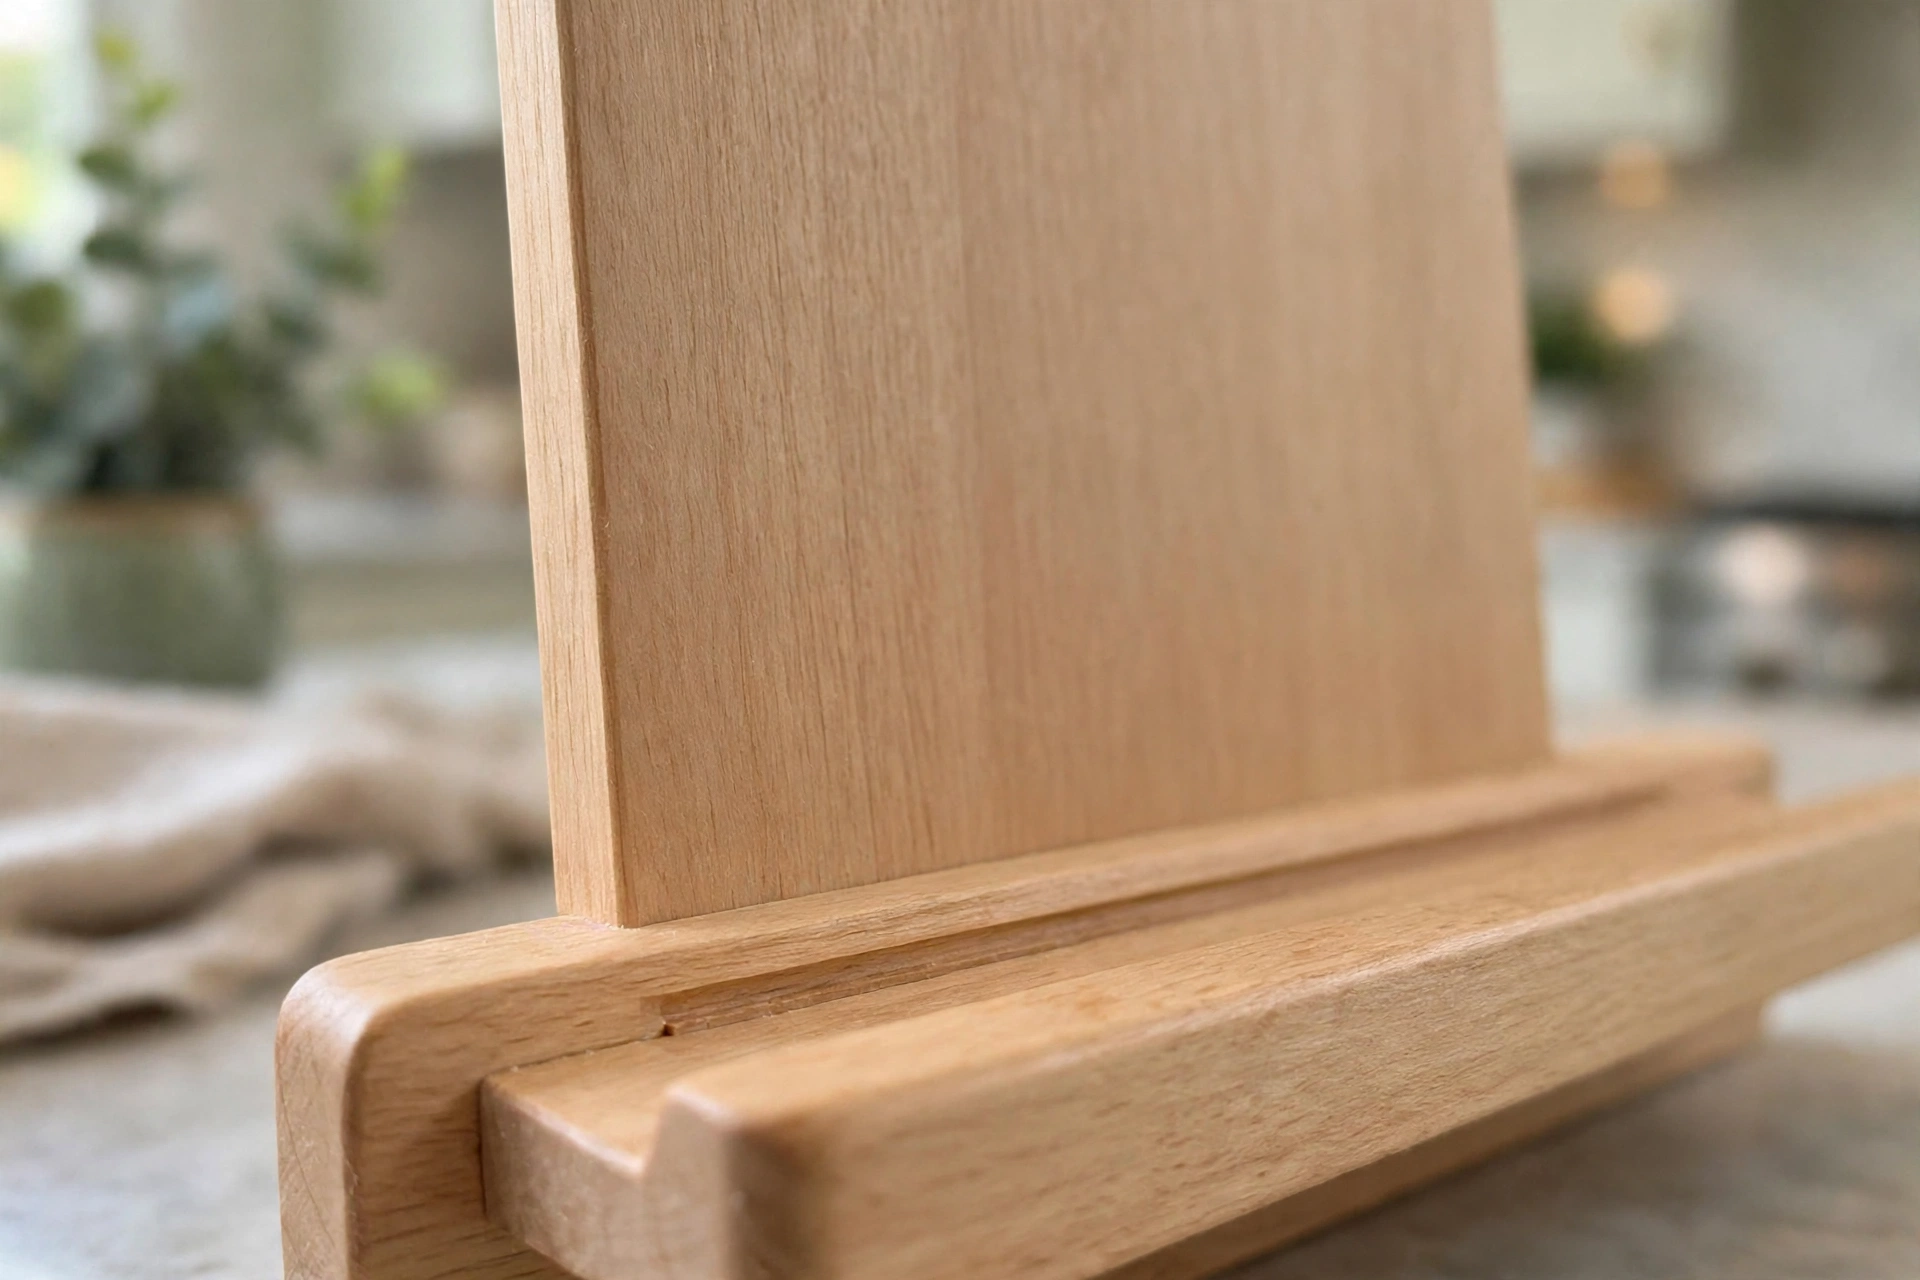
If you love cooking and you love making things, a wooden cookbook stand is one of the most satisfying first projects you can build. It is small, it is useful every single day, and it uses only five pieces of wood. No drawers, no doors, no complicated joints. Just a back panel, a base, a lip, and two angled supports, joined together into a sturdy stand that holds a cookbook open at exactly the right angle while you cook.
Learning how to make a wooden cookbook stand for beginners is also a perfect introduction to the core skills of woodworking: measuring and marking, making straight and angled cuts, gluing and clamping, sanding, and finishing. Every step in this guide is beginner-friendly, and every measurement is given in plain inches, so you can follow along with a basic saw and a tape measure. By the end of a single weekend afternoon, you will have a finished stand that looks like it came from a kitchen shop — and you will have made it yourself.
This guide covers the full build from start to finish: choosing the wood, cutting all five pieces, assembling the stand, sanding it smooth, and applying a food-safe clear finish that is safe around the kitchen. You will also find a cut list, a tilt-angle and book-size table, a cost breakdown, the most common beginner mistakes, and answers to the questions new woodworkers ask most often.
Why Build a Wooden Cookbook Stand?
A cookbook stand solves a small but constant kitchen annoyance. Without one, a cookbook slides shut, falls off the counter, or ends up propped against a backsplash where you cannot read it. Worse, many cooks end up balancing a book on a bag of flour or leaning it against the wall, which is exactly how pages get splashed with sauce and oil. A dedicated stand holds the book open, upright, and at a comfortable reading angle, with its pages protected behind a small front lip.
A wooden stand has real advantages over a metal or plastic one. Wood is warm, quiet, and kind to your books: it will not scratch covers or dent pages the way a wire stand can. It is heavy enough to stay put, even when the book is thick, and it looks at home in any kitchen, from a rustic farmhouse to a modern apartment. It also makes a wonderful handmade gift. A cookbook stand for a friend who loves to bake, a wedding gift, or a housewarming present carries far more meaning than anything bought off a shelf, because you chose the wood, cut the pieces, and finished it by hand.
For a beginner, the project is forgiving. The pieces are large and easy to hold, the angles are simple, and small mistakes are easy to sand away or hide with a little wood filler. If you have already built a simple frame, you will recognize many of the same skills — and if you have not, our guide to how to make a wooden picture frame for beginners is a great warm-up before you start. The cookbook stand is a natural next step, and it teaches angled cuts that a picture frame never touches.
What You Will Build: The 5-Piece Design
This stand has just five pieces, and each one has a clear job:
- Back panel — the tall board the book leans against. It sets the width and height of the stand.
- Base — the flat board on the counter that the book sits on. It gives the stand its footprint and stability.
- Lip — the small strip across the bottom of the back panel that stops the book from sliding forward.
- Two angled supports — triangular side pieces that brace the back panel at a comfortable reading angle and keep the whole stand rigid.
That is the entire design. There are no hinges, no moving parts, and no hardware to buy. The pieces are glued and screwed together, and the angled supports are what turn a flat board into a stand that actually works. Because the design is so simple, it is easy to scale: make the back panel wider for an oversized baking book, or narrower for a small paperback collection.
The finished stand in this guide measures about 12 inches wide, 10 inches tall, and 8 inches deep. That size holds most standard cookbooks, from slim paperbacks to thick hardcovers, and it also works beautifully as a tablet stand, which we cover later in this guide. If your favorite cookbook is unusually large, check the tilt-angle and book-size table below before you cut, and adjust the back panel width to suit.
Materials You Will Need
You only need one board for this whole project, plus glue, screws, and finish. A single pine board, 1 x 12 inches in nominal size (which actually measures about 3/4 inch thick and 11-1/4 inches wide), and 4 feet long, gives you every piece with a little room to spare. Pine is the best choice for a first build: it is cheap, widely available, soft enough to cut and sand easily, and it takes a clear finish beautifully. If you want a richer look, hardwood boards such as oak, maple, or walnut work with exactly the same measurements, but they cost more and are harder to cut, so save them for your second stand.
For the full materials list, you will need:
- One pine board, 1 x 12 inches, 4 feet long (3/4 inch actual thickness)
- Wood glue (a standard yellow wood glue is perfect)
- Six wood screws, #8 x 1-1/4 inches, with a countersink bit or a larger drill bit for countersinking
- 120-grit and 220-grit sandpaper
- A food-safe clear finish, such as food-grade mineral oil, a butcher-block oil, or a food-contact-safe hardwax oil
- A clean cotton cloth or rag for applying the finish
- Optional: wood filler that matches pine, for hiding screw holes
- Optional: a small piece of felt or rubber feet for the bottom of the base
If you are new to choosing glue, our guide to the best wood glue for beginners explains the differences between the common types and which one to reach for on a project like this. For a kitchen item, a standard interior wood glue is all you need — there is no reason to buy a waterproof glue unless the stand will regularly get soaked, which it should not.
Tools You Will Need
This is a hand-tool-friendly project, and you do not need a workshop full of machines:
- Tape measure and pencil
- A saw: a circular saw, a miter saw, or a handsaw will all work
- A protractor or a speed square for marking the angled supports
- A drill/driver with drill bits and a screwdriver bit
- Two spring clamps or bar clamps
- A sanding block or a random-orbit sander
- Safety glasses and hearing protection
- A workbench or a sturdy table
The angled cuts on the supports are the only cuts that need a little care, and a miter saw makes them easy. If you are choosing your first saw, read our guide to the best miter saw for beginners before you buy — a miter saw set to 20 degrees handles these supports in seconds, and you will use it on dozens of future projects. A handsaw and a steady hand will also do the job; just mark the angle clearly and cut slowly.
Cut List
Measure twice and cut once — the old advice matters most on a project this small, because there is not much spare board. Cut the pieces in the order listed, starting with the largest, so that any small mistake on a later piece does not ruin a big one.
| Piece | Quantity | Dimensions (inches) | Notes |
|---|---|---|---|
| Back panel | 1 | 12 wide x 10 tall x 3/4 thick | Cut from the full width of the 1 x 12 board |
| Base | 1 | 12 wide x 8 deep x 3/4 thick | The book rests on this board |
| Lip | 1 | 12 wide x 1-1/2 tall x 3/4 thick | Holds the bottom edge of the book |
| Angled supports | 2 | 8 long x 3 wide x 3/4 thick, with a 20-degree angle cut on one end | Mirror pair, one for each side |
The angled supports start as simple rectangles, 8 inches long and 3 inches wide. The 20-degree angle is cut across one end of each support, so that the support meets the base flat on the bottom and leans against the back panel at the reading angle. Mark the angle with a protractor or a speed square, draw the line across the full width of the piece, and cut along it. Cut both supports from the same setup so they match exactly — a pair of supports that differ by even a degree will make the stand wobble.
Tilt Angle and Book Size Guide
The tilt of the back panel is what makes a cookbook stand comfortable to read. Too upright, and the book feels like it is falling toward you; too reclined, and you have to lean over the counter to read the recipe. A 20-degree tilt from vertical (which is the same as 70 degrees from the counter) is the sweet spot for most cooks: the page faces your eyes while you stand at the counter, and gravity still holds the book firmly against the lip.
The table below matches common book sizes to the right back-panel width and tilt, so you can adjust this design before you cut. The standard size in this guide — 12 inches wide at 20 degrees — covers the middle of the range, which is why it is the default.
| Book type | Typical book size (inches) | Recommended back-panel width | Recommended tilt from vertical |
|---|---|---|---|
| Small paperback / tablet | 6 x 9 | 10 inches | 20 degrees |
| Standard cookbook | 8 x 10 | 12 inches | 20 degrees |
| Large hardcover cookbook | 9 x 12 | 13 inches | 22 degrees |
| Oversized baking / coffee-table book | 10 x 13 or larger | 14 inches | 25 degrees |
If you mostly cook from a tablet, the standard 12-inch width still works well: the tablet leans against the back panel just like a book, and the lip stops it from sliding forward. The only change worth making for heavy tablet use is to cut a small notch or leave a gap in the center of the lip for a charging cable, so the tablet can stay plugged in while you cook. We explain that variation near the end of this guide.
Step 1: Choose and Prepare Your Wood
Start by picking the best section of your board. Look along the length of the board for knots, cracks, and warping, and plan your cuts so the back panel — the piece everyone sees — comes from the cleanest stretch. A small knot on the base or a support is fine, but a knot on the face of the back panel will show through the finish and can weaken the board if it falls near an edge.
Check that the board is flat by laying it on your workbench and pressing down on each corner. If it rocks, flip it over and check again; a slightly cupped board can often be used with the cup facing down on the base, where it will not matter. If the board is badly warped, exchange it — a warped back panel will make the whole stand sit crooked, and no amount of sanding will fix it.
Mark all five pieces on the board with a pencil before you cut anything. Write the name of each piece on its section — “back,” “base,” “lip,” “support left,” “support right” — so you do not mix them up once they are cut. This simple habit prevents the most common beginner error: cutting two pieces to the same size and realizing too late that one of them was supposed to be different.
Step 2: Cut the Back Panel and Base
Cut the back panel first: 12 inches wide by 10 inches tall. Because your board is already about 11-1/4 inches wide, you will need to rip it to 12 inches only if you bought a wider board; with a standard 1 x 12, simply crosscut the board to 10 inches for the back panel and set the piece aside. If your board measures slightly under 12 inches wide, do not worry — a back panel of 11-1/4 inches still holds every standard cookbook, and it is better to use the full width of the board than to glue on a filler strip.
Next, cut the base: 12 inches wide by 8 inches deep. The base and the back panel should be the same width so the stand looks balanced and the supports line up neatly on both sides. After cutting, hold the two pieces together and check that their front edges are square. A small out-of-square cut here will show as a gap at the joint, so if one edge is visibly off, trim it now while the pieces are still easy to handle.
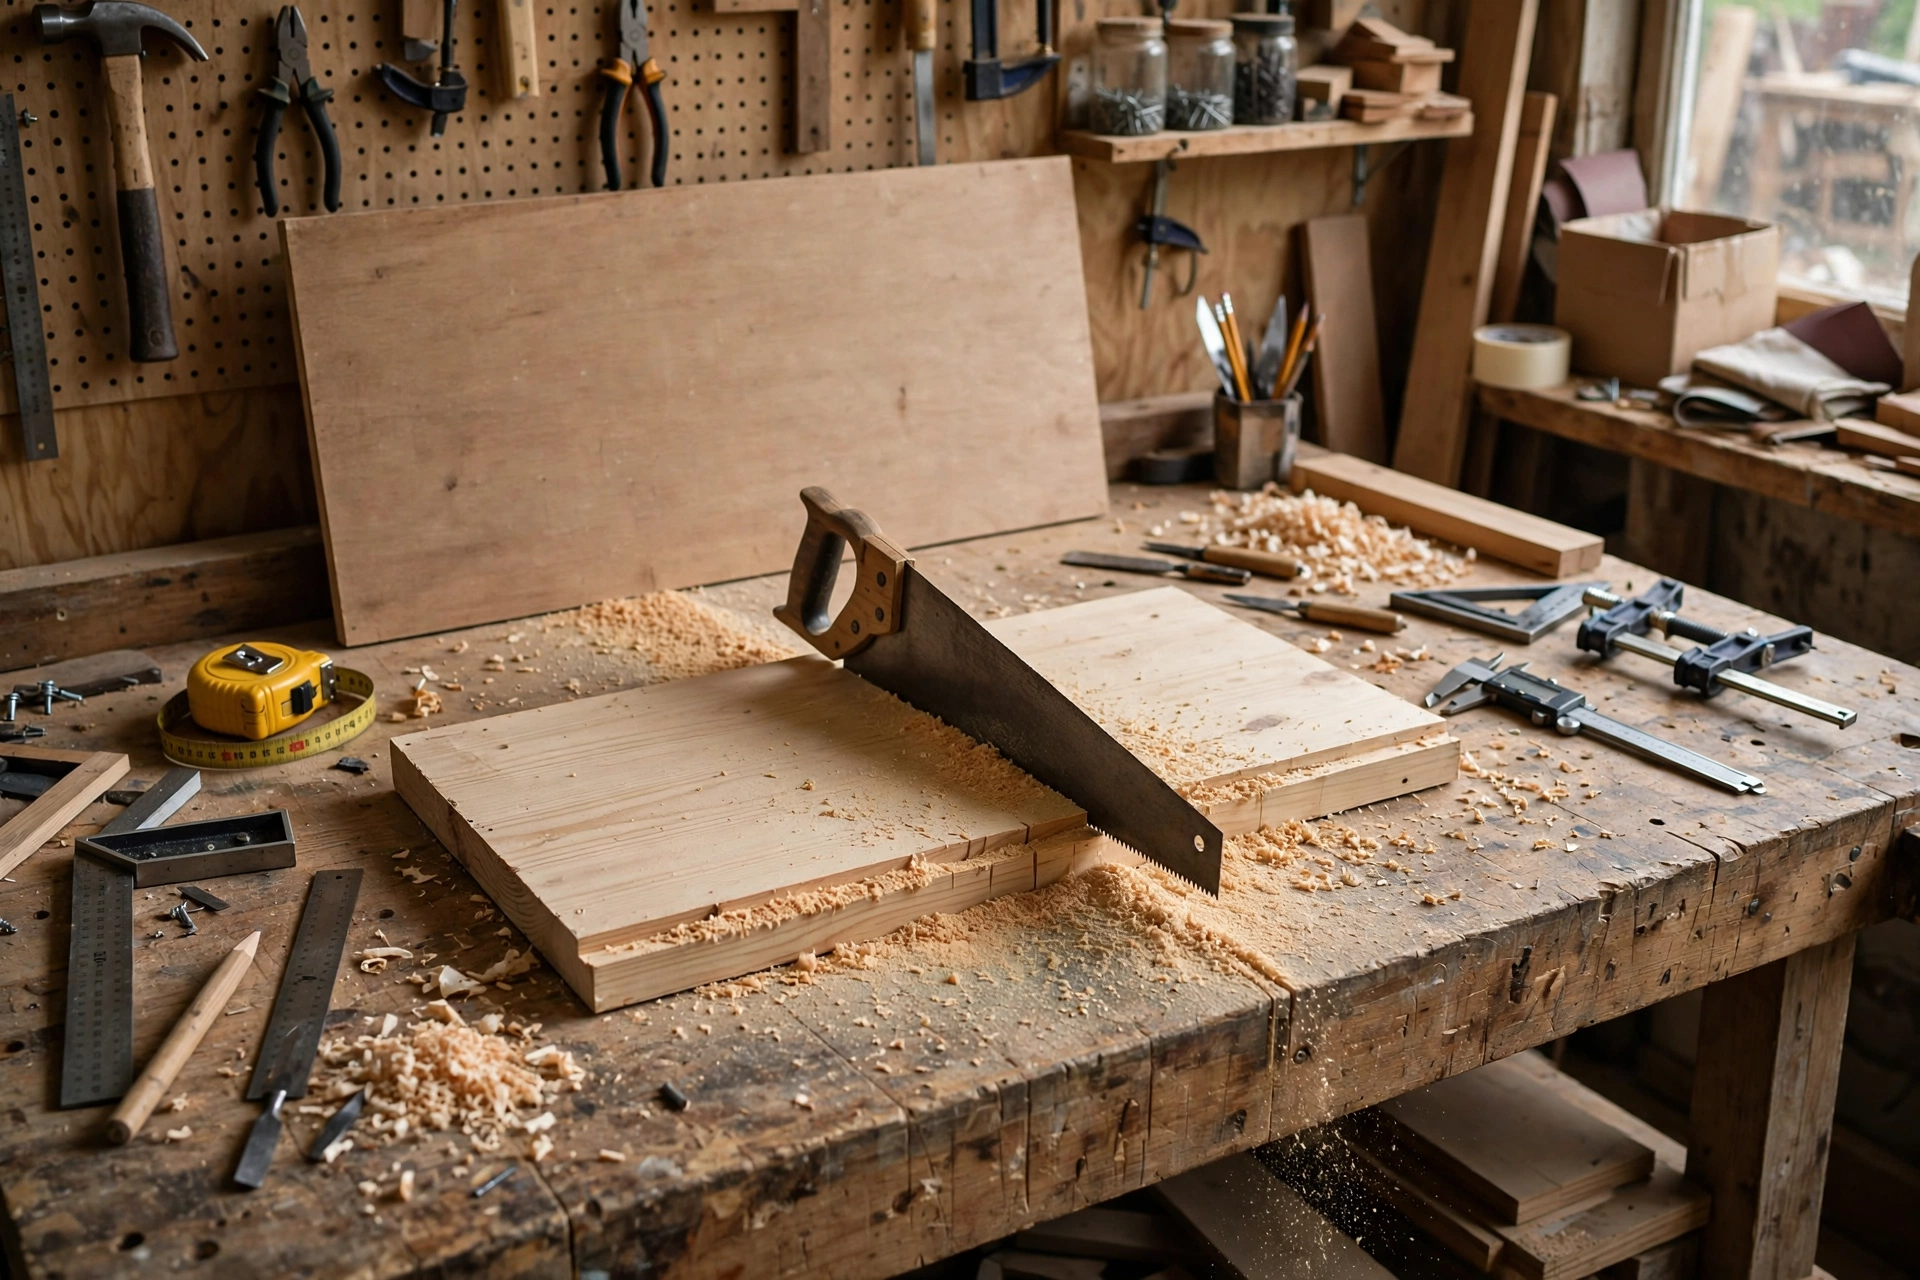
Sand the cut edges lightly with 120-grit sandpaper as you go. This is not the final sanding — that comes later — but knocking off the rough edges now keeps splinters out of your hands and makes the dry fit in Step 5 much more accurate.
Step 3: Cut the Angled Supports
The angled supports are the heart of this project, and they are easier than they look. Start with two rectangles, each 8 inches long and 3 inches wide. On one end of each rectangle, mark a 20-degree angle: place your protractor or speed square at the end of the board, mark the angle line across the full width, and draw it clearly in pencil. The angled end will sit flat on the base, while the long straight edge leans against the back of the back panel.
Cut along the marked line with your saw, keeping the blade on the waste side of the line. Cut both supports without changing your saw setting between cuts, so the angles match exactly. Then hold the two supports together, angled ends aligned: they should be mirror images of each other, with no daylight showing between them. If one is slightly longer than the other, trim the longer one to match.
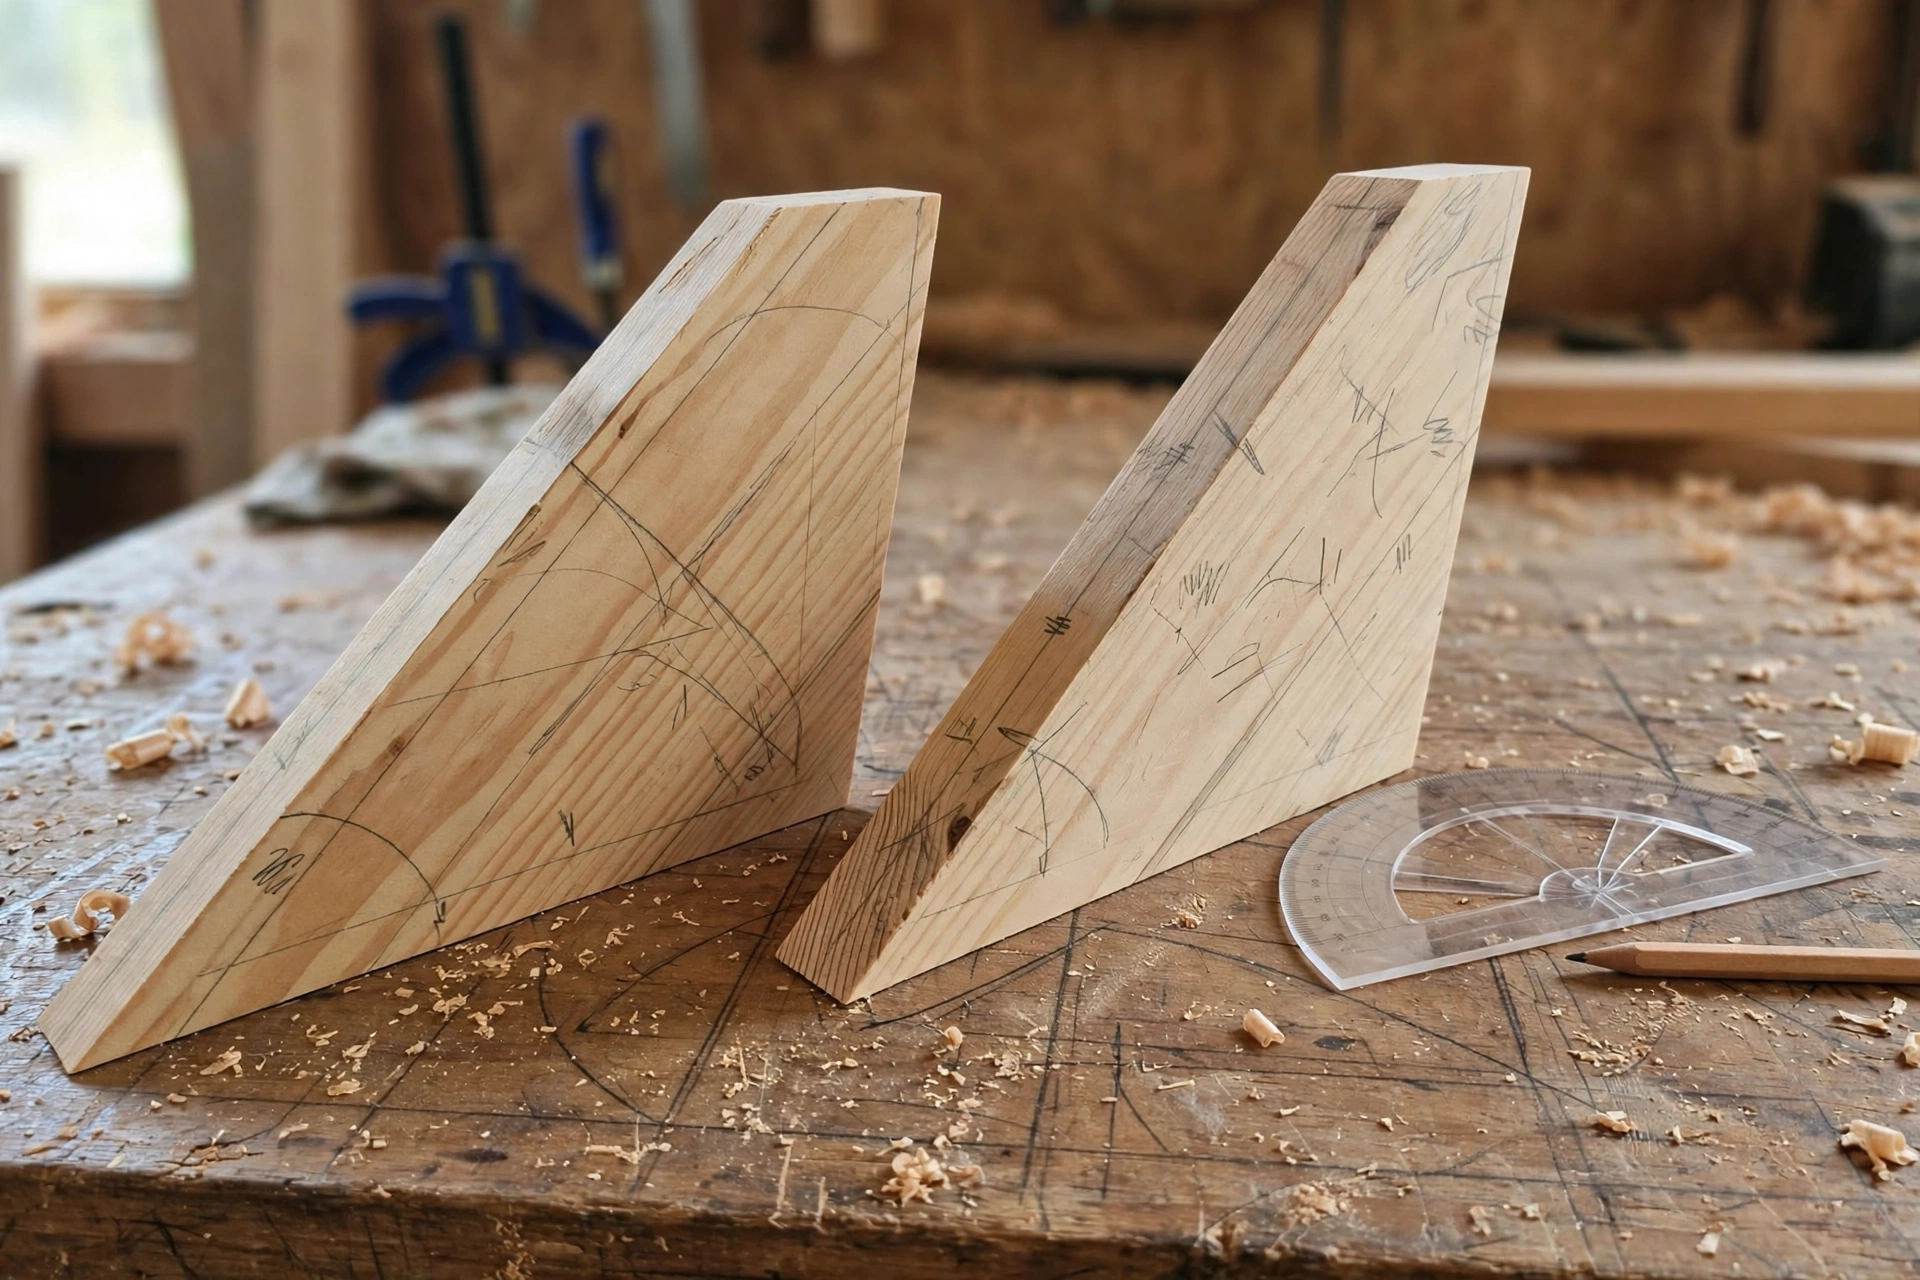
A useful trick is to test the angle before you glue anything. Stand the back panel on your workbench, lean it against a support, and look at it from the side. At 20 degrees from vertical, the panel should lean back just enough to read comfortably without feeling like it will topple. If it looks too steep or too flat for your taste, adjust the angle on a scrap piece first — it is much easier to recut a support than to rebuild a glued stand.
Step 4: Cut the Lip
The lip is a simple strip, 12 inches wide and 1-1/2 inches tall, cut from the remaining board. Its job is to catch the bottom edge of the book and stop it from sliding forward off the base. One and a half inches is tall enough to hold a thick hardcover securely, but low enough that it does not cover the first lines of a recipe.
If you plan to use the stand with a tablet, consider cutting the lip in two pieces with a 2-inch gap in the center, rather than one continuous strip. The gap gives a charging cable a place to pass through, and it also gives your finger a place to lift a tablet out of the stand. The two lip pieces are glued in exactly the same way as a single lip, one on each side of the gap, so this variation adds no extra difficulty.
Round over the top edge of the lip slightly with sandpaper. This is a small detail, but it matters: the lip is the piece your fingers touch every time you place or remove a book, and a softly rounded edge feels finished rather than sharp.
Step 5: Dry Fit Everything Before Gluing
Before any glue comes out of the bottle, assemble the stand without glue and check the fit. Stand the back panel upright, set the base flat in front of it, place the lip across the bottom of the back panel, and set one angled support on each side. The back panel should lean against the supports at a steady angle, the base should sit flat on the bench with no rocking, and the lip should sit flush against the back panel along its full width.
This dry fit is your last chance to fix problems cheaply. If a support is too long, it will push the back panel too far forward; trim it. If the base rocks, check whether the supports are sitting flat. If a joint shows a gap, mark the high spot with a pencil and sand it down. Ten minutes of dry fitting now saves you from a glued stand that wobbles forever. Many beginners skip this step because they are eager to glue, and it is the step that separates a stand that looks homemade from one that looks handcrafted.
Step 6: Glue and Assemble the Stand
Work in two stages, and do not rush. First, glue the lip to the back panel: spread a thin, even layer of wood glue along the bottom edge of the back panel where the lip will sit, press the lip into place, and clamp it. Wipe away any glue that squeezes out with a damp cloth right away — dried glue blocks the finish and shows up as a pale blotch under a clear coat, which is the most common finishing mistake beginners make.
While the lip joint sets, glue the supports to the back panel. Apply glue to the edge of each support that meets the back panel, press it into place, and clamp it. Check from the side that both supports sit at the same angle. Then glue the base to the bottom of the back panel and to the bottom ends of the supports, so the base ties the whole assembly together. Drive two screws through the base into the bottom edge of the back panel for extra strength, countersinking the screw heads slightly below the surface so you can fill them later.
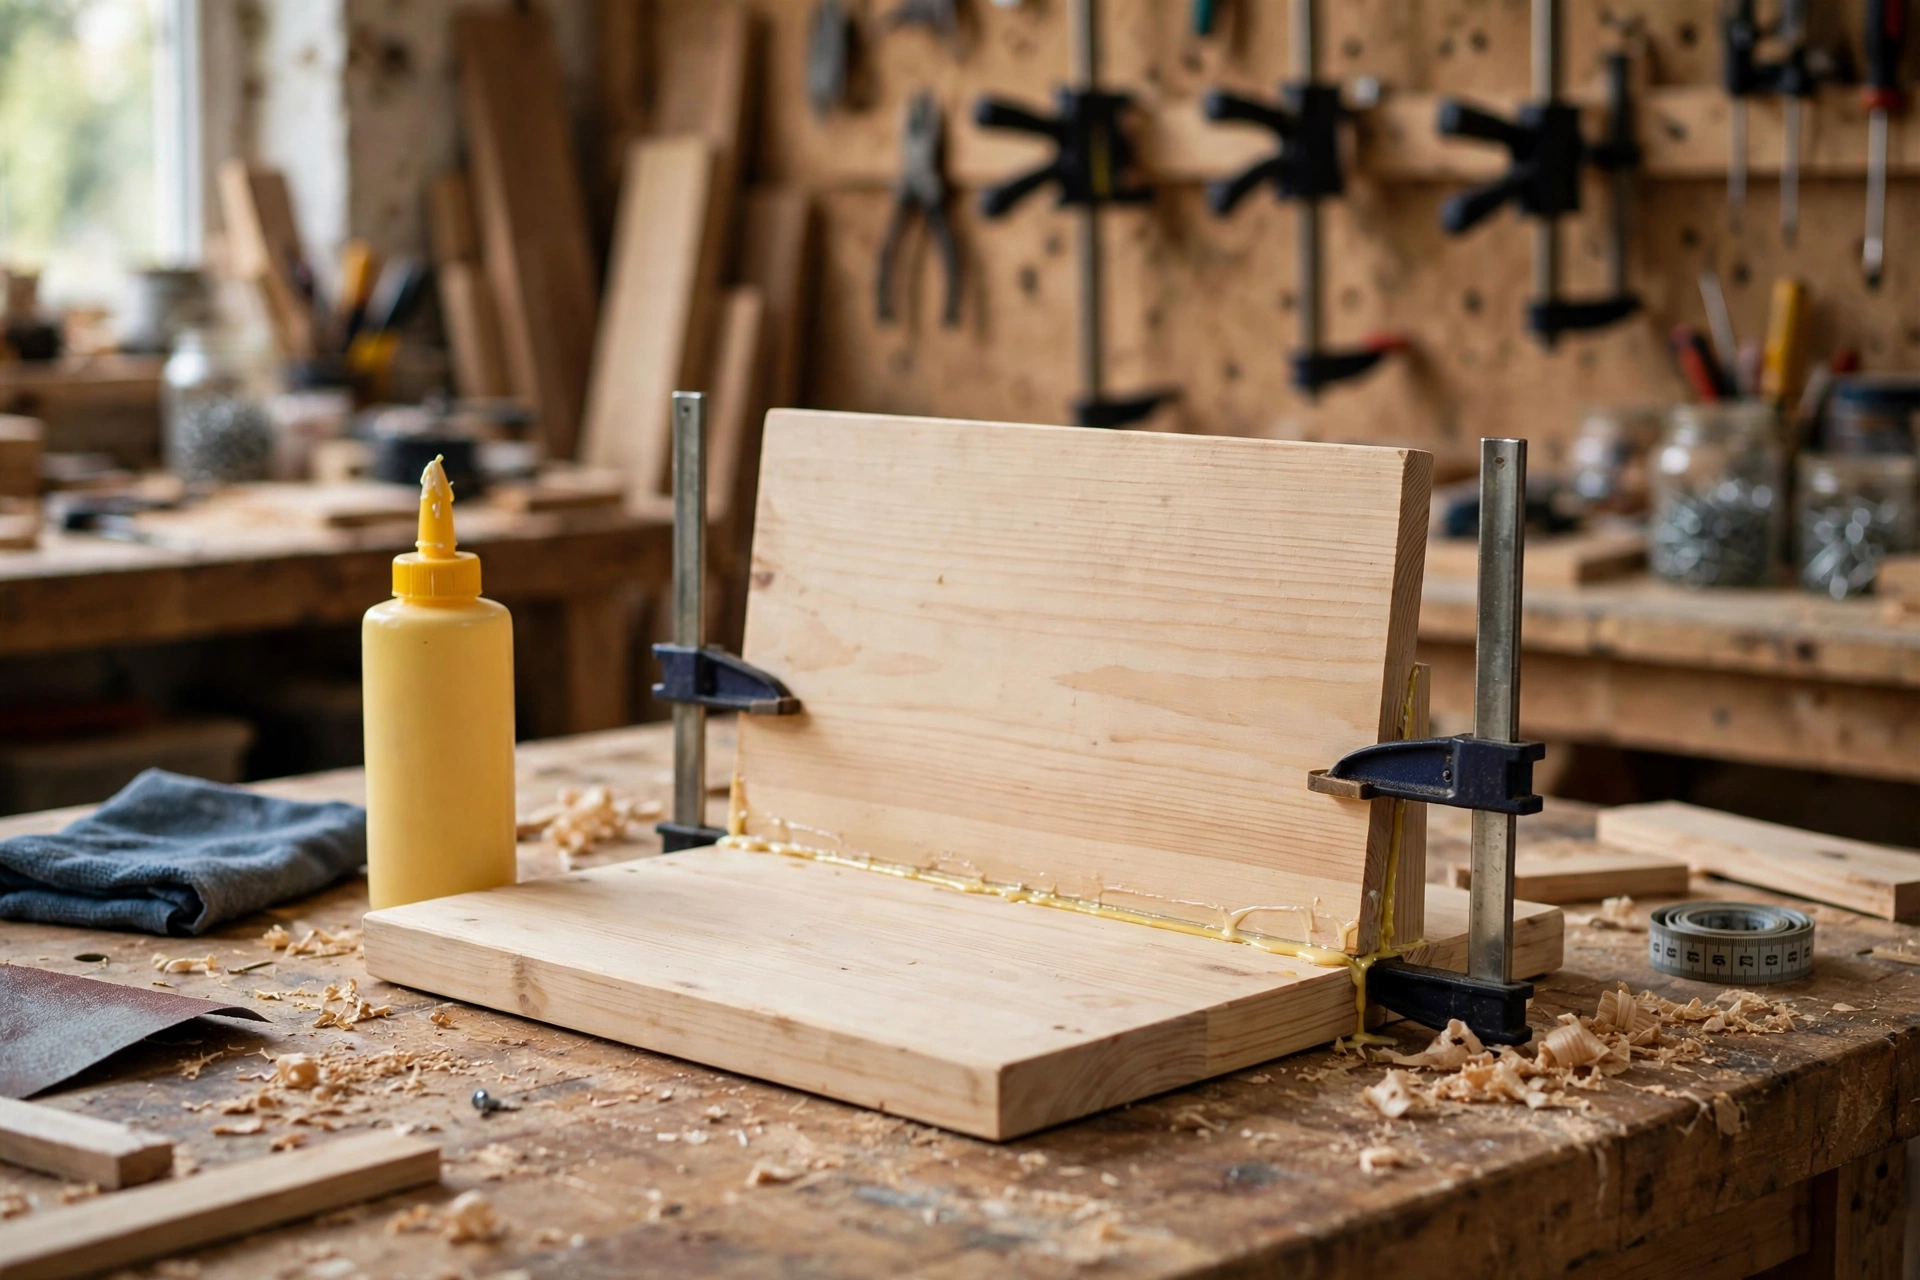
Let the glue cure fully — at least an hour before you remove the clamps, and ideally overnight before sanding. Wood glue reaches handling strength quickly, but it reaches full strength slowly, and a stand that gets sanded or finished while the joints are still soft can shift out of square. Patience here is part of the craft, and it costs nothing.
Step 7: Sand the Stand Smooth
Sanding is what turns a glued assembly into a finished piece, and it deserves real time. Start with 120-grit sandpaper and sand every surface: the face of the back panel, the top of the base, the lip, and both supports. Sand with the grain, never across it, because scratches across the grain show clearly under a clear finish while scratches along the grain disappear into the wood.
Follow with 220-grit sandpaper for a final pass over every surface, and pay special attention to the edges and corners. Break every sharp edge by running the sandpaper lightly along it a few times — a slightly rounded edge feels better in the hand, is less likely to splinter, and takes finish more evenly. Run your bare hand over the whole stand when you think you are done: your fingers will find rough spots your eyes missed, especially around the lip and the support joints.
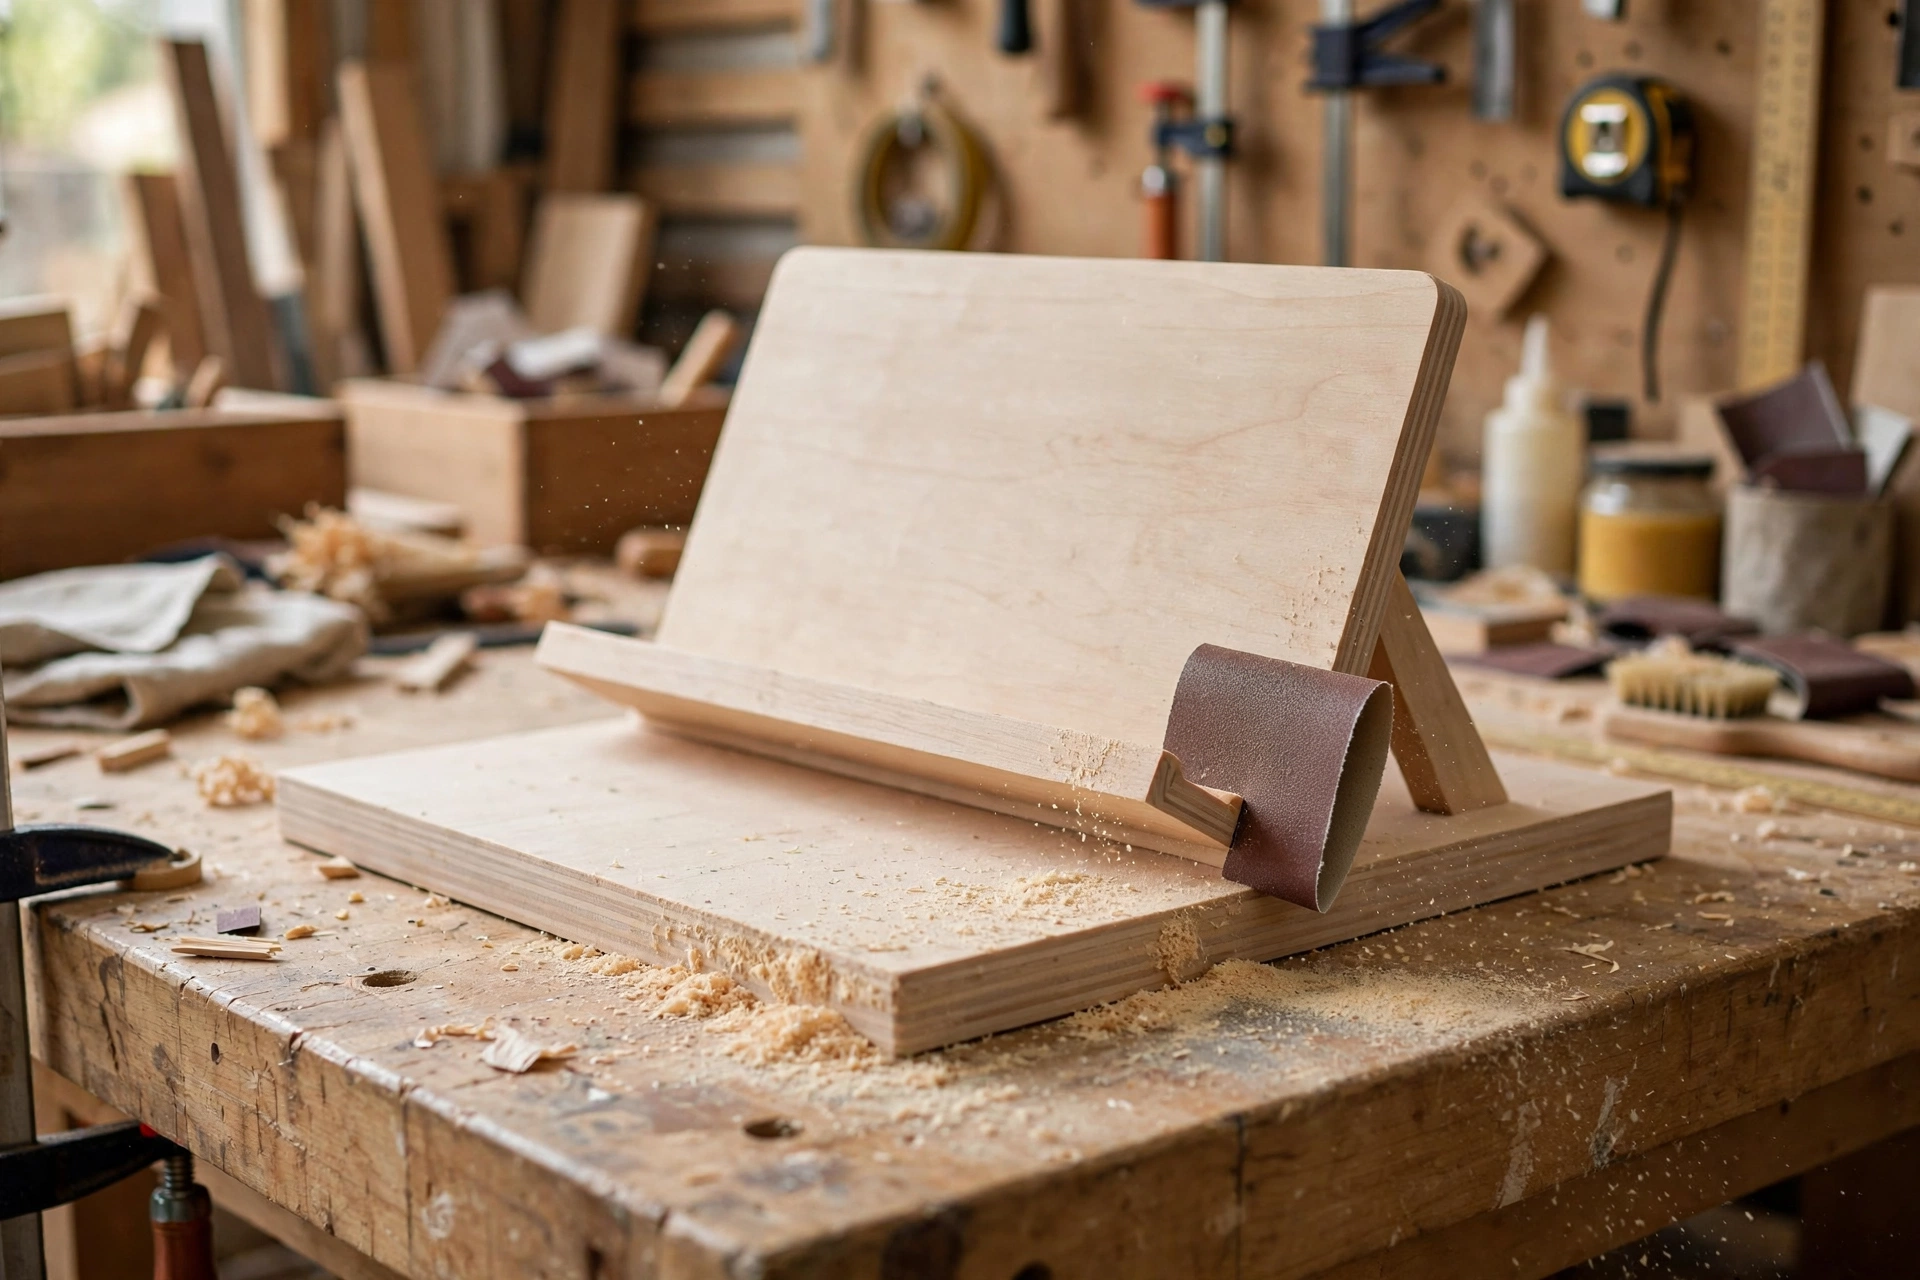
If you want a deeper guide to this stage, our tutorial on how to sand and finish wood for beginners walks through grit progressions, sanding blocks, and the mistakes that leave swirl marks. The short version is simple: do not skip grits, do not press hard, and wipe the dust off with a dry cloth or a vacuum before you move to the next grit, so loose grit from the coarse paper does not scratch the surface you just smoothed.
Step 8: Apply a Food-Safe Clear Finish
A cookbook stand lives in the kitchen, so the finish must be safe around food. That rules out many workshop finishes that are fine for a shelf but not for a surface that sits next to open food. The safest and simplest choices are food-grade mineral oil, a butcher-block oil, or a food-contact-safe hardwax oil. All three are easy to apply with a cloth, they bring out the warm color of the wood, and they can be refreshed later with another coat.
Apply the finish in a thin coat with a clean cotton cloth, rubbing it into the wood with the grain. Let it soak in for ten to fifteen minutes, then wipe off all the excess with a dry cloth — a finish that is left pooling on the surface will dry sticky and uneven. Let the first coat dry according to the product label, then apply a second thin coat the same way. Two thin coats always look better than one thick coat, and they protect the wood more evenly.
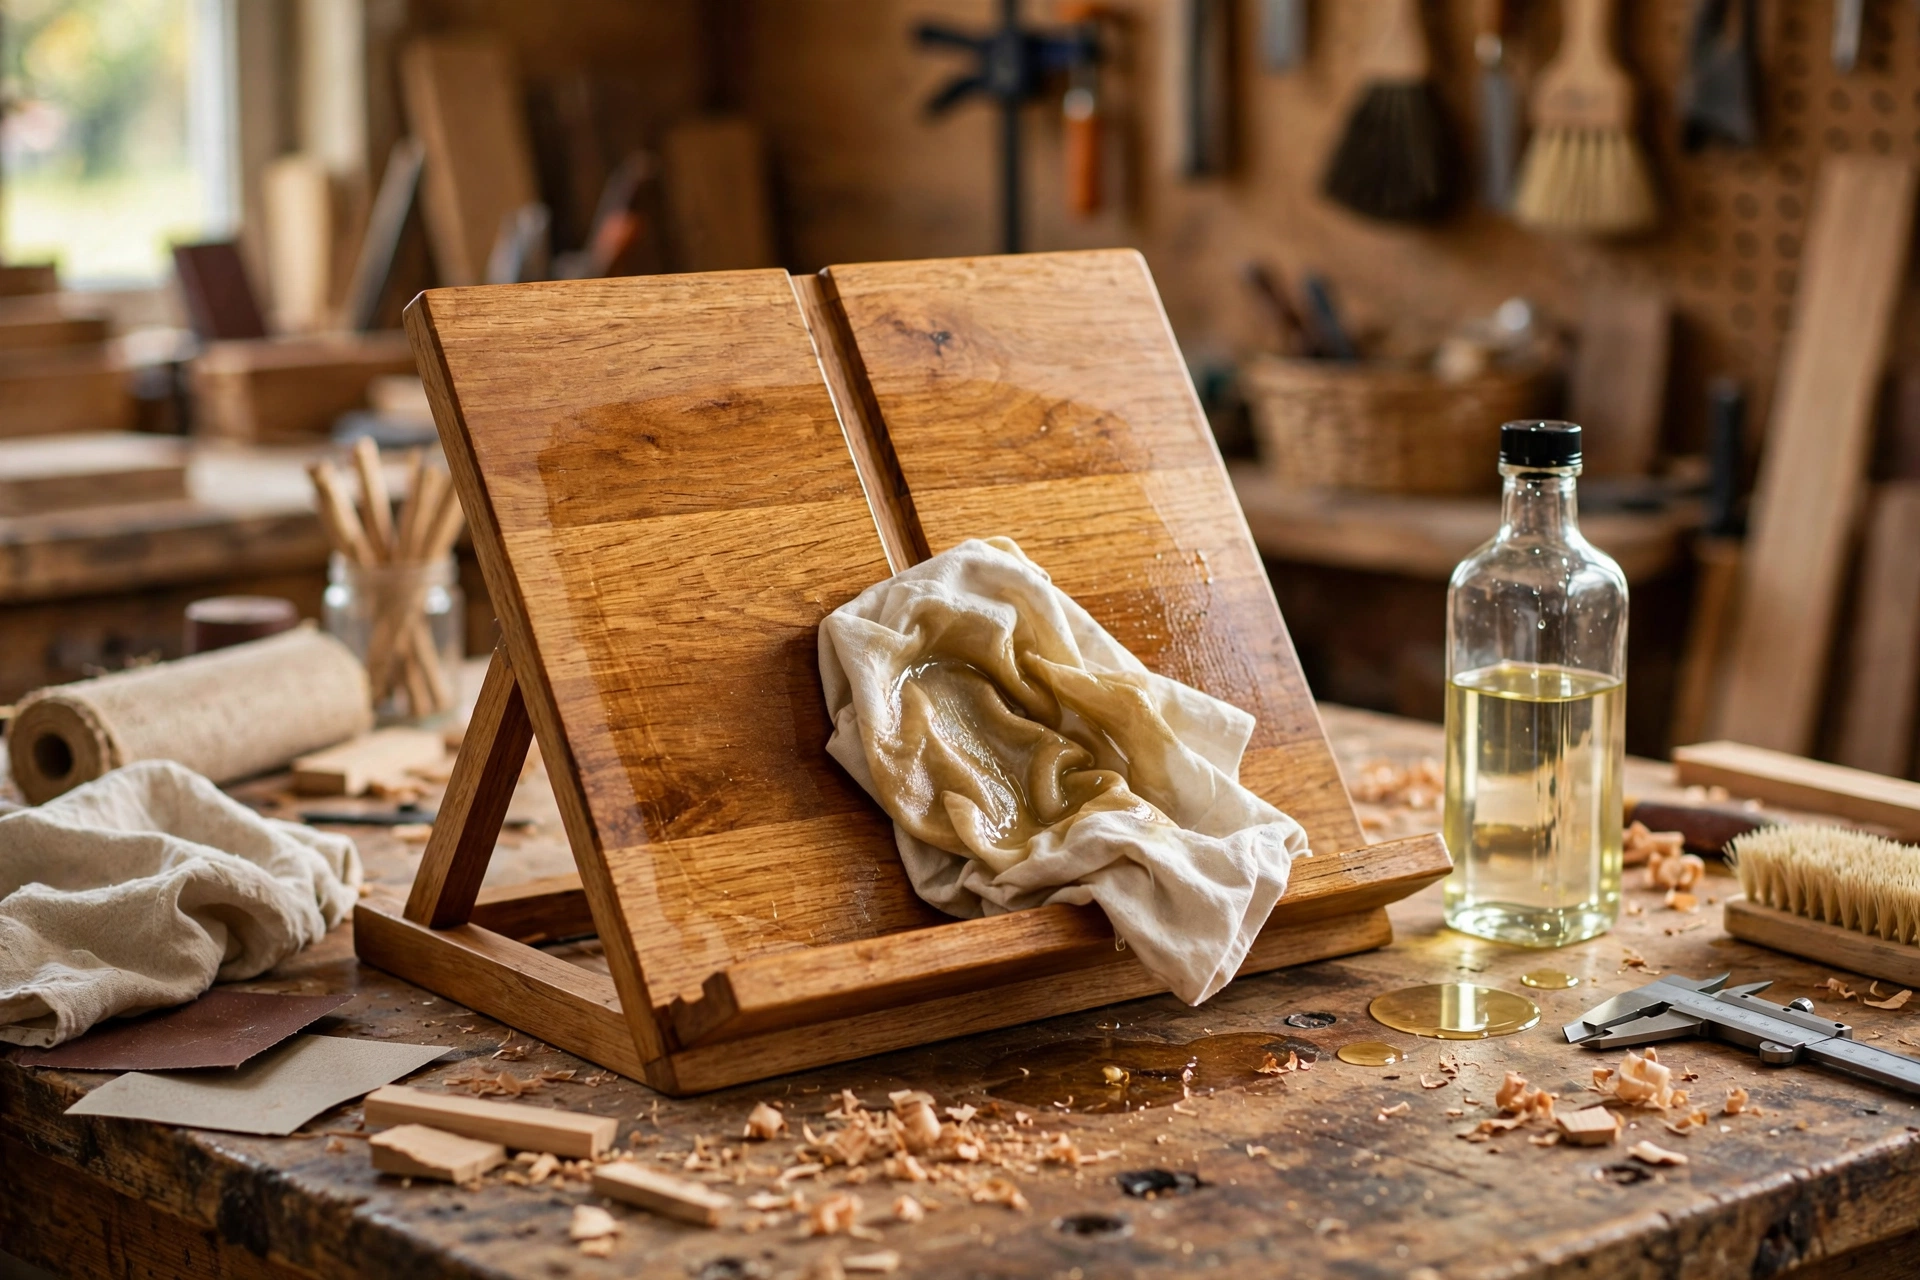
Do not use a film-forming varnish or polyurethane on a cookbook stand unless the product is specifically labeled food-contact safe after curing, and never use a finish that is still tacky when the stand goes into the kitchen. A tacky finish will attract dust and can transfer to a book cover. When the finish is fully dry and the surface feels smooth and dry to the touch, the stand is ready for the kitchen. Reapply a light coat of oil every few months, or whenever the wood starts to look dry, and the stand will look good for years.
Using Your Stand With a Tablet
A wooden cookbook stand is not just for printed books. Most modern cooks use a tablet or a phone for at least some recipes, and this stand handles both. Lean the tablet against the back panel exactly as you would a book, with its bottom edge behind the lip. The 20-degree tilt keeps the screen readable from a standing position, and the wood will not scratch the device the way a metal stand can.
Two small tips make tablet use better. First, if you cut the cable gap in the lip described in Step 4, you can charge while you cook without the cable pushing the tablet out of position. Second, wipe the stand dry if it gets splashed: the food-safe oil finish resists brief splashes well, but standing water is the enemy of any wood finish, so a quick wipe after cooking keeps the stand in good shape. A tablet in a case works fine too — just check that the case plus the tablet still fits behind the lip, and if it does not, a slightly taller lip on your next stand solves it.
How Much Does It Cost?
This is one of the cheapest woodworking projects you can build, which is part of its appeal for beginners. Most of the cost is the board itself, and the glue, screws, and finish are items you will use again on many future projects.
| Item | Estimated cost (USD) |
|---|---|
| Pine board, 1 x 12, 4 feet | $10 – $15 |
| Wood glue (one bottle, lasts many projects) | $5 – $8 |
| Wood screws, #8 x 1-1/4 inch (small box) | $4 – $6 |
| Sandpaper, 120-grit and 220-grit | $4 – $6 |
| Food-safe oil finish (one bottle, lasts many projects) | $8 – $12 |
| Total for this project | $31 – $47 |
If you already own glue, screws, sandpaper, and finish from an earlier project, the only new purchase is the board — roughly $10 to $15 for a stand that would cost $25 to $40 in a kitchen shop. Building it yourself is cheaper, and you end up with a stand made exactly to your size, in your choice of wood and finish.
Common Beginner Mistakes to Avoid
- Skipping the dry fit. Gluing before testing the fit locks in every small error. Always dry fit first, as described in Step 5.
- Using too much glue. A thick bead of glue squeezes out of the joint and dries into a blotch that finish cannot hide. A thin, even layer is stronger and cleaner.
- Cutting both supports at different settings. Even a small difference makes the stand rock. Cut both supports from the same saw setting, one after the other.
- Sanding across the grain. Cross-grain scratches show under a clear finish. Always sand with the grain, and work through the grits in order.
- Choosing the wrong finish. A finish that is not food-safe has no place on a kitchen stand. Use mineral oil, butcher-block oil, or a labeled food-contact-safe oil.
- Making the lip too tall. A lip over 2 inches tall starts covering recipe text. Stick to 1-1/2 inches, or a little less for slim books.
- Forgetting the base depth. A base shallower than 7 inches will not hold a thick cookbook steady. Eight inches is the safe default in this guide.
Variations to Try on Your Next Stand
Once you have built the basic stand, the same design adapts easily. A wider back panel turns the stand into a holder for oversized baking books, following the table earlier in this guide. A small routed groove across the back panel can hold a phone at the top for video calls while you cook, though it is not needed for the basic build.
You can also personalize the stand with a simple detail that costs nothing: chamfer the top corners of the back panel with a few passes of sandpaper, or round the top edge into a gentle curve by drawing a curve with a plate as a template and cutting along it. These touches make each stand look designed rather than merely assembled, and they are easy to add once you are confident with the basic build. For more ideas in the same spirit, browse our collection of easy woodworking projects for beginners that sell — the cookbook stand sits naturally alongside the other small kitchen and home projects there.
Caring for Your Cookbook Stand
Care is simple. Wipe the stand with a dry or slightly damp cloth after cooking, and dry it straight away if it gets splashed. Never soak it or put it in the dishwasher, and never leave it sitting in a puddle on the counter. Every few months, rub in another thin coat of the same food-safe oil, let it soak, and wipe off the excess — the whole job takes five minutes and keeps the wood from drying out or staining.
Store the stand upright on the counter or leaning against the backsplash. Because it is a single rigid piece with no moving parts, there is nothing to tighten or adjust, and the only maintenance it will ever need is an occasional coat of oil. That is the quiet advantage of a simple, well-built design: it keeps working, year after year, without fuss.
FAQ
What is the best wood for a wooden cookbook stand?
Pine is the best wood for a first cookbook stand because it is cheap, easy to cut and sand, and widely available. Oak, maple, and walnut all work with the same measurements and look richer, but they cost more and are harder on beginner tools, so they are better saved for a second build once you are confident.
What angle should a cookbook stand tilt at?
A tilt of 20 degrees from vertical — 70 degrees from the counter — is the best all-round angle for reading a cookbook while standing at the counter. Larger books read better at a slightly steeper recline of 22 to 25 degrees, and the table earlier in this guide matches angles to book sizes if you want to adjust the design.
How wide should a cookbook stand be?
Twelve inches wide suits most standard cookbooks, which are typically 8 to 10 inches wide. Small paperbacks work on a 10-inch stand, and oversized baking books need 13 to 14 inches. Measure your largest cookbook before cutting, and make the back panel at least 2 inches wider than the book so the pages are fully supported.
Can I use a wooden cookbook stand for a tablet?
Yes. A tablet leans against the back panel exactly like a book, and the lip stops it from sliding forward. If you use a tablet often, cut a small cable gap in the center of the lip so the tablet can charge while you cook, and check that a cased tablet still fits behind the lip before you glue it in place.
What finish is food-safe for a cookbook stand?
Food-grade mineral oil, butcher-block oil, and any oil specifically labeled food-contact safe are all good choices. Apply two thin coats with a cloth, wiping off the excess each time. Avoid finishes that are not labeled food-safe, and do not use the stand until the finish is fully dry and no longer tacky to the touch.
How long does it take to build a cookbook stand?
Most beginners finish this project in two to three hours of active work, plus overnight drying time for the glue and the finish. Cutting takes about half an hour, assembly about an hour including clamping, and sanding and finishing about an hour. It is an ideal single-afternoon project.
Do I need a miter saw to build this stand?
No. A miter saw makes the angled supports easy, but a circular saw with a speed square guide or a simple handsaw will cut the same angles. The key is marking the 20-degree line clearly and cutting slowly on the waste side of the line, then checking that both supports match before you glue.
Final Thoughts
A wooden cookbook stand is a small project with an outsized reward. It teaches measuring, angled cuts, gluing, sanding, and food-safe finishing — the core skills behind almost every woodworking project you will build next — and it ends with something you will use in your kitchen every day. Build the standard 12-inch version first, learn how the angles and joints work, and then make the next one your own: a hardwood gift for a friend, a wider stand for your biggest baking book, or a tablet-ready version with a cable gap.
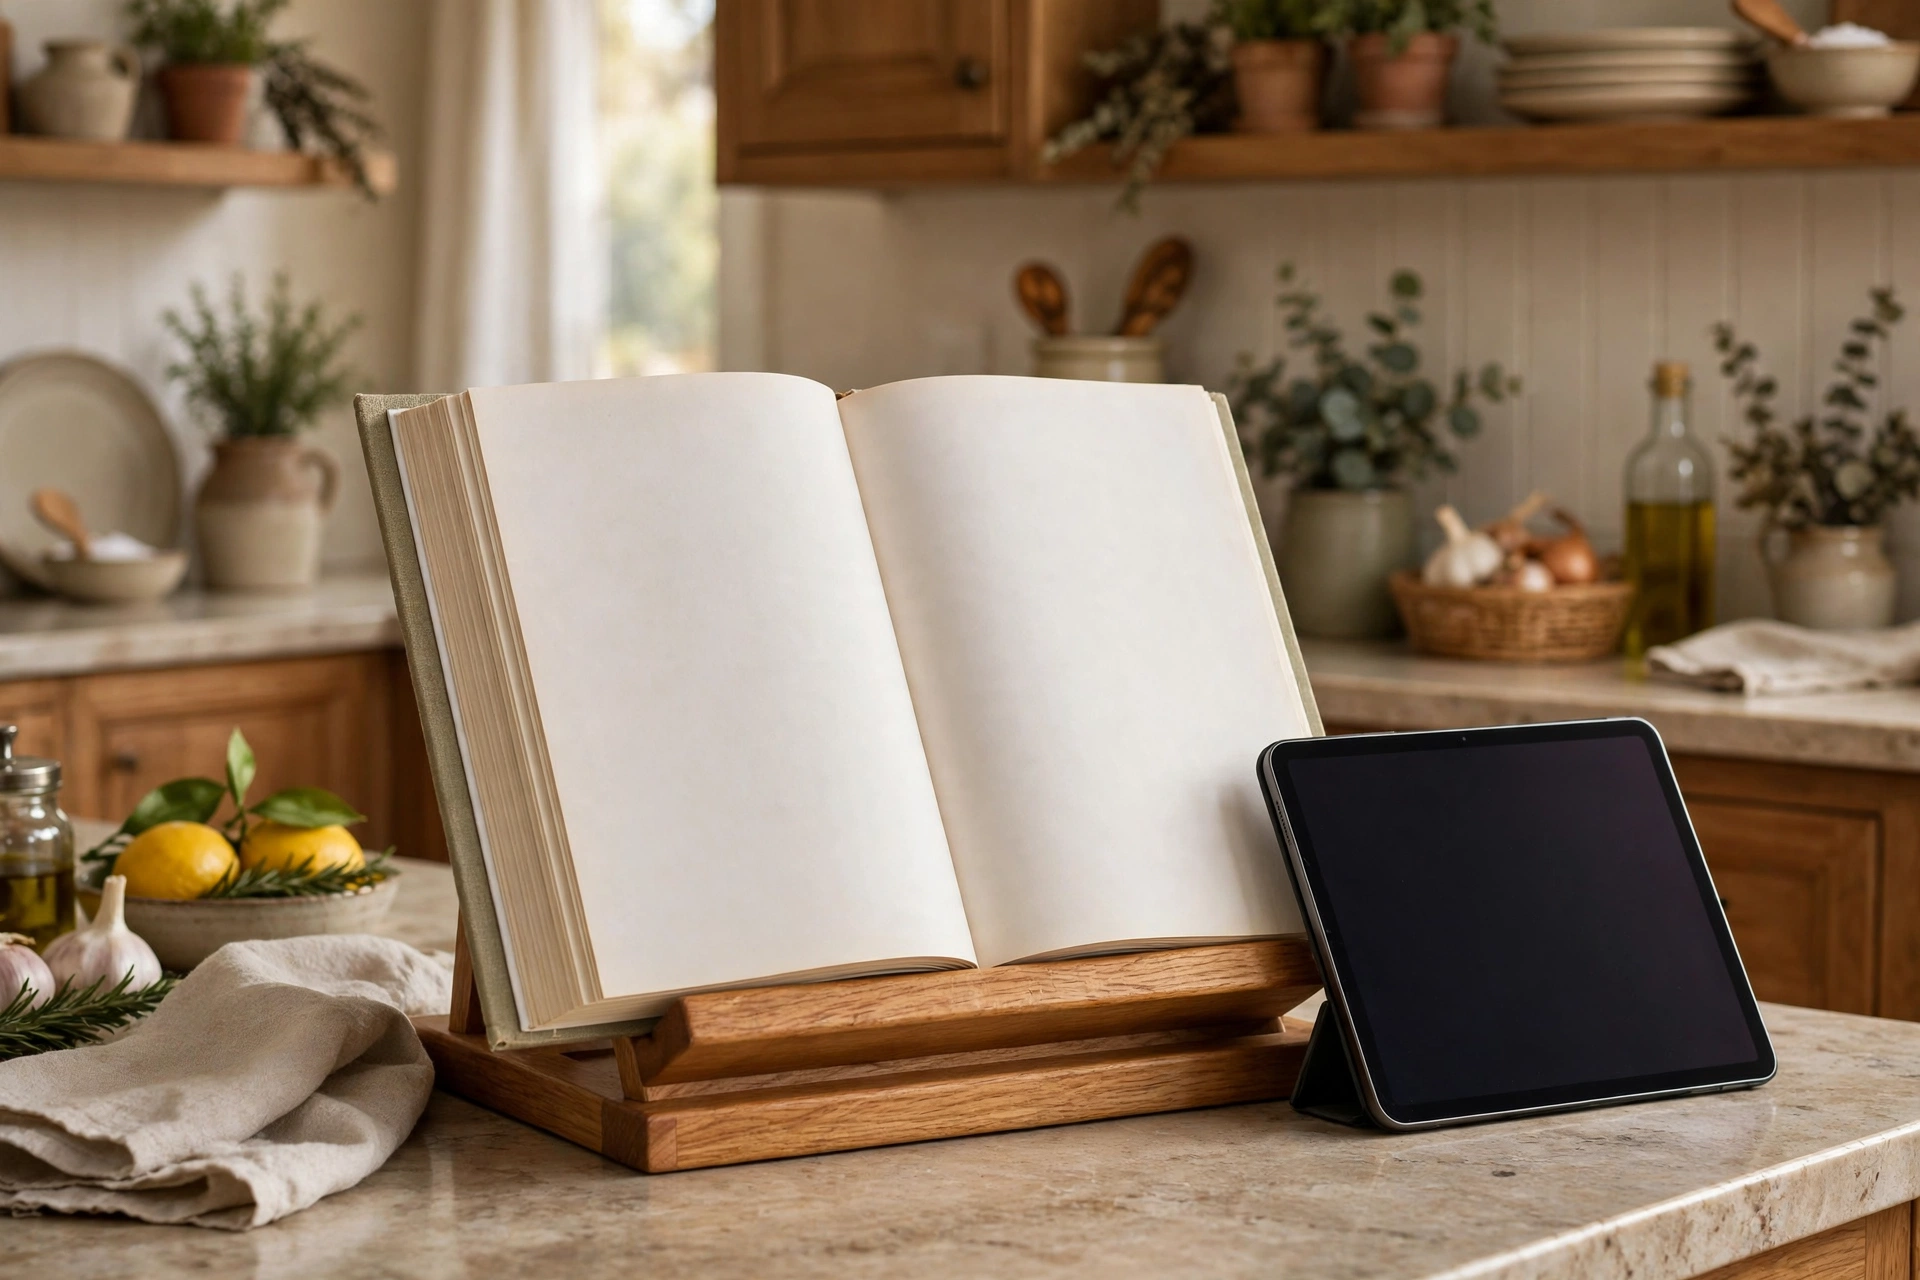
When your stand is finished and oiled, put a favorite cookbook on it and cook something with it the same day. That first recipe, read from a stand you built with your own hands, is the moment this hobby stops feeling like a series of lessons and starts feeling like a craft. Enjoy it — and enjoy the next project even more.
Recommended Products for This Project

Titebond III Ultimate Wood Glue 1413 (8 oz)
Strong, waterproof joints for the stand’s glued assembly.
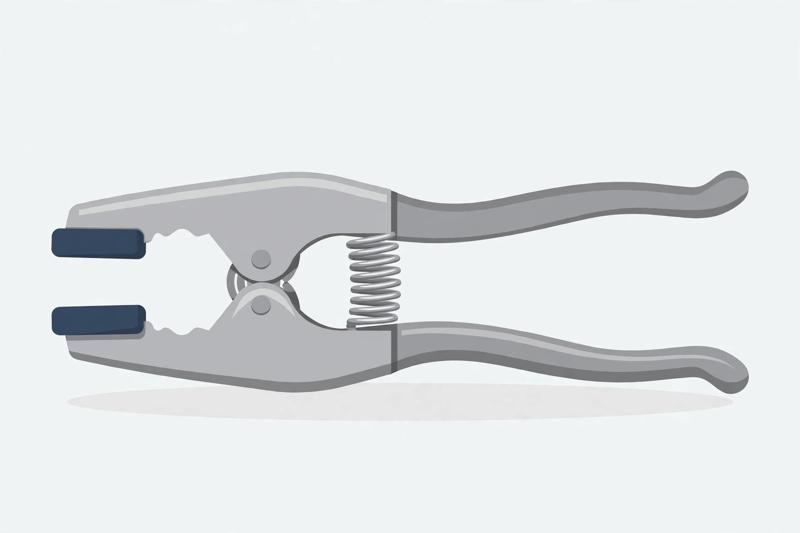
IRWIN QUICK-GRIP 1-inch Metal Spring Clamp
Quick, one-handed hold for small stand pieces while glue sets.

DEWALT Concealer Safety Goggles DPG82-11C
Protect your eyes from dust and chips while cutting and sanding.

DEX FIT Cru553 Level 5 Cut Resistant Gloves, Size L
Cut-resistant grip and protection for safer handling in the workshop.
3M PELTOR X4A Over-the-Head Earmuffs, NRR 27 dB
Reduce workshop noise while you saw, drill, and sand.
As an Amazon Associate, I earn from qualifying purchases.


