
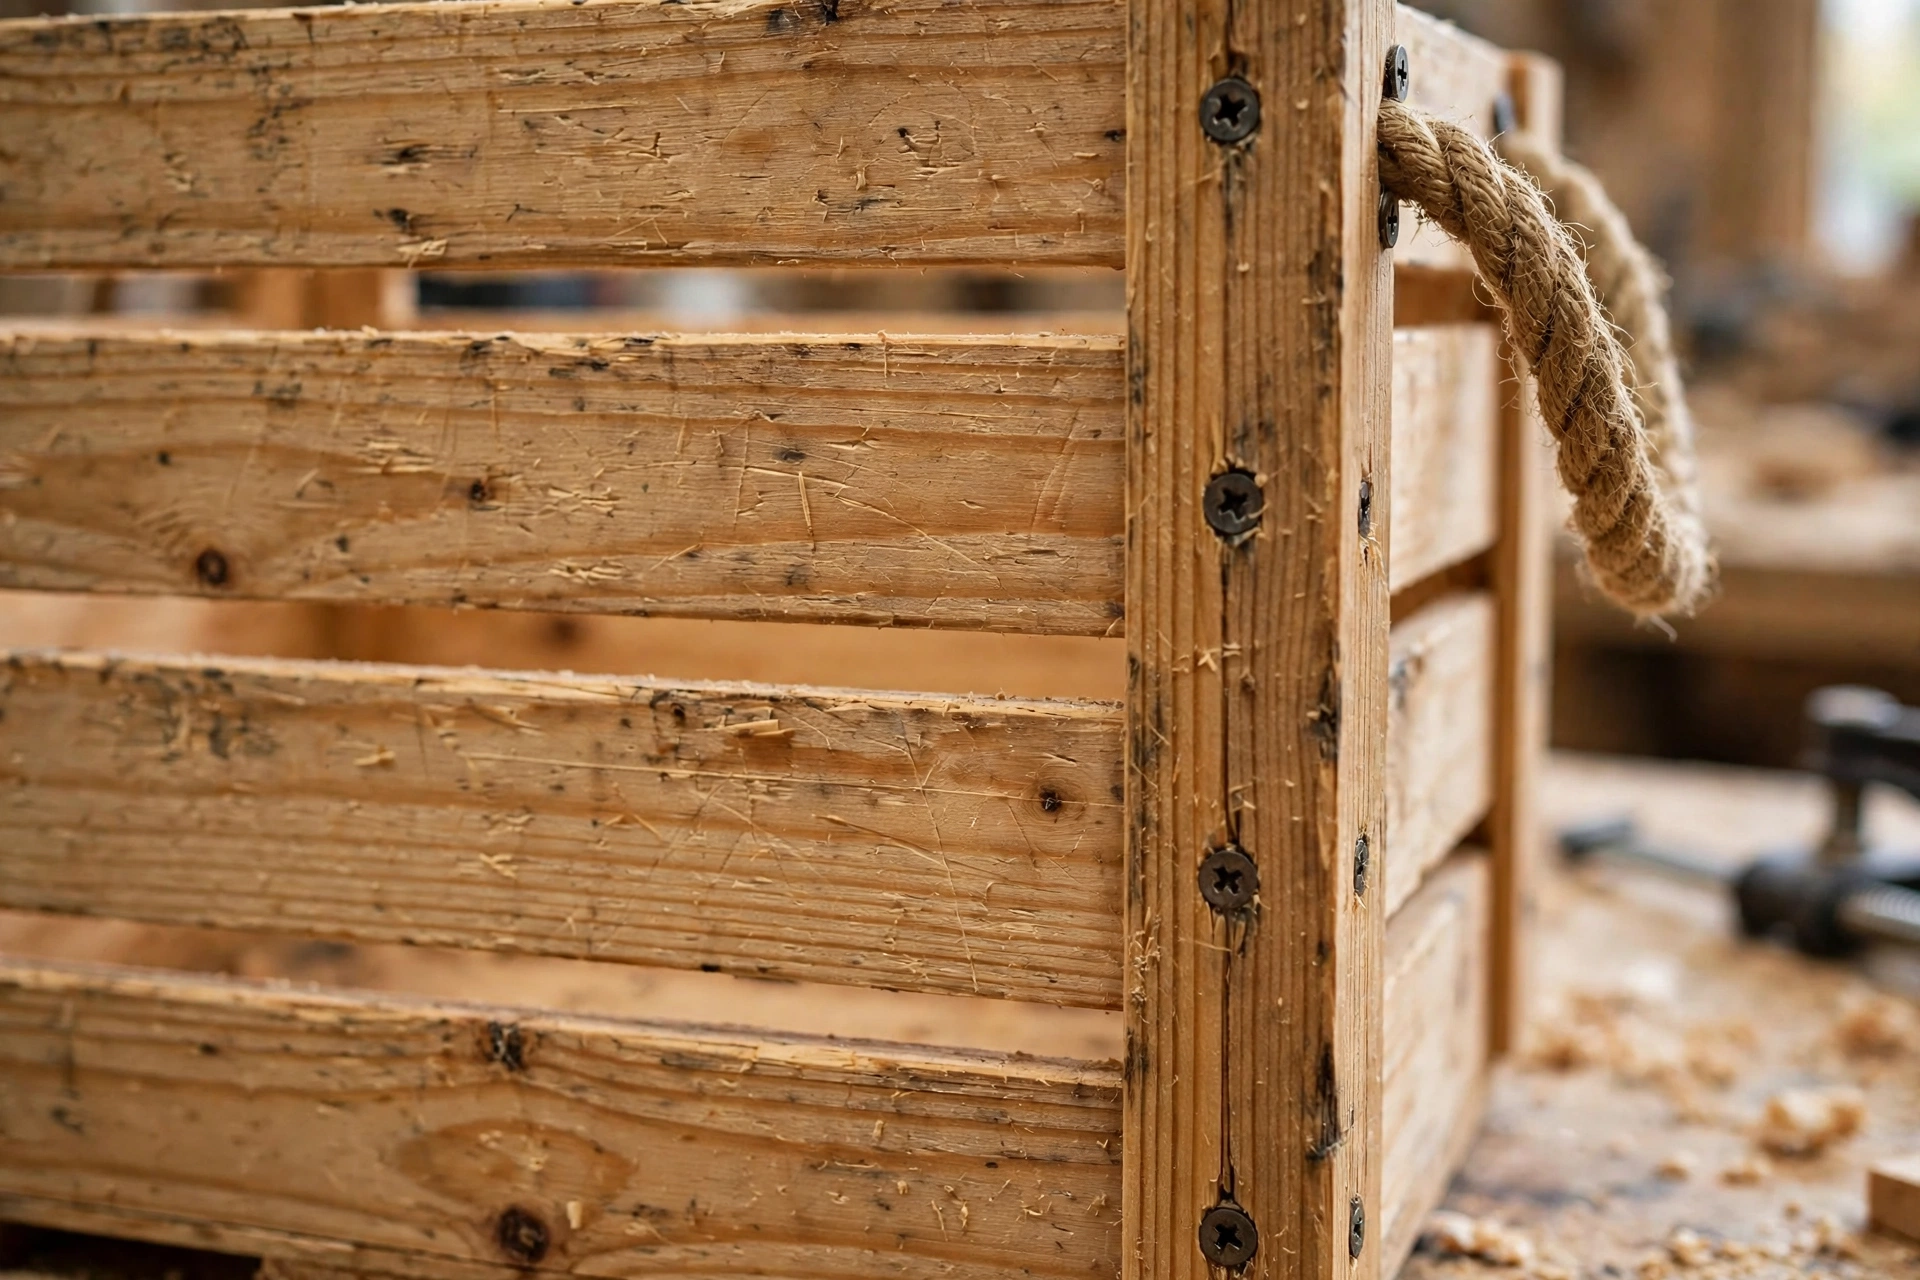
A slatted wooden crate is one of the best first woodworking projects you can make. It is useful on the day you finish it, it forgives small mistakes, and it teaches the core skills every bigger project depends on: measuring, cutting straight, sanding, drilling, and driving screws without splitting the wood. In this guide, you will learn how to build a wooden storage crate for beginners from simple 1×2 pine slats and solid plywood ends, with rope handles that are comfortable to carry and a shape that stacks neatly when you make more than one.
This is not a decorative box that only looks good on a shelf. It is a working crate for books, blankets, toys, shoes by the door, firewood by the stove, pantry overflow, craft supplies, or garage tools. The slatted sides let air move through, so blankets and clothes stay fresher than they would in a sealed plastic bin, and you can see at a glance what is inside. The open top means you can grab something without opening a lid, and the solid plywood ends give the crate the strength it needs to be carried when it is full.
The standard crate in this guide measures 18 inches long, 12 inches wide, and 12 inches high on the outside. That size is large enough to hold a stack of books, a folded throw and a couple of cushions, or a full load of children’s toys, but small enough to carry with one hand on each rope handle. If you want a different size, use the size and slat-spacing table below rather than guessing. Slat spacing is what makes a crate look intentional instead of thrown together, and getting it right is easier than most beginners expect.
Why a Slatted Crate Is a Perfect Beginner Project
Many beginner projects fail for the same reason: they need perfect joints before they look good. A slatted crate does not. The slats are screwed to simple corner battens, the plywood ends cover the ends of the slats, and small gaps are part of the design, not a flaw to hide. If one slat is a fraction of an inch off, you can adjust the gap beside it and no one will ever know.
It is also a cheap project. You need only three 8-foot 1×2 boards, one small plywood panel, a box of screws, a length of rope, and sandpaper you probably already own. There is no expensive hardwood, no complicated joinery, and no need for a table saw. A circular saw, a jigsaw, or even a handsaw will cut every piece in this project, although a saw guide will help you keep the cuts square.
If you are still choosing your first saw, read our guide to the best circular saw for beginners before you buy. The right saw makes straight, safe cuts much easier, and this crate is an ideal project to practise with. The same is true of glue and sandpaper: a good best wood glue for beginners guide will help you pick a glue that gives you enough working time, and our guide to the best sandpaper grit for beginners explains which grits to use so you do not sand through the soft pine or leave scratches that show up under stain.
What You Will Need
Materials
- Three 8-foot 1×2 pine boards (actual size about 3/4 inch by 1-1/2 inches)
- One 2-foot by 4-foot panel of 1/2-inch plywood for the ends and the base
- 1-1/4-inch wood screws, about 60
- 3/4-inch wood screws, about 8, for the base cleats if you prefer shorter screws there
- Wood glue
- Two lengths of 3/8-inch cotton or sisal rope, each 24 inches long
- Sandpaper in 80, 120, and 220 grit
- Wood finish of your choice: clear Danish oil, wipe-on polyurethane, or wood stain plus a clear topcoat
- Optional: small felt pads for the bottom, if the crate will sit on a polished floor
Tools
- Tape measure and pencil
- Speed square or combination square
- Circular saw, jigsaw, or handsaw, plus a saw guide or straightedge
- Drill and drill driver
- Drill bits: a pilot bit slightly smaller than your screws, a countersink bit, and a 1/2-inch bit for the rope holes
- Clamps, at least two
- Safety glasses and hearing protection
- A flat work surface at a comfortable height
Choose straight, dry pine boards. Sight down each board like looking down a rifle barrel and reject any board that twists, bows badly, or has large loose knots where a screw will go. Small, tight knots are fine and add character. Pine is soft, which is good news for a beginner because it cuts and sands easily, but it also means you must drill pilot holes. Without a pilot hole, a screw near the end of a slat will split the wood almost every time.
Choose Your Size: Size and Slat-Spacing Table
Before you cut anything, decide how the crate will be used. A crate for books needs to be shorter and stronger than a crate for light blankets, because books are heavy. A crate for shoes needs to be wide enough for a pair side by side. A crate that will stack on a shelf must fit that shelf with room for your fingers to grip the rope handles.
The table below gives three tested sizes. In each case, the slat width is 1-1/2 inches, the standard width of a 1×2, and the gaps are even. Use a scrap piece of wood or a stack of coins as a spacer block while you assemble each side so every gap matches. That one habit is the difference between a crate that looks handmade in a good way and one that looks uneven.
| Crate size (outside) | Slats per long side | Gap between slats | Side slat length | Best for |
|---|---|---|---|---|
| Small: 14 in long x 10 in wide x 9 in high | 4 | 1/2 inch | 14 inches | Shoes, small toys, pantry jars |
| Standard: 18 in long x 12 in wide x 12 in high | 5 | 3/4 inch | 18 inches | Books, blankets, general storage |
| Large: 24 in long x 14 in wide x 14 in high | 6 | 3/4 inch | 24 inches | Firewood, large toys, garage storage |
For the standard crate, the maths works out neatly. Five slats at 1-1/2 inches each give 7-1/2 inches of wood. Four gaps at 3/4 inch each give 3 inches of open space. Together that is 10-1/2 inches, leaving 3/4 inch of margin at the top and 3/4 inch at the bottom of a 12-inch-high side. The result looks balanced, lets air through, and still keeps small items from falling out. Do not be tempted to widen the gaps much beyond 3/4 inch on a general storage crate, or pens, small toys, and jar lids will slip through.
If you change the height, recalculate rather than stretching the gaps. Decide how many slats you want, multiply by 1-1/2 inches, add the gaps, and split whatever is left evenly between the top and bottom margins. Write the numbers on a scrap of paper and keep it beside your saw. It takes thirty seconds and saves you from cutting a whole side twice.
Cut List for the Standard Crate
All cuts below are for the standard 18-inch by 12-inch by 12-inch crate. Cut the longest pieces first so that if you make a mistake, you can still cut a shorter piece from the same board.
| Piece | Material | Size | Quantity | Notes |
|---|---|---|---|---|
| Long side slats | 1×2 pine | 18 inches long | 10 | 5 per long side |
| Corner battens | 1×2 pine | 12 inches long | 4 | 2 per long side, full height |
| Plywood ends | 1/2-inch plywood | 10-1/2 inches wide x 12 inches high | 2 | Fit between the long sides |
| Crate base | 1/2-inch plywood | 16-1/2 inches x 10-1/2 inches | 1 | Fits inside the crate |
| Base cleats | 1×2 pine | 10-1/2 inches long | 2 | Support the base from below |
| Rope handles | 3/8-inch rope | 24 inches long | 2 | One per plywood end |
Total 1×2 length needed is about 21 feet: 15 feet for the slats, 4 feet for the battens, and just under 2 feet for the cleats. Three 8-foot boards give you 24 feet, which leaves room for a practise cut and one replacement piece. That spare piece matters. Every beginner should expect to miscut once, and having spare wood turns a frustrating mistake into a two-minute fix.
Mark each piece with a pencil as you cut it: “side slat”, “batten”, “end”, and so on. Pieces of pine all look alike once they are in a pile, and labelling saves you from measuring the same board three times. Cut with the good face up if you are using a circular saw, and support the offcut so it does not snap and splinter at the end of the cut.
Approximate Cost
Prices vary by store and region, so treat these figures as a realistic 2026 planning range for the United States rather than a quote. Buying screws and sandpaper in larger packs brings the per-project cost down sharply if you plan to make more than one crate, which most people do once friends see the first one.
| Item | Approximate cost |
|---|---|
| Three 8-foot 1×2 pine boards | $9 – $15 |
| One 2 ft x 4 ft panel of 1/2-inch plywood | $12 – $18 |
| Wood screws (box) | $5 – $8 |
| 3/8-inch cotton rope, 6 feet | $3 – $6 |
| Sandpaper set (80, 120, 220 grit) | $4 – $7 |
| Wood glue (if not already owned) | $4 – $6 |
| Finish: oil or stain plus topcoat | $8 – $14 |
| Estimated total | $32 – $55 |
If you already own glue, screws, and sandpaper, the wood alone for this crate is often under $30. That makes it a very good gift project too. A handmade crate filled with books, baking supplies, or baby clothes is a gift that gets used daily, and it costs far less than a similar-looking crate from a home store.
Step 1: Measure, Mark, and Cut
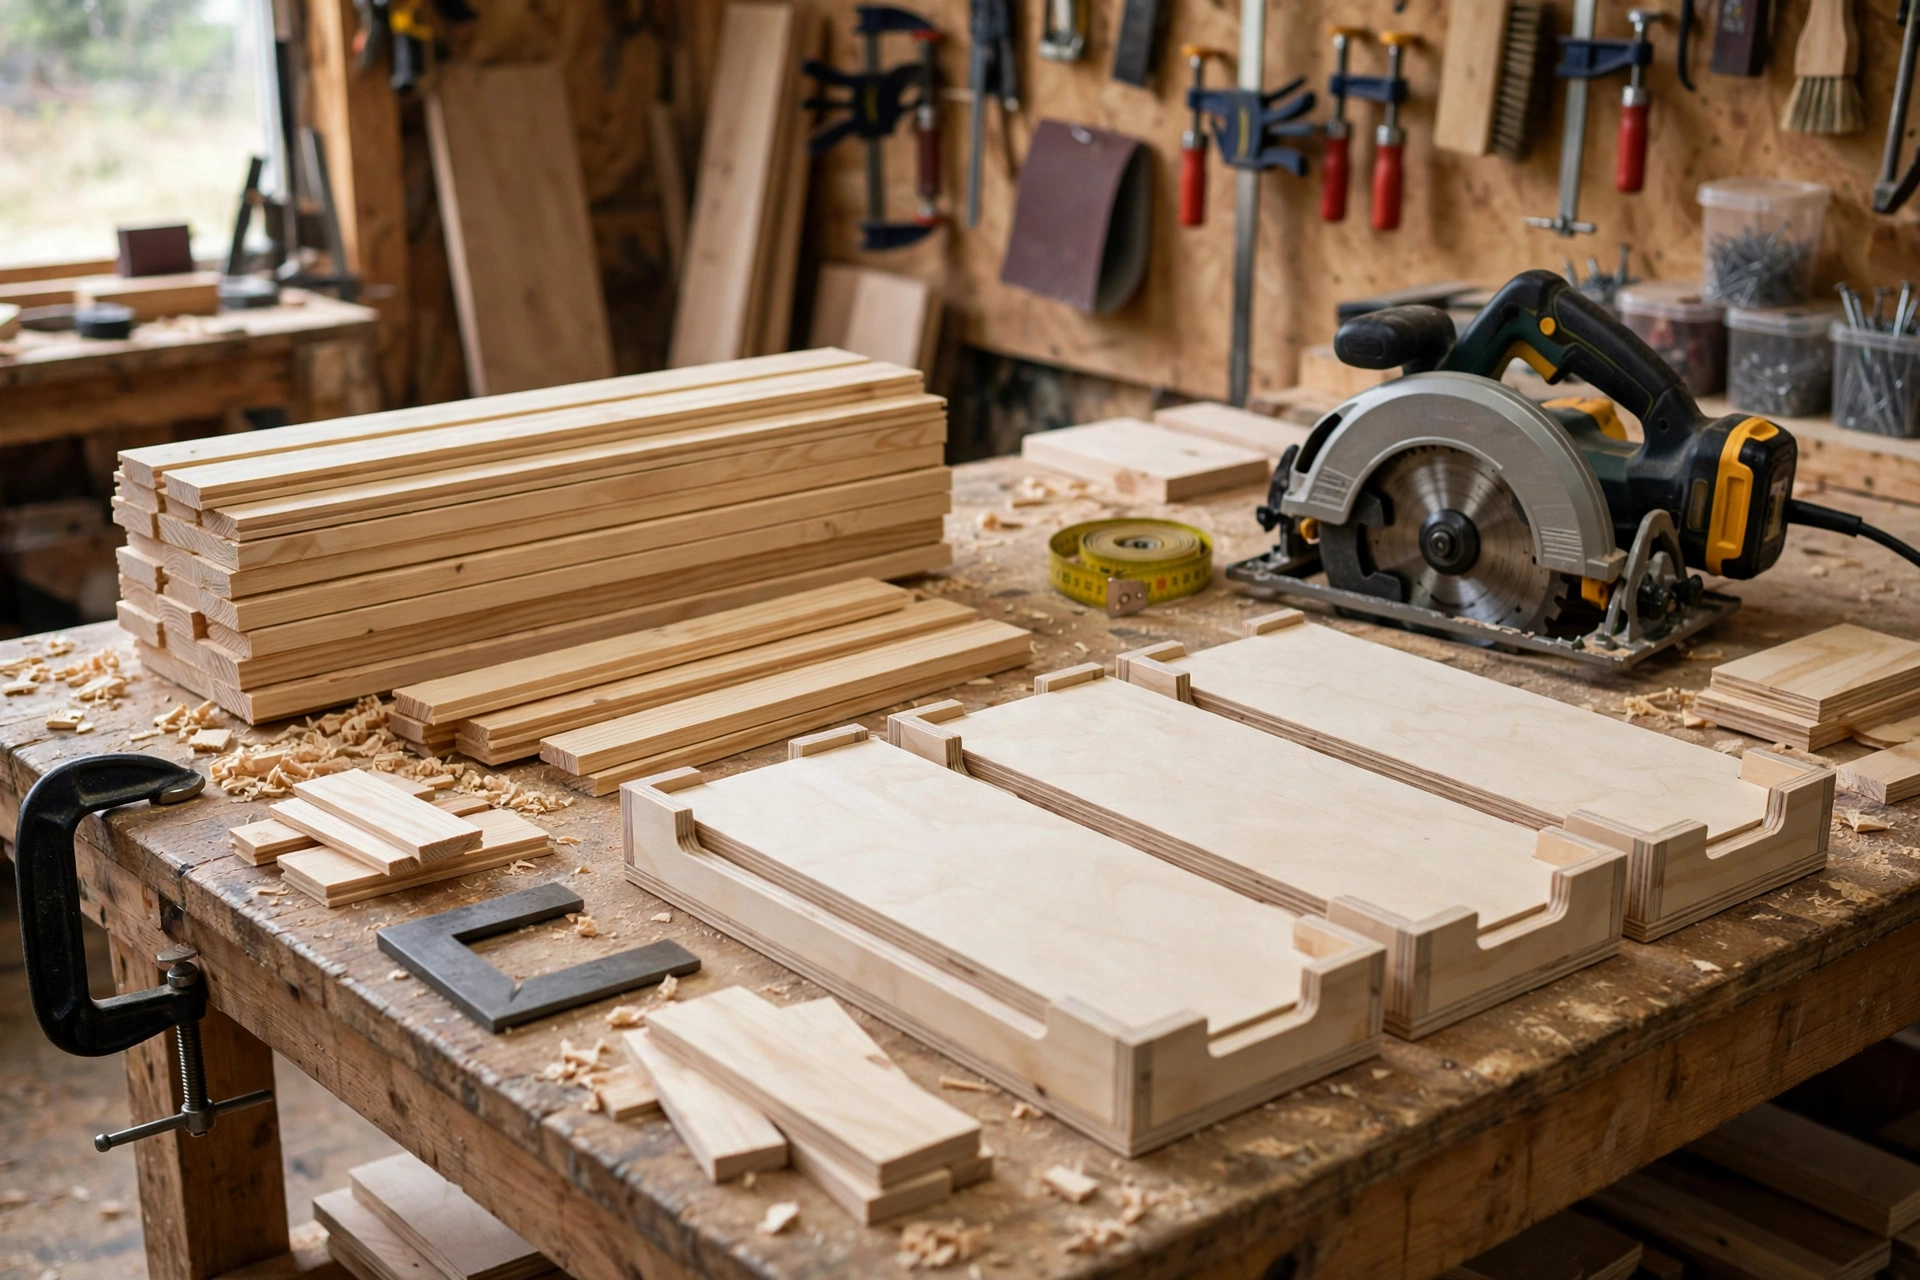
Start with the corner battens and the side slats. Measure twice from the same end of the board, mark with a sharp pencil, and square the line across the board with a speed square. A thick, wobbly line is a common beginner error: if your line is 1/16 inch wide, you can easily cut on the wrong side of it and end up with a slat that is visibly short.
Set up a stop block if you are cutting ten identical slats. Clamp a scrap block to your saw guide or workbench at exactly 18 inches from the blade, then slide each board against it and cut. Every slat comes out the same length without remeasuring, and your sides will line up cleanly. The same trick works for the four 12-inch battens.
Cut the plywood ends and base next. Plywood splinters easily on the exit side of a cut, so score the cut line lightly with a utility knife first, use a fine-tooth blade, and cut with the best face up for a circular saw. If you are using a jigsaw, cut with the best face down instead, because a jigsaw cuts on the upstroke. Support the panel fully so it does not sag and pinch the blade.
After cutting, dry-fit everything on your bench before you glue or screw anything. Lay out one long side, place the battens at each end, and check that the slats and battens are square. Place a plywood end against it and check the width. Dry-fitting takes five minutes and catches the mistakes that are painful to fix after glue has set.
Step 2: Sand Every Piece Before Assembly
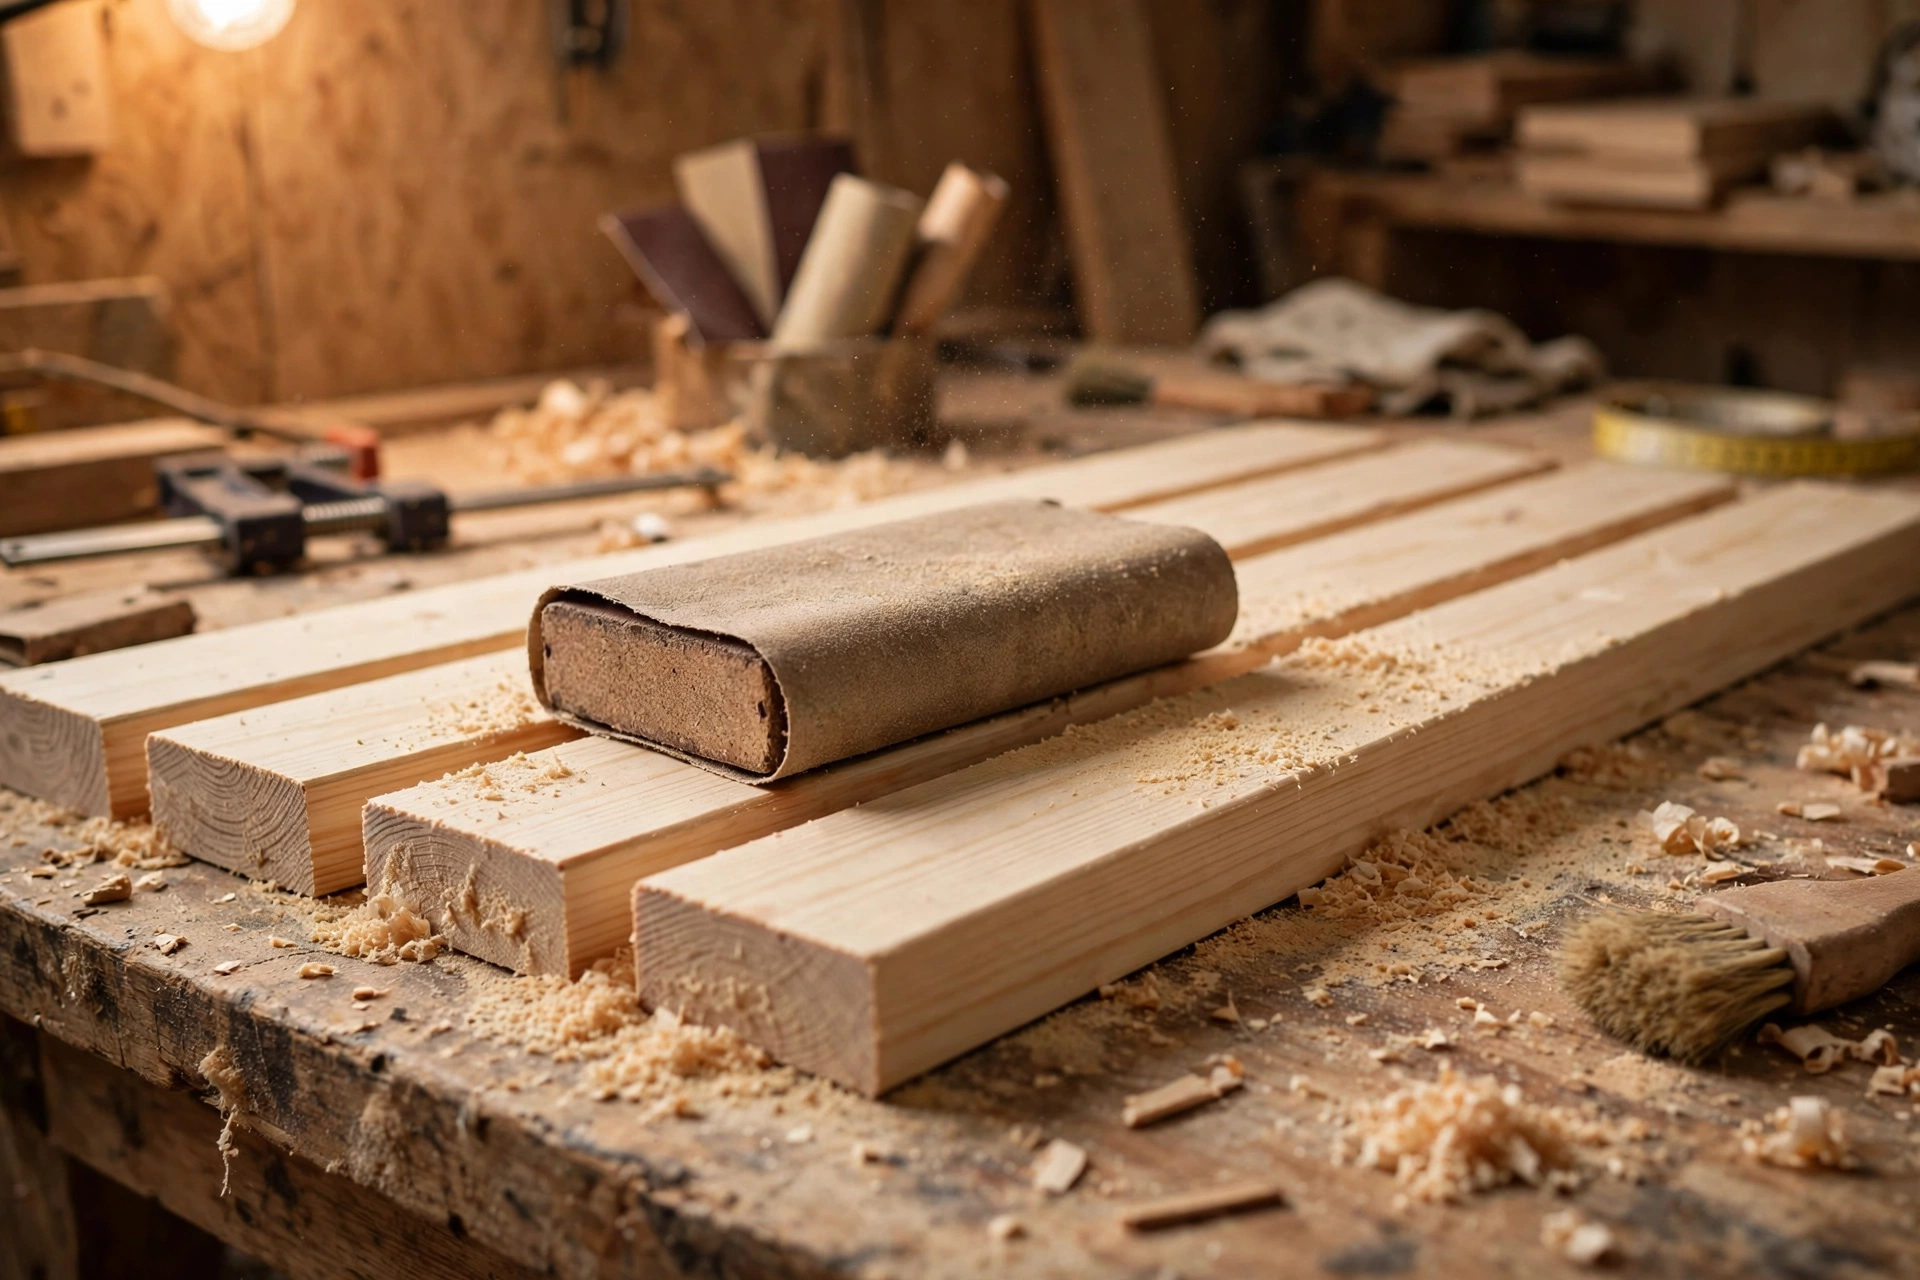
Sand now, not later. Once the crate is assembled, the inside corners and the gaps between slats are hard to reach, and you will either leave rough patches or spend twice as long sanding with folded sandpaper. Sand every slat, batten, and plywood panel on all faces and edges before you join anything.
Start with 80 grit only if a board is rough or has saw marks. For most pine boards, start at 120 grit, sand with the grain in long, even strokes, then finish with 220 grit for a smooth surface that takes stain evenly. Sand the ends of the slats too, and break every sharp edge with a few light passes. A broken edge feels better in the hand, looks more finished, and is far less likely to give someone a splinter.
Wipe the dust off with a dry cloth or a vacuum, then a slightly damp cloth, and let the pieces dry. If you plan to stain the crate, test the stain on a scrap piece first. Pine absorbs stain unevenly and can look blotchy, so a pre-stain conditioner or a first coat of thinned finish on a test piece will tell you what to expect. A clear oil finish is the safest choice for a first crate because it deepens the colour of the pine without the blotch risk of a dark stain.
Step 3: Assemble the Two Slatted Sides
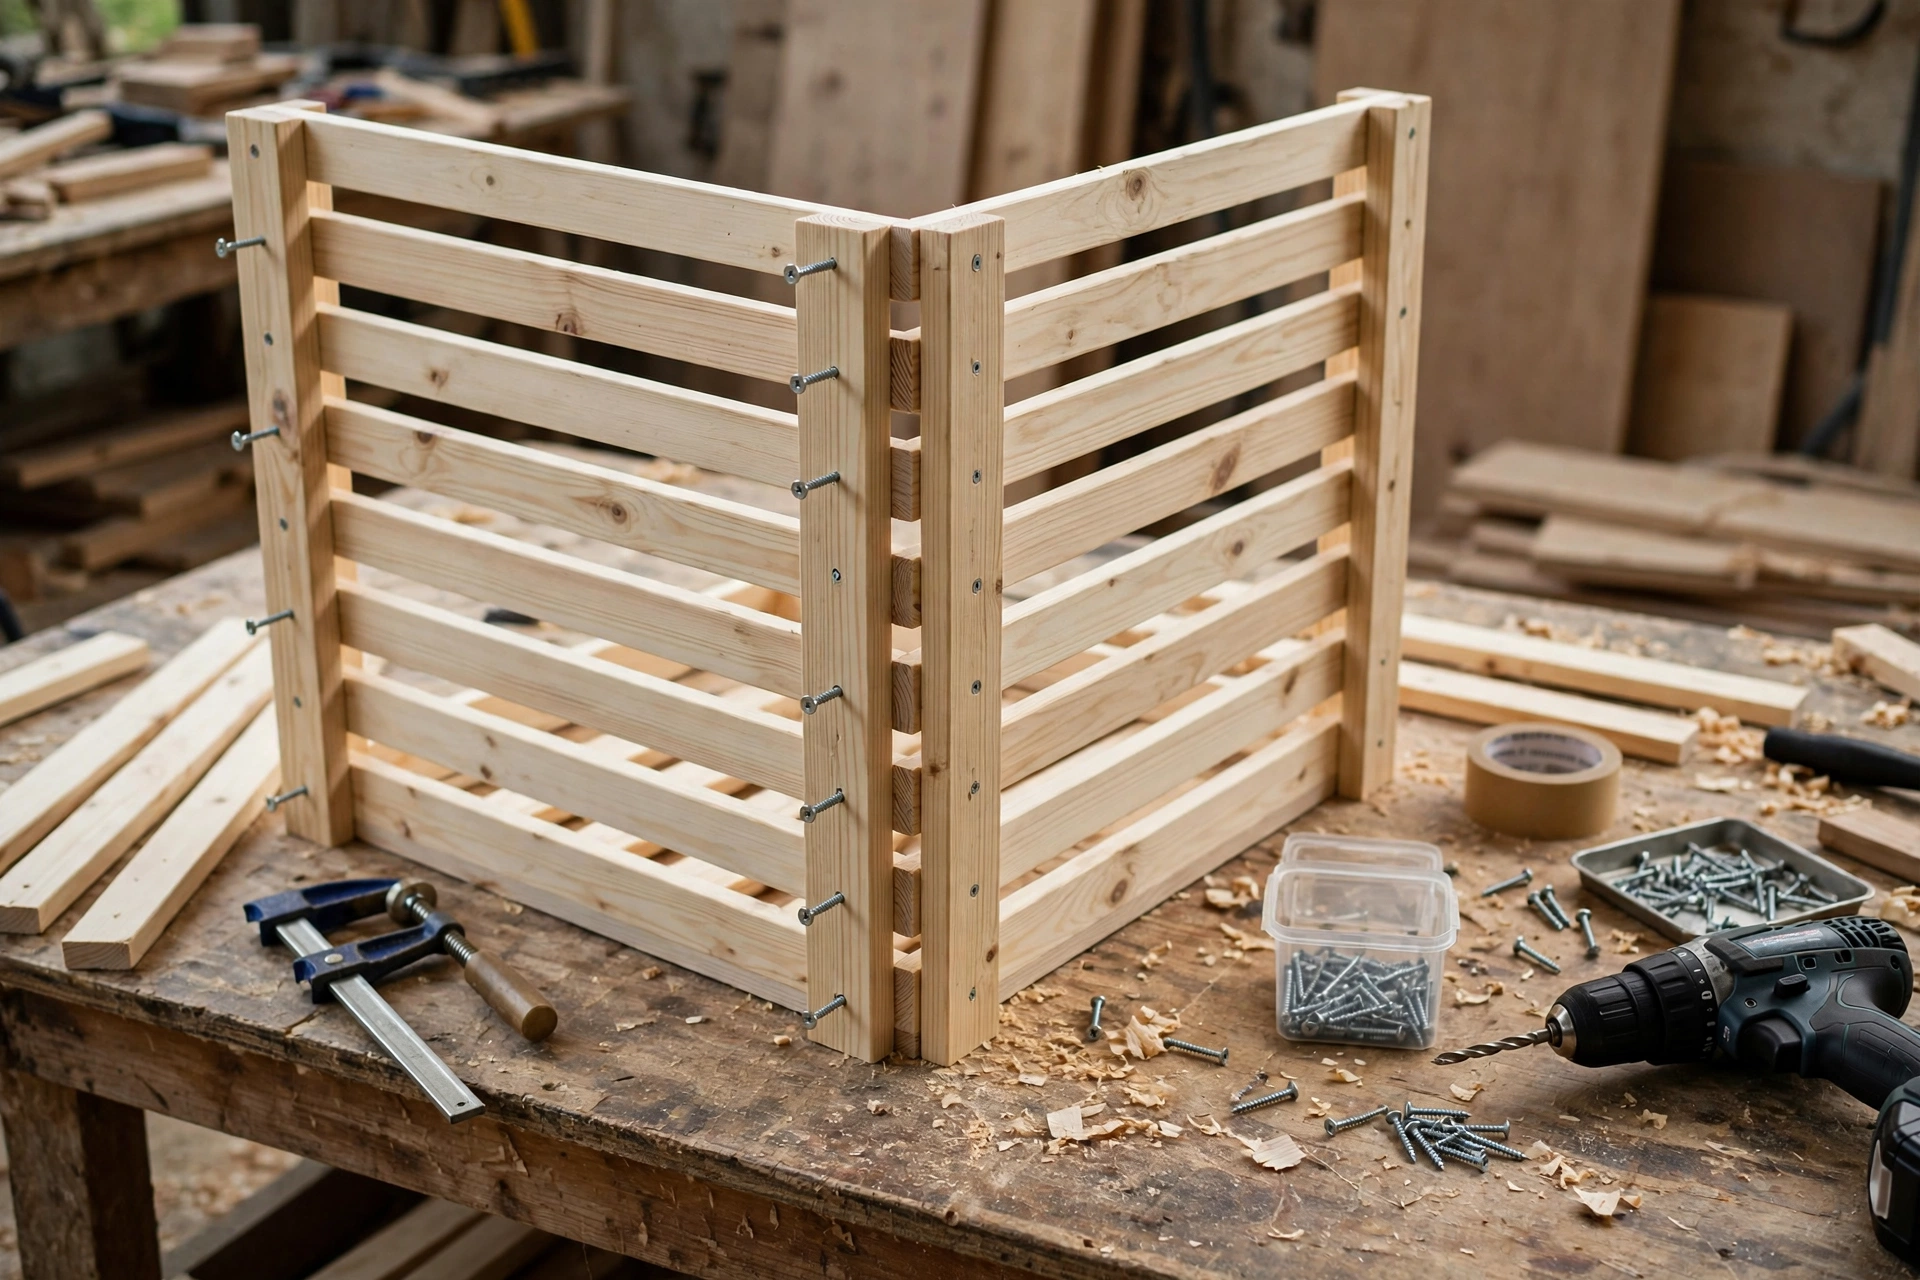
Lay two corner battens flat on your bench, parallel to each other and 18 inches apart on the outside edges, or rather with their inner faces exactly one slat-length apart so the slats will span from one batten to the other. Place a spacer block, 3/4 inch thick, at the bottom of each batten to set the bottom margin. Then lay the first slat across the battens, flush with the top of the spacer block, and check that it is square to the battens.
Drill a pilot hole through the slat and into each batten, countersink lightly, add a small dab of glue on the joint, and drive a 1-1/4-inch screw. One screw per joint is enough if you also use glue, but two screws per joint, spaced across the width of the slat, will keep the slat from rotating over time. Work from one end of the slat to the other so the slat does not shift while you drive the second screw.
Place the spacer block on top of the first slat, lay the second slat against it, and repeat. The spacer guarantees an even gap without measuring each time. Continue until you have five slats on the side. Build the second side exactly the same way, and compare the two sides face to face before moving on. They should match in height, gap spacing, and overall length. If one side is slightly different, fix it now while the pieces are still easy to adjust.
Step 4: Join the Sides with the Plywood Ends
Stand the two slatted sides upright and parallel, with the battens facing inward. Slide a plywood end between them at each end of the crate. The plywood end is 10-1/2 inches wide, which is the inside width between the long sides, so it should fit snugly. If it is tight, sand the edges lightly rather than forcing it, which could crack a slat joint.
Clamp the assembly square. Check the diagonals: measure from one top corner to the opposite bottom corner on the open top of the crate, then measure the other diagonal. If the two measurements match, the crate is square. If they differ by more than 1/8 inch, push the longer diagonal gently until they match, then tighten the clamps.
Screw through the plywood ends into the corner battens, two screws per batten, with pilot holes and glue. Screwing into the batten, rather than into the thin edge of the plywood, gives the joint real holding power. Repeat at the other end. At this point you have an open frame that already looks like a crate, and you can stand it on your bench and see the shape for the first time. Take a moment to check it from all sides before you add the base.
Step 5: Attach the Base
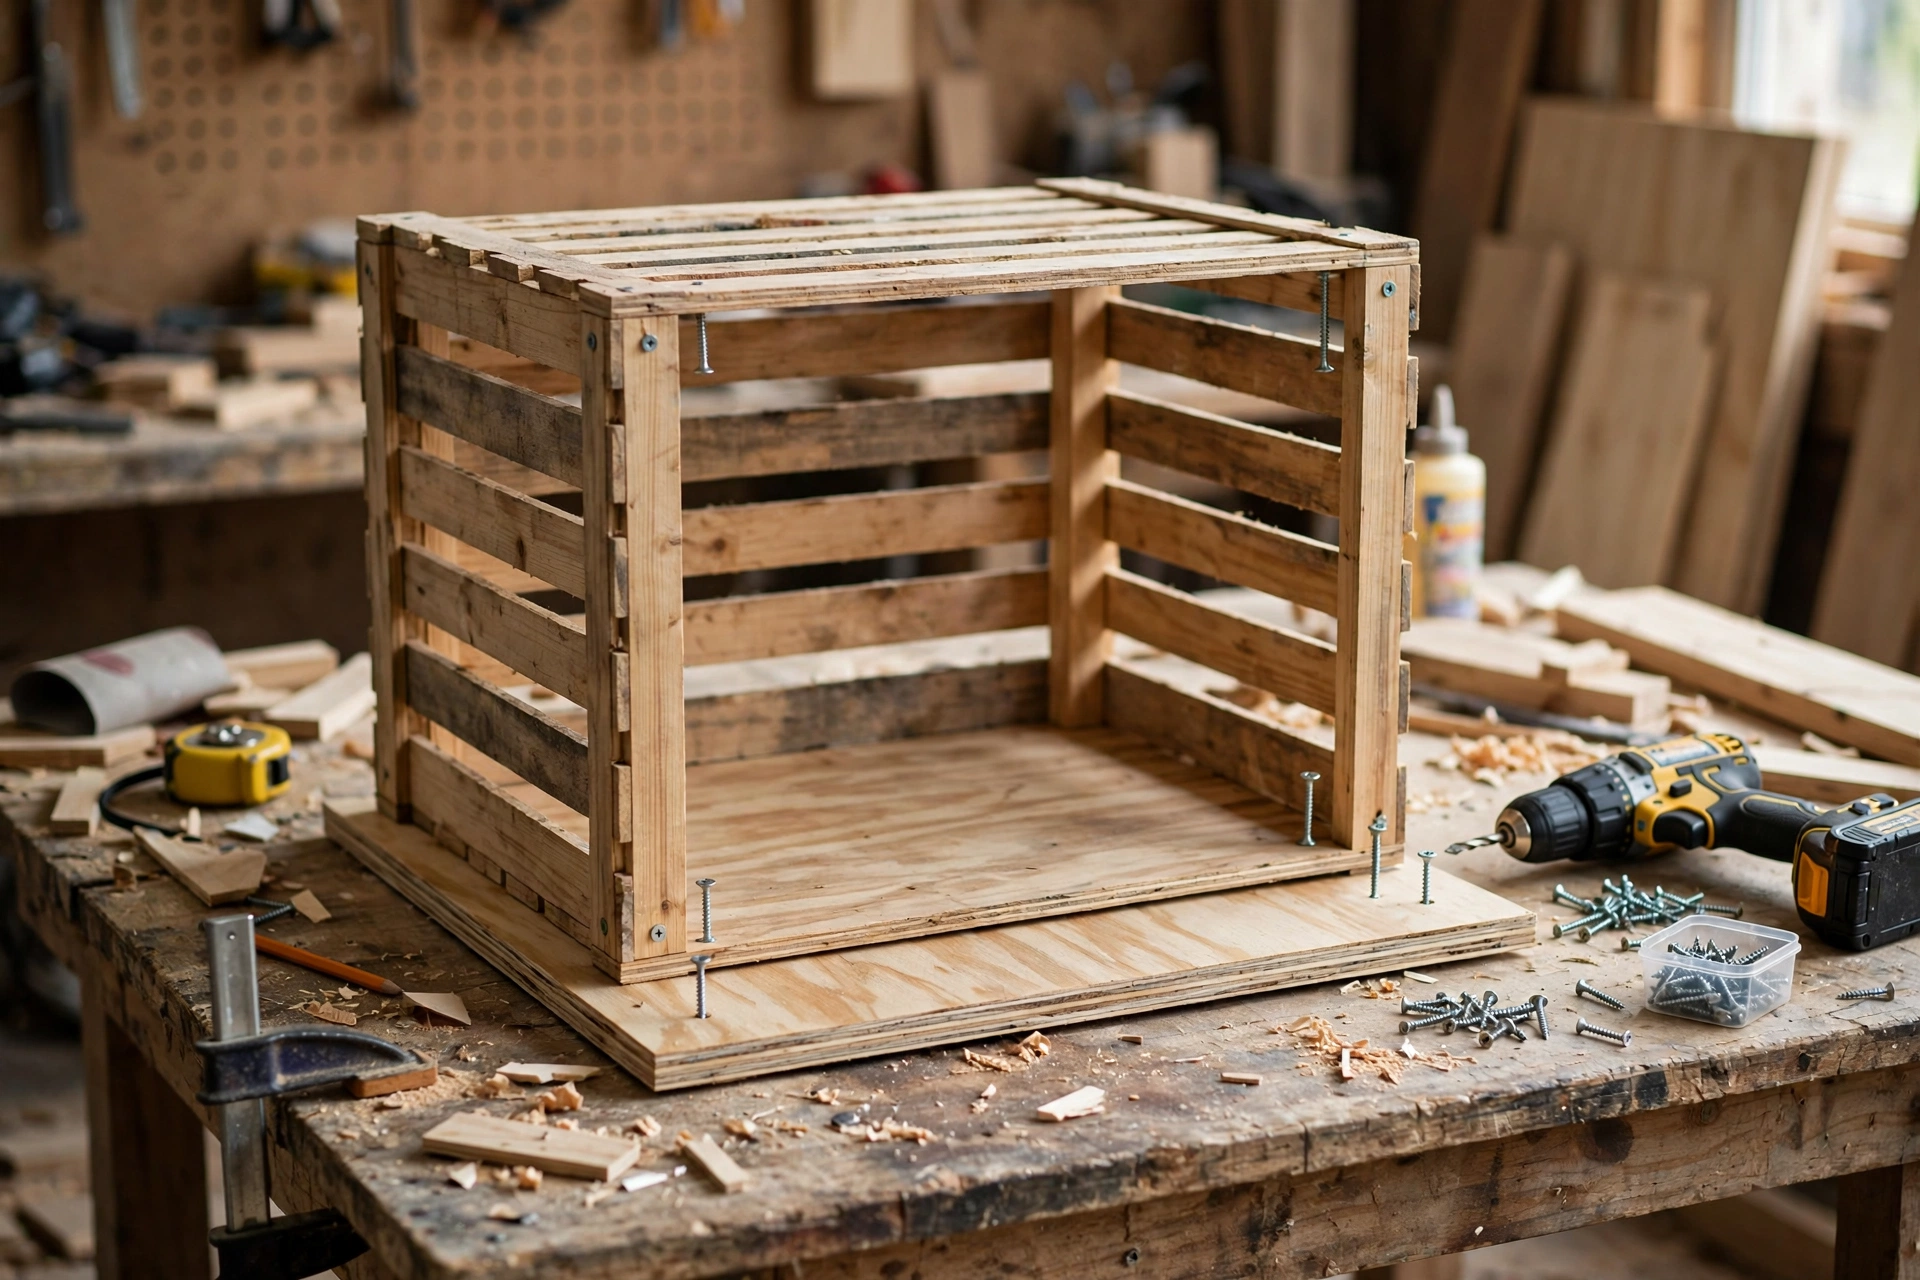
Flip the crate upside down on your bench. Screw the two base cleats inside the crate, one against each plywood end, with their top faces about 1/2 inch above the bottom edges of the slats. The cleats run across the width of the crate and will carry the base panel. Use pilot holes and two screws per cleat into each plywood end.
Lay the plywood base on top of the cleats, inside the crate, and screw it down into the cleats with short screws, about six screws in total. The base should sit flat and not rock. If it rocks, one cleat is slightly high: remove the base, sand or plane the high cleat, and refit. A rocking base will annoy you every time you set the crate down, so it is worth fixing now.
Turn the crate right side up and press down firmly in the centre of the base. It should feel solid, with no flex or creaking. Plywood is strong in this orientation, and with the cleats supporting all four edges in effect, this base will comfortably hold books and other heavy items, as long as you respect the stacking and loading limits described below.
Step 6: Add Rope Handles
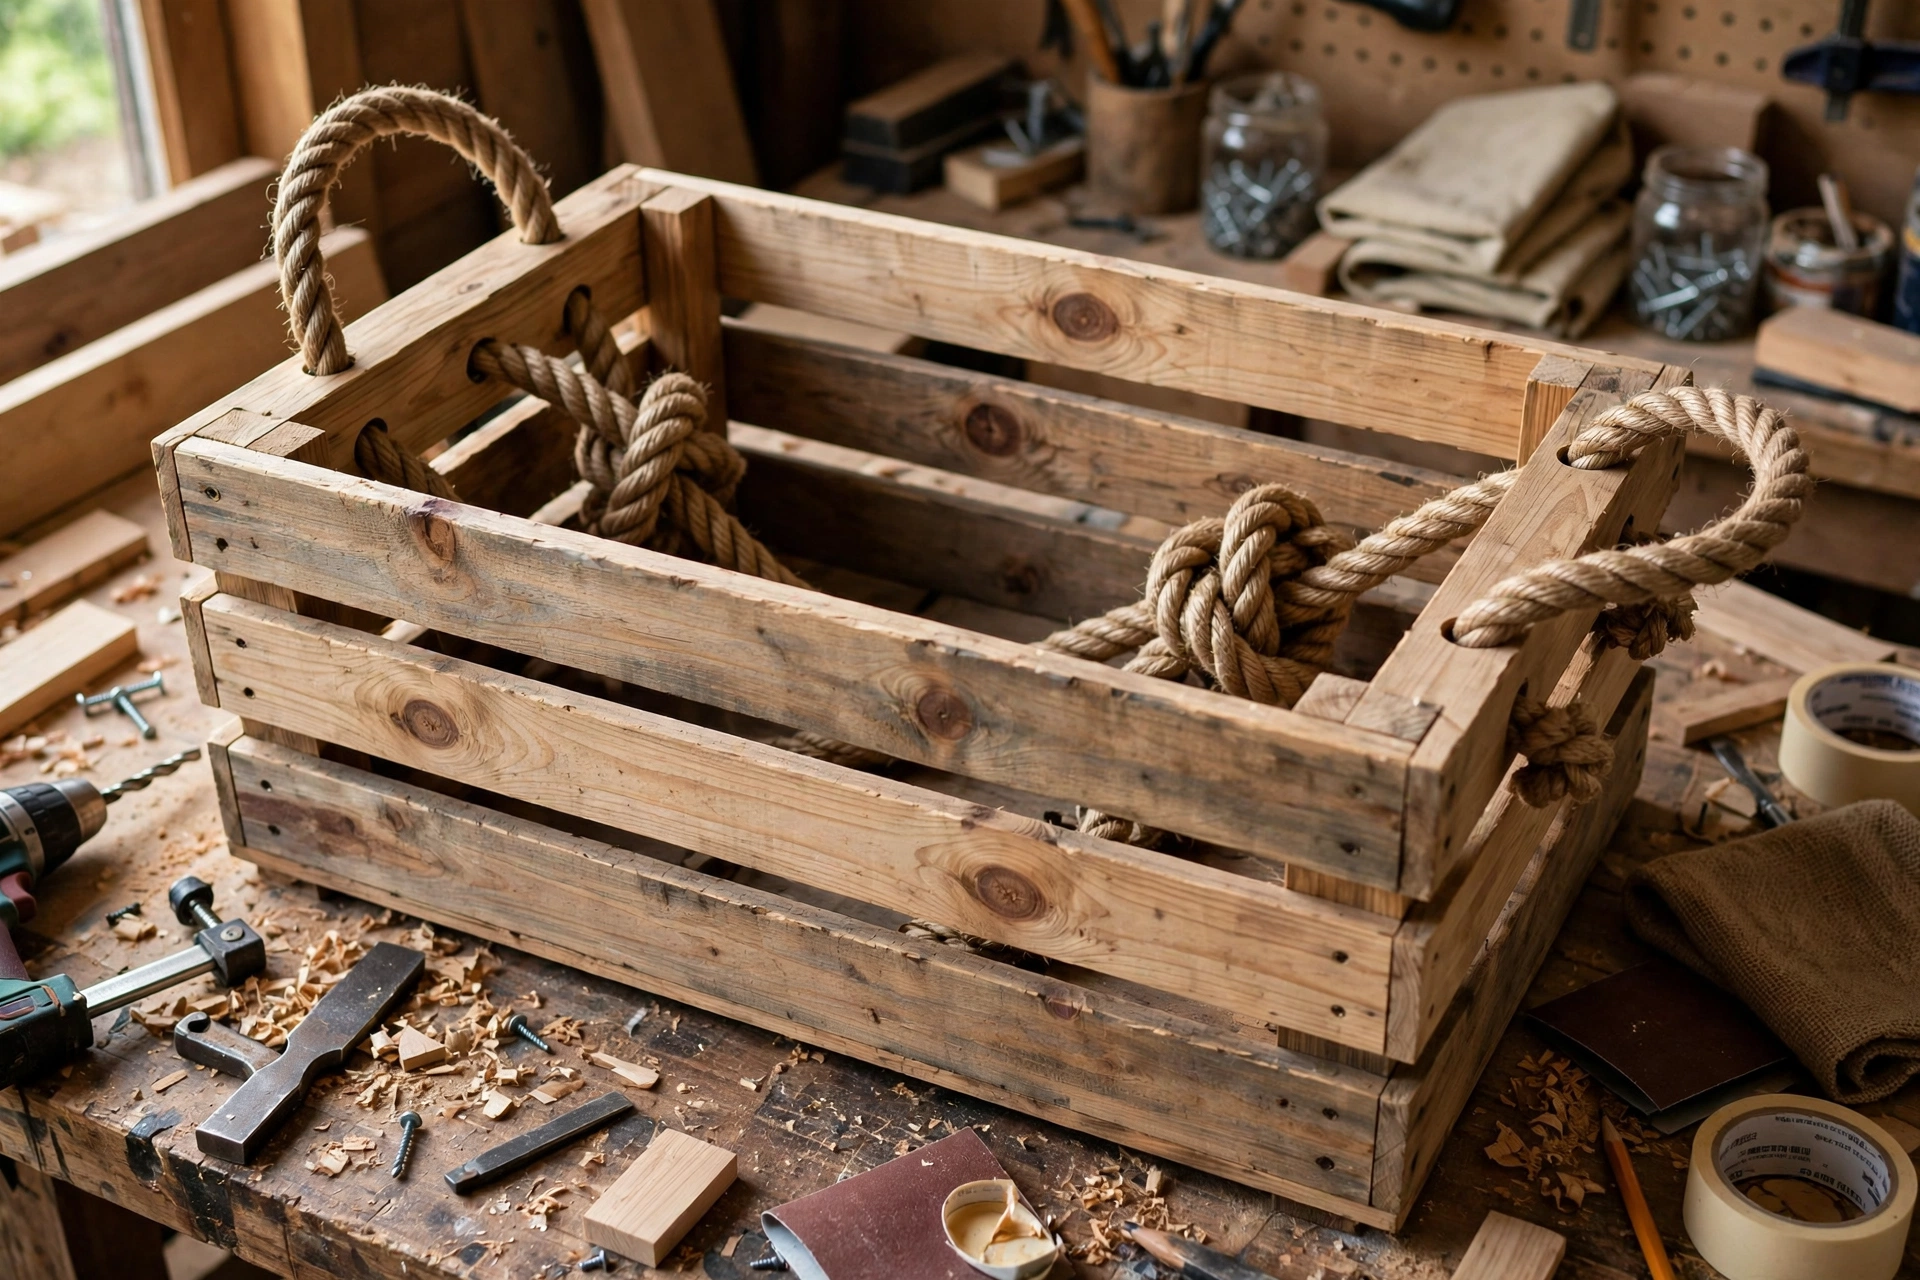
Rope handles are comfortable, cheap, and kinder to your hands than a narrow wooden grip when the crate is heavy. They also suit the rustic look of a slatted crate better than metal handles, and they can be replaced in minutes if they ever wear out.
On each plywood end, mark two holes about 6 inches apart, centred horizontally, and about 2 inches down from the top edge. Drill each hole with a 1/2-inch bit, drilling from the outside face inward, and sand the inside of each hole smooth so the rope does not fray. Thread one end of a 24-inch rope length through one hole from the outside, tie a large knot on the inside, and pull it tight against the plywood. Thread the other end through the second hole and knot it the same way. The handle loop that sticks out should be about 4 to 5 inches high, enough to get four fingers under comfortably.
Pull both handles hard to test them before you load the crate. The knots should seat firmly against the plywood and not slip through the holes. If a knot pulls through, use a larger knot, add a small wooden bead inside the knot, or tie a figure-eight knot, which is bulkier than a simple overhand knot. For a crate that will regularly carry heavy books, melt the cut ends of synthetic rope lightly to stop fraying, or wrap cotton rope ends tightly with thread and a drop of glue.
Step 7: Finish, Seal, and Put It to Work
Finish the crate in a well-ventilated space. Brush or wipe on your chosen finish, working it into the gaps and the end grain of the slats, and wipe off the excess after a few minutes if you are using oil. Let the first coat dry fully, sand very lightly with 220 grit or a fine sanding sponge, wipe off the dust, and apply a second coat. Two thin coats always look better than one thick, drippy coat, and they protect the wood far better.
If the crate will live in a damp garage, a bathroom, or a covered porch, use an exterior-grade finish or at least three coats of polyurethane, paying special attention to the base and the end grain, where moisture enters first. For an indoor crate that holds blankets or clothes, a simple clear oil is enough, and it leaves a natural feel that paint cannot match. Paint is also a good option, especially for a child’s toy crate: use a durable acrylic paint, prime the pine first, and let it cure for several days before heavy use.
Add felt pads to the bottom corners if the crate will slide across a wooden floor. Fill it, carry it by both handles, and set it down where it will live. A crate this size also makes a wonderful companion project to a wooden toy box for beginners, because the same measuring, cutting, and screwing skills apply, and the two pieces look natural together in a child’s room or a family living space.
The Stackability Check: How to Stack Crates Safely
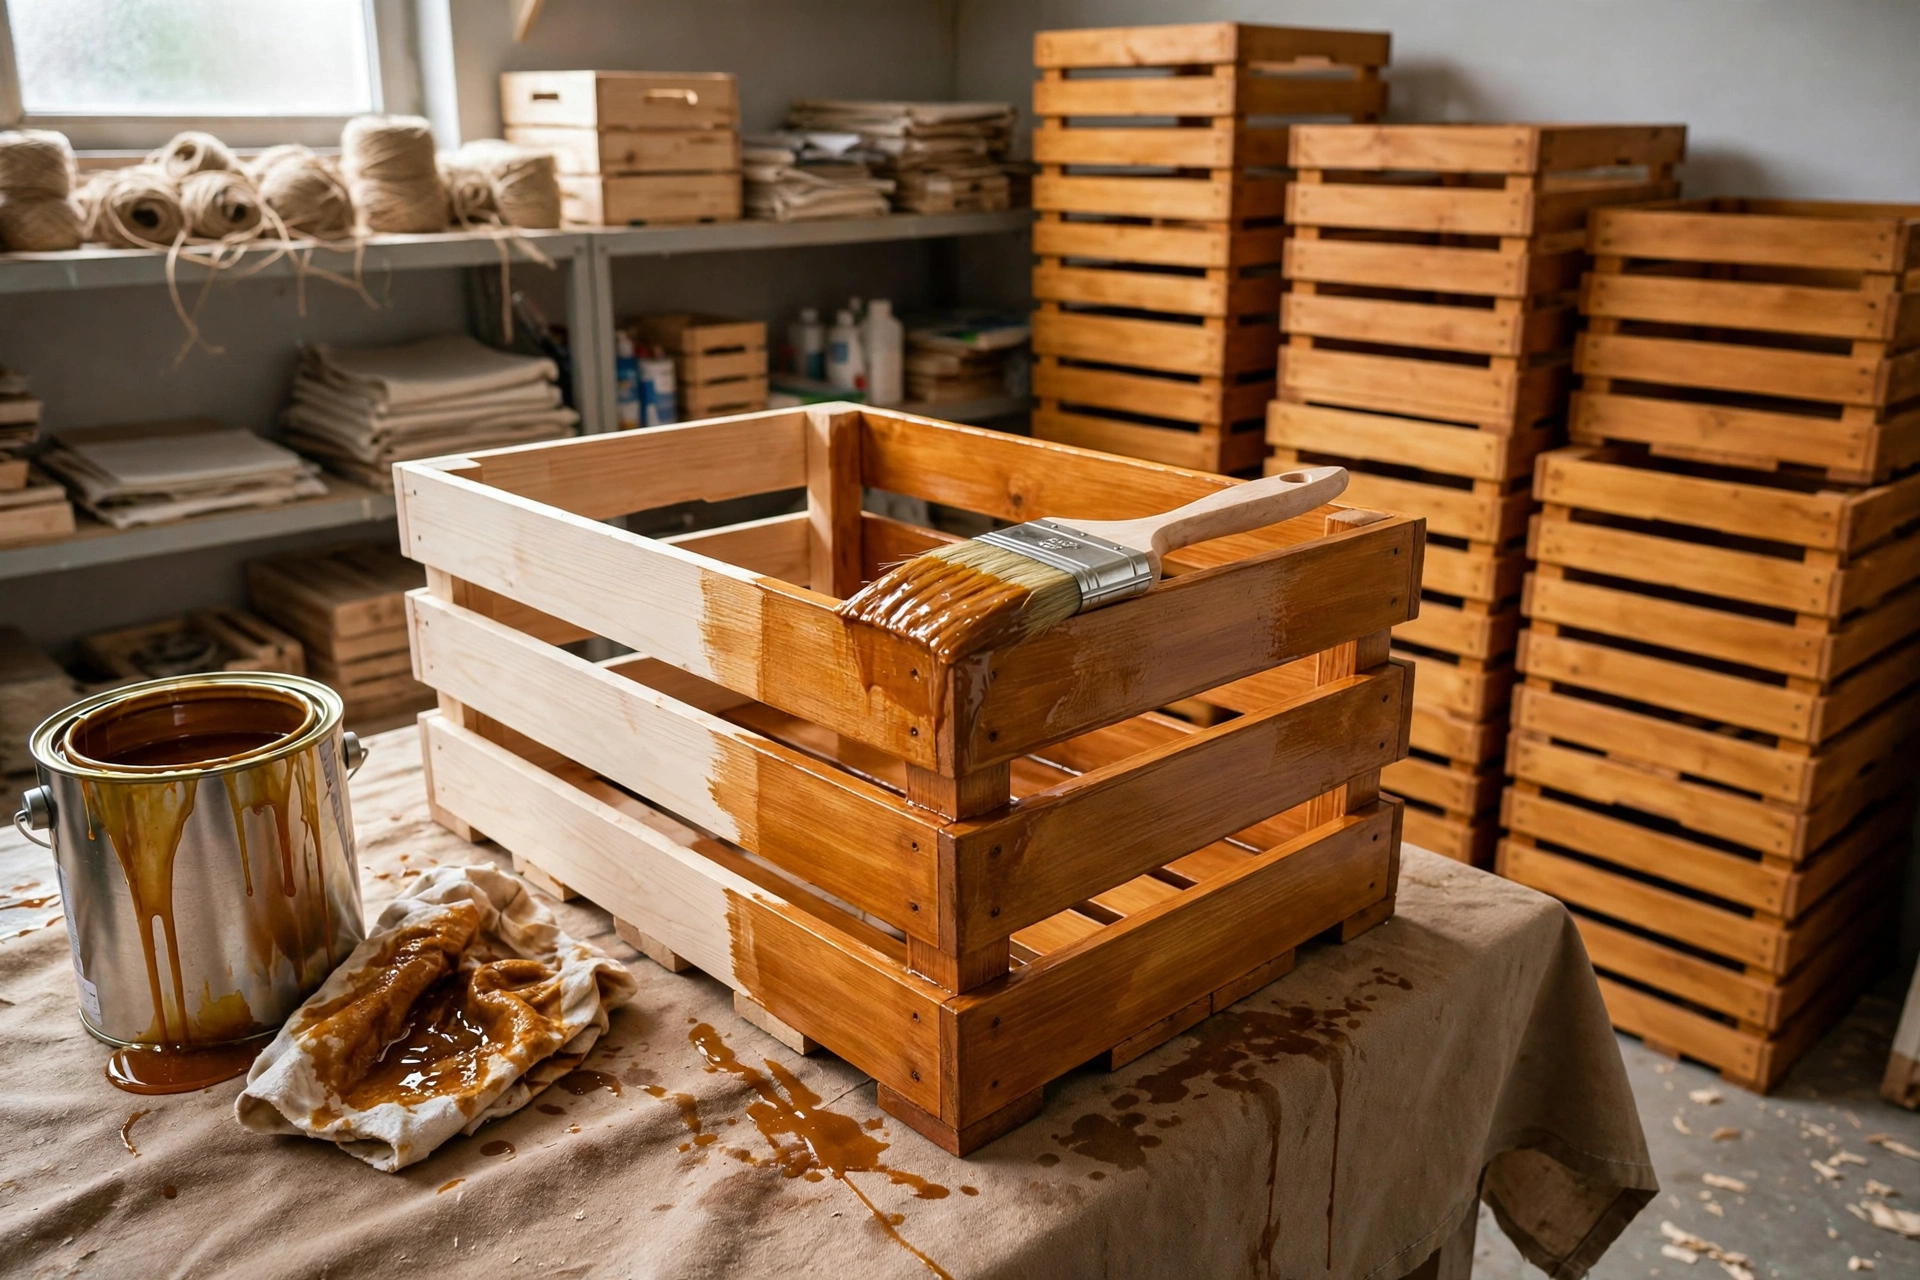
A single crate is useful. A set of matching crates is a storage system, but only if they stack safely. Stacking is where beginners make the most expensive mistake: they pile crates high, load the top one heavily, and then wonder why the stack leans or a slat cracks.
Run this simple check before you trust a stack. First, stack two empty crates and check that the upper crate sits flat, with its base fully supported by the lower crate’s top edges and ends, not balanced on one slat. Push the top crate gently from each side. It should not rock or slide easily. Second, load the bottom crate with its normal contents and add the second crate, loaded, on top. Check again for rocking, and look at the slats of the bottom crate for any bowing. Third, only add a third crate if the first two passed, the floor is level, and the total height is still easy to reach without a step stool.
Follow these stacking rules every time. Align the plywood ends directly over each other, because the ends and corner battens carry the weight, not the thin middle of a slat. Never let a crate overhang the one below it, even by an inch, because that creates a lever that stresses the joints. Keep the heaviest crate at the bottom and the lightest at the top. For the standard crate in this guide, a sensible limit is about 30 to 40 pounds per crate and no more than three crates high for everyday storage, or two high if the crates hold books. If you need taller storage, fix the crates to each other with a couple of screws through the ends, or build a simple shelf instead of relying on a tall, freestanding stack.
Also check the floor. A stack on a rug or an uneven floor will lean no matter how well you built the crates. Set the stack on a hard, level surface, keep it away from radiators and damp exterior walls, and leave a small gap behind it so air can circulate. If you move house or rearrange a room, unstack the crates, move them one at a time, and restack them, rather than trying to carry a whole stack at once.
Common Mistakes and How to Avoid Them
Skipping pilot holes is the number one mistake. Pine splits, especially near the end of a board, and a split slat cannot be un-split. Drill a pilot hole for every screw, and keep screws at least 3/4 inch from the end of a slat. If a split does happen, do not throw the piece away immediately: squeeze glue into the crack, clamp it tight, wipe off the excess, and let it dry overnight. It will often be stronger than before.
Cutting without a square is the second mistake. A slat cut at a slight angle leaves a gap at one end of the joint and looks sloppy even after sanding. Use a speed square every time, and cut on the waste side of your line so the piece stays full size. If you cut on the wrong side, the piece will be short by the width of the saw blade, which is enough to throw off a whole side.
Uneven slat gaps come third. Eyeballing gaps feels faster, but your eye will notice a 1/8-inch difference once the crate is finished, even if you cannot name what is wrong. Use a spacer block for every gap. It is slower for the first slat and faster for every slat after that, because you never stop to measure.
Forgetting to sand before assembly is fourth. Once the crate is glued together, you cannot reach the inside faces properly, and stain will highlight every rough patch. Sand first, assemble second, and do only a light final sanding after assembly to remove glue squeeze-out and raised grain.
Finally, overloading the crate is a mistake that shows up weeks later as a bowed base or a loose handle. Respect the weight limits above, distribute heavy items evenly across the base rather than piling them in one corner, and check the handles and joints once a season if the crate gets daily use. A crate that is looked after will last for years, and a loose screw tightened early is a five-second job, while a joint repaired late is a rebuild.
Variations to Try Next
Once you have made the standard crate, the same design adapts easily. Make a shallow crate, about 6 inches high with three slats per side, for under-bed shoe storage or for holding seed trays. Make a tall, narrow crate for vinyl records or magazines, keeping the width just wider than the records so they do not flop sideways. Add a hinged plywood lid if you want a crate that doubles as a side table, and add casters to the base if it will hold heavy garage tools and needs to roll.
You can also change the look without changing the structure. A dark walnut stain with black rope gives a modern, industrial feel. A whitewash finish with natural cotton rope suits a coastal or farmhouse room. Stencilled labels on the plywood ends, such as “BOOKS” or “TOYS”, look charming, but keep any painted lettering simple and let it dry fully before stacking another crate on top. If you want more ideas for small, sellable beginner projects, browse our pillar guide to easy woodworking projects for beginners that sell and pick your next build from the same skill level.
FAQ
How long does it take to build a wooden storage crate?
For a first crate, allow about three to four hours, including cutting, sanding, assembly, and a first coat of finish. An experienced maker can finish the woodwork in about ninety minutes. Do not rush the glue and finish drying times: a crate assembled in a hurry but left to dry properly will outlast one that was forced into use while the glue was still soft.
What wood is best for a beginner storage crate?
Pine is the best choice for a first crate because it is cheap, widely available, straight-grained, and easy to cut and sand. Avoid pressure-treated lumber for indoor storage crates, and avoid very soft, knotty fencing boards unless you are happy with a rougher, rustic result. If you want a harder, more durable crate later, try poplar or oak, but expect slower cutting and a higher material cost.
Do I need a table saw to build this crate?
No. Every cut in this project is a straight crosscut or a rectangle in plywood, so a circular saw with a guide, a jigsaw, or a handsaw is enough. A table saw would be faster for repeated slats, but it is not required, and many beginners build excellent crates with a circular saw alone. What matters more than the saw is a sharp blade, a square marking line, and a firm clamp holding the work.
How much weight can a slatted wooden crate hold?
The standard crate in this guide, built with glued and screwed 1×2 slats and a 1/2-inch plywood base, comfortably holds 30 to 40 pounds of evenly distributed contents, such as books, toys, or pantry goods. Heavier loads are possible for short periods, but they increase the risk of a bowed base and strained handles over time. Keep heavy items low, spread the load across the base, and carry the crate by both rope handles.
Can I stack wooden storage crates?
Yes, up to three high for general storage, or two high for heavy contents like books, provided the plywood ends align directly over each other, no crate overhangs the one below, and the stack stands on a level, hard floor. Check for rocking after stacking, keep the heaviest crate at the bottom, and do not carry a stack as a single unit. For taller or permanent storage, screw the crates together or use shelving instead.
Should I use glue as well as screws?
Yes. Glue plus screws is much stronger than either one alone, especially in soft pine. The glue bonds the full face of the joint and stops it racking, while the screws clamp the joint tight while the glue dries and add mechanical strength afterwards. Apply a thin, even layer of glue, wipe off squeeze-out with a damp cloth before it dries, and do not rely on glue alone for a joint that will be carried by its handles.
How do I stop pine from looking blotchy under stain?
Pine absorbs stain unevenly because of its mix of soft earlywood and harder latewood. Apply a pre-stain wood conditioner, test the stain on a scrap piece from the same boards, and wipe off excess stain quickly and evenly. Alternatively, skip stain altogether and use a clear oil or a light whitewash, both of which are far more forgiving on pine and still bring out the grain beautifully.
Recommended Products for This Project

Titebond III Ultimate Wood Glue 1413 (8 oz)
Strong, waterproof joints for a crate that carries real weight.

IRWIN QUICK-GRIP 8-piece Clamps Set (IRHT83220)
Hold boards steady while the glue sets for tight, square joints.

DEWALT Concealer Safety Goggles DPG82-11C
Protect your eyes from dust and chips while cutting and sanding.

DEX FIT Cru553 Level 5 Cut Resistant Gloves, Size L
Cut-resistant grip and protection for safer handling in the workshop.

3M 8511 N95 Respirator, 10-pack
Filter dust while sanding and finishing the crate.
As an Amazon Associate, I earn from qualifying purchases.


