
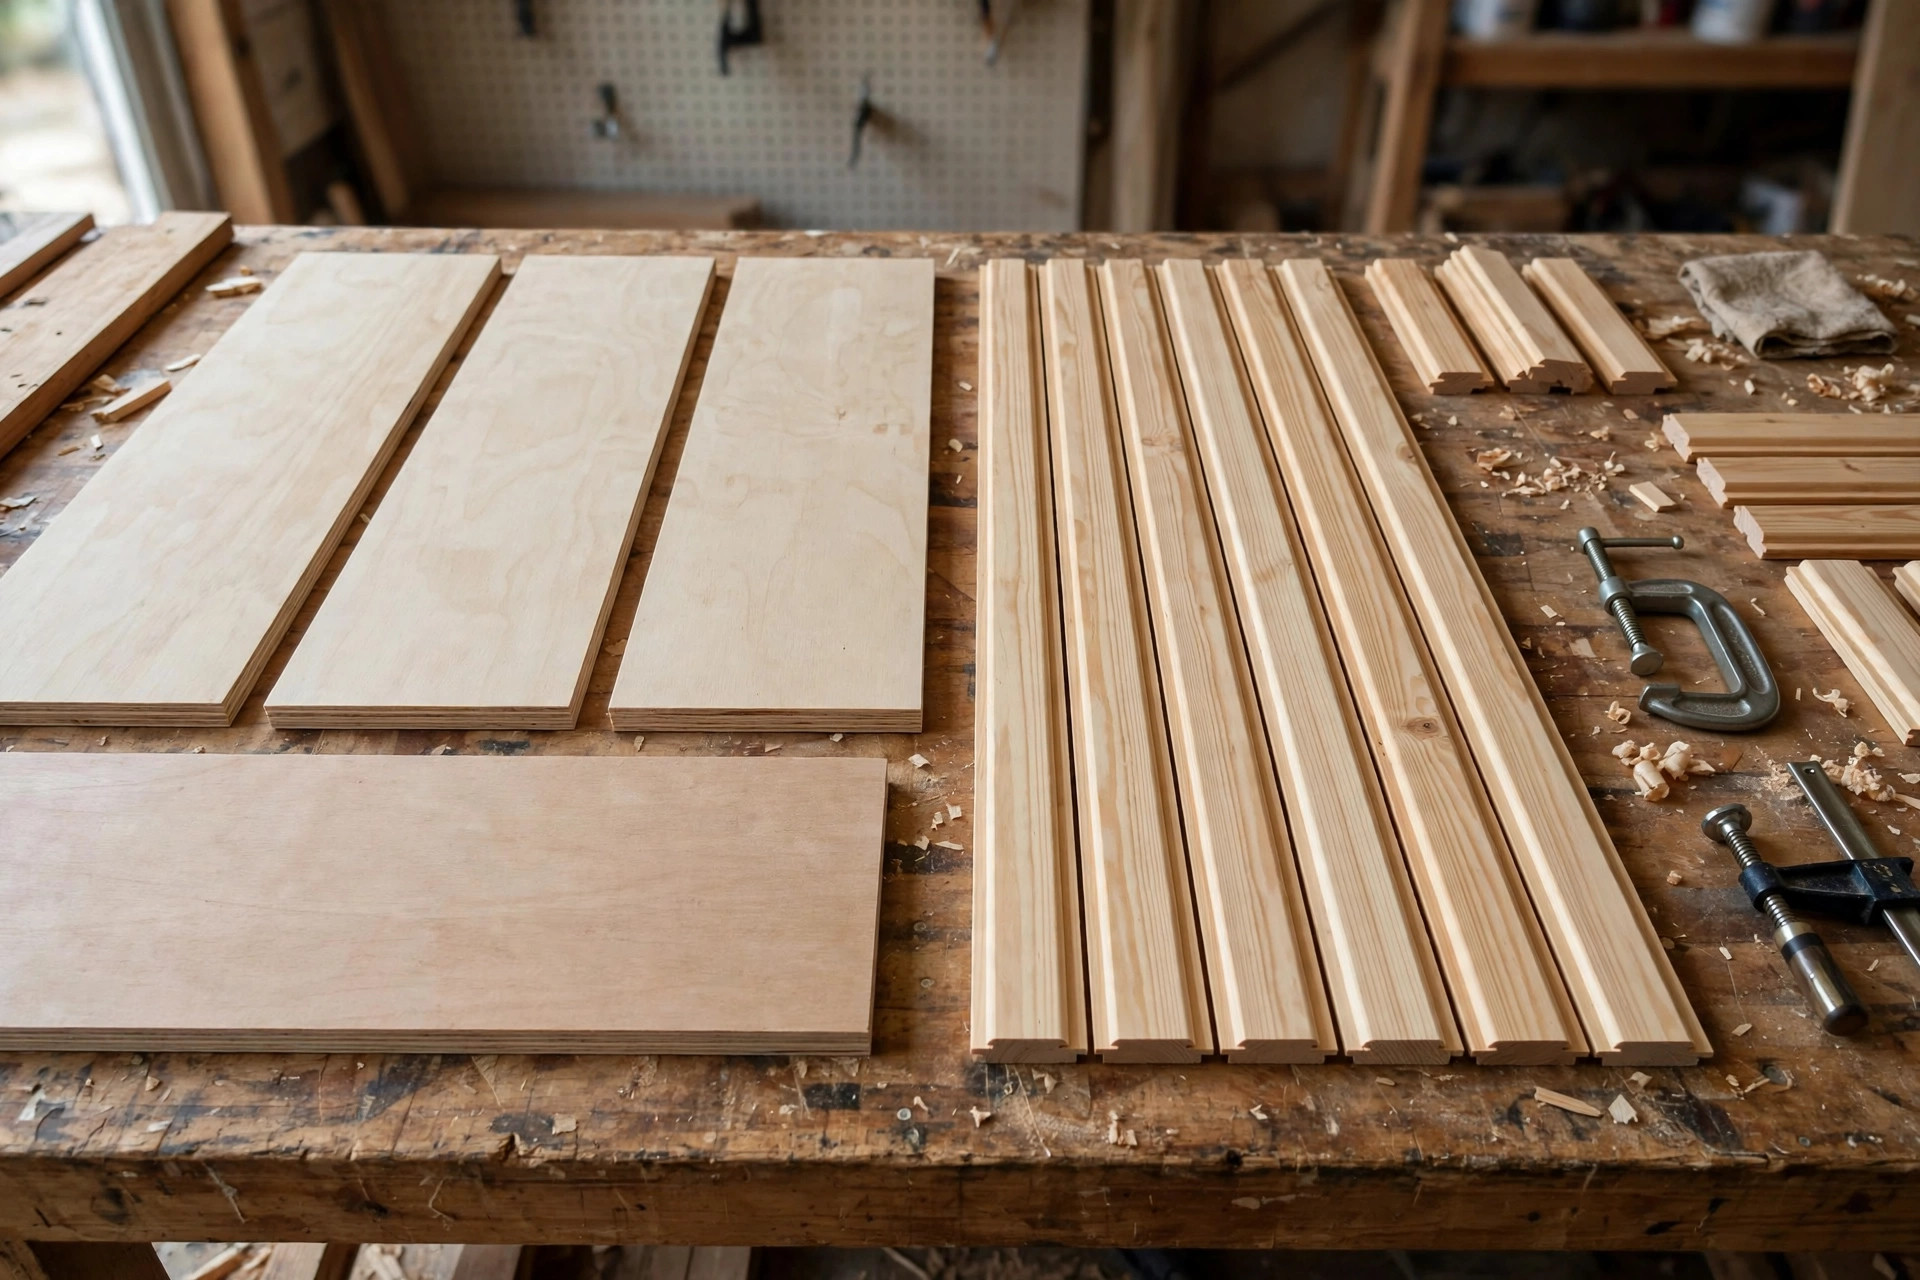
A toy box is one of the best first furniture projects a beginner can build, and also one of the few where safety matters more than looks. Learning how to build a wooden toy box for beginners means learning two things at once: how to build a strong, square plywood box with simple joints, and how to make a lid that can never slam on small fingers. This guide builds a box about 90 centimetres long, 45 centimetres wide, and 45 centimetres tall — big enough for a serious toy collection, low enough for a small child to reach into, and light enough for one adult to move — with a torsion-hinged lid that stays wherever you leave it, rounded edges everywhere, and a non-toxic finish safe for a child’s room.
The safety rules come first and they are not optional extras. A heavy lid on ordinary hinges is a finger trap: it falls shut under its own weight, and a child’s fingers in the gap take the full force. The fix used here is a pair of torsion hinges (also sold as lid-support or soft-close toy box hinges), which hold the lid open at any angle and close it slowly. Add a finger gap — the lid stops a few millimetres short of fully closing against the box front — plus ventilation holes so a child can never be sealed inside, and a finish with no toxic fumes once cured. Get those four things right and the rest of the build is straightforward beginner woodworking: cut panels, glue and screw a box, trim it, sand it, finish it.
If this is one of your first builds, start with the pillar guide to easy woodworking projects for beginners that sell to see where a toy box fits among the best beginner projects, then come back here for the full measured build.
Safety First: The Child-Safe Lid, Explained
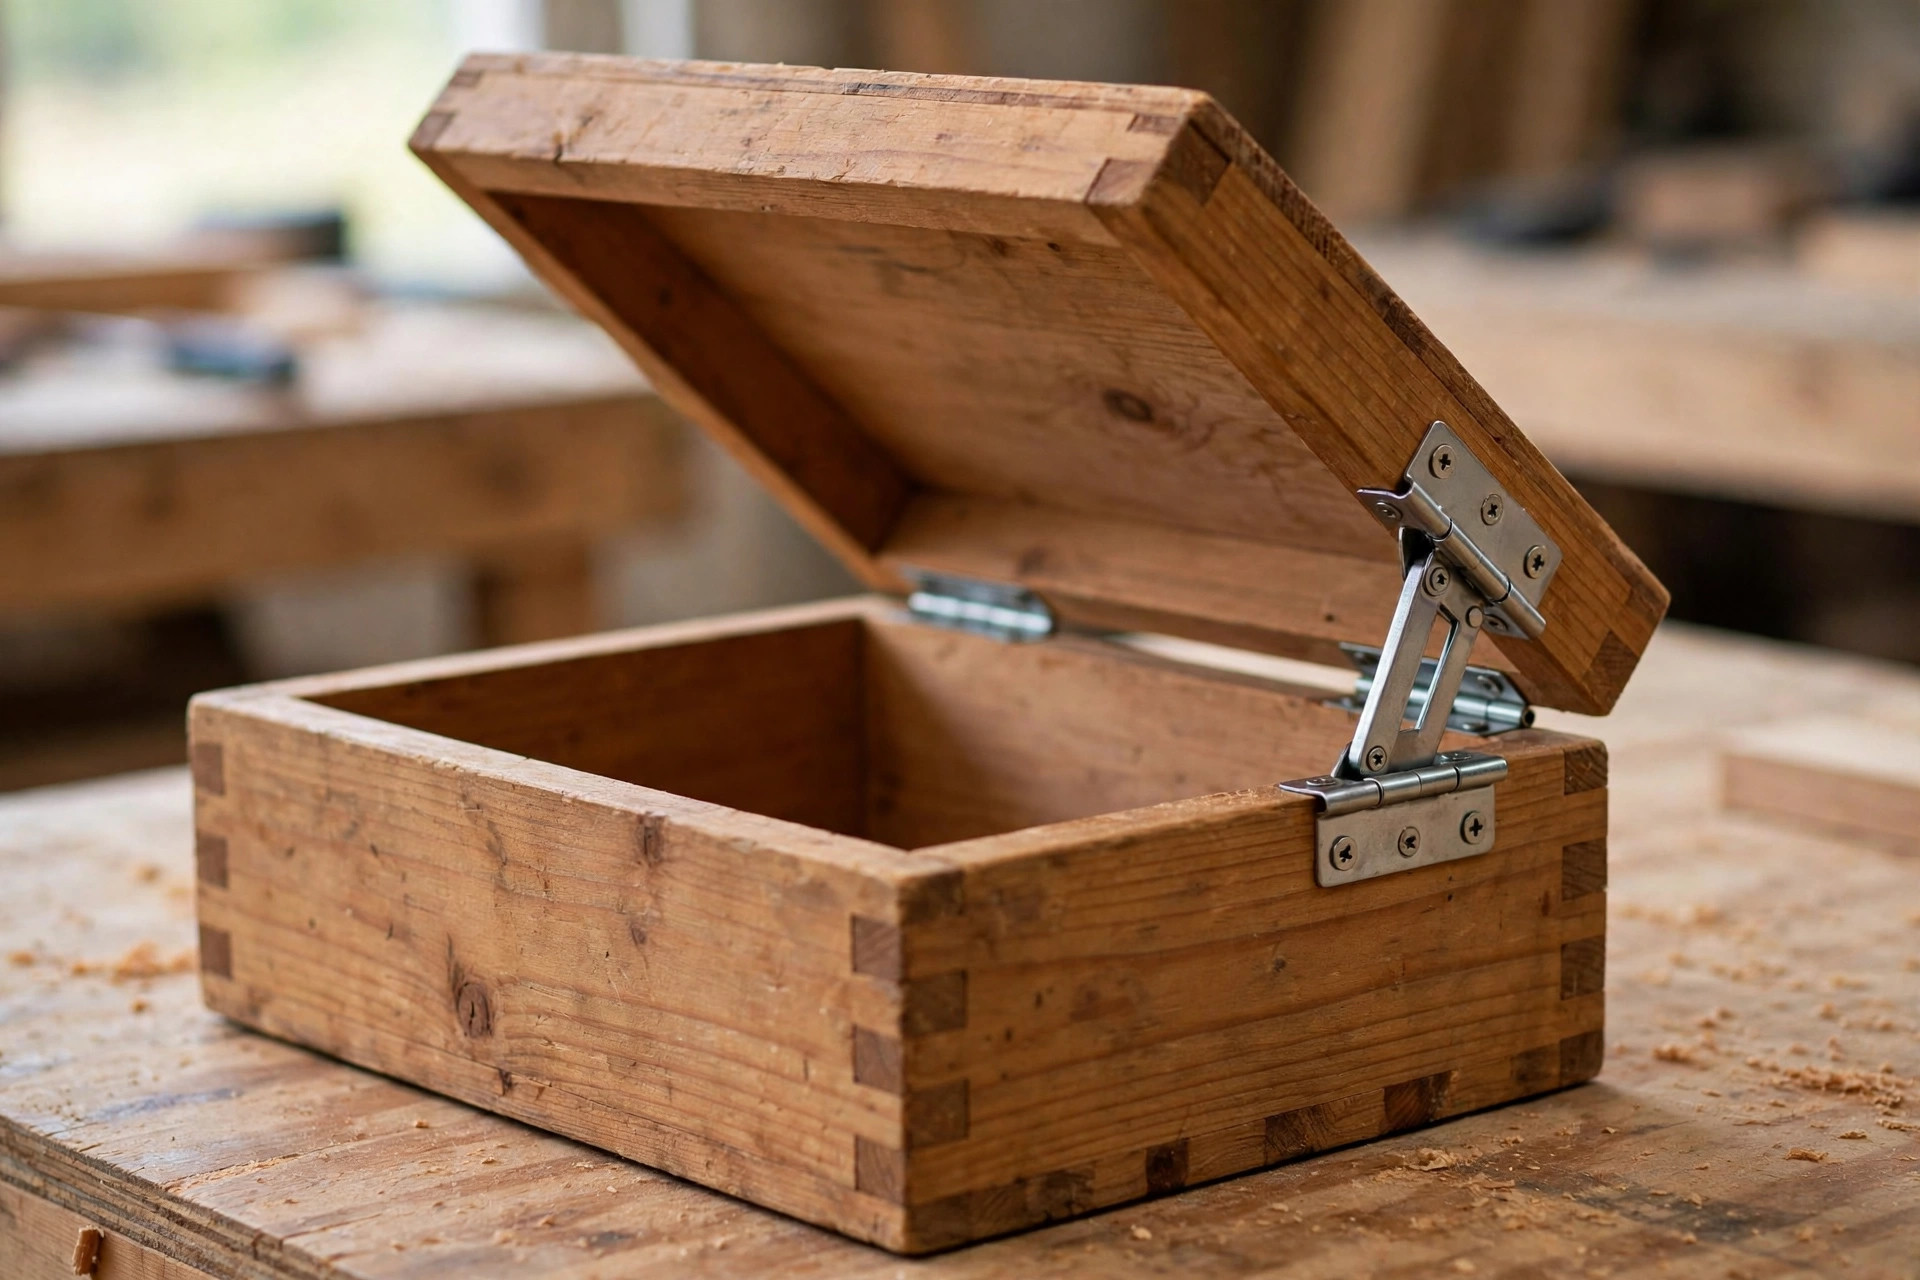
Before you cut anything, understand exactly what makes a toy box lid safe, because this is the section other plans gloss over. A safe lid has four features, and this build includes all four. First, torsion hinges or lid supports rated for the lid’s weight: they hold the lid open at any angle instead of letting it fall, and they close it slowly even if a child lets go. Buy hinges rated for at least the weight of your finished lid — a plywood lid this size weighs roughly 4 to 6 kilograms — and fit two of them, one near each end, exactly as the manufacturer’s instructions direct. Second, a finger gap: the lid’s front edge should stop about 10 millimetres short of the box front when closed, or a soft-close support should prevent it ever slamming fully shut, so fingers caught in the gap are pressed, not crushed. Third, ventilation: drill two or three 25-millimetre holes in the back panel or the ends, low down, so air always circulates inside the box. Fourth, no sharp edges or protruding hardware anywhere a child can reach: round every edge and corner, countersink every screw, and plug or fill the holes.
Test the lid before you finish the box. Open it halfway and let go: it should stay put. Push it gently closed: it should descend slowly, not drop. Put your own fingers in the closing gap (carefully, with an adult’s hand, not a child’s) and confirm the force is a press, not a slam. If the lid falls or slams, the hinges are wrong for the lid weight — refit with a higher-rated pair before the box goes anywhere near a child. This test takes two minutes and it is the most important step in the whole project.
Tools and Materials
You need a saw for straight cuts — a circular saw with a straightedge guide is ideal for plywood panels, and a miter saw handles the pine trim — plus a drill, a jigsaw for the front finger cutout and ventilation holes, a random orbital sander, clamps, and a tape measure and speed square. Use 18-millimetre plywood for the box panels: it is strong, stable, and thick enough to hold screws well. Baltic birch plywood is the nicest choice if your budget allows, but standard hardwood plywood from a home centre works fine for a painted box. Avoid MDF: it is heavy, its edges crumble, and it does not hold screws as well. For trim, use pine 1x2s, which are cheap and easy to round over.
| Item | Specification | Quantity | Notes |
|---|---|---|---|
| Plywood, 18 mm | Box panels | 1 sheet, 120 x 240 cm (or cut panels at the store) | Baltic birch preferred; hardwood ply acceptable |
| Pine 1×2 (19 x 38 mm) | Top and bottom trim, legs | 3 lengths, 2.4 m | Also forms the base frame |
| Torsion hinges / lid supports | Rated for 5 kg+ lid | 1 pair | Must be toy-box rated; follow maker instructions exactly |
| Wood screws, 40 mm | Panel joints | 24 | Pilot-drill plywood to avoid splitting |
| Wood screws, 25 mm | Trim | 20 | Countersink and fill |
| Wood glue | All joints | 1 bottle | See our best wood glue for beginners guide |
| Sandpaper | 80, 120, 220 grit | A few sheets each | Our best sandpaper grit for beginners guide explains the sequence |
| Finish | Non-toxic paint or oil | 1 tin | Water-based paint or food-safe oil; see finish section |
The Cut List
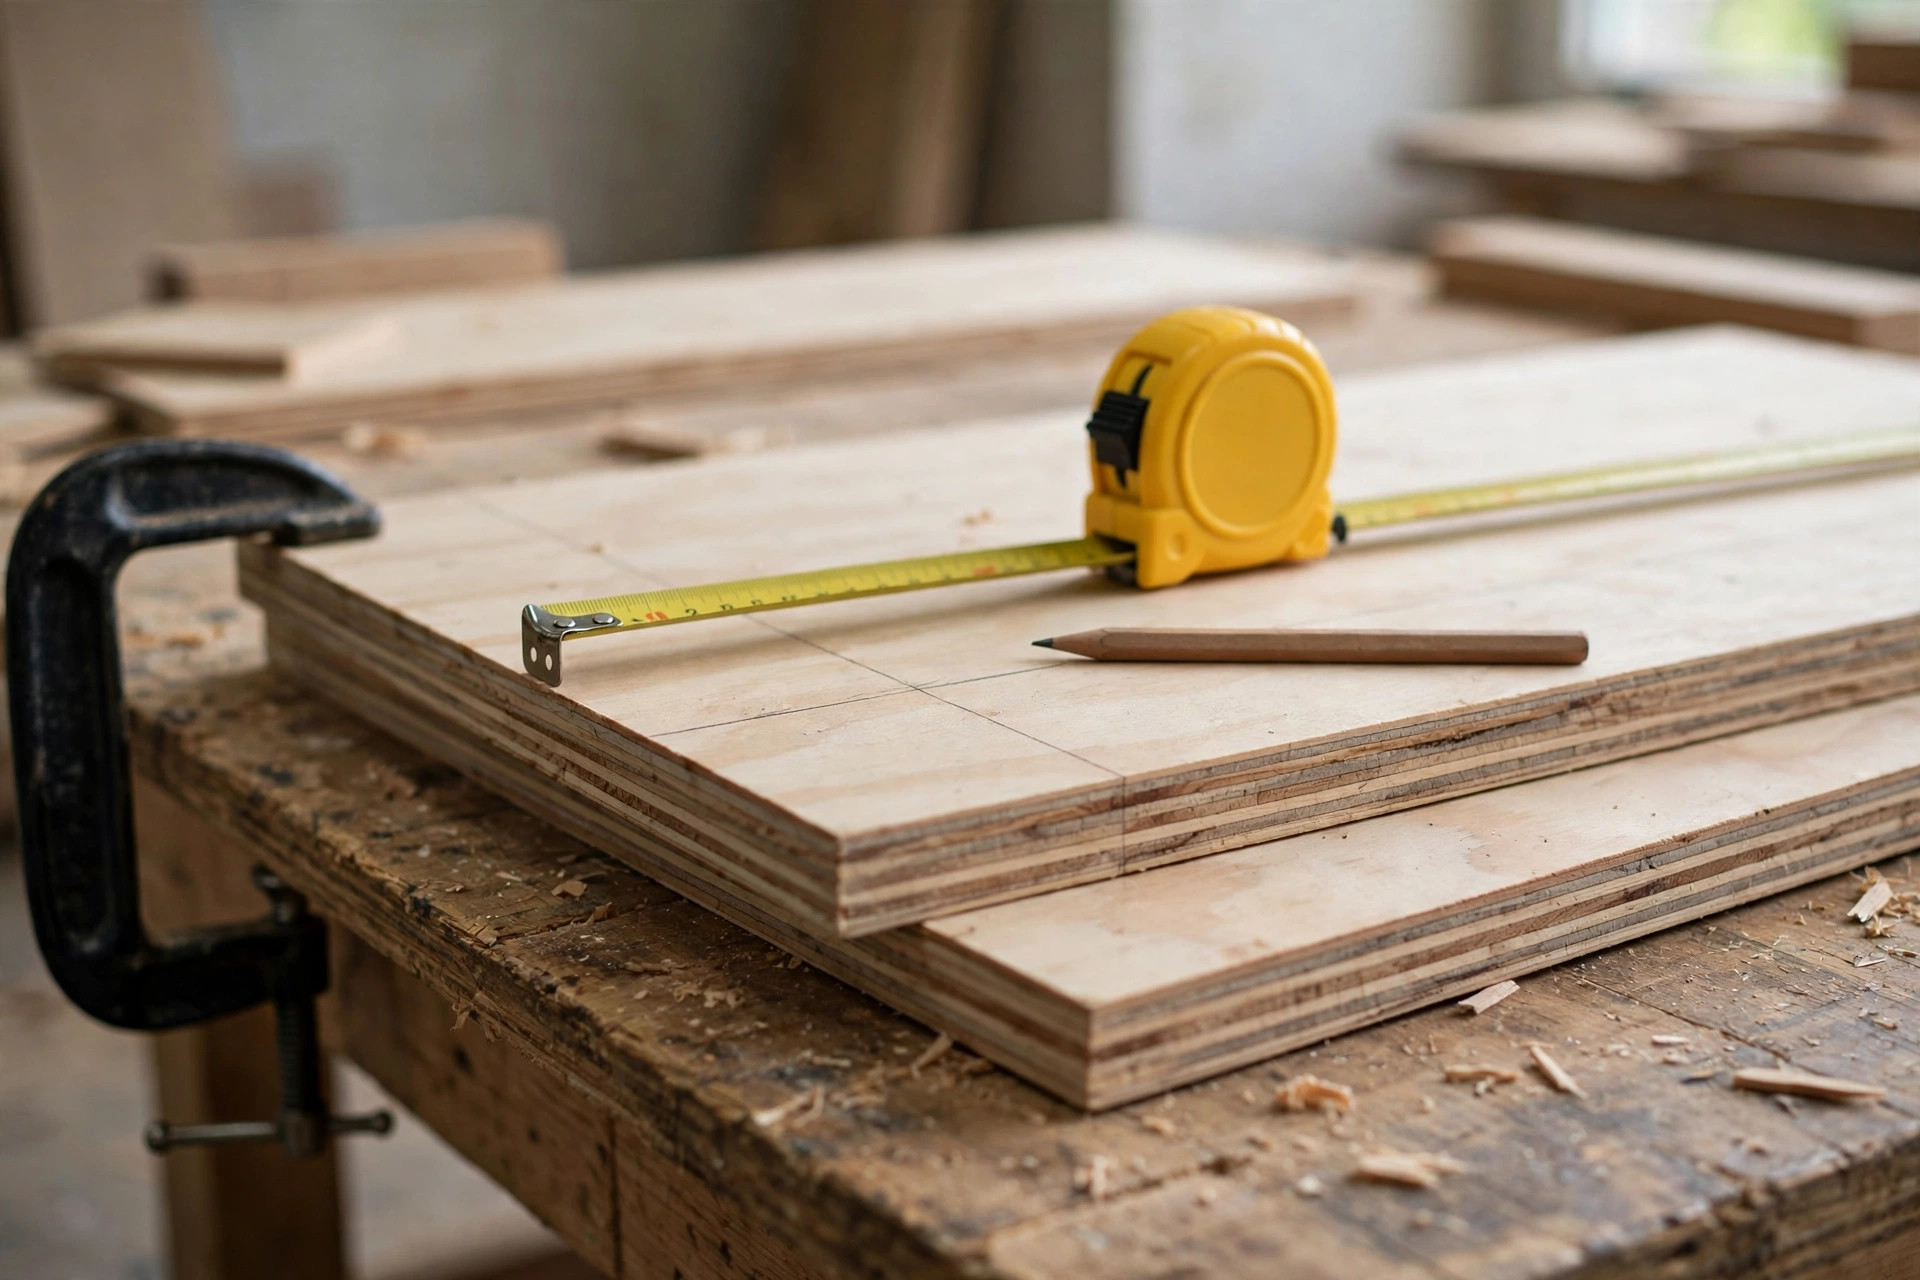
Cut all panels first, label them, and check them against this table before assembling. The box interior ends up about 86 centimetres long, 41 centimetres wide, and 40 centimetres tall once panel thickness is accounted for — roomy for toys without being so deep that small toys vanish at the bottom.
| Part | Size | Quantity | What it does |
|---|---|---|---|
| Front and back panels | 18 mm ply, 900 x 400 mm | 2 | Long sides of the box |
| End panels | 18 mm ply, 414 x 400 mm | 2 | Short sides; fit between front and back |
| Bottom panel | 18 mm ply, 864 x 414 mm | 1 | Box floor, screwed from below |
| Lid panel | 18 mm ply, 920 x 470 mm | 1 | Lid; overhangs the box by 10 mm on each side |
| Top trim, long | Pine 1×2, 900 mm | 2 | Finishes the top edge, front and back |
| Bottom trim, long | Pine 1×2, 900 mm | 2 | Base trim, front and back |
| Top trim, short | Pine 1×2, 450 mm | 2 | Finishes the top edge, ends |
| Leg blocks | Pine 1×2 offcuts, 60 mm | 4 | Short feet that lift the box off the floor |
If your plywood is 19 millimetres rather than 18, adjust the end and bottom panel widths by the difference — the rule is simple: end panels fit between the front and back, and the bottom fits inside all four sides. Measure your actual panels and recalculate before cutting the smaller pieces; a cut list is a plan, not a substitute for measuring your own lumber.
Step 1: Build the Box
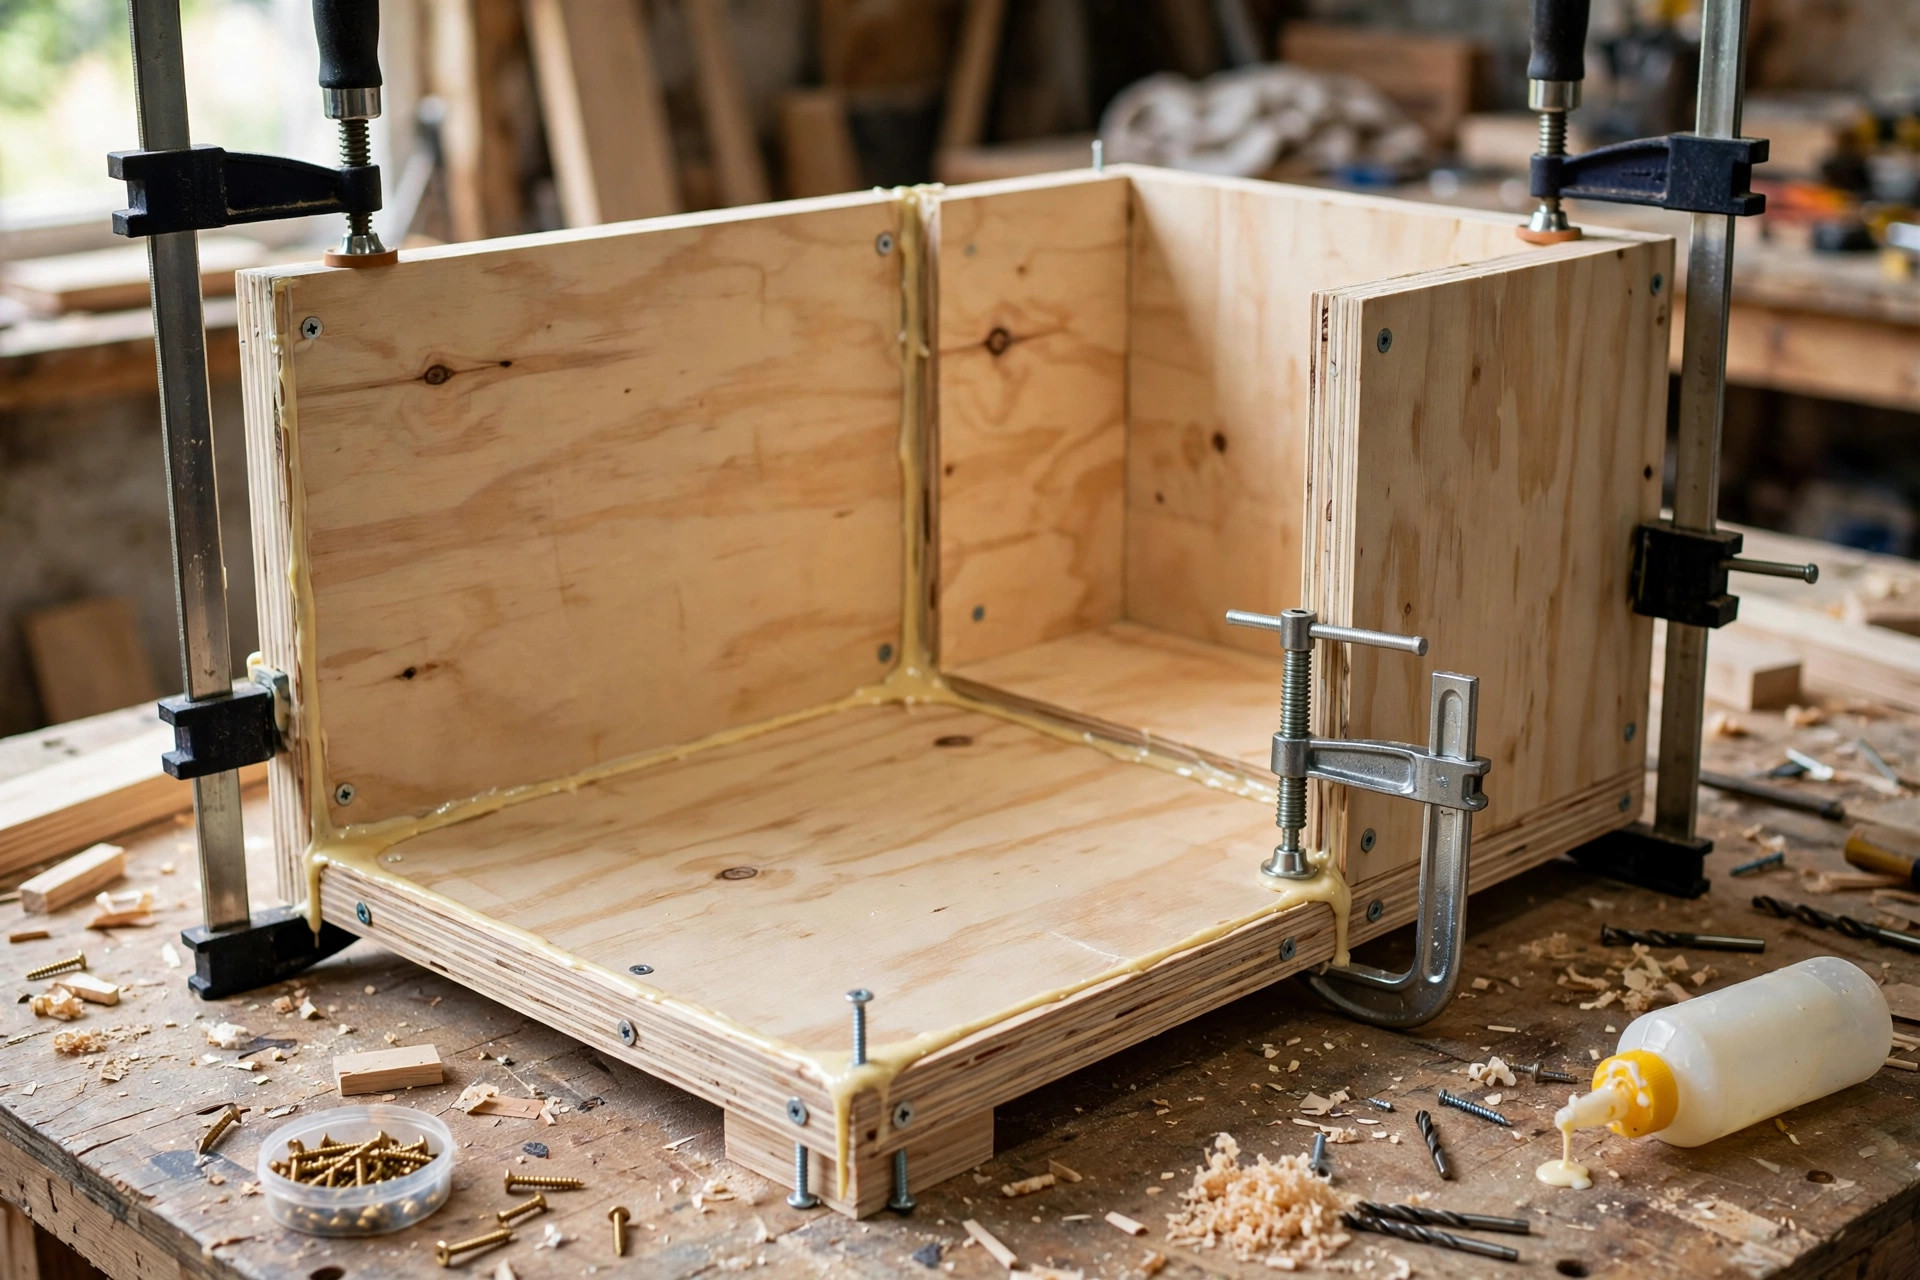
Build the box upside down on a flat surface: front and back panels flat, end panels between them, bottom panel last. Glue every joint, clamp it square, and check both diagonals match before driving screws. Screw through the front and back panels into the end panel edges — two screws per joint, pilot-drilled, about 50 millimetres from each end — then screw the bottom panel up into all four sides. Screws through plywood edges need pilot holes or the plies will split and the screw will wander; a countersink bit keeps the heads flush so trim covers them later. Our guide to the best circular saw for beginners covers the straight, splinter-free plywood cuts this box depends on.
While the box is still upside down, drill the ventilation holes: two 25-millimetre holes in the back panel, low down, and one in each end panel, using a spade bit or hole saw. Sand the inside of each hole smooth so no splinters catch small hands. Then fit the four leg blocks inside the bottom corners — they lift the box a few centimetres off the floor, which protects the bottom from mopping water and makes the box easier for an adult to slide.
Step 2: Fit the Lid and Its Safety Hardware
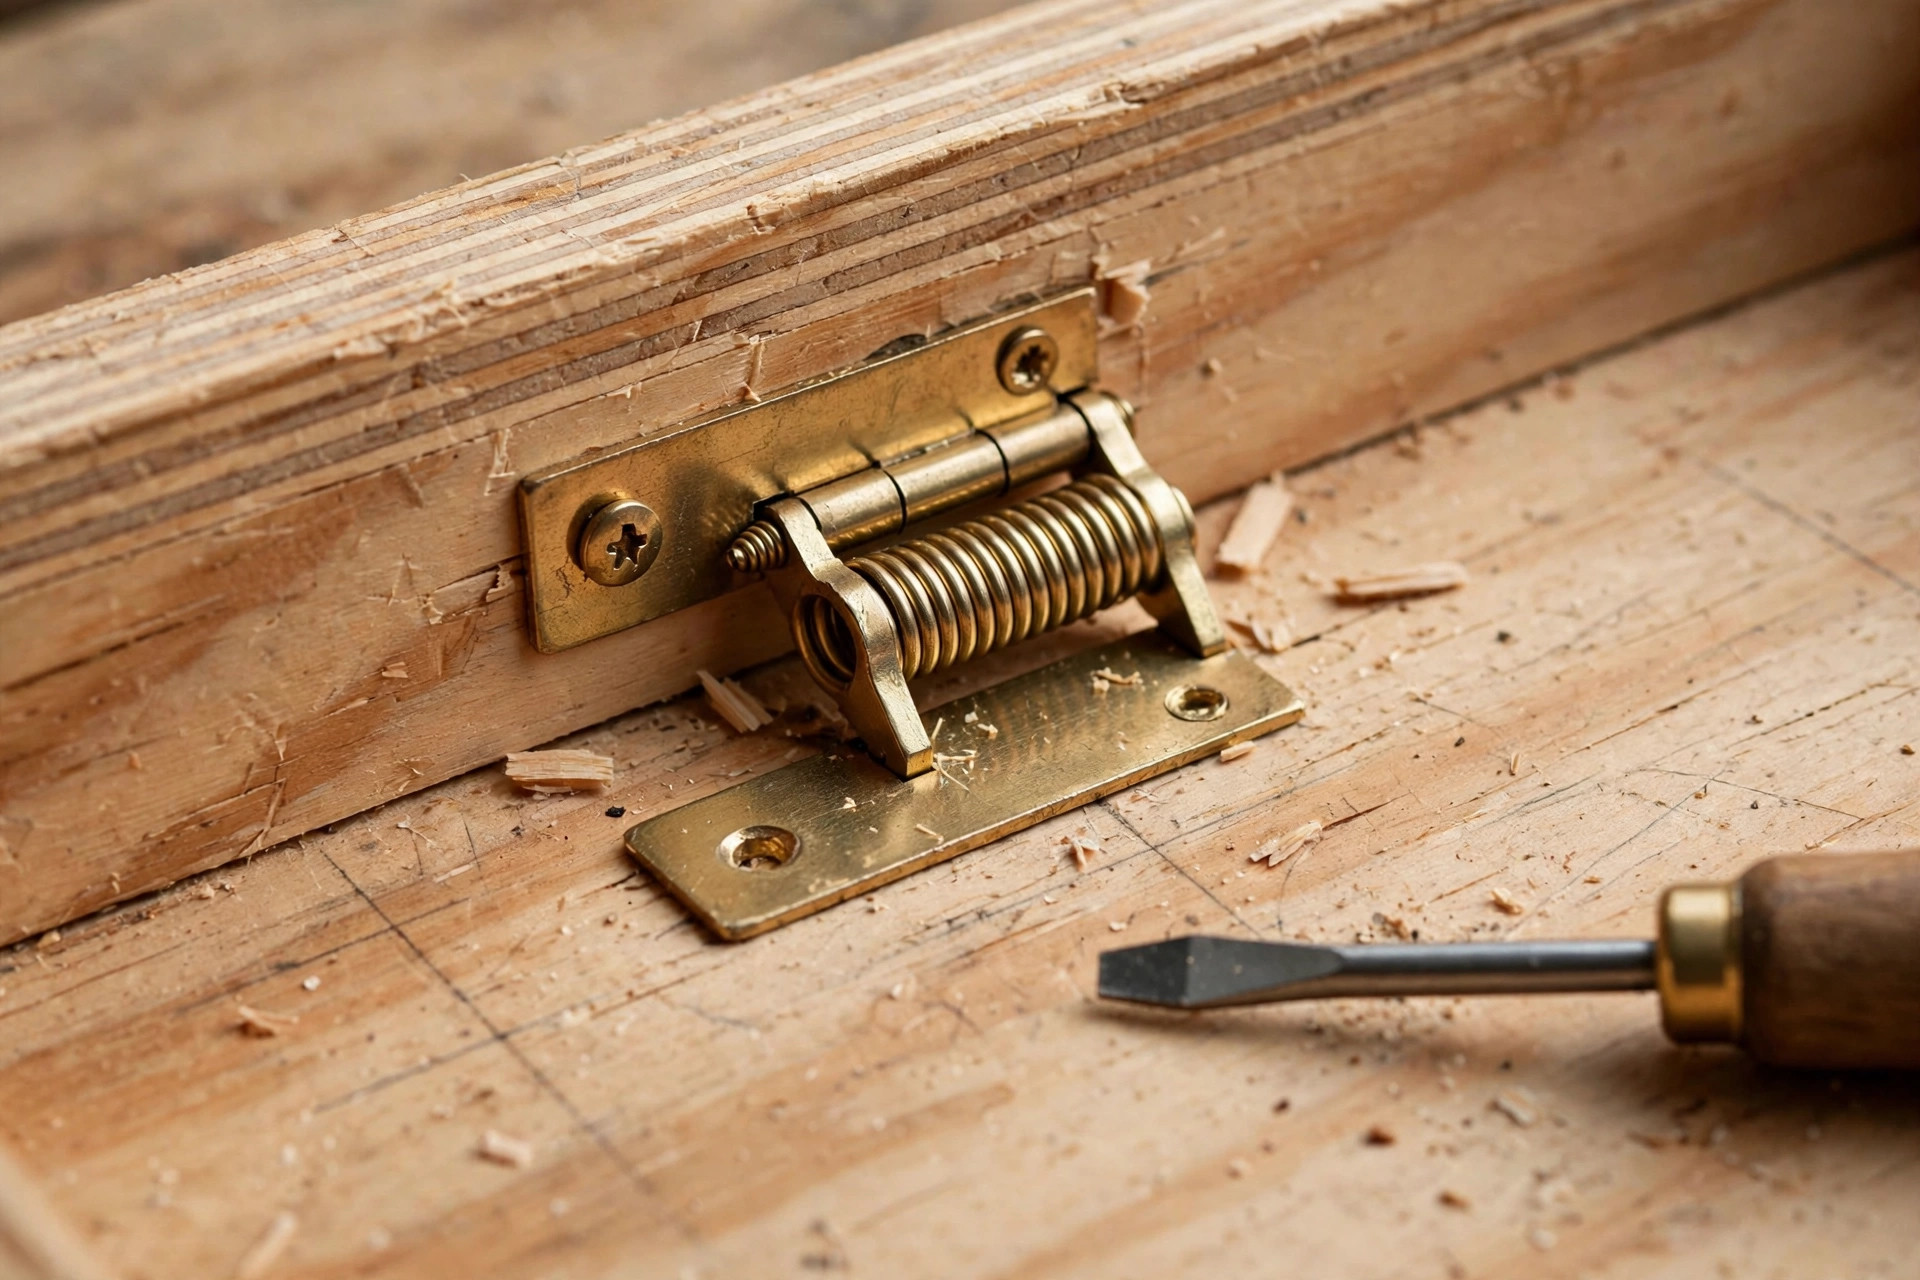
The lid is a single plywood panel with pine trim around its edge, which stiffens it and hides the plywood edge. Glue and screw the trim flush with the lid’s underside, leaving the top face clean. Before fitting hinges, cut the finger pull: a shallow semicircular cutout in the centre of the lid’s front trim, made with a jigsaw and sanded smooth, gives small hands a place to lift the lid without gripping its edge. Round every edge and corner of the lid with sandpaper — a lid edge is exactly where little heads bump.
Fit the torsion hinges exactly as the manufacturer directs, because different brands mount differently and the safety rating depends on correct fitting. As a rule, hinges mount to the inside back of the box and the underside of the lid, near each end, with the lid held square to the box while you mark the holes. Fit both hinges, then run the lid test from the safety section: open halfway, let go, confirm it stays; push gently closed, confirm it descends slowly; check the finger gap at the front. If anything fails, stop and refit — do not finish a box with a lid that slams. Our guide to pocket hole vs dowel joint strength is useful background on joint choices, but for the lid itself, always follow the hinge maker’s instructions over any general guide.
Step 3: Trim, Sand, and Round Everything
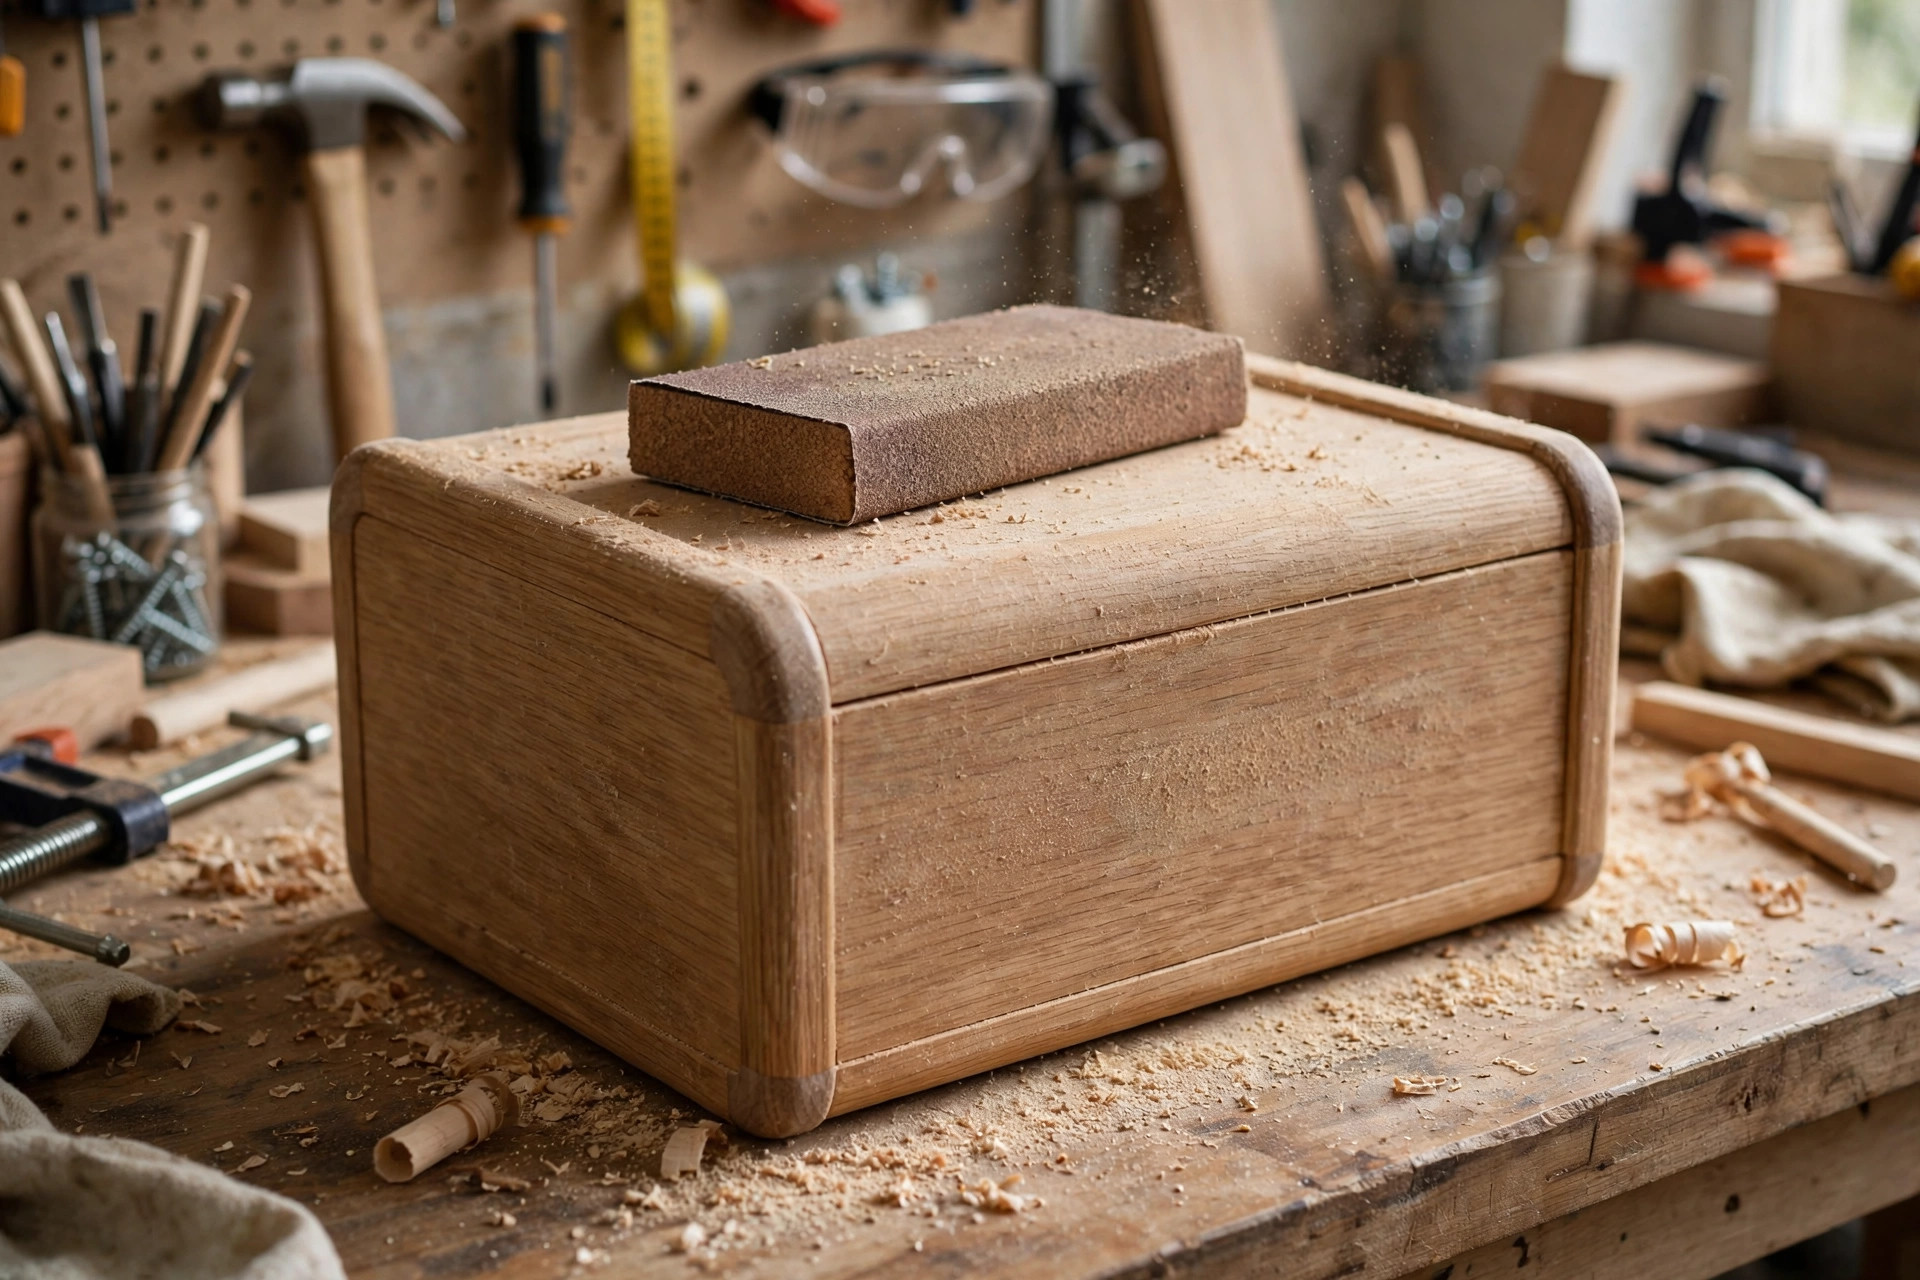
Trim turns a plywood box into furniture. Glue and screw the top trim around the box’s top edge, flush with the outside faces, and the bottom trim around the base, covering the panel joints and screw heads. Fill every countersunk screw hole with wood filler, let it dry, and sand it flush. Then round over: every external edge and corner of the box and lid gets eased with 80-grit paper on a sanding block, then refined through 120 and 220 grit. A child’s toy box should have no edge sharp enough to catch a fingernail — run your own hand over every edge when you think you are done, and round anything that catches.
Sand the whole box through the grits, inside and out. Plywood interiors need sanding too: splinters inside a toy box end up in small hands. Vacuum thoroughly, then wipe with a damp cloth to raise the grain, let it dry, and give it a final light 220-grit pass. This extra step matters more on a toy box than on most projects, because the inside gets touched constantly and never gets a thick protective finish.
Child-Safe Finishes: What to Use and What to Avoid
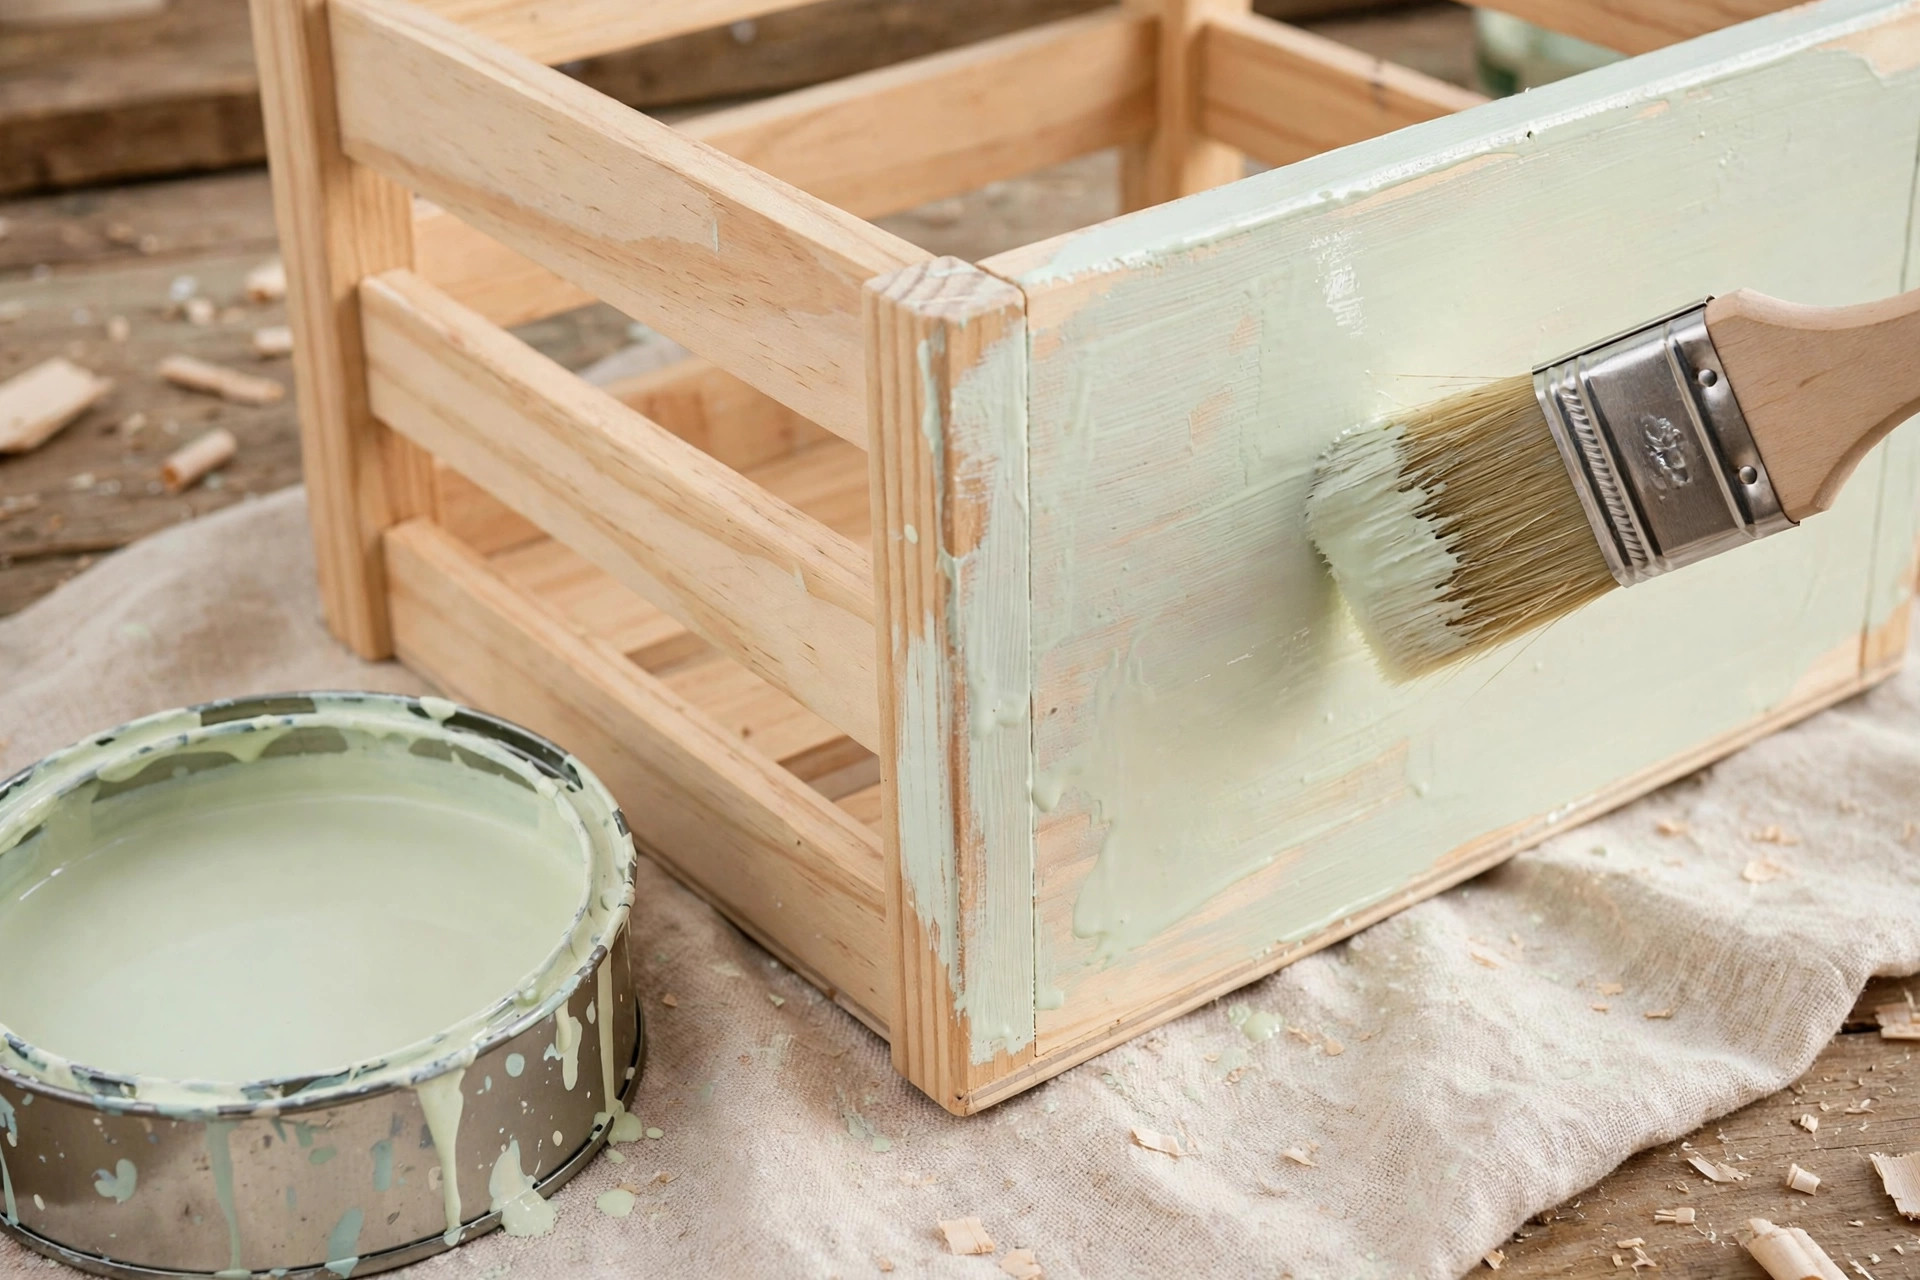
Finish choice for a child’s toy box is a safety decision, not a decorating one. Safe choices are water-based paints and varnishes labelled non-toxic and low-VOC once cured, and food-safe oils such as mineral oil and beeswax blends — the same finishes our guide to how to paint wood furniture for beginners recommends for children’s pieces. Apply two to three thin coats, sanding lightly between coats, and let the box cure fully — at least a week for paint in a ventilated room — before it goes into a child’s room. Curing matters: a finish that is dry to the touch is not necessarily fully cured, and a child’s room is a small, closed space.
Avoid oil-based paints and solvent varnishes on a toy box, and never use a finish containing lead or heavy-metal driers — modern products in most regions are lead-free by law, but check the label if you are using old stock. Avoid film finishes on the lid’s underside edges where teeth may meet wood (toddlers chew everything); a thin oil finish there is safer and easier to refresh. If you paint the box a bright colour, paint the inside too, in a light colour: a light interior makes it easier for a child to see toys at the bottom, and it shows dirt so you know when to clean it.
| Finish | Safe for a toy box? | Why | Cure time before use |
|---|---|---|---|
| Water-based non-toxic paint | Yes | Low VOC, hard-wearing, easy to clean | 7 days |
| Water-based polyurethane | Yes | Clear, tough, low odour once cured | 7 days |
| Food-safe mineral oil + beeswax | Yes | Completely non-toxic, easy to refresh | 24–48 hours |
| Oil-based paint or varnish | Avoid | Solvent fumes, slow cure, harder to refresh | Weeks |
| Old or unlabelled finishes | Never | Possible lead or toxic driers | Do not use |
Common Mistakes Beginners Make
The most dangerous mistake is fitting ordinary hinges and assuming a heavy lid is fine — it is not; always fit toy-box-rated torsion hinges or lid supports and test them. The second is building the box too deep: a box deeper than about 45 centimetres means small children climb in headfirst to reach the bottom, so keep the height at 45 centimetres or less. The third is skipping ventilation holes, which are required in many safety standards for lidded children’s storage. The fourth is leaving sharp plywood edges inside the box, where hands reach blindly. The fifth is painting with the wrong finish and moving the box into a bedroom the next day — always allow the full cure time. The sixth is forgetting the finger pull cutout, which leaves children prying at the lid edge with their fingertips in the hinge gap.
Frequently Asked Questions
What size should a wooden toy box be? About 90 centimetres long, 45 wide, and 45 tall suits most children’s rooms and toy collections. Larger boxes get too heavy to move and too deep for small children to reach into safely.
Are torsion hinges really necessary? Yes. A plywood lid this size weighs 4 to 6 kilograms, and ordinary hinges let it fall shut with enough force to injure fingers. Torsion hinges or lid supports rated for the lid’s weight are the standard safety fix, and they are inexpensive.
Can I build a toy box without a lid? Absolutely, and for toddlers an open-top box is the safest option of all. Build the same box, add the trim, and skip the lid and hinges entirely — you can always add a lid later when the child is older.
What wood is best for a toy box? 18-millimetre plywood for the panels and pine for the trim. Plywood is stable, strong, and affordable; pine trim is easy to round over and finish. Avoid MDF, which is heavy and holds screws poorly.
How do I stop the toy box tipping over? Keep the height at 45 centimetres or less, keep the base wide, and, for very small children, fix the box to the wall with a furniture strap. Never let children climb or stand on the lid.
Is painted plywood safe for children? Yes, provided you use a water-based, non-toxic, low-VOC paint and let it cure fully — at least a week — before the box goes into a child’s room. Avoid old or unlabelled paints.
The Bottom Line
Learning how to build a wooden toy box for beginners is really two builds in one: a square plywood box, which teaches panel joinery, and a child-safe lid, which teaches you to put safety hardware before appearance. Get the torsion hinges, the finger gap, the ventilation holes, and the rounded edges right, and you have a piece of furniture that will survive years of daily play and still be safe on its last day. Build it this weekend, let the finish cure properly, and test the lid one final time before it meets its first toys.
If you enjoyed this build, our guide to how to build a simple bookshelf for beginners uses the same plywood-panel skills at a larger scale, and the pillar guide to easy woodworking projects for beginners that sell has more first projects in the same spirit.
Recommended Tools and Safety Gear for This Project

Titebond III Ultimate Wood Glue 1413 (8 oz)
Why it fits this toy box: it bonds the plywood panels and pine trim so the box stays square and strong for daily use.

IRWIN QUICK-GRIP Woodworking Clamps Set, 8-piece (IRHT83220)
Why it fits this toy box: the set holds the plywood panels square and the trim in place while the glue dries.

DEWALT Concealer Safety Goggles DPG82-11C
Why it fits this toy box: they protect your eyes from plywood dust and chips while cutting panels and drilling ventilation holes.

DEX FIT Cru553 Level 5 Cut Resistant Gloves, Size L
Why it fits this toy box: they give cut protection while handling sheet plywood, sharp panel edges, and trim.
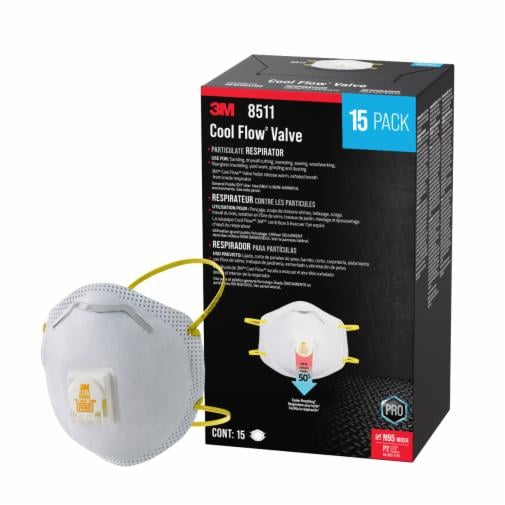
3M 8511 N95 Respirator, 10-pack
Why it fits this toy box: it protects against fine plywood dust while sanding the box inside and out to a child-safe finish.
As an Amazon Associate, I earn from qualifying purchases.



Pingback: How to Build a Wooden Storage Bench for Beginners