
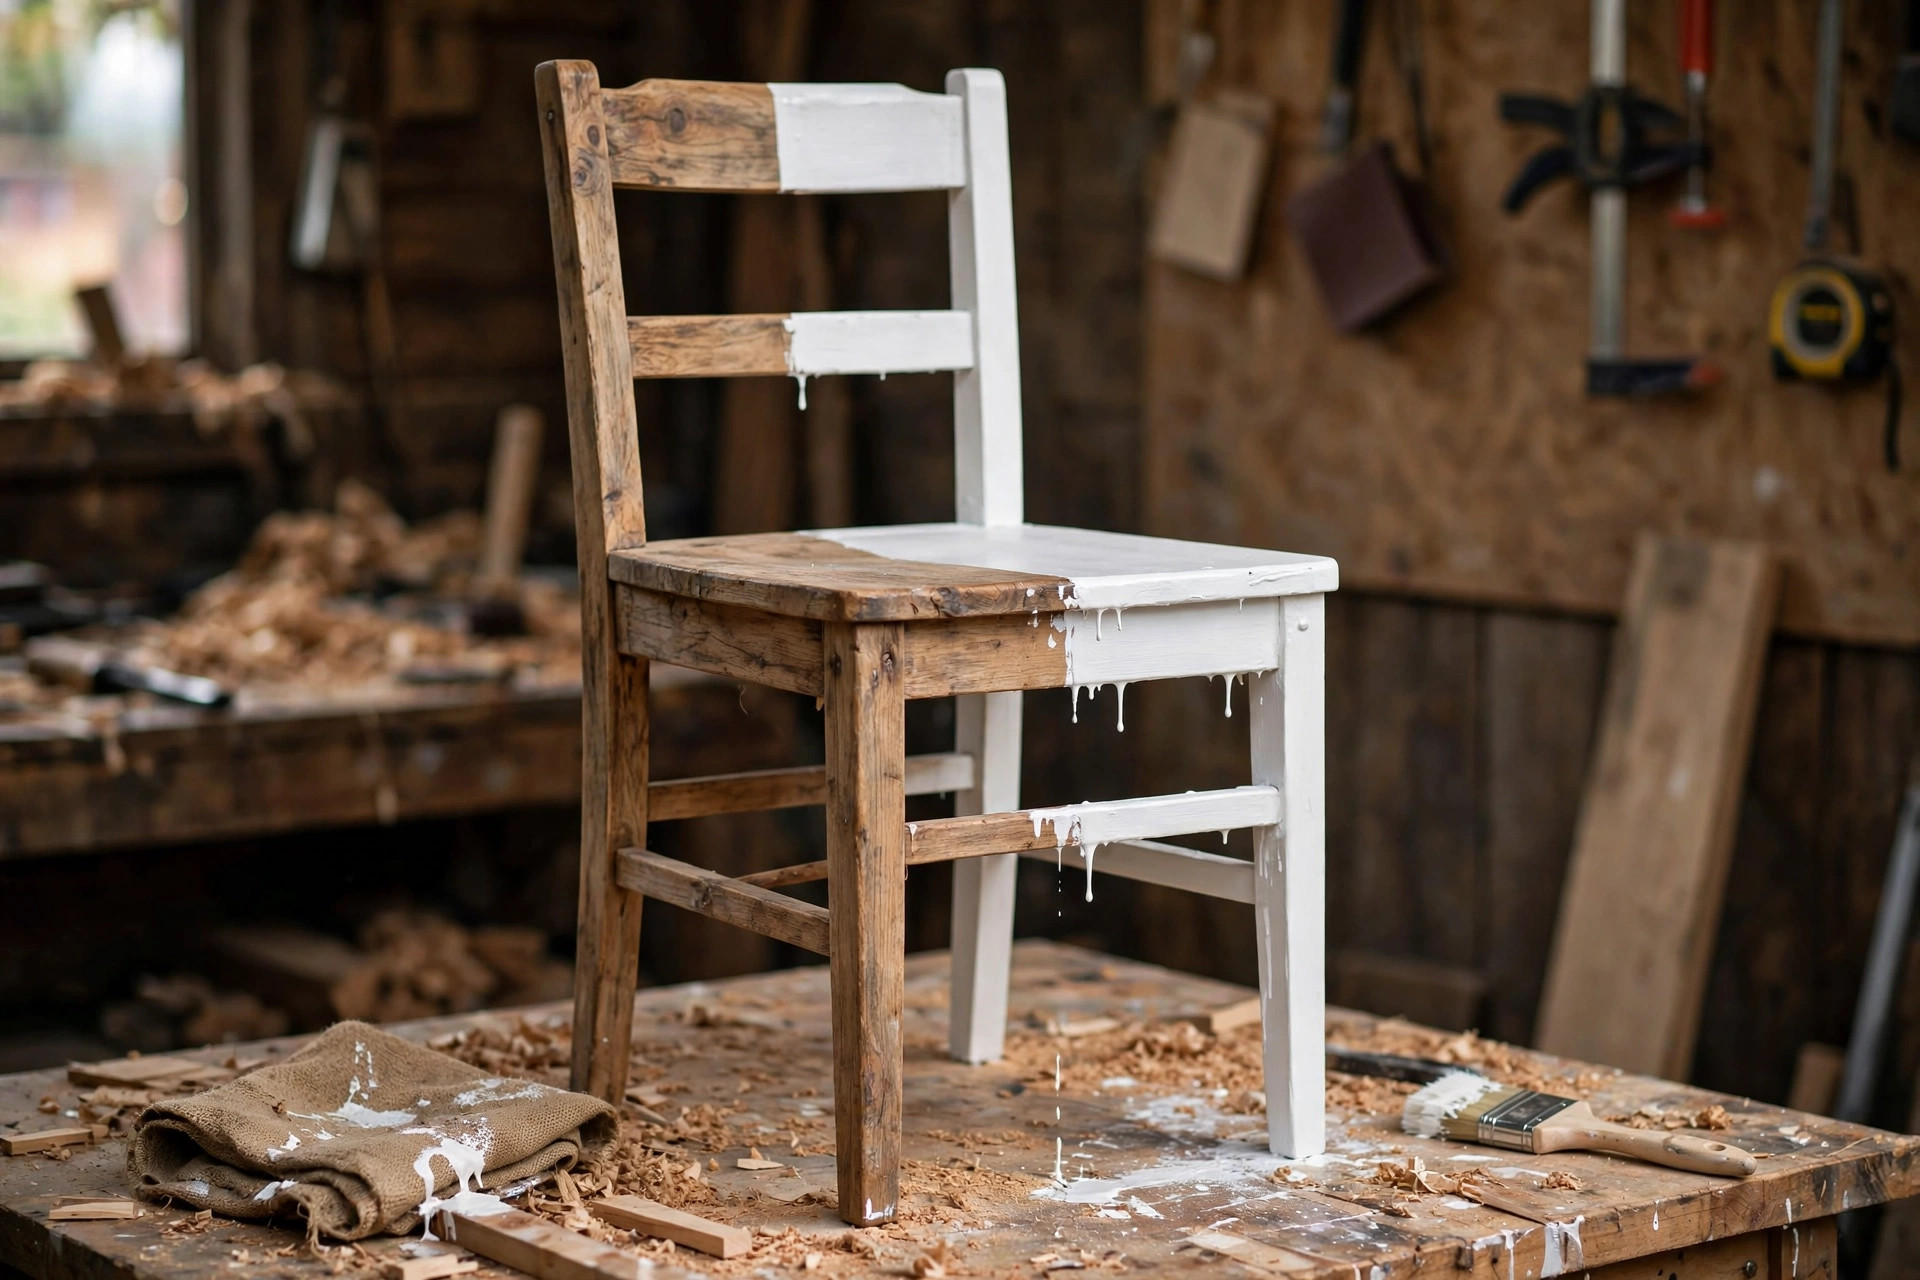
That tired pine dresser, the charity-shop chair, the bedside table with a water ring from 2014 — all of them are one good paint job away from being the best-looking piece in the room. Painting furniture is one of the most forgiving woodworking projects a beginner can take on. It needs no expensive power tools, no joinery skills, and no workshop full of machinery. What it does need is patience: clean prep, a good primer, thin coats, and enough drying time between them. Skip those steps and you get drips, brush marks, and paint that peels off the first time someone bumps it with a vacuum cleaner. Follow them, and your first painted piece can look genuinely professional.
If you are learning how to paint wood furniture for beginners woodworking, the single most important idea to grasp is this: paint is a covering finish, not a showing finish. Paint hides the grain while stain and oil show it. When you stain wood, the colour soaks into the fibres and the grain pattern stays visible — the wood still looks like wood, just darker or warmer. When you paint wood, you lay an opaque film over the surface and the grain mostly disappears under it. That is not a flaw; it is the whole point. Paint lets you change a piece’s colour completely, hide mismatched boards, cover old varnish, and give cheap pine or tired MDF furniture a fresh, unified look. If you love the grain of a particular board and want to show it off, paint is the wrong finish — reach for stain or oil instead, and our guide to the best wood stain for beginners will help you choose. If you want a clean colour change and a durable, wipeable surface, paint is exactly right.
This guide walks you through the whole process in order, from choosing a piece worth painting to the final topcoat that keeps it looking good. You will learn how to prep properly (clean, scuff sand, fill), how to prime so the paint actually sticks, how to lay down thin coats without brush marks, how chalk paint, latex paint, and enamel really differ, when to use a brush and when to use a roller, how long to wait between coats and before using the piece, what the whole job costs, and the mistakes that ruin most first attempts. By the end, you will know how to paint wood furniture for beginners woodworking the way experienced painters do it: slowly, in thin layers, with a finish that lasts.
Step 1: Prep the Piece — Clean, Scuff Sand, and Fill
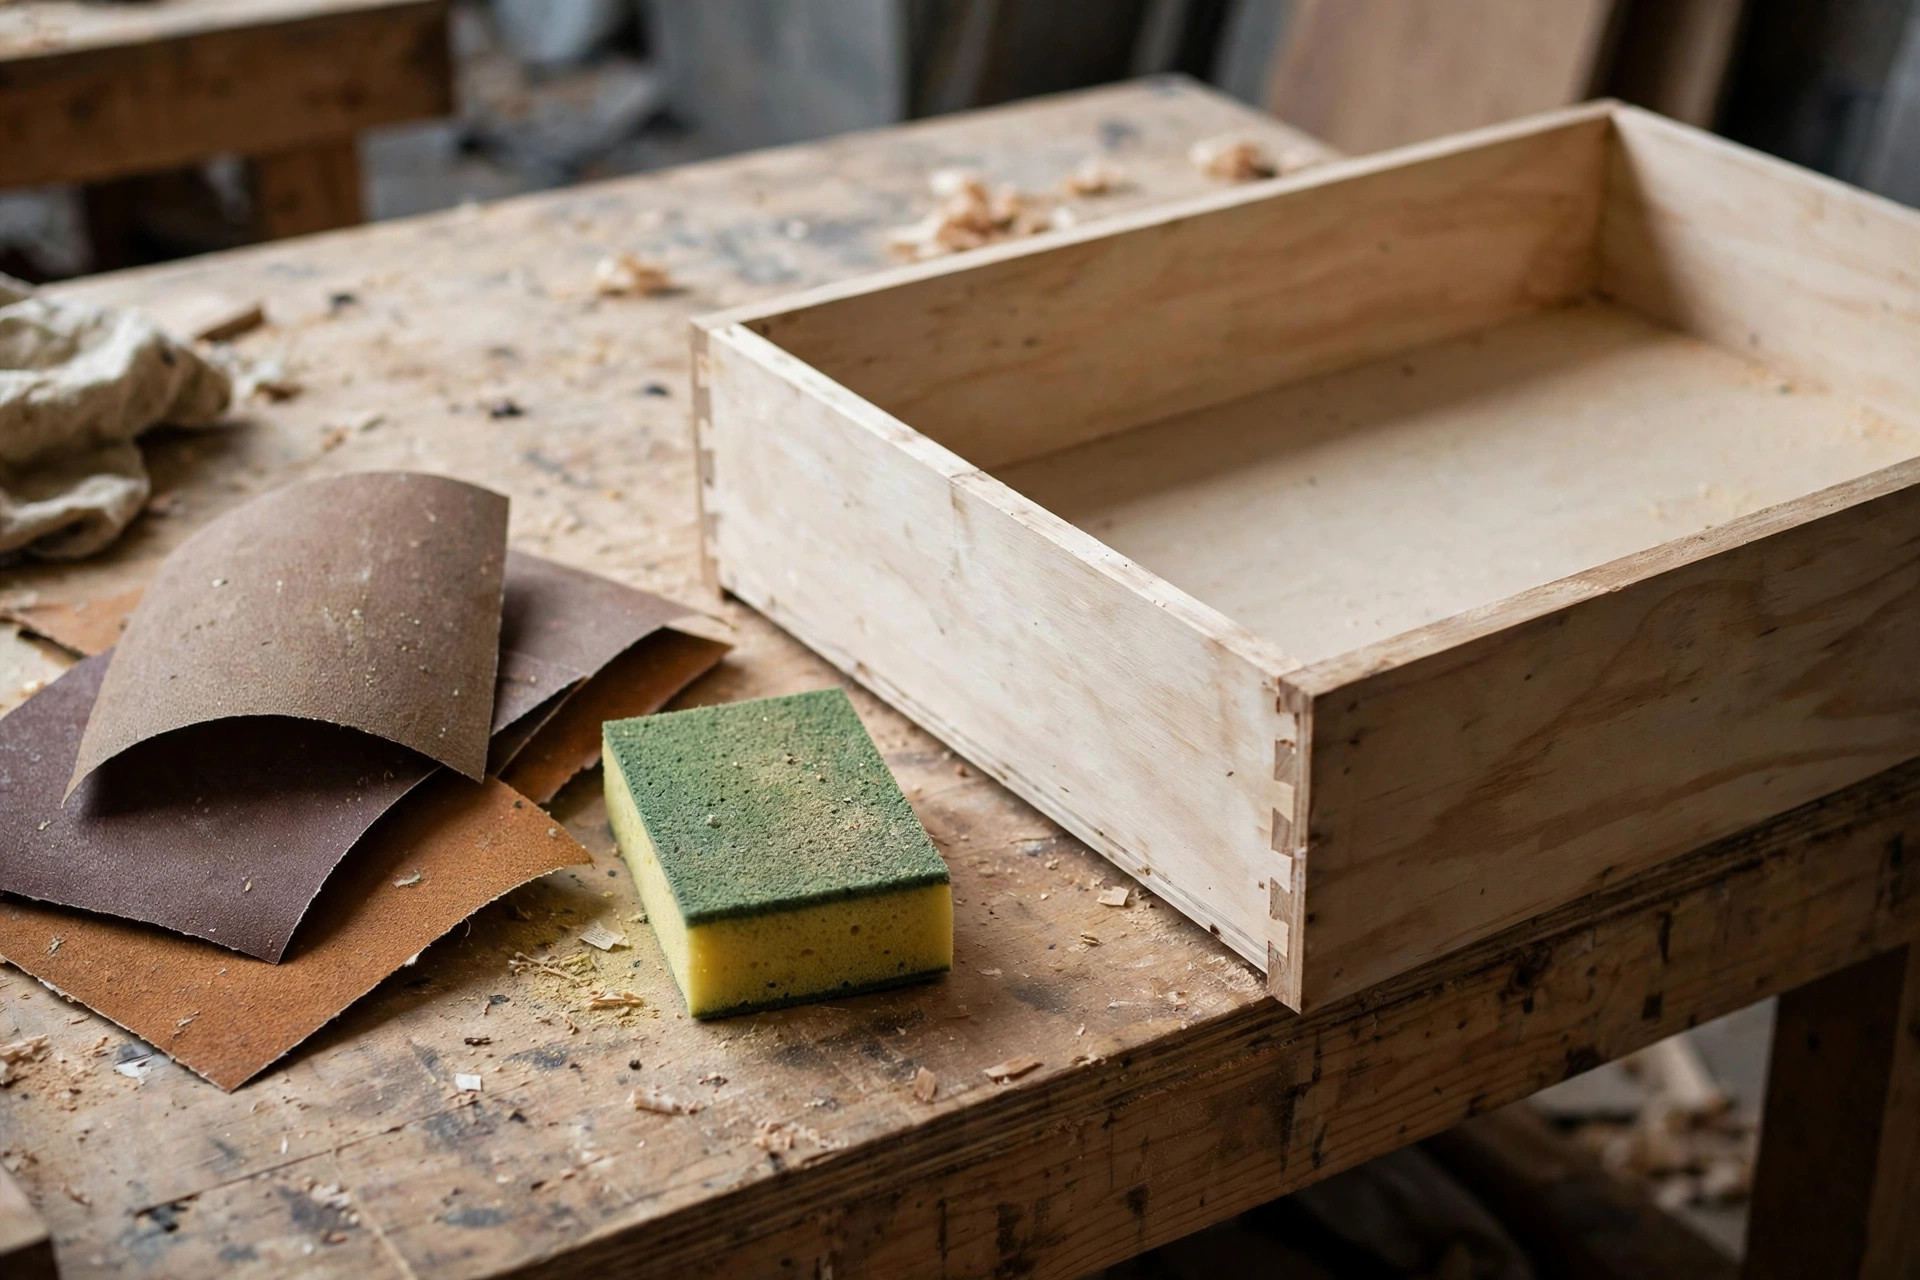
Every beautiful paint job is really a prep job with paint on top. Paint sticks to a clean, slightly roughened surface and slides off a dirty, glossy one. That is why the most common reason painted furniture peels is not bad paint — it is skipped prep. Budget a full hour for prep on a dresser or a chair, and do not rush it. This is the least glamorous part of the job and the one that matters most.
Start by taking the piece apart as far as it sensibly comes apart. Remove drawers, take off doors, unscrew knobs, pulls, and hinges, and put all the hardware in a labelled bag. Painting around hardware is slower, messier, and always leaves a visible edge where the paint stops. While everything is apart, give the whole piece a proper clean. Wipe it down with warm water and a little dish soap, or a sugar-soap solution if it is greasy — kitchen furniture and pieces that lived near a fireplace often carry a film of grease you cannot see but paint can feel. Let it dry completely before you sand anything.
Next comes scuff sanding. You are not trying to strip the piece back to bare wood; you are just roughing up the existing finish so primer has something to grip. A 120-grit sanding sponge or sandpaper is ideal: it follows curves and rounded edges better than a flat block. Sand every surface you plan to paint, always with the grain, using light, even pressure. You will know you are done when the whole surface looks dull and uniformly matte, with no shiny patches left. Wipe away all the dust with a slightly damp cloth, then a dry one, and finally a tack cloth if you have one. Dust left on the surface becomes bumps under your paint, so this step is worth doing twice.
Now fill the damage. Small dents, nail holes, and chips get wood filler applied with a flexible putty knife, pressed in slightly proud of the surface. Let it dry fully — check the tin, but most fillers are ready to sand in one to two hours — then sand it flush with 120-grit, then 180-grit, and dust again. Deeper damage, a loose joint, or a wobbly leg should be glued and clamped before you paint, because paint hides colour, not movement. A joint that flexes will crack any paint film sooner or later. If you are unsure whether your piece is safe to work on, read our woodworking safety tips for beginners before you pick up any tool, and wear a dust mask while sanding — old finishes and filler dust do not belong in your lungs.
One more prep decision: do you need to strip the old finish completely? Usually, no. If the old varnish or paint is firmly stuck, sound, and not flaking, scuff sanding and primer are enough. Strip only if the old finish is peeling over large areas, if there are many layers of flaking paint, or if you are dealing with a waxed surface that primer will not grip. A simple test helps: after cleaning, press a strip of painter’s tape firmly onto the surface and peel it off. If old finish comes away with the tape, that finish is failing and should be scraped or stripped back first. If the tape comes away clean, you are good to scuff sand and prime.
Step 2: Prime for Grip, Coverage, and a True Colour
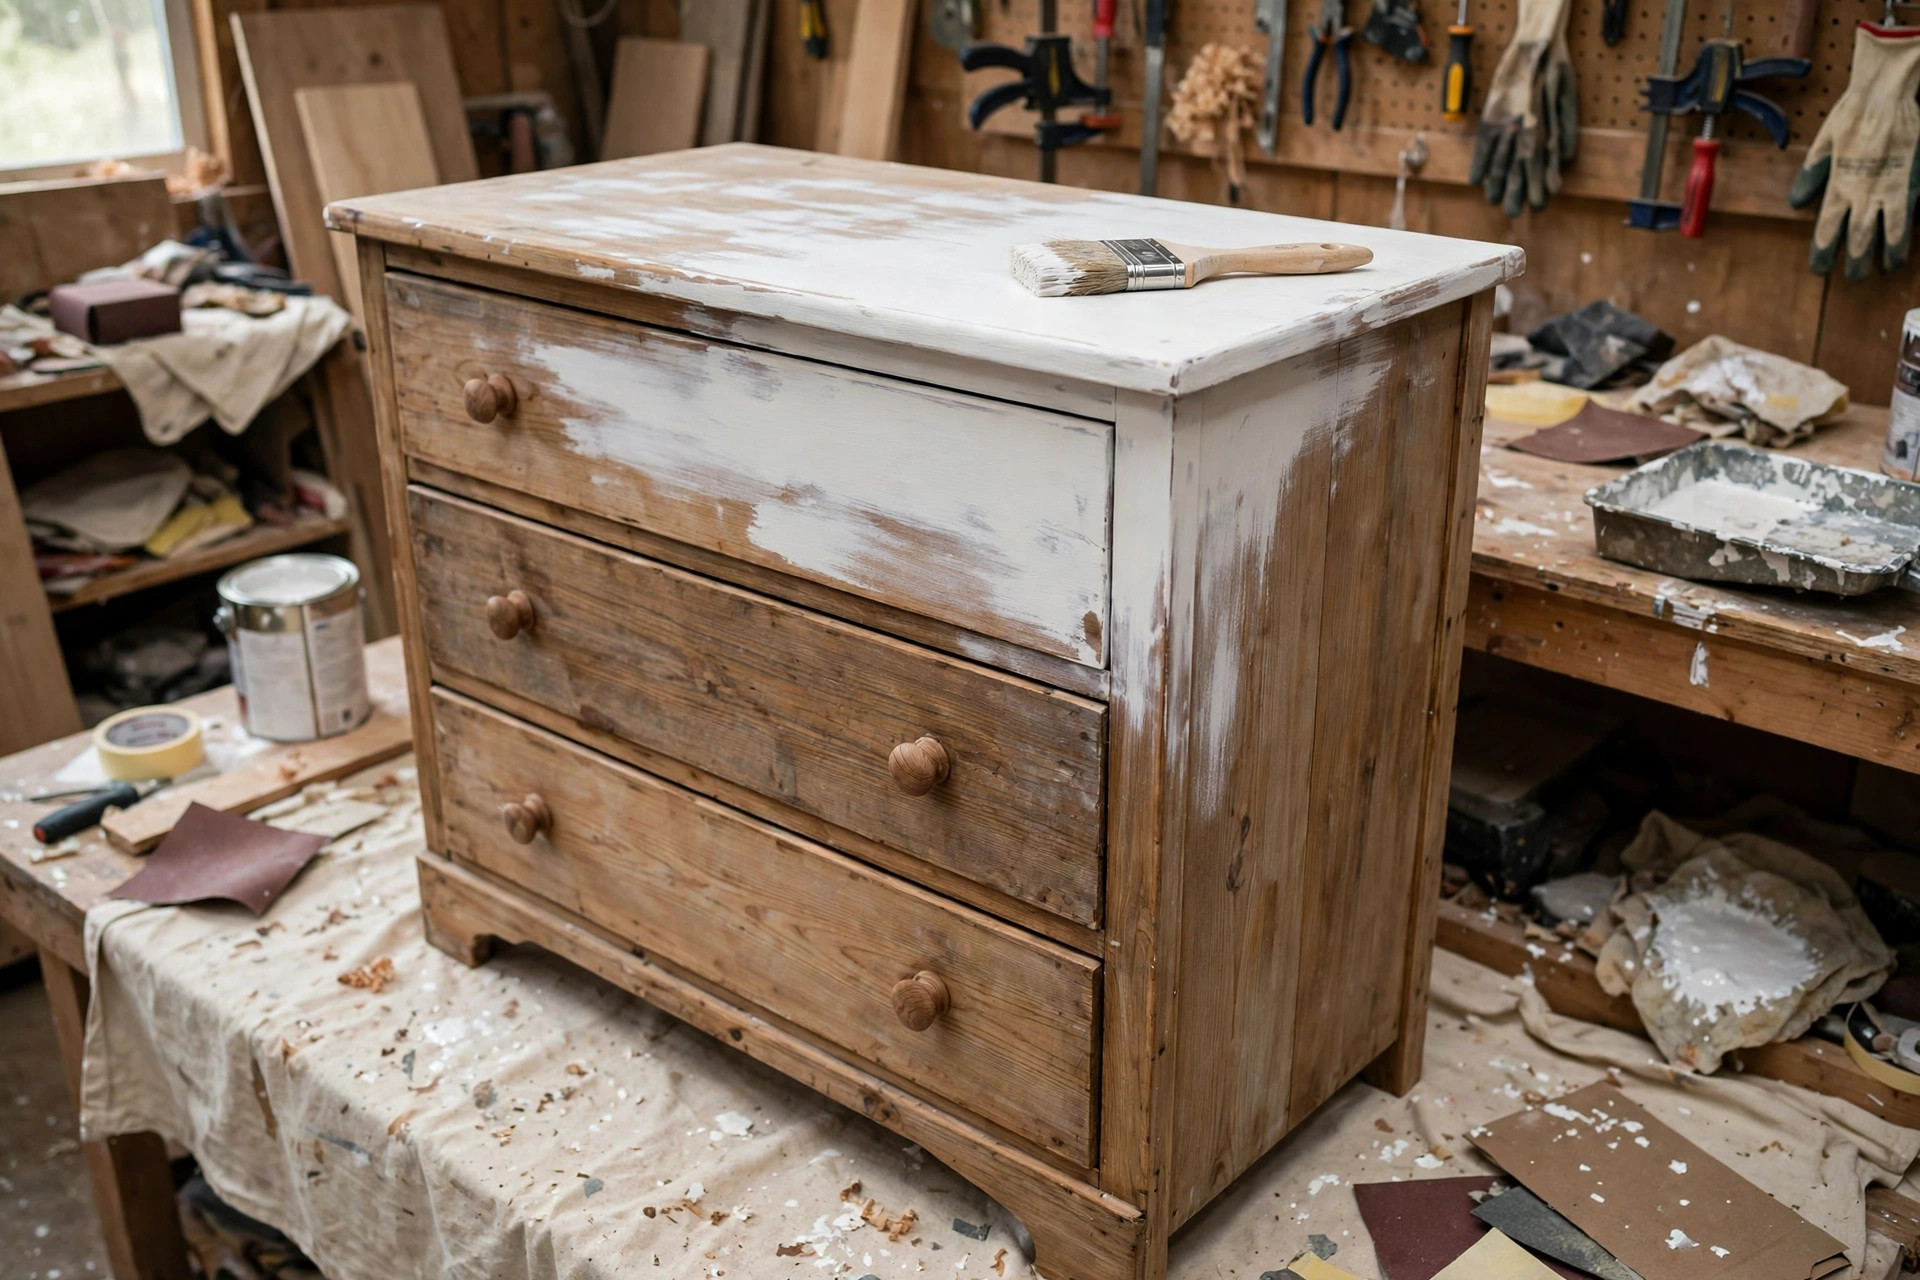
Primer is the step beginners are most tempted to skip, and skipping it is the fastest way to a disappointing result. Primer does three jobs that paint alone does poorly. First, it grips: it bonds to the prepared surface and gives the topcoat something to hold onto. Second, it seals: it stops the wood from drinking in your first coat unevenly, which is what causes blotchy colour. Third, it blocks: a good primer stops stains, knots, and tannins bleeding through your colour coats. On oak, pine knots, mahogany, and any piece with water marks or nicotine staining, primer is not optional — it is the difference between a clean white dresser and one with yellow-brown ghosts showing through a week later.
Choose your primer to match your paint and your piece. A water-based (latex) primer is easy to clean up, dries fast, and suits most indoor furniture. A shellac-based primer is the heavy artillery: it blocks stubborn tannin bleed and old stains better than anything else, dries in under an hour, and works under almost any paint, but it smells strongly and needs a well-ventilated space and denatured alcohol for cleanup. An oil-based primer sits in between — excellent adhesion and stain blocking, slower drying, and messier cleanup. For a first project on a normal piece, a good water-based bonding primer is the sensible default. If you are painting oak, pine with visible knots, or a piece with stains, reach for the shellac-based primer and spot-prime the knots and stains first, then prime the whole piece.
Apply primer the same way you will apply paint: in a thin, even coat. Brush it on with a good synthetic brush, working with the grain, and do not try to achieve full coverage in one pass. One thin coat is enough on most pieces; two thin coats are worth it on very porous wood, raw MDF edges, or stain-prone timber. Let the primer dry fully — usually one to two hours for water-based primer, check the tin — then sand it lightly with 220-grit sandpaper. Primer sands beautifully and this quick pass knocks off any raised grain or dust nibs, leaving a glassy base for your colour coats. Dust off thoroughly before you open the paint. If you sand through to bare wood in a spot, just touch it up with a dab of primer and let it dry again. That extra ten minutes is what separates a smooth finish from one that looks fine from across the room and rough from two feet away.
Step 3: Choose Your Paint — Chalk vs Latex vs Enamel, Explained Simply
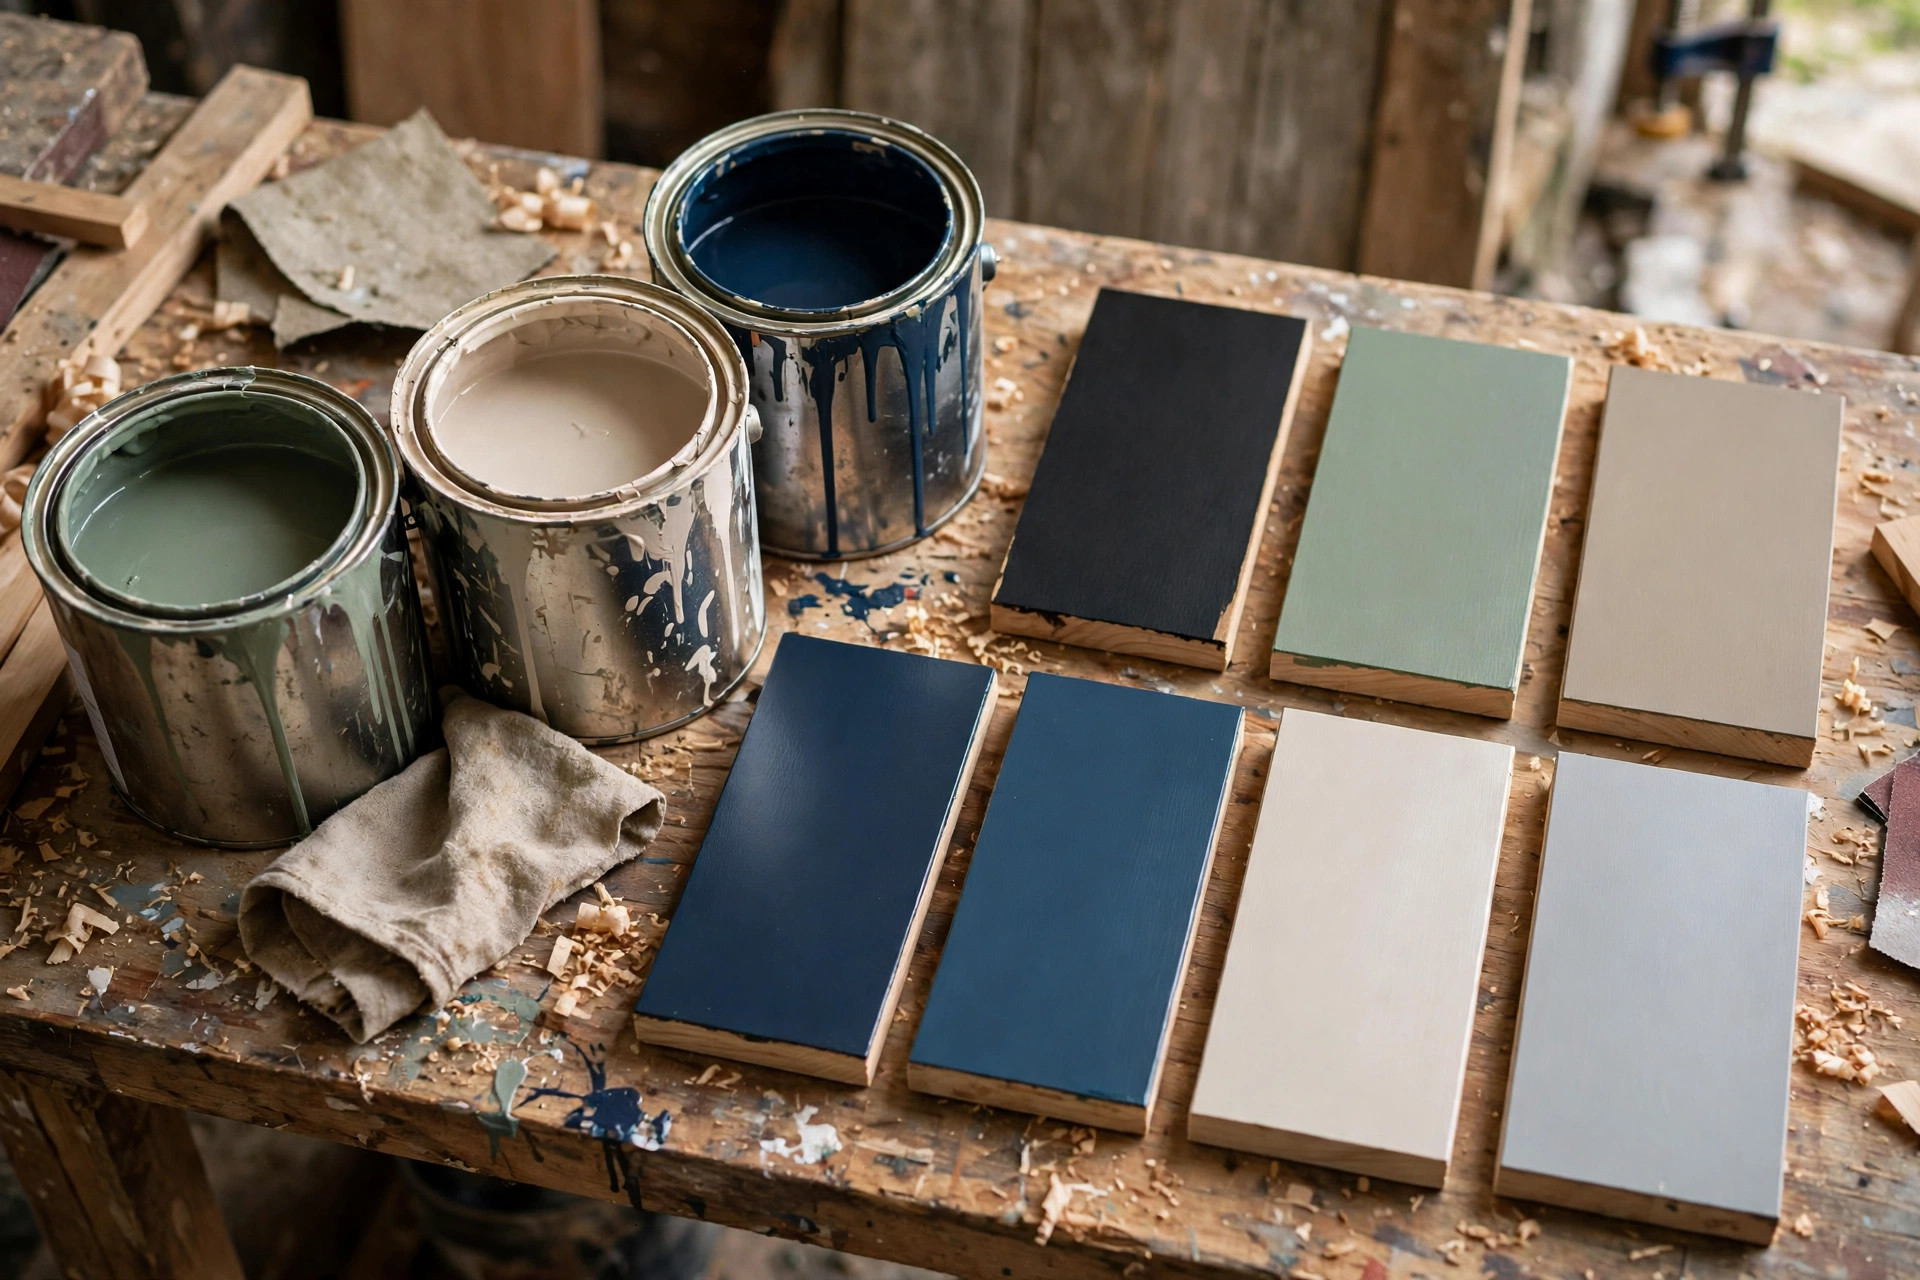
Walk into a paint aisle and the choice feels overwhelming: chalk paint, latex paint, enamel, milk paint, mineral paint, cabinet paint. For a beginner painting indoor furniture, the decision is really between three families, and each one has a clear personality. Understanding them in plain language saves you from buying the wrong tin for the job.
Chalk paint is the beginner-friendly favourite for a reason. It is thick, it sticks to almost anything with minimal prep, it dries fast, and it gives a soft, matte, slightly chalky finish that suits shabby-chic and farmhouse styles. It is also very forgiving: brush marks tend to melt away, and you can distress edges with sandpaper for a vintage look. The trade-offs are real, though. Chalk paint is not very durable on its own — it must be sealed with wax or a clear topcoat, or it will mark, stain, and wear quickly. It is also expensive per litre compared with latex, and its ultra-matte finish is not ideal for a kitchen table that gets wiped daily. Choose chalk paint for decorative pieces, bedroom furniture, and side tables where looks matter more than hard wear.
Latex paint — sold as wall paint, acrylic paint, or emulsion depending on where you live — is the workhorse. It is affordable, widely available in any colour, easy to clean up with water, low-odour, and comes in finishes from flat to satin to semi-gloss. A good-quality latex paint in satin or semi-gloss, applied over primer, makes a durable, wipeable surface that suits most furniture. Its weakness is that cheaper latex paints can feel slightly soft and can block — that is, two painted surfaces left touching, like a drawer front against a frame, can stick together. Using a quality paint, letting it cure fully, and choosing a satin or semi-gloss finish largely solves this. For most beginners, a quality latex paint is the best-value choice for dressers, tables, and chairs that get real daily use.
Enamel is the durability champion. The word “enamel” describes the finish, not a single ingredient: modern furniture enamels are usually water-based acrylic enamels that dry to a hard, smooth, slightly glossy film that resists scuffs, moisture, and cleaning. They are the best choice for kitchen cabinets, dining tables, children’s furniture, and anything that will be wiped, knocked, and used hard. The price is a longer learning curve: enamels show brush marks more readily than chalk paint, they need careful thin application, and they take longer to cure to full hardness. If you are painting a piece that will work hard, enamel repays the extra care many times over. For a first project, though, a latex paint is easier to control, and you can graduate to enamel on your second or third piece.
| Paint type | Finish and feel | Durability | Prep needed | Best for | Watch out for |
|---|---|---|---|---|---|
| Chalk paint | Soft, ultra-matte, chalky | Low unless sealed with wax or topcoat | Minimal; often no primer | Decorative pieces, farmhouse style, distressing | Must be sealed; costly; marks easily unsealed |
| Latex (acrylic) paint | Flat to semi-gloss, smooth | Good, especially satin and semi-gloss | Primer recommended | Dressers, tables, chairs, most indoor furniture | Cheap paints can stay soft and block; cure fully |
| Enamel (acrylic) | Hard, smooth, satin to gloss | Excellent; scuff and moisture resistant | Primer essential | Kitchen cabinets, dining tables, children’s furniture | Shows brush marks; longer cure time; needs thin coats |
A note on finishes, since they confuse everyone. Flat and matte hide imperfections but mark easily and are hard to clean. Eggshell is a soft, low sheen that suits bedroom furniture. Satin is the sweet spot for most furniture: a gentle sheen, wipeable, and forgiving of small surface flaws. Semi-gloss is shinier, tougher, and easier to clean, but it shows every bump and brush mark, so your prep and sanding need to be better. For a first painted piece, satin is almost always the right call. And always buy a small sample pot and paint a test board — or the inside of a drawer front — before committing to a whole dresser. Colour looks different on wood, in your room, and under your lighting than it does on a shop chart.
Step 4: Brush vs Roller, and the Thin-Coat Technique
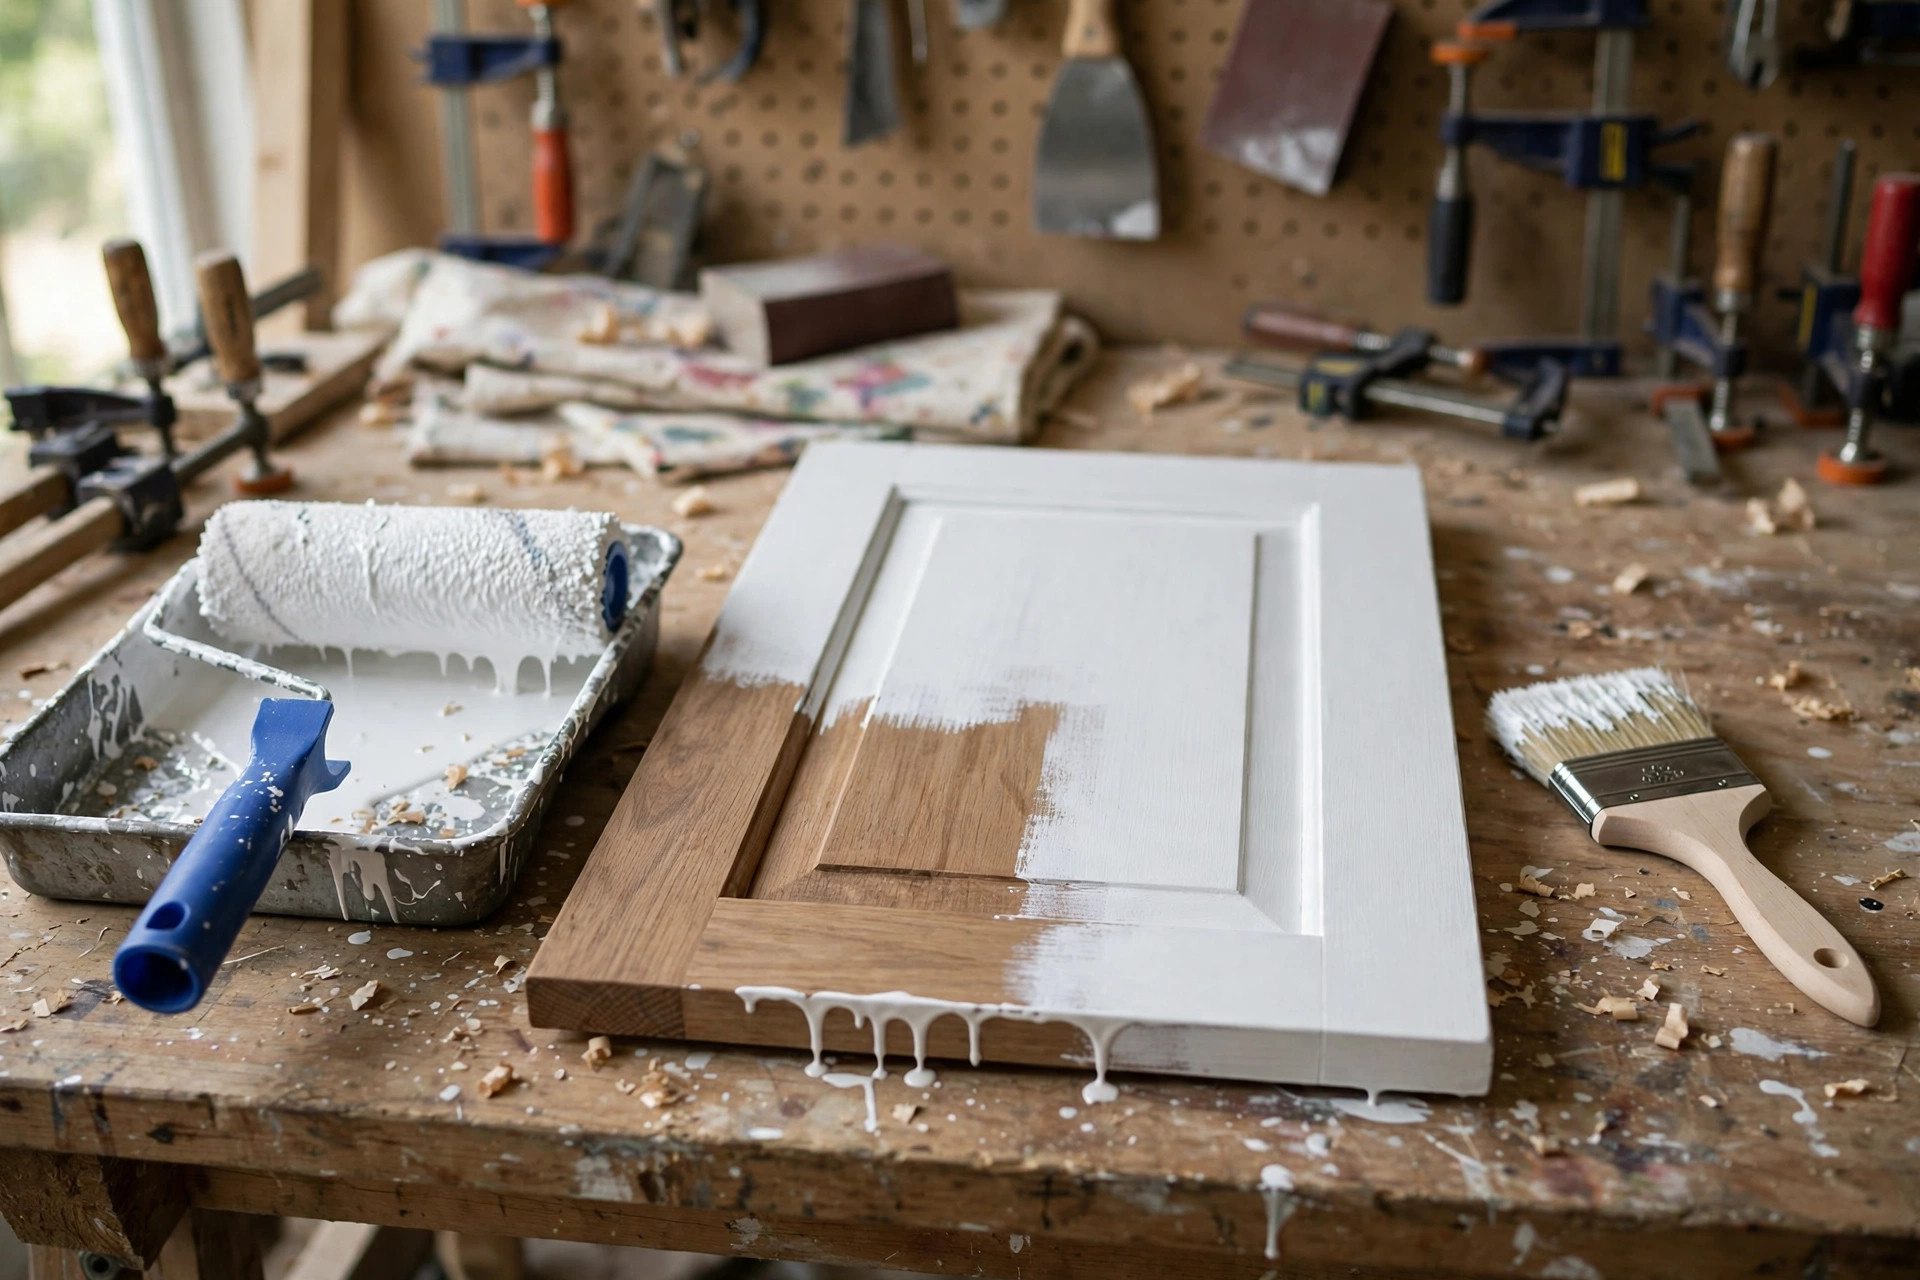
Here is the secret of a smooth finish, and it fits in one sentence: several thin coats always beat one thick coat. A thick coat drips, sags, traps dust, takes forever to dry, and dries with visible brush marks and an orange-peel texture. Thin coats level out as they dry, hide brush marks, and build into a harder, smoother film. Plan on two to three thin colour coats over primer, and do not judge the finish after coat one — the first coat always looks patchy, and that is normal.
Brush or roller? Use both, in the right places. A good-quality angled synthetic brush — around 50 mm (2 inches) for most furniture — is your main tool. It gets into corners, along edges, around mouldings, and into the detailed parts of a chair or a panelled door. Load the brush lightly: dip only the bottom third of the bristles, tap off the excess against the inside of the tin (never wipe it on the rim, which leaves drips and a messy tin), and lay the paint on in long strokes with the grain. Then, without reloading, lightly drag the brush back over the same area in one smooth pass to level it — painters call this “laying off” — and move on. Going back over paint that has started to dry is how brush marks happen, so work steadily and resist the urge to keep touching up a section.
A small foam or microfibre mini roller is brilliant for large flat areas: dresser drawer fronts, table tops, cabinet doors, and side panels. It lays paint on faster and more evenly than a brush, with almost no brush marks. The technique is simple: roll the paint on in a “W” pattern to spread it, then roll back over it in straight, even passes with the grain to level it, using light pressure. Rollers struggle with detail, edges, and inside corners, so the winning combination for most pieces is roller for the flats, brush for the edges and details, and a final light brush pass over the rolled areas while the paint is still wet to blend the two textures together.
Work in a sensible order so you never have to reach across wet paint: start with the inside edges and details, then the large flat areas, then the outer edges last. On a dresser, paint the drawer fronts separately from the carcass, and paint the frame before you slide the drawers back in. On a chair, paint the spindles and legs first, then the seat. Keep a damp cloth nearby for drips — catching a drip while it is wet takes two seconds, while sanding one out later takes ten minutes. And paint in good light, ideally daylight or a bright workshop light held at an angle, because brush marks and missed spots are invisible in dim light and obvious the next morning.
Step 5: Sand Between Coats, Then Let It Dry and Cure
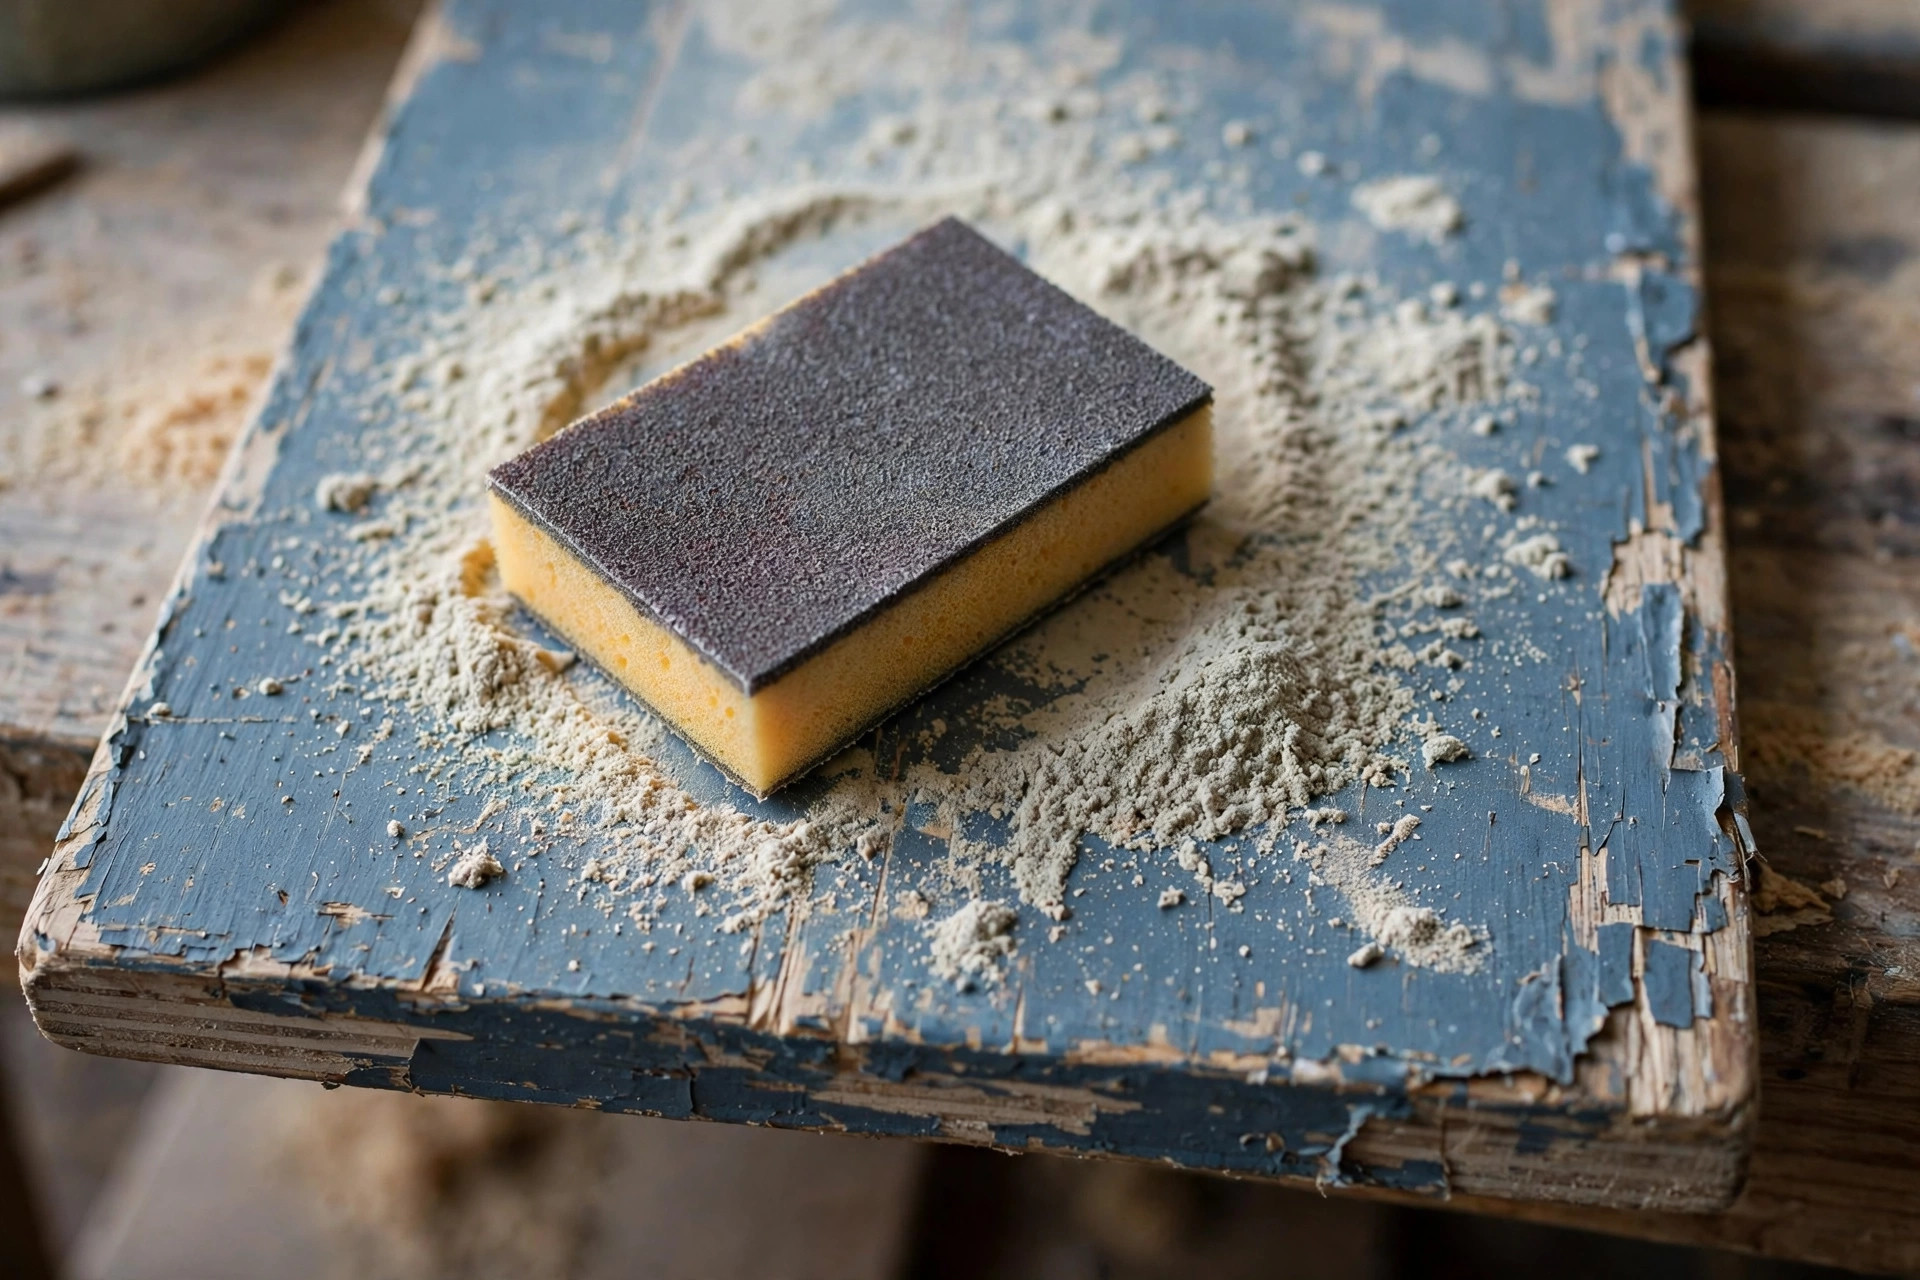
Sanding between coats is the step that turns a good paint job into a smooth one, and it takes only a few minutes per coat. Once a coat is fully dry — not just dry to the touch, but dry right through — give it a very light pass with 220-grit sandpaper or a fine sanding sponge. You are not removing paint; you are knocking off dust nibs, tiny brush ridges, and any raised grain. Use almost no pressure, sand with the grain, and wipe off all the dust with a tack cloth before the next coat. If you sand through to primer in a spot, do not panic: just paint over it with the next coat, which will cover it. Two minutes of sanding between coats is the cheapest upgrade in all of furniture painting.
Drying and curing are two different things, and confusing them is a classic beginner mistake. Drying means the paint is dry to the touch and ready for the next coat — typically one to two hours for water-based paint, longer in cold or humid conditions. Curing means the paint film has fully hardened and reached its maximum durability, and that takes much longer: water-based paints usually cure in two to four weeks. During the curing period, the finish is still slightly soft, so treat the piece gently. Do not stack heavy objects on it, do not press tape or stickers onto it, and do not slide drawers in and out roughly. Drawers and doors are the biggest risk: freshly painted surfaces that touch can stick together, a problem called blocking. Leave drawers slightly open and doors ajar for the first few days, and if you must close them, a thin strip of wax paper between the touching surfaces prevents sticking while the paint cures.
Temperature and humidity matter more than most beginners expect. Paint in a room between about 15 and 25 degrees Celsius, with moderate humidity, and avoid painting on very humid or rainy days — moisture in the air slows drying and can leave a cloudy or tacky finish. If you are painting in a garage in winter, bring the piece indoors to dry, or wait for a milder day. Rushing a second coat onto paint that is not dry enough is the single most common cause of peeling and wrinkling, so when in doubt, wait another hour. The tin’s stated recoat time is a minimum, not a target, and cold or damp air can easily double it.
Step 6: Protect It with a Topcoat, Then Style the Finished Piece
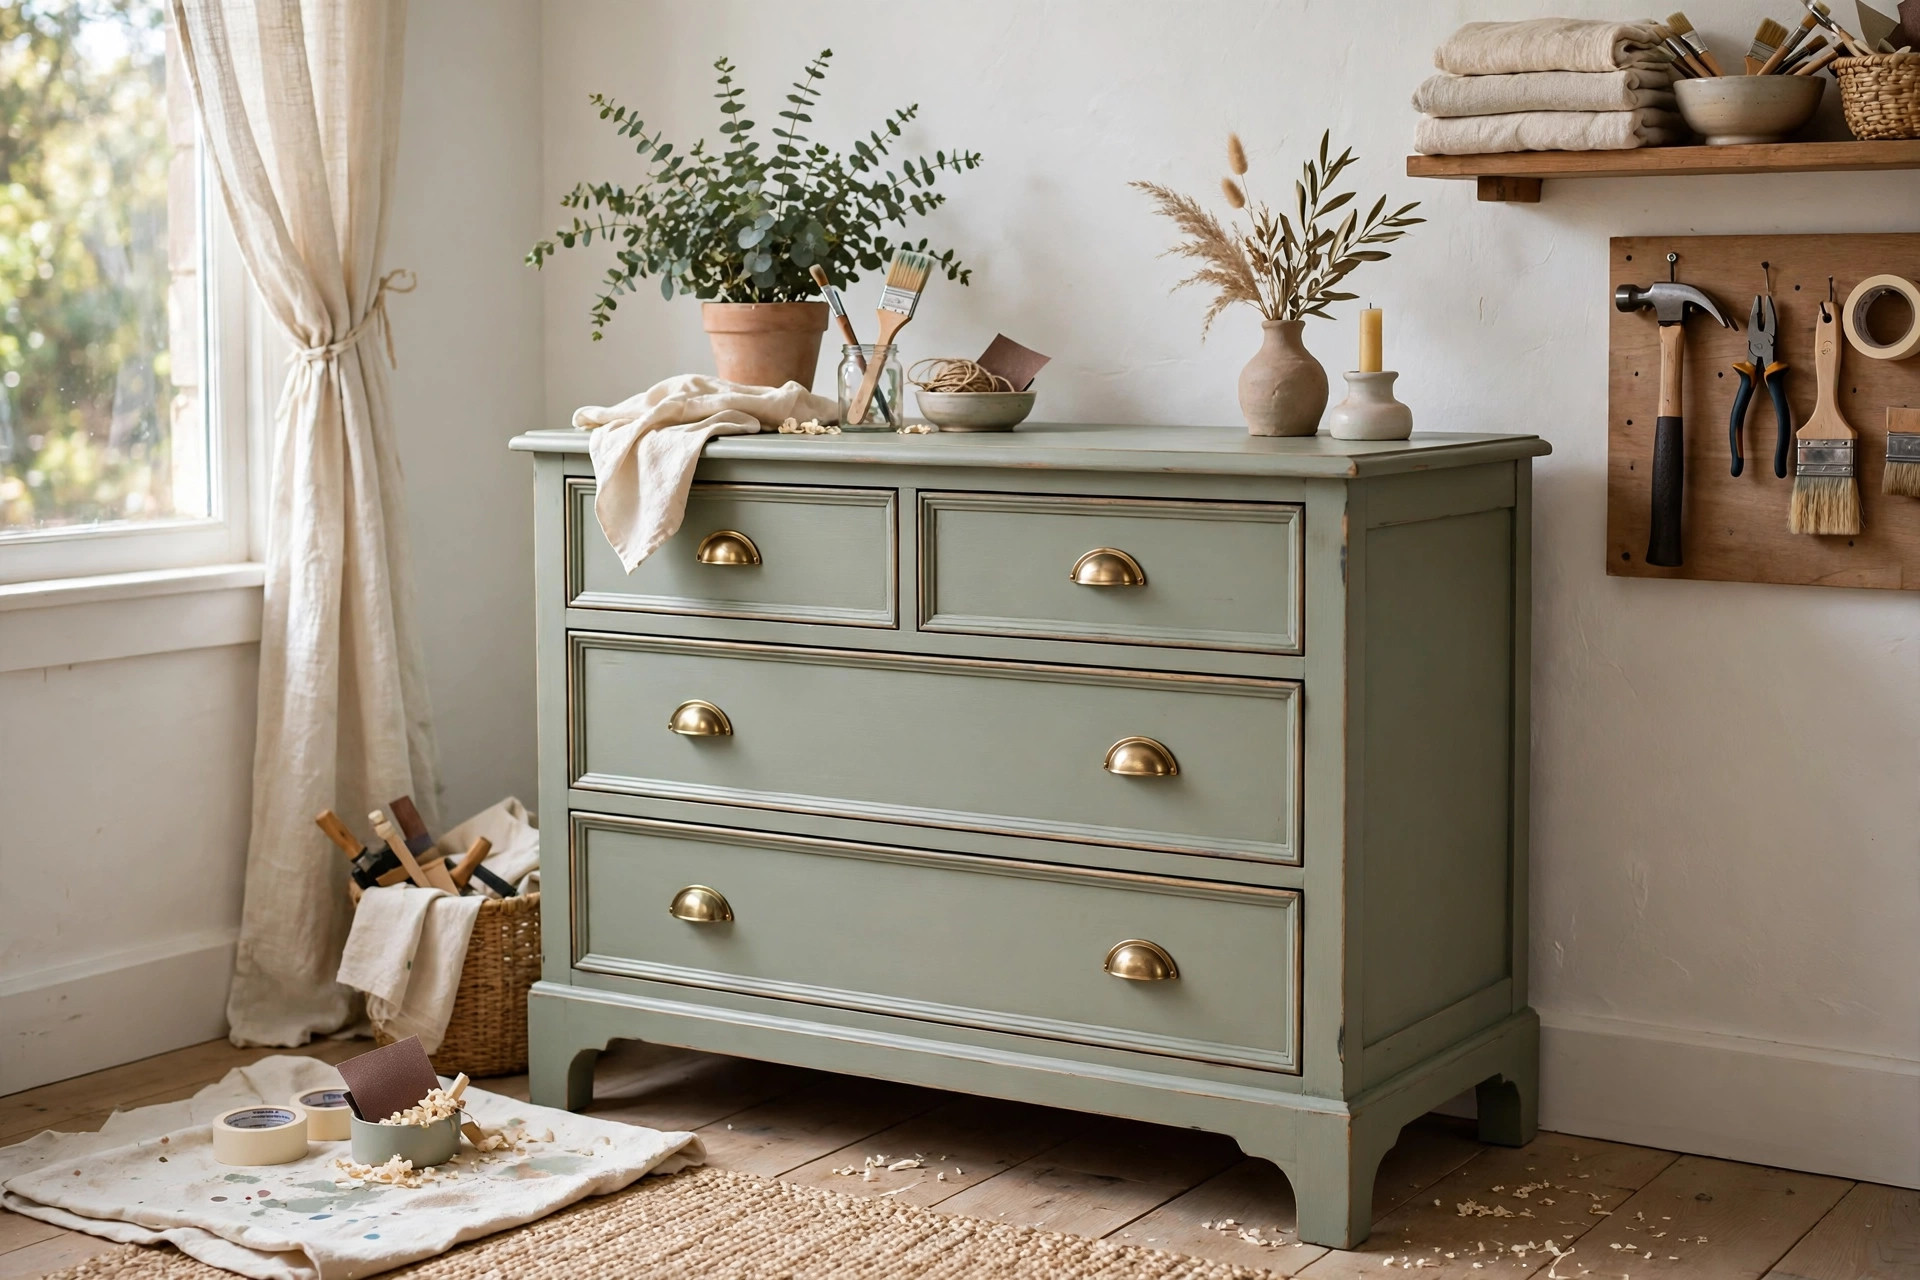
A topcoat is a clear protective layer over your colour coats, and whether you need one depends on your paint and your piece. Chalk paint always needs sealing — with furniture wax or a clear water-based topcoat — or it will stain and wear almost immediately. Latex paint in satin or semi-gloss on a low-traffic piece often does fine without a topcoat, but a clear topcoat adds real durability to tabletops, dining tables, and anything that will be wiped often. Enamel is already hard and durable, so a topcoat is usually unnecessary unless you want extra protection on a very hard-working surface.
If you do topcoat, choose a water-based polyurethane or a clear furniture topcoat in a sheen that matches or complements your paint — matte topcoat over chalk paint, satin over satin. Apply it exactly like paint: thin coats, with the grain, sanding very lightly with 220-grit between coats, and two to three coats for a tabletop. Avoid oil-based polyurethane over white or pale paint, because it yellows over time and will turn your crisp white dresser cream. Water-based topcoats stay clear, which is why they are the right choice for light colours. Let the topcoat cure the same way you let the paint cure — gently for the first couple of weeks — and the finish will reward you with years of wipe-clean service.
When the piece is cured, reassemble it. Refit the hardware, and consider whether new knobs or pulls would lift the whole piece — a ten-minute hardware swap is the highest-impact finishing touch in furniture painting, and it is often cheaper than the paint itself. If you painted a piece with the idea of selling it, this is where the work pays: buyers notice smooth finishes, clean edges, and neat hardware far more than they notice the paint brand. Our pillar guide to easy woodworking projects for beginners that sell explains what buyers actually look for, and a well-painted piece is one of the easiest projects to list. Photograph the finished piece in daylight, against a plain background, before you use it — that photo is your record of what a careful first paint job can look like, and your best advertisement for the next one.
| Step | What you do | Typical time | Typical cost |
|---|---|---|---|
| Clean and scuff sand | Wash, dry, sand with 120-grit, dust off | 45–90 minutes | Sandpaper and sponges, ~£5–£10 |
| Fill and repair | Fill dents and holes, sand flush | 30–60 minutes plus drying | Wood filler, ~£5–£8 |
| Prime | 1–2 thin coats, sand lightly between | 1–2 hours plus drying | Primer, ~£10–£20 |
| Paint | 2–3 thin coats, sand lightly between | 2–4 hours across 1–2 days | Paint, ~£15–£30 |
| Topcoat (if needed) | 2–3 thin clear coats | 1–2 hours plus curing | Topcoat or wax, ~£10–£20 |
| Cure before heavy use | Leave drawers ajar, handle gently | 2–4 weeks | Nothing but patience |
| Total for a dresser | A weekend project, mostly waiting | 6–10 hours of work | Roughly £45–£90 in materials |
Costs vary by region and by how much you already own — brushes, a sanding block, and a dust mask are one-time buys that serve every future project — but the key point is that painting furniture is cheap compared with buying new. A £60 paint job can transform a piece that would cost £300 to replace, and the skills transfer directly to your next piece. If you want to practise the sanding and finishing side of the craft more deeply, our guide on how to sand and finish wood for beginners covers the techniques that make every finish, painted or stained, look better.
Common Mistakes That Ruin a First Paint Job
Most first paint jobs fail in predictable ways, and every one of them is avoidable. The biggest is thick coats: loading the brush, laying paint on heavily, and hoping one coat will do it. It will not — it will drip, sag, and dry with texture. Thin coats, always. The second is skipping primer, especially on oak, pine knots, and previously varnished pieces, which leads to peeling and to tannin bleed — those yellow-brown stains that seep through white paint like a ghost. If you see bleed after your first colour coat, do not just add more paint; the stain will keep coming through. Seal the spot with a shellac-based primer, let it dry, and then repaint.
The third mistake is painting over a dirty or glossy surface, which is really the same as skipping prep: clean, scuff sand, dust off, every time. The fourth is impatience — recoating before the previous coat is dry, or putting a painted drawer back into service before it has cured, which causes blocking, sticking, and peeled patches. The fifth is using the wrong brush: a cheap, shedding brush leaves bristles in your finish and streaks across it, while a good synthetic brush for water-based paint makes the whole job easier. Spend a little more on one good brush and clean it properly after every session — wash it in warm soapy water, reshape the bristles, and hang it to dry — and it will last for many pieces.
Two more mistakes deserve a mention. One is painting in the wrong conditions: a cold garage, a humid day, or dusty air will all show up in the finish, so pick a mild, dry day and a clean space. The other is forgetting to test the colour. A colour that looks perfect on a shop card can look entirely different on a large dresser in your room’s light. Test pots are cheap, repainting a dresser is not. Finally, remember the safety basics throughout: a dust mask while sanding, gloves if you are using shellac-based primer or stripper, and good ventilation whenever paint is open. The full checklist is in our woodworking safety tips for beginners.
Frequently Asked Questions
Do I need to sand before painting wood furniture?
Yes, in almost every case. You do not need to strip the piece to bare wood, but you do need to scuff sand the whole surface with 120-grit sandpaper so the primer can grip. Sanding also removes gloss, smooths small flaws, and gives you a dull, even surface for paint. The only common exception is some chalk paints, which are formulated to stick with minimal prep — but even then, a light scuff sand gives a more durable result.
Do I really need primer before painting furniture?
Yes, unless you are using a paint specifically labelled as paint-and-primer in one on a sound, previously painted surface — and even then, primer is still the safer choice on bare wood, oak, pine knots, and stained pieces. Primer improves adhesion, evens out absorption so colour looks uniform, and blocks tannin bleed and stains from showing through your colour coats. Skipping primer is the most common cause of peeling and blotchy colour.
What is the best paint for wood furniture for a beginner?
A good-quality latex (acrylic) paint in a satin finish is the best all-round beginner choice: affordable, easy to apply and clean up, available in any colour, and durable enough for most furniture. Chalk paint is easier to apply and lovely for decorative pieces but must be sealed and wears faster. Enamel is the most durable option and the best choice for kitchen cabinets and dining tables, but it shows brush marks more easily and takes longer to cure.
How do I avoid brush marks when painting furniture?
Use thin coats, a good-quality synthetic brush, and a light hand. Load the brush lightly, lay the paint on with the grain, then lightly drag the unloaded brush back over the section once to level it — and stop touching it. Sand very lightly with 220-grit between coats. For large flat areas, use a small foam or microfibre roller and finish with a light brush pass to blend the textures. Never go back over paint that has started to dry.
How long does painted furniture take to dry and cure?
Water-based paint is usually dry to the touch in one to two hours and ready for recoating after the time stated on the tin, often two to four hours. Full curing — the point where the finish reaches maximum hardness — takes two to four weeks. During curing, handle the piece gently, keep drawers slightly open to prevent sticking, and avoid stacking heavy objects on painted surfaces.
Can I paint over varnished wood without stripping it?
Yes, if the varnish is sound and firmly attached. Clean the piece thoroughly, scuff sand the whole surface with 120-grit until it is uniformly dull, dust it off, and prime before painting. Strip the old finish only if it is peeling, flaking, or waxed, or if a tape test pulls old finish away with it. Primer over a well-scuffed varnish gives excellent adhesion without the mess of stripping.
Final Word: Your First Painted Piece
Painting furniture rewards exactly the qualities that make a good woodworker: preparation, patience, and thin, careful layers. Your first piece will not be perfect — nobody’s is — but if you clean and scuff sand properly, prime, lay down two or three thin coats, sand lightly between them, and give the finish time to cure, it will look far better than you expect, and it will last. Start with a small piece — a chair, a side table, a single drawer front — and practise the whole sequence on something low-stakes. Then take on the dresser, the wardrobe, or the kitchen table with confidence. Paint hides grain while stain and oil show it, so choose paint when you want a clean colour change, and enjoy the transformation: a tired piece of furniture, a weekend of patient work, and a finish you can be proud of every time you walk past it.


