
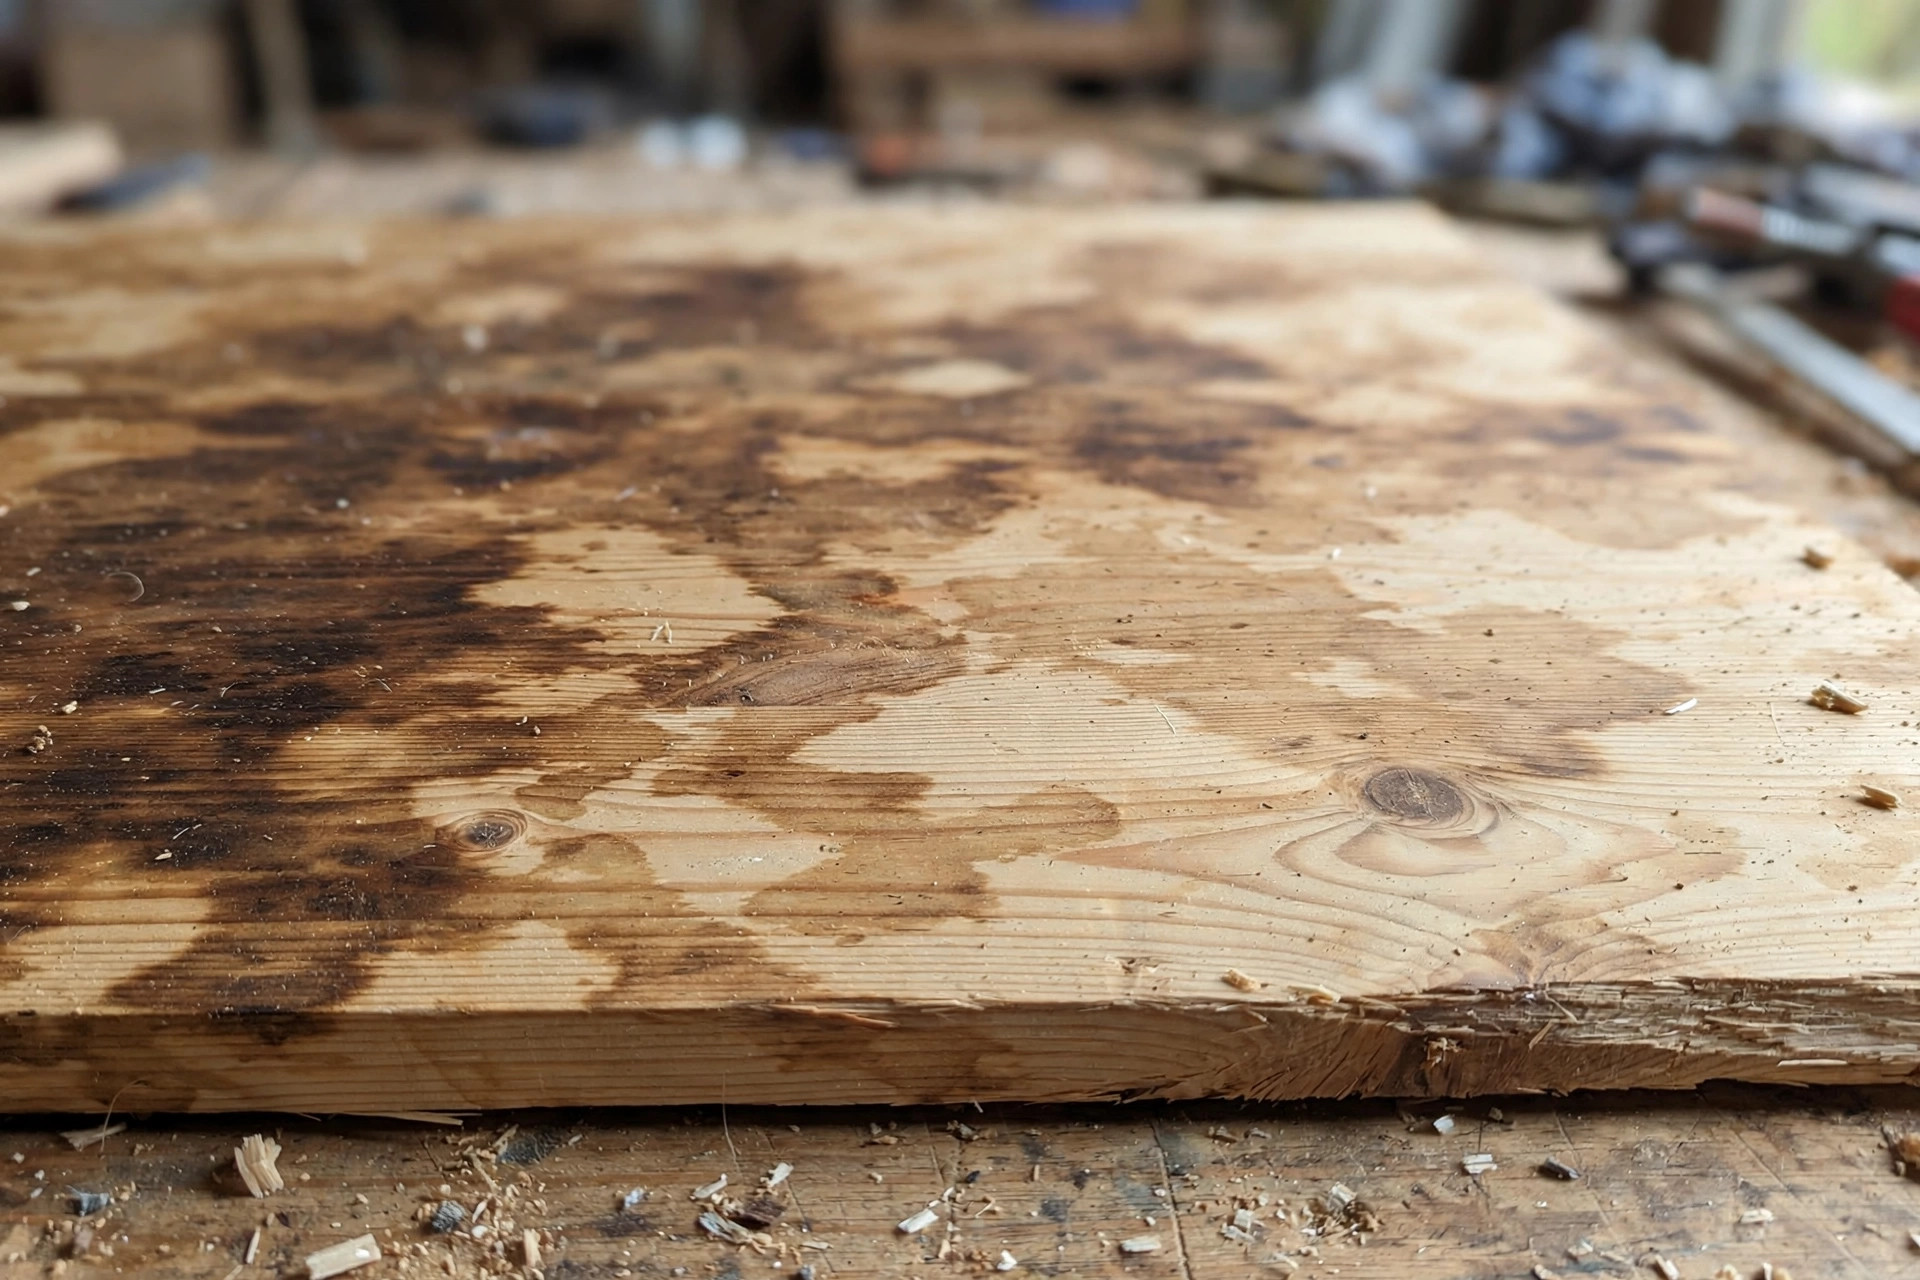
You spent a weekend building a shelf, a tabletop, or a small cabinet. The joints are tight, the edges are smooth, and then you brush on the stain — and instead of the rich, even colour on the can, you get dark splotches, pale patches, and streaks that look like a bad dye job. Take a breath. Learning how to fix blotchy wood stain for beginners is one of the most useful rescue skills in woodworking, because almost every beginner meets this problem, and almost every blotchy project can be saved.
Blotching is not a sign that you ruined the wood, and it is rarely a sign that you bought the wrong stain. It is what happens when a wood surface absorbs stain unevenly. Some parts of the board drink the stain in deeply and turn dark, while denser or sealed-off parts take up very little and stay pale. Once you understand why that happened on your board, you can choose the right fix: sand the stain back and start again properly, cover the uneven colour with a gel stain or a glaze, or — in the worst cases — strip the piece and begin from bare wood. This guide walks you through each option in order, from the gentlest fix to the full restart, so you do not do more work than your project actually needs.
The short answer, for readers in a hurry, is this: if the blotching is mild, try a glaze or toner coat first, because it is the fastest rescue and it does not remove any wood. If the blotching is moderate to severe, sand the stain back to bare wood, sand evenly to 180–220 grit, apply a pre-stain conditioner, let it dry for about 15 minutes, and stain within 2 hours. That sand-back-and-condition routine is the most reliable fix, and it is also the routine that prevents the problem on your next project. If the stain has soaked very deeply, the board is badly scratched, or you have already sanded through a veneer, starting over with a fresh board is cheaper in time and frustration than fighting the old one. The rest of this guide explains how to tell which situation you are in, and exactly how to do each fix without making the blotching worse.
Why Wood Stain Goes Blotchy in the First Place
Blotching is an absorption problem, not a colour problem. Wood is not a uniform material. Even within a single pine board, the earlywood (the soft, fast-growing part of each growth ring) is porous and soaks up stain eagerly, while the latewood (the hard, dense part of the ring) absorbs far less. The result is the classic pine look that beginners dread: dark stripes where the soft grain drank the stain, and pale stripes where the dense grain resisted it. Knots, grain reversals, and patches where glue squeezed out and dried on the surface make the effect worse, because glue seals the wood and blocks stain completely, leaving a pale ghost of the glue mark.
Some species are famous for blotching, and knowing whether your wood is on that list is half the diagnosis. Pine is the classic offender, and it is also the wood most beginners build with, which is why this problem feels so common. Birch, maple, alder, fir, and aspen are also blotch-prone, for the same reason: their grain structure absorbs stain unevenly, especially with thin, penetrating oil stains. By contrast, oak, walnut, mahogany, and cherry (though cherry can darken unevenly over time) tend to stain far more evenly, because their pore structure takes up stain more consistently. That does not mean you should avoid pine or maple — both are beautiful, affordable beginner woods — but it does mean you should treat them as woods that need a conditioner and a test board, every time, as part of learning how to fix blotchy wood stain for beginners before the problem even starts.
Sanding mistakes are the second big cause, and they are entirely avoidable. If you sand one area to 120 grit and another to 320 grit, the coarser area has open pores and will stain dark, while the finer area is burnished smooth and will stain pale. That is the burnishing warning every beginner should learn: sanding finer is not always better. For most stain work, stop at 180–220 grit. Sanding to 320 or 400 grit before staining can polish the surface so smooth that the stain cannot grip, and the colour comes out weak and patchy. Uneven hand pressure, skipping grits, and sanding with the grain in one spot and across it in another all create the same patchy absorption. A related culprit is leftover finish, old stain, or sanding dust in the pores, which blocks stain in random patches. And finally, technique matters: wiping stain on thickly in one area and thinly in another, letting pools of stain sit and dry on the surface, or staining in cold, damp conditions can all leave uneven colour even on a well-prepared board.
| Blotch-prone wood | Why it blotches | Risk level | Best prevention |
|---|---|---|---|
| Pine | Soft earlywood absorbs far more stain than dense latewood | High | Pre-stain conditioner + test board, every time |
| Birch | Fine, uneven grain with dense and porous patches | High | Pre-stain conditioner + gel stain as an alternative |
| Maple | Dense but patchy absorption, especially soft maple | High | Pre-stain conditioner + thin, even stain coats |
| Alder | Soft, uneven grain similar to pine | Medium–high | Pre-stain conditioner + even sanding to 180–220 grit |
| Fir | Pronounced soft/hard growth-ring contrast | Medium–high | Pre-stain conditioner + wipe off excess stain evenly |
| Aspen | Very soft with uneven absorption | Medium–high | Pre-stain conditioner + light stain coats, tested first |
| Oak | Open, consistent pores take stain evenly | Low | Standard even sanding and wiping is usually enough |
| Walnut | Naturally even colour and absorption | Low | Standard preparation; conditioner rarely needed |
If your project is a first build, you may also want to look at our guide to the best wood stain for beginners, which explains which stain types are most forgiving on blotch-prone woods. And if your sanding routine needs a refresh before you rescue this piece, our guide on how to sand and finish wood for beginners covers grit sequences and sanding direction in detail.
Diagnose First: Is Your Blotching Mild, Moderate, or Severe?
Before you reach for sandpaper, spend five minutes diagnosing the damage, because the right fix depends on how bad it is, and the gentlest fix that works is always the best one. Work in good daylight, or take the piece near a window, because workshop lighting hides blotching and also hides progress. Look at the whole piece, not just the worst board, and ask three questions: how strong is the contrast between dark and pale patches, how much of the surface is affected, and is the surface itself damaged (scratches, dents, glue spots, or sand-through)?
Mild blotching means the colour is mostly even, with soft patches that are a little darker or lighter than the rest. From a normal viewing distance — say, an arm’s length or more — the piece looks acceptable, and the patches only jump out when you look closely. Mild blotching is very common on pine, and it is the easiest to fix. A glaze, a toner coat, or even a second thin coat of the same stain, applied evenly and wiped carefully, can even it out without any sanding at all. Do not sand a mildly blotchy piece first; try the gentle fix, live with it for a day, and only escalate if you are still unhappy.
Moderate blotching means the dark and pale patches are obvious at a normal distance, the pattern follows the grain in stripes or splotches, and more than about a third of the surface is affected — but the wood surface underneath is still sound. This is the classic sand-back case. A glaze may soften moderate blotching, but it rarely hides it completely, and you will always see the pattern under the topcoat. Sanding back to bare wood and re-staining with a conditioner is more work, but it gives you a genuinely even result, and it is the fix most beginners should learn first.
Severe blotching means very dark, almost black patches next to pale, barely stained areas, or blotching combined with other problems: stain pooled and dried into a sticky, uneven film, deep scratches showing through the stain, glue spots that rejected the stain entirely, or a veneer that has already been sanded thin. Severe blotching on solid wood can still be sanded back, but it may take several rounds of sanding, and you need to check that you are not thinning the board dangerously or sanding through a veneer. On veneered plywood, sanding through the veneer is the point of no return: once you break through to the core, that panel cannot be stained evenly again, and replacement is the honest answer. The table below summarises the decision, and the rest of this guide works through each method step by step.
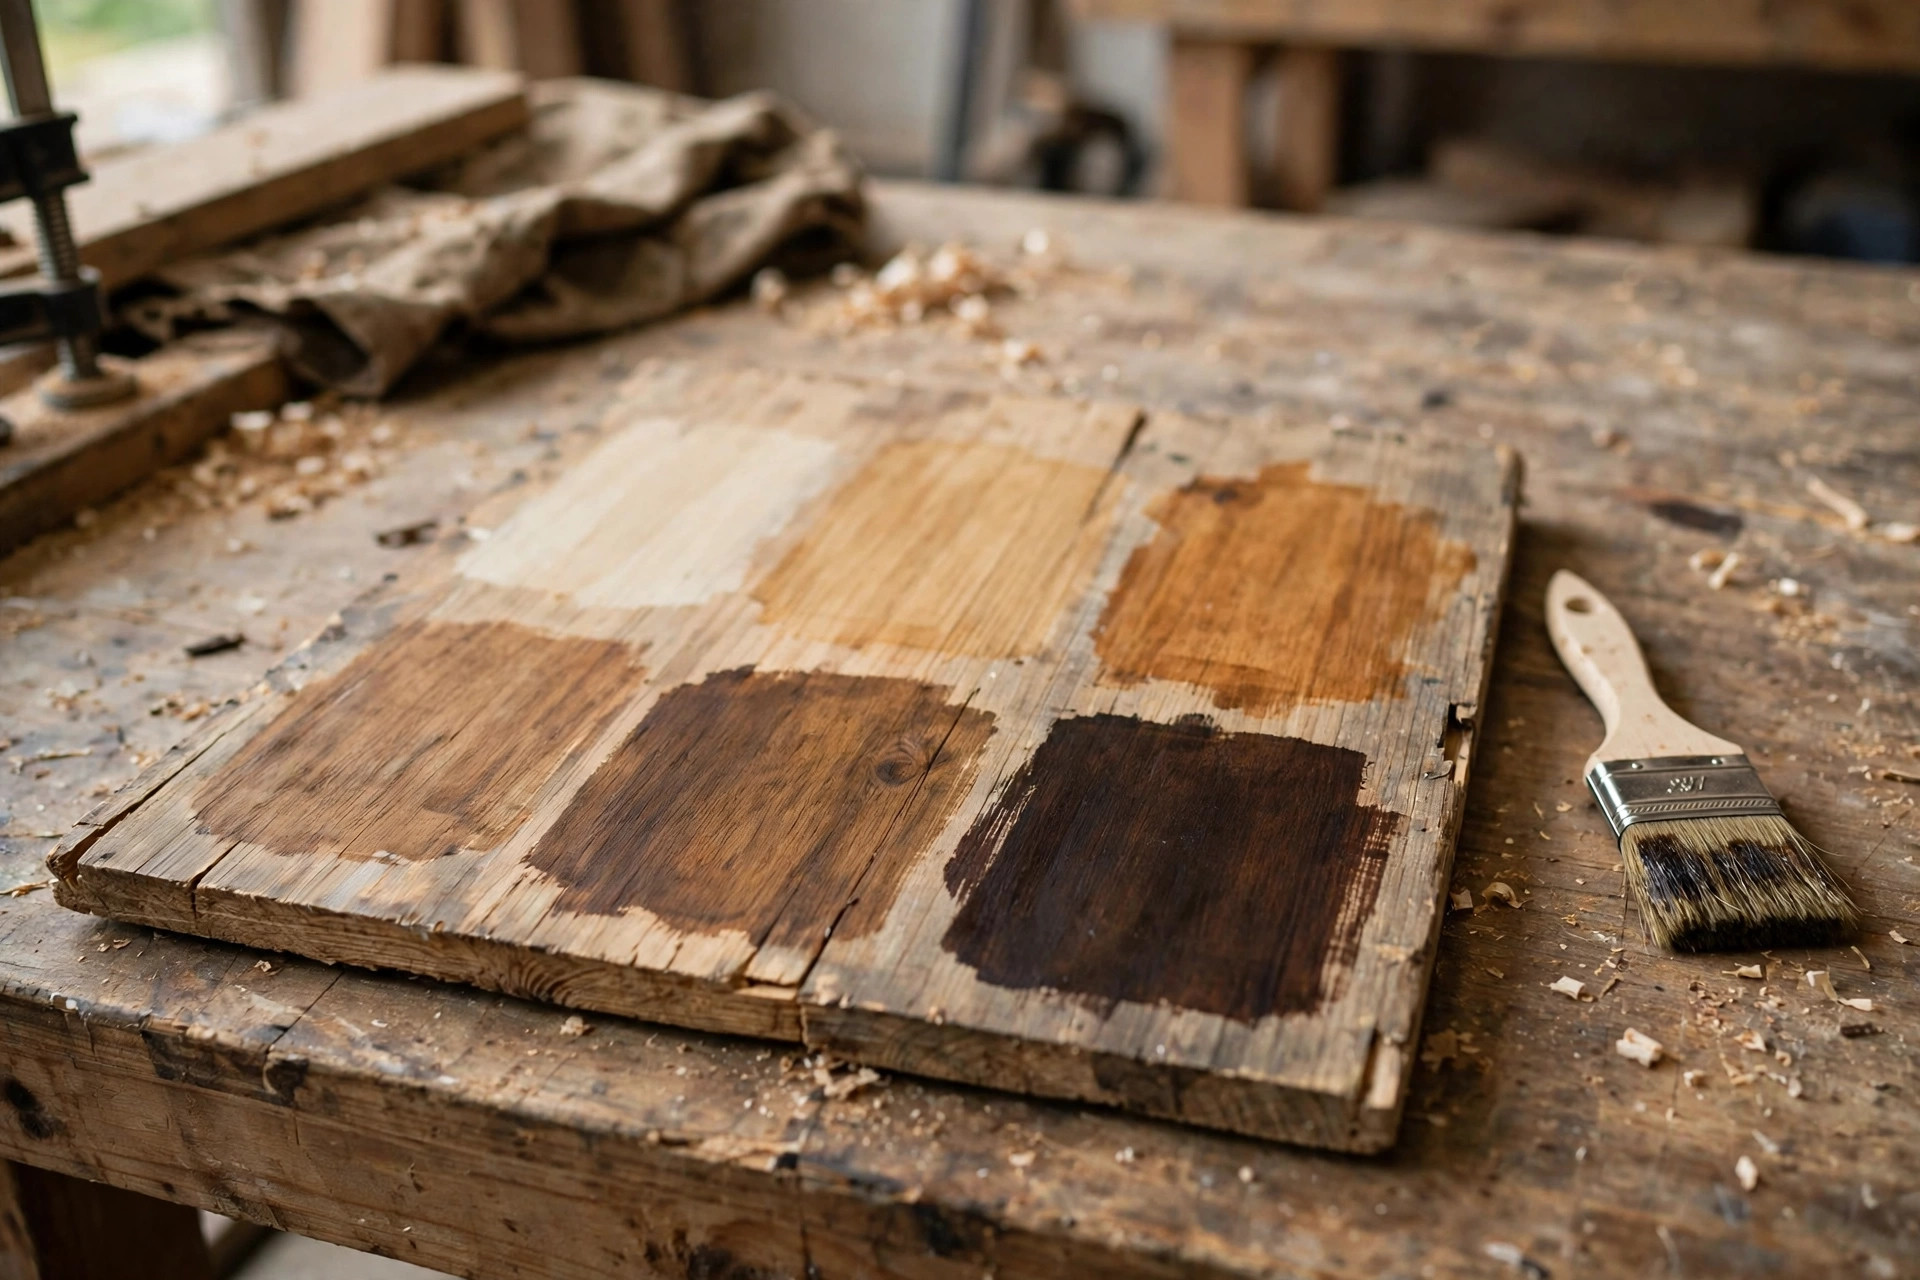
| Severity | What it looks like | Try first | If that fails |
|---|---|---|---|
| Mild | Soft dark/light patches, only obvious up close, surface sound | Glaze or toner coat, or a thin second stain coat | Sand back and re-stain with conditioner |
| Moderate | Obvious dark/pale grain stripes over a third or more of the surface, surface sound | Sand back to bare wood, condition, re-stain | Gel stain over the sanded surface, or full strip |
| Severe | Very dark patches beside pale areas, pooled/dried stain, scratches, glue spots | Sand back carefully (solid wood) or strip | Replace the board or panel, especially if veneer is sanded through |
One diagnostic trick saves beginners a lot of regret: test your fix on the least visible part of the piece first — the underside of a shelf, the back of a tabletop, or a scrap offcut from the same board. If you are deciding between a glaze and a sand-back, try the glaze on the hidden area, let it dry, and judge it in daylight before you commit to the whole piece. That habit — test first, commit second — is the single best habit in learning how to fix blotchy wood stain for beginners, and it applies to every fix in this guide. Marking out test areas cleanly is easier with the right tools, and our guide to woodworking marking tools for beginners covers pencils, marking knives, and gauges that help you keep test patches and project parts straight.
Method 1: The Sand-Back Method (Most Reliable Fix for Moderate Blotching)
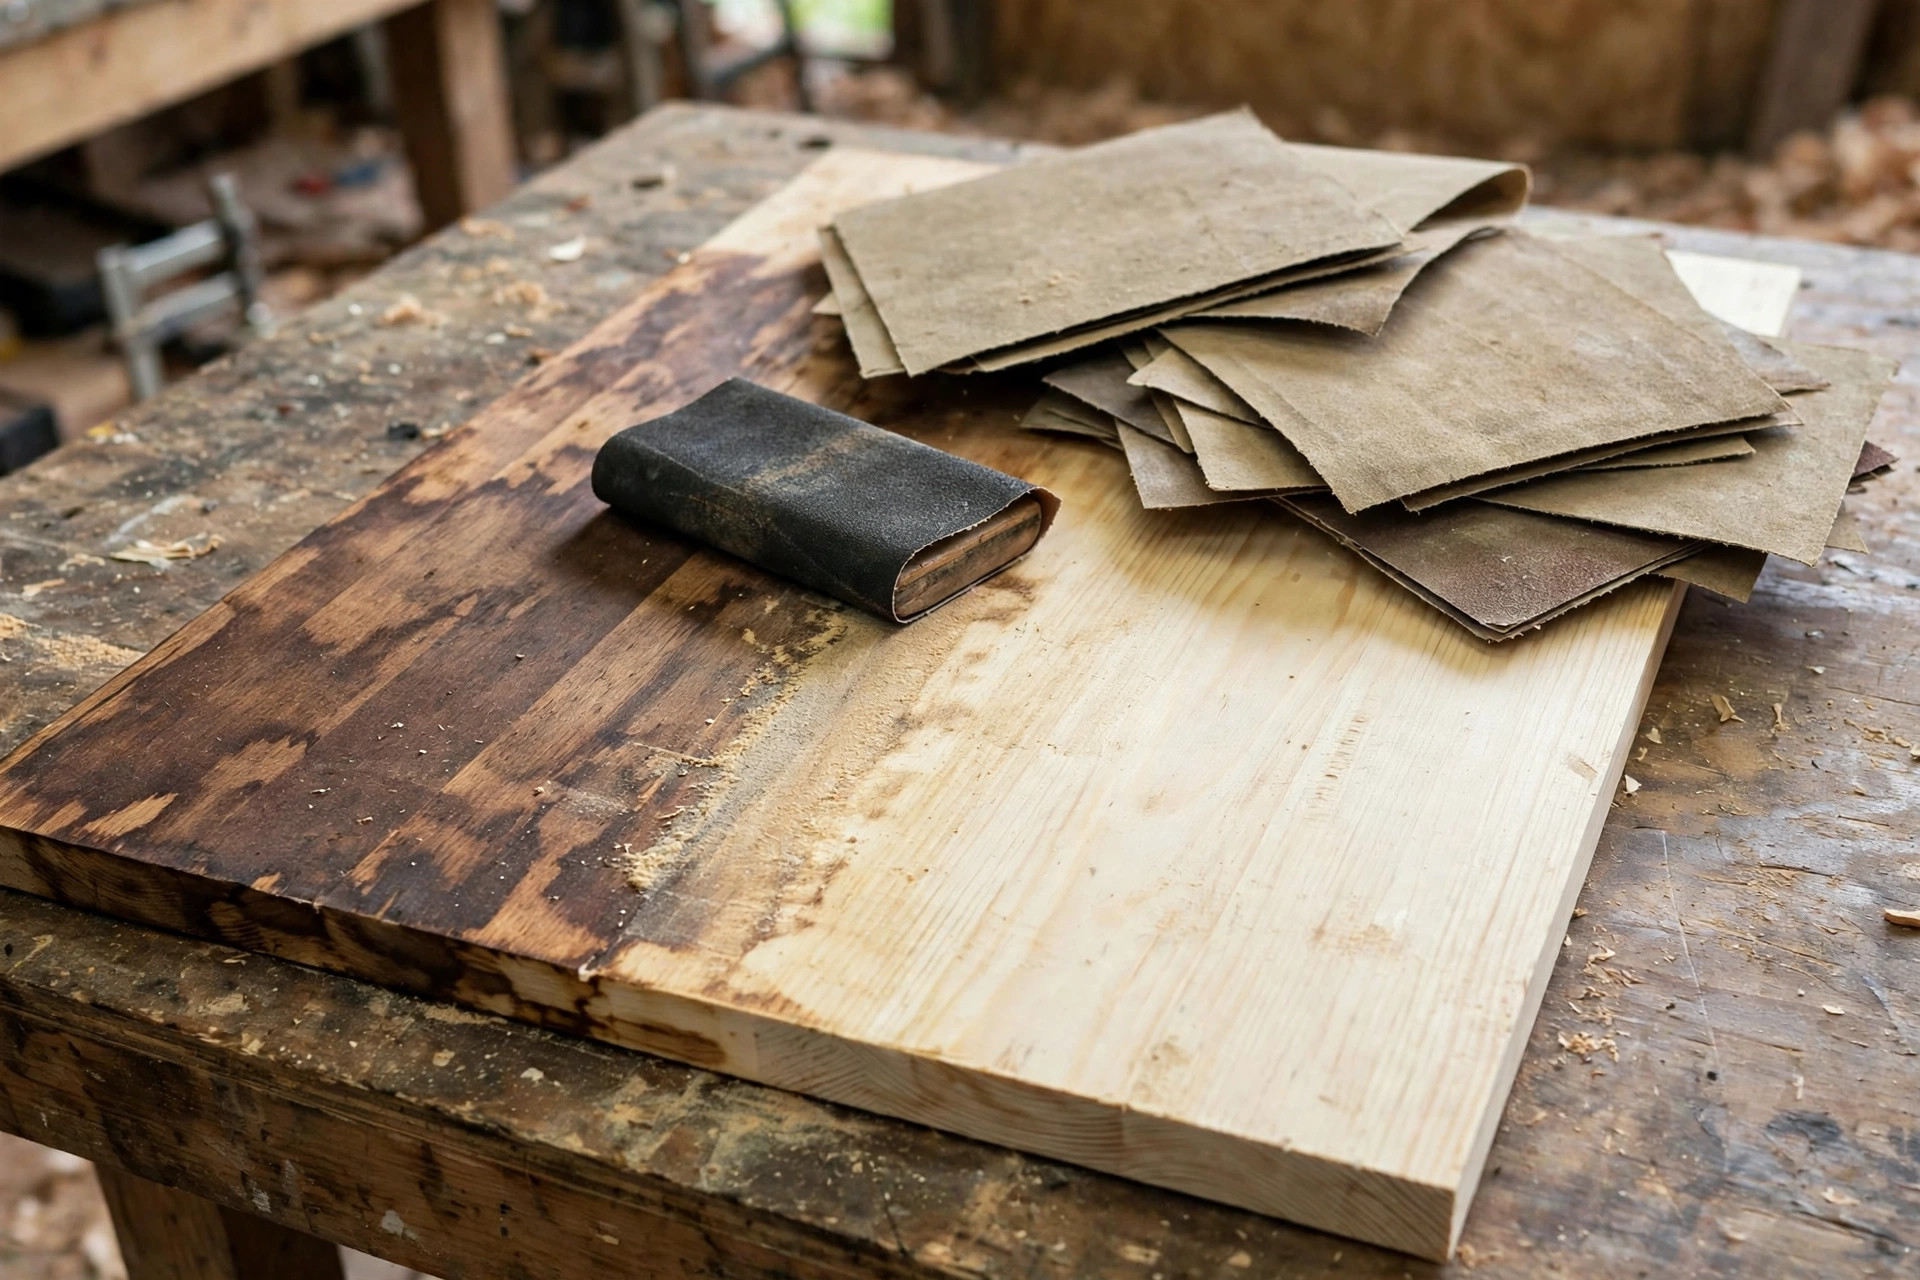
The sand-back method is the workhorse fix, and it is the one to learn properly, because it also teaches you the correct preparation for every future stain job. You are removing the blotchy stain layer, returning the wood to a clean, evenly sanded surface, and then staining it again — this time with a conditioner and an even technique. Expect this to take an hour or two for a shelf or small tabletop, plus drying time. Gather 120-grit, 150-grit, and 180- or 220-grit sandpaper, a sanding block or random orbital sander, a tack cloth or vacuum, mineral spirits or a damp cloth for raising the grain if you choose to, pre-stain conditioner, your stain, clean lint-free rags, nitrile gloves, and a dust mask.
Start by sanding with 120-grit paper, working with the grain, never across it, until the stained surface is gone and you see clean, bare wood. On a flat board, a random orbital sander makes this fast, but keep it moving and flat — pressing hard in one spot, or tilting the sander, will dish the surface and create new uneven patches. On edges, corners, and profiles, use a sanding block or fold the paper by hand so you do not round over crisp edges. Wipe away the dust and inspect: if any dark stain remains in the grain, keep sanding with 120-grit until it is gone, because stain left in the pores will show through the new coat as a darker patch. This is the step beginners rush, and it is the step that causes the second round of blotching.
Next, work through the grits evenly: 150-grit over the whole surface, then 180- or 220-grit over the whole surface, with the same pressure and the same number of passes everywhere. Do not skip from 120 straight to 220, and do not sand one area finer than the rest. Remember the burnishing warning: stop at 180–220 grit. Going to 320 or finer before staining polishes the pores shut, and your new stain will come out pale and patchy — the very problem you are trying to fix. After your final grit, vacuum the surface thoroughly and wipe it with a tack cloth. If you want an extra-even surface, you can lightly dampen the wood to raise the grain, let it dry completely, and give it one very light pass with your final grit to knock the raised fibres down. This is optional, but it helps on pine, where raised grain after staining is a common complaint.
Now you are ready for the conditioner step in the next section — do not stain this freshly sanded surface bare, especially on pine, birch, or maple. The whole point of the sand-back is to get a second chance at preparation, and staining bare blotch-prone wood a second time will simply reproduce the first result. If you sand through a veneer, stop: you have reached the limit of this method for that panel, and the “when to start over” section below applies.
Method 2: Re-Stain Properly with Pre-Stain Conditioner
Pre-stain conditioner is the product that makes the biggest difference on blotch-prone wood, and it is also the product beginners most often skip or misuse. Conditioner is a thin, penetrating sealer that partially fills the most absorbent pores before you stain. It does not block stain completely; it evens out absorption so the soft, thirsty grain and the dense grain take up stain at a more similar rate. The result is a lighter, more even colour. That lightening is normal and expected: conditioned wood stains a shade or two lighter than bare wood with the same stain, so test on a scrap offcut first and choose a stain shade one step darker if you need to match an unconditioned sample.
Timing is where most conditioner mistakes happen, so follow the product label and this widely used rule for oil-based conditioner: apply a liberal, even coat with a brush or rag, let it penetrate, wipe off any excess, let it dry for about 15 minutes, and then stain within 2 hours. Those two numbers — 15 minutes dry, stain within 2 hours — are the Minwax guidance for its oil-based pre-stain conditioner, and they are a good default for similar oil-based products. If you stain too soon, while the conditioner is still wet, the stain and conditioner mix on the surface and the colour goes muddy. If you wait too long — overnight, for example — the conditioner cures fully and seals the wood too much, so the stain barely takes and the colour comes out very pale and uneven again. If you miss the window, do not just stain anyway: lightly scuff the surface with 220-grit paper, wipe it clean, and reapply the conditioner, then stain inside the window. Water-based conditioners have their own label timings, which are often shorter, so always read your own product’s instructions rather than assuming the oil-based numbers apply.
Apply the conditioner the way you will apply the stain: in even, overlapping strokes, with the grain, covering the whole surface without pools or dry spots. Do not flood one area and starve another, or you will create conditioner blotching on top of stain blotching. After the 15-minute dry, stir your stain thoroughly — pigment settles in the can, and unstirred stain is a classic cause of uneven colour — and apply it evenly with a brush, rag, or foam applicator. Work in manageable sections, keep a wet edge, and wipe off the excess with a clean rag after the label’s recommended dwell time, usually a few minutes. Wipe with the grain, with even pressure, and do not leave pools of stain sitting on the surface. Let the first coat dry fully, judge the colour in daylight, and only then decide whether a second thin coat is needed for depth. A second coat darkens the colour, but it does not fix blotching that is already there, so judge the evenness first and the darkness second.
Method 3: The Gel-Stain Cover-Up (Best When You Do Not Want to Sand Back)
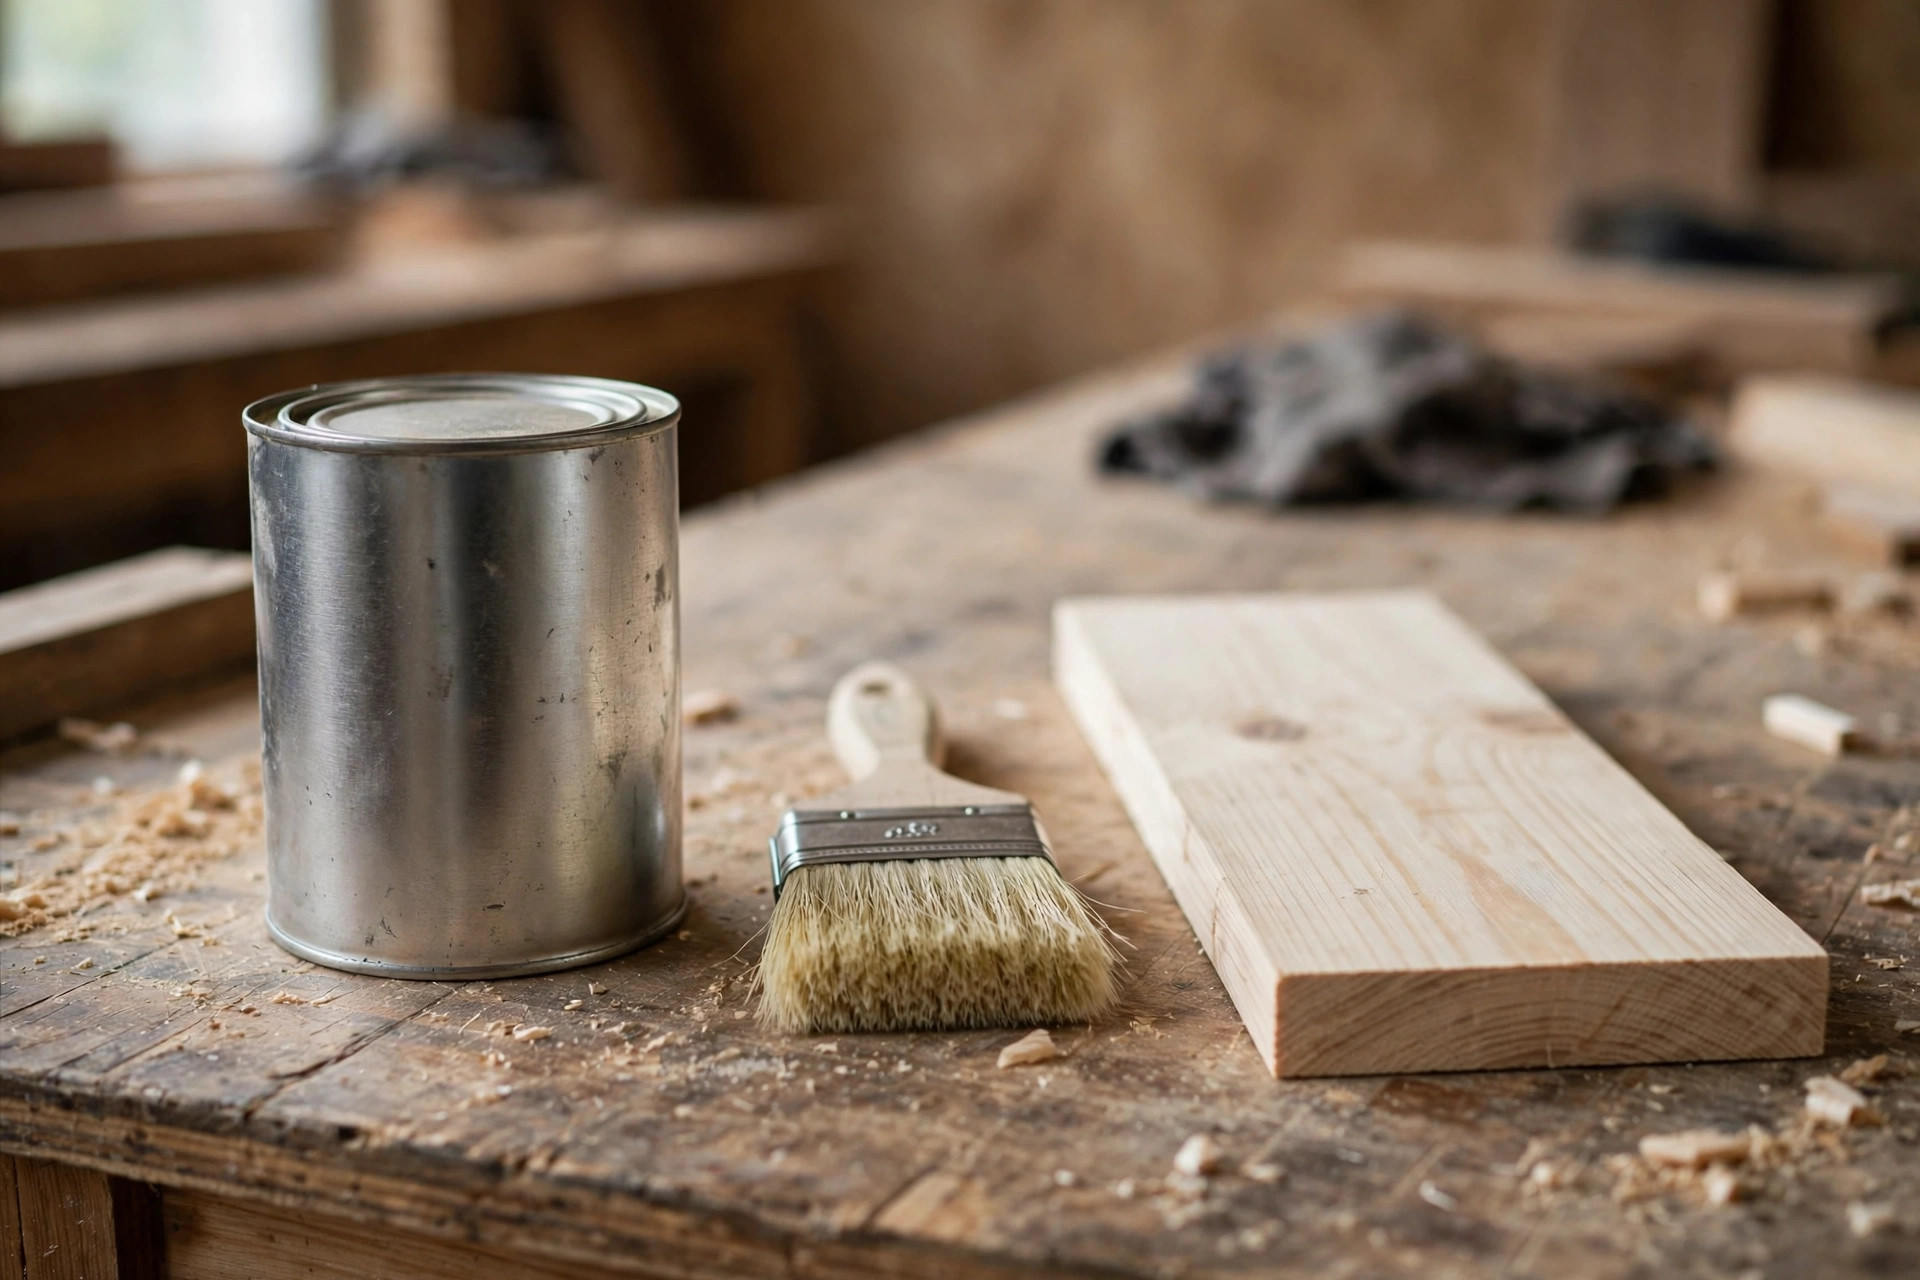
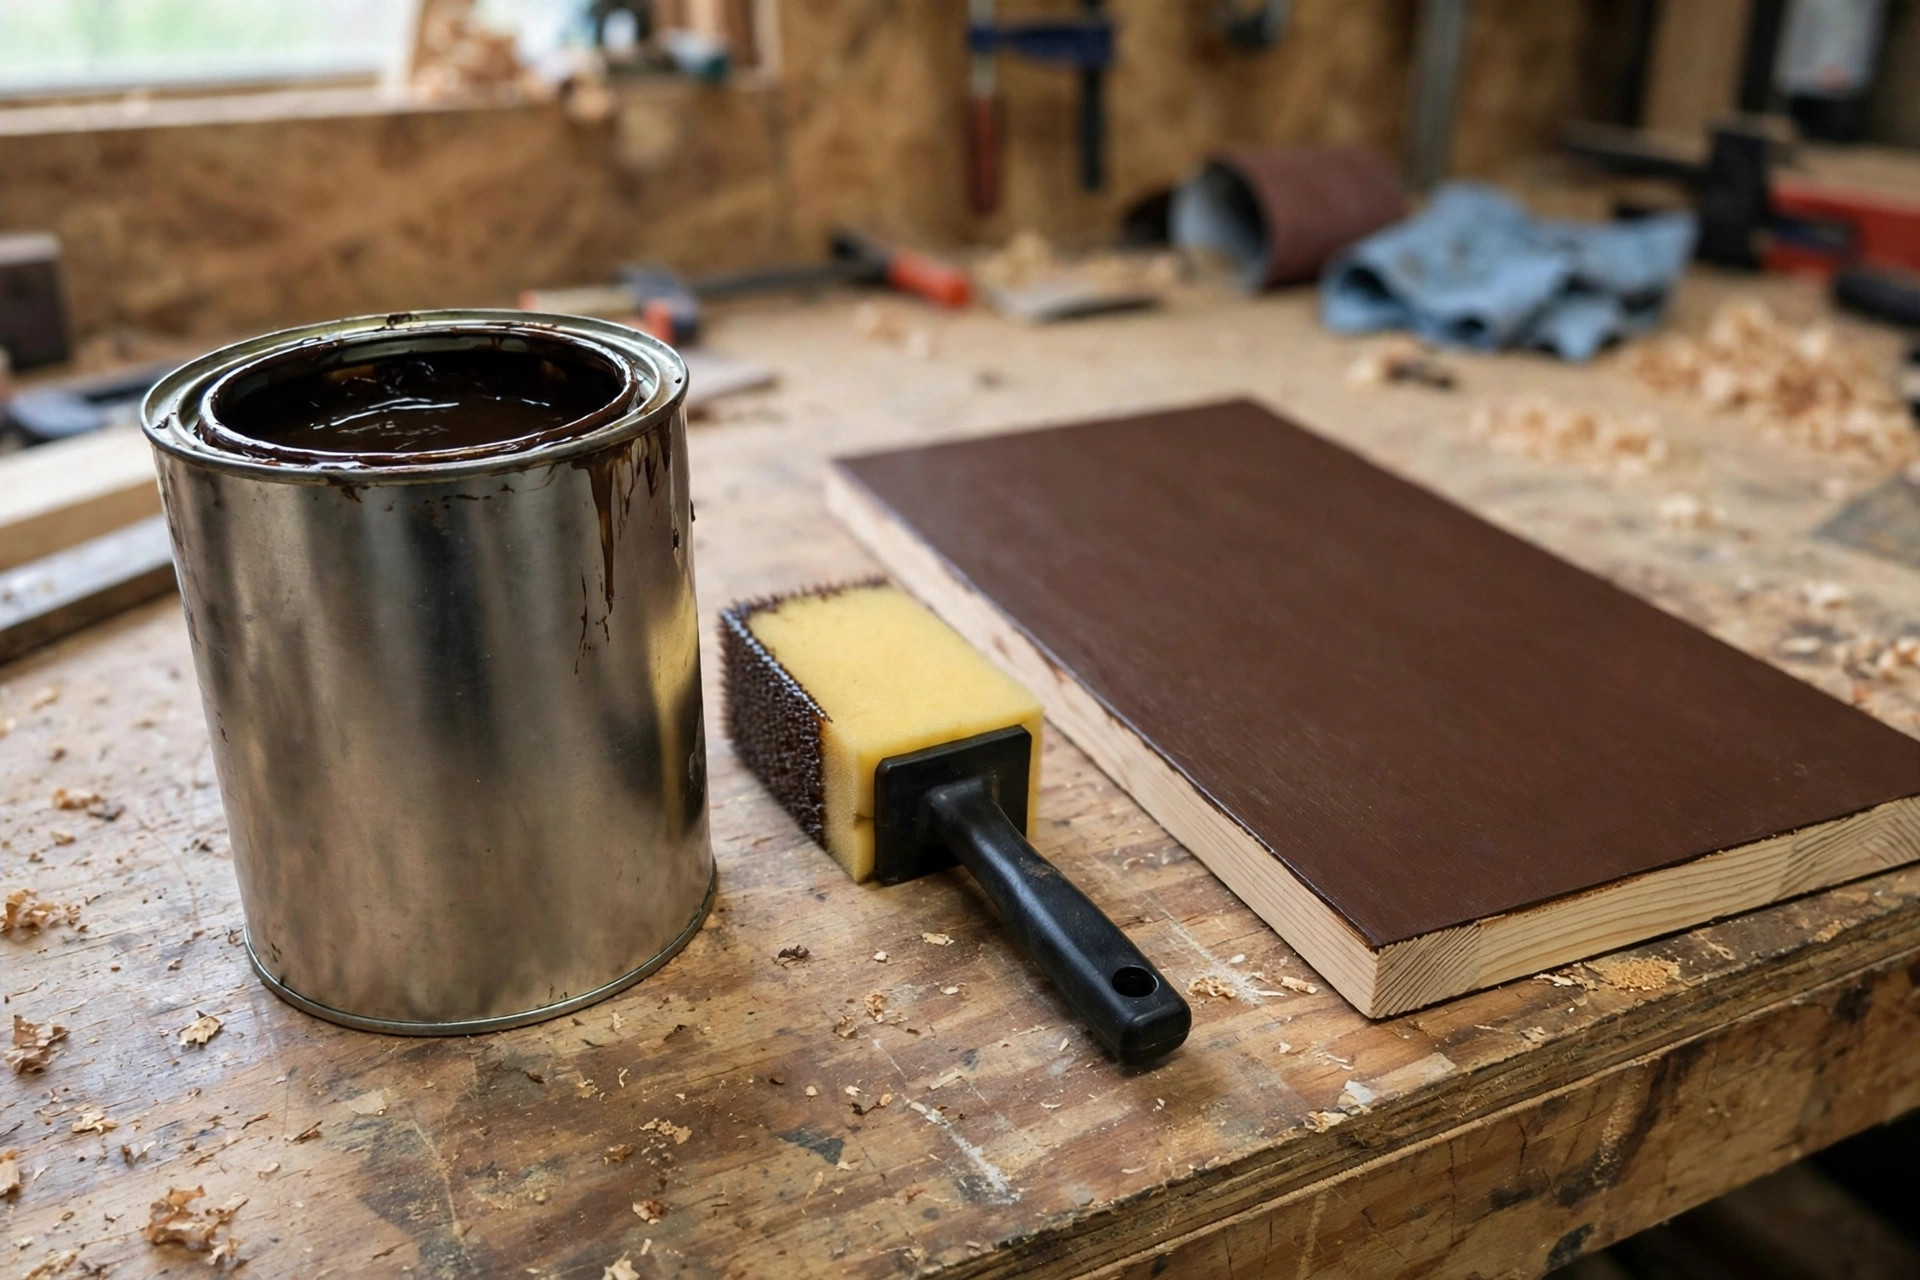
Gel stain is the beginner-friendly cover-up that many experienced woodworkers reach for first on a blotchy piece, because it behaves very differently from thin, penetrating stain. Gel stain is thick, almost like a coloured jelly, and it sits mostly on the surface rather than soaking deep into the grain. That means it does not follow the wood’s uneven absorption the way a penetrating stain does: it lays down a much more uniform layer of colour, and it can even out a blotchy surface without sanding all the way back to bare wood. It is also forgiving to apply, because you wipe it on, work it evenly, and wipe off the excess, and you can build the colour in thin coats.
Gel stain works best when the existing blotchy stain is dry, clean, and well stuck to the wood, and when you are happy to go the same colour or darker. It cannot lighten a piece, and it will not hide deep scratches or raised grain — it will follow the surface texture underneath. Start by cleaning the piece and lightly scuff-sanding the existing stain with 220-grit paper, just enough to give the gel something to grip, then wipe away all dust. Do not sand through to bare wood in patches, or those patches will take the gel differently and you will create a new pattern. Apply the gel stain with a rag or foam brush in thin, even coats, working with the grain, and wipe off the excess before it gets tacky. Let each coat dry fully — gel stain dries more slowly than penetrating stain, so be patient — and judge the evenness before adding another coat. Two thin coats almost always look better than one thick coat, which can look painted and hide the grain entirely.
The trade-off to understand is that gel stain shows less wood grain than penetrating stain, because more of the colour sits on the surface. On pine, that is often a benefit, because the grain pattern that caused the blotching is softened. On a beautiful figured board, it can be a drawback, because you lose some depth and figure. If your project is a showpiece where grain depth matters, the sand-back method with conditioner will give you a more natural result. If your project is a shelf, a cabinet, or a tabletop where an even, attractive colour matters more than grain depth, gel stain is the faster, lower-risk rescue, and it is an excellent first fix to try before committing to a full sand-back. Either way, test the gel stain on a hidden area or scrap first, and topcoat it with a compatible clear finish once you are happy with the colour.
Method 4: The Glaze and Toner Fix (Gentlest Rescue for Mild Blotching)
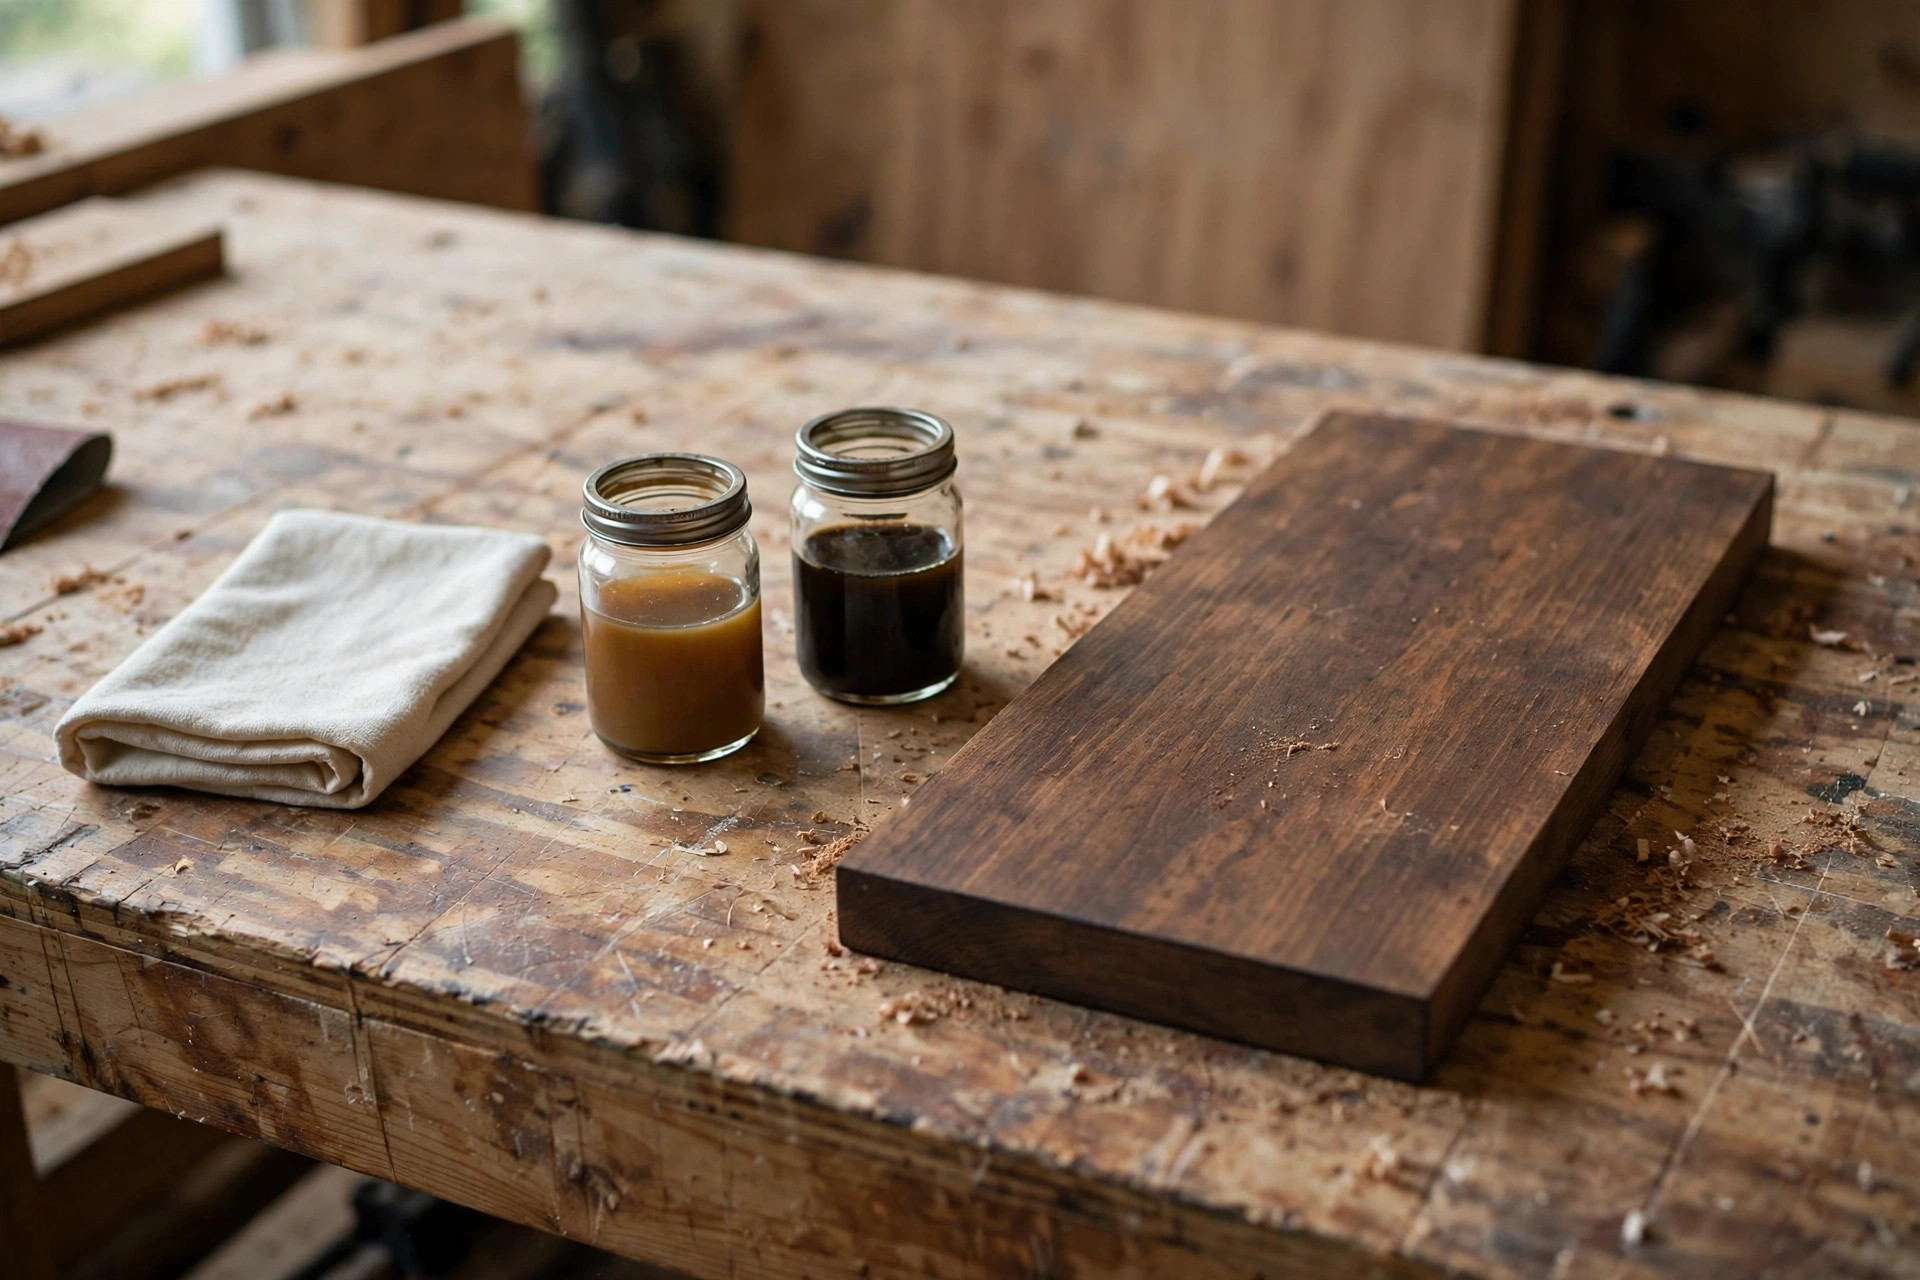
Glaze and toner are the gentlest fixes in this guide, and they are the right first try for mild blotching, because they add colour on top of the existing finish without removing any wood or stain. A glaze is a translucent, coloured layer — often a gel stain thinned or used as a glaze, or a purpose-made glazing product — applied over a sealed surface and wiped or brushed to even out the colour. A toner is similar, but it is usually a clear finish with a small amount of dye or pigment added, sprayed or brushed on in thin coats to shift the overall colour and even out patches. Both work by adding a controlled layer of colour where the piece is pale, and by deepening the overall tone so the contrast between dark and light patches becomes less noticeable. Neither can fix severe blotching on its own, and neither can lighten a piece that is already too dark.
To use a glaze, first make sure the existing stain is fully dry, then seal it with a thin coat of compatible clear finish — shellac or your chosen topcoat — and let that seal coat dry. This seal step matters: without it, the glaze can lift or disturb the stain underneath, especially with oil-based products. Apply the glaze sparingly with a rag or brush, working it into the pale areas a little more heavily and wiping it thinly over the dark areas, then wipe off the excess with the grain and let it dry. Step back and judge in daylight before adding more; glazes are easy to over-apply, and a heavy glaze looks muddy and obscures the grain. Once the glaze is even and dry, lock it in with a clear topcoat, because an unsealed glaze layer is fragile and will wear or smudge. Toner works the same way in principle, but because it is mixed into the finish itself, it is best applied in several very thin coats, letting each coat dry and judging the colour between coats, rather than trying to fix everything in one heavy coat.
Choose glaze or toner when the blotching is mild, when you want to keep the existing stain colour and just even it out, or when sanding the piece back would be difficult — for example, on a piece with delicate profiles, carving, or veneer that you do not want to risk sanding through. Choose the sand-back or gel-stain method instead when the blotching is moderate or severe, when the surface itself needs repair, or when a glaze test on a hidden area still shows the patches clearly. And remember the golden rule for all topcoat work: test the glaze or toner over your exact stain and seal coat on a hidden area first, because incompatible products can wrinkle, lift, or go cloudy, and discovering that on the tabletop is a much bigger problem than discovering it underneath.
When to Start Over Completely, Plus Costs and Prevention for Next Time
Knowing when to stop rescuing a piece is part of learning how to fix blotchy wood stain for beginners, because there is a point where a fresh board is cheaper than another round of fixes. Start over — replace the board or panel, or strip the piece fully and begin from bare wood — when you have sanded through a veneer, when the board has been sanded so thin that it is weak or its thickness no longer matches the rest of the project, when deep scratches, dents, or glue spots keep showing through every fix you try, or when you have already tried two fixes and the piece still looks worse than a new board would. A full chemical strip is an option for solid wood with very deep, stubborn stain, but it is messy, slow, and it still leaves you with a board that needs full sanding and conditioning afterwards, so for a single shelf board or tabletop panel, replacement is often the faster and cheaper choice. Do not treat starting over as failure: professional woodworkers replace boards too, and recognising the point of no return early saves you the most precious workshop resource, which is time.
Costs for a rescue are modest, which is good news. A can of pre-stain conditioner, a can of stain, and sandpaper in 120-, 150-, and 220-grit will usually cost less than replacing a hardwood tabletop, and you will use all of them again on future projects. Gel stain and glaze products cost roughly the same as a can of stain, and a clear topcoat is something every finishing project needs anyway. The real cost is time: a glaze fix may take under an hour plus drying, a gel-stain cover-up takes an afternoon, and a full sand-back and re-stain takes a day including drying time between coats. Weigh that time honestly against the cost of a replacement pine board, which is often very low, and against how visible the piece will be. A bookshelf in a spare room deserves a quick glaze; a dining tabletop that you will see every day deserves the full sand-back, or a new board if the old one is beyond saving.
Prevention is where this whole painful lesson pays off, because the same routine that fixes blotching also prevents it. Sand evenly to 180–220 grit and no finer, vacuum and tack-cloth the surface, always test on a scrap offcut from the same board, always use pre-stain conditioner on pine, birch, maple, alder, fir, and aspen, respect the 15-minute dry and stain-within-2-hours window for oil-based conditioner, stir your stain thoroughly, apply it evenly, and wipe off the excess with even pressure. Keep a small finishing notebook or a note on your phone with the wood species, stain brand and colour, conditioner used, and number of coats for each project, so you can repeat a good result instead of guessing next time. And before your next build, revisit the pillar guide to easy woodworking projects for beginners that sell — many of those projects use pine and other blotch-prone woods, and applying this prevention routine to them from the start will save you every rescue step in this guide.
| Prevention step | What to do | Why it prevents blotching |
|---|---|---|
| Sand evenly, stop at 180–220 grit | Same grit sequence and pressure over the whole surface, with the grain | Even pore openness means even stain absorption; finer grit burnishes and blocks stain |
| Clean the surface fully | Vacuum, then tack cloth, before conditioning or staining | Dust, old finish, and glue residue block stain in random patches |
| Test on a scrap offcut | Condition and stain a piece of the same board first | Reveals blotching and true colour before you commit to the project |
| Use pre-stain conditioner on risky woods | Even coat on pine, birch, maple, alder, fir, aspen | Partially fills thirsty pores so absorption evens out |
| Respect conditioner timing | Let oil-based conditioner dry about 15 minutes, stain within 2 hours | Staining too soon muddies colour; too late seals wood and blocks stain |
| Stir stain, apply evenly, wipe evenly | Stir thoroughly, keep a wet edge, wipe excess with the grain | Unstirred pigment and pooled stain create dark patches |
| Build colour in thin coats | Judge evenness after each coat dries, before adding another | Thick coats hide grain, pool in pores, and look painted |
Common mistakes to avoid are mostly the mistakes this guide has already named, but they are worth listing together because beginners tend to make the same one twice. Do not sand finer than 220 grit before staining. Do not skip the conditioner on pine because the can says “optional” — on blotch-prone woods, it is essential. Do not stain over glue squeeze-out; scrape or sand glue spots off first, and check for them by wiping the bare wood with a damp cloth, which makes glue spots show up as pale patches. Do not leave pools of stain to dry on the surface, and do not judge colour under a single workshop bulb — always check in daylight. Do not mix oil-based and water-based products without checking compatibility, and do not rush drying times between coats. Finally, do not sand a veneered panel aggressively: check whether your panel is solid wood or veneer before you start sanding, and if it is veneer, favour the glaze or gel-stain fix over the sand-back.
Frequently Asked Questions
Can you fix blotchy wood stain without sanding?
Yes, if the blotching is mild. A glaze or toner coat over a sealed surface can even out soft patches without any sanding, and a gel stain over a lightly scuff-sanded surface can cover moderate unevenness. For moderate to severe blotching, sanding back to bare wood and re-staining with conditioner gives a far more reliable result.
Does pre-stain conditioner really prevent blotchy stain on pine?
Yes, it is the single most effective prevention step on pine, birch, maple, alder, fir, and aspen. It partially fills the most absorbent pores so stain absorbs more evenly. It does lighten the final colour by a shade or two, so test on a scrap offcut and choose a slightly darker stain if needed.
How long should pre-stain conditioner dry before staining?
For oil-based conditioner, let it dry for about 15 minutes and stain within 2 hours, following the Minwax guidance and your own product’s label. Staining too soon muddies the colour; waiting too long lets the conditioner cure and block the stain. If you miss the window, scuff with 220-grit paper and reapply.
Should I sand to 220 grit or finer before staining?
Sand to 180–220 grit and stop there. Sanding to 320 grit or finer burnishes the surface, closes the pores, and makes stain uptake weak and patchy — the opposite of what you want. Even sanding at the same final grit over the whole surface matters just as much as the grit number itself.
Is gel stain better than regular stain for blotchy wood?
Gel stain is better as a cover-up, because its thick formula sits on the surface and does not follow the wood’s uneven absorption. It is the best choice when you want an even colour without a full sand-back and you are happy to go the same colour or darker. For the most natural grain depth, sand back and re-stain with conditioner and penetrating stain instead.
When is a blotchy project beyond saving?
When you have sanded through a veneer, thinned the board dangerously, or tried two fixes and the piece still looks worse than a new board would. In those cases, replacing the board or panel is faster, cheaper, and gives a better result than another round of rescue work.
Final Verdict
A blotchy stain job feels like a disaster in the moment, but it is one of the most fixable mistakes in woodworking. Diagnose the severity honestly, try the gentle glaze or toner fix for mild cases, reach for gel stain when you want an even cover-up without a full sand-back, and use the sand-back method — even sanding to 180–220 grit, pre-stain conditioner dried about 15 minutes, stained within 2 hours — when you want the most reliable, natural-looking rescue. Test every fix on a hidden area first, judge the colour in daylight, and keep the prevention checklist for your next project. The shelf or tabletop you rescue today will not just look good; it will teach you the finishing routine that keeps every future project from going blotchy in the first place.


