
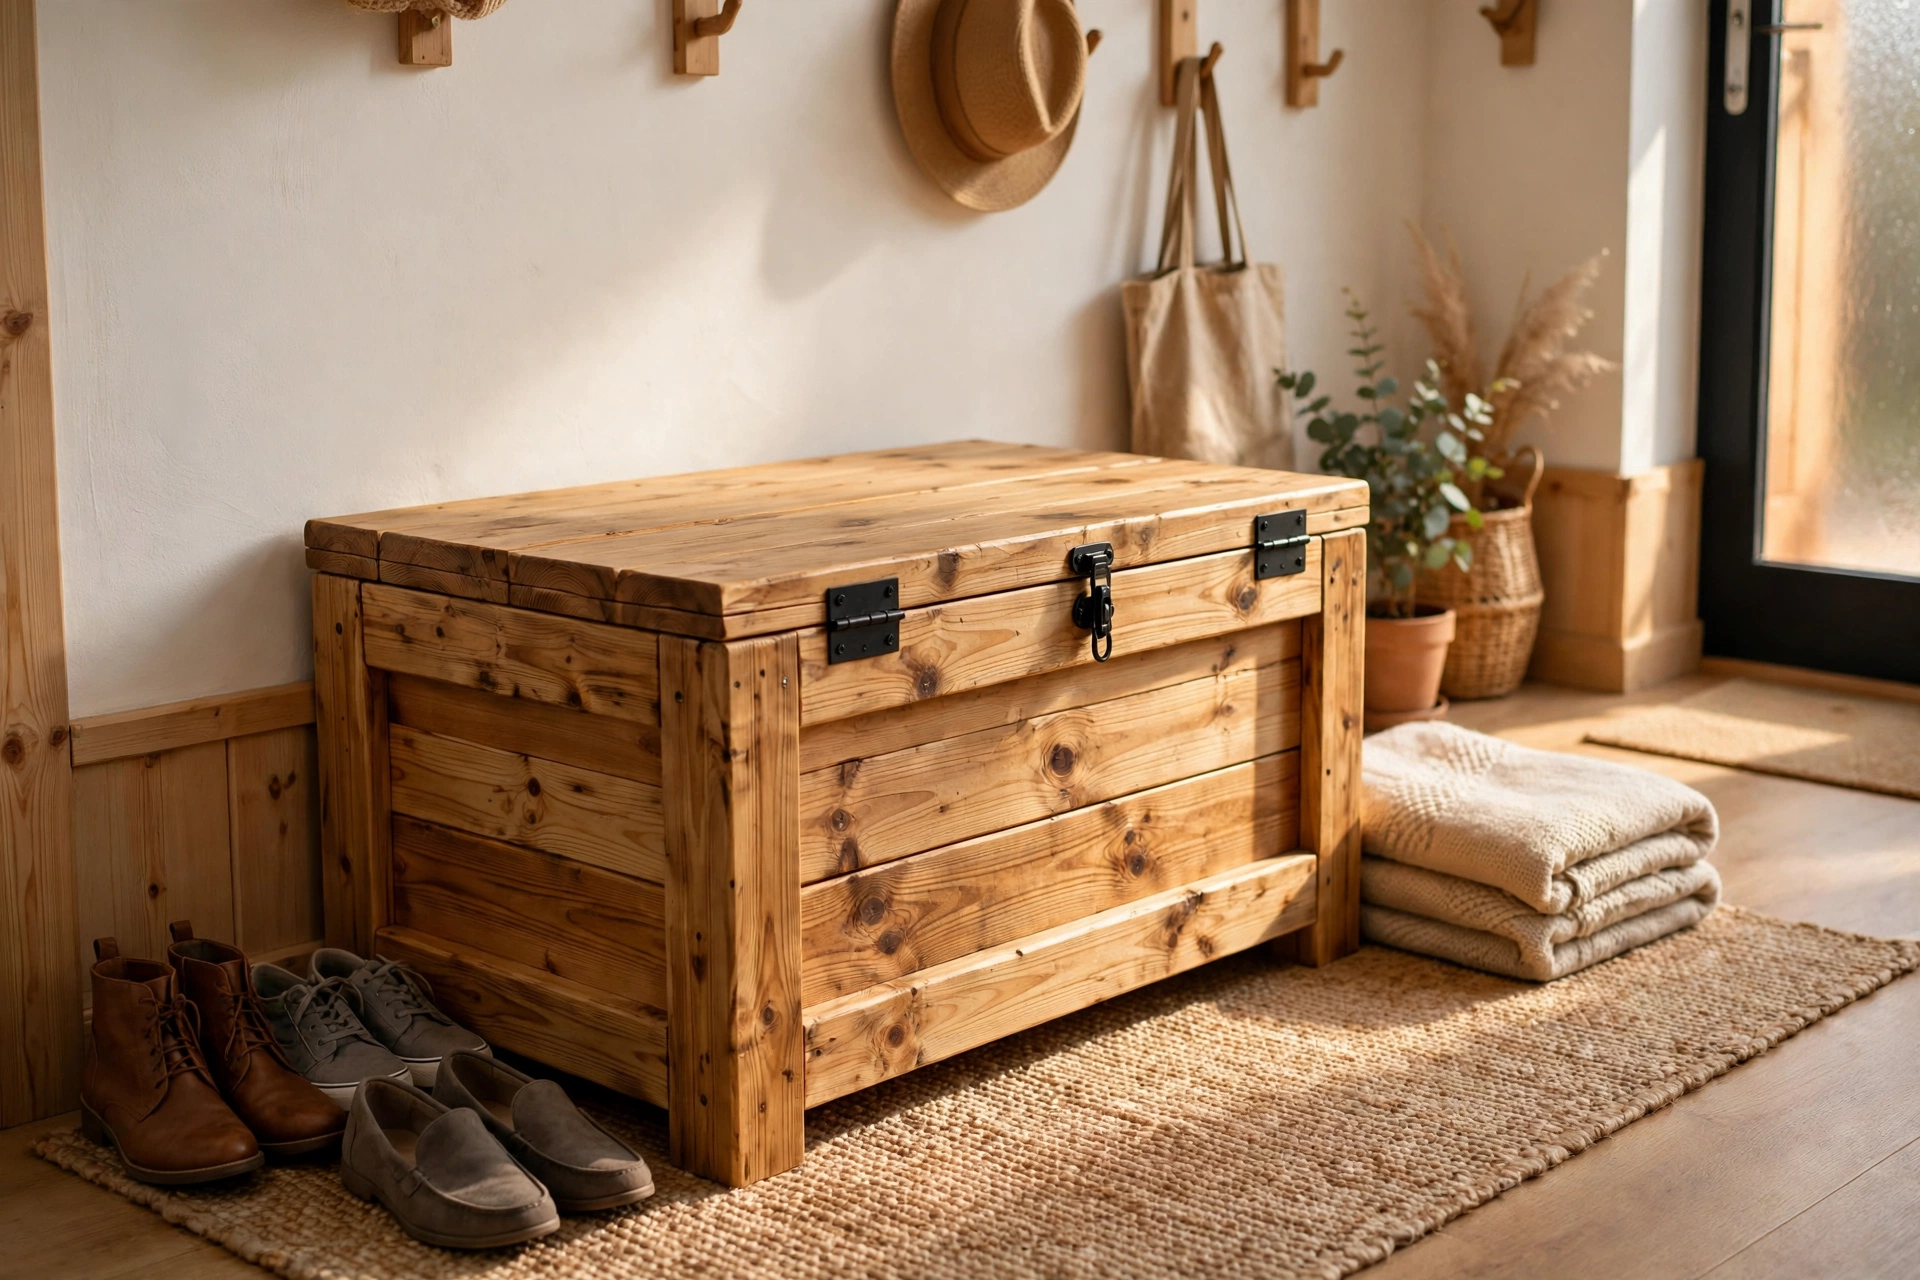
A storage bench solves two problems at once: it gives you somewhere to sit while you put your shoes on, and it hides the clutter that usually piles up by the door. Shoes, dog leads, scarves, board games, spare blankets, kids’ toys — all of it disappears under one lift-up lid, and the room instantly looks calmer.
Why a Wooden Storage Bench Is the Perfect Beginner Project
For a beginner woodworker, this project hits the sweet spot. It uses only straight cuts, basic butt joints, screws, and glue — no dovetails, no mortise-and-tenon joints, no router work. If you can measure accurately, drill a pilot hole, and drive a screw straight, you can build this bench. It is also forgiving: a millimetre or two of error in the box disappears once the lid and trim are on, and pine is cheap enough that a mistake does not ruin your budget.
Best of all, the finished bench is genuinely useful furniture, not a practice piece that ends up in the garage. This guide walks you through the whole build, from choosing the size and wood to fitting soft-close hinges that keep little fingers safe, so you can finish in a single weekend with a bench you will actually be proud of.
If you are brand new to woodworking, this project pairs beautifully with other beginner builds. A simple wooden shoe rack for beginners teaches the same measuring and screwing skills on a smaller scale, and a wooden toy box for beginners uses a very similar hinged-lid design. For a broader starting point, browse the pillar guide to easy woodworking projects for beginners that sell.
How to Build a Wooden Storage Bench for Beginners: Sizing It Right
Before you buy a single board, decide where the bench will live and what it needs to hold. Size is the one thing you cannot easily fix later, so measure your space twice.
Entryway vs. Foot of the Bed
An entryway bench usually sits against a wall near the front door. It should be long enough for one or two people to sit on — around 90 to 120 cm (36 to 48 inches) — and deep enough for shoes, which means at least 35 cm (14 inches) of inside depth. The seat height should match a normal chair, about 45 cm (18 inches), so sitting down and standing up feels natural.
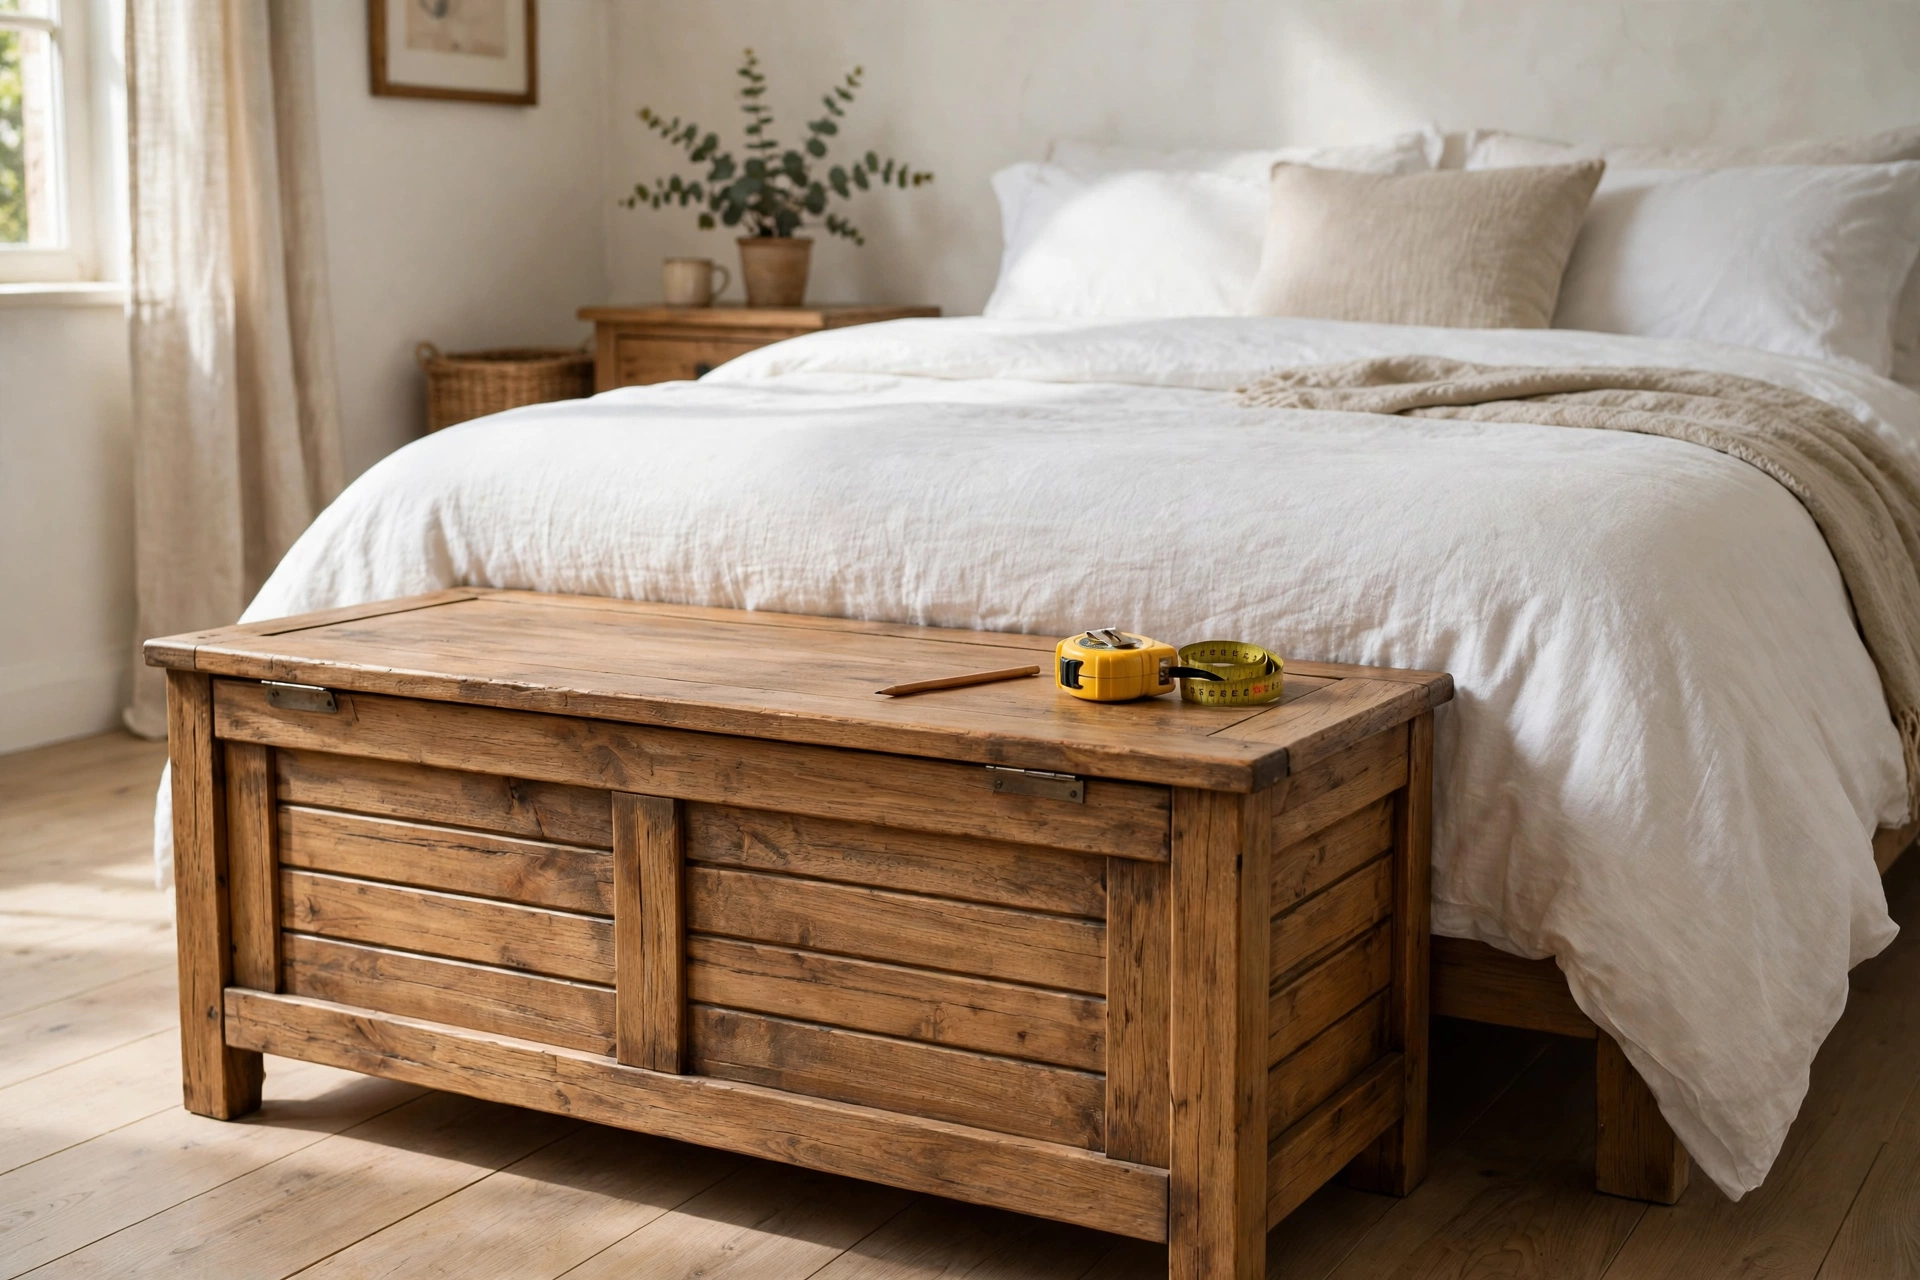
A bench at the foot of the bed is a different animal. It should be slightly narrower than the bed itself, so it does not stick out awkwardly on either side, and it is often a little taller and deeper because it stores bulkier things like spare duvets and blankets. The same basic box works for both — you are simply changing the length and depth numbers.
The Size Guide
Use this table to pick your dimensions before cutting. The cut list later in this guide is based on the standard entryway size, but you can scale it up or down using the same method: the side panels set the depth and height, the front and back panels set the length, and the bottom and lid follow the outside dimensions.
| Placement | Length | Depth | Seat Height | Best For |
|---|---|---|---|---|
| Small entryway / hallway | 90 cm (36 in) | 38 cm (15 in) | 45 cm (18 in) | Shoes, scarves, dog leads |
| Standard entryway (this guide) | 120 cm (48 in) | 40 cm (16 in) | 46 cm (18 in) | Shoes, bags, hats, gloves |
| Foot of a double bed | 140 cm (55 in) | 45 cm (18 in) | 48 cm (19 in) | Blankets, spare bedding |
| Foot of a king bed | 160 cm (63 in) | 45 cm (18 in) | 48 cm (19 in) | Duvets, pillows, throws |
| Kids’ mudroom bench | 90 cm (36 in) | 35 cm (14 in) | 38 cm (15 in) | School bags, wellies, toys |
A quick sanity check: measure the tallest pair of boots you plan to store and add 5 cm (2 inches) of clearance. If your boots are 40 cm tall, your inside height needs to be at least 45 cm, which pushes the seat height up — and that is fine, as long as you planned for it before cutting.
Choosing the Right Wood
Pine is the best choice for a first storage bench. It is cheap, widely available, soft enough to cut and screw easily, and it takes paint and stain well. Buy kiln-dried pine boards (often sold as “whitewood” or “redwood” depending on your region) rather than green or construction lumber, which can warp as it dries.
If you want a tougher, more premium look, poplar is a good step up: it is still easy to work, but it is harder and paints beautifully. Hardwoods like oak or walnut look stunning, but they cost three to five times as much and are harder on beginner tools and drill bits, so save them for your second bench. For a deeper dive into timber selection, read our guide to the best wood for beginner woodworking projects.
Whatever species you choose, pick your boards in person if you can. Sight down each board like a rifle barrel and reject any that are bowed, twisted, or cupped. Check for large loose knots in the middle of a board — small tight knots are fine and add character, but a loose knot can fall out and leave a hole in your lid.
For the lid, use a glued-up pine panel or a sheet of good-quality plywood with solid pine edging. A single wide pine board will cup over time; a panel made of several narrower strips glued together stays flat. Many timber merchants sell ready-made pine panels in exactly the sizes a bench lid needs, which saves you a glue-up step entirely.
Tools and Materials You Will Need
You do not need a workshop full of machinery. This build is designed around the tools most beginners already own or can borrow:
- Circular saw or mitre saw (a handsaw works too, but it will take longer)
- Cordless drill/driver with drill bits and a countersink bit
- Tape measure, pencil, speed square, and a spirit level
- 120-grit and 220-grit sandpaper, plus a sanding block
- Wood glue, clamps (at least two, four is better)
- Safety glasses and hearing protection
- Paintbrush or foam roller, or a clean cloth for oil finishes
Materials for the standard 120 cm entryway bench: pine boards for the box, a pine panel for the lid, a sheet of thin plywood for the bottom, screws, hinges, and your chosen finish. The exact cut list below uses 18 mm (3/4 inch) thick pine, which is a good balance of strength and weight — thinner boards flex under a seated adult, and thicker boards make the bench unnecessarily heavy.
The Exact Cut List
Every piece in this bench comes from standard pine boards. Cut the longest pieces first, then use the offcuts for the shorter parts where possible. Label each piece with a pencil as you cut it — “front”, “back”, “side”, “divider” — because once the pieces are sanded, they all start to look alike.
| Part | Quantity | Dimensions (L × H × Thickness) | Notes |
|---|---|---|---|
| Front panel | 1 | 120 cm × 42 cm × 18 mm | Main front face of the box |
| Back panel | 1 | 120 cm × 42 cm × 18 mm | Same as front; drill hinge holes later |
| Side panels | 2 | 36.4 cm × 42 cm × 18 mm | Fit between front and back |
| Bottom panel | 1 | 116.4 cm × 36.4 cm × 12 mm plywood | Sits inside the box, screwed to all sides |
| Centre divider | 1 | 36.4 cm × 40 cm × 18 mm | Optional; stops the lid sagging on long benches |
| Lid panel | 1 | 122 cm × 42 cm × 18 mm | 1 cm overhang on each side and the front |
| Lid frame (long) | 2 | 122 cm × 5 cm × 18 mm | Edging strips under the lid edges |
| Lid frame (short) | 2 | 38 cm × 5 cm × 18 mm | Edging strips under the lid ends |
| Feet / base trim | 2 | 116 cm × 8 cm × 18 mm | Front and back plinth, recessed 2 cm |
| Feet / base trim (sides) | 2 | 36 cm × 8 cm × 18 mm | Side plinth pieces |
Why the odd numbers? The side panels are 36.4 cm long because they fit between the front and back panels: 40 cm total depth minus two 18 mm boards equals 36.4 cm. The bottom panel follows the same logic. If you change the bench length, only the front, back, bottom, lid, and long trim pieces change — the sides, divider, and short trim stay the same. Work through the maths once, write the numbers on a piece of card, and keep it by the saw.
Step-by-Step Build
Step 1: Build the Box
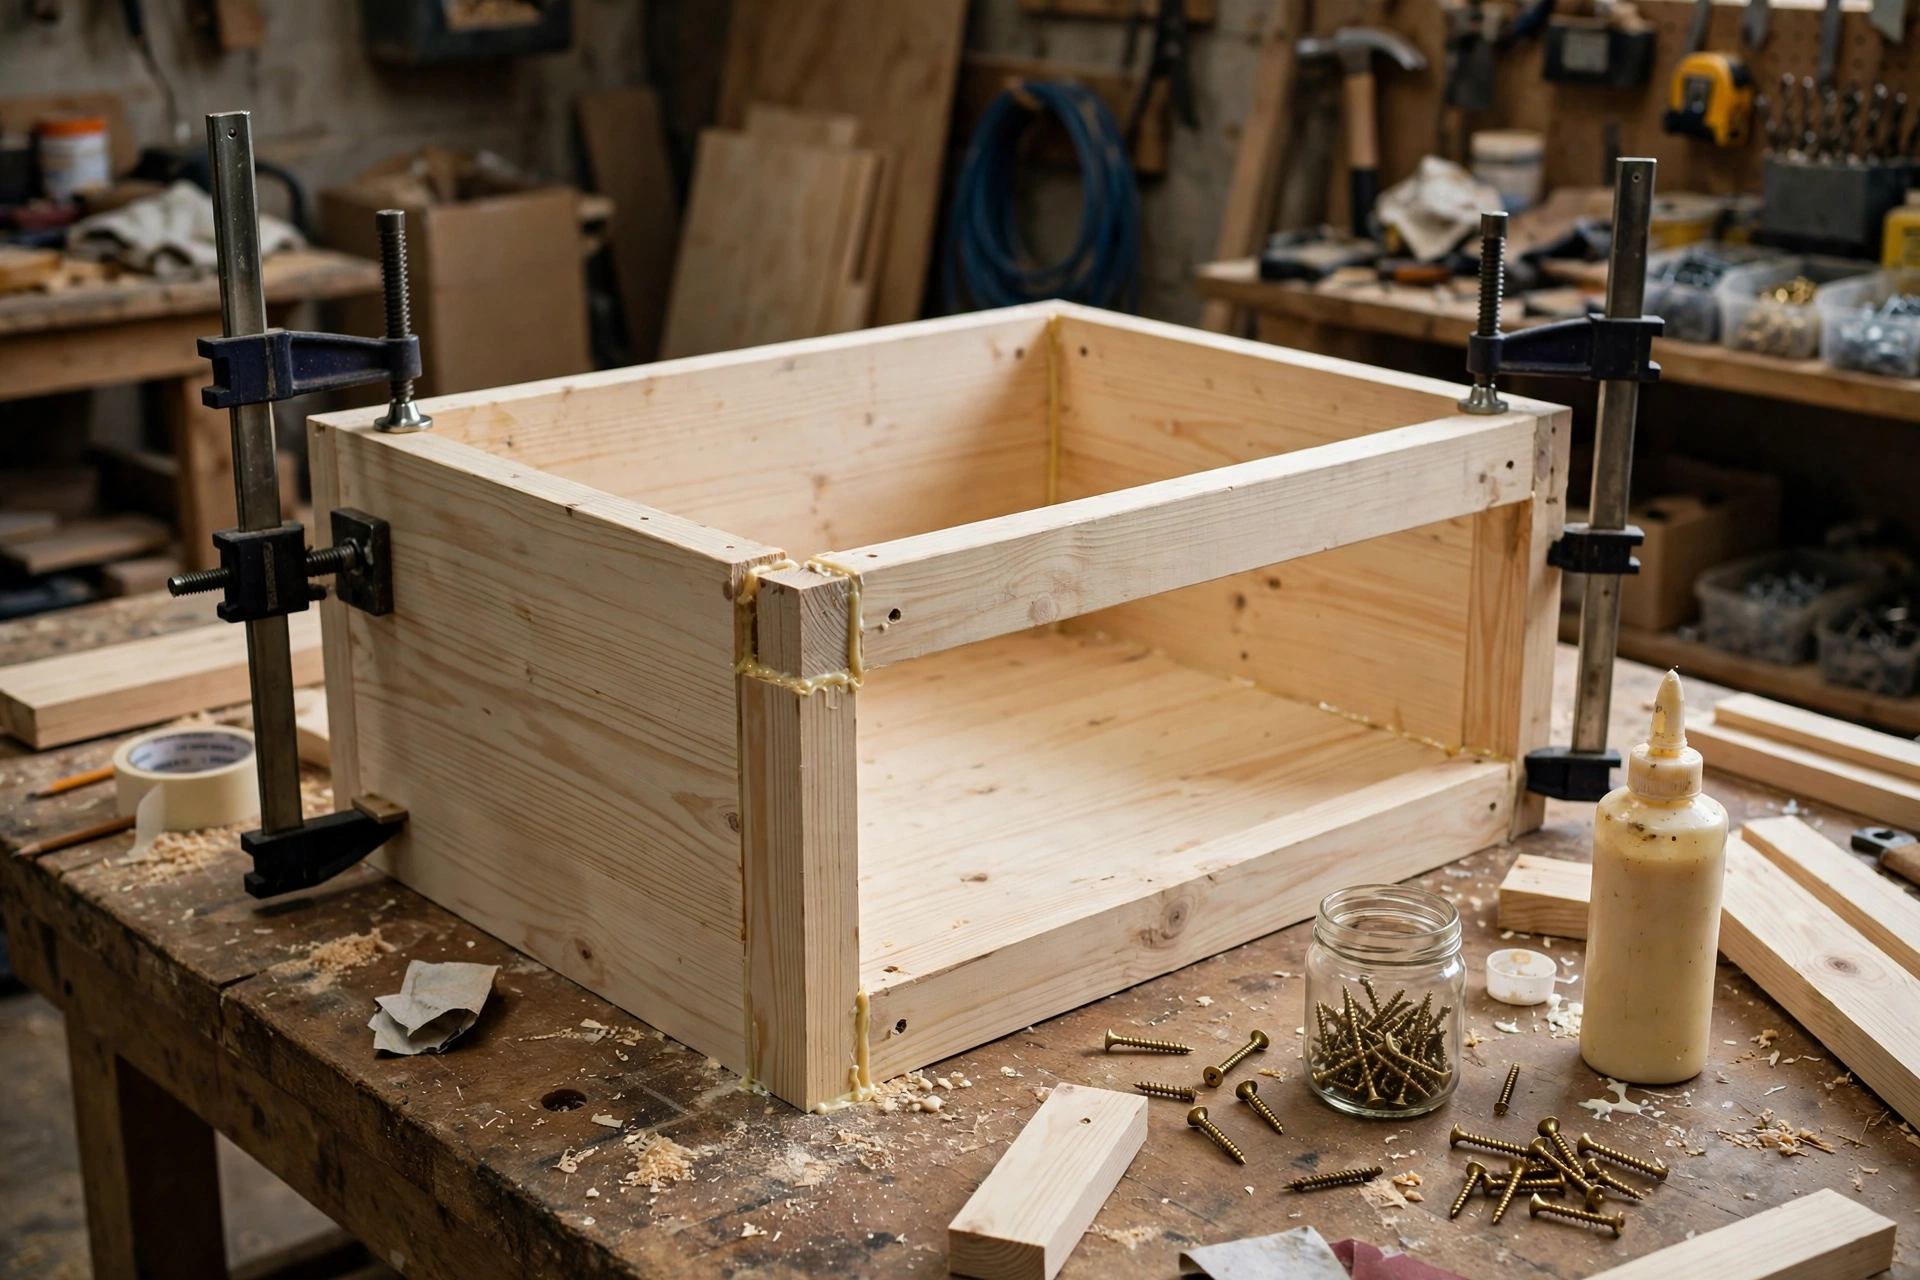
Start by drilling pilot holes and countersinking them in the front and back panels, three screws along each end where they meet the side panels. Pilot holes are non-negotiable in pine: without them, screws driven near the end of a board will split it, and a split side panel is hard to hide.
Apply a thin bead of wood glue to the end of each side panel, press it against the inside face of the front panel, and drive the screws home. Repeat for the back panel so you have a four-sided open box. Check the corners with a speed square — if the box is out of square now, the lid will never sit flush later. Measure diagonally from corner to corner; when both diagonals match, the box is square. Clamp it and leave the glue to set for at least 30 minutes before moving on.
Next, fit the bottom panel. Lay the box upside down on a flat surface, run glue along the bottom edges, drop the plywood panel in, and screw it into the front, back, and sides every 15 cm or so. The bottom carries the weight of everything stored inside, so do not skimp on screws here.
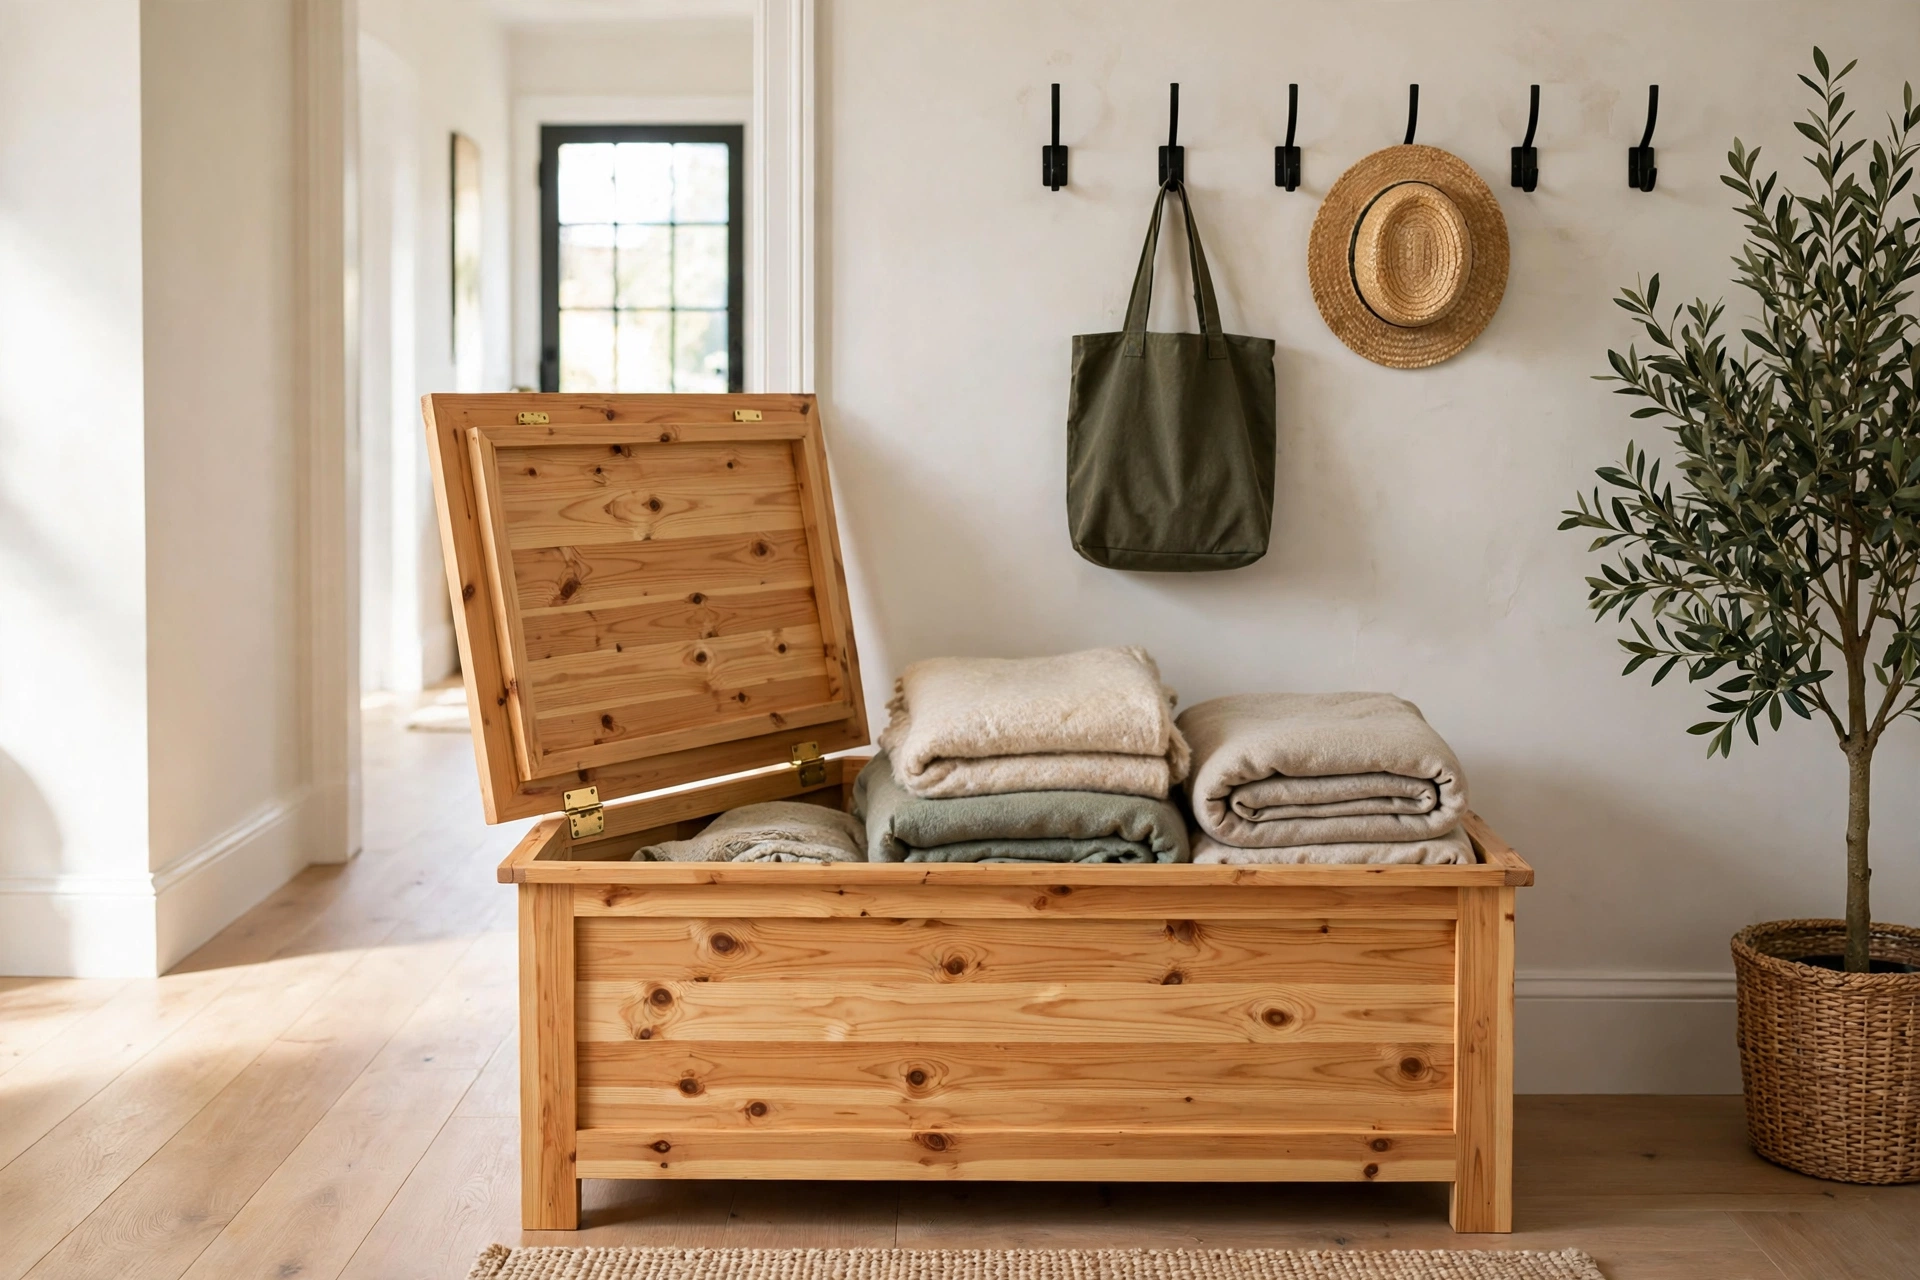
If your bench is longer than 110 cm, add the centre divider now. It sits halfway along the box, glued and screwed from the outside through the front and back panels, and it does two jobs: it stops the lid from sagging in the middle over time, and it creates two tidy compartments instead of one long jumble.
Step 2: Make and Fit the Lid
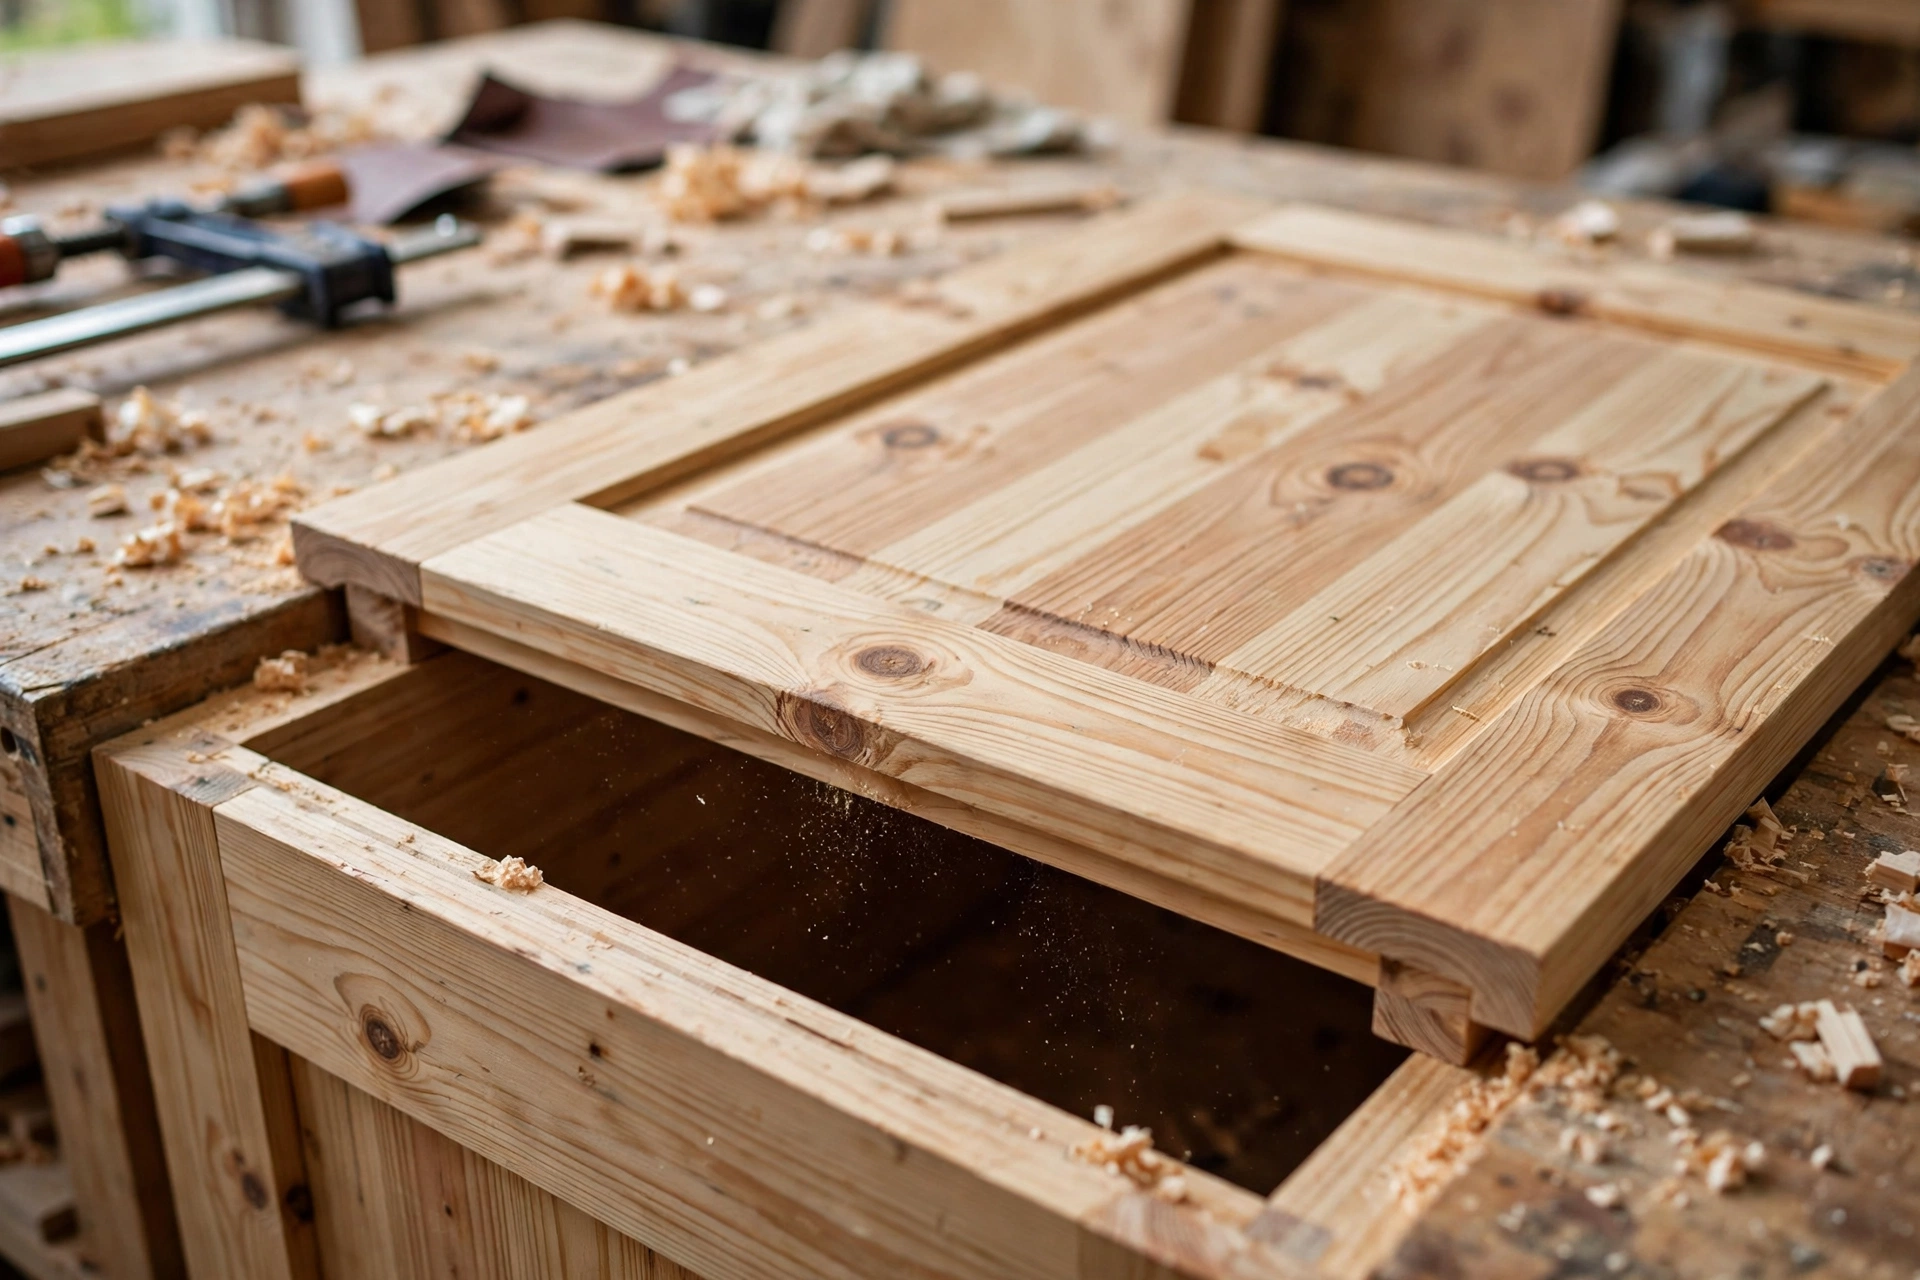
The lid is the most visible part of the bench, so take your time with it. If you bought a ready-made pine panel, simply cut it to 122 cm × 42 cm. If you are gluing up your own panel from narrower boards, alternate the grain direction of each board (one arch up, the next arch down) to cancel out cupping, clamp it flat overnight, and sand it smooth the next day.
Glue and screw the lid frame strips underneath the lid, flush with its edges. This frame does three things: it stiffens the lid, it hides the end grain of the panel from the front, and it creates a lip that stops the lid sliding sideways when it closes. Sand the whole lid with 120-grit, then 220-grit, paying special attention to the front edge, which is the part hands touch every day. A sharp front edge is uncomfortable and chips easily, so round it over slightly with sandpaper — a 2 mm round-over is enough.
Set the lid on top of the box and check the overhang: you want about 1 cm sticking out on each side and at the front, and the back edge flush with the back panel so the hinges sit flat. Mark the lid position with a pencil before you lift it off to fit the hinges.
Step 3: Fit the Hinges and Lid Safety Hardware
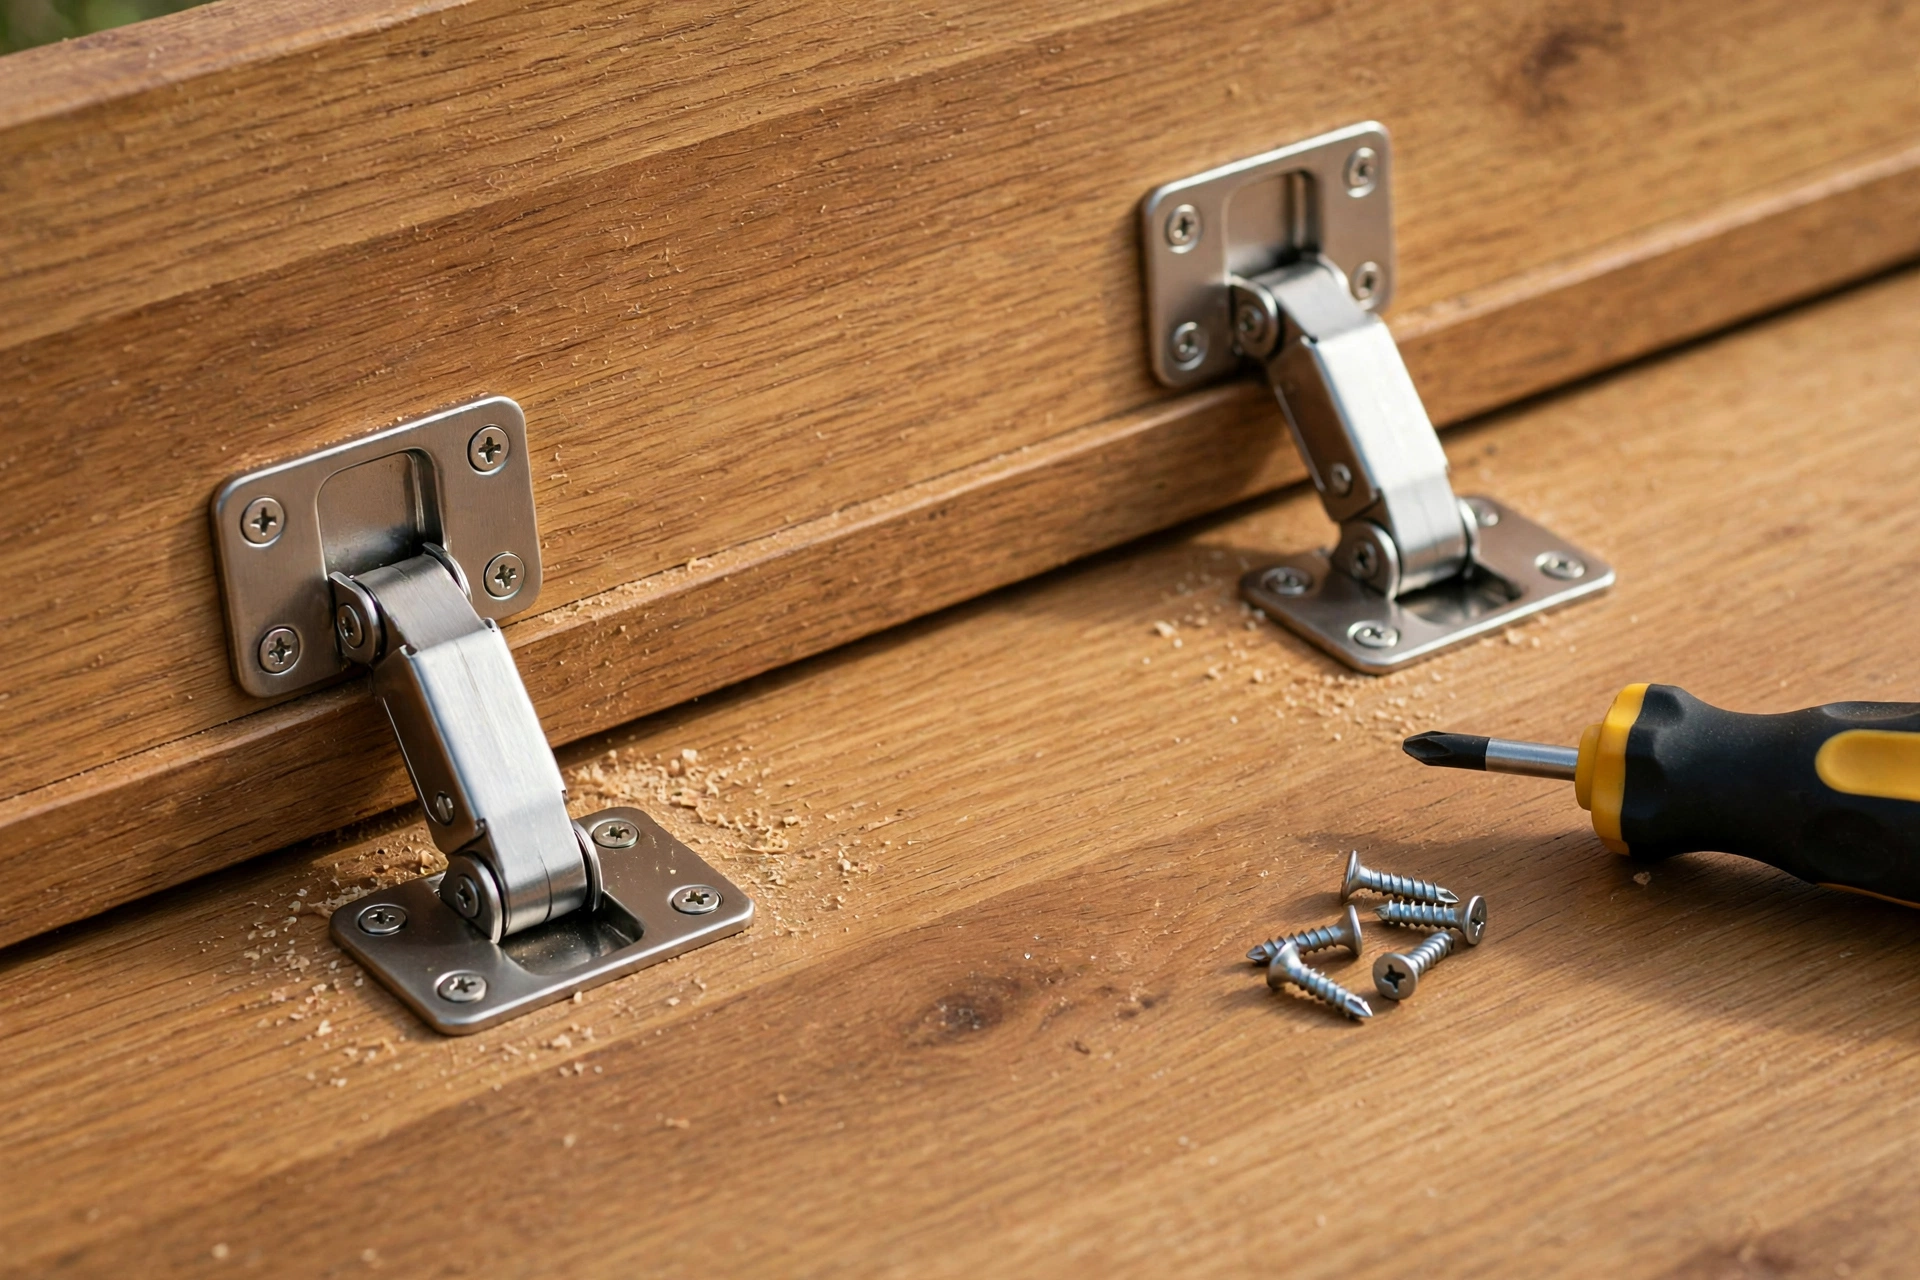
This is the step that separates a good storage bench from a dangerous one. A plain butt hinge lets a heavy pine lid slam shut, and a slamming lid can badly pinch or even break small fingers. Never fit a storage bench lid — especially one in a home with children — with ordinary hinges alone.
Fit two or three soft-close lid-stay hinges (also sold as “toy box hinges” or “lid support stays”) along the back edge. These hold the lid open at any angle and close it slowly and gently, so it cannot slam. Follow the manufacturer’s template for screw positions, and test the action before you finish the bench: the lid should stay put when opened halfway, and it should take several seconds to drift closed on its own.
Practical tips for hinge fitting: drill pilot holes for every hinge screw, because hinge screws are short and pine splits easily. Fit the hinges to the lid first, then offer the whole lid up to the box and mark the back-panel screw positions with an awl or a sharp pencil. Work with a helper if you can — holding a heavy lid steady with one hand while marking with the other is how hinges end up crooked. Finally, check that the lid closes flush all round; if one corner sits proud, loosen the nearest hinge, nudge it a millimetre, and retighten.
Step 4: Add the Optional Cushion
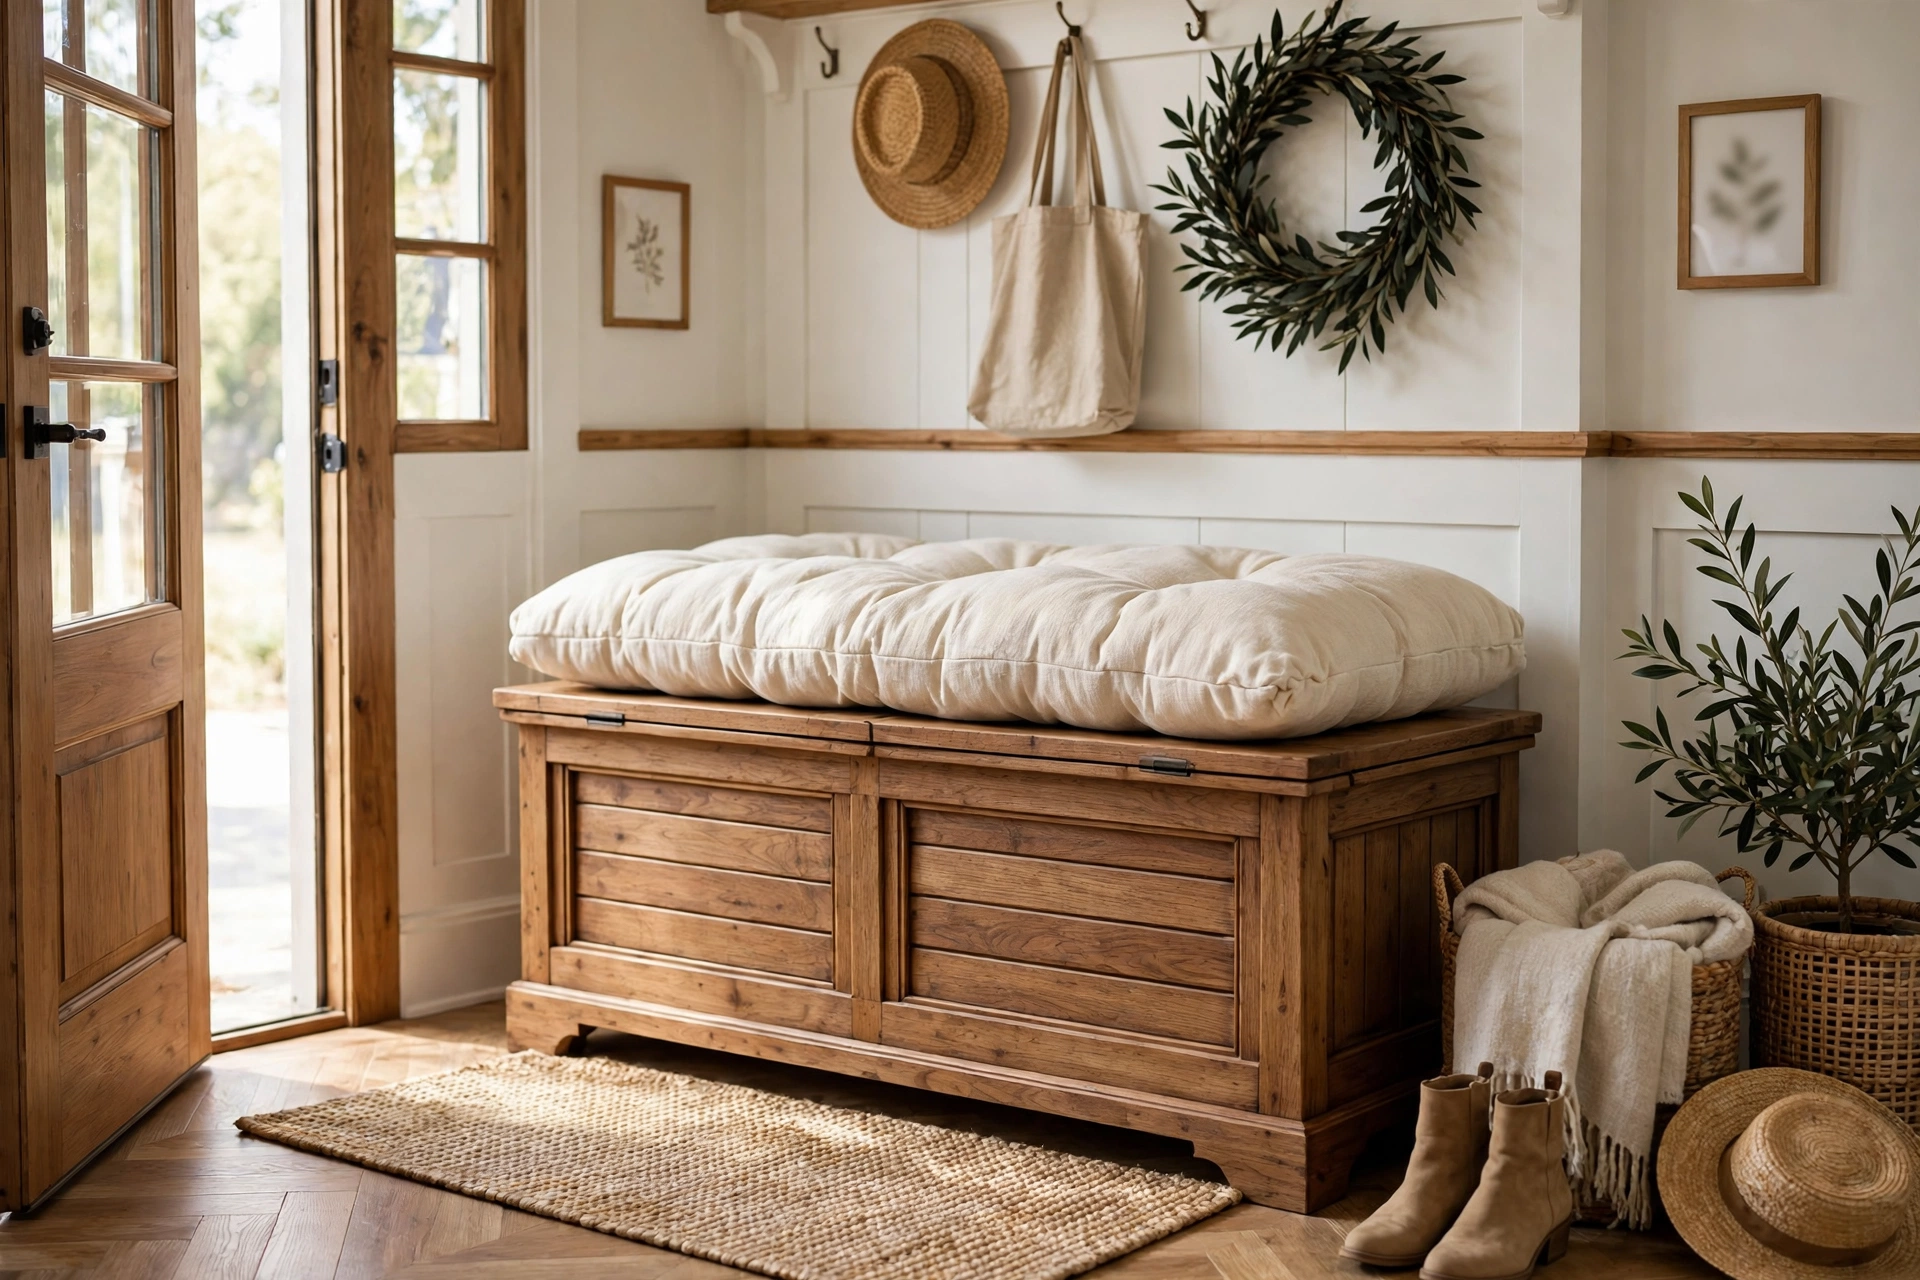
A cushion turns a storage bench into the seat everyone fights over. The simplest version is a piece of high-density foam cut to the lid size, wrapped in fabric, and stapled to a thin plywood base that sits on top of the lid. Use 5–8 cm thick foam for real comfort, and choose a washable, hard-wearing fabric — canvas, heavy cotton, or outdoor fabric if the bench lives in a mudroom where wet coats land on it.
To make it, cut the plywood base 1 cm smaller than the lid all round, glue the foam to it, wrap the fabric tightly over the foam like wrapping a present, and staple it to the underside of the plywood, starting at the middles of each side and working toward the corners. Fold the corners neatly, like hospital corners on a bed. Then either screw the cushion base to the lid from underneath, or leave it loose so the cover can be removed and washed — loose is usually the smarter choice.
If you skip the cushion, the bare pine lid still looks great, and you can always add a cushion later. The bench works exactly the same either way.
Finishing: Sanding, Staining, and Sealing
Finishing is where a beginner bench starts to look like shop-bought furniture, and it is worth every minute. Our full guide to sanding and finishing wood for beginners covers the techniques in detail, but the essentials are simple.
First, sand everything before assembly where you can reach it, and again after assembly. Work through the grits — 120, then 180, then 220 — and always sand with the grain, never across it. Wipe the surface with a slightly damp cloth to raise the grain, let it dry, and give it one final light pass with 220-grit. This extra step is what makes a finish feel silky instead of rough.
For an entryway bench, a hard-wearing finish matters because it gets sat on, kicked, and splashed. Three coats of water-based polyurethane, lightly sanded between coats, is the most forgiving option for beginners: it dries fast, barely smells, and resists scuffs and water rings. If you prefer a natural look, a hardwax oil gives a warm, matte finish and is easy to patch-repair later — just rub more oil into a scratched spot. Paint is also a great choice, especially for a kids’ mudroom bench: a coat of primer plus two coats of durable satin or semi-gloss paint hides pine’s knots and grain variation completely.
Whichever finish you choose, finish the inside of the box too. Bare pine inside a closed bench absorbs damp from shoes and smells musty within months. One or two coats of the same finish on the inside faces keeps the storage fresh and easy to wipe clean.
Common Mistakes to Avoid
- Skipping pilot holes. Pine splits. Drill a pilot hole slightly smaller than the screw shaft for every screw, especially near board ends.
- Building before measuring the space. A bench that blocks a door swing or sticks out past the bed looks wrong no matter how well it is built. Measure the room first, every time.
- Using ordinary hinges without lid stays. A heavy lid that slams is a finger trap. Soft-close stays are cheap and non-negotiable in a family home.
- Forgetting the centre divider on long benches. Without it, a 120 cm-plus lid sags in the middle within a year, and the lid will never close flush again.
- Finishing only the outside. The inside of the box needs protection too, or damp and odours will build up.
- Rushing the sanding. A finish magnifies every scratch and rough patch underneath it. If the wood does not feel smooth to your hand, it is not ready for finish.
- Buying warped boards. Sight every board before you buy. No amount of clamping fixes a badly twisted board in a beginner build.
How Much Does It Cost?
Prices vary by region and timber merchant, but a pine storage bench is one of the cheapest pieces of real furniture you can build. Buying a comparable bench from a furniture store typically costs £150–£400 (or $180–$500), so the savings are substantial even after buying hinges and finish.
| Item | Estimated Cost | Notes |
|---|---|---|
| Pine boards and lid panel | £40–£70 / $50–$90 | Biggest cost; buy kiln-dried pine |
| Plywood bottom panel | £8–£15 / $10–$20 | 12 mm offcut is often enough |
| Screws, glue, sandpaper | £8–£12 / $10–$15 | You may already own these |
| Soft-close lid stays (pair) | £10–£20 / $12–$25 | Do not skip these for safety |
| Finish (polyurethane or oil) | £10–£18 / $12–$22 | One tin covers several projects |
| Optional cushion foam + fabric | £20–£35 / $25–$45 | Skip to keep the build under £100 |
| Total (without cushion) | £76–£135 / $94–$172 | Roughly half the price of a shop-bought bench |
If you already own screws, glue, and sandpaper, you can realistically build this bench for the price of the wood and hinges alone. Check your offcut bin before buying: the feet, trim, and divider are all short pieces that often come free from earlier projects.
Frequently Asked Questions
How long does it take to build a wooden storage bench?
Most beginners finish in one weekend: a Saturday for cutting and assembling the box and lid, and a Sunday for sanding and finishing. If you use a ready-made lid panel and a fast-drying water-based finish, you can finish in a single long day. Allow extra drying time between finish coats — rushing the finish is the most common cause of a tacky, disappointing result.
How much weight can a DIY wooden storage bench hold?
Built from 18 mm pine to the cut list in this guide, the bench comfortably holds two seated adults — around 150–200 kg (330–440 lb) — as long as the bottom panel is well screwed and a centre divider supports longer lids. If you plan to stand on the bench to reach high shelves, add a second divider and thicker 25 mm boards for the lid.
What is the best wood for a beginner storage bench?
Pine, without question. It is cheap, easy to cut and screw, widely available, and forgiving of small mistakes. Poplar is a good upgrade if you plan to paint the bench, because it has fewer knots. Avoid expensive hardwoods for your first bench — they cost more, blunt tools faster, and punish measuring mistakes that pine forgives.
Do I need soft-close hinges, or will normal hinges work?
Normal butt hinges will hold the lid on, but they will not stop it slamming. For any bench in a home with children — and honestly for any bench at all — fit soft-close lid stays. They hold the lid open at any angle, close it gently, and cost only a few pounds more than basic hinges. They are the single most important safety upgrade in this project.
Can I build a storage bench without a table saw?
Yes. Every cut in this project is a straight crosscut or rip that a circular saw with a straight-edge guide, a mitre saw, or even a handsaw can handle. Many timber merchants will also cut boards to length for a small fee, which means you can take the cut list in this guide to the store and come home with a kit of ready-to-assemble parts.
How do I stop the lid from sagging over time?
Three things prevent sagging: the lid frame strips glued under the lid, a centre divider supporting the middle of any bench longer than 110 cm, and storing the heaviest items (books, tools) in the box rather than piling them on the lid. If a lid does sag slightly, flipping it over and leaving it weighted flat for a few days often corrects it.
Should I paint or stain my storage bench?
It depends on the look you want and where the bench lives. Stain and clear polyurethane show off pine’s grain and suit bedrooms and living rooms. Paint hides knots and grain variation and stands up best to muddy boots in an entryway or mudroom. Either way, seal the inside of the box as well as the outside, and use at least two top coats on the seat surface, which takes the most wear.
Final Thoughts
A wooden storage bench is one of those rare beginner projects that teaches you almost every core woodworking skill — measuring, cutting, drilling, gluing, screwing, hinging, sanding, and finishing — while producing a piece of furniture your whole household will use every single day. Start with the standard 120 cm entryway size, follow the cut list exactly, and do not skip the soft-close hinges. Once the first bench is done, the second one (for the bedroom, the mudroom, or as a gift) takes half the time.
When you are ready for your next build, the easy woodworking projects for beginners that sell pillar guide has a whole cluster of beginner-friendly ideas that build on exactly these skills — and if you enjoy the hinged-lid design, a wooden toy box is the natural next project.
Recommended Products for This Project
As an Amazon Associate, I earn from qualifying purchases.

Bosch 1617EVSPK 2.25 HP Variable-Speed Router Combo Kit
Fixed and plunge bases for edges, grooves, and joinery in one kit.

DEWALT 20V MAX Drill/Driver Kit DCD771C2
Compact drill and driver for pilot holes, screws, and everyday furniture assembly.

IRWIN QUICK-GRIP Clamps Set, 8-Piece (IRHT83220)
A versatile clamp assortment for everyday glue-ups.
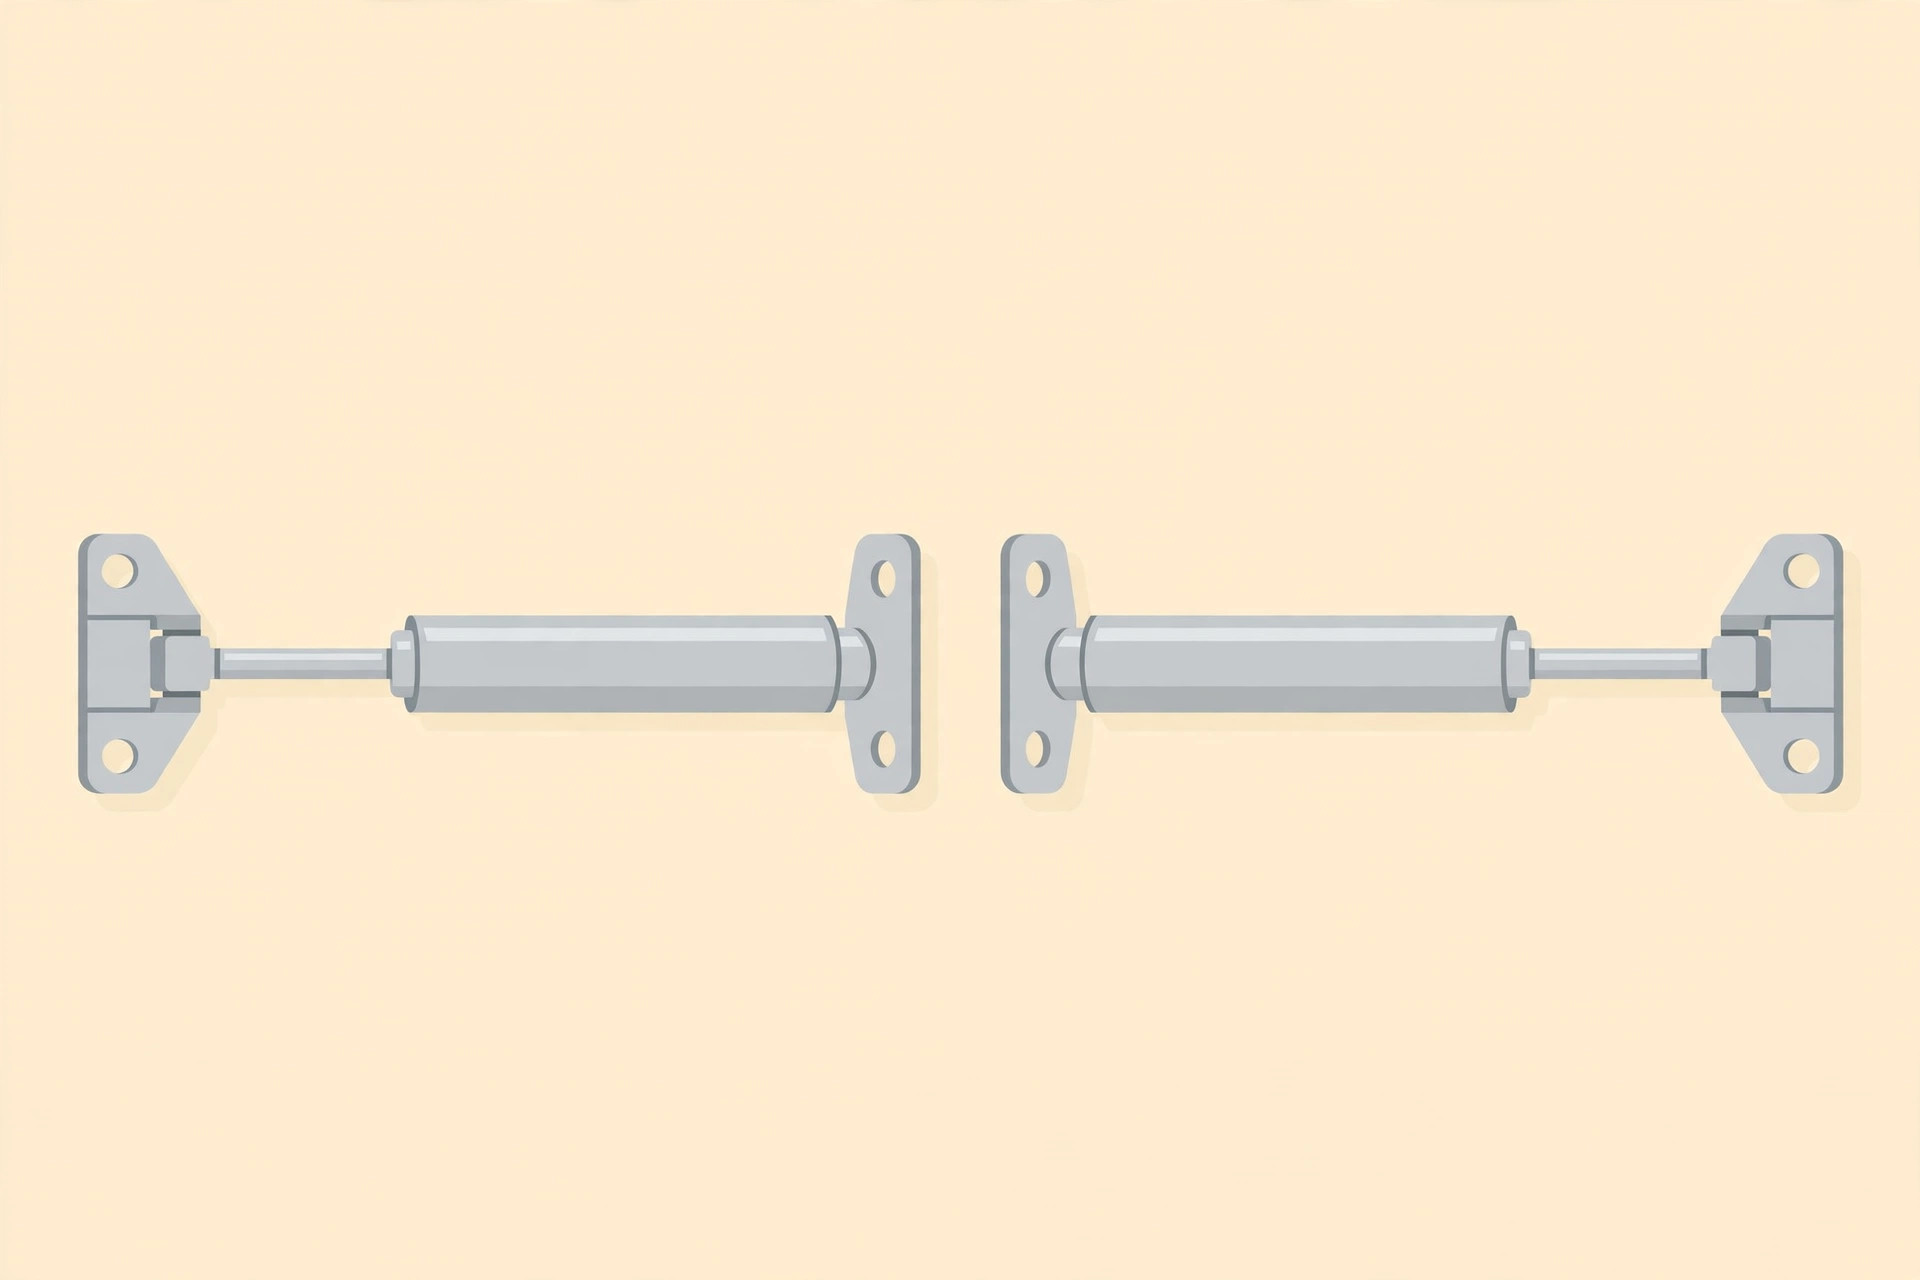
APFFSY Soft Close Lid Support Hinges, 200N / 60 lb, 2-Pack
Soft-close lid stays that hold the bench lid open and stop it slamming shut.

DEX FIT Cru553 Level 5 Cut Resistant Gloves, Size L
Level 5 cut resistance for safer handling of sharp tools and rough stock.


