
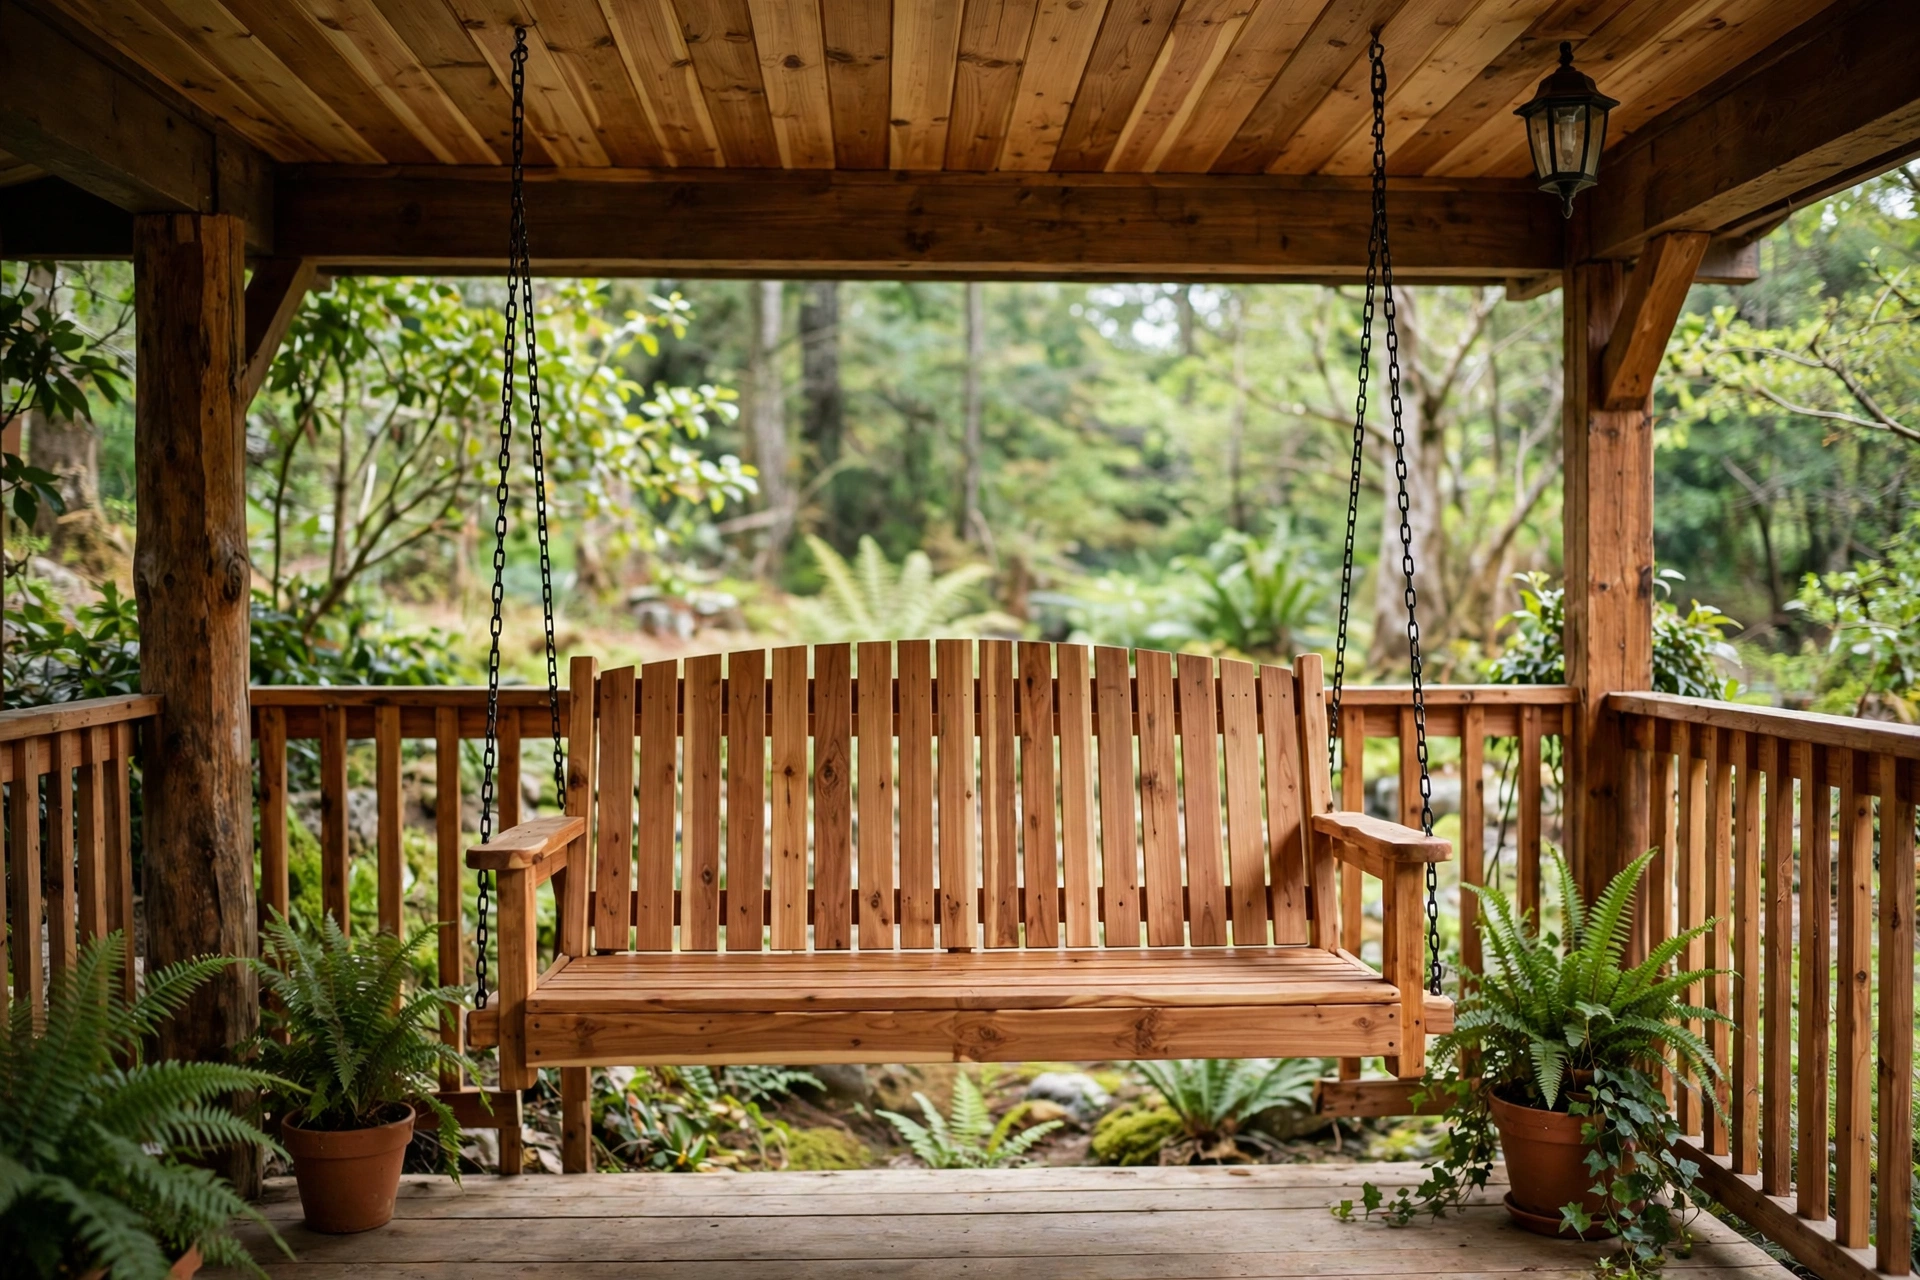
There is something deeply satisfying about a porch swing. It is the one piece of outdoor furniture that is not just sat on but lived in — slow mornings with coffee, long evenings talking, children begging for “one more push.” Learning how to build a wooden porch swing for beginners is a bigger project than a birdhouse or a planter box, but it is still very much a beginner build, provided you respect one thing above all else: a swing is a moving, loaded structure hanging over people’s heads, and it must be built and hung like one.
This guide walks you through a sturdy, comfortable two-person cedar porch swing. The finished swing is 48 inches wide, 24 inches deep, with a seat height of about 18 inches — roomy enough for two adults, small enough for a standard porch. Every cut is straight or gently angled, every joint is screwed and glued, and the hanging hardware is sized with a real safety margin. You will need a weekend, basic tools, and patience. You do not need advanced joinery, a workshop full of machines, or prior furniture experience.
If this is one of your first larger builds, start with the pillar guide to easy woodworking projects for beginners that sell to see where a porch swing fits in a sensible beginner journey, then come back here for the full measured build. And if you have already built a smaller outdoor piece, such as our guide on how to build a simple garden bench for beginners, you will recognise many of the same skills — square frames, pilot holes, and weatherproof finishing — just applied to a hanging seat.
Safety First: A Swing Is Not a Shelf
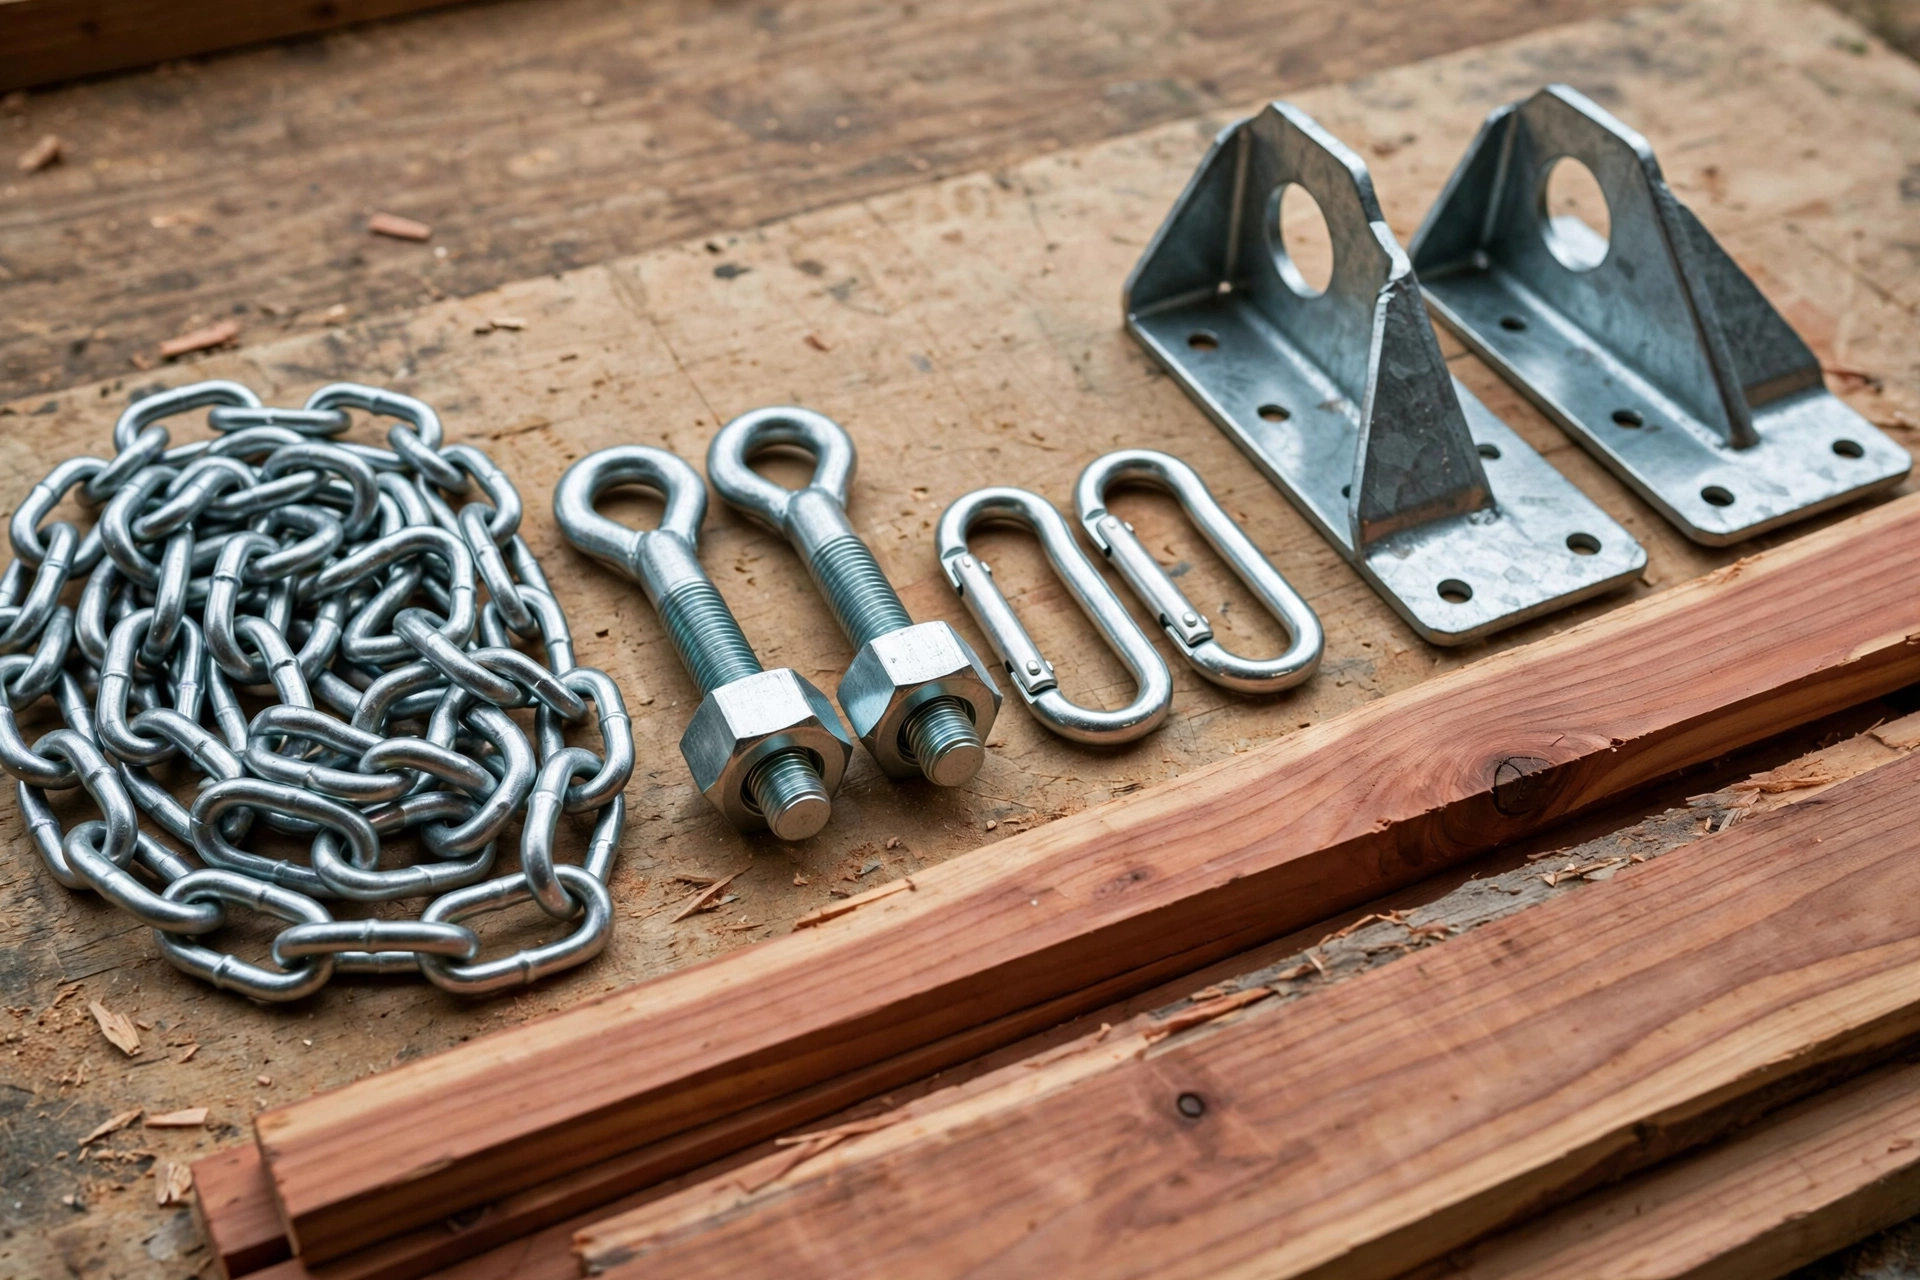
Before you cut a single board, understand the forces involved. A static seat holding two adults might carry 350 to 400 pounds. A swing in motion is different. When someone sits down hard, pushes off, or swings vigorously, the dynamic load — the peak force on the chains and ceiling mounts — can briefly reach two to three times the static weight. That is why hardware ratings in this guide are deliberately generous: every hanging component is rated for at least 600 pounds per side, giving a combined capacity far above anything two adults and a swinging motion can produce.
Here is the rule that matters most, and it is non-negotiable: never hang a porch swing from ceiling drywall, plaster, or a decorative ceiling alone. Drywall can hold a picture frame. It cannot hold a swinging seat carrying people. A swing must hang only from solid structural framing — ceiling joists, a solid beam, or a purpose-built swing frame. If your porch ceiling is finished and you cannot see or reach the joists, find them with a stud finder, confirm them by drilling a small pilot hole, or open up a small section of ceiling to verify. If you are unsure what is above your porch ceiling, ask a contractor or experienced builder to confirm the structure before you hang anything. A beautiful swing is worthless if its mounting fails.
Other safety rules for this build:
- Use only rated, galvanised or stainless hanging hardware. Decorative chain and unrated hooks from a bargain bin are not acceptable for a swing.
- Drill pilot holes for every screw near a board end, especially in cedar, which splits easily.
- Wear safety glasses and hearing protection, clamp boards before cutting, and keep both hands clear of the blade path.
- Keep children off the swing until it has passed the load test described later in this guide.
- Inspect the chains, eye bolts, and ceiling mounts at least twice a year, and replace any component that shows rust, wear, stretching, or deformation.
For a fuller grounding in workshop habits, read our woodworking safety tips for beginners before you start cutting.
Getting the Size Right: Comfort by the Numbers
A porch swing that is too deep forces you to perch on the edge; one that is too shallow leaves your legs dangling awkwardly; one hung too low drags on the porch floor. The dimensions in this guide are chosen for ordinary adult comfort:
- Overall width: 48 inches — seats two adults side by side without squeezing.
- Seat depth: 24 inches from the front edge to the backrest — deep enough to sit back comfortably, shallow enough that most adults can still place their feet flat on the floor.
- Seat height: about 18 inches from the porch floor to the top of the seat slats, similar to a dining chair.
- Backrest height: about 24 inches above the seat, reclined slightly at roughly 10 to 15 degrees so you can lean back without sliding forward.
- Hanging height: the seat should hang so its lowest point clears the porch floor by at least 18 inches of swing arc — in practice, mount the ceiling hardware so the seat sits at 18 inches high when at rest, and check that nothing on the porch (steps, planters, railings) intrudes into the swing’s path.
- Chain length: this depends on your porch ceiling height. Measure from the ceiling mount down to the seat attachment points, then add a few inches for adjustment. Chains are adjusted with quick links, so buy slightly long and shorten as needed.
Test the seat height before you build: sit on a chair at 18 inches, lean back against a board tilted at about 12 degrees, and check that your feet rest flat and your knees bend at roughly a right angle. If your household is much taller or shorter than average, adjust the leg-free design here by changing the chain length, not the seat frame — the frame dimensions stay the same.
Choosing the Wood: Cedar Wins for Beginners
Cedar is the best choice for a first porch swing. It is naturally resistant to rot and insects, light enough to lift and hang without a struggle, easy to cut and sand, and it smells wonderful in the workshop. It is more expensive than pine, but a swing lives outdoors under a roof, exposed to humidity and temperature swings, and cedar’s natural durability pays for itself in years of service. A cedar swing with an exterior oil finish can last 10 to 15 years with basic maintenance.
Pine is acceptable if your budget is tight, but only if you seal it completely — primer plus two coats of exterior paint, or three coats of spar urethane — and keep up the recoating schedule. Unfinished or half-finished pine will rot, warp, and grey far faster than cedar. Pressure-treated lumber is strong and cheap, but it is heavy, often wet and warped when bought, and harder to finish attractively; it is not recommended for a first swing.
Whatever wood you choose, pick straight boards. Sight down each board like looking down a rifle barrel and reject any that twist, bow, or cup noticeably. The long seat and back slats must be straight, or the finished swing will look wavy and feel uneven. Buy one extra slat board if your budget allows — a spare is cheap insurance against a bad cut or a split.
Tools and Materials
You need only standard beginner tools for this build. A miter saw makes the repeated straight cuts fast and accurate, but a circular saw with a straight guide works just as well.
Tools you will need:
- Tape measure, pencil, and speed square
- Miter saw or circular saw with a guide
- Drill/driver with drill bits, a countersink bit, and a socket or wrench for bolts
- Two or more clamps
- Random orbital sander or sanding block with 80, 120, and 220 grit sandpaper
- Stud finder (essential for locating ceiling joists)
- Spirit level and a helper for the hanging step — do not hang a swing alone
- Safety glasses, hearing protection, and work gloves
- Paintbrush or clean rags for finishing
Materials you will need:
- Cedar boards per the cut list below (1×4 and 1×6, plus 2×4 for the arms and supports)
- Exterior wood screws: 2-1/2 inch and 1-5/8 inch, stainless or coated
- Exterior wood glue, waterproof rated
- Carriage bolts with washers and nuts for the arm supports (see the hardware table)
- Porch swing hanging kit or separate rated components: four heavy-duty ceiling joist hangers, four lengths of galvanised chain, eye bolts, quick links, and S-hooks or spring links — all rated per the hardware table below
- Exterior wood oil or spar urethane for finishing
- Exterior wood filler (optional, for screw holes)
The Exact Cut List
Cut the longest pieces first, then use offcuts for shorter pieces where possible. Label every piece with a pencil as you cut it. All measurements are finished sizes.
| Part | Quantity | Board size | Cut length | Notes |
|---|---|---|---|---|
| Seat slats | 5 | 1×4 cedar | 48 inches | Run front to back, spaced about 1/4 inch apart |
| Seat front rail | 1 | 1×4 cedar | 48 inches | Front edge of the seat frame |
| Seat back rail | 1 | 1×4 cedar | 48 inches | Back edge of the seat frame |
| Seat side rails | 2 | 1×4 cedar | 21 inches | Join front and back rails into a frame |
| Seat support cleats | 2 | 1×4 cedar | 21 inches | Under the slats, mid-span, to stop sagging |
| Back slats | 5 | 1×4 cedar | 48 inches | Run horizontally across the back |
| Back uprights | 2 | 1×4 cedar | 26 inches | Vertical supports, angled top optional |
| Back bottom rail | 1 | 1×4 cedar | 48 inches | Ties the uprights together at the base |
| Armrests | 2 | 2×4 cedar | 24 inches | Flat on top, rounded front edge |
| Arm supports (front) | 2 | 2×4 cedar | 18 inches | Vertical, seat frame to armrest |
| Arm supports (back) | 2 | 1×4 cedar | 22 inches | Angled, seat frame up to the backrest |
| Chain support blocks | 4 | 2×4 cedar | 6 inches | Reinforce chain attachment points |
If any two pieces in the same group differ by even a fraction of an inch, trim the long one now while the saw is still set up. Small differences are invisible in a pile of lumber and very visible in a finished swing.
Hardware and Load Ratings: Buy Rated, Never Decorative
This table is the heart of the safety case for your swing. Do not substitute unrated hardware to save money.
| Component | Minimum rating | Quantity | Why it matters |
|---|---|---|---|
| Ceiling joist hangers / swing mounts | 600 lbs each | 4 | The only connection to your house framing; must be lag-screwed into solid joists |
| Galvanised steel chain | 600 lbs working load per side | 4 lengths | Carries the full dynamic load; two chains per side share the weight |
| Eye bolts (forged, shouldered) | 600 lbs each | 4 | Forged eye bolts resist opening under load; bent wire eye bolts do not |
| Quick links / spring links | 600 lbs each | 4–8 | Let you adjust chain length and level the seat |
| Lag screws for ceiling mounts | 3/8 inch × 3 inch, into joists | 8–16 | Must bite deep into solid framing, never into drywall alone |
| Carriage bolts for arm supports | 1/4 inch × 2-1/2 inch | 4 | Lock the arms to the frame so they cannot work loose |
A combined rating of 600 pounds per side means the system is designed for two adults plus the extra force of swinging, with margin to spare. Inspect every component before installation: reject chain with bent or stretched links, eye bolts with visible seams or cracks, and any hardware that is rusted or unmarked. If a rating is not printed on the packaging, treat the part as unrated and do not use it for hanging.
Step 1: Build the Seat Frame
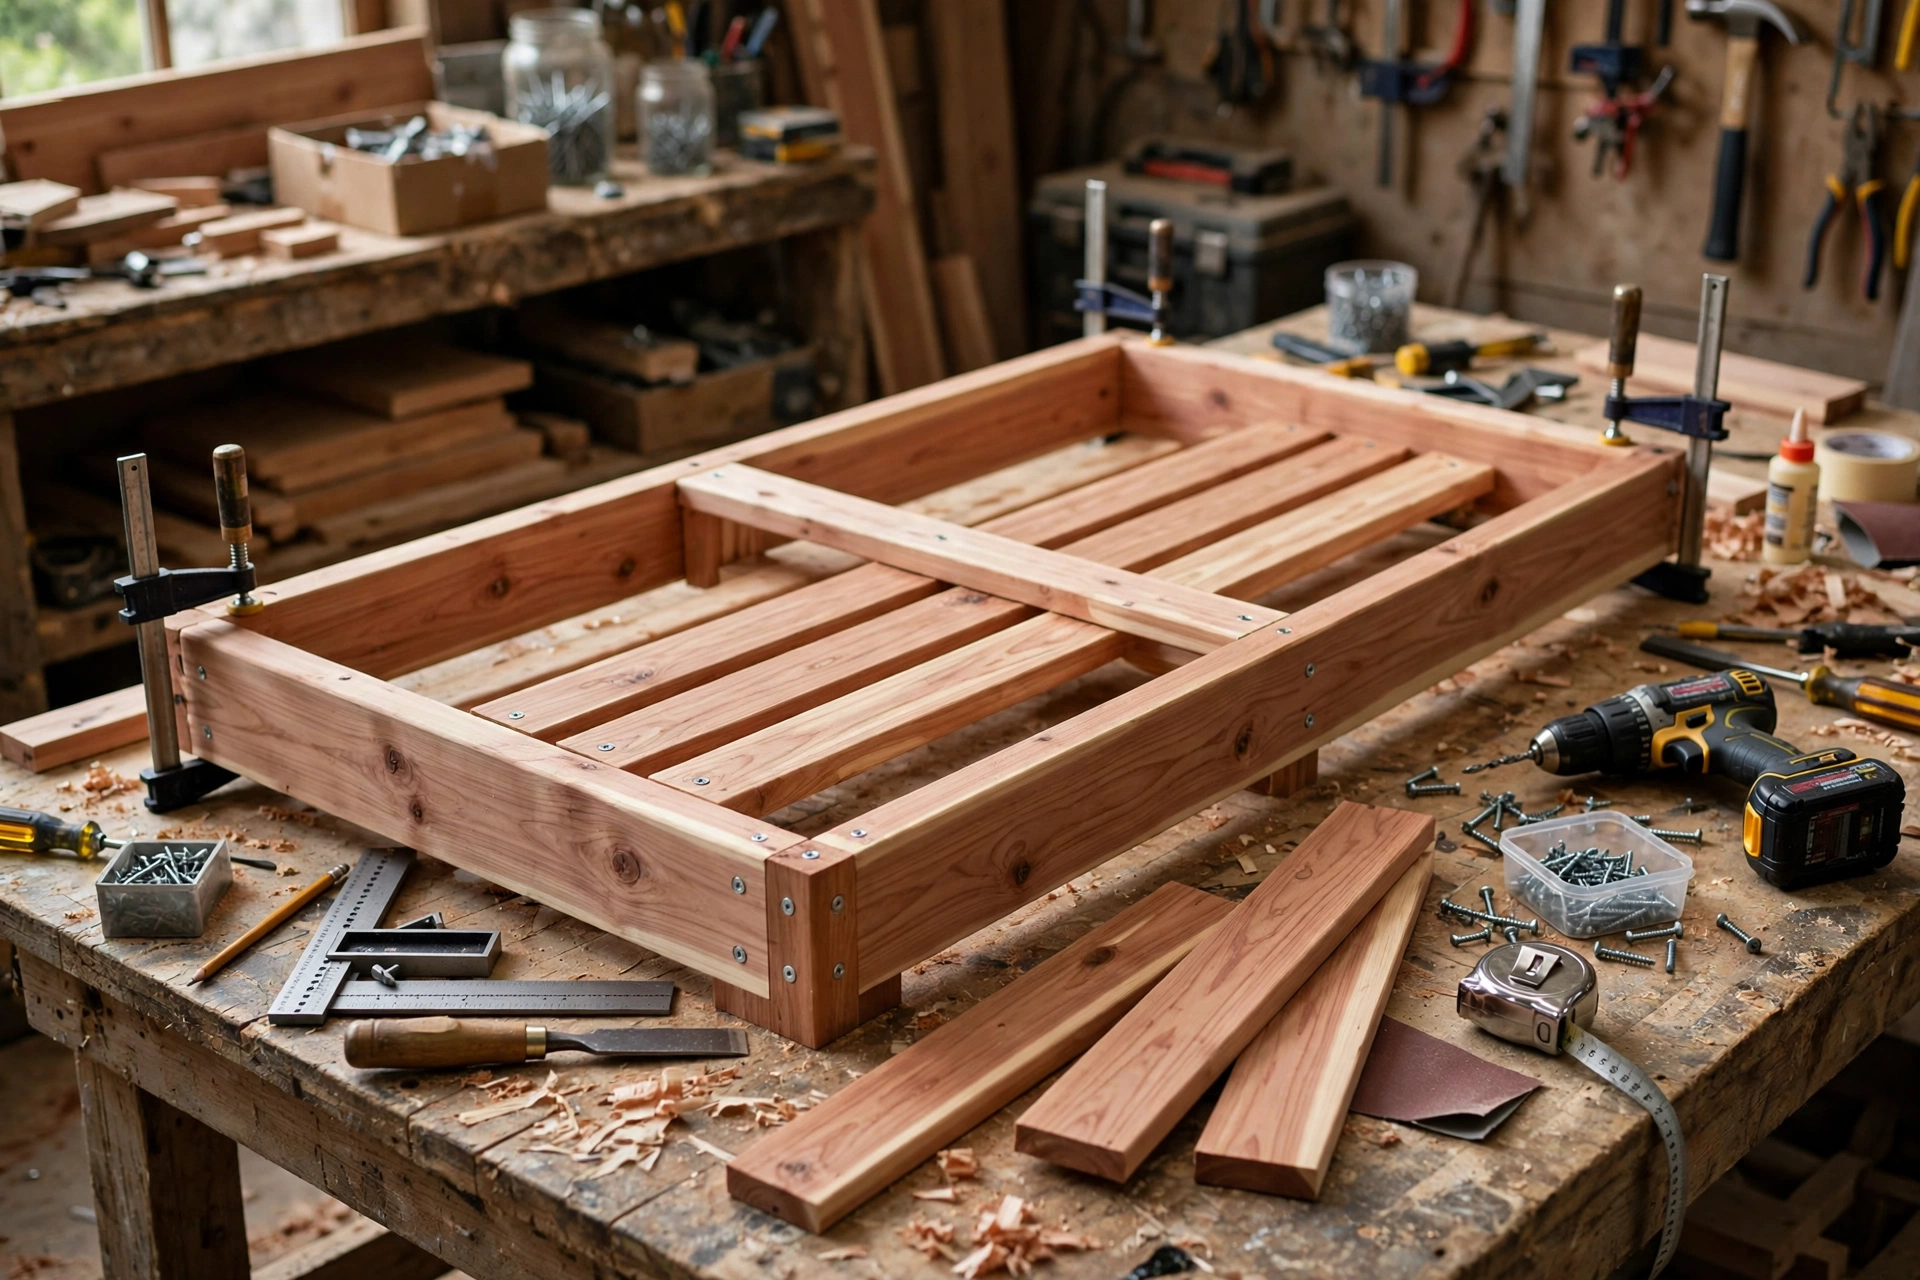
The seat frame is a rectangle, 48 inches wide by 21 inches deep, made from the front rail, back rail, and two side rails. Lay the rails flat on your workbench, apply exterior glue to the joints, and check for square by measuring both diagonals — equal diagonals mean square. Drill pilot holes and drive two 2-1/2 inch exterior screws at each corner joint.
Next, add the two support cleats inside the frame, spaced evenly across the width. These cleats are what stop the seat slats from sagging in the middle under two adults, so do not skip them. Screw them in from the outside of the side rails with pilot holes and glue.
Now lay the five seat slats across the frame, front to back, with about a 1/4 inch gap between slats. The gaps let rain drain through and let the boards expand and contract with humidity without buckling — the same logic used on our wooden outdoor side table for beginners, where slatted tops keep outdoor furniture dry. Use a scrap offcut as a spacer so every gap matches. Screw each slat down into the front rail, back rail, and both cleats with 1-5/8 inch screws, two per joint, countersunk slightly. Stand back and check the seat is flat and does not rock on the bench. Fix rocking now; a rocking frame becomes a rocking swing.
Step 2: Build the Backrest
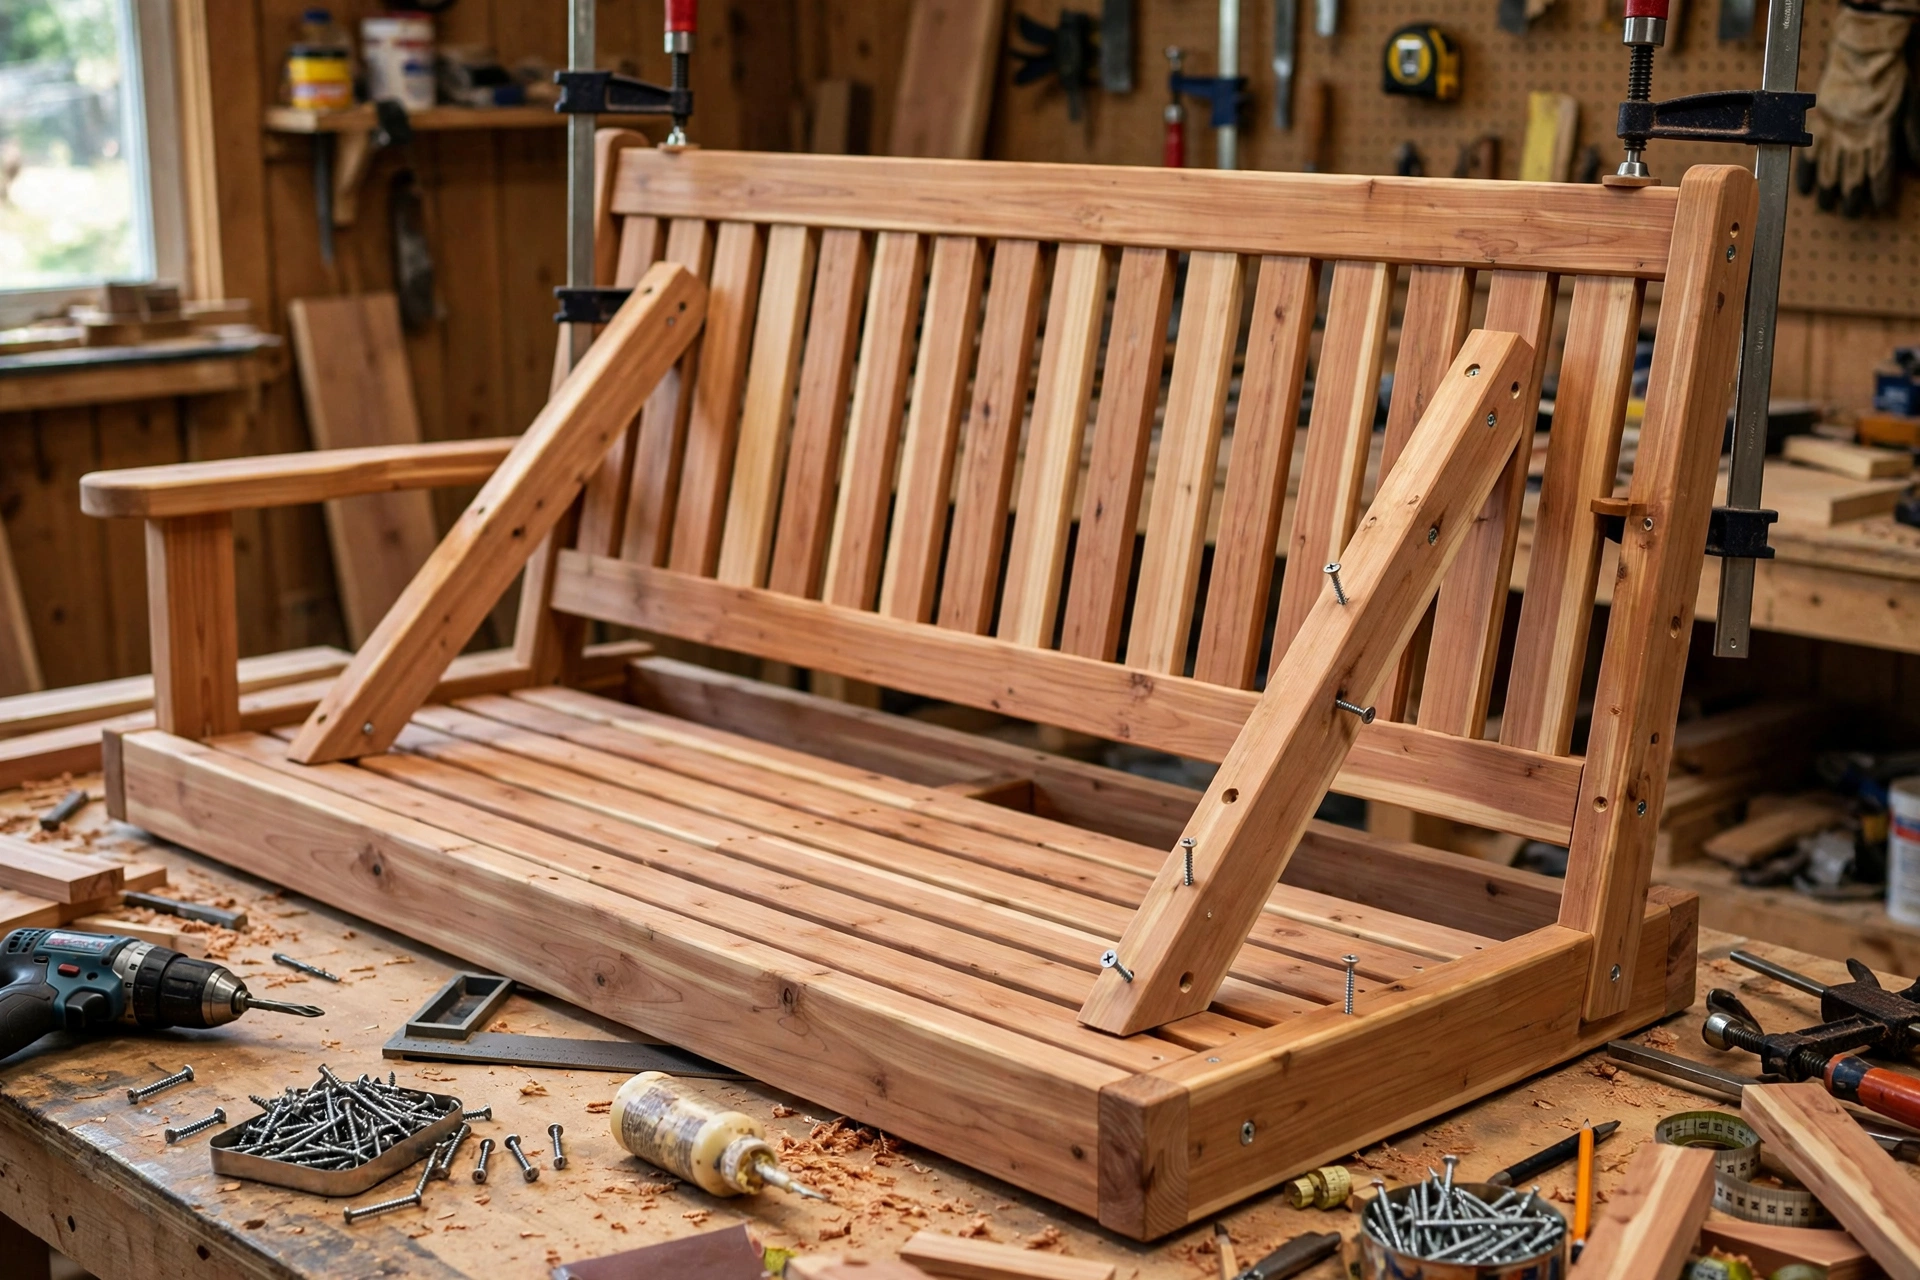
The backrest is five horizontal slats screwed to two vertical uprights, with a bottom rail tying the uprights together. Lay the uprights parallel on the bench, 48 inches apart on the outside, and mark the slat positions with even gaps — roughly 1/2 inch between slats for a classic look and airflow.
Screw the bottom rail across the uprights first, then work upward, slat by slat, checking that each slat is level before screwing. Pilot holes are essential here: cedar splits easily near board ends, and a split upright weakens the whole backrest.
The backrest attaches to the seat frame at a recline of about 10 to 15 degrees. The simplest beginner method is to bolt the uprights to the back rail and the angled back arm supports, then check the recline by propping the assembly and sitting against it before final tightening. A backrest that is perfectly vertical feels like a park bench; a slight recline is what makes a swing feel like a swing. Do not exceed about 15 degrees, or sitters will slide forward and the chains will carry an uneven load.
Step 3: Add the Armrests and Supports
Armrests do more than give you somewhere to rest your elbows — they are structural. Each armrest is a 2×4, 24 inches long, supported at the front by a vertical 2×4 leg down to the seat frame and at the back by an angled 1×4 up to the backrest. This triangle braces the seat to the backrest and stops the swing from flexing sideways.
Round the front edge of each armrest with sandpaper so it is comfortable to grip, and drill pilot holes before driving screws. Use carriage bolts, not just screws, where each front arm support meets the seat frame: bolts with washers and nuts resist the repeated pulling forces of swinging far better than screws alone. Tighten the bolts firmly, but do not crush the cedar — snug, plus a quarter turn, is enough.
Screw the four chain support blocks inside the frame at the chain attachment points: two at the front corners of the seat frame and two at the back, where the chains meet the backrest uprights. Chains must bolt through solid doubled-up wood, never through a single thin slat.
Step 4: Attach the Chains

Chains are the most safety-critical part of this build, so take your time. On each side of the swing, one chain runs from the ceiling mount down to the front seat corner, and a second chain runs from the ceiling mount down to the backrest or back seat corner. The two chains on each side typically meet at a single ceiling point or at two closely spaced ceiling points, depending on your hanging kit — follow your kit’s instructions, but keep the geometry in mind: the front chain should be roughly vertical, and the back chain should angle slightly to the backrest, so the seat hangs level and the backrest is supported.
Drill through the chain support blocks and install forged, shouldered eye bolts with a washer and nut on the underside. The shoulder of the eye bolt must sit flat against the wood. Attach the chain to each eye bolt with a quick link or spring link rated at 600 pounds or more, and close the link fully — a half-closed quick link is a failure waiting to happen. Repeat on all four attachment points, and make sure the left and right sides mirror each other exactly. Unequal chain lengths are the most common cause of a swing that hangs crooked.
Before hanging, lay the swing on the ground and pull firmly on each chain by hand, checking that no eye bolt rotates, no block splits, and no link opens. If anything moves, fix it on the ground, not on the porch ceiling.
Step 5: Hang, Level, and Test
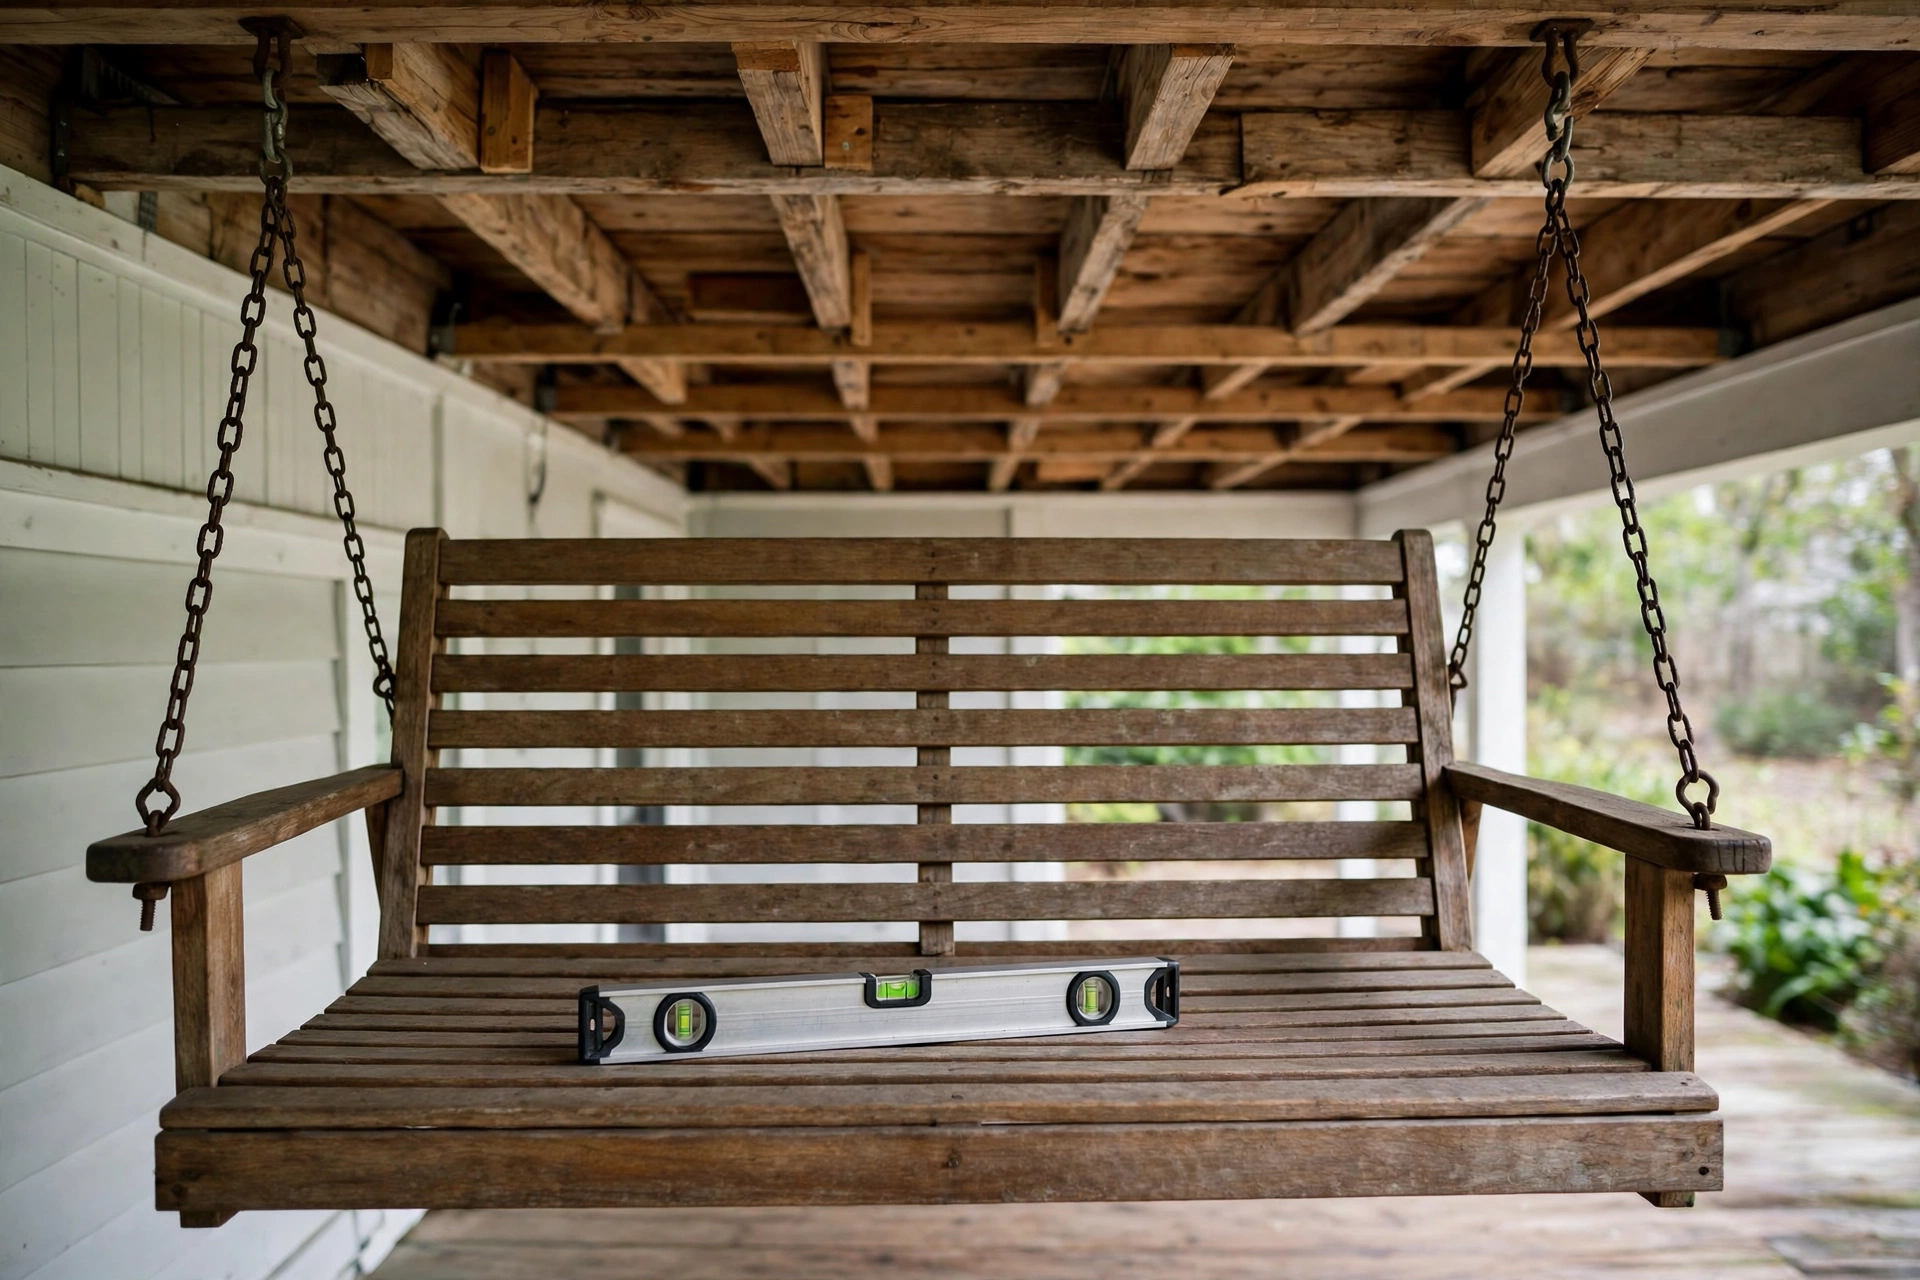
This is a two-person job. First, locate the ceiling joists with a stud finder and mark them clearly. Joists typically run in one direction, spaced 16 inches apart, and your four ceiling mounts must each land in the centre of a joist — not in the gap between joists, and never in drywall alone. If your joist spacing does not match your chain spacing, you have two safe options: mount a solid cross-beam (a 2×6 or 2×8, lag-screwed into at least two joists) across the ceiling and hang the swing from the beam, or use a freestanding porch swing frame. What you must not do is fudge a mount into drywall because the spacing is inconvenient.
Drill pilot holes into the joists and drive the lag screws for the ceiling hangers, checking each hanger is tight and does not rotate. Lift the swing into place with your helper, connect the chains to the ceiling hangers with quick links, and let it hang. Check the seat height (about 18 inches), then level it: place a spirit level across the seat front to back and side to side, and adjust the quick links, one link at a time, until the seat is level in both directions. An unlevel swing feels wrong every single time someone sits down, and it loads one side’s hardware more than the other.
Now swing it gently, empty, and watch the chains and mounts. Nothing should creak, shift, or twist. Check that the swing’s arc clears the porch floor, railings, steps, and any planters by a comfortable margin in both directions.
Load Testing Before Anyone Sits Down
Load testing is not optional. First, press down firmly on the centre of the seat with your body weight, then sit down slowly, alone, with your helper watching the mounts. Stand up, sit again, and swing gently. Then, if the swing is rated for two people, have two adults sit together and swing gently while your helper watches the ceiling mounts and chains for any movement, creaking, or flexing.
After the test, re-check every bolt, nut, and quick link, and re-level the seat — new chains stretch slightly on first loading. Repeat this inspection after the first week of use, then at least twice a year. If you ever hear a new creak, see a mount shift, or find a rusted or stretched link, take the swing out of service until the part is replaced.
Finishing for Outdoor Life
A swing under a porch roof is sheltered from direct rain but not from humidity, so it still needs a real outdoor finish. Sand the whole swing through 80, then 120, then 220 grit, rounding all edges and corners — a swing is touched constantly, so sharp edges and splinters matter more here than on most projects. Pay special attention to the armrests and the front edge of the seat. Vacuum or brush off all dust before finishing; dust trapped under oil or urethane shows as rough patches.
Exterior penetrating oil is the easiest beginner finish for cedar: it soaks in, never peels, and is simple to refresh once a year. Apply two coats with a brush or rag, wiping off excess, and let each coat dry fully. Spar urethane gives a harder, glossier film and lasts longer between recoats, but it must be sanded before recoating and will peel if water gets underneath. Exterior paint is the best protection for pine, but it hides the grain that makes cedar attractive. For a deeper dive into the sanding sequence, see our guide on how to sand and finish wood for beginners.
Whichever finish you choose, seal the end grain — especially the bottom of the back uprights and the arm supports — with an extra coat. End grain absorbs water many times faster than face grain, and it is where outdoor furniture rots first. Recoat on schedule, not when the finish already looks tired: for oil, once a year; for spar urethane, every one to two years.
What It Costs
Prices vary by region and lumber yard, but this table gives a realistic budget for a cedar swing built with rated hardware. The hardware is not the place to cut costs — a cheaper unrated chain saves a few dollars and risks the whole project.
| Item | Estimated cost | Notes |
|---|---|---|
| Cedar boards (1×4, 1×6, 2×4) | $90–$140 | Buy straight boards; one spare slat included |
| Exterior screws, glue, bolts | $20–$30 | Stainless or coated only |
| Rated hanging kit (chains, hangers, eye bolts, links) | $45–$80 | Buy rated; never substitute decorative chain |
| Exterior oil or spar urethane | $15–$25 | One tin covers two coats |
| Sandpaper and finishing supplies | $10–$15 | 80, 120, 220 grit plus rags or brushes |
| Total | $180–$290 | Tools not included; most beginners already own them |
A comparable store-bought cedar porch swing typically costs $300 to $600, often with thinner slats and unrated hardware. Building your own saves money, but the real payoff is knowing exactly how your swing is put together — and that every bolt in it is one you chose and checked yourself.
Common Mistakes Beginners Make
- Hanging from drywall or plaster alone. The single most dangerous mistake. Only solid joists, a beam, or a freestanding frame will do.
- Using decorative or unrated chain. If it has no working load rating printed on it, it does not belong on a swing.
- Skipping the seat support cleats. A 48-inch seat without mid-span support will sag within a season under two adults.
- Unequal chain lengths. Measure and count links on both sides. A crooked swing loads one side more than the other.
- Butting slats tight together. Without 1/4 inch gaps, water pools, boards swell, and the seat buckles.
- Skipping pilot holes in cedar. Splits at the ends of slats and uprights weaken joints and look terrible.
- Finishing only the visible faces. Undersides, end grain, and the insides of joints are where rot starts.
- Letting children use the swing before the load test. Always test with adults first, gently, while someone watches the mounts.
Frequently Asked Questions
How much weight can a wooden porch swing hold?
This design, built with the rated hardware in the table above, comfortably holds two adults — roughly 400 pounds of static weight — with a large safety margin for the dynamic forces of swinging. The key is the hardware rating (600 pounds per side) and solid joist mounting, not just the wood itself.
Can I hang a porch swing from a drywall ceiling?
No. Never hang a swing from drywall, plaster, or a decorative ceiling alone. The mounts must be lag-screwed into solid ceiling joists or a beam that is itself bolted into joists. If you cannot find or reach joists, use a freestanding swing frame instead.
What is the best wood for a porch swing?
Cedar is the best beginner choice: naturally rot- and insect-resistant, light, and easy to work. Pine works if fully sealed and maintained, but it needs more upkeep. Avoid heavy, wet pressure-treated lumber for a first swing.
How high should a porch swing hang?
The seat should sit about 18 inches above the porch floor at rest, with enough clearance that the swing’s arc never touches the floor, steps, railings, or planters. Adjust the chain length with quick links until the seat is level and at the right height.
How long does it take to build a wooden porch swing?
Most beginners finish in one full weekend: one day for cutting and assembly, and a second day for sanding, finishing, and hanging. Add drying time between finish coats. Do not rush the hanging and load-testing steps to save an hour.
How do I maintain a wooden porch swing?
Re-oil once a year (or recoat spar urethane every one to two years), inspect chains, eye bolts, and ceiling mounts twice a year, tighten any loose bolts, and replace any rusted or stretched component immediately. Keep the swing dry where possible and re-level it after the first week of use.
Can I make the swing wider for three people?
Not with this cut list. A wider swing needs thicker seat supports, a centre support, and heavier-rated hardware, and it changes the chain geometry. Build the 48-inch two-person version first; a three-person swing is a different design, not just a longer version of this one.
The Bottom Line
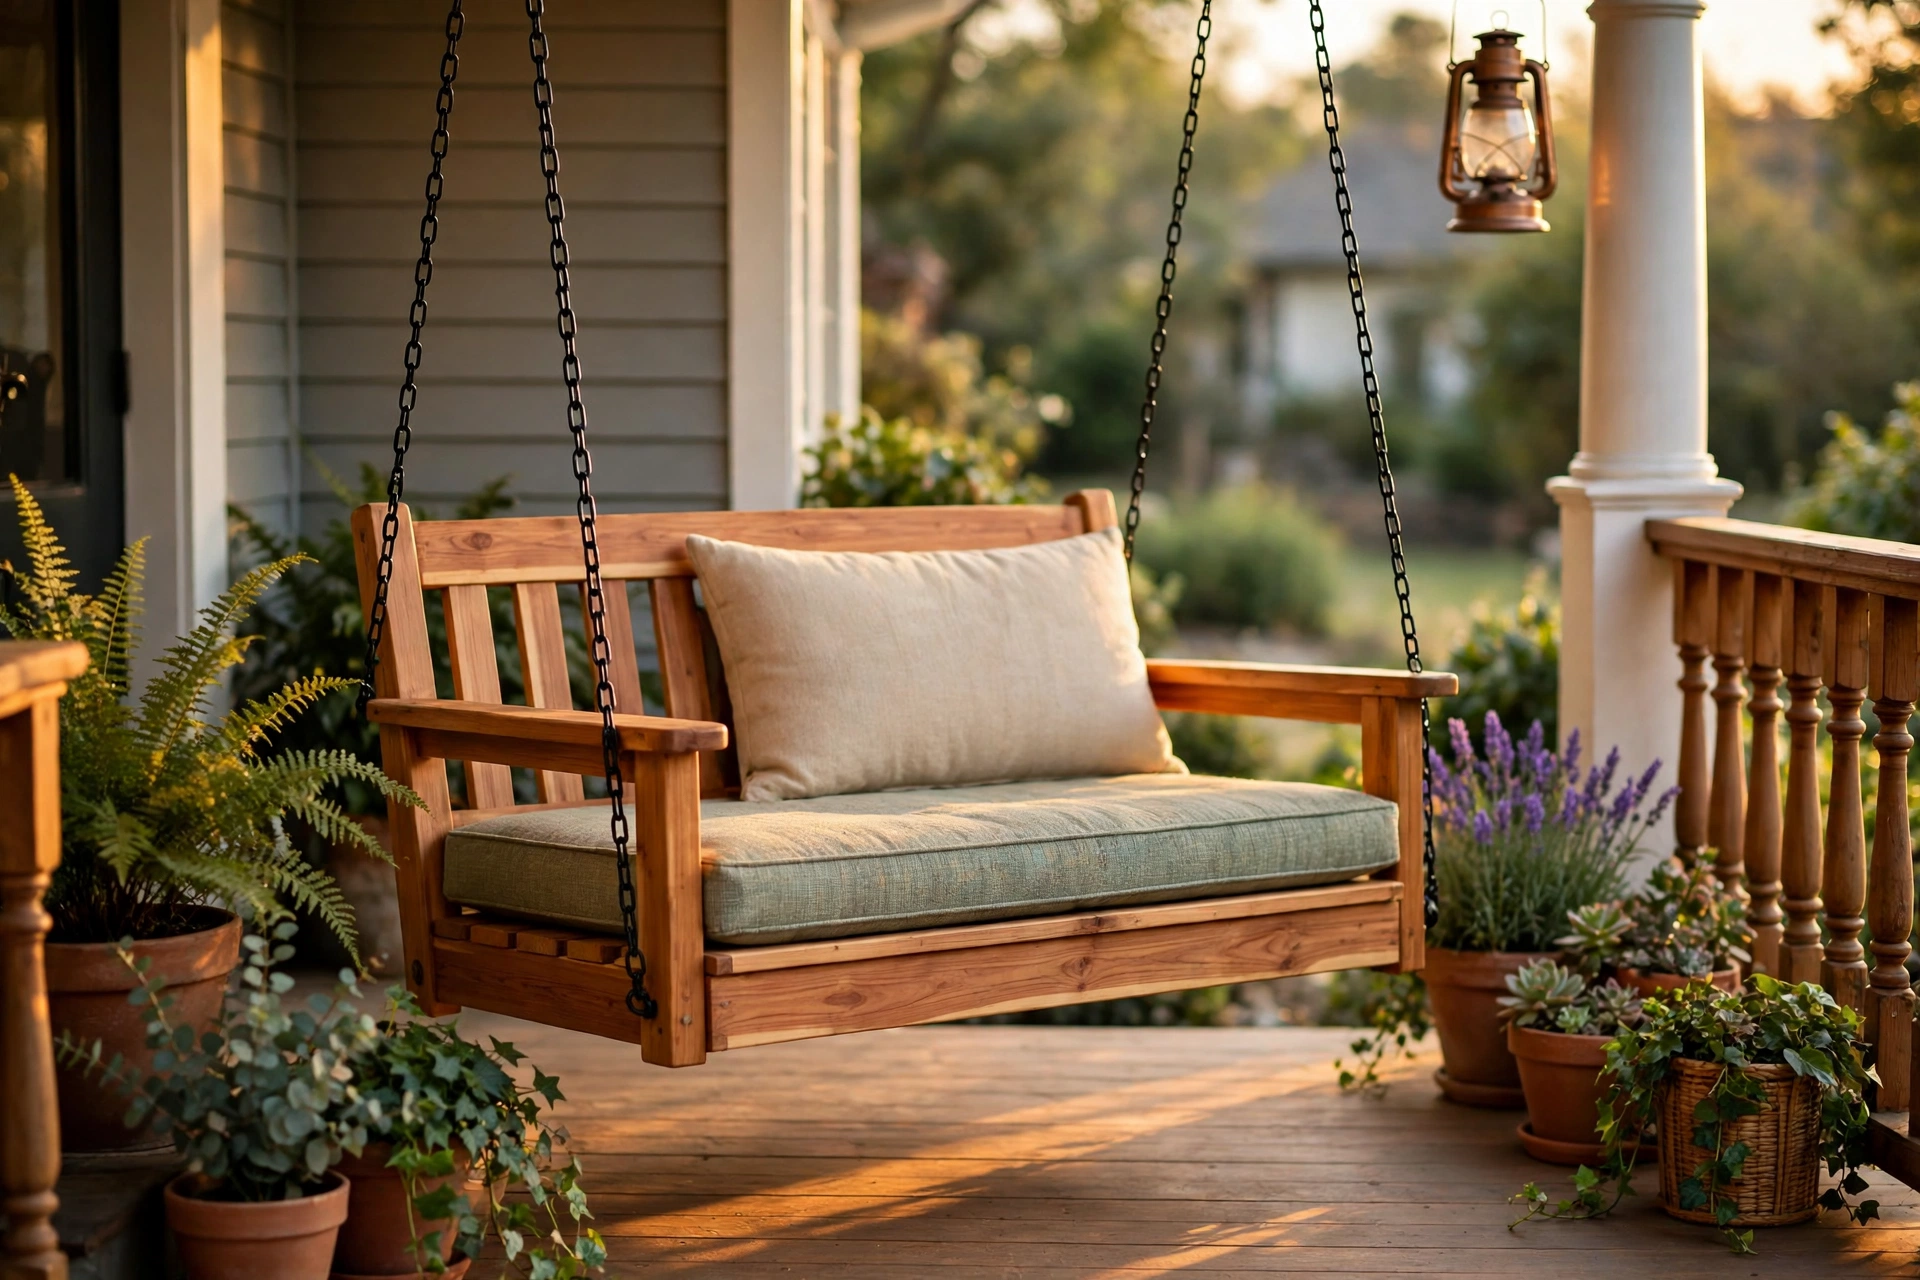
Learning how to build a wooden porch swing for beginners comes down to three things: a square, well-supported seat frame, rated hardware hung only from solid framing, and a patient load test before anyone swings in earnest. Get those right and the rest — straight cuts, even slat gaps, a smooth finish — is straightforward beginner woodworking that you will enjoy every time you sit down.
Build it this weekend, hang it carefully with a helper, test it properly, and by next weekend you will have the best seat on the porch — one you built yourself, sized for your space, and strong enough to last for seasons. For your next outdoor project, the simple garden bench pairs beautifully with a porch swing, and the pillar guide to easy woodworking projects for beginners that sell has more first projects in the same spirit.
Recommended Products for This Project
As an Amazon Associate, I earn from qualifying purchases.
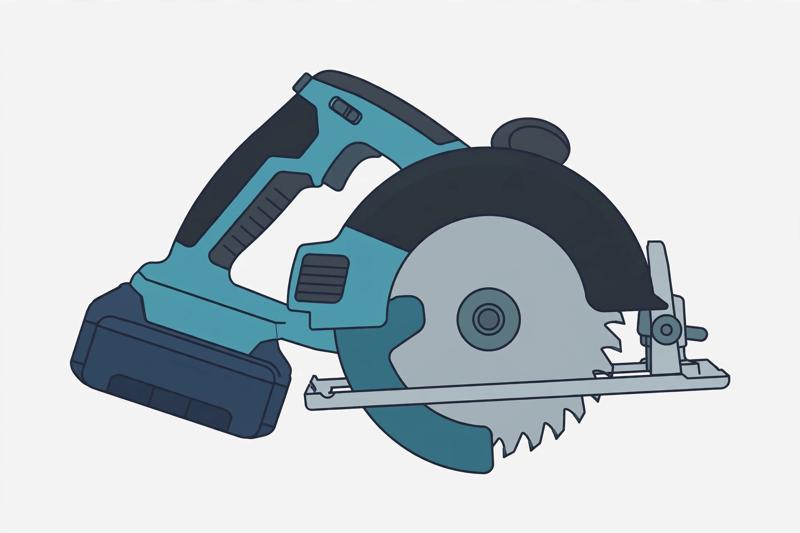
DEWALT 20V MAX Circular Saw DCS391B (Tool Only)
Cordless 20V power for straight, fast cuts in boards and plywood.

DEWALT 20V MAX Drill/Driver Kit DCD771C2
Compact drill and driver for pilot holes, screws, and everyday furniture assembly.
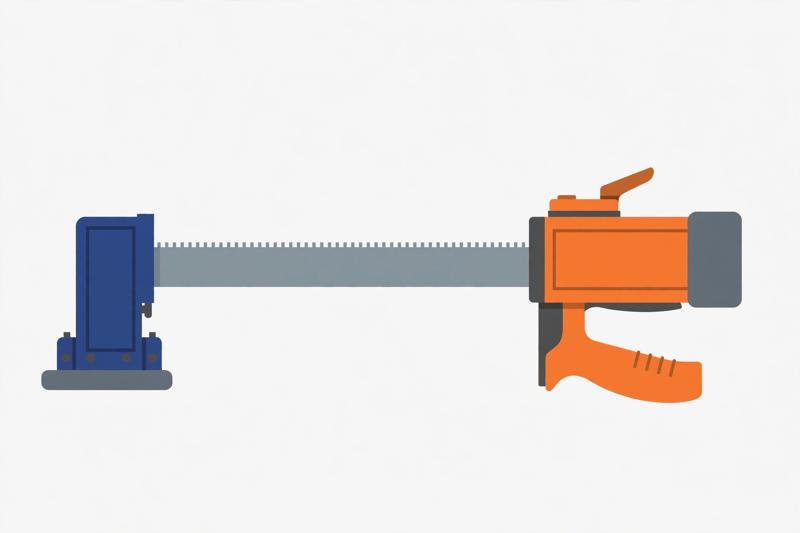
IRWIN QUICK-GRIP One-Handed Bar Clamp, Heavy-Duty, 12-Inch (1964712)
Strong one-handed clamping that holds glue-ups square while they cure.
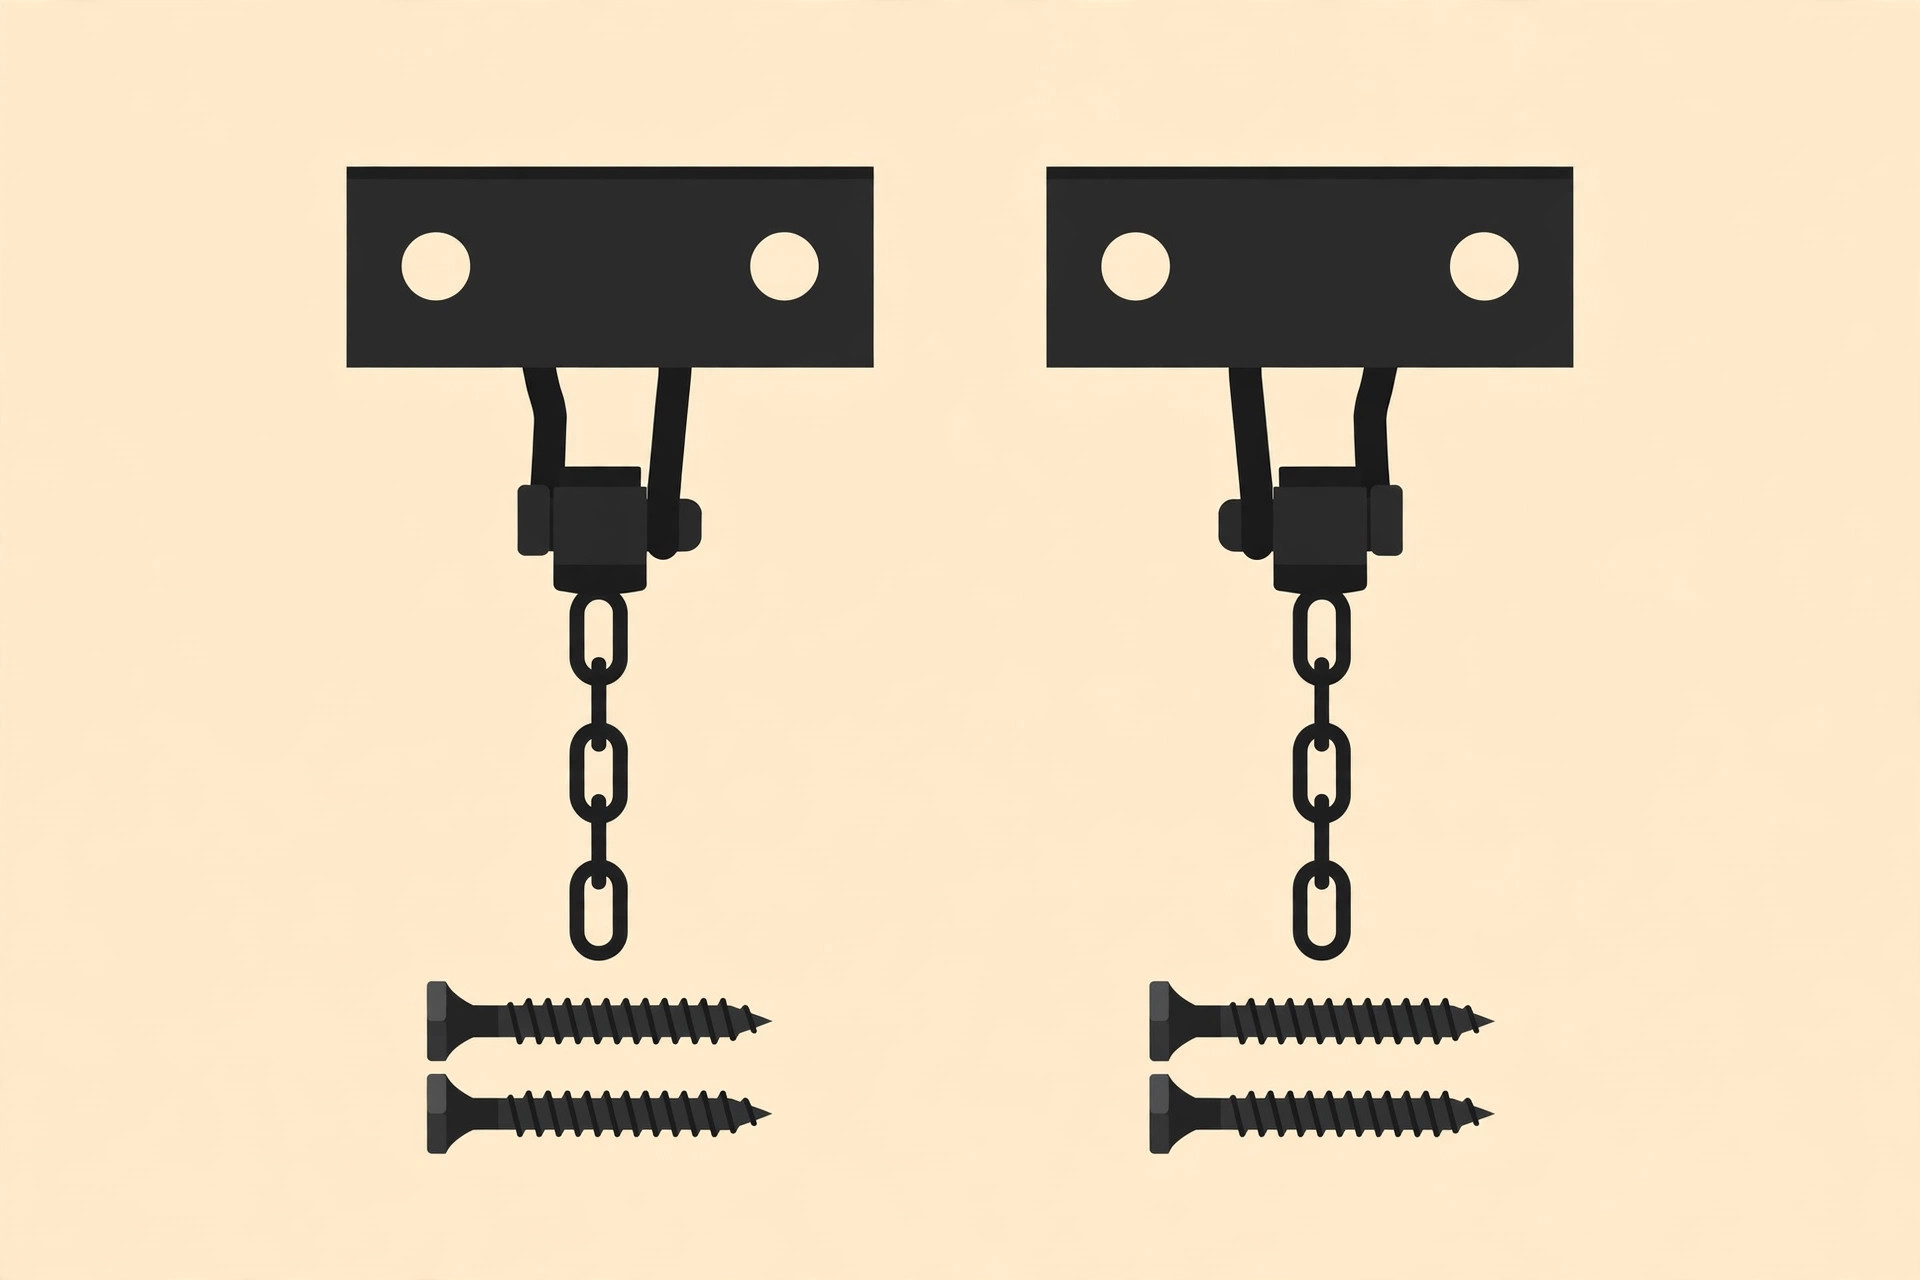
BETOOLL Heavy Duty Swing Hangers, Set of 8
Heavy-duty hangers with mounting hardware for a safe, solid porch swing.

Titebond III Ultimate Wood Glue 1413 (8 oz)
Water-resistant wood glue for strong joints indoors and out.


