
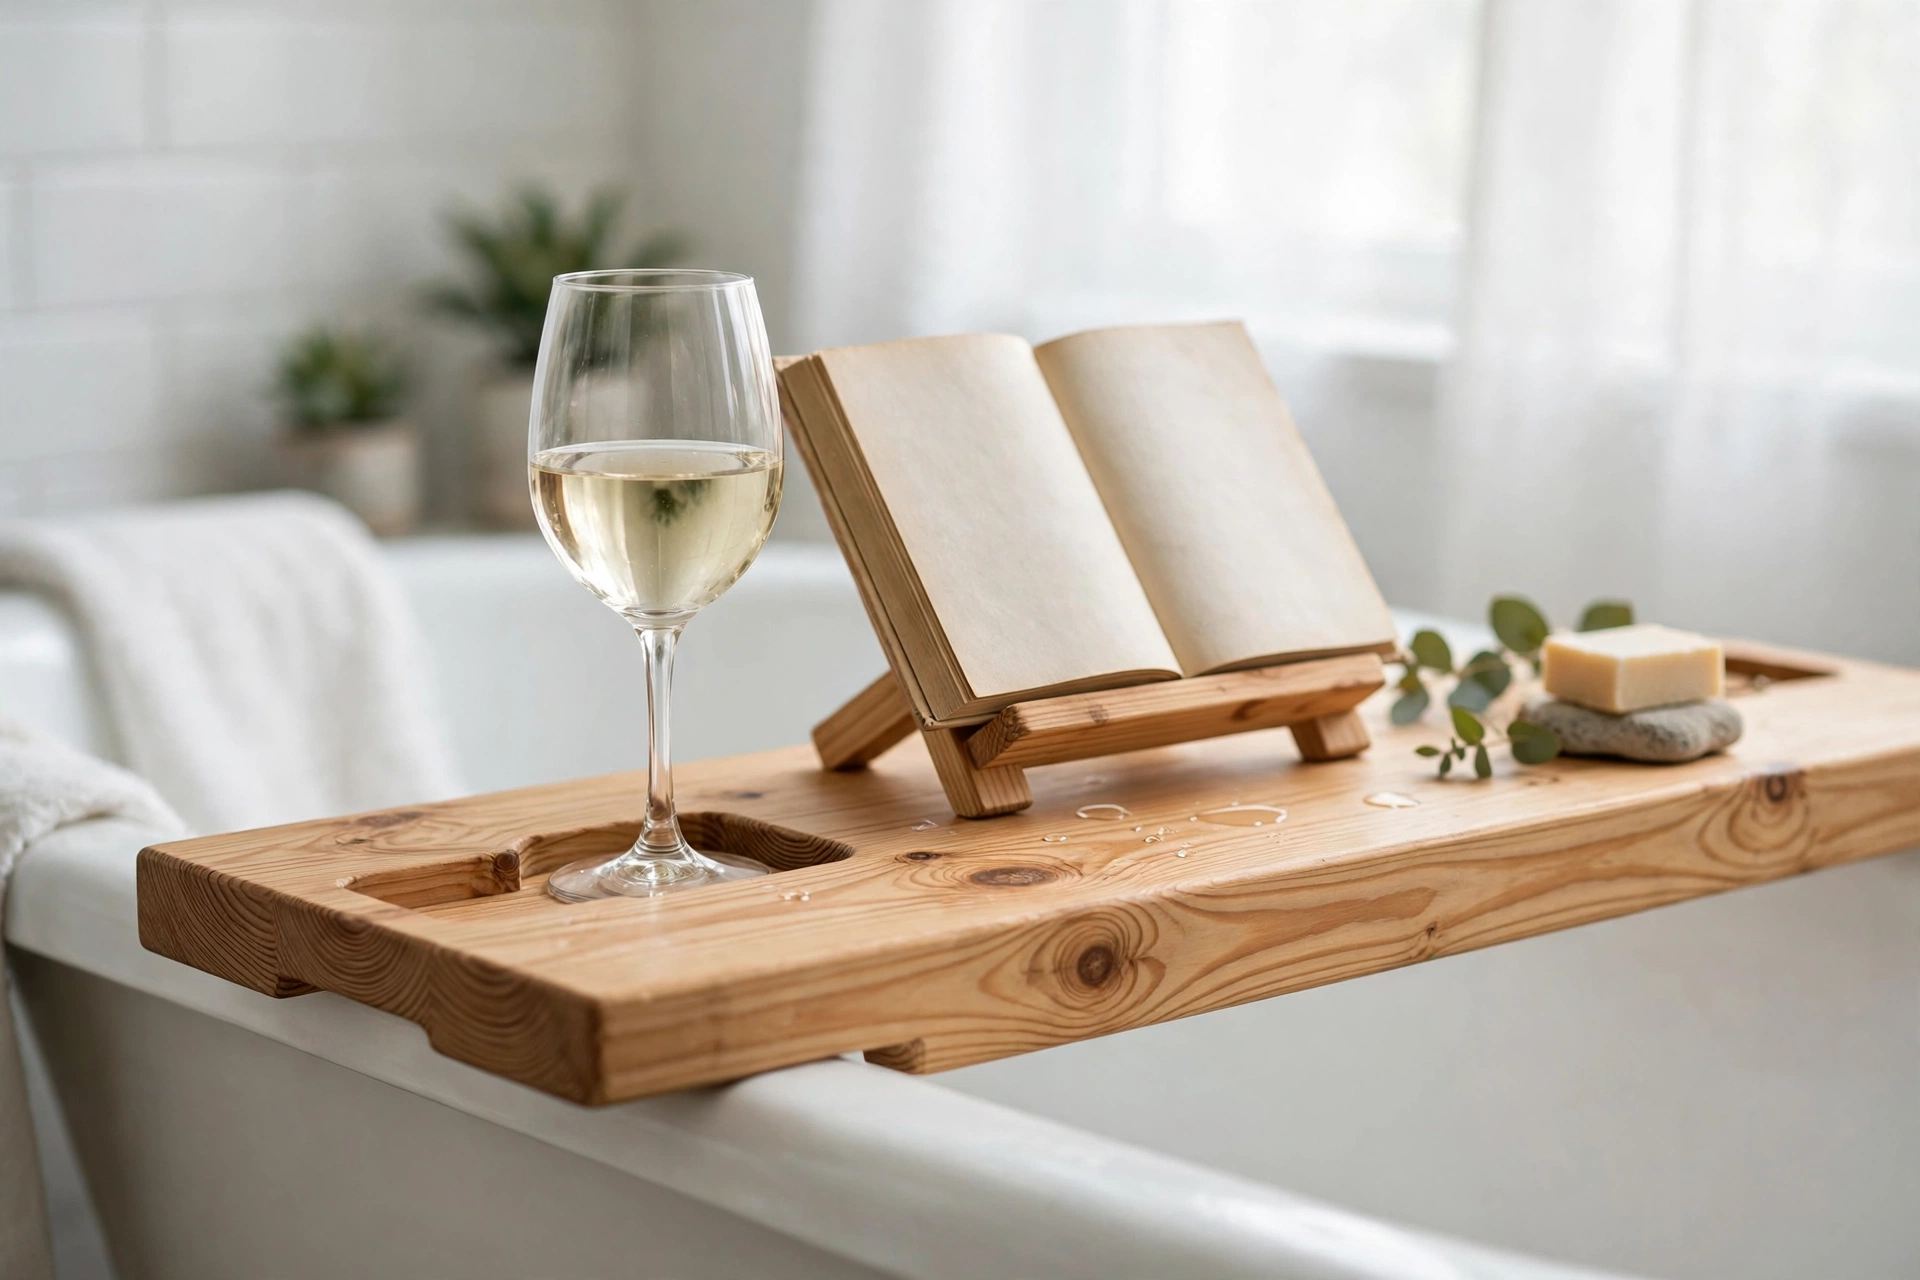
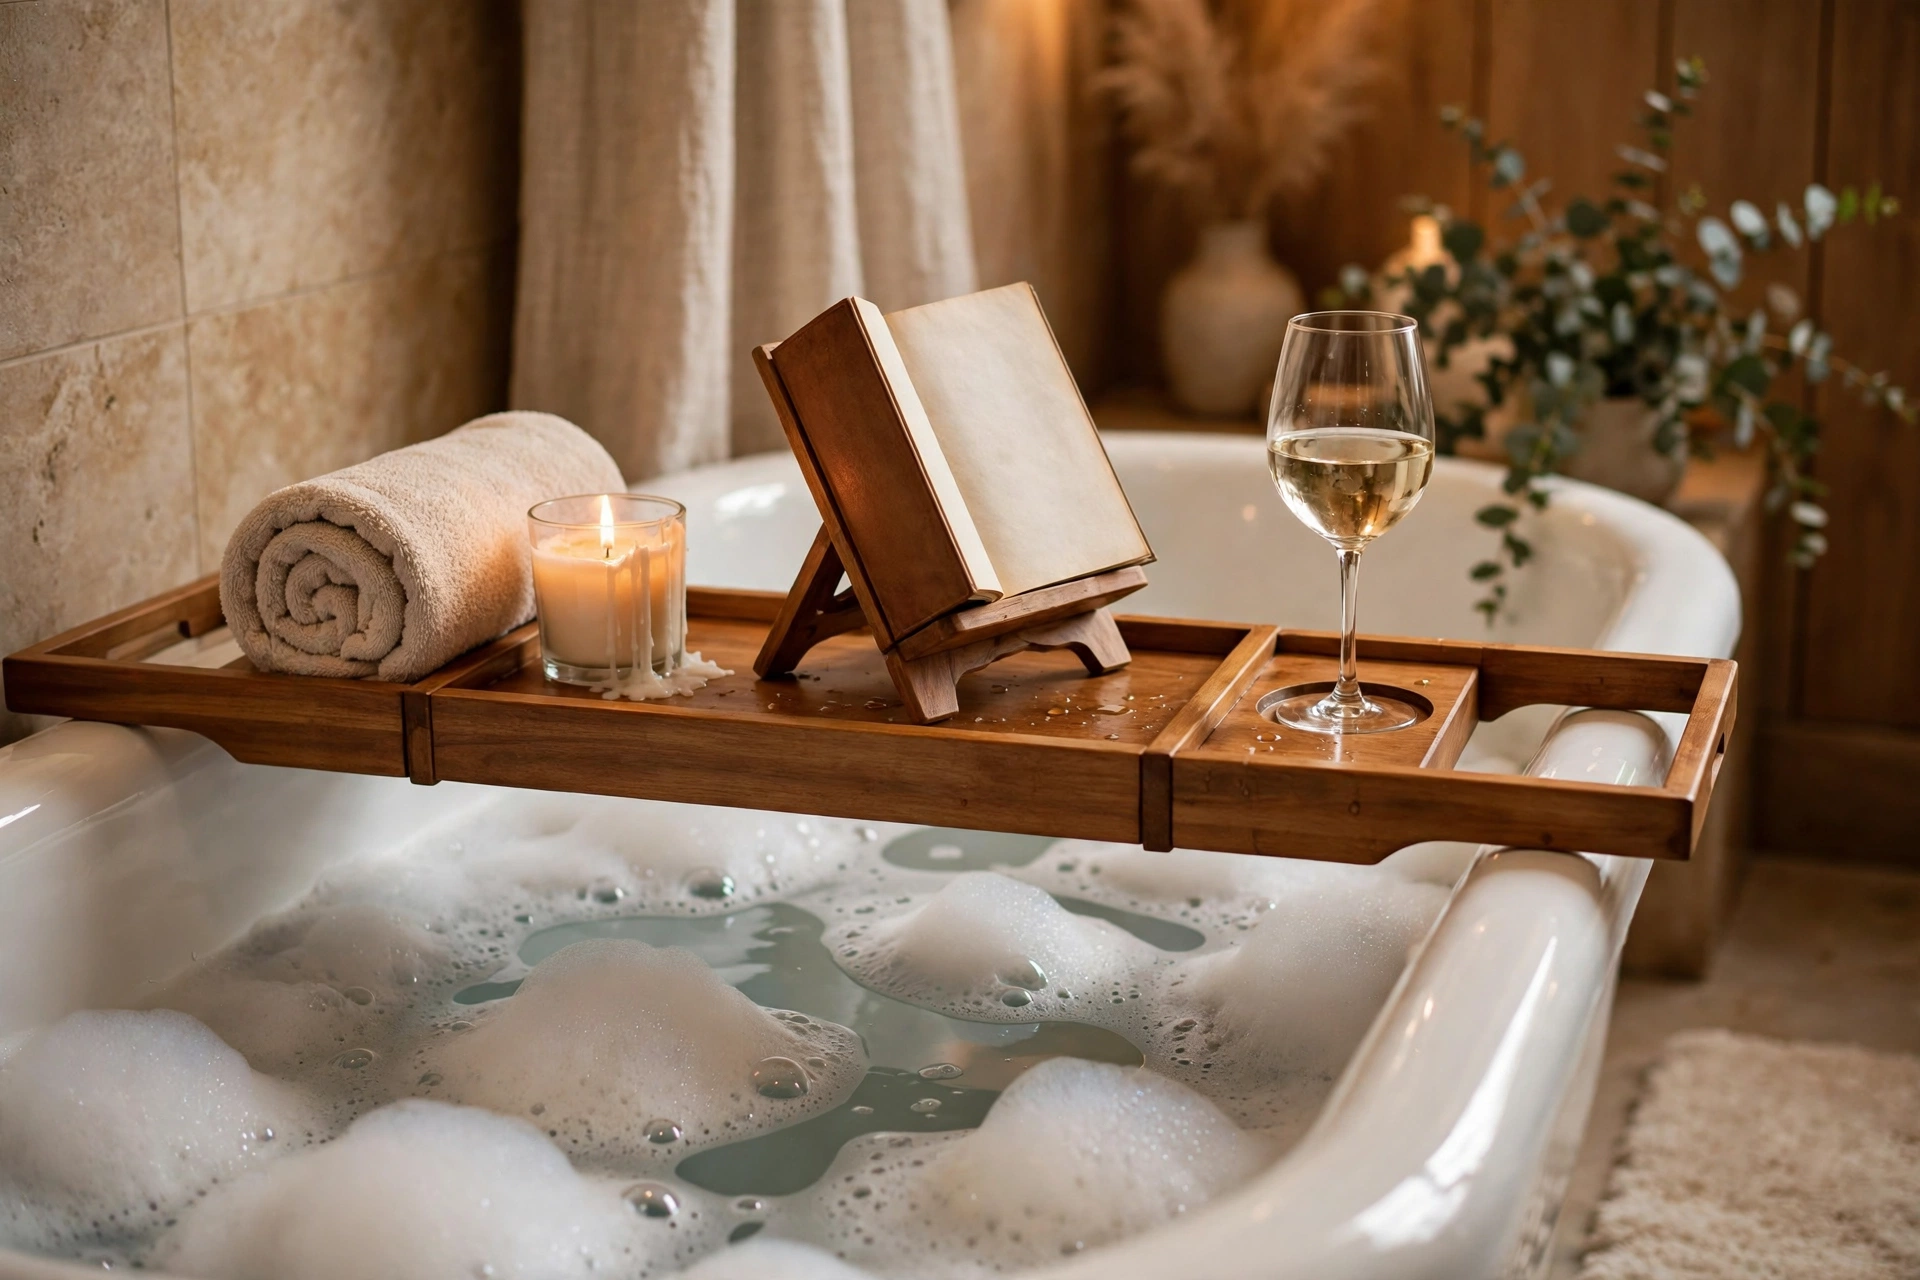
A wooden bath tray — also called a bath caddy — turns an ordinary bath into a small spa. It spans the width of your tub and holds everything within easy reach: a book or tablet, a glass of wine, a candle, your phone, and a cup of tea. No more balancing a book on the edge of the tub or reaching across wet tiles for your drink. Everything sits safely above the water, on a beautiful piece of wood you made yourself.
Why a Wooden Bath Tray Is the Perfect Beginner Project
For a beginner woodworker, learning how to build a wooden bath tray for beginners is one of the best first projects you can choose. The whole build is a flat panel made from straight cuts — no joints to master, no curves to shape, no heavy lifting. If you can measure a tub, cut a straight line, drill a hole, and sand a board smooth, you can build this tray in a single afternoon. It also teaches the skills that every later project depends on: measuring twice, cutting to a list, drilling clean holes, and applying a waterproof finish that actually survives in a wet room.
Best of all, a bath tray is a genuinely useful gift. Shop-bought bath caddies cost far more than the wood they are made from, and a handmade one — sized exactly to your tub, in the wood and finish you chose — looks and feels far better. This guide walks you through the whole build, from measuring your tub and picking the right wood to cutting the wine-glass slot, adding a book stand, and sealing the tray so it shrugs off bath water for years.
If you are new to woodworking, this project sits nicely alongside other small beginner builds. A wooden cutting board for beginners teaches the same sanding and food-safe finishing skills on a smaller piece, and a wooden candle holder for beginners is a lovely matching gift to pair with your tray. For a broader starting point, browse the pillar guide to easy woodworking projects for beginners that sell.
How to Build a Wooden Bath Tray for Beginners: Measure Your Tub First
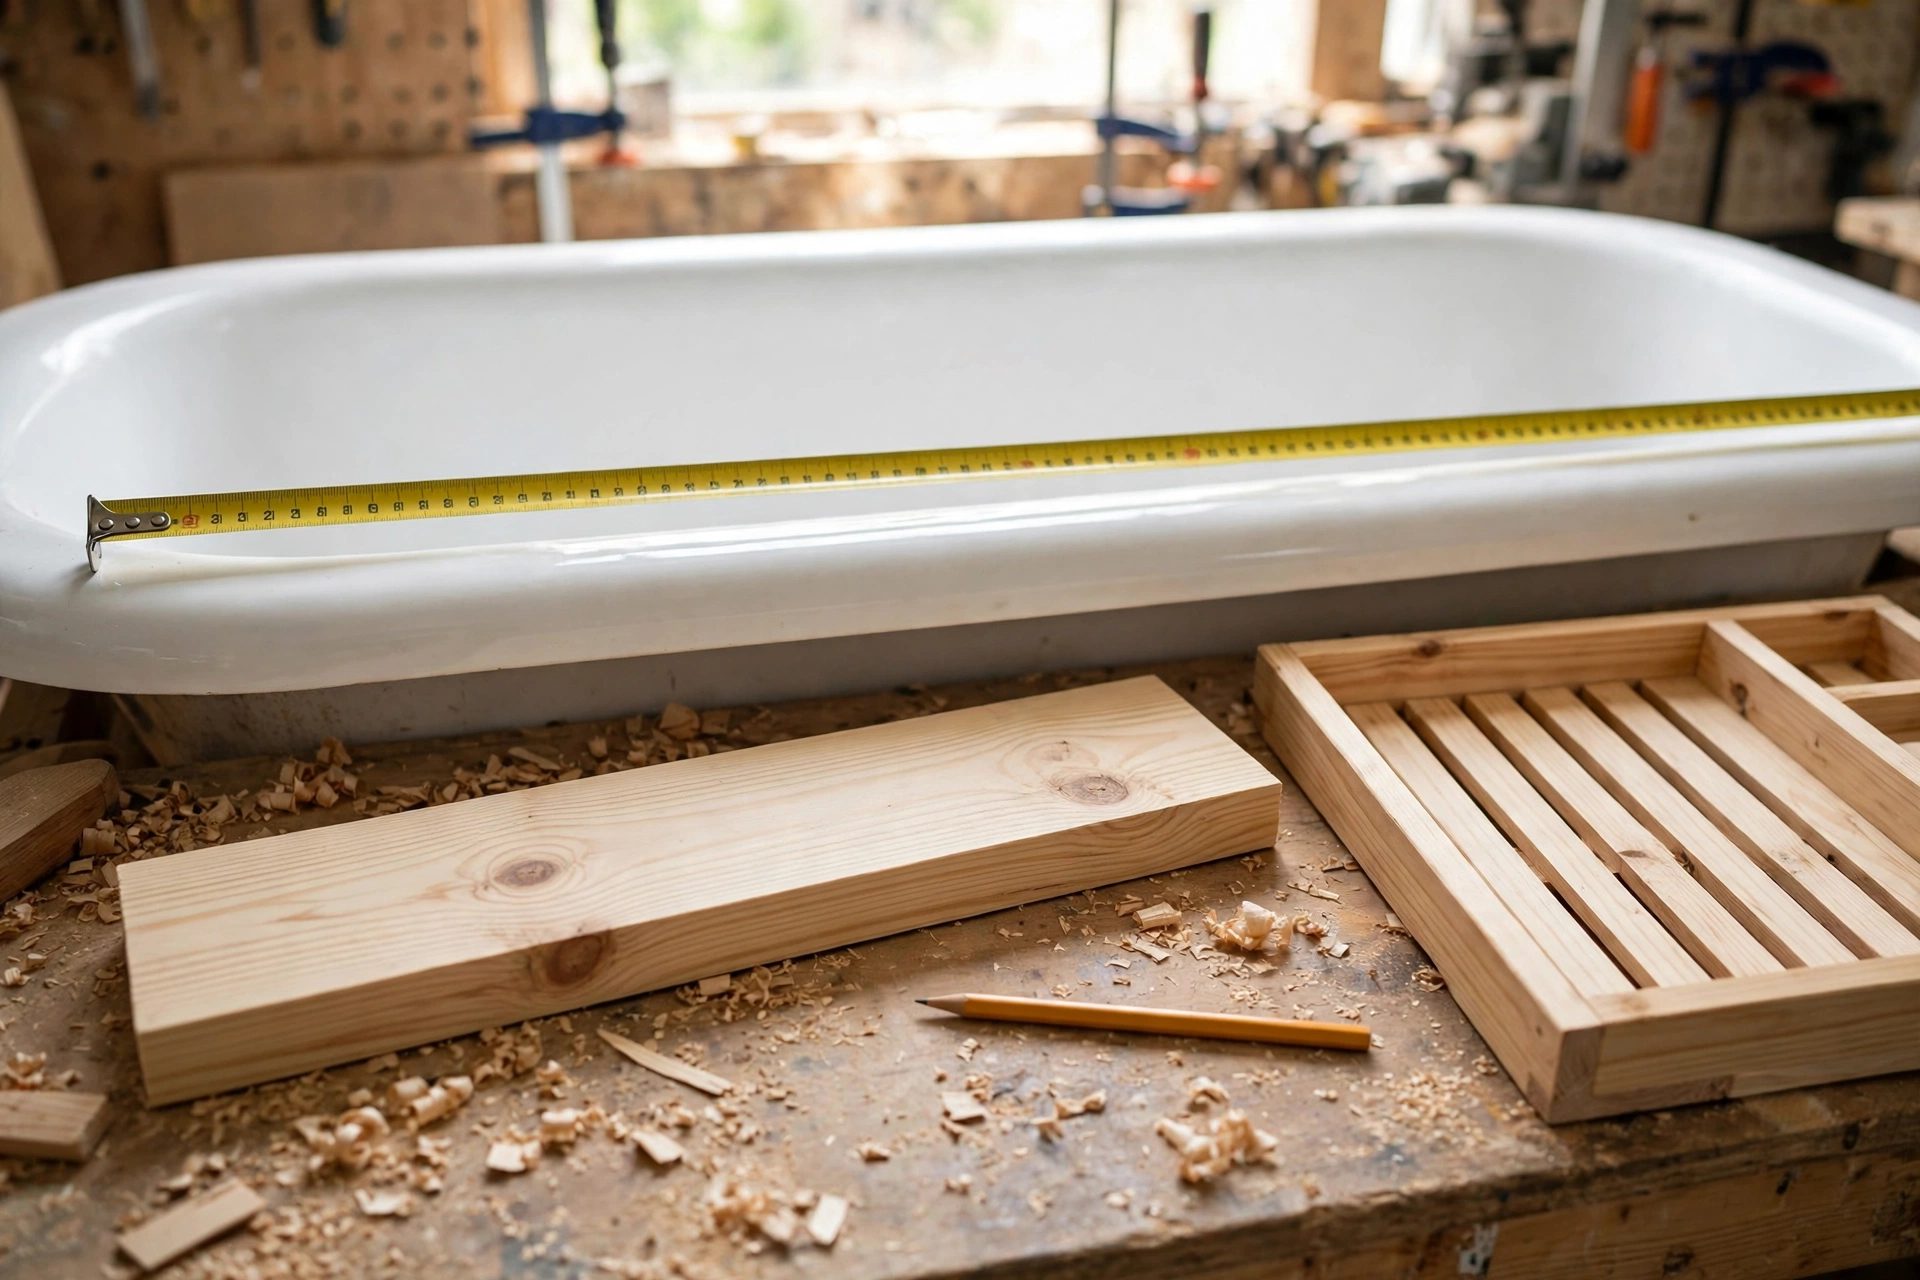
The single most important step in how to build a wooden bath tray for beginners happens before you buy any wood: measuring your bathtub. A bath tray that is too short will fall into the water. A bath tray that is too long will rock on the curved rim of the tub and feel unsafe. Get the measurement right and the rest of the build is easy.
Measure the outside width of your tub at the point where the tray will sit — usually about halfway along the bath, where you lie back. Measure from the outer edge of one rim to the outer edge of the other rim, then add 5 cm (2 inches) of overhang on each side, so 10 cm (4 inches) in total. That overhang is what keeps the tray stable: the tray rests on the flat part of the rim, and the extra length stops it tipping if you lean on one end.
Also measure the width of the rim itself, the flat ledge the tray will rest on. Most tub rims are 5 to 10 cm (2 to 4 inches) wide. If your rim is narrow or very curved, make the tray a little wider front-to-back — 30 cm (12 inches) instead of 25 cm (10 inches) — so it has more surface to sit on. And check the inside width of the tub at the water line: your wine-glass slot and book stand need to sit over the water, not over the rim, so nothing drips onto the tiles.
Write your numbers down on a card and keep it by the saw. The cut list in this guide is based on a standard tub, but every bath tray should be built to its own tub, not to a generic size. A few minutes with a tape measure now saves a tray that does not fit later.
Standard Tub Sizes and Tray Fit
Most baths fall into a few standard sizes. Use this table to find your tub and check the tray length this guide recommends for it. If your tub falls between two sizes, always build to the larger measurement — you can trim a tray that is slightly too long, but you cannot stretch one that is too short.
| Tub Type | Outside Width | Recommended Tray Length | Tray Width | Notes |
|---|---|---|---|---|
| Small / apartment tub | 70 cm (27.5 in) | 80 cm (31.5 in) | 25 cm (10 in) | Keep the design simple; skip the tablet stand |
| Standard tub (this guide) | 75 cm (29.5 in) | 85 cm (33.5 in) | 28 cm (11 in) | Fits most homes; holds book, glass and candle |
| Large / family tub | 80 cm (31.5 in) | 90 cm (35.5 in) | 30 cm (12 in) | Room for a tablet and a mug side by side |
| Freestanding oval tub | 78 cm (30.5 in) | 88 cm (34.5 in) | 30 cm (12 in) | Check the rim curve; add non-slip pads underneath |
| Deep soaking tub | 76 cm (30 in) | 86 cm (34 in) | 28 cm (11 in) | Make the book stand taller so it clears the water |
A quick stability test before you finish: set the tray across the empty tub and press down firmly on each end in turn. It should not rock, slide, or tip. If it rocks, the rim is curved — glue two small wooden stop blocks underneath the tray, one on each side, so they sit just inside the tub walls and stop the tray sliding sideways. This one small addition makes even a tray on a curved freestanding tub feel rock solid.
Choosing the Right Wood
A bath tray lives in the wettest room in the house, so wood choice matters more here than in most beginner projects. The best woods for a bath tray are naturally water-resistant, stable, and pleasant to touch: cedar, teak, and white oak are the classic choices. Cedar is light, smells wonderful, and resists water and rot naturally, which is why it is the top pick for a first bath tray. Teak is the most waterproof of all, but it is expensive and hard on beginner tools. White oak is tough and beautiful, but it is heavy and costs more than pine.
Pine is the budget-friendly beginner option, and it works perfectly well — as long as you seal it properly. Pine is soft, cheap, easy to cut and sand, and widely available, which makes it ideal for a first attempt. Its weakness is that it soaks up water if left unsealed, so a pine tray needs three full coats of a waterproof finish and regular re-sealing (see the finish comparison below). If this is your very first woodworking project, pine is the sensible choice: you can practise the cuts and the slot on cheap wood, and build a cedar version later once you know the design fits your tub.
Whatever wood you choose, buy a board that is at least 18 mm (3/4 inch) thick. Thinner boards flex when you rest a book and a full glass on them, and a flexing tray over a bath full of water is a spill waiting to happen. Check the board before you buy it: sight down its length and reject any board that is bowed, twisted, or cupped, and avoid large loose knots in the middle of the tray, where the wine-glass slot will be cut. Small tight knots are fine and add character.
For the book stand and the stop blocks underneath, you can use offcuts from the same board, so buy one board a little longer than your tray length and you will have everything you need. If you want to learn more about matching timber to a project, read our guide to the best wood for beginner woodworking projects.
Tools and Materials You Will Need
You do not need a workshop full of machinery for this build. Everything here is a straight cut or a drilled hole, and the whole tray can be made on a kitchen table with a handsaw if needed:
- Tape measure, pencil, speed square, and a straight edge
- Circular saw, mitre saw, or jigsaw (a handsaw works too)
- Cordless drill/driver with drill bits, a 35 mm (1 3/8 inch) Forstner bit or hole saw, and a countersink bit
- Jigsaw with a fine wood blade, for the wine-glass slot and the book-stand curve
- 120-grit, 180-grit, and 220-grit sandpaper, plus a sanding block
- Wood glue, two clamps, and safety glasses
- Paintbrush or foam brush for the finish, plus a clean lint-free cloth
Materials for the standard 85 cm (33.5 inch) tray in this guide: one pine or cedar board, a small offcut for the book stand and stop blocks, wood screws, and your chosen waterproof finish. The exact cut list below uses 18 mm (3/4 inch) thick board throughout, which is strong enough to hold a book, a drink, and a candle without flexing, while still light enough to lift off the tub with one hand.
The Exact Cut List
Every piece of this bath tray comes from a single board plus its offcuts. Cut the longest piece — the main tray — first, then cut the smaller parts from what is left. Label each piece with a pencil as you cut it, because sanded pine offcuts all look alike after five minutes.
| Part | Quantity | Dimensions (L × W × Thickness) | Notes |
|---|---|---|---|
| Main tray board | 1 | 85 cm × 28 cm × 18 mm (33.5 × 11 × 3/4 in) | Size to your tub; see the fit table above |
| Book stand panel | 1 | 25 cm × 20 cm × 18 mm (10 × 8 × 3/4 in) | Angled stand for a book or tablet |
| Book stand ledge | 1 | 25 cm × 3 cm × 18 mm (10 × 1.25 × 3/4 in) | Small lip that stops the book sliding off |
| Stop blocks | 2 | 10 cm × 3 cm × 18 mm (4 × 1.25 × 3/4 in) | Glued under the tray to stop sideways sliding |
| Handle cut-outs | — | Two 10 cm (4 in) slots | Cut into the tray ends, or fit rope handles instead |
| Wine-glass slot | — | 35 mm (1 3/8 in) hole + 12 mm (1/2 in) slot | Cut into one end of the tray (see Step 3) |
Why 18 mm thick? A thinner board feels flimsy and bends under a full wine glass, while a thicker board makes the tray heavy and awkward to lift on and off the tub. At 18 mm, the tray is rigid, light, and easy to carry with one hand — and the edges are thick enough to round over comfortably with sandpaper, which matters because your forearms rest on those edges during a long bath.
Step-by-Step Build
Step 1: Measure, Mark, and Cut the Main Tray
Transfer your tub measurement to the board: the tray length (outside tub width plus 10 cm / 4 inches of overhang) and the tray width (28 cm / 11 inches for a standard tub). Mark the lines with a pencil and a speed square, and double-check both numbers against the card you wrote earlier. Then cut along the lines with your circular saw or mitre saw, keeping the saw tight against a straight-edge guide so the cut stays true.
Sand the cut edges straight away with 120-grit paper to remove saw marks, then round over the long front and back edges slightly — a 2 mm round-over is enough. Those are the edges your arms rest on, and a sharp square edge gets uncomfortable fast and chips easily when the tray is lifted on and off the tub. Test-fit the tray across your tub now, before you cut anything else: it should sit flat on both rims with even overhang on each side. If it rocks, note which side is high and sand a touch off the underside at that end.

Step 2: Cut the Handles
Handles make the tray easy to lift off the tub with wet hands, and they are simple to add. The easiest beginner option is a slot handle cut into each end of the tray: mark a 10 cm (4 inch) long, 2.5 cm (1 inch) wide slot about 4 cm (1.5 inches) in from each short end, drill a hole at each end of the slot, and cut between the holes with a jigsaw. Sand the inside of each slot smooth — your fingers go through these holes, so any rough edge will be felt every time you pick the tray up.
If you would rather not cut slots, rope handles are a lovely alternative: drill two holes near each end, thread a short length of cotton rope through, and knot it underneath. Rope handles look great on a cedar tray and are even easier than cutting slots. Either way, fit the handles before the book stand goes on, while the tray is still flat and easy to clamp to the bench.
Step 3: Cut the Wine-Glass Slot
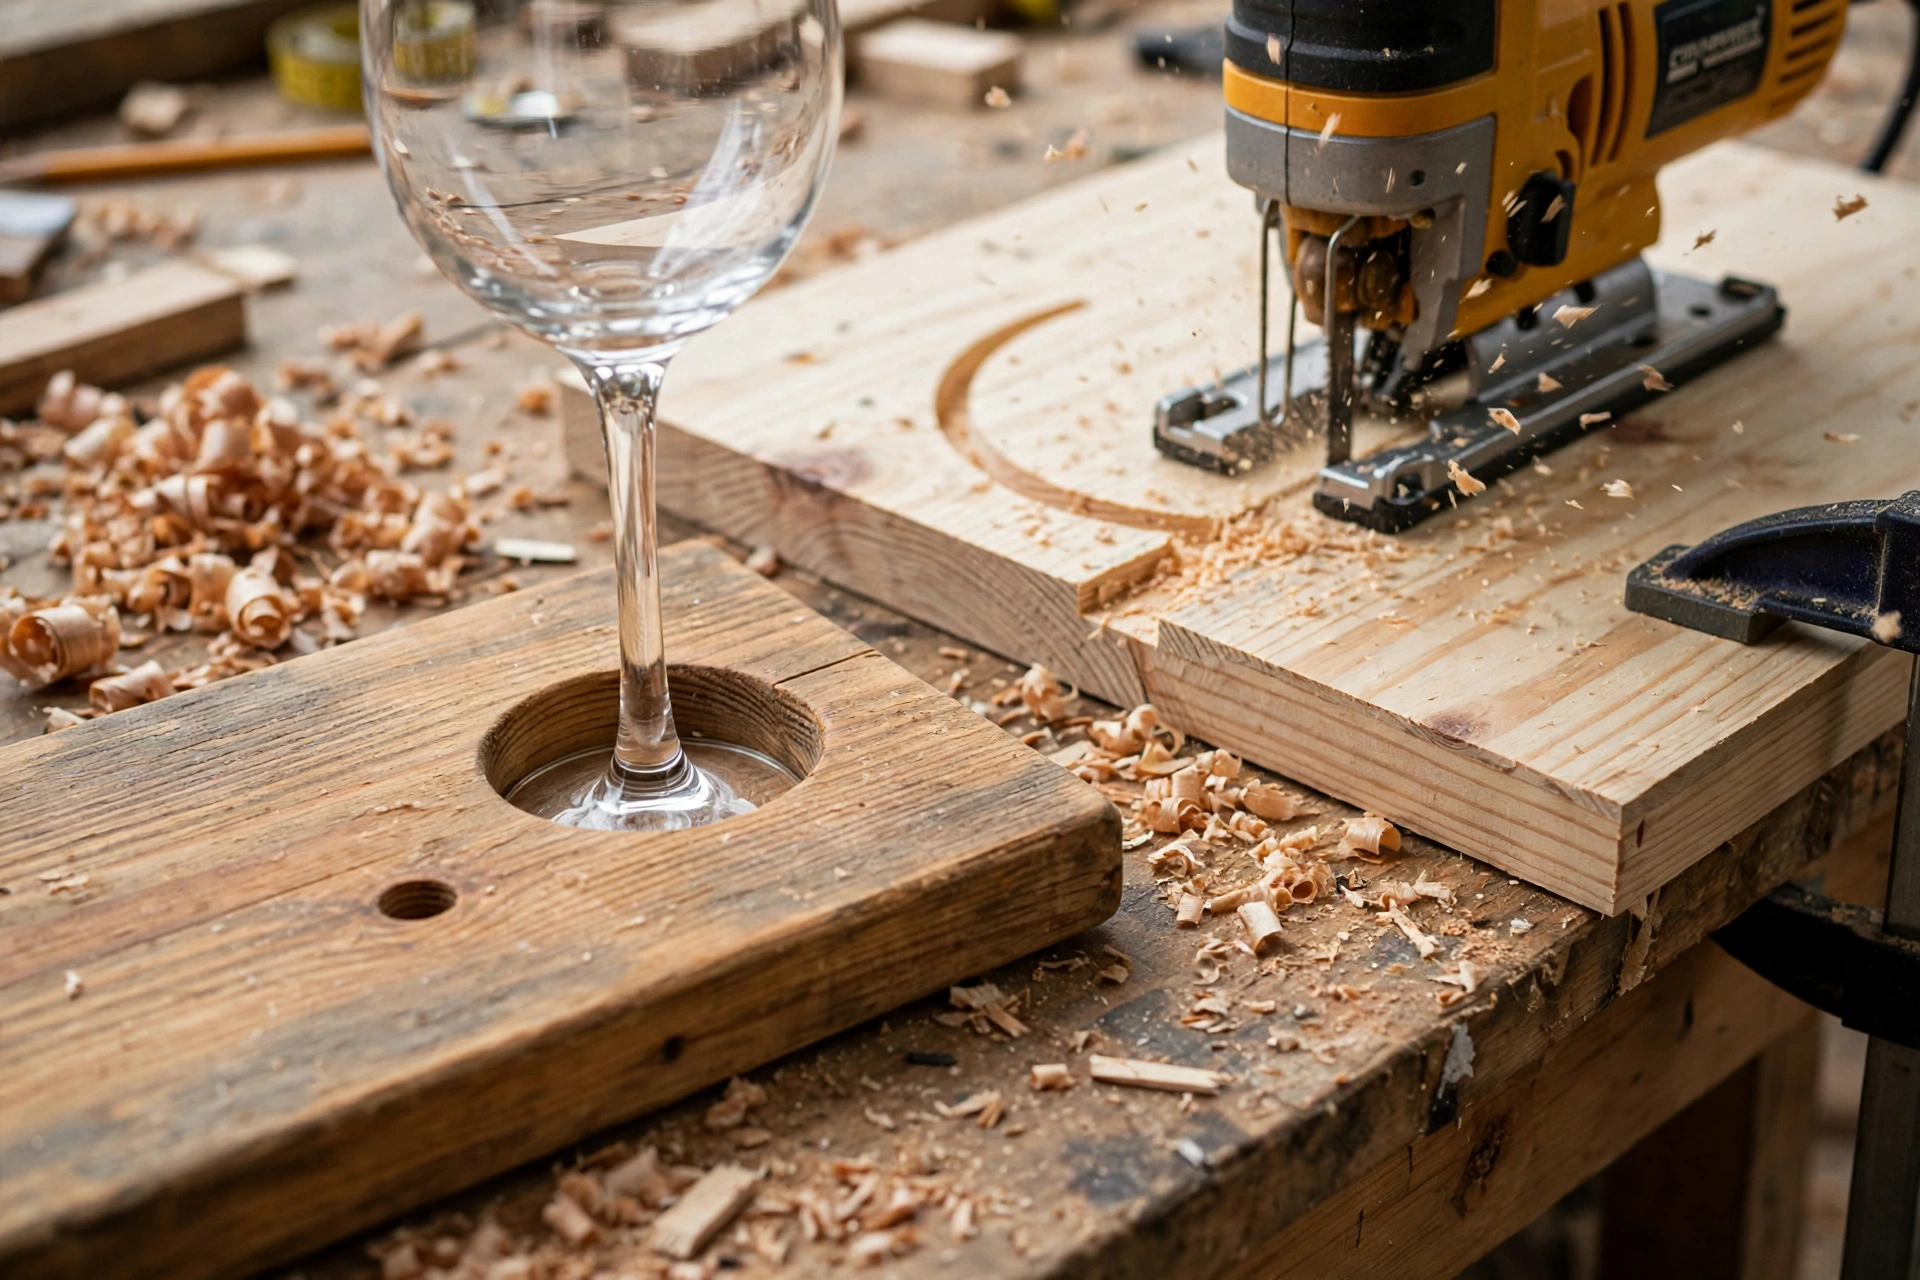
The wine-glass slot is the feature that makes a bath tray feel like a luxury, and it is easier to cut than it looks. Decide which end of the tray the glass will sit at — usually the end furthest from the taps, so you do not knock it reaching for the water. Mark a point about 6 cm (2.5 inches) in from the end and 6 cm (2.5 inches) in from the front edge. Drill a 35 mm (1 3/8 inch) hole right through the tray at that point with a Forstner bit or hole saw, drilling from the top face so the clean side of the hole ends up on top.
Then, using a jigsaw, cut a straight slot about 12 mm (1/2 inch) wide from the edge of the tray into the hole. The stem of the wine glass slides along this slot, and the base of the glass rests on top of the tray while the bowl hangs safely below the hole — the glass cannot tip over, because the stem is trapped in the slot. Sand the hole and the slot carefully with 180-grit paper wrapped around a dowel or a pencil: any rough edge here will catch the glass stem. Test it with a real glass before you move on. If the hole is too small for your glasses, enlarge it a millimetre at a time — you can always make a hole bigger, but you cannot make it smaller.
Step 4: Build and Fit the Book and Tablet Stand
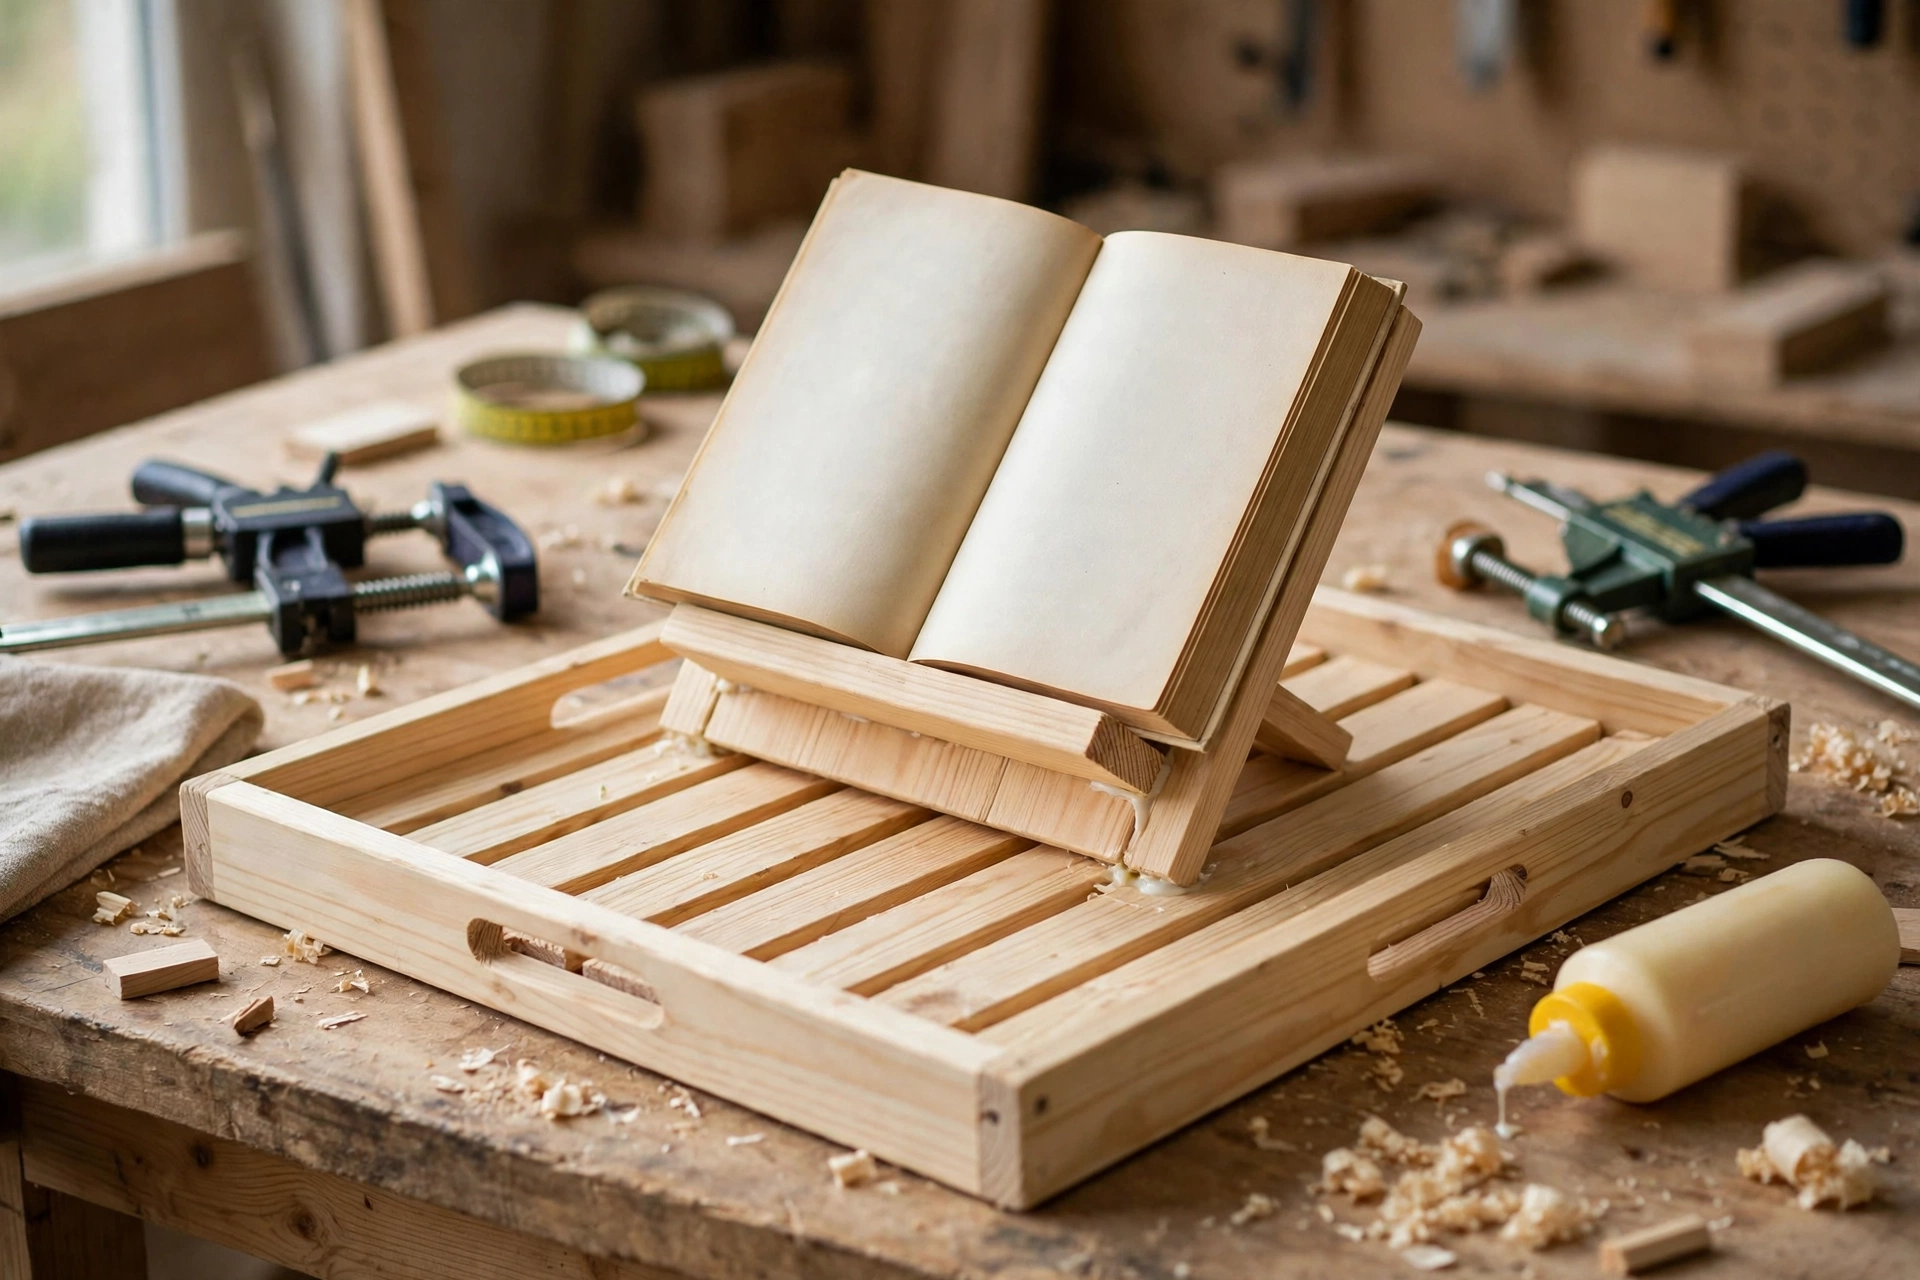
A book left flat on a bath tray gets wet, and a tablet propped against a candle slides off. A small angled stand solves both problems. Cut the book stand panel to 25 cm × 20 cm (10 × 8 inches) and the ledge to 25 cm × 3 cm (10 × 1.25 inches). Glue and screw the ledge along the bottom edge of the stand panel, on the face that will hold the book, so it forms a small lip.
The stand itself is held at an angle by a simple support: a short triangular wedge, or a second small board hinged to the back of the stand so it folds flat when the tray is stored. The simplest beginner version is fixed: glue and screw the stand to the tray at about a 65-degree angle, with a small support block behind it. It takes up a little more storage space, but it never slips, never folds shut mid-chapter, and holds a paperback, a hardback, or a tablet in a case.
Position the stand on the opposite end of the tray from the wine-glass slot, so a knocked book and a full glass are never next to each other. Mark its position, apply wood glue, clamp it in place, and drive two screws up from underneath the tray into the stand. Screwing from underneath keeps the top surface clean and smooth — no screw heads to catch a page or scratch a tablet. For a similar small angled build, see our guide on how to build floating shelves for beginners, which uses the same measuring, levelling, and fixing skills.
Step 5: Add the Stop Blocks Underneath
Flip the tray over and fit the two stop blocks. These are small blocks, 10 cm × 3 cm (4 × 1.25 inches), glued and screwed to the underside of the tray, one near each end. They sit just inside the inner walls of the tub when the tray is in place, and they are what stop the tray sliding sideways if you lean on it or knock it getting in and out of the bath.
To position them, set the tray across the tub, reach underneath with a pencil, and mark the inside edge of the tub wall on the underside of the tray at each end. The stop blocks go just inside those marks — tight enough to stop sliding, but with 3 to 5 mm (about 1/4 inch) of clearance so the tray still lifts off easily. Glue and screw each block from the top face of the tray, countersinking the screws so the heads sit below the surface and can be filled and sanded flush. Then flip the tray back over, set it on the tub, and give it a firm push from each side: it should stay put.
Step 6: Sand and Seal with a Waterproof Finish
Sanding is where a bath tray goes from a cut board to a piece of furniture, and it matters twice as much here because bare skin rests on this wood. Our full guide to sanding and finishing wood for beginners covers the technique in detail, but the essentials are simple: work through the grits — 120, then 180, then 220 — always sanding with the grain, never across it. Pay special attention to the handle slots, the wine-glass slot, and the rounded front edge. When the wood feels silky to your bare hand, with no rough patches or raised grain, it is ready for finish.
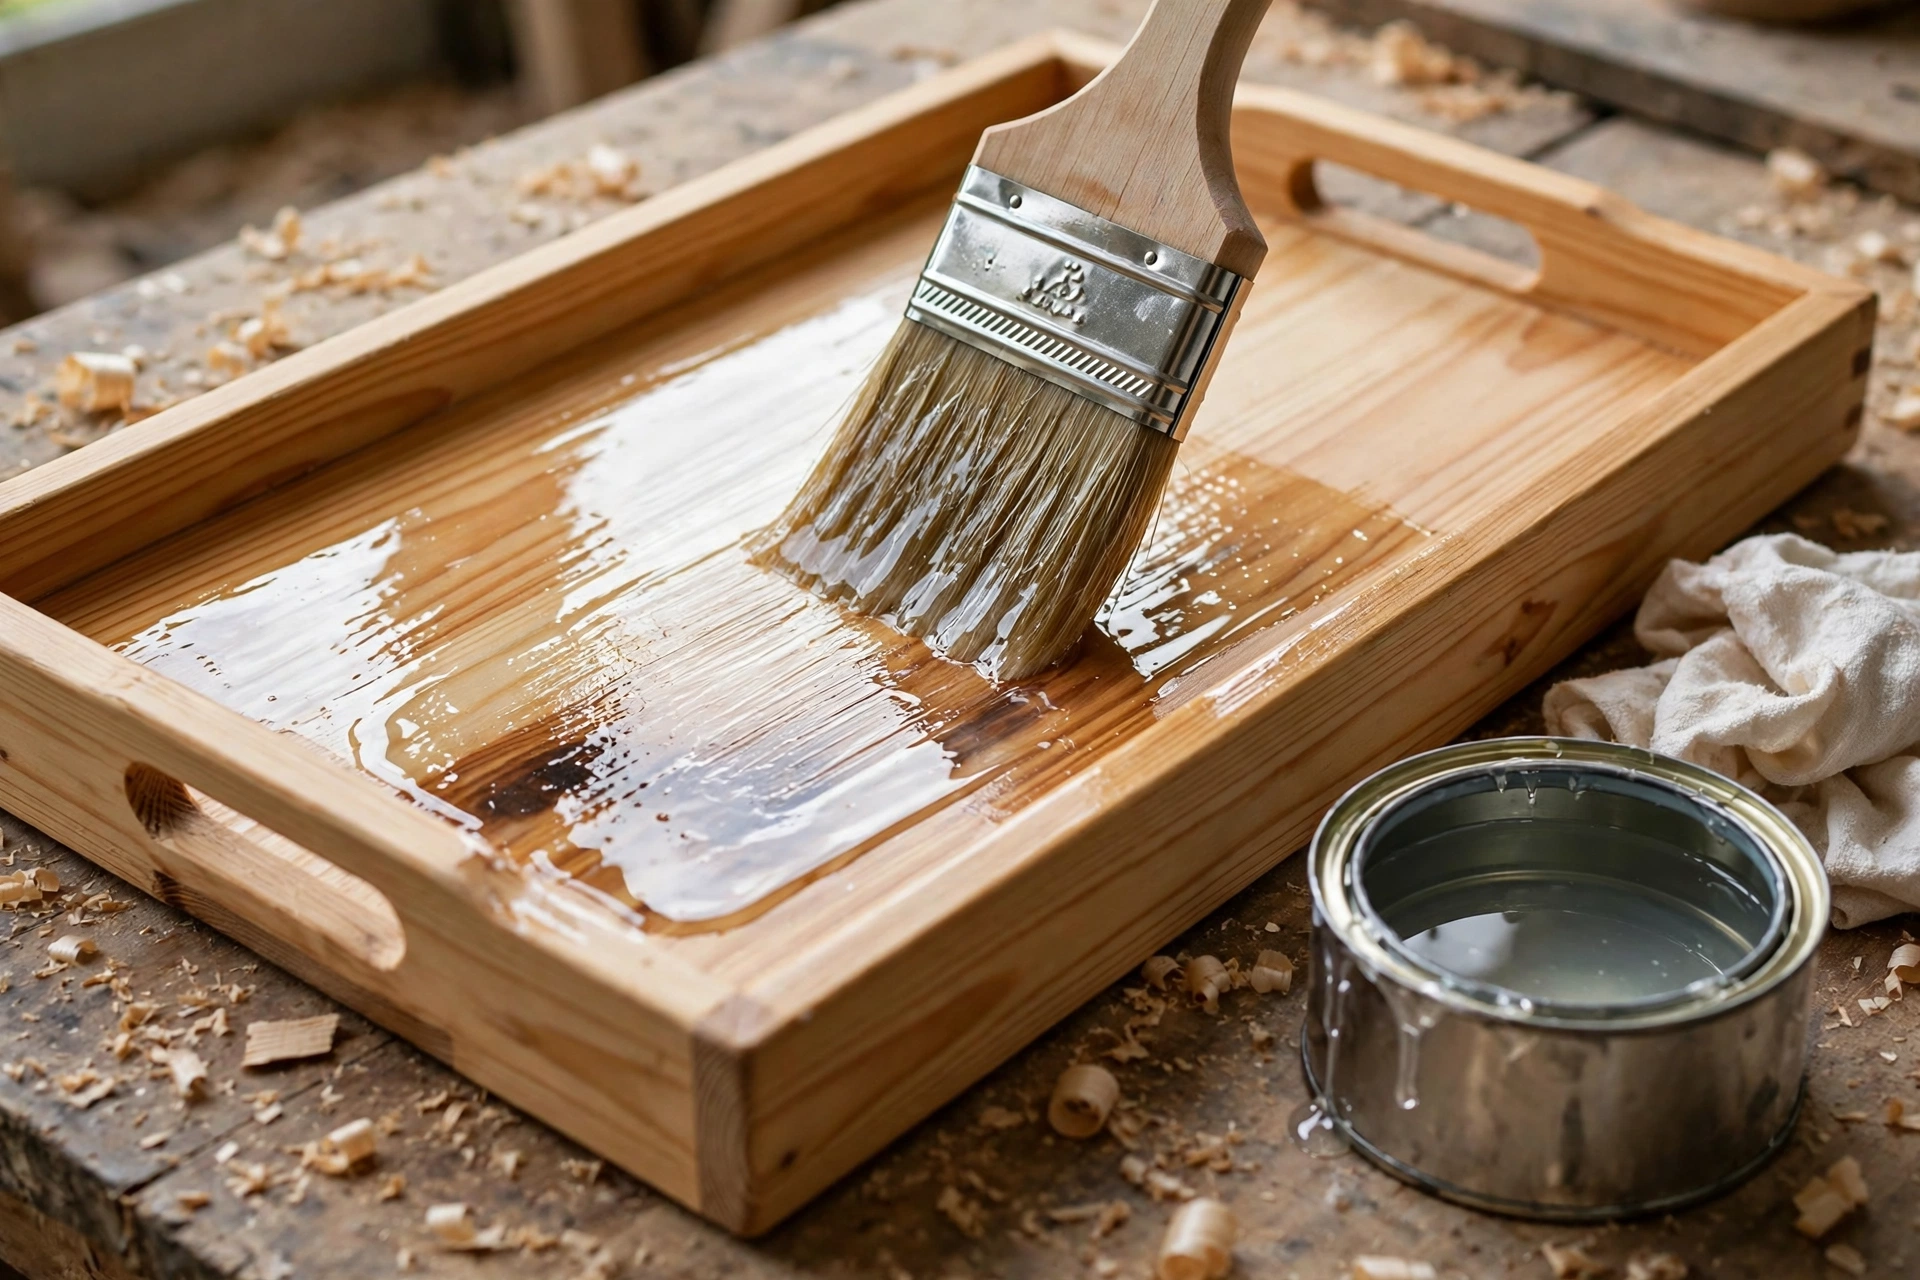
Then seal every surface — top, bottom, edges, and inside every slot and hole — with a waterproof finish. Water finds any unsealed spot, and an unsealed underside will soak up steam and warp the tray within months. Apply the first coat thinly, let it dry fully, sand very lightly with 220-grit, wipe off the dust, and repeat for at least three coats. The finish comparison table below will help you choose.
Which Waterproof Finish Should You Choose?
For a first bath tray, spar varnish or water-based polyurethane are the safest picks. Spar varnish was made for boats, so it handles constant moisture and temperature changes better than any other finish, and it stays slightly flexible so it does not crack as the wood moves. Water-based polyurethane is the easiest for a beginner: it dries fast, barely smells, cleans up with water, and three coats give strong protection. Whichever you choose, re-seal the tray once a year — or as soon as water stops beading on the surface — and it will last for years.
| Finish | Water Protection | Look | Drying Time | Best For |
|---|---|---|---|---|
| Spar varnish / marine varnish | Excellent | Warm, glossy | 4–6 hours per coat | Best all-round choice for a bath tray |
| Water-based polyurethane | Very good | Clear, low odour | 2–3 hours per coat | Beginners; fast, easy, low smell |
| Tung oil (pure) | Good | Warm, natural matte | 24 hours per coat | Natural look; needs regular re-oiling |
| Hardwax oil | Good | Soft, matte | 4–8 hours per coat | Easy patch repairs later |
| Mineral oil + beeswax | Fair | Soft, natural | 4–6 hours | Only if the tray never holds drinks directly |
Common Mistakes to Avoid
- Building before measuring the tub. A tray that is 2 cm too short falls in the water. Measure the outside width, add 10 cm (4 inches), and test-fit before cutting the slot or the stand.
- Skipping the stop blocks. Without them, a tray on a curved or narrow rim slides sideways the first time you lean on it. Two small blocks underneath fix the problem completely.
- Cutting the wine-glass hole too small. Measure your actual glasses first — a 35 mm (1 3/8 inch) hole fits most wine glasses, but large-bowled glasses need 40 mm (1 5/8 inches). Enlarge slowly; you cannot shrink a hole.
- Leaving the underside unsealed. Steam rises from the bath and soaks into any bare wood underneath. Seal the bottom, the edges, and the inside of every hole, not just the pretty top face.
- Using a finish that is not waterproof. Ordinary furniture wax or a single coat of oil will not survive a bathroom. Use spar varnish or polyurethane, with at least three coats.
- Rushing the sanding. A finish magnifies every scratch underneath it, and rough wood snags skin and book pages. If it does not feel silky to your hand, sand it again.
- Putting the book stand next to the wine glass. Keep the drink and the book at opposite ends of the tray. One knocked glass should never be able to soak your book or your tablet.
How Much Does It Cost?
A handmade wooden bath tray is one of the cheapest luxury upgrades you can make for your bathroom. A comparable shop-bought bath caddy typically costs £35–£90 (or $45–$110), and a handmade cedar one can cost even more — so building your own saves real money as well as giving you an exact fit for your tub.
| Item | Estimated Cost | Notes |
|---|---|---|
| Pine board (85 cm tray) | £8–£15 / $10–$20 | Cedar: £18–£30 / $22–$38 |
| Forstner bit 35 mm (if needed) | £6–£10 / $8–$12 | A hole saw works too; borrow one if you can |
| Screws, wood glue, sandpaper | £5–£8 / $6–$10 | You may already own these |
| Waterproof finish (spar varnish or polyurethane) | £8–£15 / $10–$18 | One tin covers several projects |
| Rope for handles (optional) | £2–£4 / $3–$5 | Skip if you cut slot handles instead |
| Total (pine) | £23–£42 / $29–$53 | About half the price of a shop-bought tray |
| Total (cedar) | £33–£57 / $41–$71 | Still cheaper than a shop-bought cedar caddy |
If you already own glue, sandpaper, and a finish tin, you can build the pine version for the price of the board alone. Check your offcut bin before buying: the book stand, the ledge, and the stop blocks are all small pieces that often come free from earlier projects.
Frequently Asked Questions
How long does it take to build a wooden bath tray?
Most beginners finish in one afternoon — about 2 to 3 hours of cutting, drilling, and assembly, plus drying time for the finish. The build itself is quick because every cut is straight; the finish takes longest, because each of the three coats needs several hours to dry. If you use fast-drying water-based polyurethane, you can finish the tray in a single day. Do not rush the drying time — a tacky finish that never fully hardens is the most common disappointment in this project.
What size should a wooden bath tray be?
Measure the outside width of your tub and add 10 cm (4 inches) — 5 cm (2 inches) of overhang on each side. For a standard 75 cm (29.5 inch) tub, that means an 85 cm (33.5 inch) tray. The tray should be 25 to 30 cm (10 to 12 inches) wide front-to-back, and 18 mm (3/4 inch) thick so it does not flex under a book and a full glass. Always size the tray to your own tub using the fit table in this guide, rather than copying a generic size.
What is the best wood for a bath tray?
Cedar is the best all-round choice: it is naturally water-resistant, light, and smells wonderful in a warm bathroom. Teak is the most waterproof but expensive, and white oak is tough and beautiful but heavy. Pine is the best budget choice for a first tray — it is cheap and easy to work — as long as you seal it thoroughly with three coats of spar varnish or polyurethane. Avoid MDF and chipboard completely: they swell and fall apart the first time they get wet.
Will a wooden bath tray get damaged by water?
Not if it is sealed properly. A tray finished with three coats of spar varnish or water-based polyurethane, on every surface including the underside and the inside of the wine-glass slot, shrugs off splashes and steam. The damage happens when a surface is left bare — usually the underside — so seal the whole tray, not just the top. Re-seal once a year, or whenever water stops beading on the surface, and the tray will last for years.
Can I build a bath tray without a jigsaw?
Yes, with one compromise. The main tray, book stand, and stop blocks only need straight cuts, which a circular saw, mitre saw, or handsaw can handle. The jigsaw is only needed for the curved wine-glass slot and the slot handles. If you do not own one, use a Forstner bit or hole saw for the glass hole and drill a straight channel to the edge with a series of overlapping holes, then clean it up with a file — or skip the slot entirely and use a flat area of the tray for a mug with a lid instead.
How do I keep my bath tray from sliding on the tub?
Fit the two stop blocks underneath the tray, just inside the inner walls of the tub, as described in Step 5. They stop the tray sliding sideways. For extra grip on a smooth or curved rim, stick two small self-adhesive silicone pads to the underside of the tray where it meets the rim. Never use a tray that rocks or slides — test it on the empty tub with a firm push from each side before you fill the bath.
Final Thoughts
Learning how to build a wooden bath tray for beginners is one of the most rewarding first projects in woodworking: a few straight cuts, one drilled hole, a small angled stand, and a waterproof finish turn a single board into something you will use every week. Measure your tub carefully, size the tray to fit it, cut the wine-glass slot to your actual glasses, and seal every surface — including the underside — and your tray will look good and stay safe for years.
When you are ready for your next build, the easy woodworking projects for beginners that sell pillar guide has a whole cluster of beginner-friendly ideas that build on exactly these skills — and if you enjoyed the small-scale sanding and finishing in this project, a wooden cutting board for beginners is the natural next step.
Recommended Products for This Project
As an Amazon Associate, I earn from qualifying purchases.

Titebond III Ultimate Wood Glue 1413 (8 oz)
Water-resistant wood glue for strong joints — the right glue for a tray that lives over water.

IRWIN QUICK-GRIP Clamps Set, 8-Piece (IRHT83220)
Eight clamps in assorted sizes to hold the tray glue-up square while it cures.

DEWALT Random Orbit Sander DWE6423, 5-Inch
Smooth, swirl-free sanding for the tray top and edges before finishing.

3M Aluminum Oxide Sandpaper, Assorted Grits, 9-in x 11-in Sheets (9005NA)
Assorted 100/150/220-grit sheets for smoothing the tray to a finish-ready surface.
Minwax Water Based Helmsman Spar Urethane, Gallon, Gloss (710500000)
Waterproof spar urethane topcoat — the finish that keeps a bath tray safe from splashes and steam.


