
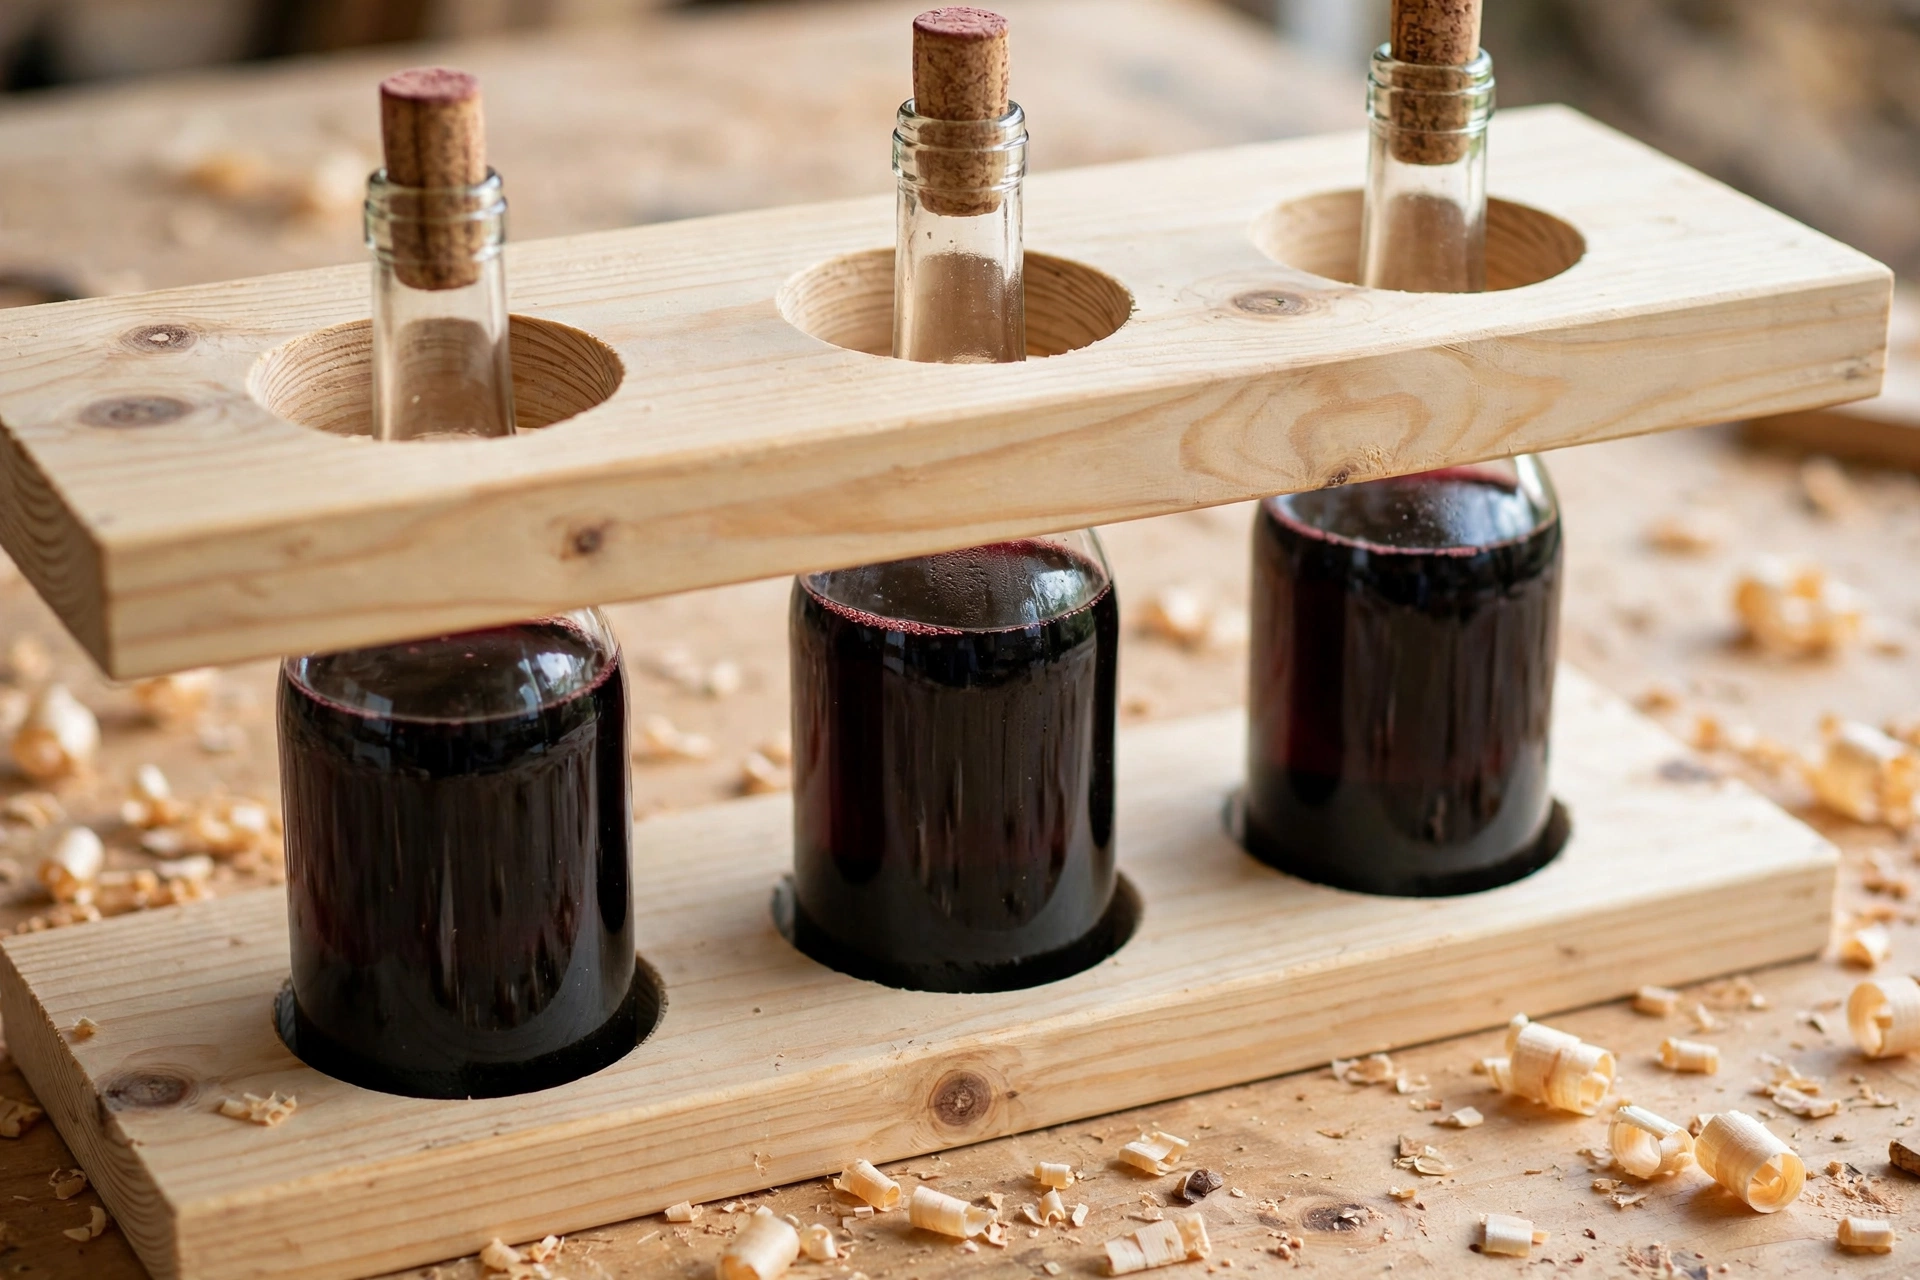
There is something deeply satisfying about a project small enough to finish in a single weekend and useful enough to stay on your wall for years. Learning how to build a wooden wine rack for beginners is exactly that kind of project. You do not need a big workshop, expensive hardwood, or advanced joinery. With two or three pine boards, a drill, and a saw, you can build a sturdy rack that holds three to six bottles safely — and looks far better than anything flat-packed.
This guide walks you through a simple design: a wall-mounted or tabletop rack with two horizontal rails that cradle each bottle by the neck and body. It is not a pallet rebuild, and it is not a full wine cellar. It is a compact, beginner-friendly rack sized for a kitchen, dining room, or small apartment wall. You will get a complete cut list, step-by-step instructions, a bottle-diameter and spacing table so your bottles actually fit, and a mounting and weight check so the rack stays safely on the wall.
Choosing Your Wine Rack Design
Before you cut anything, decide on two things: how many bottles you want to store, and whether the rack will hang on the wall or sit on a table.
For a first build, three to six bottles is the sweet spot. A three-bottle rack is about 24 inches wide and fits almost anywhere, even a narrow stretch of kitchen wall. A six-bottle rack runs about 30 to 36 inches wide, which suits a dining room wall or the space above a sideboard. Going bigger than six bottles on a first project adds weight, longer spans that can sag, and more chances for spacing errors — save the twelve-bottle version for your second rack.
The design in this guide uses two horizontal rails. The back rail is a flat board screwed to the wall (or to two small feet for a tabletop version). The front rail sits a few inches in front of it and has a rounded notch or a simple gap for each bottle neck. The bottle slides in neck-first and rests at a slight angle, with its body supported by the back rail and its neck held by the front rail. Because the bottle is stored on its side, the cork stays in contact with the wine, which is how wine is traditionally stored.
There are two popular variations worth knowing about. A wall-mounted rack keeps counter space free and turns your bottles into display pieces. A tabletop version is the same rack with two short feet added underneath, so it stands on a counter or sideboard — a good choice for renters who cannot drill into the wall. The build steps below cover the wall version first, with the tabletop change noted at the end.
Think about where the rack will live. Wine prefers a cool, dark spot away from direct sunlight and heat sources like ovens and radiators. A north-facing or shaded dining room wall is ideal. Avoid hanging the rack above a stove or in afternoon sun, because heat and light age wine fastest.
For a broader look at starter projects in this niche, see our roundup of easy woodworking projects for beginners that sell.
Materials and Tools for Your Wooden Wine Rack
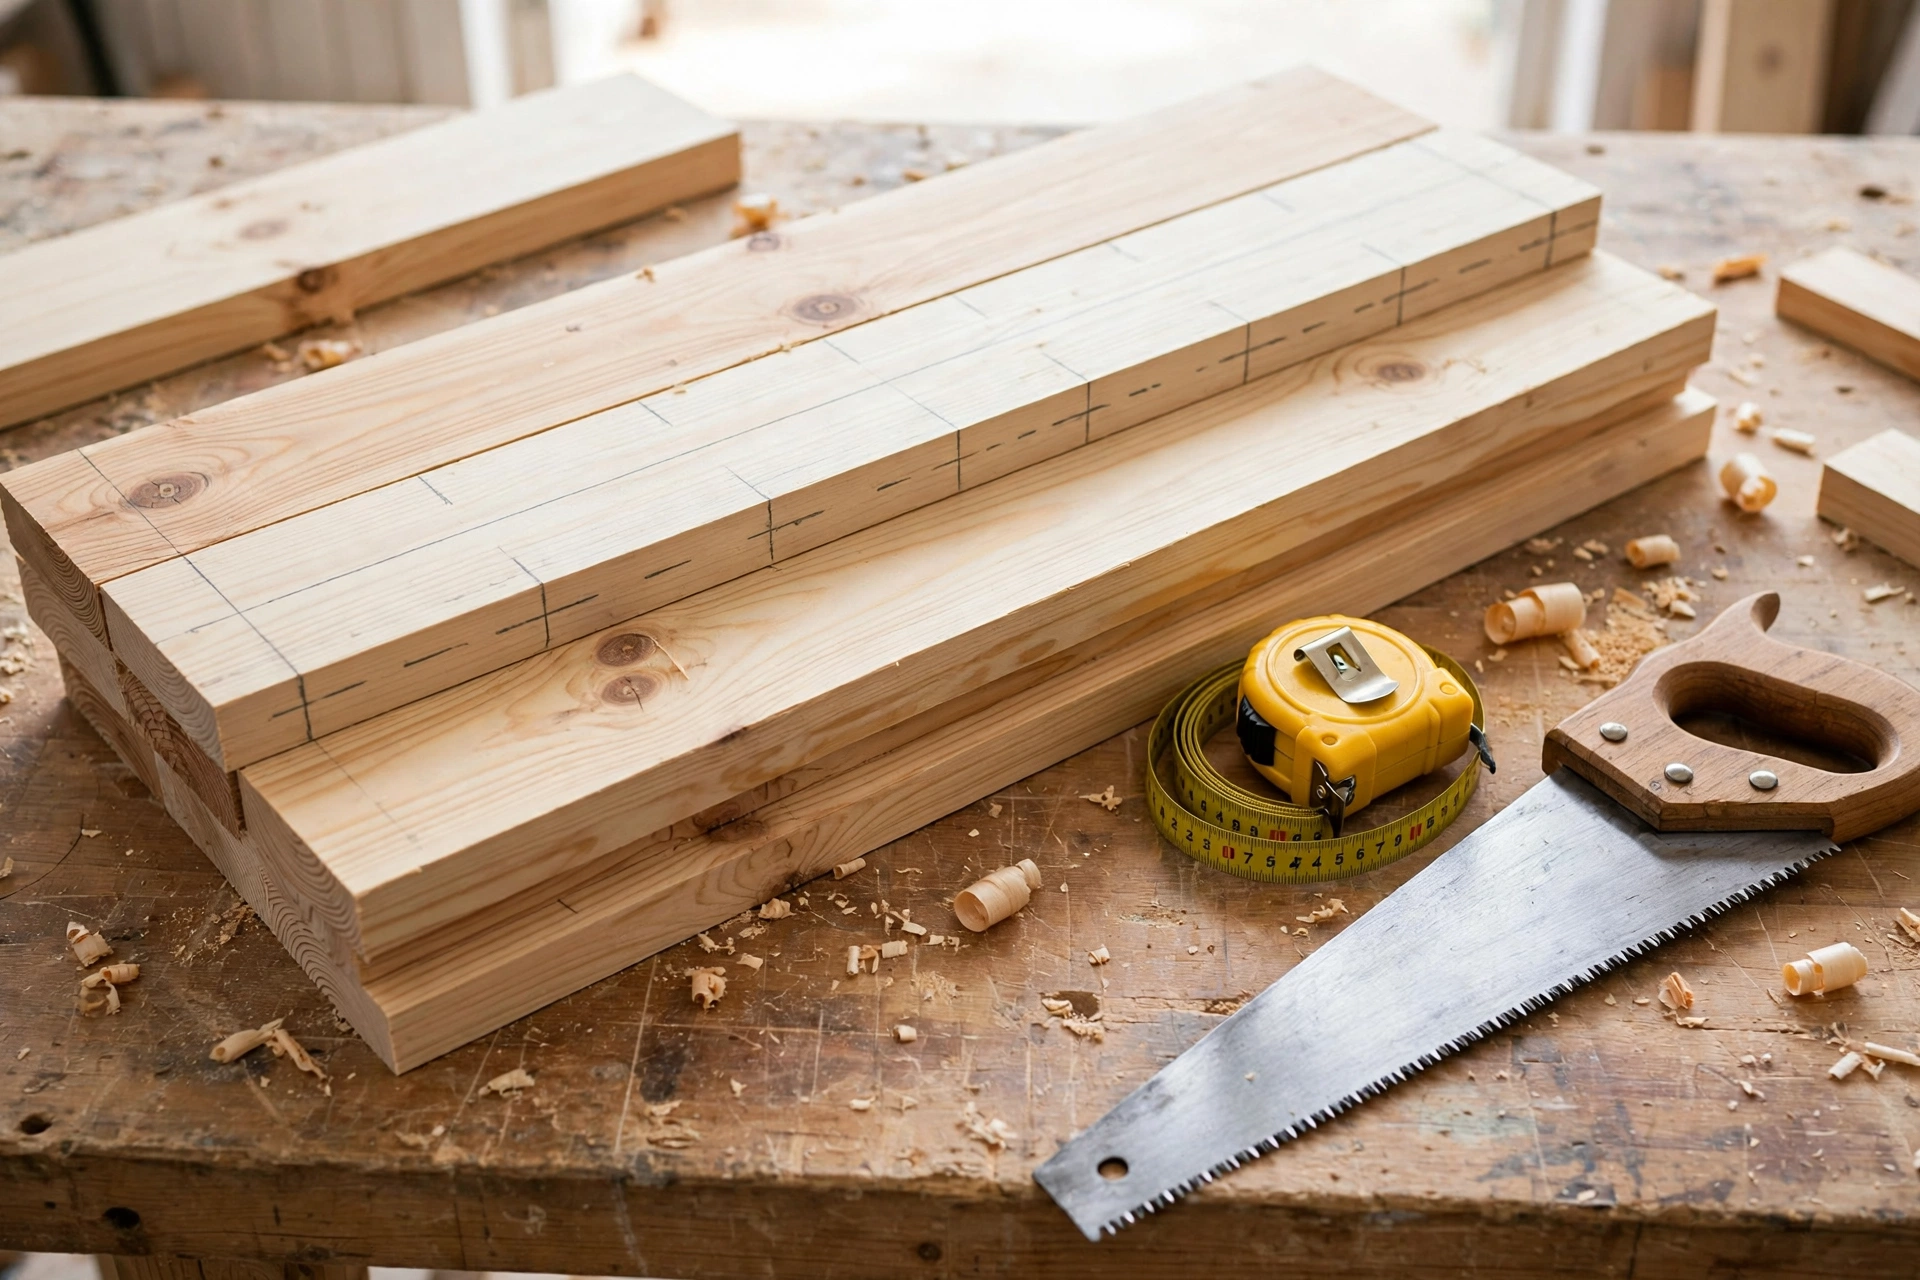
One of the best things about this project is the short shopping list. Pine is the ideal beginner wood here: it is cheap, light, easy to cut and drill, and it takes stain beautifully. A single 1×6 pine board, eight feet long, is enough for a six-bottle rack, with some offcuts to spare. If you want a richer look, poplar or oak will also work, but they cost more and are harder to drill, so stick with pine for your first rack.
Materials
- 1 × 6 pine board, 8 feet long (for the rails and back board)
- 1 × 3 pine board, 4 feet long (for the front rail supports, optional depending on design)
- 2-inch wood screws (about 16)
- 1¼-inch wood screws (about 8)
- Wood glue
- 120-grit and 220-grit sandpaper
- Wood stain or Danish oil, plus a clear topcoat (polyurethane or wax)
- Two heavy-duty wall screws or lag screws for mounting, plus wall anchors if you cannot hit a stud
- Felt pads (optional, for the tabletop version)
Tools
- Tape measure and pencil
- Saw: a circular saw, miter saw, or even a handsaw will do — every cut here is a straight crosscut
- Drill/driver with drill bits and a countersink bit
- Jigsaw or hole saw (for rounding the bottle neck notches, if you want the curved look)
- Speed square or combination square
- Stud finder
- Spirit level
- Clamps (at least two)
- Safety glasses and hearing protection
If you do not own a drill yet, this project is a good reason to get one. Our guide to the best drill for woodworking beginners explains what to look for so you buy once and buy right. And before you switch anything on, read our woodworking safety tips for beginners — a few minutes there prevents the most common beginner injuries.
Cut List
Measure twice, cut once. The cut list below is for a six-bottle wall rack. For a three-bottle rack, simply shorten the rails to 24 inches and use three neck openings instead of six.
| Part | Quantity | Material | Size |
|---|---|---|---|
| Back rail | 1 | 1×6 pine | 36 in long |
| Front rail | 1 | 1×6 pine | 36 in long |
| Side supports | 2 | 1×3 pine | 6 in long |
| Top cap (optional) | 1 | 1×6 pine | 36 in long |
| Mounting cleat | 1 | 1×3 pine | 30 in long |
A note on board sizes: a “1×6” board is not actually 1 inch thick and 6 inches wide. Its real size is ¾ inch thick and 5½ inches wide. That matters when you lay out bottle spacing, because the usable width of your front rail is 5½ inches, not 6. Do not worry — the spacing table below already accounts for this.
Cut all pieces first, then dry-fit them on your bench before gluing or screwing anything. Dry-fitting means assembling the parts without glue, just to check that everything lines up. It takes five minutes and catches most mistakes while they are still easy to fix.
Step-by-Step: Building the Rack
Step 1: Mark the bottle positions
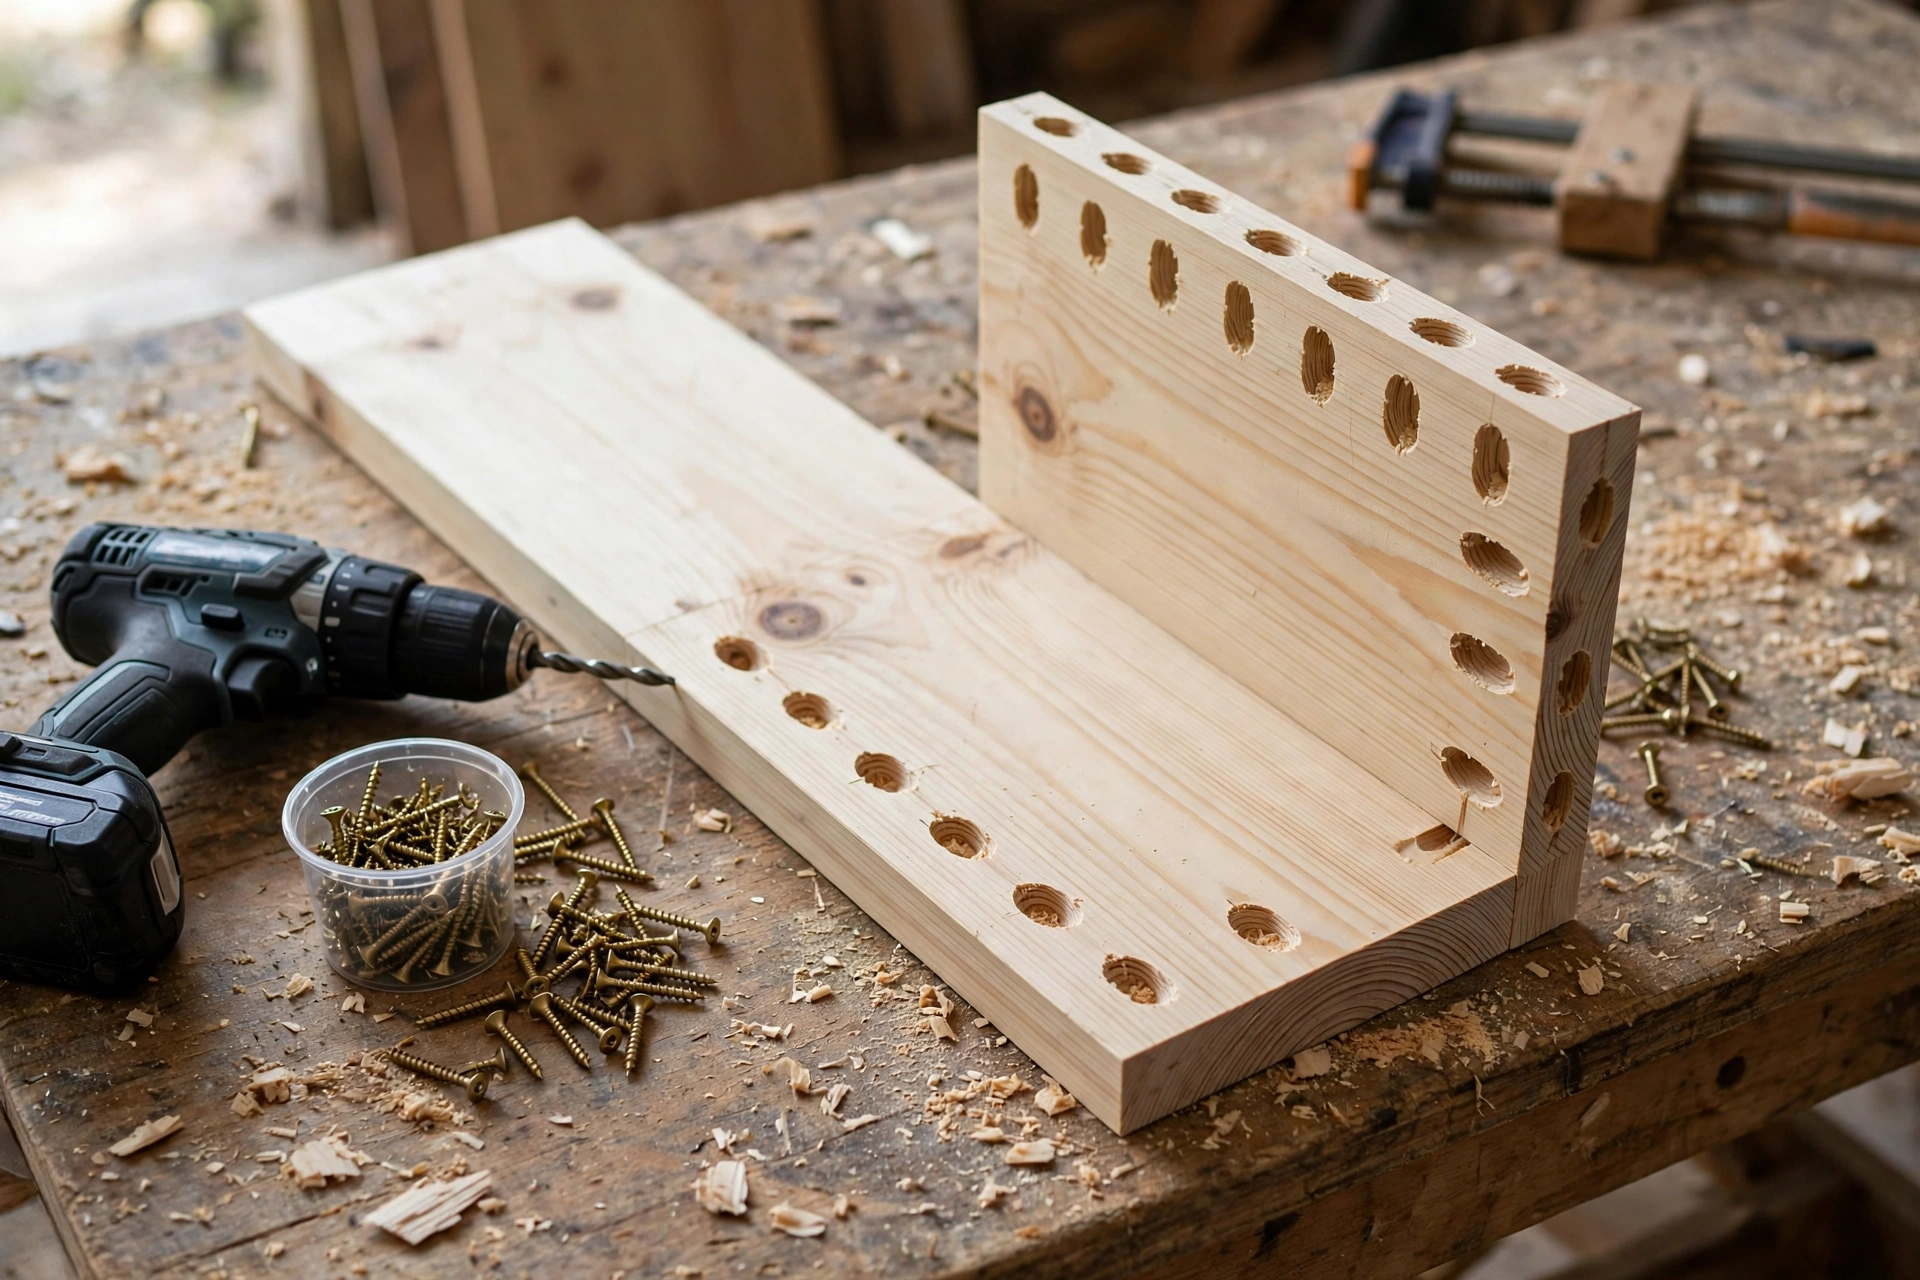
Lay the front rail flat on your bench. Measure 3 inches in from each end and mark your first and last bottle centers. For a six-bottle rack on a 36-inch rail, space the centers 6 inches apart: 3, 9, 15, 21, 27, and 33 inches from the left end. Mark each center clearly with a pencil cross.
Step 2: Cut the neck notches
Each bottle neck rests in a notch on the top edge of the front rail. The simplest beginner method is a U-shaped notch: drill a 1½-inch hole centered on each mark, about 1 inch down from the top edge, then use a jigsaw to cut a slot from the top edge down to the hole. The result is a rounded cradle that holds the neck without scratching it. If you do not have a jigsaw, you can skip the curved notch entirely and use a simpler design: a straight front rail with small wooden pegs or dowels between bottles to stop them rolling. Both versions hold bottles safely — the notch just looks more finished.
Sand each notch smooth with 120-grit sandpaper wrapped around a dowel or a small round file. A rough notch can scratch bottle labels, so take a minute here.
Step 3: Assemble the frame
Stand the back rail on edge and attach the two side supports, one at each end, using wood glue and two 2-inch screws per joint. Pre-drill every screw hole first — pine splits easily near the ends of boards, and a pilot hole almost completely prevents it. Use a countersink bit so the screw heads sit flush with the surface.
Next, attach the front rail to the front faces of the side supports, so that there is a gap of about 4 inches between the front rail and the back rail. This gap is what the bottle body sits in. Check that the front rail is level with the back rail and that the gap is even along the whole length before you drive the screws home.
Step 4: Add the mounting cleat
Screw the mounting cleat horizontally across the back of the back rail, about 2 inches down from the top edge. This cleat is what your wall screws will pass through, and it spreads the load across the rail instead of concentrating it on two screw points. If you are building the tabletop version, skip the cleat and instead screw two short feet (about 4 inches tall) under each end of the rack.
Step 5: Sand everything
Sand all surfaces with 120-grit sandpaper, then again with 220-grit for a smooth finish. Pay special attention to the notches, edges, and corners — these are the parts your hands and the bottles will touch. Wipe away dust with a slightly damp cloth and let the rack dry before finishing.
Bottle Sizes and Spacing: Getting the Fit Right
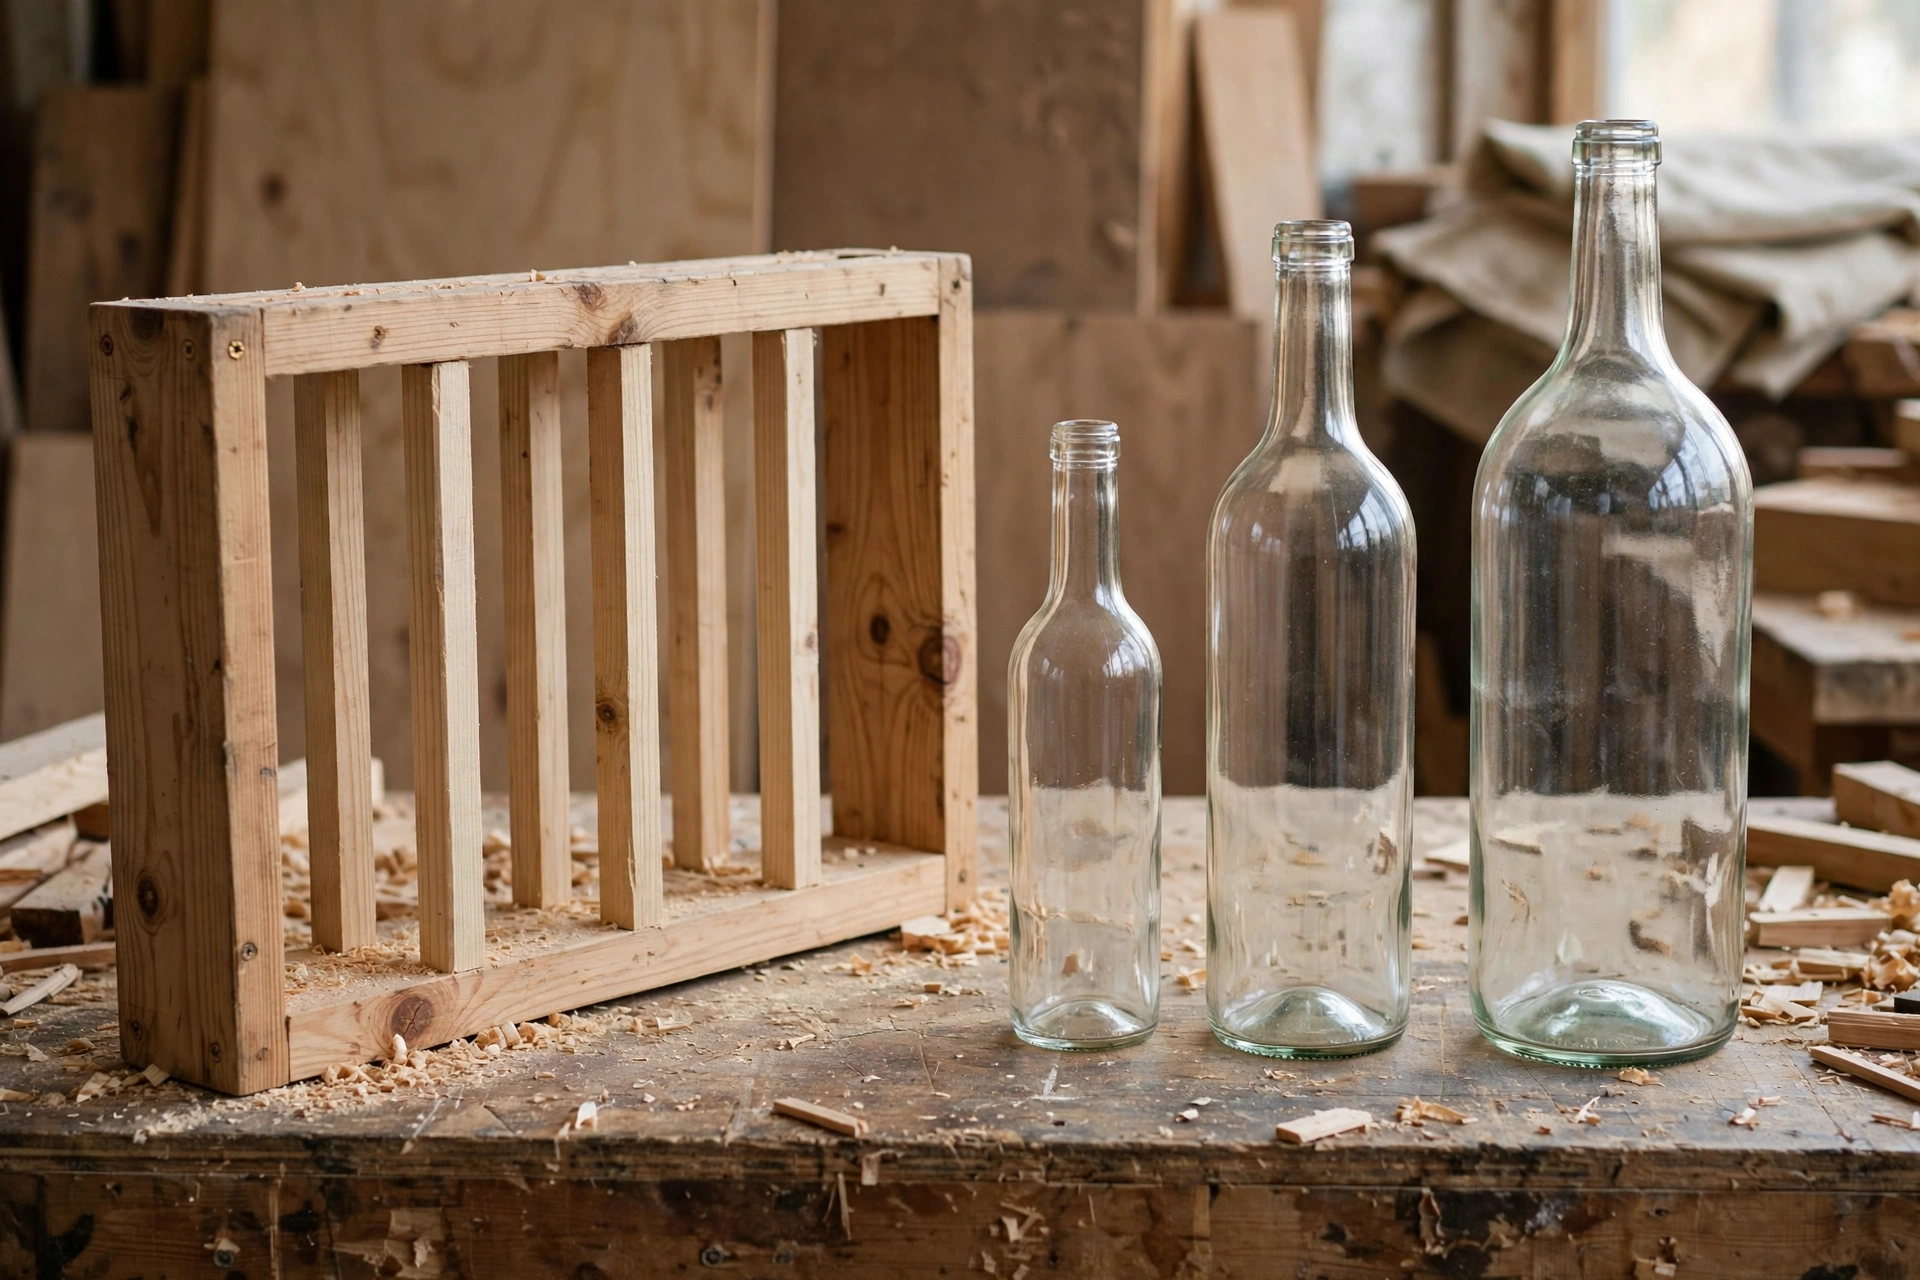
This is the section most beginner guides skip — and it is the one that decides whether your rack actually works. Wine bottles are not all the same diameter, and a rack spaced for slim bottles will not fit a wide Burgundy bottle, while a rack spaced for wide bottles will let slim bottles rattle around.
A standard 750 ml Bordeaux bottle (the tall, straight-shouldered shape used for most red wines) is about 3 inches in diameter. A Burgundy bottle (sloped shoulders, used for Pinot Noir and Chardonnay) is about 3½ inches wide. Champagne and sparkling wine bottles are the widest at around 3½ to 3¾ inches, and they are also heavier. Dessert and half bottles are slimmer, at about 2½ to 3 inches.
| Bottle type | Typical diameter | Center-to-center spacing | Notes |
|---|---|---|---|
| Standard Bordeaux 750 ml | 3 in | 4 in | Most common; fits the 6 in spacing in this guide easily |
| Burgundy / Pinot Noir 750 ml | 3½ in | 4½ in | Wider shoulders; allow extra clearance |
| Champagne / sparkling 750 ml | 3½–3¾ in | 5 in | Heaviest bottles; check wall mounting carefully |
| Half bottle 375 ml | 2½–3 in | 4 in | Slim; may sit slightly loose in a 6 in layout |
| Magnum 1.5 L | 4 in | 5½ in | Too heavy for a small beginner rack; build a dedicated shelf |
The 6-inch center spacing used in this guide is deliberately generous: it fits every standard 750 ml bottle with room to spare, and it gives your fingers space to lift a bottle out without knocking its neighbors. If you know you will mostly store Champagne, consider widening the spacing to 6½ inches or building a five-bottle rack on the same 36-inch rail.
Also check bottle length. A standard 750 ml bottle is about 12 inches long, so your rack needs at least that much clear depth from the wall, plus a little room to slide the bottle in and out. The 4-inch gap between rails plus the depth of the boards gives you a comfortable fit, but if you plan to store longer bottles, such as some Riesling or Alsace bottles at 13 inches, make sure the space in front of the rack is clear.
One more practical tip: store bottles horizontally or at a slight downward angle toward the cork, never upright for long periods. A cork that dries out shrinks and lets air in, which spoils the wine. The rail design in this guide naturally holds bottles at the right angle.
Wall Mounting and Weight Safety Check
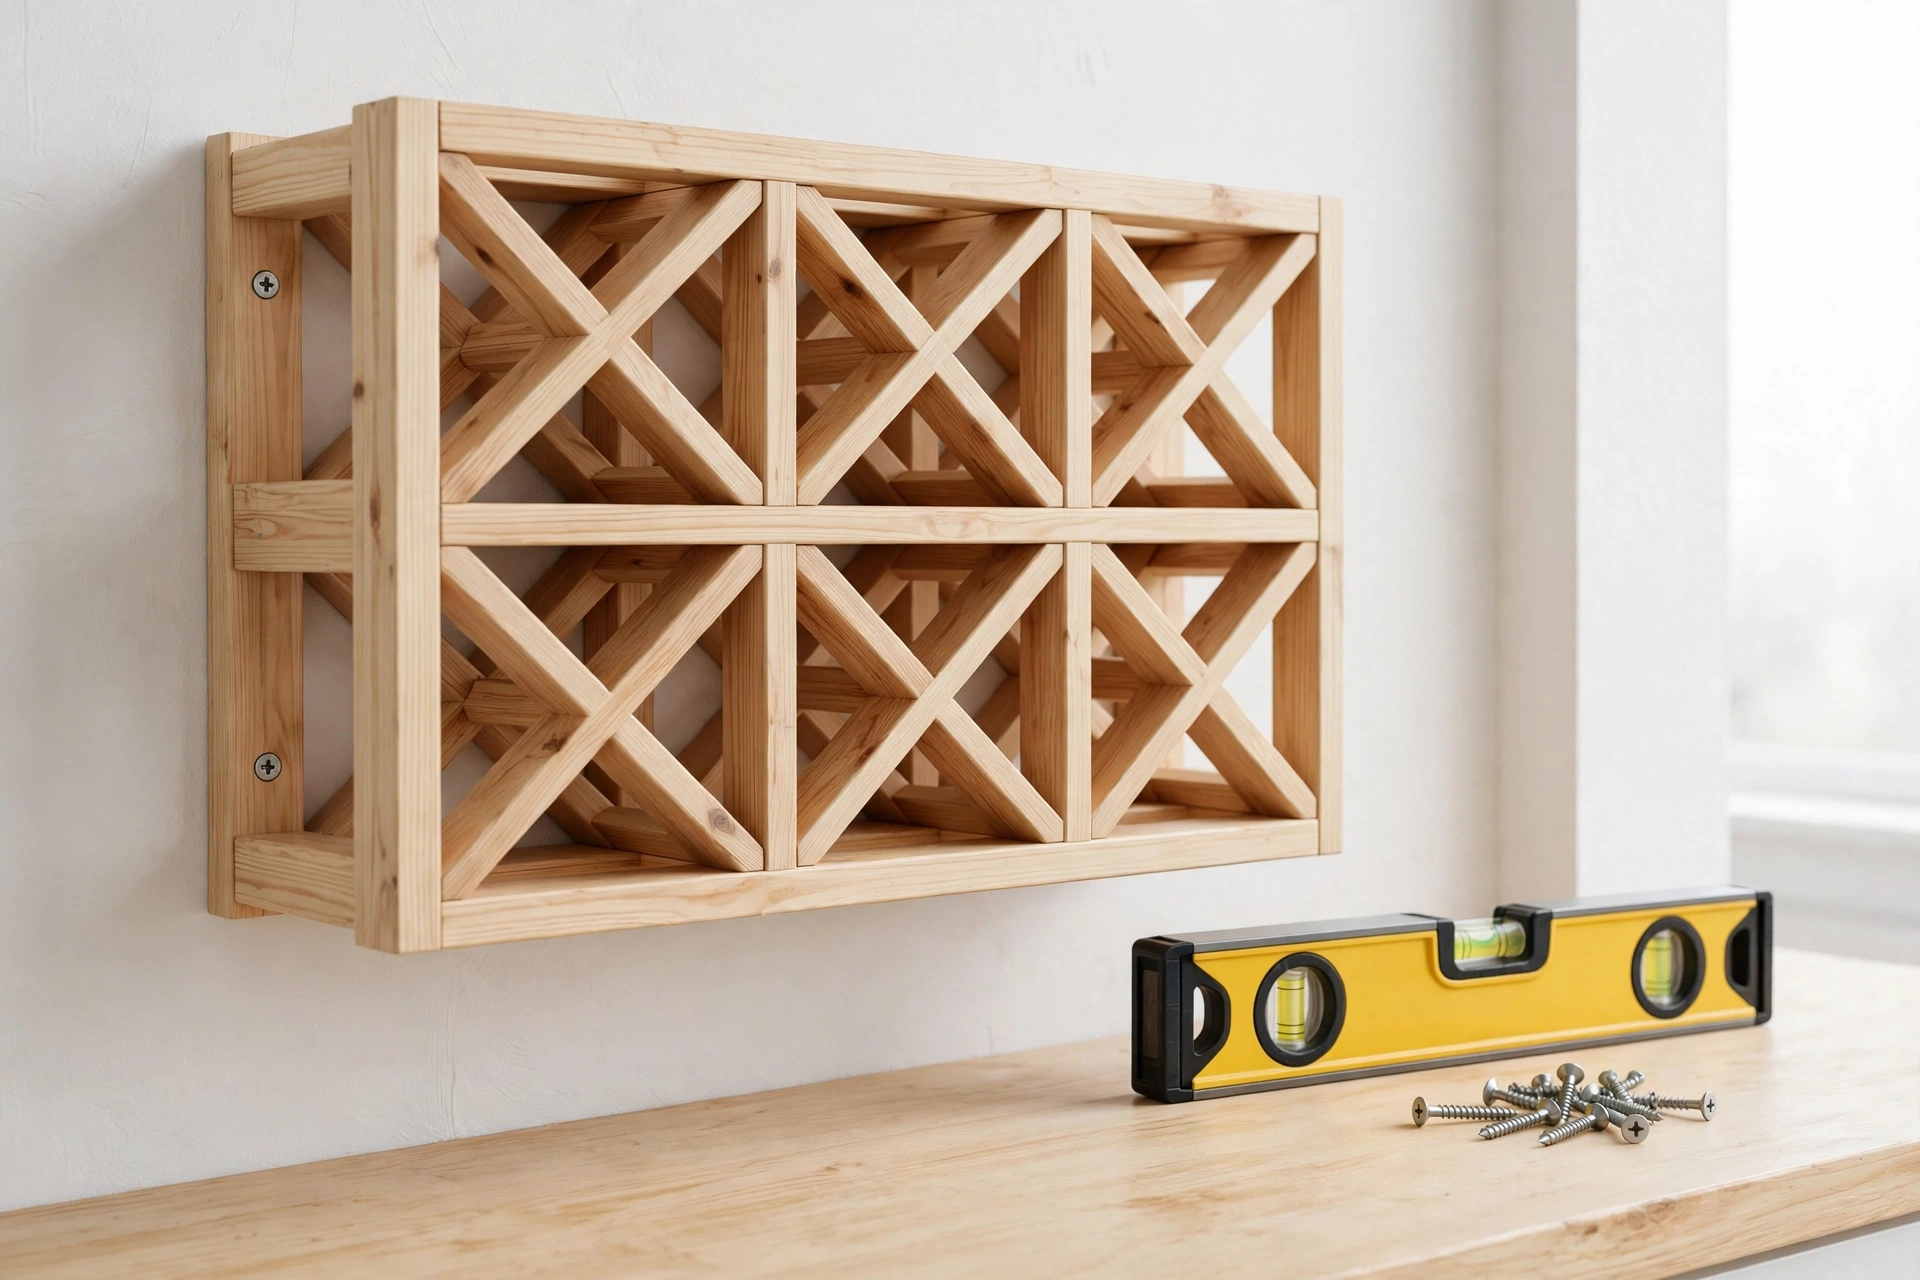
A full wine rack is heavier than it looks, and this is the step you must not rush. A single full 750 ml bottle weighs about 2.6 to 3 pounds. Six bottles weigh roughly 16 to 18 pounds, plus about 5 pounds for the pine rack itself. That is a total of around 21 to 23 pounds hanging on your wall — well within the capacity of a proper stud mounting, but too much for a single nail or a cheap adhesive hook.
Find the studs
Use a stud finder to locate two wall studs in your chosen spot. Studs are normally spaced 16 inches apart, so a 36-inch rack should span at least two of them. Mark both stud centers with painter’s tape. If your wall has metal studs or you cannot find a stud where you want the rack, use heavy-duty wall anchors rated for at least 50 pounds each — but a stud is always the safer choice for a loaded rack.
The weight check
Before you hang any bottles, do this simple check:
- Mount the empty rack on the wall with two screws driven into studs (or rated anchors).
- Pull firmly downward and outward on the rack with both hands. It should not move, flex, or creak.
- Hang a bag of flour or a similar 20-pound weight from the rack for ten minutes.
- Check that the rack is still level and the screws are still tight.
If the rack passes this test empty, it will hold six full bottles comfortably. If it shifts at all, take it down and re-mount it — do not just add more bottles and hope. Most wall-mounting failures happen because the screws missed the stud, so re-check your stud marks first.
Mounting steps
Hold the rack against the wall at your chosen height — about eye level, or 55 to 60 inches from the floor to the center of the rack, works well in a dining room. Use a spirit level to make sure it is perfectly horizontal, and mark the screw positions through the mounting cleat onto the wall. Drill pilot holes into the studs, then drive the mounting screws through the cleat and into the wall. Check the level one final time before tightening fully.
If you are building matching wall shelves for the same room, the mounting technique is the same. Our guide on how to build floating shelves for beginners covers stud finding and leveling in more detail.
Sanding and Finishing Your Wine Rack
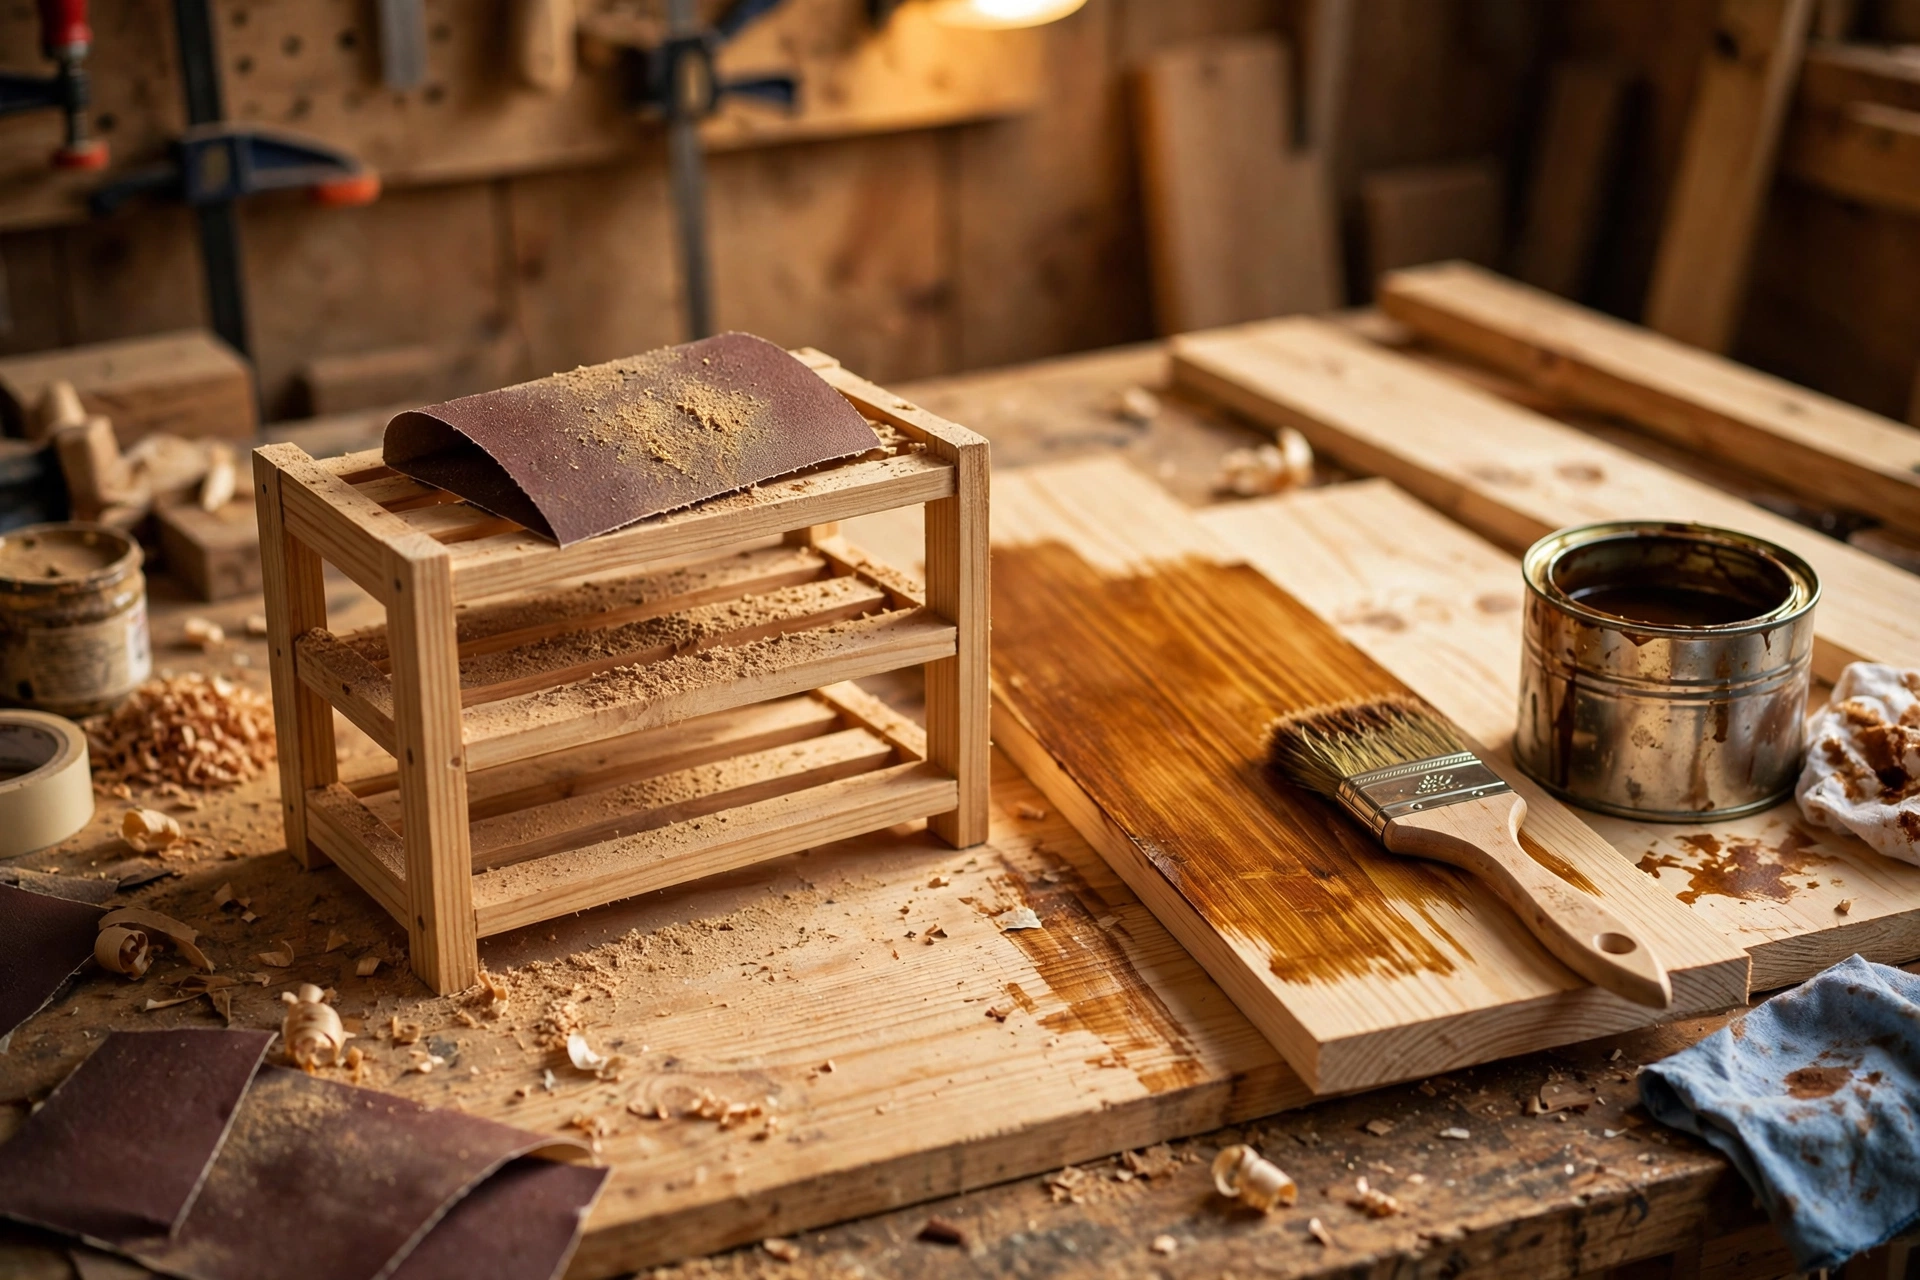
Finishing is what separates a project that looks handmade from one that looks homemade. Pine is soft and blotchy if you stain it directly, so a little preparation pays off.
Start with a pre-stain wood conditioner — a thin coat brushed on and left for about 15 minutes before staining. This evens out how the pine absorbs stain and prevents the patchy, blotchy look that frustrates so many beginners. Then apply your stain with a brush or rag, working along the grain, and wipe off the excess after a few minutes. Two thin coats always look better than one thick coat.
For a first project, a warm medium-brown stain or a natural Danish oil finish both look excellent on pine and are forgiving to apply. If you are unsure which stain to choose, our guide to the best wood stain for beginners compares the main options and explains which ones suit pine best.
Once the stain is dry, seal it with two thin coats of clear polyurethane or a coat of paste wax. Polyurethane is more durable and better if the rack will live in a kitchen where it might get splashed. Wax gives a softer, more natural feel but needs reapplying once a year. Either way, let the finish cure fully — usually 24 hours — before you load the rack with bottles, so the finish does not stick to the glass.
How Much Does It Cost?
This is a genuinely cheap project, which is part of its appeal. The table below gives approximate cost ranges based on typical hardware-store prices. Your actual cost will depend on your region and whether you already own some of the tools.
| Item | Approximate cost |
|---|---|
| 1×6 pine board, 8 ft | $8–$15 |
| 1×3 pine board, 4 ft | $3–$6 |
| Wood screws and glue | $5–$10 |
| Sandpaper (120- and 220-grit) | $3–$6 |
| Wood stain + topcoat | $10–$20 |
| Wall mounting screws / anchors | $3–$8 |
| Total (materials only) | $32–$65 |
If you already own a drill and a saw, that total is all you will spend. If you need to buy tools as well, a basic drill and a handsaw will add roughly $60–$120, but you will use both on every project after this one, so they are an investment rather than a cost of this rack alone.
Common Mistakes to Avoid
Even a simple project has a few traps. Here are the ones beginners hit most often with this rack:
- Skipping pilot holes. Pine splits, especially near board ends. Drill a pilot hole for every screw, every time.
- Spacing bottles too tightly. If bottles touch, you cannot lift one out without disturbing the others, and labels get scuffed. The 6-inch spacing in this guide exists for a reason.
- Mounting without finding a stud. Drywall alone will not hold a loaded rack for long. Find the stud, or use properly rated anchors.
- Staining without conditioner. Pine blotches badly without a pre-stain conditioner. Do not skip this ten-minute step.
- Building too big on the first try. A twelve-bottle rack sounds impressive, but the longer span sags and the weight doubles. Master the six-bottle version first.
- Forgetting bottle length. Measure your longest bottle before you choose a wall spot. A rack hung in a tight alcove with no clearance in front is frustrating to use.
Styling and Caring for Your Finished Rack
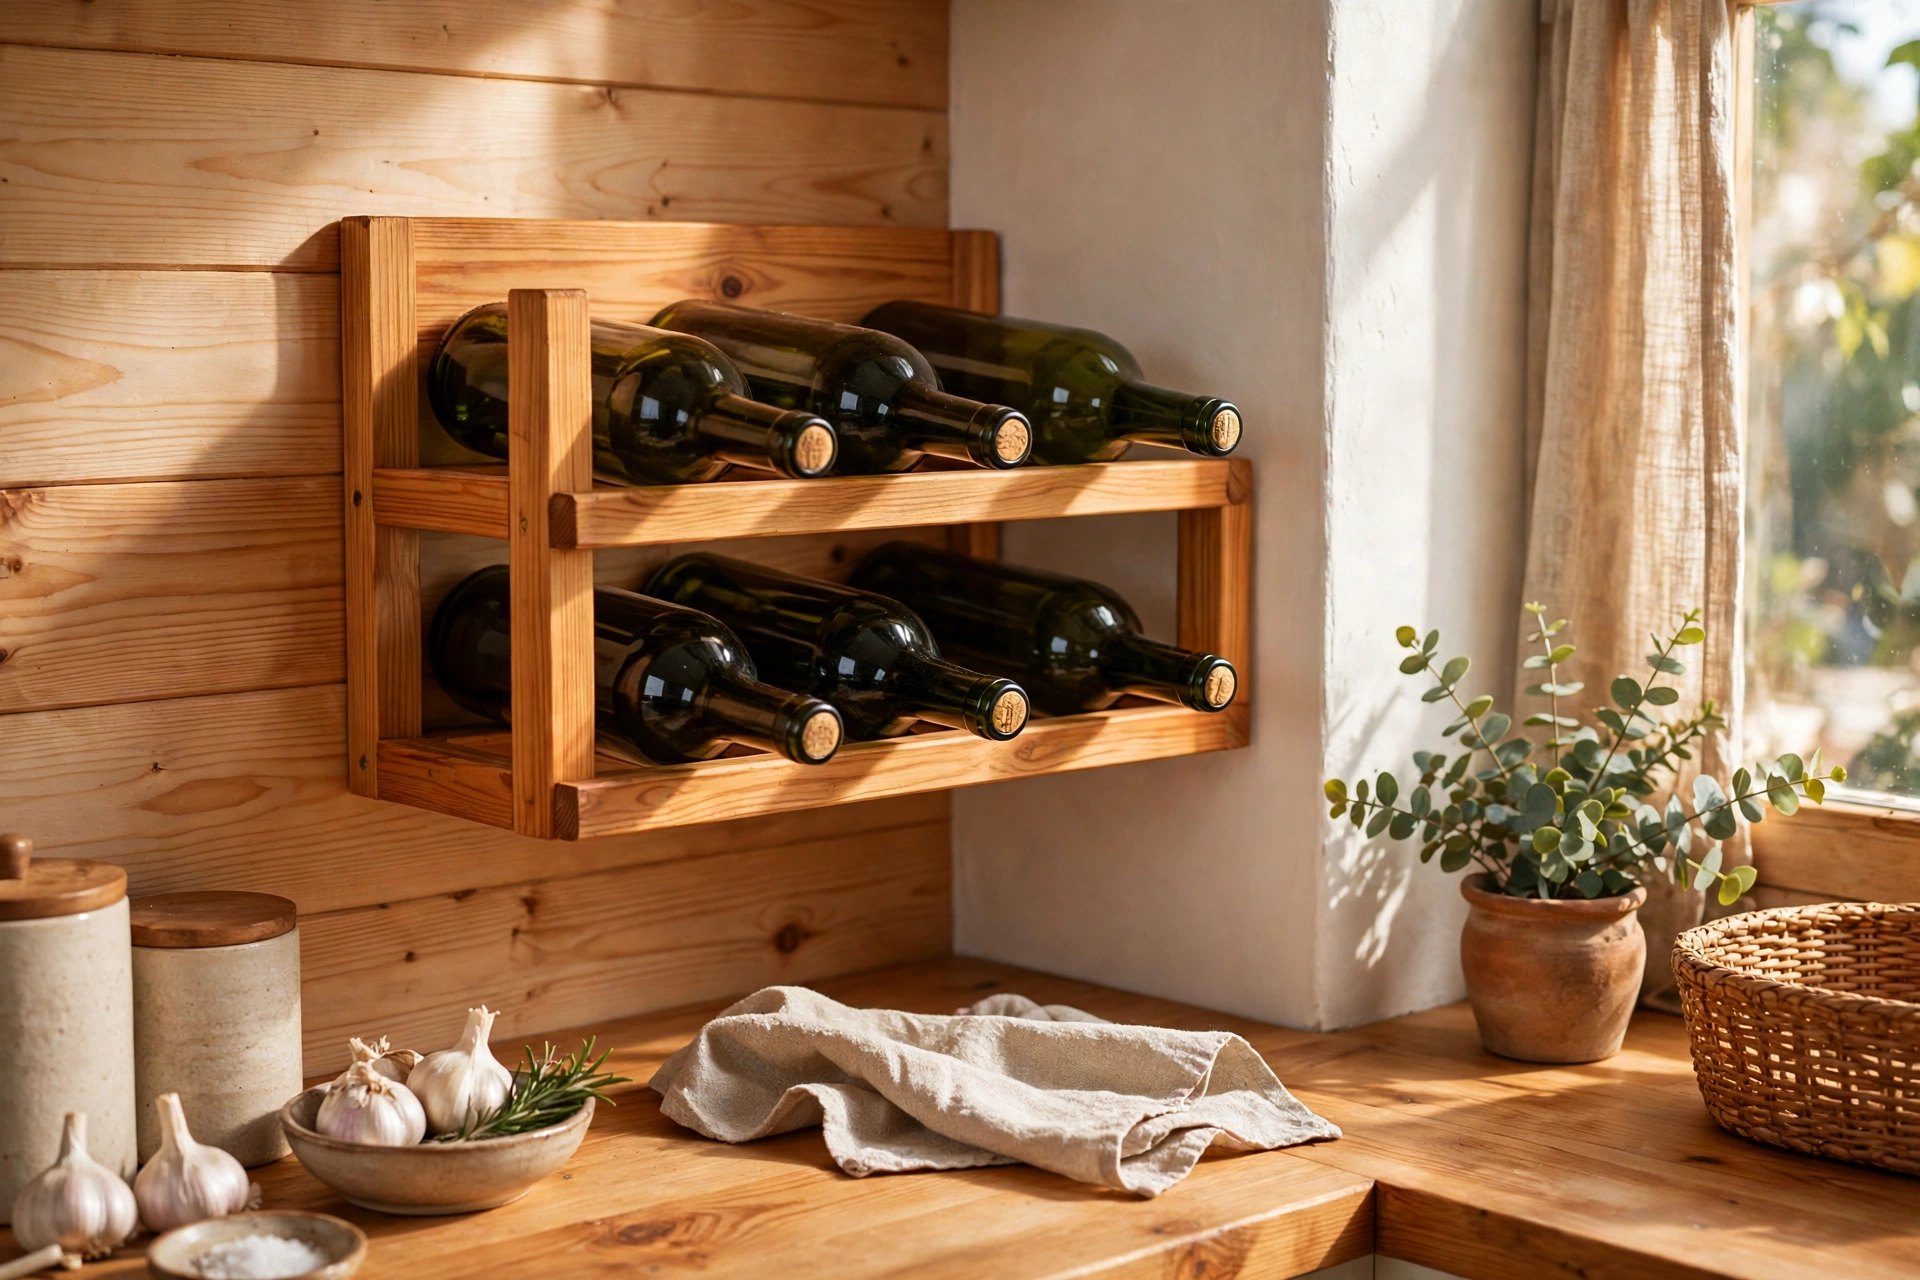
Once your rack is finished and mounted, style it simply. A few bottles with the labels facing outward look better than a rack crammed full. Leave at least one slot empty if you can — it makes removing bottles easier and the display looks more relaxed.
Dust the rack with a dry cloth every couple of weeks, and wipe up drips straight away so they do not stain the finish. If you used a wax finish, reapply a thin coat once a year. Polyurethane should last for years with no maintenance beyond dusting.
Frequently Asked Questions
How many bottles can a beginner wooden wine rack hold?
A beginner rack should hold three to six bottles. Six full 750 ml bottles plus the rack weigh about 21 to 23 pounds, which is safe on two wall studs. Larger racks need stronger mounting and longer spans that can sag, so they are better as a second project.
What is the best wood for a beginner wine rack?
Pine is the best choice for a first wine rack. It is inexpensive, light, easy to cut and drill, and it stains well with a pre-stain conditioner. Poplar and oak also work, but they cost more and are harder for a beginner to work with.
How far apart should wine bottle slots be spaced?
Space bottle centers 6 inches apart for standard 750 ml bottles. This fits Bordeaux, Burgundy, and Champagne bottles with room to lift each bottle out safely. For Champagne only, widen the spacing to 6½ inches.
Can I hang a wine rack on drywall without a stud?
It is possible with heavy-duty wall anchors rated for at least 50 pounds each, but screwing into wall studs is much safer for a loaded rack. Always do the 20-pound weight check described above before loading the rack with bottles.
Do wine bottles need to be stored on their side?
Yes, for bottles with natural corks, horizontal storage keeps the cork moist so it does not shrink and let air in. The rail design in this guide holds bottles on their side at a slight angle, which is ideal.
How much does it cost to build a wooden wine rack?
Materials for a six-bottle pine rack cost approximately $32–$65 if you already own a drill and a saw. Pine boards, screws, sandpaper, stain, and mounting hardware are the only materials you need.
Can I make this rack as a tabletop version instead?
Yes. Skip the wall mounting cleat and screw two short feet, about 4 inches tall, under each end of the rack. The rest of the build is identical, and the rack will stand safely on a counter or sideboard.
Final Thoughts
Building your own wine rack is a small project with an outsized payoff: you learn measuring, drilling, screwing, sanding, and finishing in a single afternoon, and you end up with something useful hanging on your wall. Start with the six-bottle version, follow the spacing table, do the weight check before you load it, and enjoy the result. When you are ready for your next project, the same skills transfer directly to shelves, small tables, and storage boxes — and every one of them starts with a single straight cut.
Recommended Products for This Project
As an Amazon Associate, I earn from qualifying purchases.

Titebond III Ultimate Wood Glue 1413 (8 oz)
Water-resistant wood glue for strong joints on the rack frame and rails.
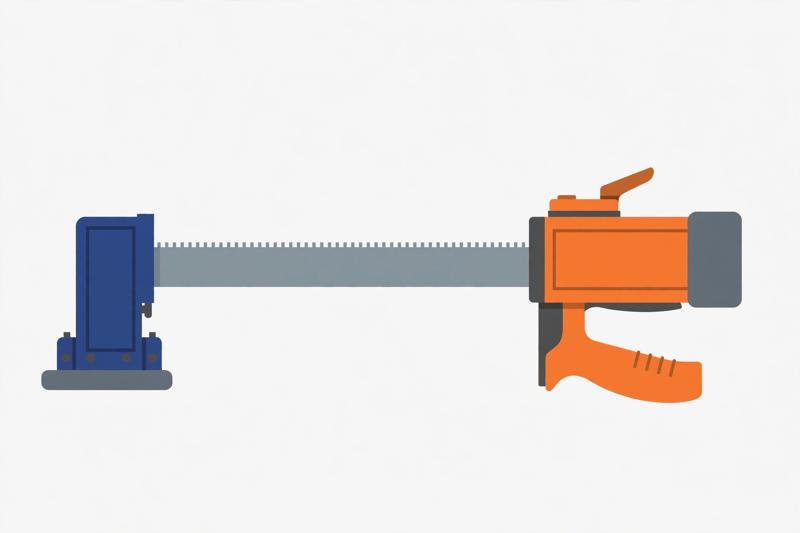
IRWIN QUICK-GRIP 12-inch Heavy-Duty Bar Clamp (1964712)
One-handed clamping with 600 lbs of force for the rack frame glue-up.
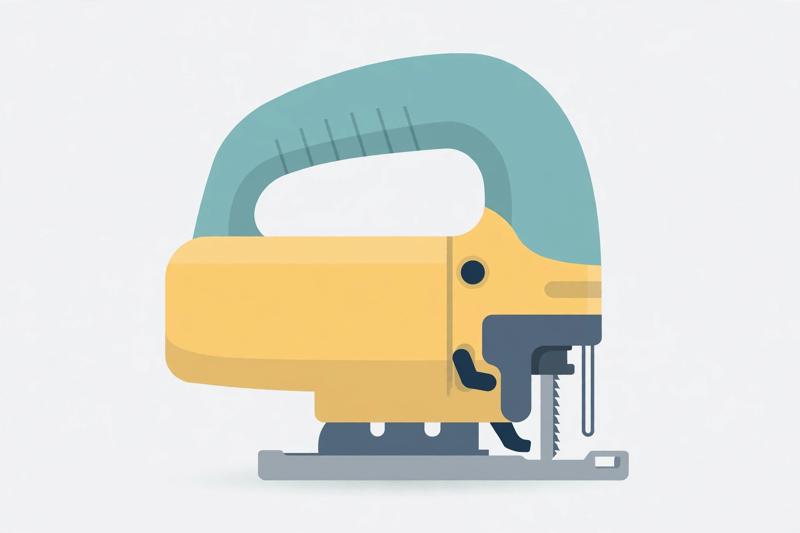
Bosch Top-Handle Jigsaw JS470E, 7.0 Amp
Clean curved and straight cuts for the rack’s shaped ends and rails.
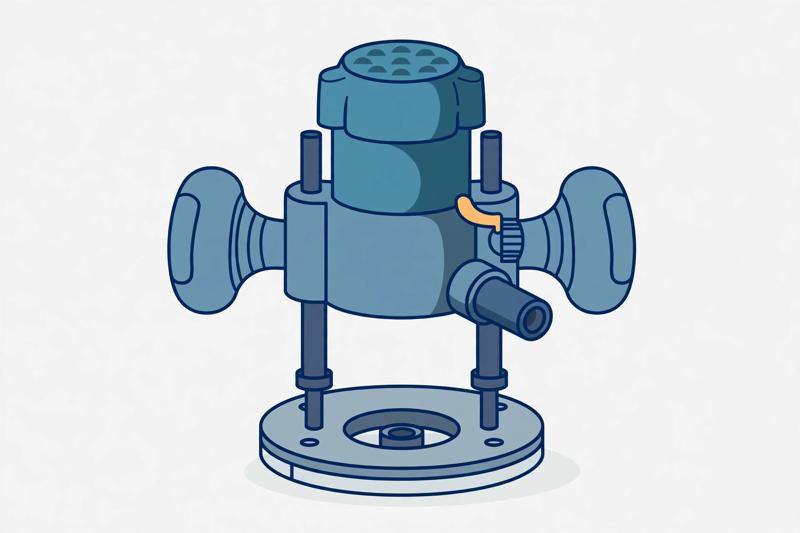
Bosch PR20EVSK Colt Palm Router, 1 HP, with Edge Guide
Rounds edges and cuts clean grooves for the bottle rails.
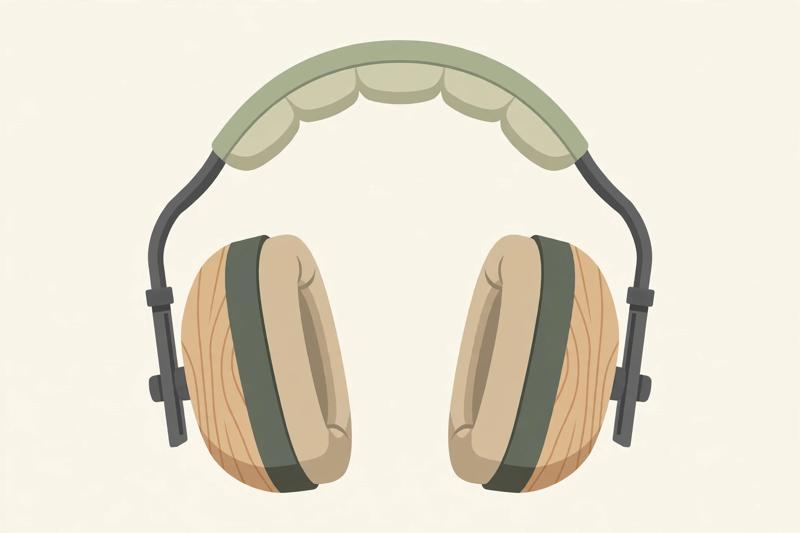
3M PELTOR X4A Over-the-Head Earmuffs, NRR 27 dB
NRR 27 dB hearing protection for loud saws and routers.


