
If you are starting woodworking, one question comes up before almost any other: what is the best drill for woodworking beginners? Search for it and you will immediately meet a second, confusing question hiding underneath it. Some guides tell you to buy a drill driver. Others tell you a drill press is the real woodworking tool. Both are right about something, and both can mislead a beginner who buys the wrong one first.
Here is the short answer, up front, so you can stop scrolling and start building: buy a good cordless drill driver first. It will drill holes, drive screws, and handle almost every beginner project on its own. Add a small benchtop drill press later, when you start wanting perfectly vertical, repeatable holes — for example, a row of identical shelf-pin holes, a set of matching dowel holes, or a batch of parts that all have to line up exactly. A drill press is a wonderful second drill. It is a poor first drill, because you cannot carry it to a wall, a deck, or an assembled cabinet, and it cannot drive a screw.
This guide settles that confusion properly. You will learn exactly what a drill driver does, what a drill press does, how they differ, which beginner models are worth your money, which drill bits you actually need, what speed and clutch settings to use, and how to drill clean holes without splintering the back of your board. Everything here is written for a beginner building real projects — shelves, benches, boxes, and small furniture — not for a professional production shop.
The Short Answer: Buy the Drill Driver First, Add the Press Later
Think of it as a sequence, not a contest. A cordless drill driver is the tool that lets you build your first ten projects. A drill press is the tool that makes projects eleven through fifty neater, faster, and more repeatable. If you buy the press first, you will still need a drill driver for assembly, and you will have spent your budget on the tool you use second. If you buy the drill driver first, you can build everything, and you can save for the press while you learn.
A sensible beginner path looks like this:
- First purchase: a 12V or 18V/20V cordless drill driver kit with two batteries, a charger, and a basic bit set. This is your everyday tool.
- First accessory purchases: brad-point bits, a countersink bit, and a pocket-hole jig. These three purchases unlock clean holes and strong, hidden joints.
- Second drill purchase: a small benchtop drill press (8-inch or 10-inch) once you are drilling repeated vertical holes or working with Forstner bits larger than about 35mm, which are hard to control freehand.
- Later, optional: an impact driver. It is not a replacement for a drill driver, and most beginners do not need one until they are driving long screws all day.
That order matters because it matches how beginners actually build. Your first projects — a simple shelf, a small bench, a storage box — need holes drilled in place and screws driven into place. A drill driver does both. A drill press, for all its precision, only drills, and only on pieces small enough to fit on its table.
Drill Driver vs Drill Press: What Each One Actually Does
A drill driver is a handheld power tool with a chuck that grips a drill bit or a screwdriver bit. Pull the trigger and the bit spins; squeeze the clutch settings and it stops turning once a screw reaches a set resistance, so you do not strip the screw head or bury it too deep. Modern cordless drill drivers are compact, battery-powered, and easy to carry around a project. They drill holes at angles, in tight corners, and in assembled furniture. They also drive screws, which is half of woodworking assembly.
A drill press is a stationary machine. A motor drives a spindle straight down through a chuck, and you lower the bit with a lever while the workpiece sits flat on a table. Because the bit can only travel vertically, every hole is square to the surface, and a depth stop lets you drill fifty holes to exactly the same depth. That repeatability is the drill press’s superpower. Its weakness is equally clear: the workpiece must come to the machine, the machine cannot drive screws, and a benchtop model has limited reach — the distance from the column to the centre of the chuck, called the throat depth, is usually only about 100 to 150mm on a small press, so you cannot drill the centre of a wide board.
Here is the head-to-head comparison that settles the buying decision:
| Feature | Cordless drill driver | Benchtop drill press |
|---|---|---|
| Best for | Everyday holes + driving screws | Perfectly vertical, repeatable holes |
| Portability | Excellent — goes to the project | None — the project comes to it |
| Drives screws? | Yes, with clutch control | No |
| Hole squareness | Depends on your hand and eye | Excellent, mechanically vertical |
| Repeatability | Fair — you judge depth by eye or a stop collar | Excellent — built-in depth stop |
| Large Forstner bits (35mm+) | Hard to control freehand | Easy and safe with slow speed |
| Angled holes | Yes, freehand or with a jig | Only with a tilting table or jig |
| Typical beginner cost | $60–$150 for a good kit | $120–$250 for a benchtop model |
| Space needed | A shelf and a charger | A bench corner, permanently |
| First-buy verdict | Buy this first | Buy this second |
The table makes the logic obvious. The drill driver is versatile; the drill press is precise. Beginners need versatility first, because their early projects are varied and their workspace is usually small. Precision tools earn their keep once you know exactly which repetitive job you want them to do.
How to Choose a Drill Driver: Voltage, Chuck, Clutch, and Batteries
Shopping for a drill driver can feel like reading a specification sheet in another language. Four numbers matter most, and everything else is marketing.
Voltage (12V vs 18V/20V). Voltage is a rough guide to power. A 12V drill driver is lighter, smaller, and easier to hold for long sessions, and it is plenty for drilling pilot holes and driving screws into softwood and plywood. An 18V or 20V drill driver (the same class of tool — 20V MAX is simply how one major brand labels its 18V platform) has more torque for hardwood, larger bits, and longer screws. If you will mostly build shelves, boxes, and pine furniture, a 12V tool will serve you well. If you plan to work in hardwood, build a workbench, or drive 75mm screws regularly, go 18V/20V. Either way, buy a kit with two batteries: one charging while you work with the other is the difference between a pleasant afternoon and a stalled project.
Chuck size (10mm vs 13mm). The chuck is the part that grips the bit. A 10mm chuck is common on compact 12V drills and accepts most beginner bits. A 13mm chuck, standard on 18V/20V drills, accepts larger bits including bigger Forstner and spade bits. For woodworking, a 13mm keyless chuck is the more future-proof choice, because it never limits the bits you can buy later.
Clutch settings. Around the chuck is a numbered ring — the clutch. Low numbers (1–5) slip early and are for small screws in soft material; higher numbers drive larger screws harder; the drill symbol (often a picture of a drill bit) locks the clutch out entirely for drilling. Beginners should learn one habit: start low, test on scrap, and creep up until the screw sits flush. A screw driven too hard splits wood, strips its head, or sinks below the surface. A clutch setting that is too low simply stops early, and you can try again one click higher. There is no penalty for starting low.
Speed settings and trigger control. Most drill drivers have two gears: low (1) for high torque and slow drilling, and high (2) for fast drilling in soft material. Use low gear for large bits and driving screws; use high gear for small bits in softwood. The variable-speed trigger matters just as much — squeezing gently starts the bit slowly, which is how you place a hole exactly on your mark instead of skating across the surface.
Other features worth having, but not worth paying a large premium for as a beginner, are a built-in LED work light, a belt hook, and a hammer mode. Hammer mode is for masonry, not wood, and you should never use it on a woodworking project. A comfortable grip and a tool that does not feel nose-heavy in your hand matter more than a long feature list.
Beginner Drill Comparison: Three Honest Picks
The three tools below are the ones most often recommended to beginners for good reason: they are widely available, their batteries are part of large tool systems you can grow into, and they have proven track records. Prices vary by region and by whether you buy a bare tool or a kit, so treat the figures as a guide, not a promise.
| Tool | Type | Best for | Honest trade-offs |
|---|---|---|---|
| DeWalt 20V MAX drill driver combo kit | Cordless drill driver (+ often an impact driver) | The buy-once beginner kit; strong, durable, huge battery system | Heavier and pricier than budget brands; overkill if you only build occasionally |
| Ryobi One+ HP 18V drill driver | Cordless drill driver | Best value for hobby builders; huge, affordable accessory range | Slightly bulkier than premium brands; not a job-site workhorse |
| WEN 4208T benchtop drill press | 8-inch benchtop drill press | Second-drill precision: vertical holes, Forstner bits, repeat work | Small table and short throat depth; not for large panels or production work |
DeWalt 20V MAX combo kit. If you want to buy once and stop thinking about drills for years, this is the safe pick. The drill driver has plenty of torque for hardwood, a 13mm chuck, and a two-speed gearbox. Combo kits usually include an impact driver, which you will appreciate later for long screws, but the drill driver alone does the beginner work. The trade-off is weight and price: it is a professional-grade tool, and you pay for durability you may not fully use in your first year. Still, the battery platform is enormous, so every future DeWalt tool you buy shares the same batteries.
Ryobi One+ HP 18V drill driver. Ryobi is the value champion for home woodworkers. The One+ system has an enormous range of tools sharing one battery, and the HP (High Performance) brushless drill drivers are genuinely capable tools, not toys. For shelves, benches, and the easy woodworking projects for beginners that sell, a Ryobi drill driver is more than enough. The honest downside is refinement: it feels a little bulkier in the hand than a premium brand, and it is not built for daily job-site abuse. For a home workshop, that rarely matters.
WEN 4208T benchtop drill press. When you are ready for your second drill, the WEN 4208T is the classic budget benchtop press: five speeds, a depth stop, a small work table, and a price that leaves room in the budget for bits. It is perfect for shelf-pin holes, dowel holes, and Forstner-bit work on small parts. Be honest about its limits before you buy: the table is small, the throat depth is short, and it will not handle a wide cabinet side. If your projects stay small — boxes, shelves, small furniture parts — it is an excellent second drill. If you need to drill the centre of a 600mm panel, you will still reach for your drill driver and a guide.
One warning that applies to all three: buy the kit, not just the bare tool, unless you already own batteries on that platform. A drill driver without a battery and charger is a paperweight, and buying batteries separately later usually costs more than the kit premium.
Drill Bits for Woodworking: The Only Four Types a Beginner Needs
Beginners often buy a giant bit set and use four bits from it. Save your money and learn these four types properly instead. Each one cuts wood differently, and using the right one is the difference between a clean hole and a ragged, splintered mess.
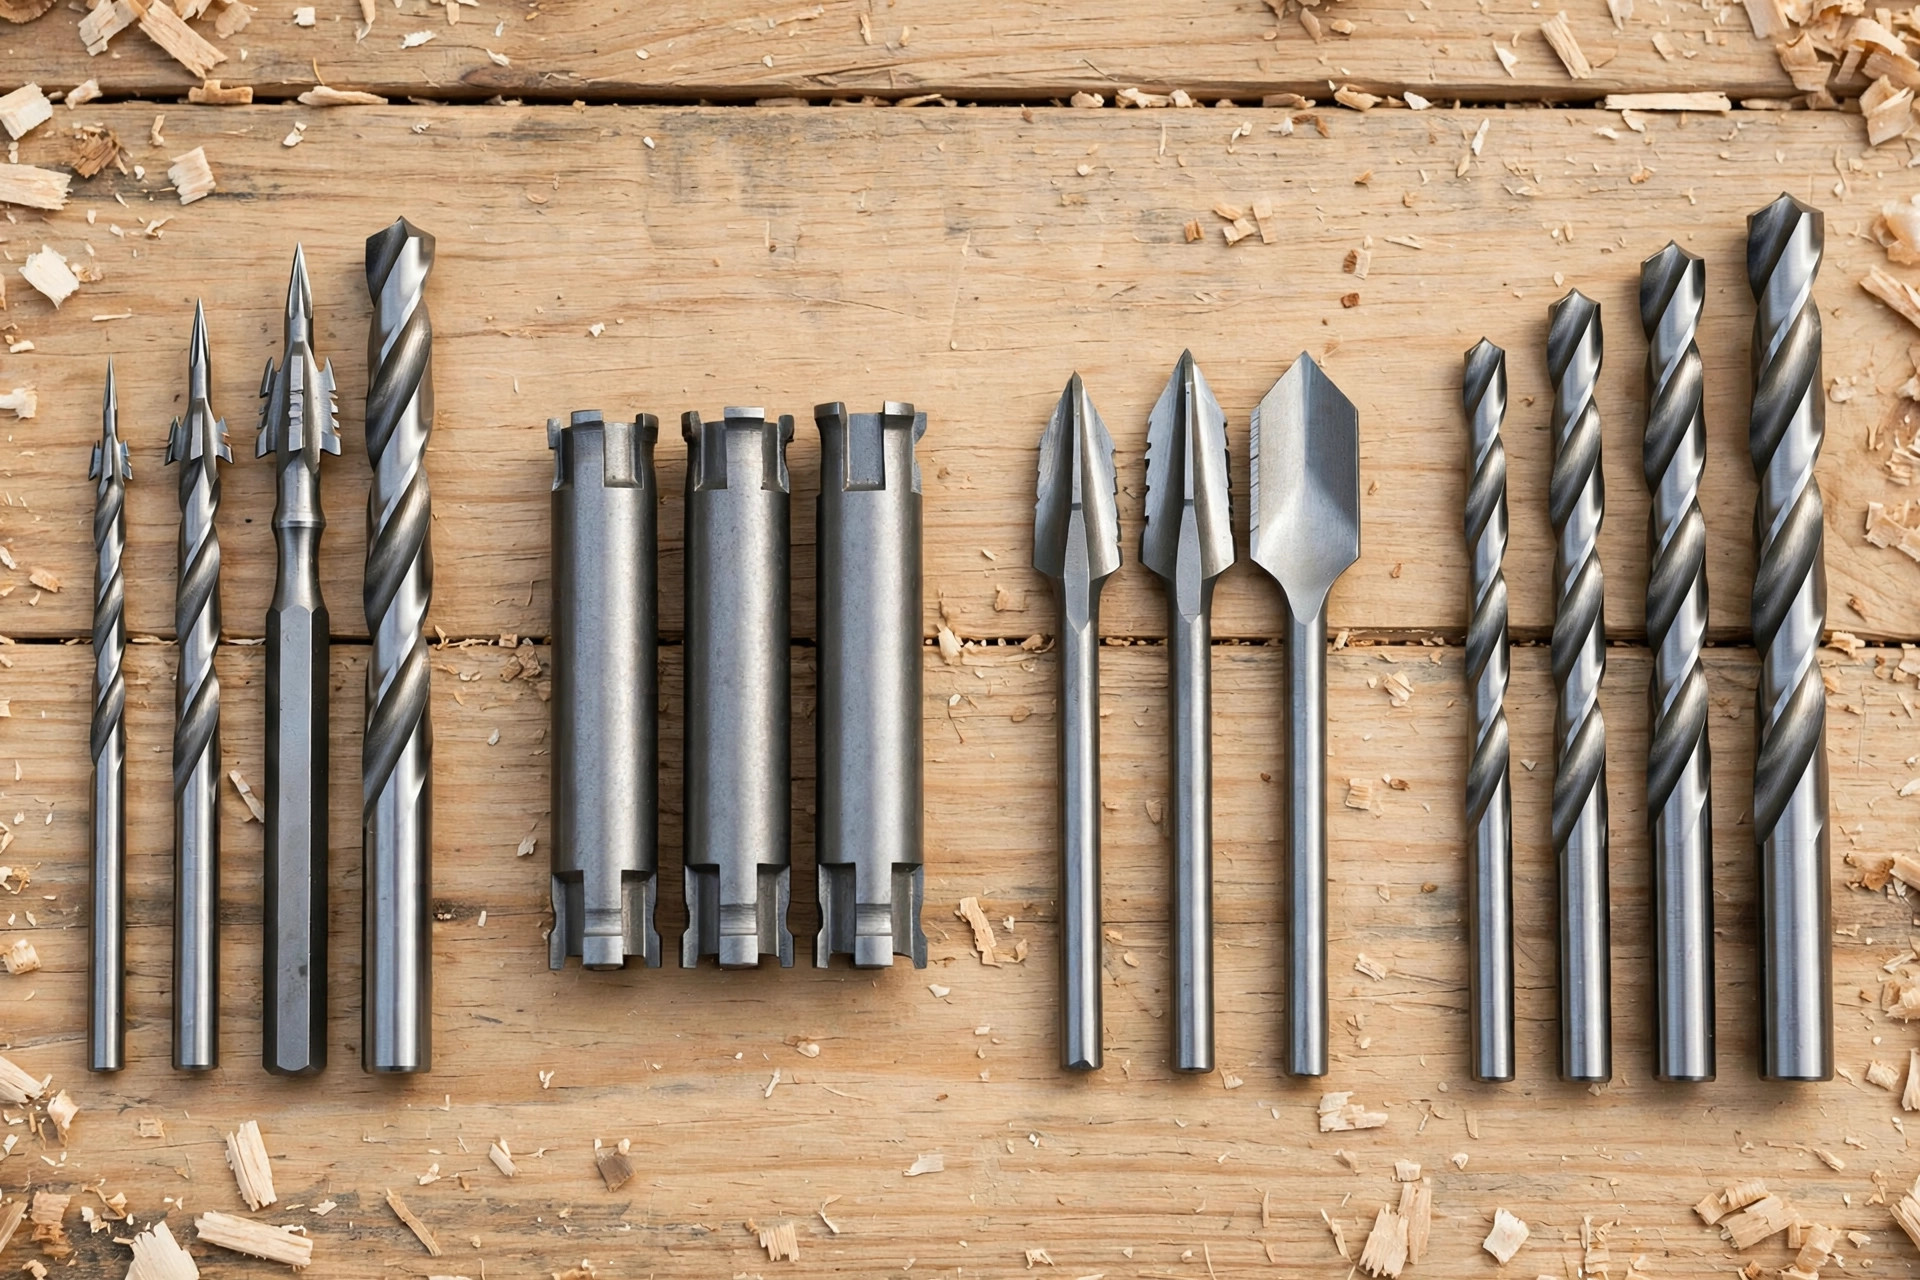
| Bit type | What it looks like | Best for | Watch out for |
|---|---|---|---|
| Twist bit | Spiral flutes, pointed tip | General holes in wood, metal, plastic | Wanders on wood grain; not the cleanest entry hole |
| Brad-point bit | Sharp centre spur + two cutting spurs | Clean, accurate holes in wood; the beginner’s default | Keep it sharp; a dull brad-point tears instead of cutting |
| Forstner bit | Flat, wide cylinder with rim cutters | Flat-bottomed holes, overlapping holes, large diameters | Needs slow speed and firm control; best on a drill press for large sizes |
| Spade (paddle) bit | Flat paddle with a centre point | Fast, large holes in framing and rough work | Rough exit holes; always use a backing board |
Brad-point bits are your everyday wood bits. The centre spur locates the bit exactly on your mark, and the two outer spurs score the wood fibres before the main cutters remove them, which is why the entry hole comes out clean. If you buy one set, buy a brad-point set in the sizes you use most — 3mm, 5mm, 6mm, 8mm, and 10mm cover most beginner joinery and hardware.
Twist bits are generalists, not wood specialists. They work in wood, but their pointed tip tends to wander along the grain when you start a hole, and their entry holes are rougher than a brad-point’s. Keep a few for odd jobs and for drilling through mixed materials, but do not make them your woodworking default.
Forstner bits are the furniture-maker’s bit. They cut flat-bottomed holes for hinges, dowels, and decorative inlays, and they can drill overlapping holes that would defeat any other bit. They need slow speeds — the larger the bit, the slower the speed — and firm, steady pressure. A 35mm or larger Forstner bit in a handheld drill can grab and twist the drill violently, which is one of the best reasons to own a drill press eventually.
Spade bits are fast and rough. They hog out large holes quickly in studs and framing, which is great for rough carpentry and terrible for visible furniture. If you must use one on a visible piece, drill from both sides or use a backing board, and expect to clean up the exit hole.
Two accessories complete the beginner bit kit: a countersink bit, which cuts a cone-shaped recess so a screw head sits flush or slightly below the surface, and a depth-stop collar, a small ring that clamps onto a bit so every hole stops at the same depth. Both cost very little and improve your work immediately.
Speeds and Clutch Settings: The Simple Rules
Wrong speed is the most common beginner drilling mistake, and it is easy to fix once you know the rule: the bigger the bit, the slower the speed. A small 3mm pilot hole can spin fast. A 35mm Forstner bit must spin slowly, or it will overheat, burn the wood, and grab. As a starting guide for a drill driver on its low gear or a drill press:
- Small bits (3–6mm): fast speed, light pressure.
- Medium bits (8–12mm): medium speed, steady pressure.
- Large bits (16mm and up): slow speed, firm two-handed control, and clear the chips often.
- Forstner bits (25mm and up): slowest speed, especially on a drill press; withdraw the bit regularly to clear chips and let it cool.
For clutch settings when driving screws, remember the starting-low rule from earlier: begin around 5–8 for small screws in softwood, test on scrap, and increase until the screw head sits flush. For hardwood, pre-drill a pilot hole first (see below), then drive at a slightly higher clutch setting. If the clutch clicks before the screw is home, go up one or two numbers. If the screw sinks too deep or strips, go down. Your scrap bin is your practice ground — use it before every new screw size.
Step by Step: How to Drill Clean Holes Every Time
Clean holes are not luck. They are a sequence, and once you learn it, every hole you drill will look better. Follow these steps for a standard through-hole or pilot hole in a board.
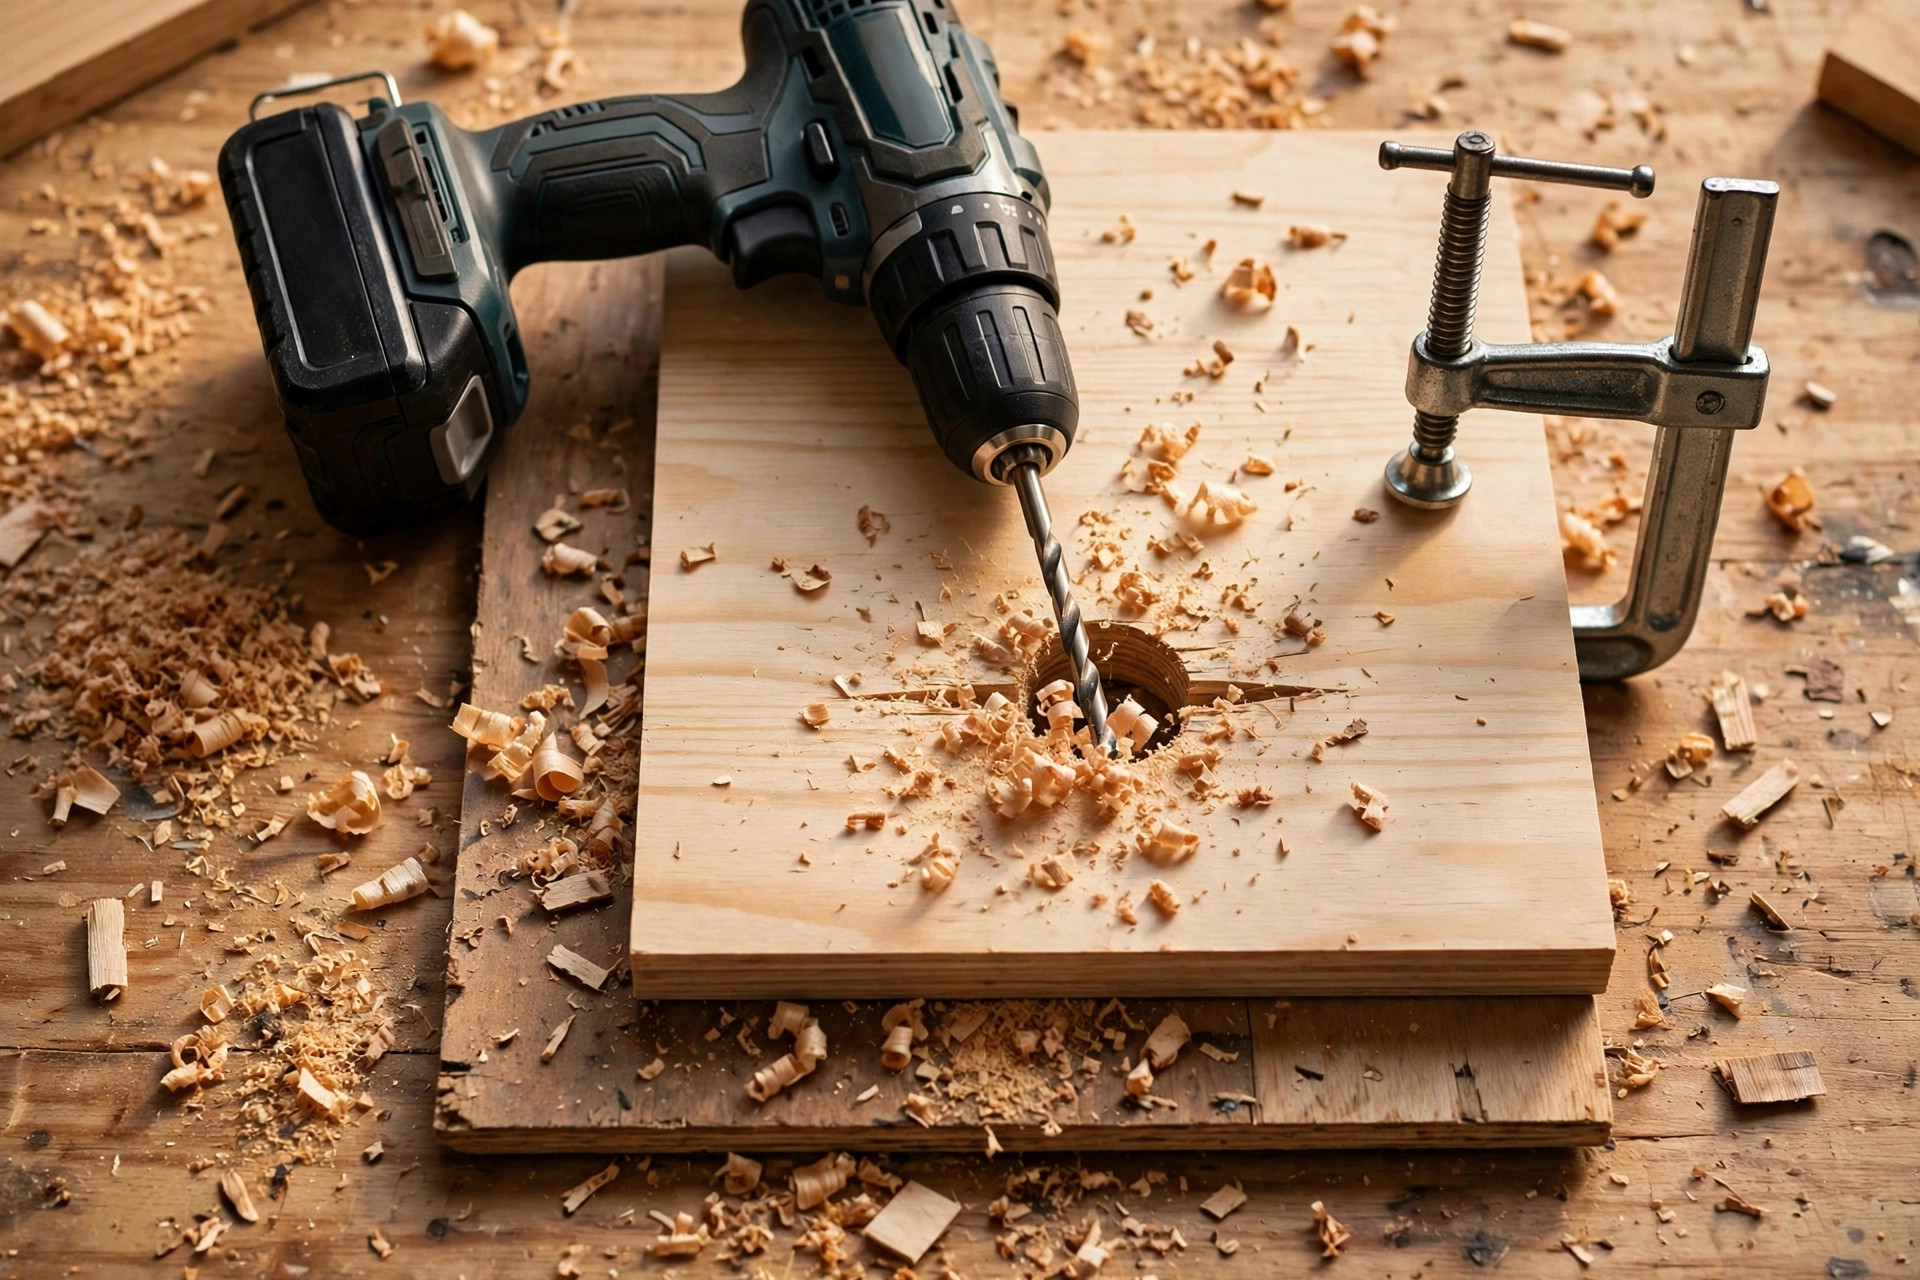
- Mark precisely. Mark the hole centre with a pencil cross, then make a small dent with an awl or a nail. That dent stops the bit wandering when it starts.
- Clamp the workpiece. Never hold a board with one hand and drill with the other. Clamp it to your bench or hold it in a vise. A moving workpiece is how bits snap and holes go crooked.
- Place a backing board underneath. This is the single most effective anti-splinter trick there is. A scrap board under your workpiece supports the wood fibres as the bit exits, so the back face comes out clean instead of blowing out in splinters. For visible work, never skip this step.
- Choose the right bit and speed. Brad-point for a clean wood hole, sized to your screw or dowel. Small bit, faster speed; large bit, slower speed.
- Start slowly. Place the bit in the dent, squeeze the trigger gently, and let the bit score its circle before you apply full speed. Rushing the start is how holes end up 5mm from the mark.
- Drill straight, with steady pressure. Keep your eye level with the work if you can, and check squareness from two sides. Do not force the bit — let it cut, withdraw occasionally to clear chips, and keep going.
- For through-holes, ease off at the end. As the bit nears the exit, lighten your pressure. Let it cut through gently into the backing board rather than punching through.
- Clean up. A quick pass with sandpaper or a countersink bit removes any remaining fuzz around the hole, and a countersink recess lets screw heads sit flush.
For a pilot hole — the small hole you drill before driving a screw — the rule is simple: the pilot hole should be roughly the diameter of the screw’s core (the solid shaft, not the threads). Too small and the screw still splits the wood; too large and the screw has nothing to grip. When in doubt, test on scrap: drill, drive, and check. Scrap testing takes thirty seconds and saves a split board.
Pocket Holes, Dowels, and Why Your Drill Choice Matters for Joints
Your drill is not just a hole-making tool; it is a joinery tool. Two of the most beginner-friendly joints depend entirely on drilling well. Pocket holes — angled holes drilled with a pocket-hole jig — let you join boards with screws that hide on the inside of a cabinet or under a tabletop. Dowel joints — holes drilled in both pieces and joined with a wooden dowel — are strong, invisible, and cheap. Both reward the same skills this guide teaches: accurate marking, clamping, a backing board or jig, and the right bit.
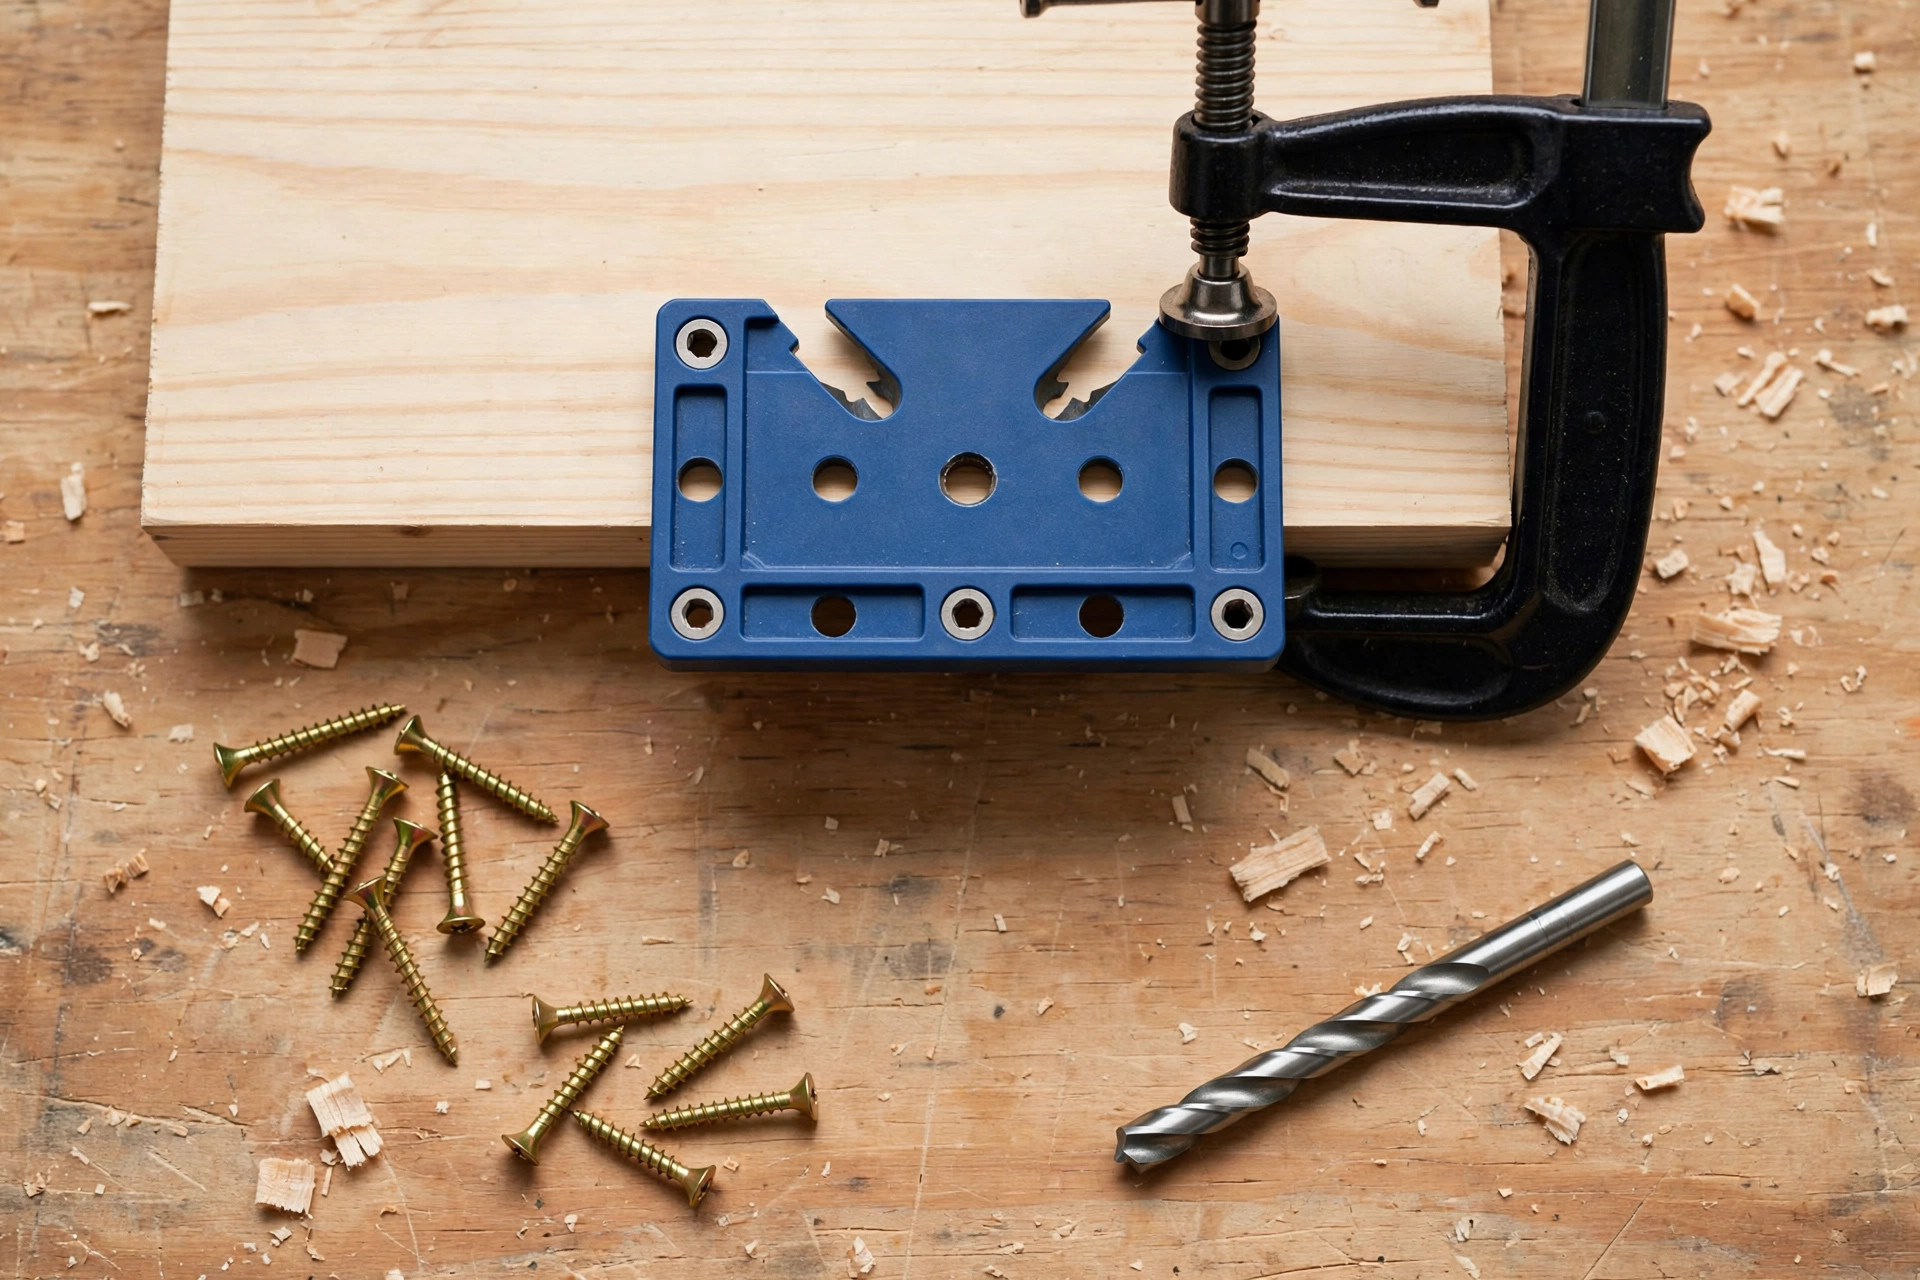
If you are comparing joints, read our comparison of pocket-hole versus dowel joint strength before you commit to one for a load-bearing project. Pocket holes are faster and more forgiving; dowels are stronger in some orientations and completely invisible. Either way, a drill driver plus a pocket-hole jig is the cheapest route into strong beginner furniture, and it is one more reason the drill driver earns its place as your first drill.
Your workshop setup matters here too. A stable bench with a vise makes every drilling job easier and safer, so if you have not built one yet, our guide on how to build a simple workbench for beginners is the project to build first. And if space is tight, our small garage workshop setup ideas show where a drill press can live without swallowing your whole bench — usually on a lower shelf or a rolling cart, pulled out only when you need it.
Benchtop Drill Press: When Is It Worth Adding?
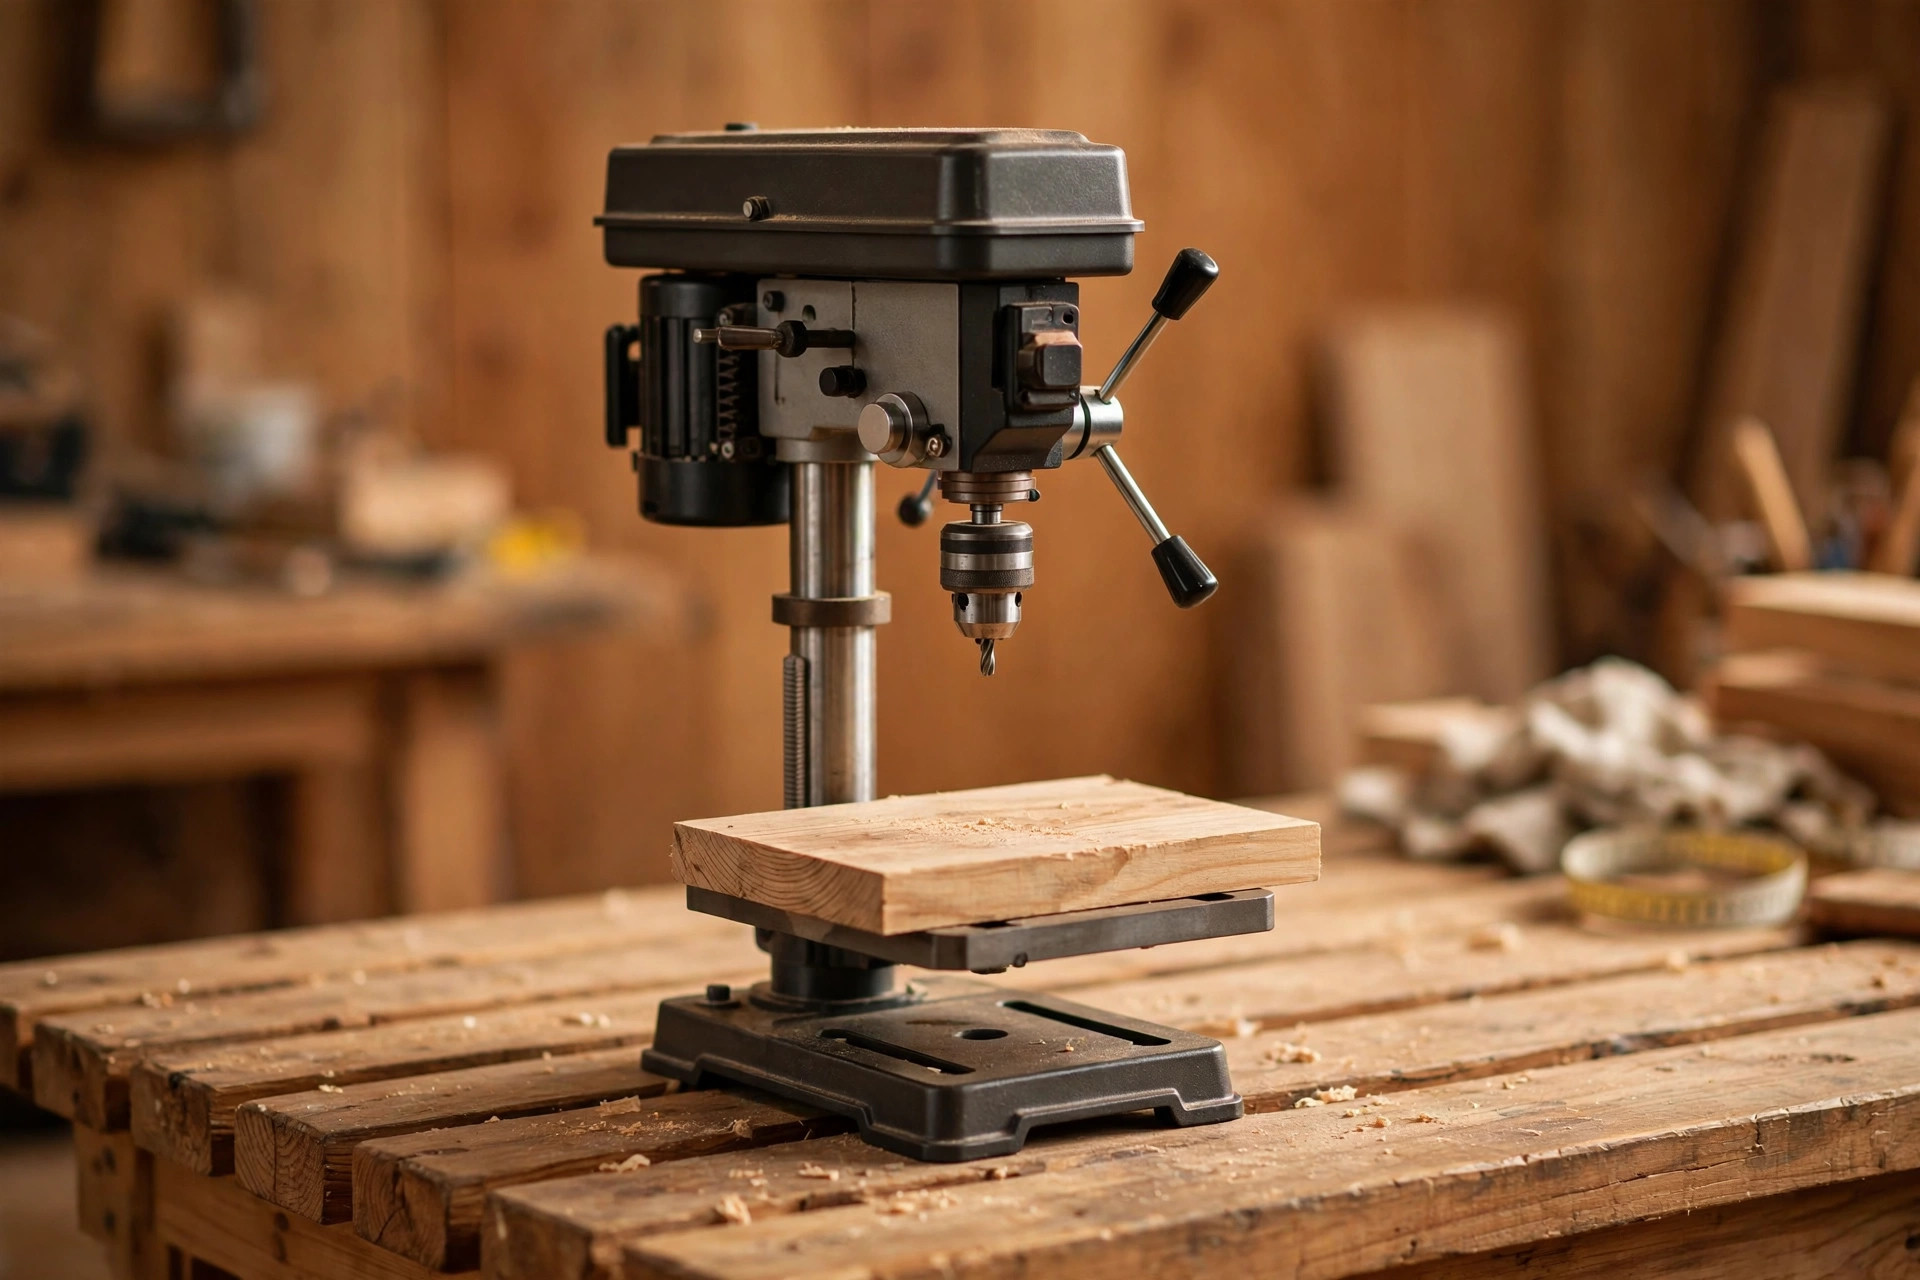
You know you are ready for a drill press when one of these sounds familiar: you are drilling the same hole in twenty identical parts and they must all match; you are using Forstner bits larger than 35mm and fighting to control them freehand; you need a hole drilled to an exact depth, like a stopped hole for a shelf pin or a hinge cup; or you are drilling angled or repeated holes where a jig on the press table saves you hours. If none of those apply yet, your drill driver and a simple drilling guide will cover you.
When you do buy a press, look for five speeds (or variable speed), a working depth stop, a table that tilts for angled holes, and a chuck key that has a home on the machine so you never lose it. Bolt the press to the bench — an unbolted drill press walks, vibrates, and is genuinely dangerous with a large bit. And always remove the chuck key before switching the press on. Every workshop has a story about a chuck key becoming a projectile; make sure yours is only a story you heard, not one you lived.
Clutch, Torque, and Control: Getting Screws Flush Without Splitting Wood
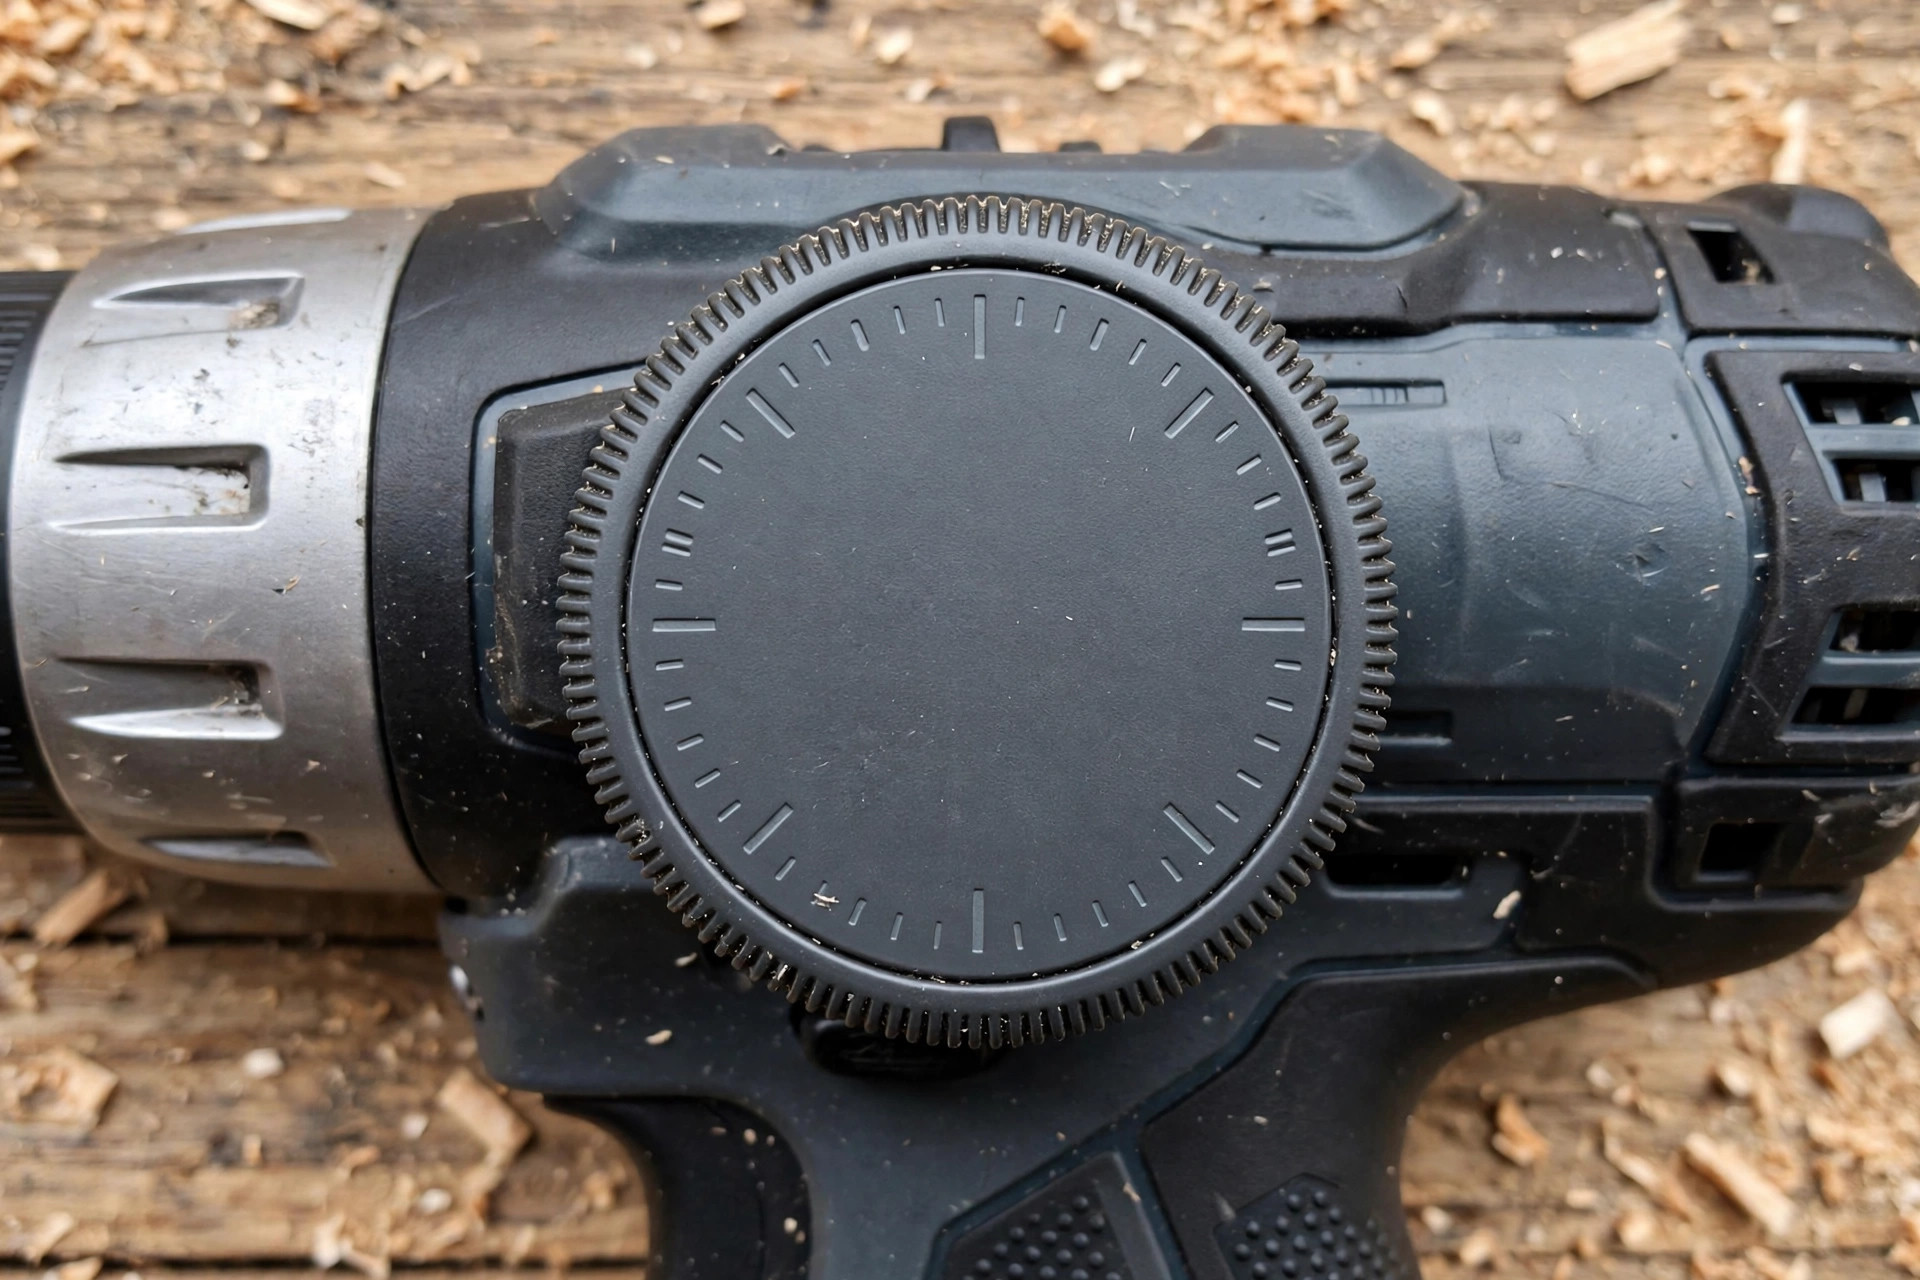
Screwing is where beginners lose more boards than drilling. The usual story: a screw driven at full power splits a board end, or a screw head strips and cannot be removed. Both are clutch problems, and both are preventable. Start with a pilot hole in hardwood and near board ends, set the clutch low, and test on scrap. Drive slowly at first — the variable-speed trigger is your friend — and watch the screw head approach the surface. Stop when it is flush. If you are joining two boards, drill a clearance hole in the first board (a hole slightly larger than the screw threads) so the screw pulls the second board tight instead of jacking the two apart. That one detail — clearance hole in the first board, pilot hole in the second — is the difference between a tight joint and a joint with a permanent gap.
If a screw does strip, do not keep spinning it. Back it out, fill the hole with a glued dowel or a couple of toothpicks and wood glue, let it dry, trim it flush, and re-drill. It is a five-minute fix that every woodworker uses, and it is far better than forcing a stripped screw deeper into a ruined hole.
Common Beginner Mistakes (and the Easy Fixes)
- Splintering the back face. Fix: always use a backing board, and ease pressure as the bit exits. For extra insurance on visible faces, score the exit area with a knife line before drilling.
- Drilling at the wrong speed. Fix: small bits fast, large bits slow. Burning smells and dark rings around a hole mean you are spinning too fast or pushing too hard.
- No pilot hole, split board. Fix: pilot holes in hardwood and near ends, every time. Test the size on scrap first.
- Holes in the wrong place. Fix: mark with a cross and an awl dent, start the bit slowly, and clamp the workpiece so it cannot shift.
- Stripped screw heads. Fix: lower the clutch, use the right bit size for the screw (a Phillips bit in a star-drive screw is a common culprit), and keep the drill straight behind the screw.
- Drilling into the bench. Fix: backing board again — and if you drill through it, that is what it is for. Replace the backing board, not the benchtop.
- Forgetting the depth stop. Fix: a stop collar or a piece of tape wrapped around the bit at the right depth. Tape is not as reliable as a collar, but it is far better than guessing.
What to Buy First: A Beginner Shopping List
If you are starting from zero, here is the complete first-drill shopping list, in buying order: a cordless drill driver kit with two batteries and a charger; a brad-point bit set (3–10mm); a countersink bit; a depth-stop collar set; a pocket-hole jig with its stepped drill bit; a pair of clamps; and a scrap board to use as a backing board (which, happily, costs nothing). That list, plus a workbench, lets you build shelves, boxes, benches, and small tables. Add the benchtop drill press later, when repeatability — not capability — is what you are missing.
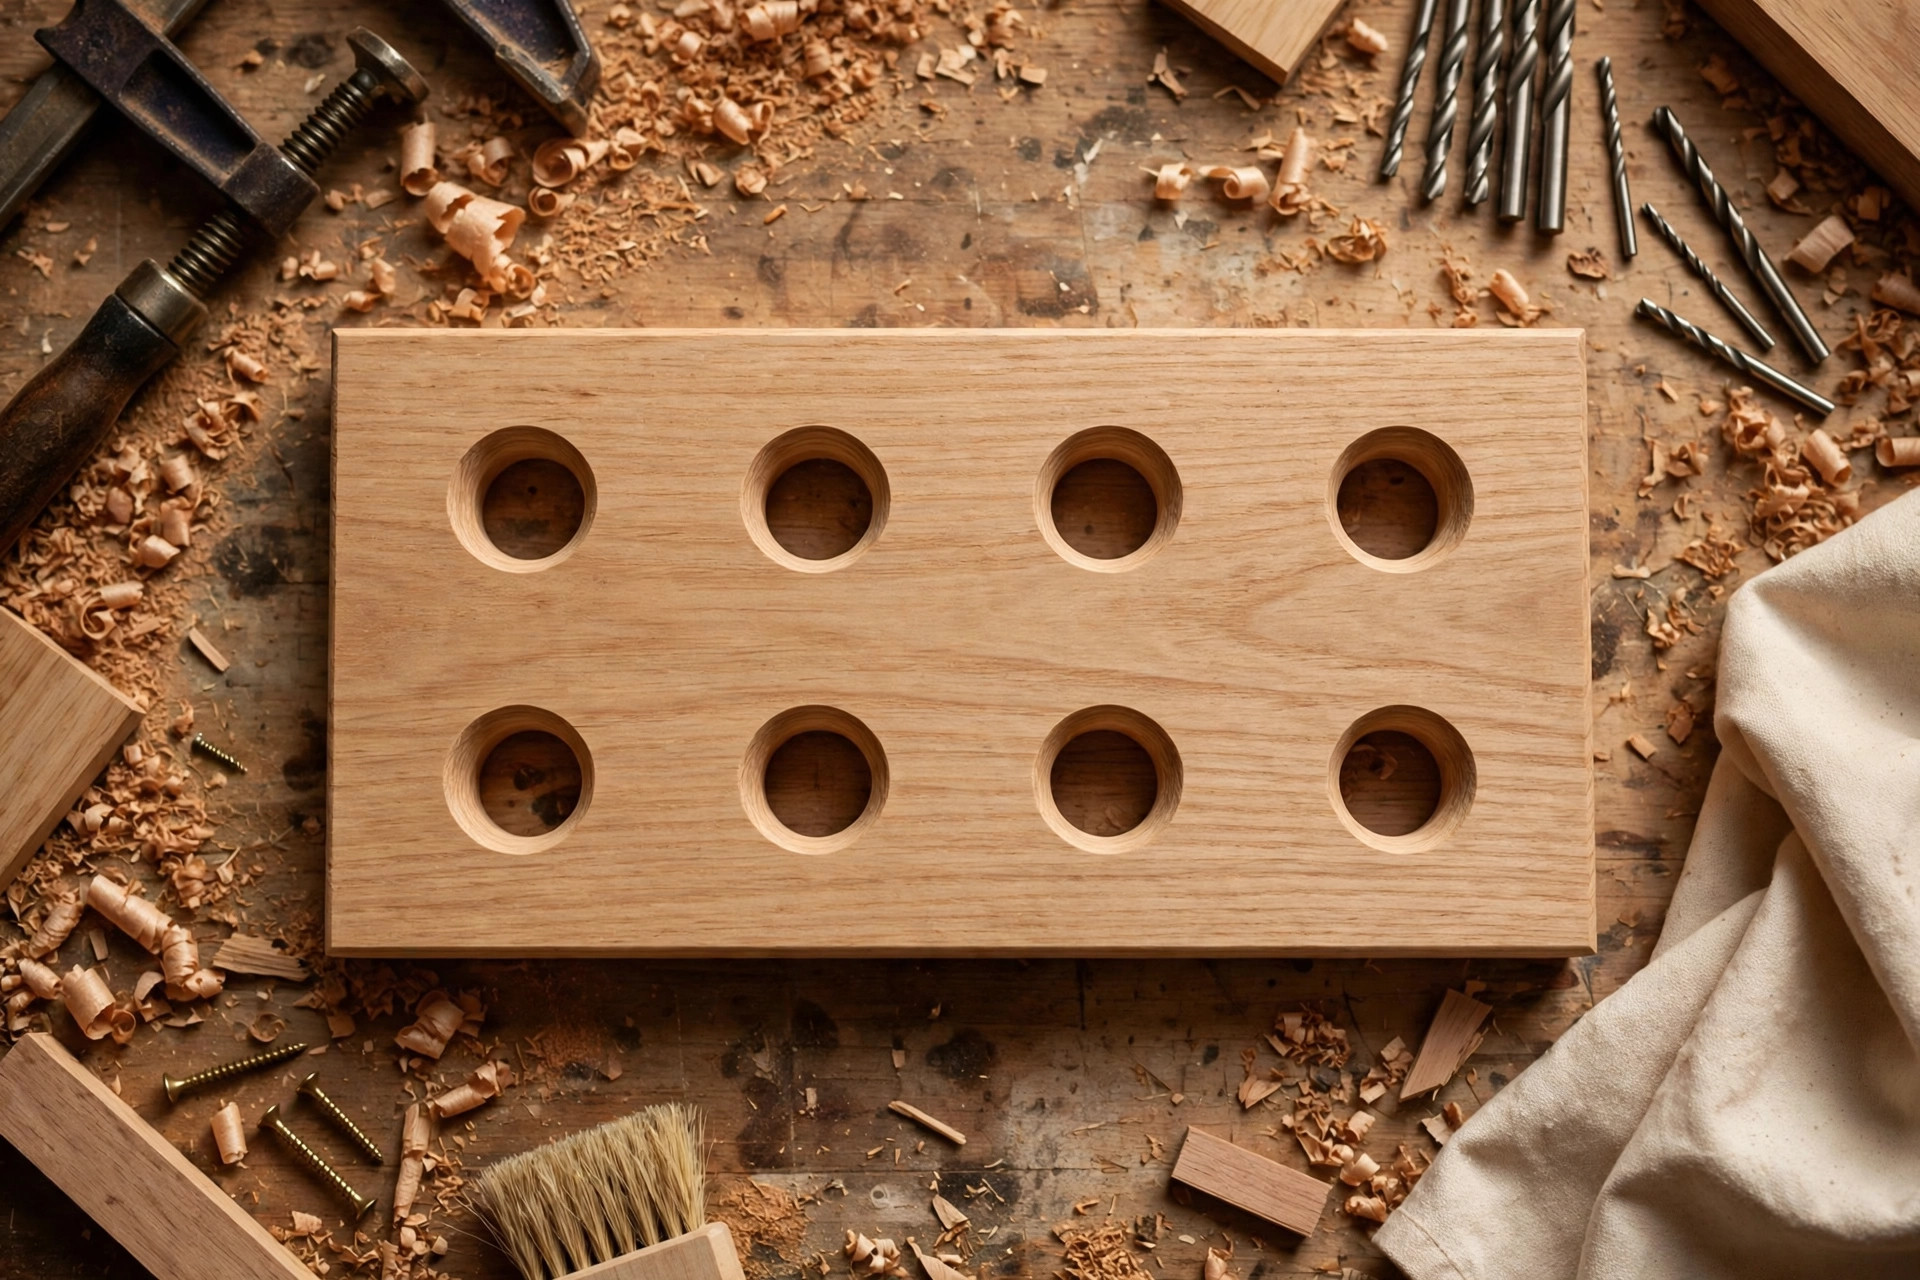
The finished piece above is the goal: clean holes, flush screws, no blowout on the back, and joints that look intentional rather than accidental. None of that requires an expensive tool. It requires the right first tool, the right bit, a backing board, and a few minutes of practice on scrap. Build your first shelf with that approach, and you will understand your drill driver in a way no specification sheet can teach.
Frequently Asked Questions
What is the best drill for woodworking beginners?
A cordless drill driver is the best first drill for woodworking beginners, because it drills holes and drives screws in place on real projects. Add a small benchtop drill press later for perfectly vertical, repeatable holes and large Forstner-bit work.
Do I need a drill press for woodworking?
Not at first. A drill driver covers almost every beginner project. A drill press becomes worth it when you drill repeated identical holes, use large Forstner bits, or need exact-depth stopped holes regularly.
Is a 12V or 20V drill better for a beginner?
A 12V drill is lighter and enough for softwood, plywood, and small screws. A 20V (18V-class) drill has more torque for hardwood and large bits. Choose 12V for light, occasional work and 20V if you plan to build furniture in hardwood.
What drill bits should a beginner buy first?
Start with a brad-point bit set (3–10mm) for clean wood holes, plus a countersink bit and a depth-stop collar. Add Forstner bits for flat-bottomed holes and spade bits only for rough, hidden work.
Why do my holes splinter on the back of the board?
The bit blows out unsupported fibres as it exits. Clamp a scrap backing board tightly under your workpiece, ease pressure as you finish the hole, and the back face will come out clean.
Final Verdict
The best drill for woodworking beginners is not the most powerful drill, the most precise drill, or the drill with the longest specification sheet. It is the drill that lets you build your first projects without frustration: a cordless drill driver, bought as a kit with two batteries, paired with brad-point bits, a countersink, and a backing board. Learn it well, build a bench and a shelf with it, and then — when you can name the exact repetitive job that is slowing you down — buy the benchtop drill press to do that job beautifully. That sequence, driver first and press second, is how beginners become woodworkers who drill clean holes on purpose, every time.



Pingback: Best Drill Press for Beginners: Benchtop Guide