
A handheld drill can make a hole. A drill press makes a hole exactly where you meant it, exactly straight, and exactly as deep as you planned — every single time. That difference is why woodworkers who already own a good cordless drill still add a drill press to the shop, and why, if you are searching for the best drill press for beginners woodworking, you are asking a smarter question than “which drill should I buy?” You are asking how to stop fighting wandering bits, angled holes, and blowout on the back of your boards.
Here is the short answer up front. For most beginners, a benchtop drill press with an 8- to 10-inch swing, a 1/2-inch or 5/8-inch chuck, and at least five speeds is the best first buy. It fits on a workbench, costs far less than a floor-standing model, and handles everything a beginner builds: shelf pin holes, dowel joints, hinge holes, and clean holes in pine, plywood, and hardwood. Budget picks that recur in beginner discussions — the WEN 4208T and the WEN 4211 — illustrate this class well, and we compare them honestly below. A floor-standing drill press is the better choice only if you regularly drill into tall workpieces, need a larger swing, or want a machine that never leaves the floor of a dedicated workshop.
One important distinction before we go further. This guide is about the drill press, the stationary machine. If you are still choosing your first handheld drill, read our guide to the best drill for woodworking beginners first — the two tools complement each other, and most workshops end up owning both. Think of it this way: the handheld drill goes to the work, and the work comes to the drill press. Once you have both, you will reach for the press whenever accuracy matters more than portability, which in furniture building is most of the time.
The Short Answer: Which Drill Press Should a Beginner Buy First?
Buy a benchtop drill press. Specifically, look for an 8-inch or 10-inch benchtop model with a tilting, height-adjustable table, a depth stop, and a set of belt-driven speeds (usually five or twelve). That specification covers the overwhelming majority of beginner projects, from easy woodworking projects for beginners that sell — shelves, crates, small tables, and stools — to the joinery that holds them together. A benchtop press bolts to your workbench or a sturdy stand, weighs roughly 35 to 60 pounds, and can be moved, stored, or sold on without rearranging the whole workshop.
The WEN 4208T is the classic budget answer in this class: an 8-inch, five-speed benchtop press that costs about the same as a mid-range cordless drill and does one job — straight, repeatable holes — extremely well for its price. Its bigger sibling, the WEN 4211, steps up to a 10-inch swing and a slightly larger table, which matters if you drill shelf-pin holes near the middle of wider boards. Neither machine is fancy, and neither pretends to be a professional floor model, but both are honest beginner machines: simple belt changes, a working depth stop, and a table you can actually clamp to.
Buy a floor-standing drill press only when you have a clear reason. Floor models offer 12- to 17-inch swings, longer spindle travel, more powerful motors, and a table that adjusts over a much taller range, which suits tall workpieces such as chair legs drilled on end, large furniture panels, and repeated production work. They also cost two to four times as much, weigh 150 pounds or more, and permanently occupy a corner of floor space. For a beginner working on a bench in a garage or spare room, that is a lot of machine to buy before you know how much you will use it. Start benchtop, learn what you actually drill, and let a floor model be a future upgrade earned by real projects, not a guess.
Benchtop vs Floor-Standing: An Honest Comparison
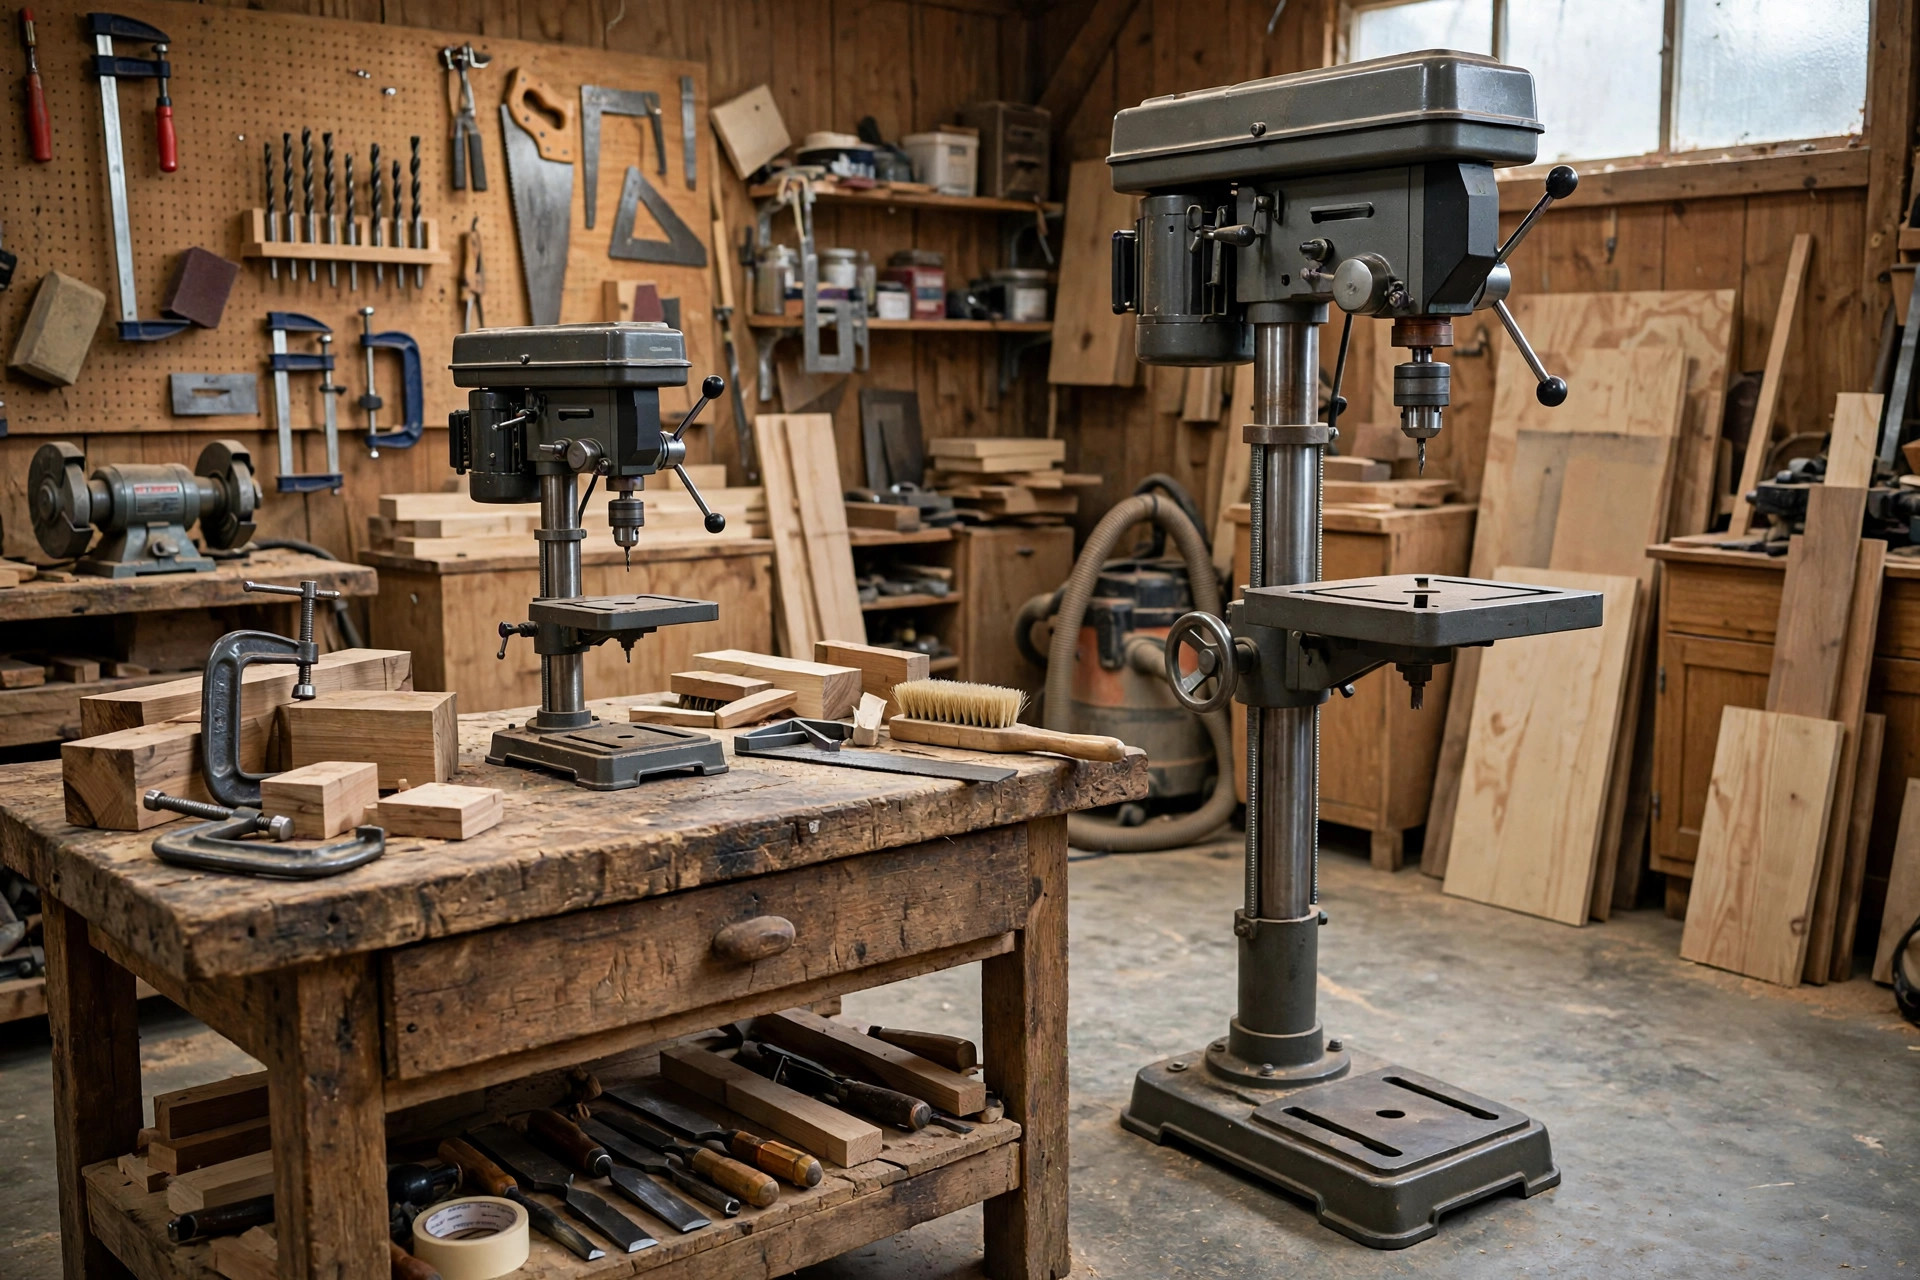
The benchtop-versus-floor decision is really a decision about space, workpiece size, and budget, in that order. A benchtop press lives on a bench you already own. A floor press needs its own patch of floor, a level footing, and enough headroom to raise its table and lower its spindle through a tall workpiece. Measure your workshop before falling in love with either: a floor press that cannot stand flat, or a benchtop press bolted to a wobbly bench, will both drill worse than a smaller machine set up properly.
Benchtop presses win on price, portability, and footprint. Most cost well under half the price of a comparable floor model, and they can be unbolted and moved when the workshop is rearranged or when you move house. Their weakness is capacity: a shorter column means less room between the table and the chuck, and a smaller swing means the centre of a wide board may be out of reach. In practice, beginners hit that limit rarely, because most beginner boards are under 12 inches wide and most holes sit near an edge or in a panel that can be supported and rotated.
Floor-standing presses win on capacity and power. Their longer columns accept taller workpieces, their larger tables support bigger panels, and their motors — often 3/4 horsepower and up — handle large Forstner bits and hole saws in hardwood without bogging down. They also tend to run smoother, because a heavier machine vibrates less, and vibration is the enemy of a clean hole. Their weaknesses are exactly what you would expect: price, weight, and permanence. A floor press is a commitment to a workshop layout, and for a beginner who is still discovering which projects they love, that commitment is premature.
There is also a middle path worth knowing about. Some benchtop presses can be mounted on a dedicated floor stand, gaining working height and stability without the price of a true floor model. Others sit happily on a sturdy cabinet that doubles as storage. Either option is a good upgrade later, once you know you use the press weekly. Until then, bolt your benchtop press to a solid bench, through-bolted rather than clamped if possible, and you will get most of the stability of a floor model at a fraction of the cost.
Drill Press Anatomy: Swing, Spindle Travel, and the Parts That Matter
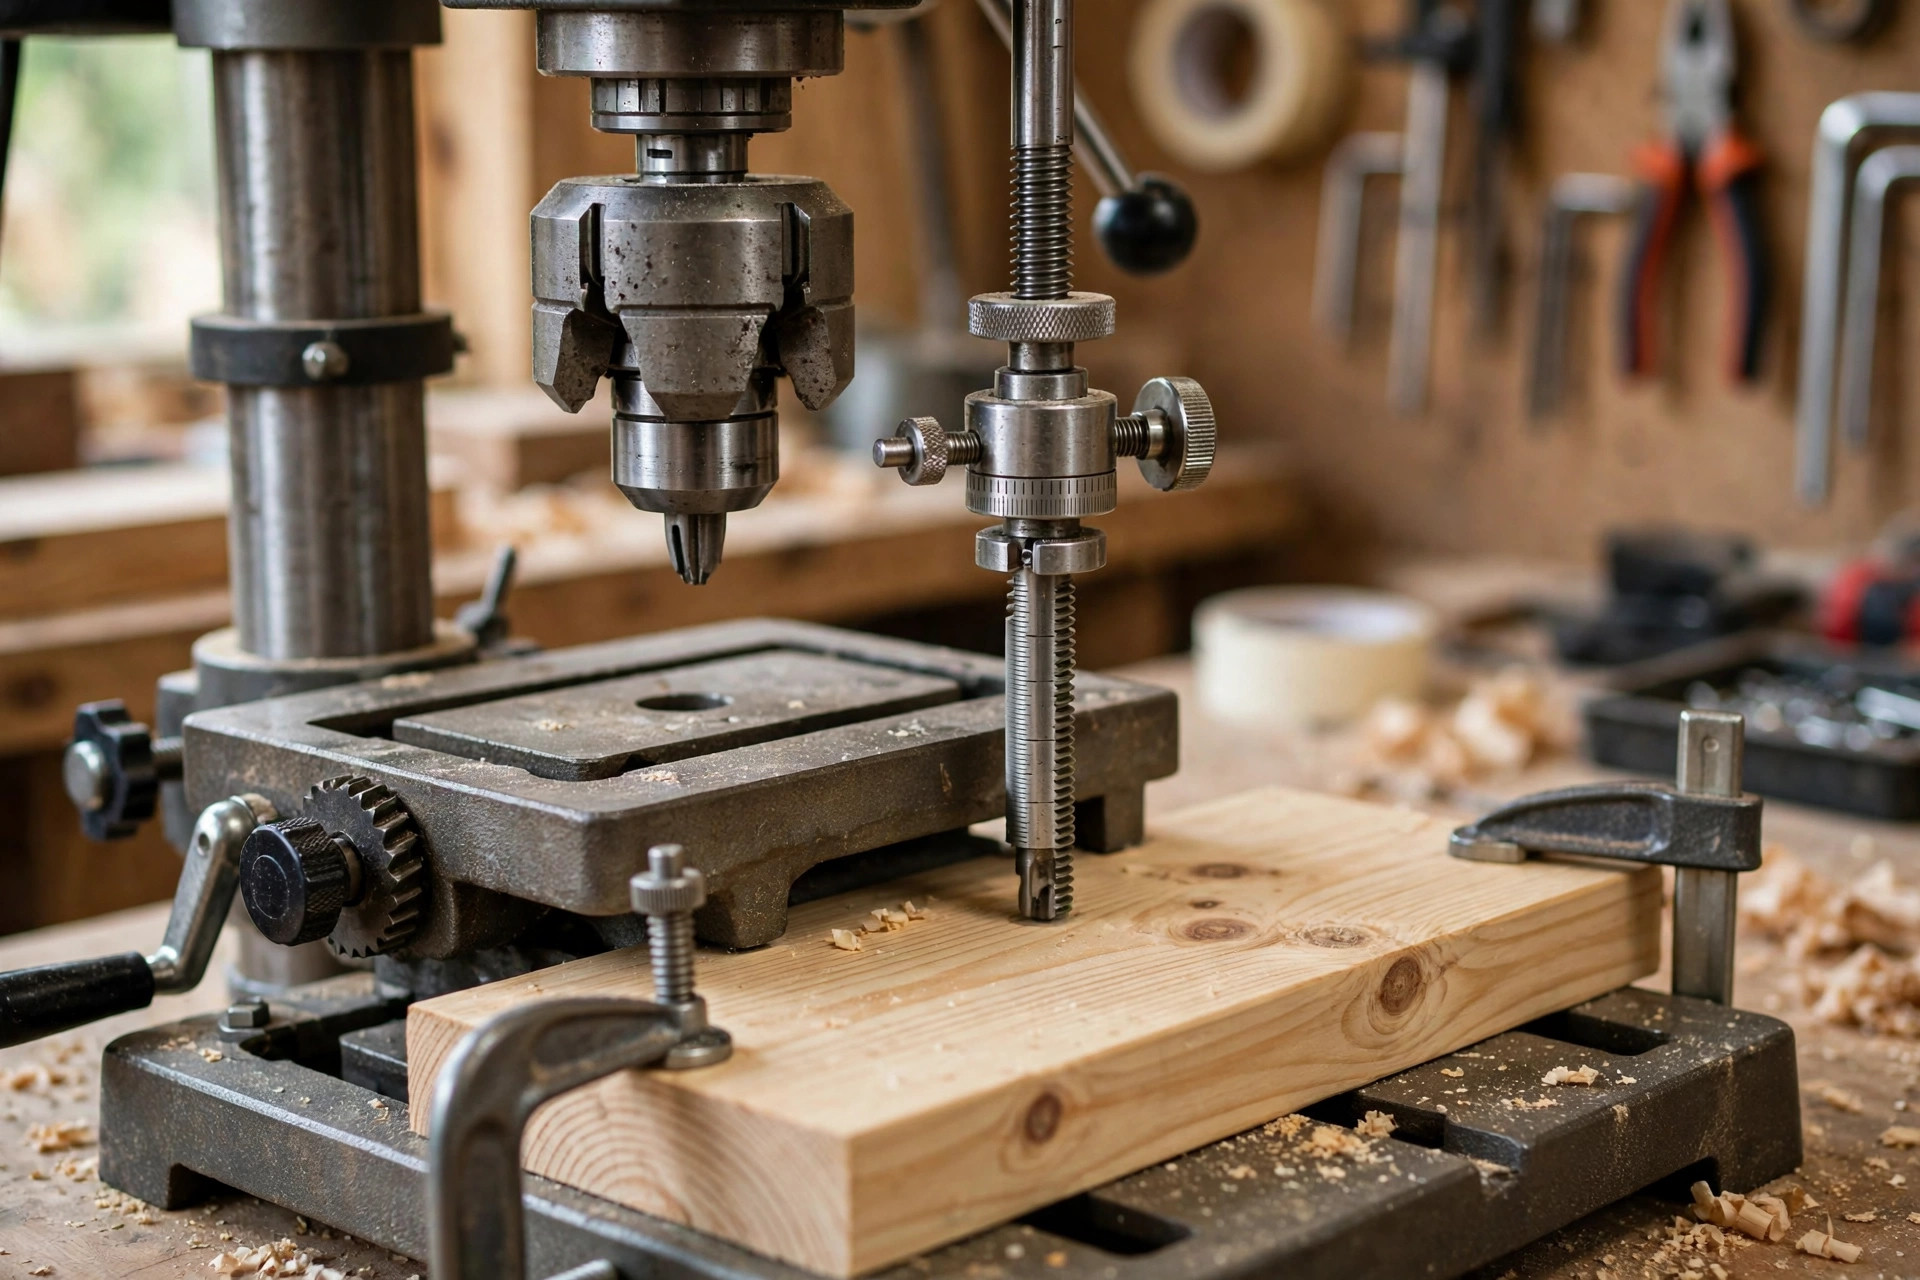
Two specifications confuse beginners more than any others, so let us settle them in plain language: swing and spindle travel. Swing is twice the distance from the centre of the chuck to the column. An 8-inch drill press therefore lets you drill a hole up to 4 inches from the edge of a board, because the column stops the board going further. A 10-inch press reaches 5 inches from the edge, and a 12-inch press reaches 6 inches. Swing matters when you drill shelf-pin holes, dowel holes, or hinge holes in the middle of a wide panel — if the hole you need is further from the edge than half the swing, the board simply will not fit under the chuck.
Spindle travel, sometimes called quill travel, is how far the chuck moves down in a single plunge of the handle. On beginner benchtop presses this is usually 2 to 3-1/8 inches. That is the maximum depth of hole you can drill without stopping, raising the table, and plunging again. For most beginner work — drilling through 3/4-inch boards, boring 1-inch dowel holes, or cutting shallow mortises — 2 inches of travel is plenty. It only becomes limiting when you drill deep holes, such as long dowel joints in thick legs, or when you use long bits. If you regularly drill deep, favour a press with 3 inches or more of travel, and remember that you can always drill in stages, clearing chips between plunges.
The other parts deserve a quick tour, because each one affects your results. The chuck grips the bit; beginner presses usually have a 1/2-inch or 5/8-inch keyed chuck, and 1/2 inch is enough for every bit a beginner owns, including Forstner bits up to about 2 inches. The table holds the workpiece and should tilt (usually up to 45 degrees) for angled holes, adjust in height, and have slots or holes for clamps — a table you cannot clamp to is a table you will fight. The depth stop is a simple threaded rod and nut that limits how far the spindle travels, and it is what makes repeated holes exactly the same depth; test it on scrap before trusting it on a real piece. The speed is set by moving a belt between pulleys (or, on some models, by an electronic dial), and the on/off switch should be large, reachable, and easy to hit without looking. Finally, the base and column decide stability: a cast-iron base and a solid steel column vibrate less and drill truer than a thin stamped base on a hollow column, so check the weight and feel of the machine, not just the headline specifications.
Beginner Drill Press Comparison Table
The table below compares four beginner-friendly drill presses that recur in workshop discussions. Prices move with sales and bundles, so treat the price band as a guide, not a quote, and always check what is included — a chuck key, a table crank, and a fence are worth more than a laser guide you will never use.
| Drill press | Type | Swing | Chuck | Speeds | Spindle travel | Best for | Watch out for |
|---|---|---|---|---|---|---|---|
| WEN 4208T | Benchtop | 8 in | 1/2 in | 5 (740–3,140 RPM) | 2 in | Best budget first press, small projects | Small table; add a wooden auxiliary table |
| WEN 4211 | Benchtop | 10 in | 5/8 in | 5 (600–3,100 RPM) | 2-1/2 in | Wider boards, shelf-pin holes, dowel joints | Heavier; needs a solid bench |
| WEN 4214 | Benchtop | 12 in | 5/8 in | Variable (580–3,200 RPM) | 3-1/8 in | Variable speed without belt changes, Forstner work | Higher price; electronic speed control to protect |
| Floor-standing 12–17 in (generic class) | Floor | 12–17 in | 5/8–3/4 in | 12–16 | 3–4 in | Tall workpieces, production work, large panels | Price, weight, and permanent floor space |
Read that table as a starting point, not a ranking. The WEN 4208T earns its reputation as the cheapest honest way into drill-press accuracy: five speeds, a workable depth stop, and a price that leaves money for bits, clamps, and safety gear. Its limits are real — a small table and a short 2-inch travel — but both are manageable, and an auxiliary wooden table (a flat plywood board clamped to the metal table) fixes the first one for almost nothing. The WEN 4211 is the sensible step up if you drill wider boards or want the extra half inch of travel and the larger chuck; it is still a benchtop machine, still affordable, and still simple to maintain. The WEN 4214 adds variable speed, which means no belt changes when you switch from a small twist bit to a large Forstner bit — a genuine convenience if you change speeds often, though a belt machine is simpler to repair and teaches you the speed habit anyway. The floor-standing class is there for comparison, not as a beginner recommendation: it is the machine you buy when you already know, from months of benchtop use, exactly which of its capacities you are missing.
Buying Guide: Motor, Speeds, Table, and Features Worth Paying For
Motor power on a drill press is usually quoted in horsepower or amps, and beginners routinely overbuy here. A 1/3- to 1/2-horsepower motor (roughly 2.3 to 3.5 amps) handles pine, plywood, and hardwood with bits up to about 1-1/2 inches, provided you use the right speed and feed gently. Larger motors matter when you regularly drive 2-inch Forstner bits or hole saws through hardwood, and that is floor-press territory. Judge a benchtop press by whether it holds speed under load without stalling on a 1-inch Forstner bit in pine — if it does, it is powerful enough for beginner work.
Speed range matters more than motor size, because the right speed is what keeps bits sharp and holes clean. As a rule, larger bits and harder woods need slower speeds, while small bits in softwood can run fast. A five-speed belt machine covering roughly 600 to 3,100 RPM is the beginner sweet spot: slow enough for Forstner bits, fast enough for small twist bits, and simple enough that changing speed takes under a minute. Twelve-speed machines add intermediate steps that are nice but rarely essential, and variable-speed electronic models are convenient but cost more and add electronics that a belt machine does not have. Whichever you buy, learn the belt positions for your three most common jobs — small twist bits, 1-inch Forstner bits, and hole saws — and write them on a card taped to the machine.
The table is the feature beginners undervalue most. Look for a table that tilts to at least 45 degrees, cranks up and down smoothly without wobbling, locks firmly at any height, and has slots for clamps and a fence. A rack-and-pinion table crank is a genuine pleasure on a floor press and a welcome feature on a larger benchtop model, while a simple friction-lock table is acceptable on a budget press if it locks solidly. Plan from day one to add an auxiliary table: a flat piece of 3/4-inch plywood or MDF, slightly larger than the metal table, with a replaceable centre insert where the bit exits. It protects the metal table, supports small workpieces fully, and gives you a surface you can screw jigs and fences to without guilt.
Features worth paying a little extra for include a working depth stop (non-negotiable — do not buy a press without one), a keyed chuck with a chuck key holder on the machine, a clear belt cover that opens without tools, and a work light or a socket for one. Features you can safely ignore as a beginner include laser crosshairs (they drift and teach you to trust a line instead of a fence and a centre punch), digital depth readouts (a depth stop and a ruler do the same job), and built-in dust collection ports (a shop vacuum held nearby works fine). Spend the saved money on bits and clamps instead — they improve your holes far more than gadgets do.
Drill Press Speeds Chart: The Right RPM for Common Jobs
Speed is the single most common beginner mistake on a drill press, and it is also the easiest to fix: set the belt to the chart, not to whatever the machine was left on. Running a large bit too fast overheats it, burns the wood, dulls the cutting edge, and can even blue the bit. Running a tiny bit too slowly makes it wander and cut roughly. The chart below covers the jobs a beginner actually does; treat it as a starting point and slow down further for very hard woods such as oak, maple, and walnut.
| Bit and size | Pine / softwood | Plywood | Hardwood (oak, maple) |
|---|---|---|---|
| Twist bit 1/8–1/4 in | 2,500–3,100 RPM | 2,000–2,500 RPM | 1,500–2,000 RPM |
| Twist bit 3/8–1/2 in | 1,500–2,000 RPM | 1,200–1,500 RPM | 800–1,200 RPM |
| Spade bit 3/4–1 in | 1,000–1,500 RPM | 800–1,200 RPM | 600–900 RPM |
| Forstner bit 1–1-1/2 in | 800–1,200 RPM | 700–1,000 RPM | 500–700 RPM |
| Forstner bit 2 in | 500–700 RPM | 500–700 RPM | 350–500 RPM |
| Hole saw 2–3 in | 500–700 RPM | 400–600 RPM | 300–500 RPM |
Two habits make the chart work in practice. First, change the belt before you start, not after the first hole smells burnt — unplug the machine, open the belt cover, move the belt to the pulley pair for your target speed (the chart inside the cover lists the combinations), and close it up. Second, feed gently and clear chips: peck the bit in and out of deep holes, especially with twist bits, so chips escape instead of packing into the hole and overheating the bit. A sharp bit at the right speed, fed with light, steady pressure, cuts cleanly and quietly; a dull bit at the wrong speed complains loudly, and that complaint is your cue to stop, not to push harder.
Setup and Your First Hole: A Step-by-Step Beginner Method
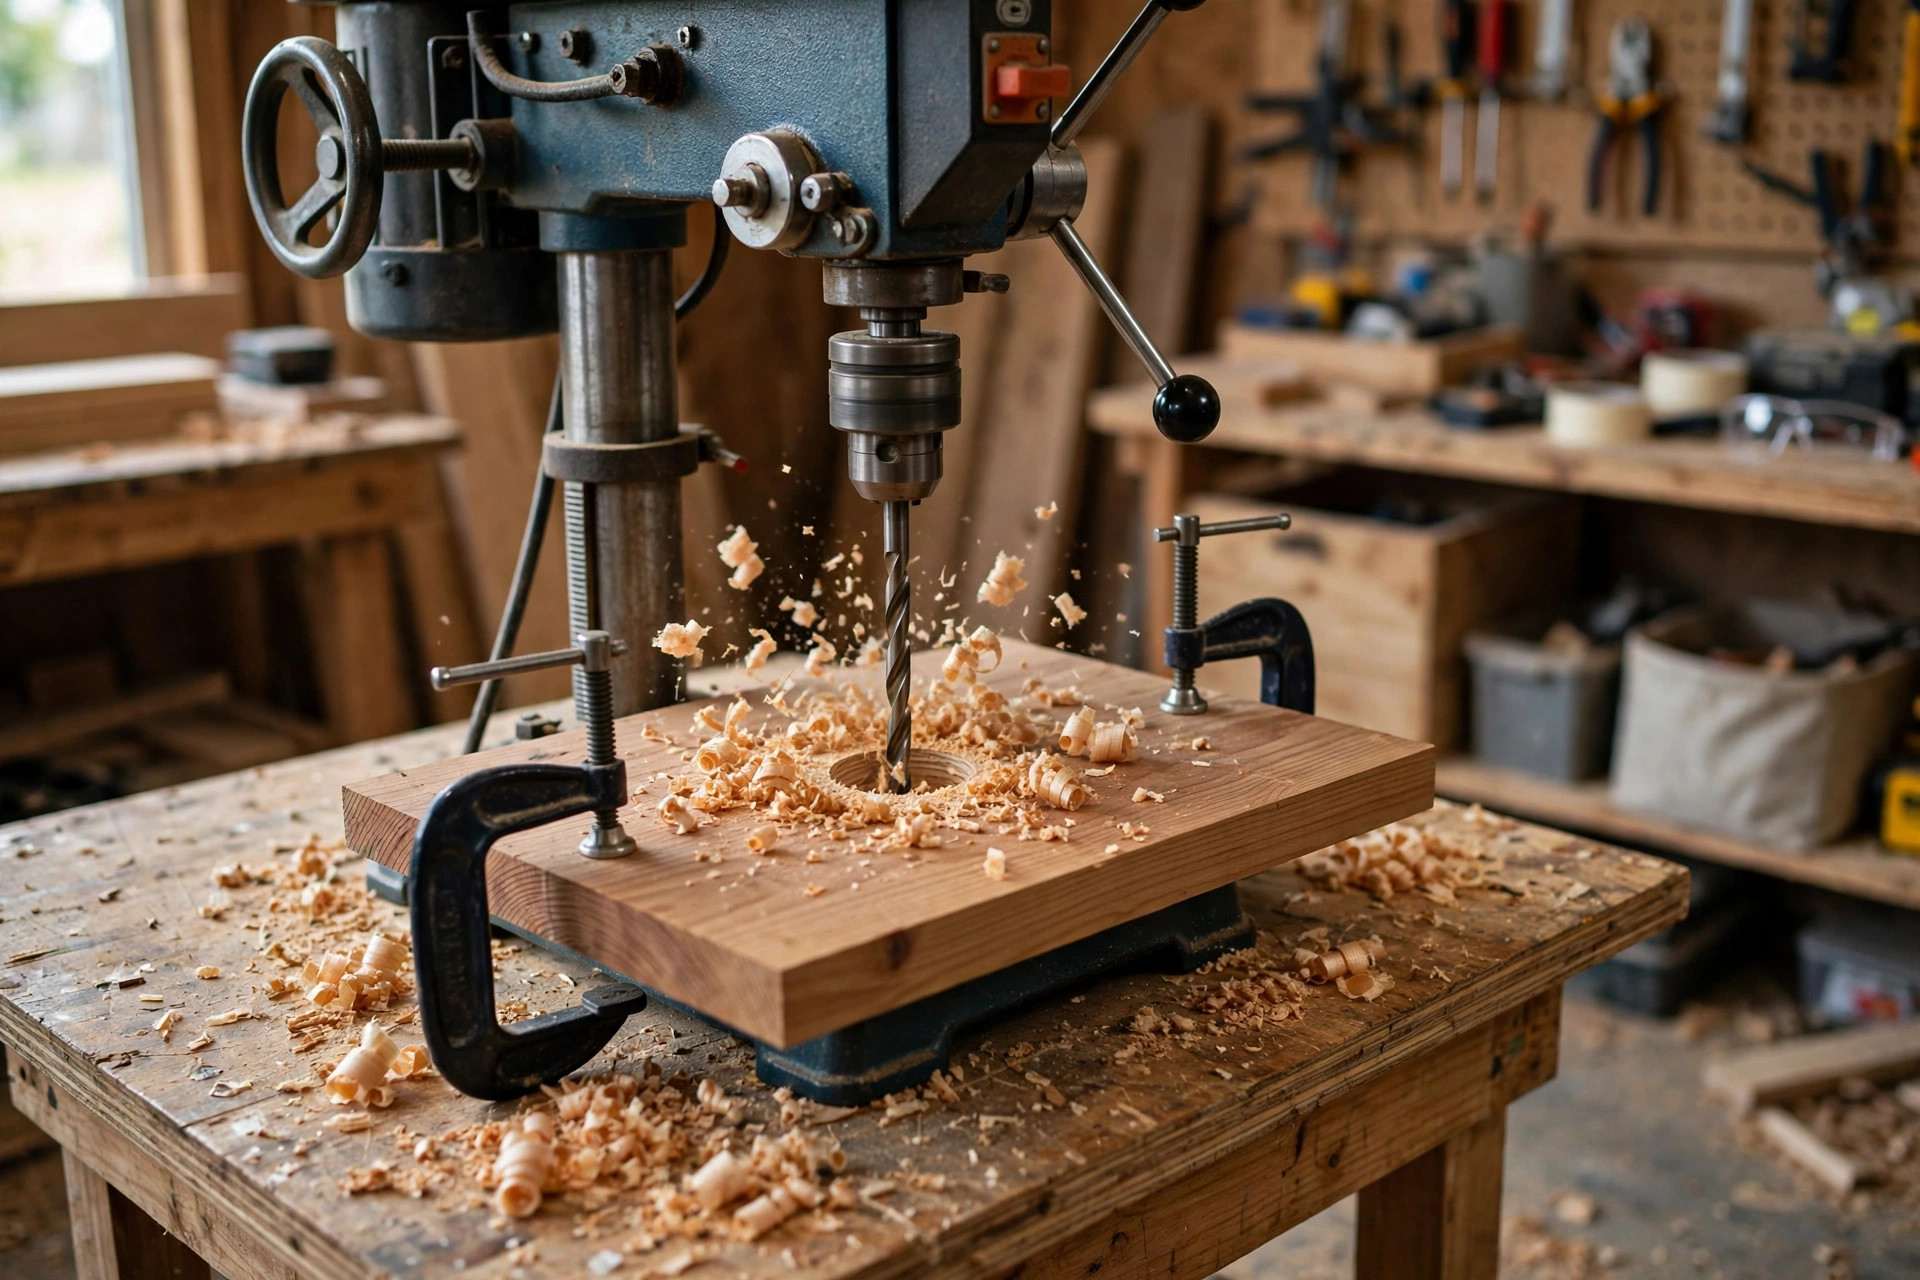
Setting up a drill press properly takes five minutes and is what separates clean holes from splintered, off-centre ones. Start by bolting the press to a solid bench, checking that the table is square to the bit (a small square held against the bit and the table shows any tilt at a glance), and fitting the right bit for the job — a sharp twist bit for a through-hole, a Forstner bit for a flat-bottomed hole. Set the speed from the chart above, then set the depth stop: lower the bit to the depth you want on a scrap piece, lock the stop, and drill a test hole in scrap first. That test hole is never wasted time; it confirms speed, depth, and position before the real board is involved.
Here is the first-hole method, step by step. Mark the hole centre with a pencil cross, then deepen it with an awl or centre punch so the bit has a seat and cannot wander on entry. Place the board on the table with a scrap backer board underneath — this is the single best trick against blowout, because the bit exits into scrap instead of tearing out the back face of your good board. Clamp the workpiece firmly to the table or fence; never hold a small board by hand, because a spinning bit can grab it and spin it violently. Align the punched mark under the bit by moving the board, not by nudging the machine, and lock the table height so the bit can reach the work with a comfortable handle stroke.
Now drill. Switch on, let the bit reach full speed, and lower the handle with smooth, steady pressure, easing off as the bit breaks through the back of the board. For holes deeper than about an inch, peck: lower partway, raise to clear chips, lower again. When the depth stop touches, stop — do not force past it. Raise the bit fully, switch off, wait for the spindle to stop, and only then unclamp and inspect. A good hole is round, clean-edged on both faces, and exactly where you marked it. If it is not, the cause is almost always one of four things: a dull bit, the wrong speed, an unclamped board that shifted, or no backer board. Fix that one thing and drill again on scrap before returning to the real piece.
Drill Bits for a Drill Press: Twist, Spade, Forstner, and Hole Saws
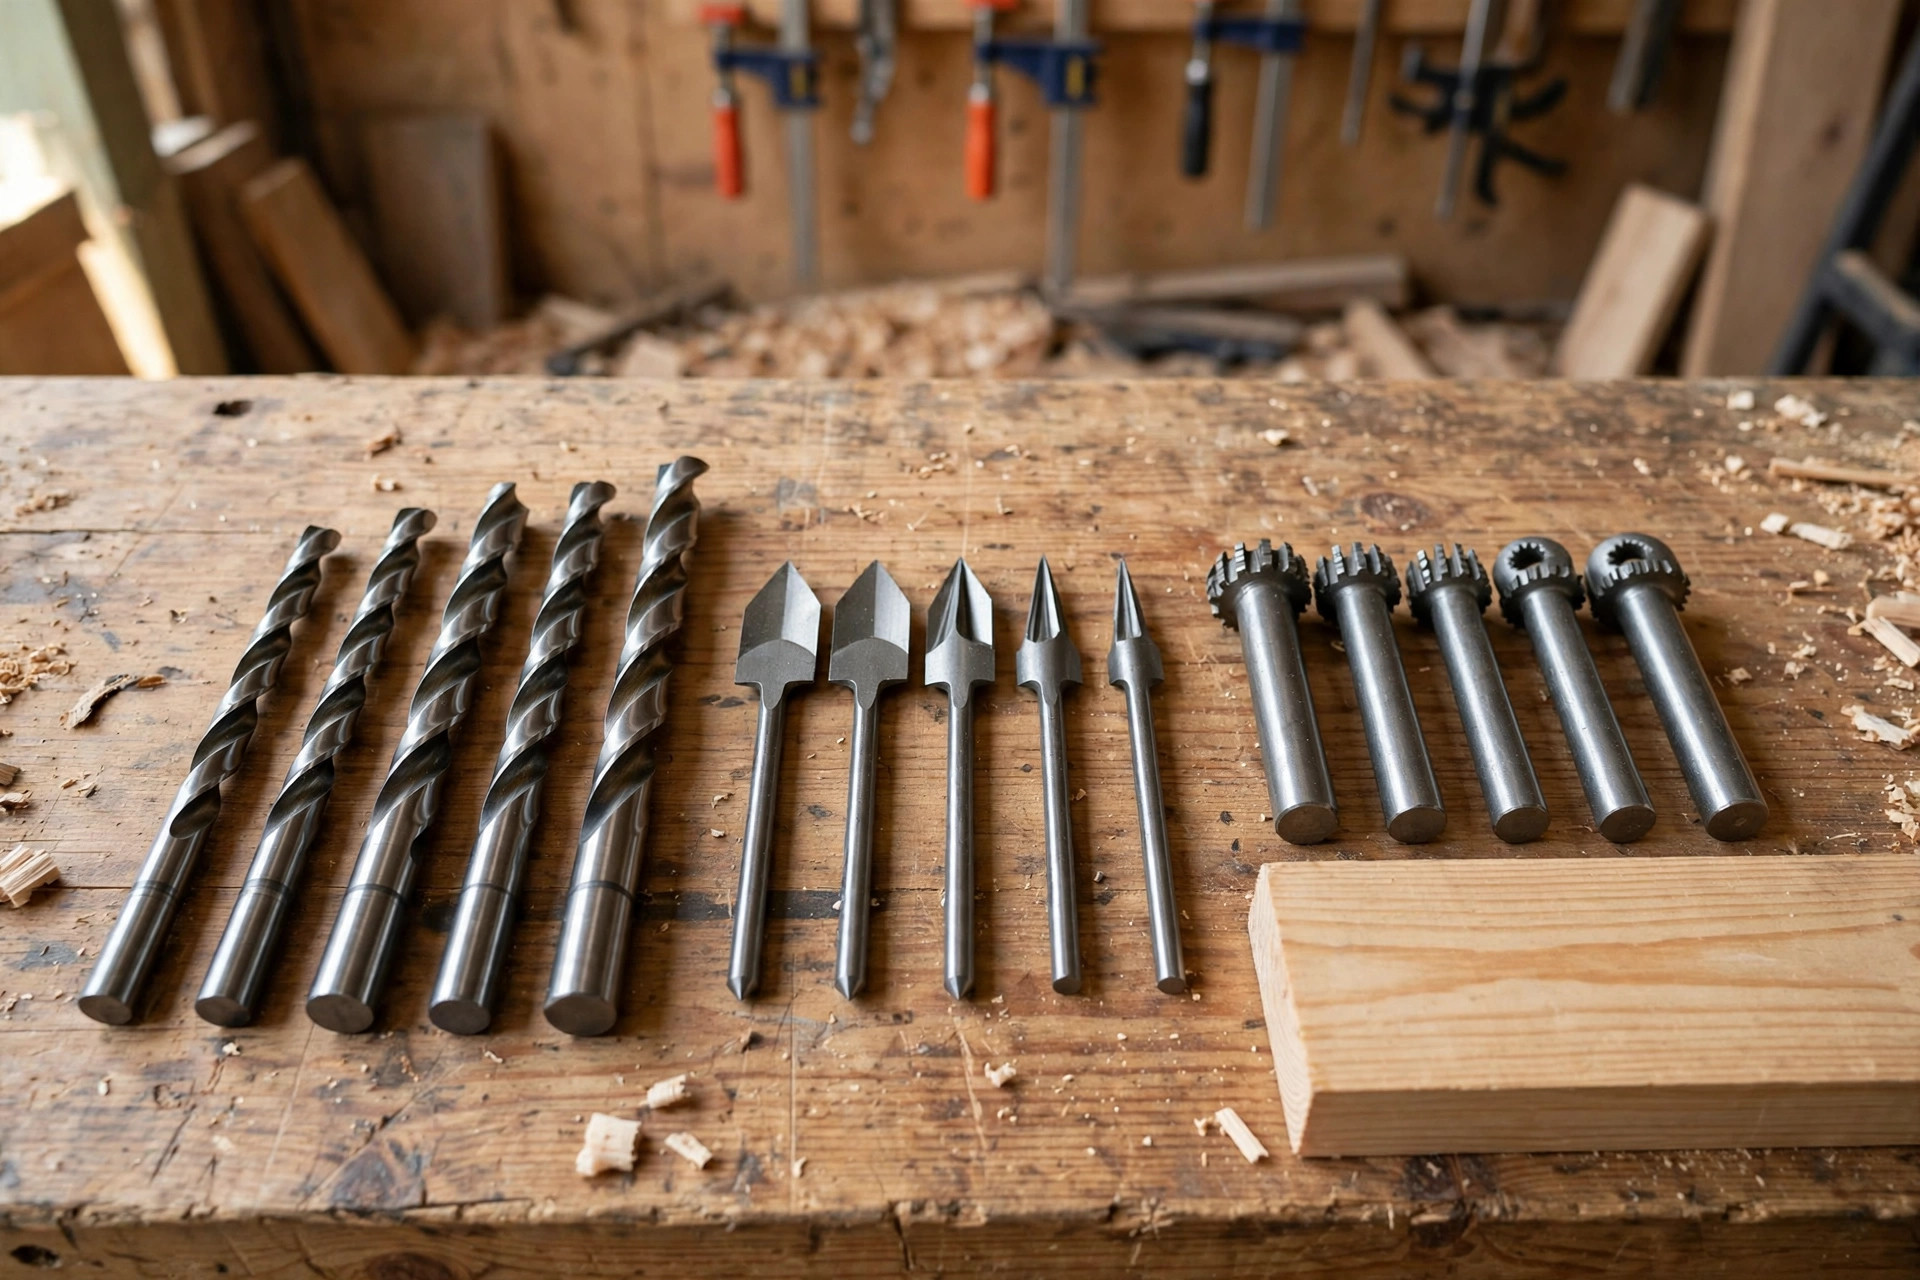
A drill press is only as good as its bits, and beginners need four types to cover nearly everything. Twist bits are the everyday workhorse: cheap, available in every size, and ideal for through-holes, pilot holes, and dowel holes. Buy a decent set from 1/16 to 1/2 inch, keep them sharp, and replace the sizes you use most rather than struggling with a dull set. Brad-point twist bits are a worthwhile upgrade for woodwork, because their pointed centre and spurred edges start exactly on the mark and cut cleaner entry holes than standard twist bits.
Spade bits (paddle bits) are flat, fast, and inexpensive, and they suit rough holes where appearance matters less — wiring holes in a cabinet back, for example. They cut aggressively, so use a slow speed, clamp firmly, and always use a backer board, because spade bits are notorious for blowout on exit. Forstner bits are the precision tool of the set: they cut flat-bottomed holes with clean, overlapping edges, and they are the right choice for hinge cups, dowel joints, and decorative plugs. They demand slow speeds and firm clamping, and they reward both with holes that look machined. Hole saws cut large-diameter holes for cables, vents, and speaker openings; use them slowly, clear chips often, and expect a rougher edge that may need sanding.
For joinery specifically, the drill press transforms two joints beginners rely on. Dowel joints become far more accurate when both boards are drilled at identical depths and positions using a fence and a stop block, and our comparison of pocket-hole vs dowel joint strength explains when a dowel joint is the right structural choice. Shelf-pin holes, drilled in a straight line with a fence and a spacing jig, are the other classic drill-press job: a row of evenly spaced, identical holes that would take an age by hand and look ragged if any one of them wandered. Build a simple jig for each repeated hole pattern you use — a plywood strip with holes at your spacing, clamped as a guide — and the press will repeat it perfectly, project after project.
Safety: The Rules That Keep a Drill Press Safe
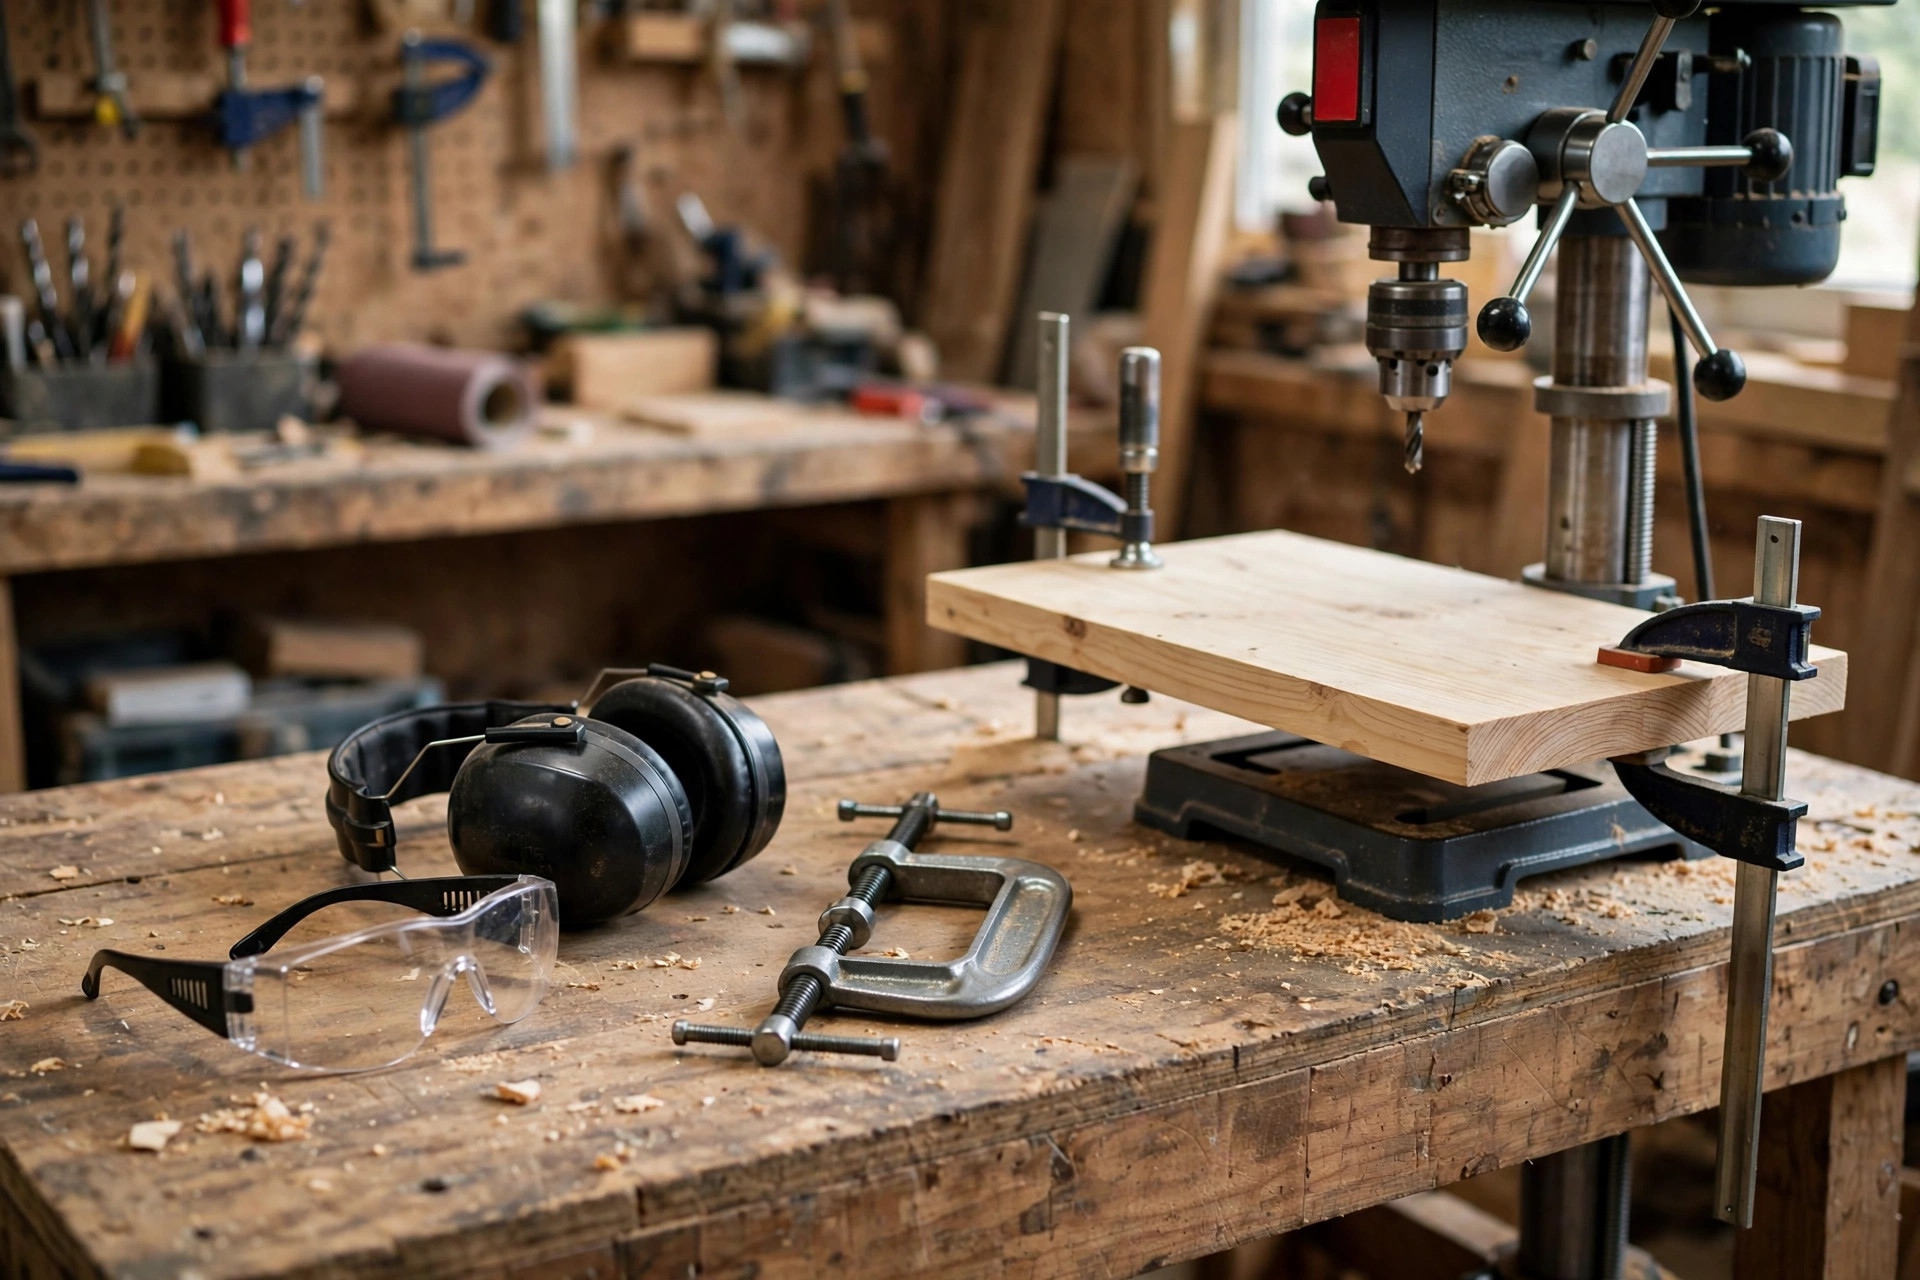
A drill press is one of the safer power tools in the workshop, and it stays that way if you respect four rules. First, clamp everything. A spinning bit can grab a loose board and fling it, and a small offcut can spin fast enough to injure a hand before you react. If a piece is too small to clamp safely, it is too small to drill on the press — drill it while it is part of a larger board and cut it free afterwards. Second, never wear gloves, loose sleeves, jewellery, or anything dangling near a spinning chuck; rotating machinery catches loose material instantly, and the drill press gives no second chances on this rule. Tie back long hair and roll up sleeves before switching on.
Third, keep your hands away from the rotating bit and never reach across it to adjust the workpiece while the spindle is turning. Switch off, wait for the bit to stop completely, and then adjust. Fourth, remove the chuck key every single time you use it. A chuck key left in the chuck becomes a projectile the moment the machine starts, and every workshop has a story about one. Make it a habit: key in, tighten, key out, key back in its holder — in that order, every time. Before every session, run through the broader checklist in our guide to woodworking safety tips for beginners: safety glasses that seal well, hearing protection for long sessions, a dust mask for MDF and plywood dust, a clear floor, and a first-aid kit within reach.
Two more habits deserve mention. Unplug the machine whenever you change a bit, move a belt, or adjust the table height mechanism — a switch can be bumped, and a belt change with power connected is an accident waiting for an excuse. And keep the table and floor clear of offcuts, because a stray offcut under a board tilts it, and a tilted board drills an angled hole or shifts under the bit. A drill press rewards tidiness more visibly than almost any other tool: a clean table, a clamped board, and a sharp bit produce holes that look like they came from a factory, while a cluttered table produces holes that look like guesses.
Common Beginner Mistakes (and How to Fix Them)
Most drill press mistakes are setup mistakes, and they all have simple fixes. Drilling without a backer board and wondering why the back face splintered is the most common: fix it with a scrap board under every through-hole, every time, without exception. Drilling at the wrong speed is next — a large Forstner bit screaming at 3,000 RPM will burn, dull, and smoke, so set the belt from the speeds chart before you start, not after the first hole smells. Holding a small workpiece by hand instead of clamping it is the most dangerous mistake; fix it with clamps, a fence, and a jig, and if the piece cannot be clamped, drill it before cutting it to size.
Other mistakes are about measurement and patience. Trusting a pencil mark alone, without a centre punch, lets the bit wander on entry — punch every mark, and the bit will start exactly where you intended. Forcing a dull bit through hardwood instead of sharpening or replacing it produces burnt, oval holes and strains the motor; a sharp bit cuts with light pressure and leaves clean shavings, not dust and smoke. Skipping the scrap test hole is the mistake that turns a small error into a ruined board: one test hole in scrap confirms speed, depth, and position for the price of thirty seconds. And forgetting to remove the chuck key, or leaving the belt cover open, or drilling with the table unlocked, are all small lapses that compound into accidents — build a pre-drill ritual (clamp, punch, speed, depth stop, chuck key out, glasses on) and run it the same way every time until it is automatic.
First Projects to Build With Your New Drill Press
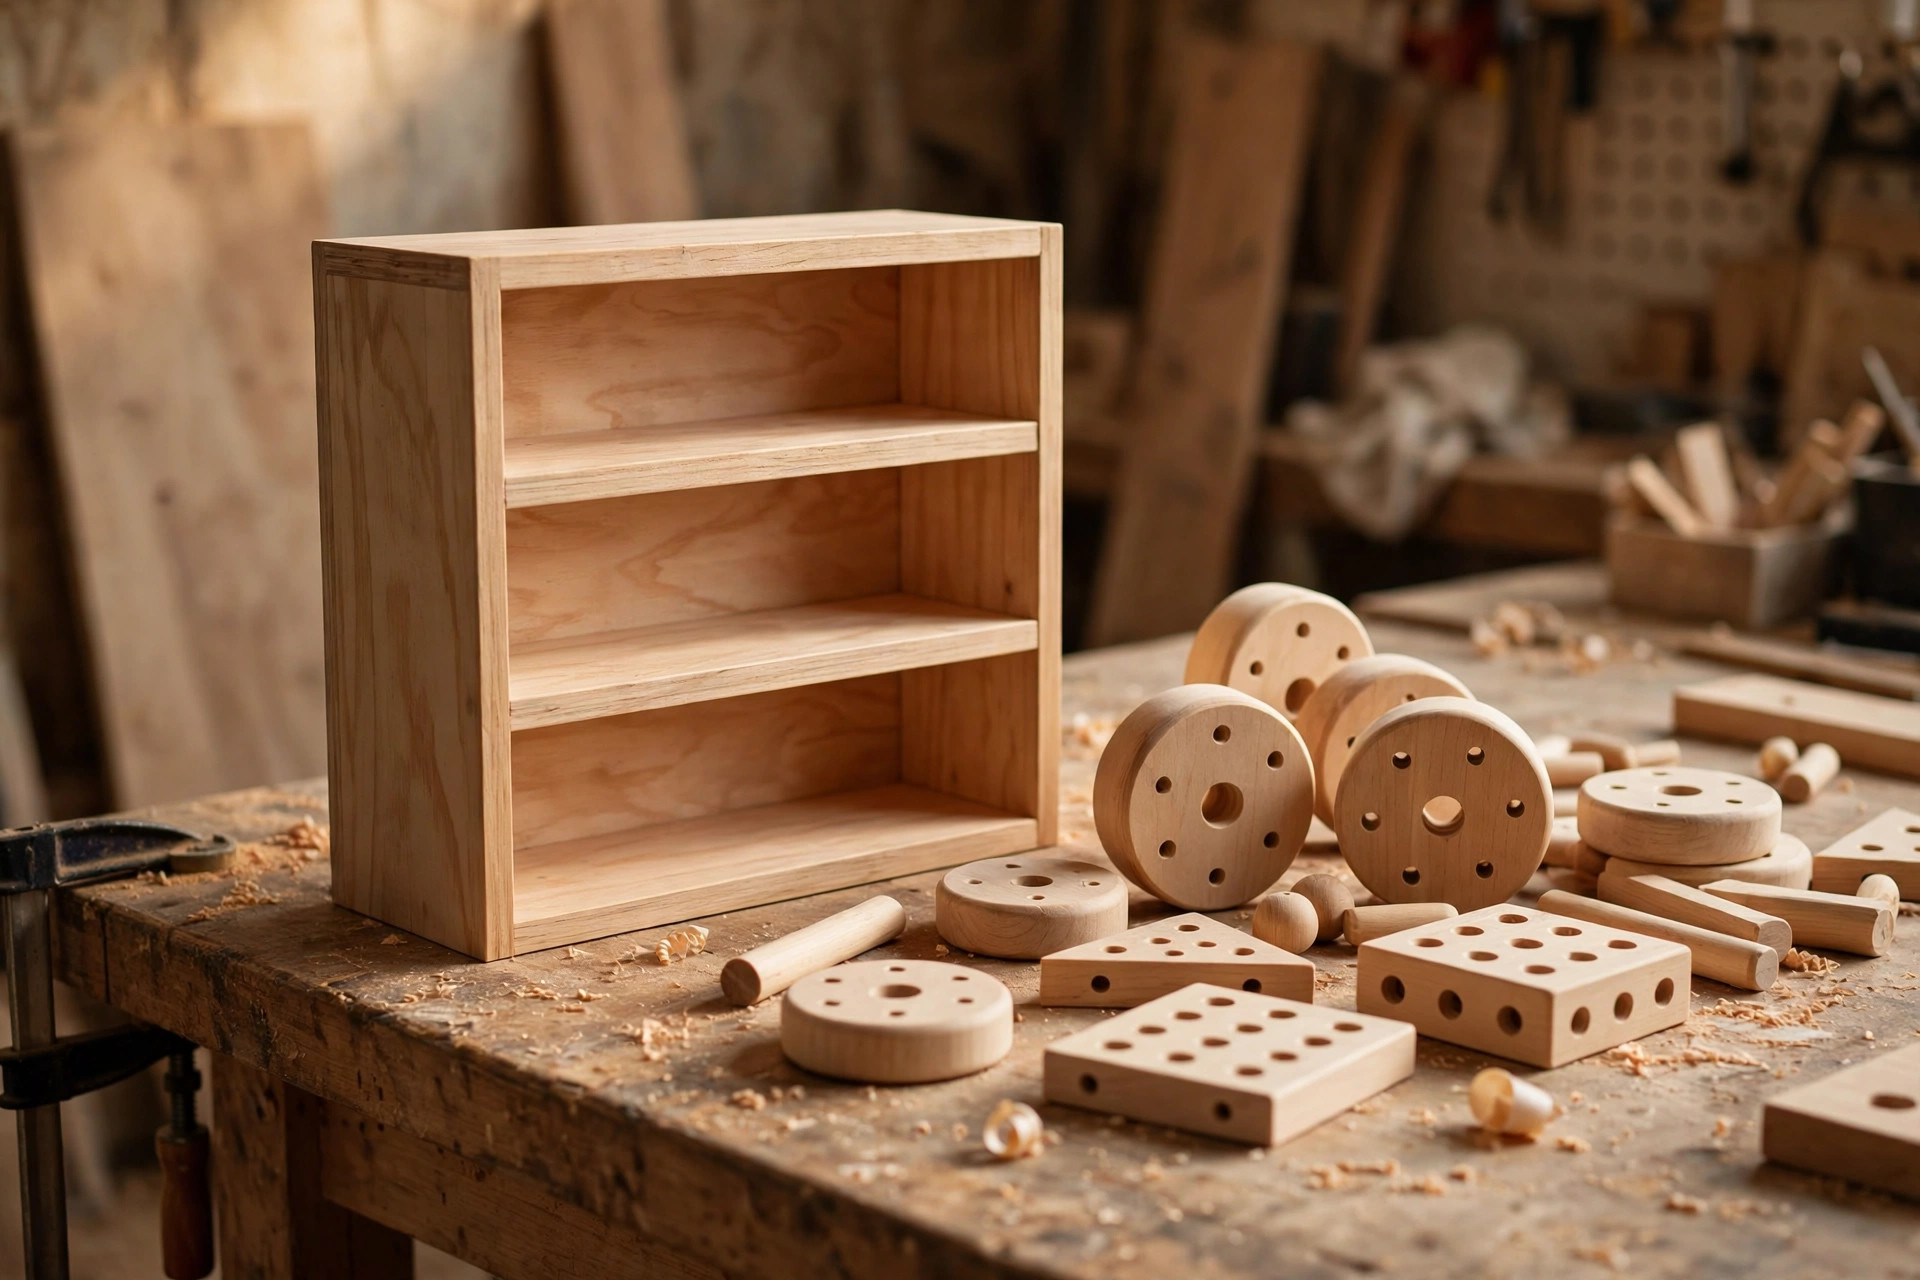
Once you can drill clean, repeatable holes, a drill press opens up projects that are frustrating by hand. Start with a wall shelf with shelf-pin holes: drill a row of evenly spaced holes in the side panels using a fence and a spacing jig, and you have adjustable shelving that looks store-bought. Next, try a dowel-joined stool or small side table — the press makes both halves of every dowel joint line up, which is the difference between a stool that rocks and one that sits flat. A wooden toy, a desk organiser with pen holes, or a coat rack with peg holes are all excellent early projects, because each one repeats one hole pattern many times, which is exactly what the press is for.
As your confidence grows, add angled holes with the tilting table (chair legs, angled coat pegs), overlapping Forstner holes for decorative patterns, and counterbored holes that hide screw heads under wooden plugs — a small detail that makes beginner furniture look far more professional. Keep the same project rule as with any new tool: if a project needs ten hole patterns you have never tried, simplify it; if it needs one new pattern plus nine you know, build it. That ratio keeps learning steady without turning a weekend project into a frustration, and every project you finish adds a jig or a setup to your workshop that makes the next one faster.
Frequently Asked Questions
What is the best drill press for beginners woodworking?
For most beginners, an 8- to 10-inch benchtop drill press with five speeds, a 1/2-inch chuck, and a depth stop is the best first buy. Budget picks such as the WEN 4208T and WEN 4211 cover everything from shelf-pin holes to dowel joints at a price that leaves room for bits and clamps.
Should a beginner buy a benchtop or floor-standing drill press?
Buy benchtop unless you regularly drill tall workpieces or need more than about 5 inches of reach from the edge of a board. A benchtop press costs far less, fits on a bench you already own, and handles nearly all beginner projects; a floor model is a later upgrade once you know which of its capacities you are actually missing.
What does swing mean on a drill press?
Swing is twice the distance from the centre of the chuck to the column. An 8-inch press drills up to 4 inches from the edge of a board, a 10-inch press up to 5 inches, and a 12-inch press up to 6 inches. If the hole you need is further from the edge than half the swing, the board will not fit under the chuck.
What is spindle travel, and how much do I need?
Spindle travel is how far the chuck moves down in one plunge, usually 2 to 3-1/8 inches on beginner benchtop presses. Two inches is enough for drilling through 3/4-inch boards and for most dowel and hinge holes; choose 3 inches or more only if you regularly drill deep holes in thick stock.
What speed should I use for Forstner bits?
Use slow speeds for Forstner bits: roughly 800–1,200 RPM for a 1-inch bit in pine, 500–700 RPM for a 2-inch bit, and slower still in hardwood. Running a large bit too fast burns the wood, dulls the bit, and produces rough, smoking holes.
Can a drill press replace my handheld drill?
No, the two tools complement each other. A handheld drill goes to the work — driving screws, drilling into installed pieces, and working away from the bench — while a drill press brings the work to a fixed, perfectly straight, depth-controlled bit. Most workshops end up owning both, and each one makes the other more useful.
Final Verdict
The best drill press for beginners is not the biggest or most expensive machine — it is the benchtop press that fits your bench, your budget, and the projects you actually build, fitted with a sharp bit, set to the right speed, and used with a clamped board, a backer board, and a tested depth stop. An 8- or 10-inch benchtop model such as the WEN 4208T or WEN 4211 is the sensible default, a floor-standing press is a future upgrade to earn, and the habits in this guide — punch the mark, clamp the board, check the speed, test on scrap — are what turn a new machine into clean, repeatable holes from the very first project. Buy the press, bolt it down, drill a test hole, and then build something with holes you are proud of.


