
A band saw is the quiet overachiever of the beginner workshop. It does not hog the spotlight like a table saw, and it does not get the first-buy attention of a drill or a circular saw — but once you own one, you will reach for it constantly. It cuts curves that no straight-bladed saw can follow, resaws boards into thinner pieces, trims tenons and small joinery parts, and does all of it with a narrow blade, a small footprint, and far less noise and dust than most power saws. If you are searching for the best band saw for beginners woodworking, you are probably really asking three questions: how big a saw do I need, which benchtop model is worth the money, and is a band saw actually safe and easy enough for a beginner to set up and use?
Here is the short answer up front. For most beginners working in a garage, spare room, or small shed, a benchtop 9-inch or 10-inch band saw is the best first buy. It fits on a sturdy bench or a small stand, runs on a standard household outlet, costs far less than a floor-standing 14-inch machine, and handles everything a beginner actually cuts: curves in pine and plywood, small boxes, toy parts, cutting boards, bandsaw boxes, and resawing boards up to about 4 inches thick. You do not need a 14-inch floor model to learn the craft, and buying one too early usually means paying for capacity you will not use for years — if ever.
There is one honest gap in most band saw coverage, and this guide is built around it. Nearly every roundup on the internet lists the same handful of saws, gives you a star rating, and stops. What beginners actually struggle with is not picking a brand — it is everything that comes after the box arrives: choosing the right blade width for the curve you want, tensioning the blade correctly, setting the guide bearings, and making your first curved cut without the blade wandering off the line or binding in the wood. So this guide does both jobs. First, it compares the benchtop saws beginners actually buy, including the two names that recur in almost every beginner discussion — the WEN 3959 and the SKIL BW9501-00. Then it walks through blade choice, setup, and your first curves step by step, so the saw you buy becomes a saw you can actually use with confidence on day one.
The Short Answer: Which Band Saw Should a Beginner Buy First?
If you want one recommendation, start with a 10-inch benchtop band saw if your budget and bench space allow it, and a 9-inch benchtop saw if either is tight. The extra inch of throat depth on a 10-inch saw — the distance from the blade to the column, which decides how wide a board you can curve-cut — makes a real difference on cutting boards, box lids, and wider curved parts. A 9-inch saw is still a perfectly capable beginner machine, and its smaller size, lighter weight, and lower price make it the better choice for a truly tiny shop or a saw that must be stored between sessions.
The WEN 3959 (10-inch, two-speed) is the most commonly recommended beginner benchtop band saw for a simple reason: it balances capacity, price, and availability better than anything else in its class. It resaws up to 6 inches with its riser-free depth, cuts curves in boards up to 9-5/8 inches wide, and its two speeds let you slow down for metal-adjacent tasks like cutting thin non-ferrous stock or use full speed for wood. The SKIL BW9501-00 (9-inch) is the classic budget alternative: smaller, lighter, and cheaper, with a rack-and-pinion table tilt and a rip fence included, and it is an excellent first saw if you mainly cut thinner stock and tighter curves. Neither saw is a lifetime, do-everything machine, and neither needs to be. A beginner band saw is a learning tool and a project tool at the same time, and both of these do that job well.
Before you buy, check three practical things that matter more than any specification sheet. First, measure your bench: a benchtop band saw needs a flat, sturdy surface plus clear space in front for feeding boards and behind for the blade’s path, and a wobbly bench makes every cut worse. Second, check blade availability: the WEN 3959 uses a 72-inch blade and the SKIL a 59-1/2-inch blade, and both sizes are widely sold online and in stores — a saw with an oddball blade length is a saw you will struggle to keep fed. Third, be honest about the thickest wood you will cut in your first year. If the answer is boards up to 3 or 4 inches thick, a benchtop saw is plenty. If you dream of resawing 8-inch hardwood slabs into book-matched panels, that is a job for a larger saw later — not a reason to overspend now.
Band Saw Types and Sizes Explained
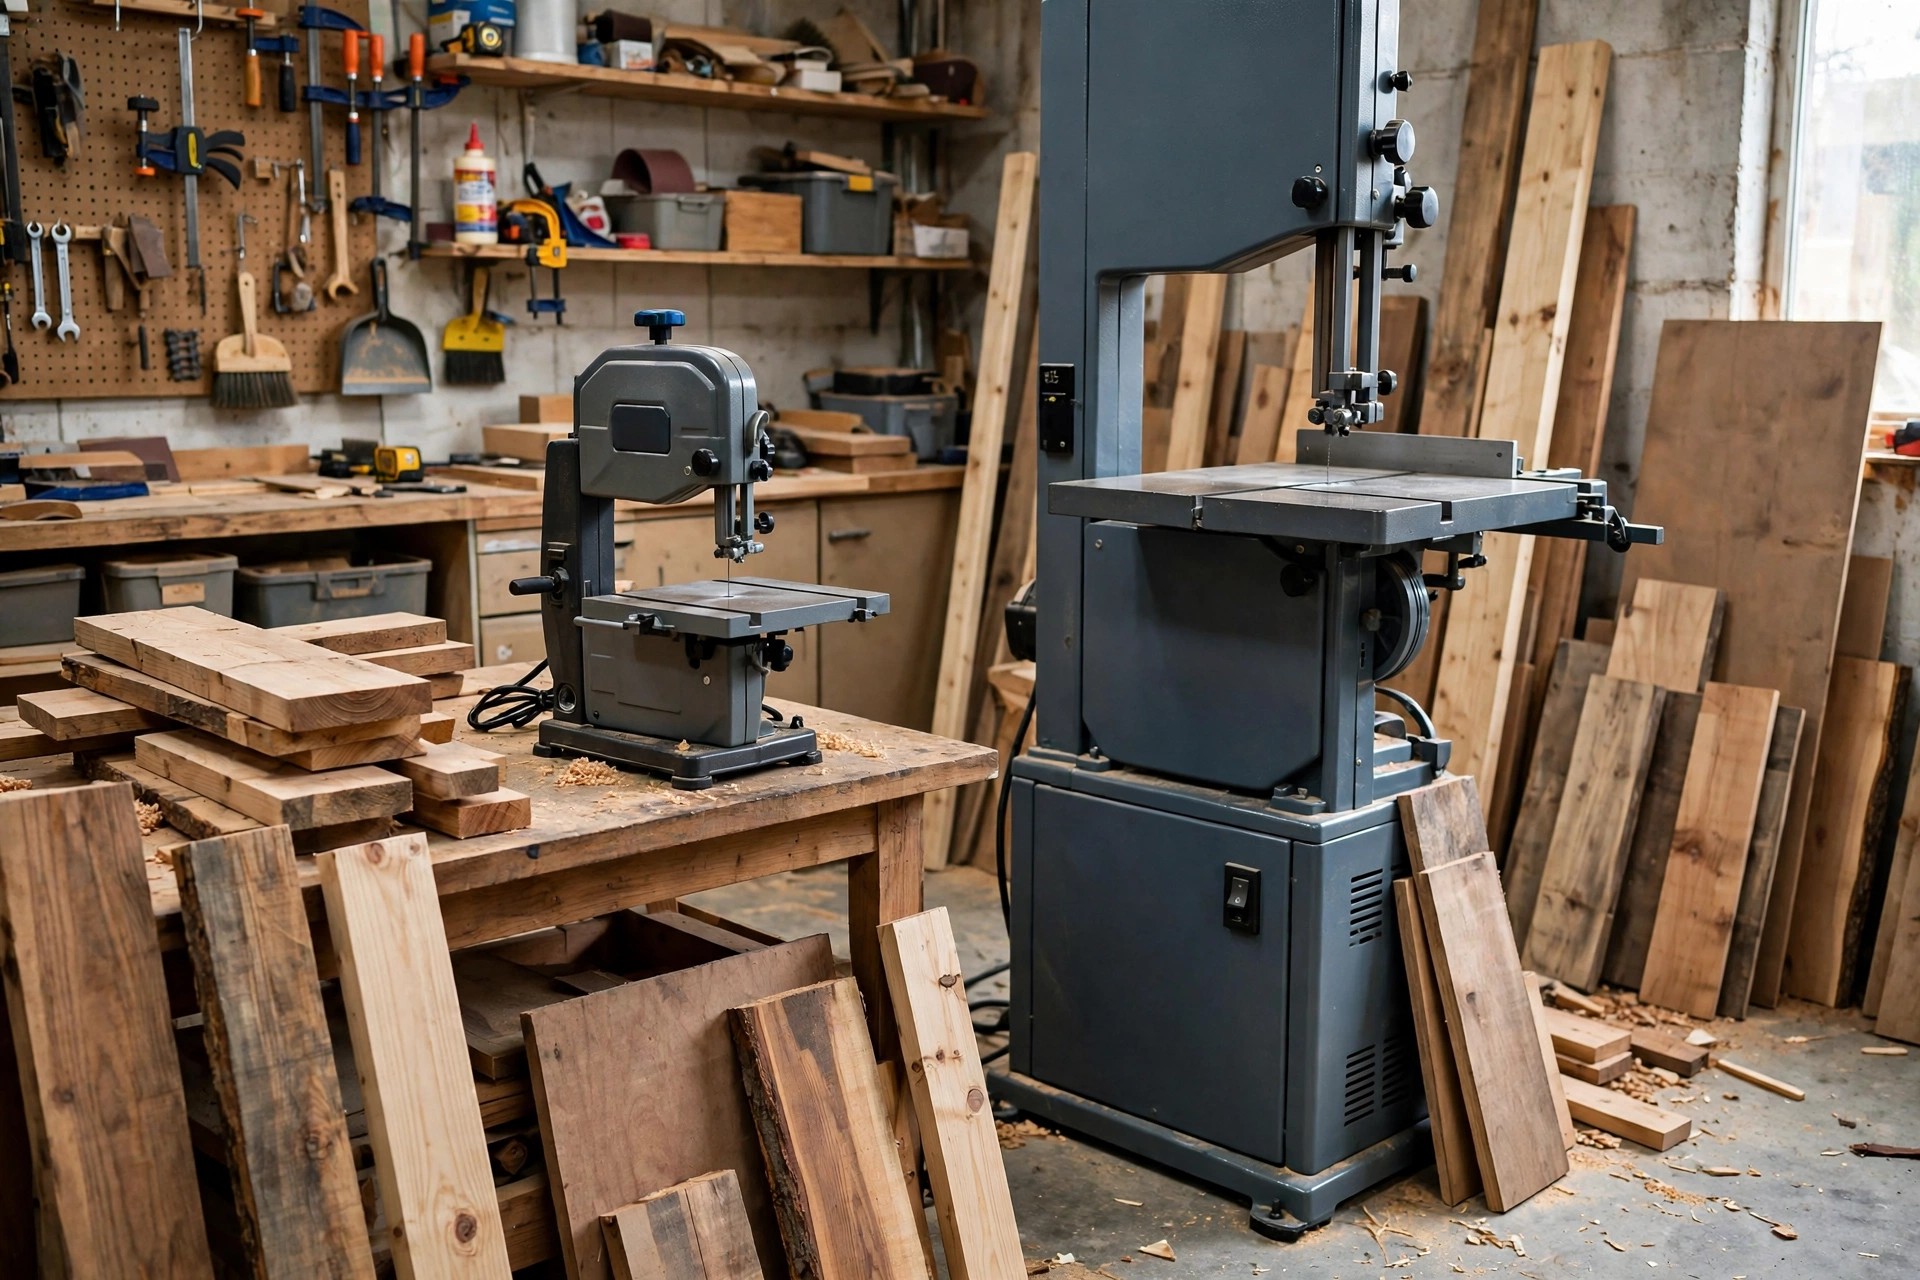
Band saws come in three broad families, and understanding them stops you from comparing apples with oranges. Benchtop band saws (9-inch and 10-inch) are small machines that sit on a bench or a dedicated stand. They are the beginner’s category: affordable, portable enough to move, and sized for curves, small resawing, and general shop work. Their limits are real — a 9-inch saw typically resaws only about 3-1/8 inches deep and a 10-inch saw about 6 inches — but so is their value, because most beginner projects never approach those limits.
Floor-standing band saws (14-inch and larger) are the workshop work horses. They are heavier, more powerful, and built for serious resawing, thick hardwood, and daily use. A 14-inch saw typically resaws 6 inches as standard and more with a riser block, and it holds a wider range of blade widths. It is a wonderful second saw, and a poor first saw for most beginners: it costs several times as much, needs floor space and often a dedicated circuit, and its capacity is wasted on the thin stock beginners cut most. Portable or handheld band saws are a third, separate family — compact tools for cutting metal pipe and conduit on site — and they are not woodworking saws at all, so do not let a cheap portable model confuse your shopping.
Two measurements decide what a band saw can actually do, and both are worth understanding before you buy. Throat depth is the horizontal distance from the blade to the saw’s column, and it limits how wide a board you can cut a curve in — a 9-inch throat means the blade can reach about 9 inches into a board from its edge. Resaw capacity, sometimes called cutting height, is the maximum vertical distance between the table and the upper blade guide, and it limits how thick a board you can slice into thinner pieces. Beginners often fixate on throat depth and ignore resaw capacity, but for cutting boards, box sides, and veneer-thin slices, resaw capacity is the number that actually matters. A saw with generous resaw capacity and a modest throat is far more useful in a small shop than the reverse.
Motor power matters, but less than marketing suggests. Benchtop saws typically run 2.5 to 3.5 amps or roughly a third to a half horsepower, and that is enough for pine, plywood, and thinner hardwood if you feed at a sensible pace and use a sharp, correct blade. A struggling saw is almost always a dull-blade or wrong-blade problem, not a motor problem. Variable or two-speed operation is a genuine plus: slower speeds suit denser material and non-wood cutting, while full speed suits general woodwork. Do not pay extra for speed settings you will never touch, but do value them if you plan to cut the occasional piece of aluminium or plastic.
Beginner Benchtop Band Saw Comparison Table
The table below compares the benchtop saws beginners encounter most often. Prices move with sales and bundles, so treat the price band as a guide rather than a quote, and always check what is included — a fence, a mitre gauge, and a dust port are worth more than they look on a spec sheet.
| Saw | Throat | Resaw capacity | Blade length | Speeds | Best for | Watch out for |
|---|---|---|---|---|---|---|
| WEN 3959 (10 in) | 9-5/8 in | 6 in | 72 in | 2-speed | Best all-round beginner benchtop saw, small resawing, boxes | Heavier than 9 in saws; needs a sturdy bench |
| SKIL BW9501-00 (9 in) | 9 in | 3-1/8 in | 59-1/2 in | Single speed | Best budget pick, tight curves, small parts | Limited resaw depth; check fence squareness on arrival |
| Generic 9 in benchtop | 9 in | ~3 in | Varies by model | Single speed | Lightest use, very tight budgets | Blade availability varies; verify blade length before buying |
| Generic 10 in benchtop | 9-5/8 in | ~4–6 in | Varies by model | 1–2 speeds | Step up from 9 in without floor-model cost | Quality varies widely; read current reviews, not old roundups |
| 14 in floor-standing (for reference) | 13-1/2 in | 6 in+ | ~93-1/2 in | 1–2 speeds | Serious resawing, thick hardwood, daily use | Price, weight, and floor space — overkill as a first saw |
Read that table as a starting point, not a ranking to obey blindly. The WEN 3959 earns its reputation because it is the cheapest saw that genuinely resaws 6 inches, and that depth opens up cutting boards, book-matched panels, and veneer that a 9-inch saw simply cannot do. Its two speeds and work light are useful rather than decorative, and its 72-inch blades are easy to find in many widths and tooth counts. The SKIL BW9501-00, meanwhile, is the honest budget answer: it cuts curves beautifully, its rack-and-pinion table tilt is genuinely easy to use, and it costs little enough to leave money for blades, a good push stick, and safety gear. Its 3-1/8-inch resaw limit is the real trade-off, so if you already know you want to resaw 4-inch boards, spend the difference on the 10-inch saw now rather than upgrading in six months.
One more buying note that roundups rarely mention: check the table. A band saw table should be flat, cast or machined, and tilt smoothly to 45 degrees with a positive stop at 90 degrees. A table that rocks, a tilt scale that lies, or a fence that will not lock square will annoy you on every single cut. When your saw arrives, check these three things before you cut anything, and exchange a faulty saw early rather than learning to live with it. The same goes for the mitre gauge: it should slide smoothly without slop. These unglamorous checks matter far more than a work light or a laser guide.
Buying Guide: What Actually Matters for a Beginner
Beyond the headline size, five features separate a good beginner saw from a frustrating one. First, blade guides. Good benchtop saws use ball-bearing guides above and below the table, and they should adjust smoothly and lock firmly. Worn or poorly adjusted guides let the blade twist, which is the main cause of wandering cuts. Second, the tension mechanism. Look for a tension knob that turns smoothly and a tension indicator — even a simple scale — so you can repeat a good setting rather than guessing every time you change blades.
Third, the table and fence. A tilting table with a solid 90-degree stop and a rip fence that locks parallel to the blade are essential for straight resaw cuts and bevel work. Fourth, dust collection. A dust port that fits a standard shop vacuum hose keeps the table clear, which matters more on a band saw than beginners expect: dust packed under a board hides your cut line and can tilt thin stock. Finally, blade-change access. You will change blades often — narrow blades for curves, wider blades for resawing — so a saw whose wheel covers and guides come off without a fight will get its blade changed, while a fiddly saw will tempt you to use the wrong blade for the job.
Weight and vibration deserve a mention too. A heavier saw vibrates less, and vibration shows up directly in cut quality as a washboard surface. If your benchtop saw feels light, bolting it to a heavy bench or a plywood base with added mass helps enormously. And do not forget the stand question: many benchtop saws are sold without a stand, and a wobbly folding table is a false economy. A simple, rigid plywood stand or a solid workbench is part of the saw, not an optional extra.
Blade Guide: Width, Teeth, and Choosing the Right Blade
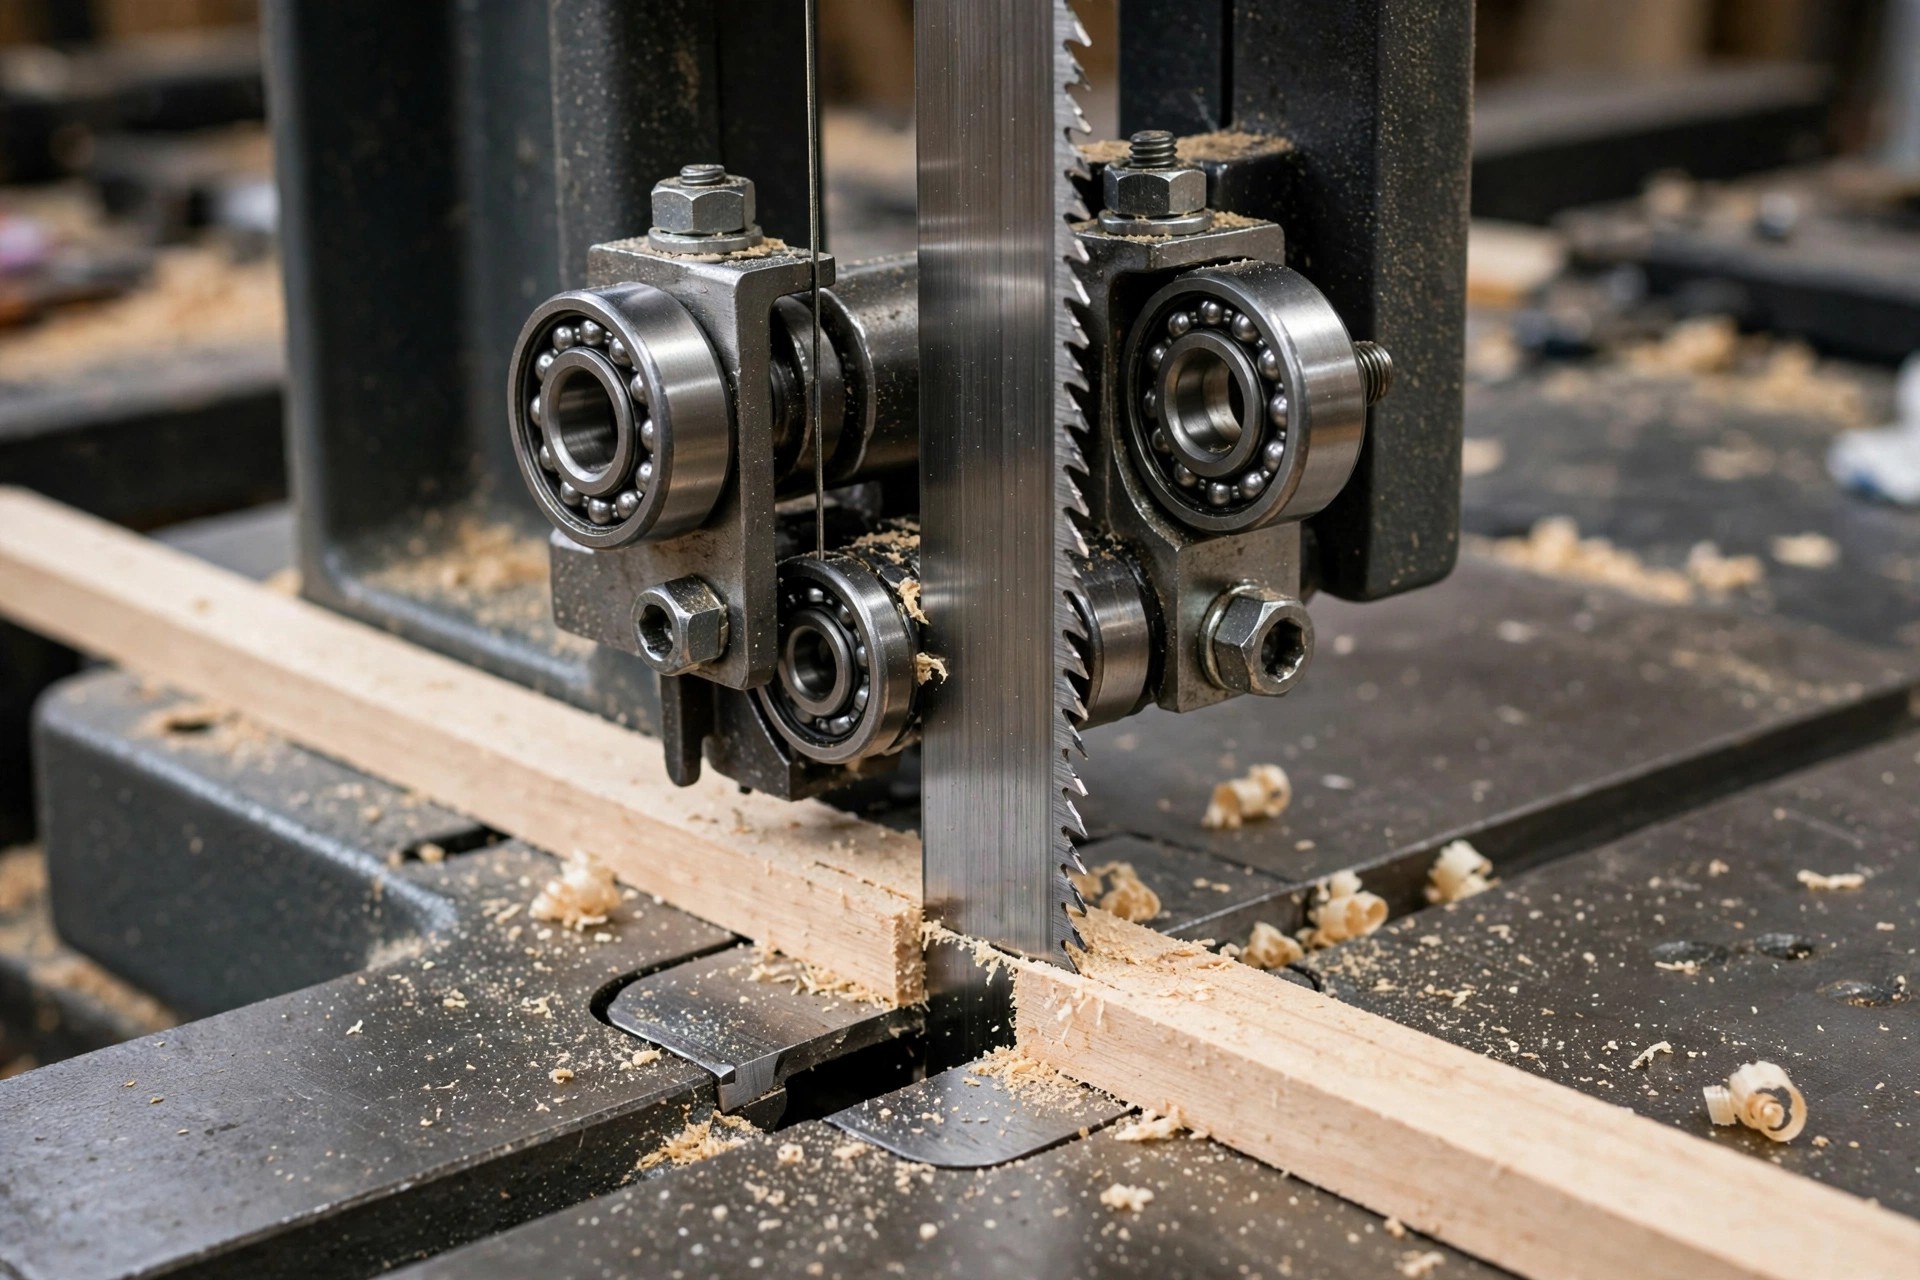
Blade choice is where beginners either unlock the band saw or quietly give up on it, and it is simpler than it looks once you grasp two numbers: width and teeth per inch (TPI). Blade width decides how tight a curve you can cut. A narrow blade can turn a tight radius; a wide blade cannot, because its back edge binds in the curve. As a rule, the tighter the curve, the narrower the blade. A 1/8-inch blade cuts curves down to about a 3/16-inch radius, a 1/4-inch blade manages about a 5/8-inch radius, a 3/8-inch blade about 1-1/2 inches, and a 1/2-inch blade about 2-1/2 inches. If you try to force a wide blade around a tight curve, the blade twists, the cut wanders, and the blade can break — so matching width to radius is not a nicety, it is the technique.
Teeth per inch decides cut quality and speed, and it interacts with material thickness. The golden rule is that at least three teeth, and ideally six to twelve, should be in contact with the wood at all times. Fewer teeth in the cut means each tooth takes too big a bite and the blade grabs; too many teeth means the gullets clog with sawdust and the blade overheats. For general beginner work, a 6 TPI blade is the versatile choice for stock up to an inch thick, while a 4 TPI or 3 TPI hook-tooth blade clears waste faster in thicker stock and resawing. A 10 to 14 TPI blade suits thin stock, plywood, and fine curve work where a smooth edge matters more than speed.
The blade table below covers the combinations a beginner actually needs. Start with three blades and you can cut almost everything in your first year: a 1/4-inch, 6 TPI blade for general curves, a 3/8-inch or 1/2-inch, 3 to 4 TPI blade for resawing and straight cuts, and a 1/8-inch, 10 to 14 TPI blade for tight curves and detail work. Buy quality blades from a reputable maker rather than the cheapest bulk pack; a good blade cuts straighter, lasts longer, and is less likely to snap, and the price difference per blade is small compared with the frustration a bad blade causes.
| Blade | Width | TPI | Tightest radius (approx.) | Best for |
|---|---|---|---|---|
| Detail / scroll blade | 1/8 in | 10–14 | ~3/16 in | Tight curves, puzzle parts, fine detail |
| General curve blade | 1/4 in | 6 | ~5/8 in | All-round beginner blade, boxes, toy parts |
| Medium blade | 3/8 in | 4–6 | ~1-1/2 in | Gentler curves, thicker stock, small resawing |
| Resaw / straight blade | 1/2 in | 3–4 | ~2-1/2 in | Resawing, straight cuts, veneer slices |
| Skip-tooth blade | 1/4–3/8 in | 4–6 | Varies by width | Green or soft wood, fast waste clearance |
A note on blade length: always buy the exact length your saw takes — 72 inches for the WEN 3959, 59-1/2 inches for the SKIL BW9501-00 — and check the width range your saw supports before ordering a very wide or very narrow blade. A blade that is too wide will not tension properly or fit the guides, and a blade that is too narrow for your guides may not track at all. Keep a spare of your most-used blade in the shop, because blades dull gradually and beginners often do not notice until cuts start drifting. If you have to push hard, if the cut surface looks fuzzy or burnt, or if the blade drifts away from the line on a curve it used to follow easily, change the blade before blaming your technique.
Setup: Tension, Tracking, and Guide Bearings in Plain English
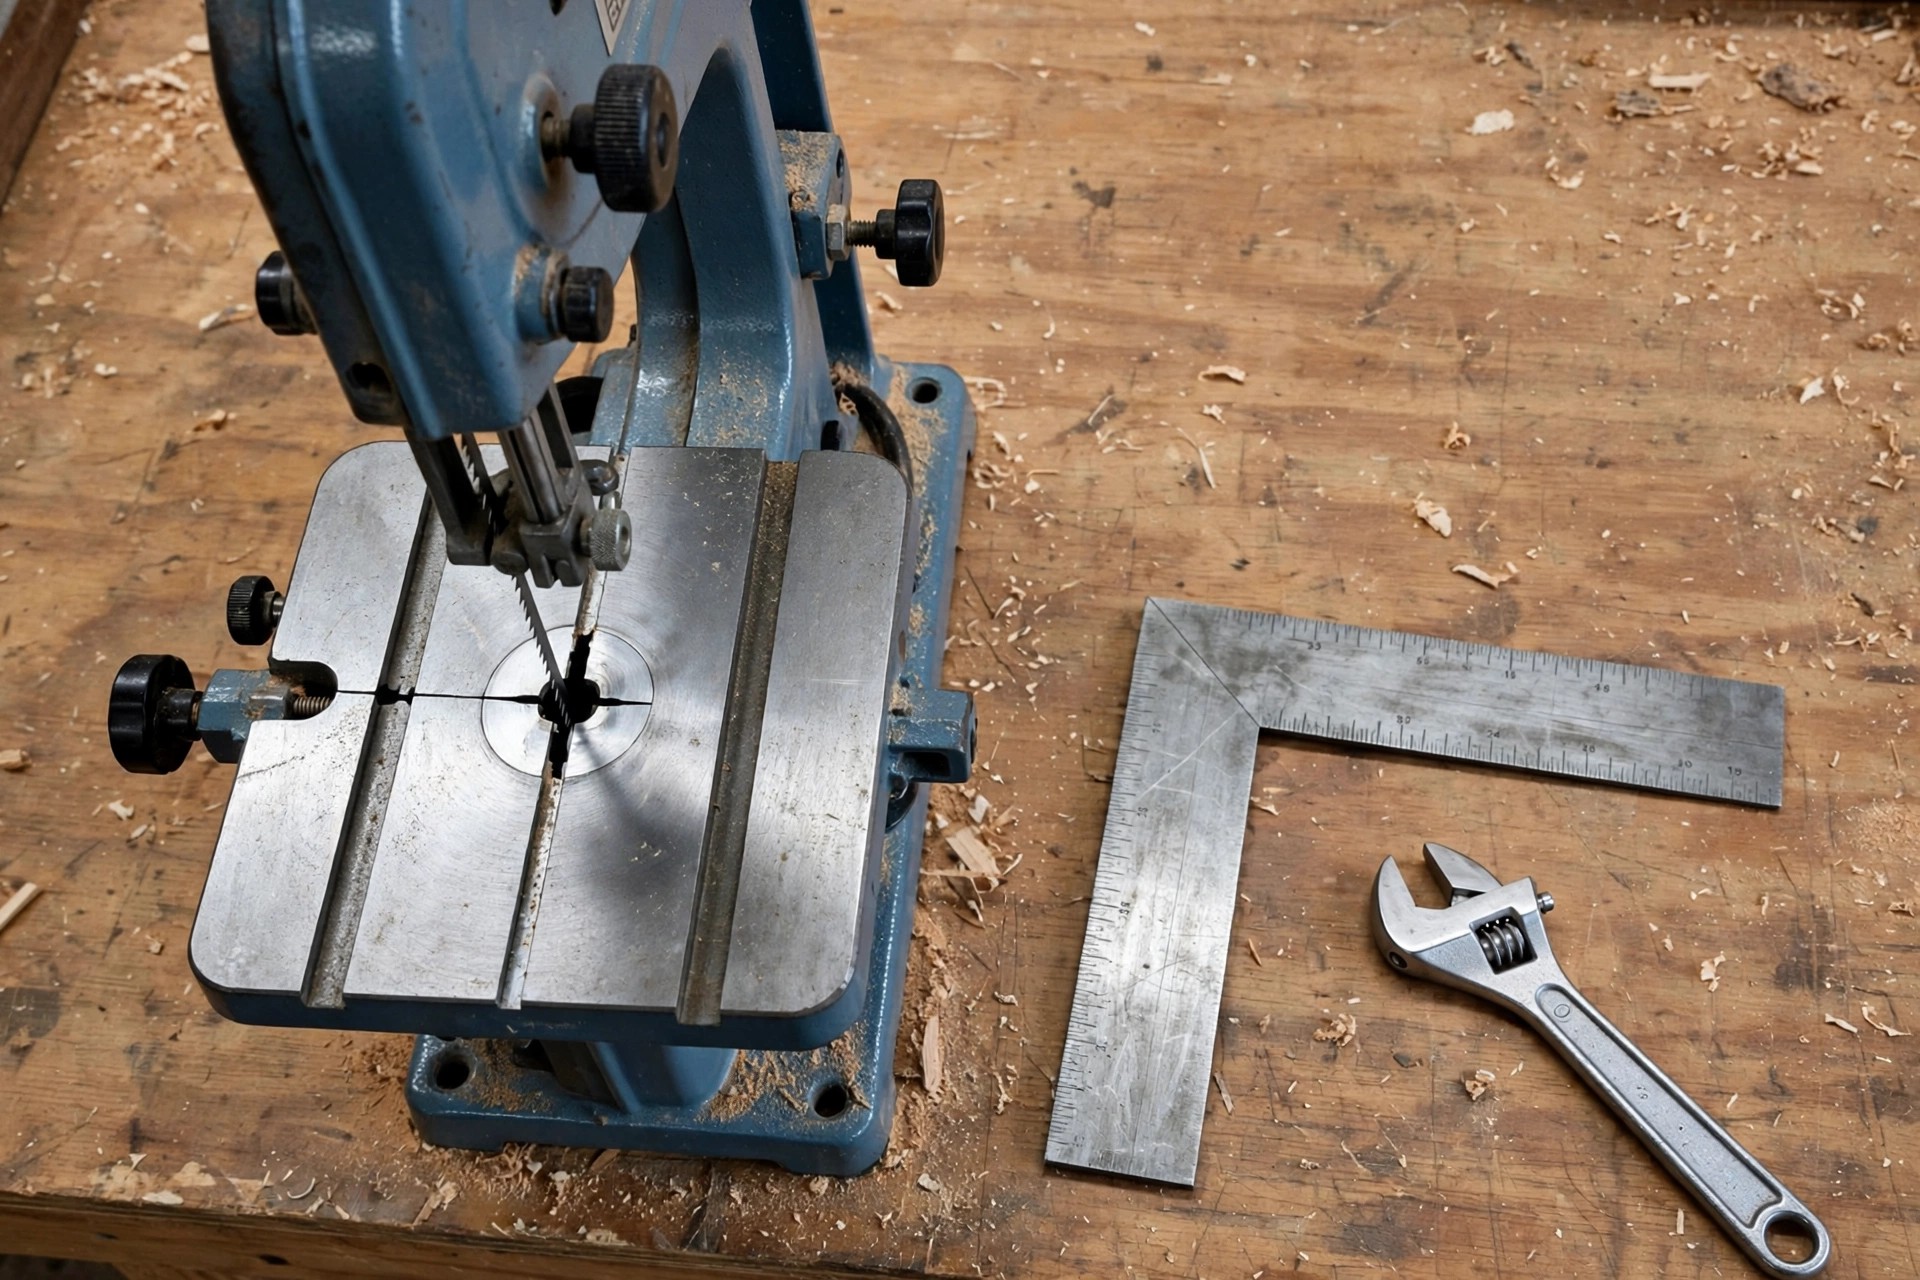
Setup is the step that separates a band saw that sings from one that frustrates, and it takes about fifteen minutes once you know the order. Work through it every time you change blades, and it quickly becomes habit. First, unplug the saw. Every setup step below is done with the power disconnected — no exceptions, because you will have your hands near the blade and the wheels.
Start with tension. Fit the blade over both wheels, then tighten the tension knob until the blade feels taut. The classic test is the flutter test: with the guides pulled back, run the saw briefly and watch the blade — if it flutters, add tension in small steps until the flutter just disappears, then add a touch more. Too little tension lets the blade wander and twist in curves; too much tension stresses the blade and the saw, and can snap a narrow blade. Your saw’s tension scale is a starting guide, not gospel, so learn the flutter test and trust it.
Next, tracking. Tracking is the blade’s position on the wheels, adjusted by tilting the upper wheel. The blade should ride centred on the wheel’s crown, with its teeth just proud of the wheel’s edge — the gullets, the curved spaces between teeth, should sit roughly at the wheel’s edge, not buried in the middle of the tyre. Turn the upper wheel by hand and watch the blade settle; adjust the tracking knob in small increments until the blade runs steadily in one place without creeping forward or back. Close the wheel covers before running the saw under power, and re-check tracking after a minute of running, because a new blade can settle.
Finally, guide bearings. There are two sets — above the table and below it — and each has side bearings and a rear thrust bearing. The side bearings should sit a hair’s breadth from the blade, about the thickness of a piece of paper, so they guide the blade without constantly rubbing it. The rear bearing should sit just behind the blade, again a paper’s thickness away, so it only engages when cutting pressure pushes the blade back. Set the upper guide assembly so it sits about a quarter inch above the workpiece — higher guides let more blade flex, which means worse cuts. Lower the guide every time the stock thickness changes; it takes five seconds and it is the single most skipped setup step in beginner workshops.
Your First Curve: Step-by-Step From Marking to Finish
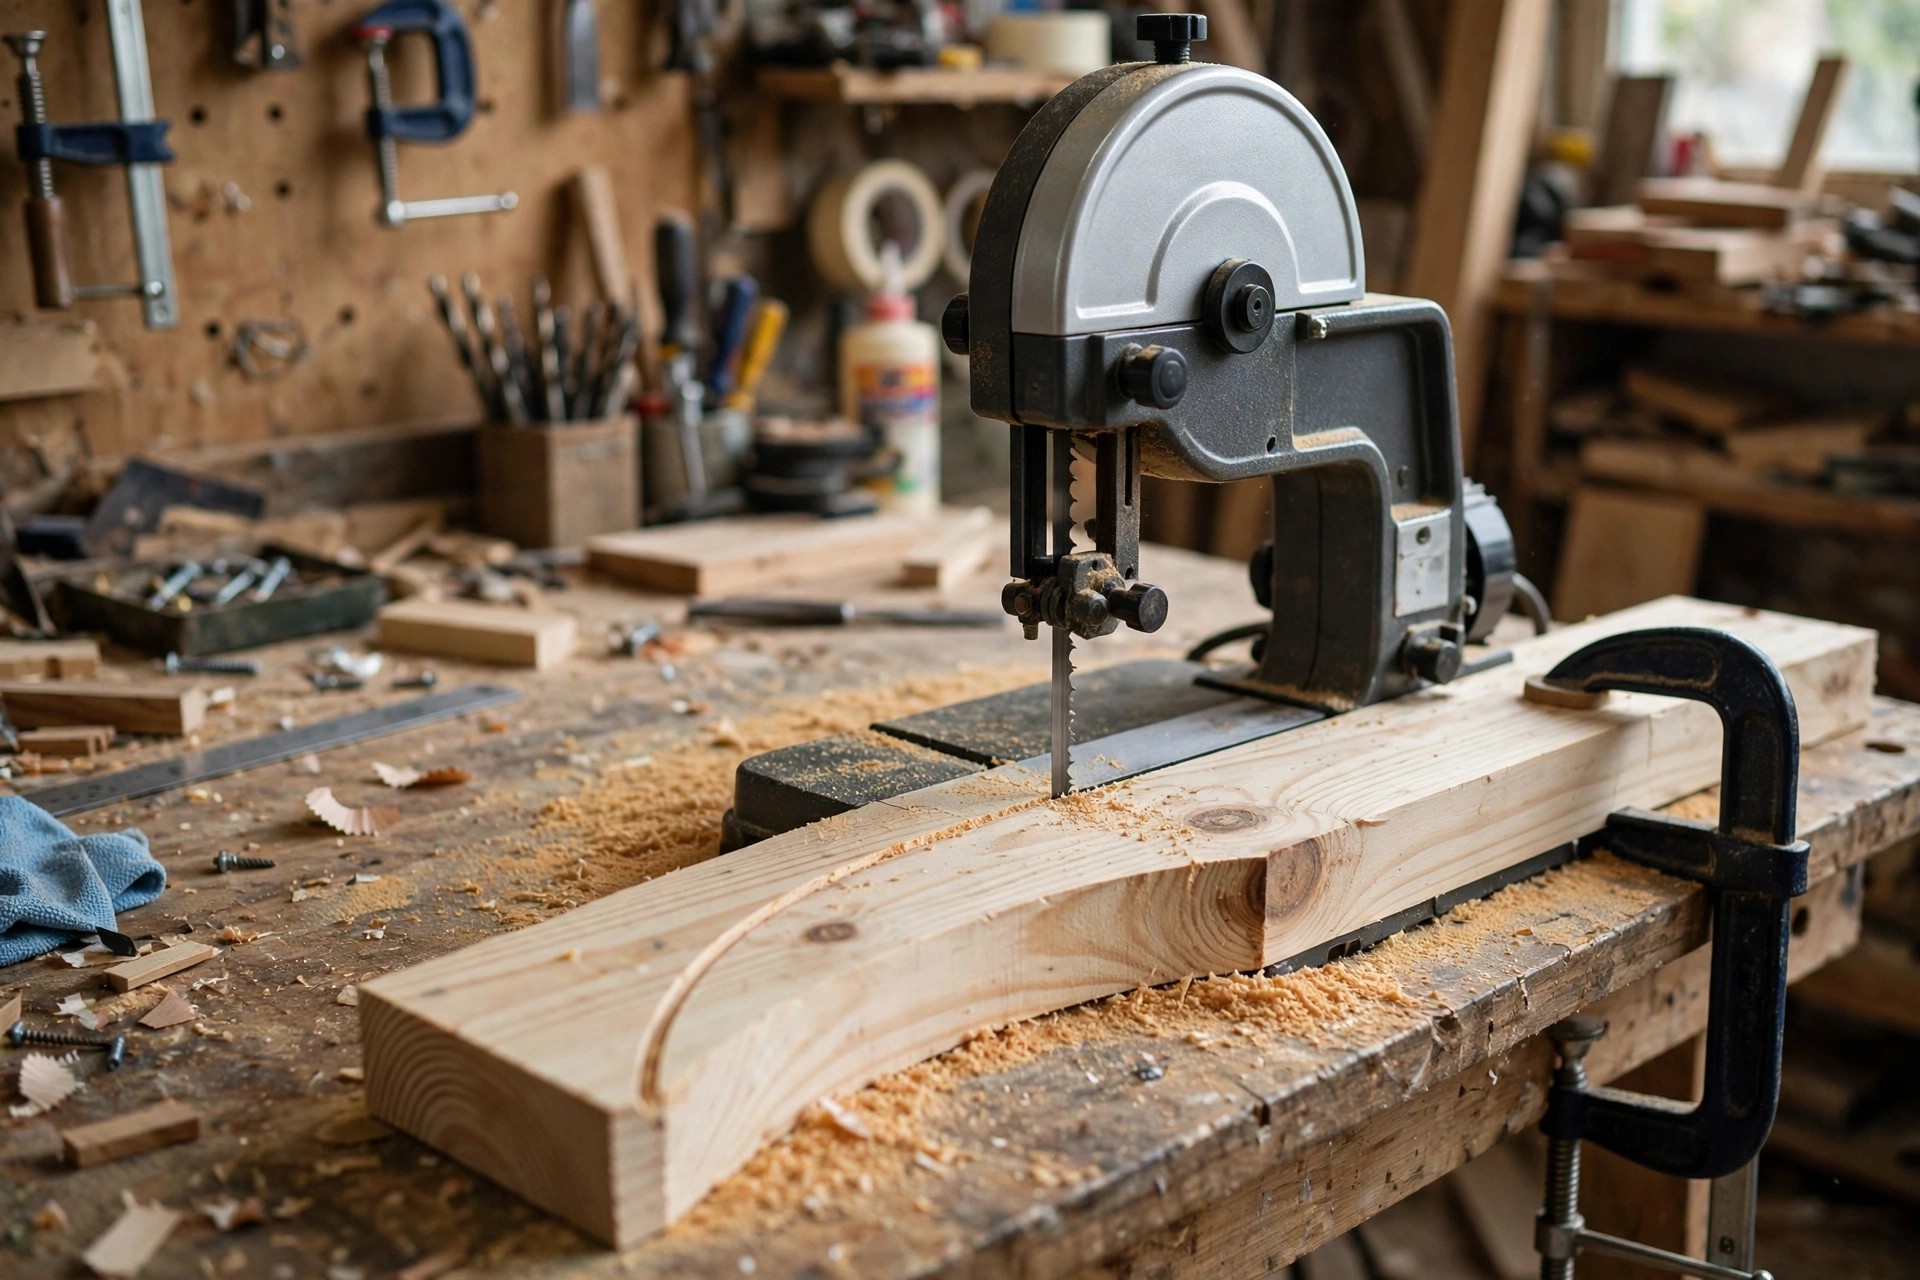
With the saw set up, your first curved cut is a small, satisfying project in itself. Choose a piece of pine or plywood about 3/4 inch thick, and draw a gentle curve on it — a sweeping S-shape or a simple arch, nothing tighter than your blade can handle. Check the radius against the blade table above: if your curve is tighter than your blade’s minimum radius, switch to a narrower blade or redraw the curve. This one check prevents most first-curve disasters.
Set the upper guide a quarter inch above the board, check that the fence is moved out of the way for freehand curve cutting, and make sure the board can move freely on the table without catching on anything. Stand comfortably, with the board supported and both hands guiding it — never with your fingers in line with the blade, and never reaching around the blade to pull the board through. Start the saw and let it reach full speed before the wood touches the blade. Feed slowly and steadily, steering the board so the blade follows your line, and let the blade do the cutting. Pushing hard does not speed the cut; it bends the blade, overheats it, and pushes it off the line.
Relief cuts are the beginner’s secret weapon for tighter curves. Before cutting your final curve, make a series of straight cuts from the edge of the board up to, but not past, your curve line, like the teeth of a comb. These relief cuts let the waste fall away in small pieces as you cut the curve, instead of binding the blade in a long, closing kerf. For a tight curve, relief cuts every half inch or so transform an impossible cut into an easy one. Turn the board, not the blade: keep the blade cutting in its natural direction and rotate the workpiece around it, making small, smooth adjustments rather than sudden twists. If the blade starts to bind, stop feeding, hold the board steady, switch the saw off, and wait for the blade to stop before backing the board out — never yank a bound board backwards while the blade is moving.
When the cut is done, switch off, wait for the blade to stop, and inspect the edge. A good first curve will be close to the line with a slightly rough surface that sands smooth quickly — and if you plan to sand and finish the piece, see our guide on how to sand and finish wood for beginners. If the edge wanders, the usual causes in order are a dull blade, too much guide height, too little tension, or feeding too fast. Fix one at a time, starting with the blade, and you will quickly learn to read what your saw is telling you. For practice, cut the same curve three times on scrap: the improvement between the first and third attempt is usually dramatic, and it costs nothing but offcuts.
Safety: The Rules That Keep Band Saw Work Calm
A band saw is one of the safer power saws, but only if you respect three facts: the blade is always moving when the saw is on, it is very close to your hands during curve work, and a moment of inattention is all it takes. Before every session, run through the safety habits in our guide to woodworking safety tips for beginners and make them automatic. Wear safety glasses — a snapping blade can throw fragments — and hearing protection, because even a benchtop saw is loud enough to matter over time. Wear a dust mask for MDF and plywood, tie back hair, remove loose sleeves and jewellery, and keep gloves off while sawing: gloves near a moving blade can catch and pull a hand in.
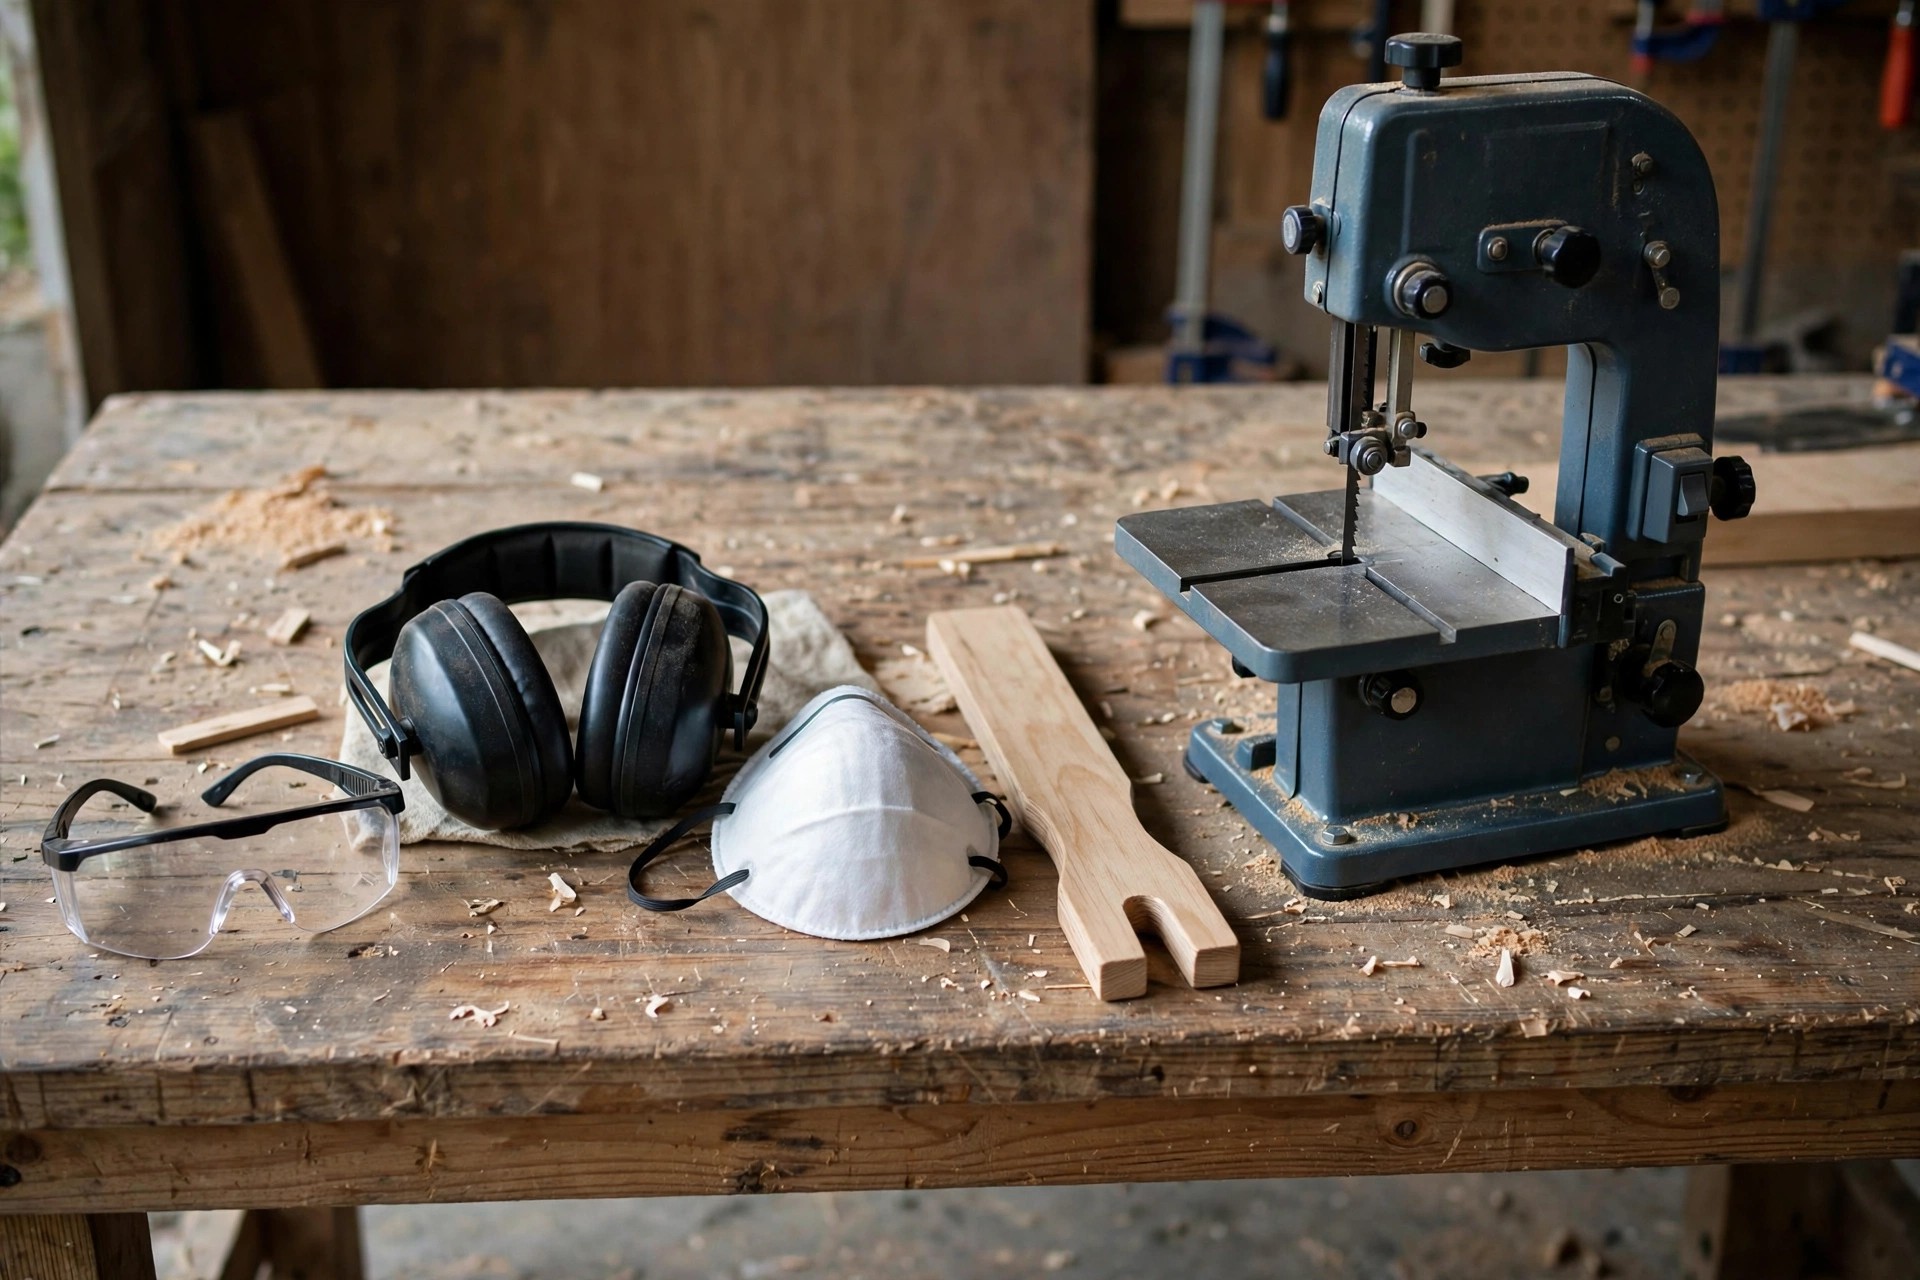
The operating rules are short and non-negotiable. Unplug the saw, or remove power, whenever you change a blade, adjust tracking, or clear a jam. Never reach across the blade, never cut round stock freehand — a dowel or a log section can spin violently, so use a jig or a flat-sided cradle — and never force a cut. Keep your hands to the sides of the blade’s path, use a push stick for small pieces near the end of a straight cut, and keep the upper guide low. If a piece is too small to hold safely, it is too small to cut on the band saw as-is; attach it to a larger carrier board or choose another tool. That last rule alone prevents a large share of beginner band saw injuries.
Dust control matters too. Connect a shop vacuum to the dust port where your saw has one, and sweep the table between cuts so dust does not build up under thin stock and tilt it. A clean table also means you can actually see your cut line, which is a safety issue as much as a quality one. Finally, teach the same rules to anyone else who uses your workshop, and make blade changes a power-disconnected ritual for yourself. Five seconds of discipline removes an entire category of accident, and it sets the tone for every other tool in the shop.
Common Beginner Mistakes (and How to Fix Them)
Most beginner band saw problems trace back to five mistakes, and all of them are fixable. The first is using the wrong blade for the curve — a wide blade forced around a tight radius will wander, bind, or snap. Fix it by matching blade width to curve radius using the table above, and by making relief cuts. The second is running the upper guide too high. A guide left inches above thin stock lets the blade flex and wander; lower it to a quarter inch above the work every time.
The third is dull blades. Beginners often blame their technique, their saw, or their eyesight for drifting cuts, when the blade simply needs replacing. If the saw used to cut a curve cleanly and now drifts, change the blade first. The fourth is feeding too fast or twisting the board suddenly. A band saw blade cuts by removing small chips; rushing it bends the blade and burns the wood. Slow down, steer smoothly, and let the cut happen. The fifth is poor setup discipline: guides set once and never re-checked after a blade change, tension guessed rather than tested, tracking ignored. Run the fifteen-minute setup routine after every blade change and most of these problems never appear.
One more mistake is worth naming because it costs money: buying the wrong saw for the wrong reason. A beginner who buys a 14-inch floor model for cutting toy parts has spent four times too much and filled a small shop with a machine that dominates the room. A beginner who buys the cheapest 9-inch saw and then tries to resaw 5-inch hardwood will be disappointed by the machine rather than by their own expectations. Match the saw to the work you will actually do in your first year, buy good blades, and upgrade later from a position of knowledge — that is how a workshop grows sensibly.
First Projects to Build With Your New Band Saw
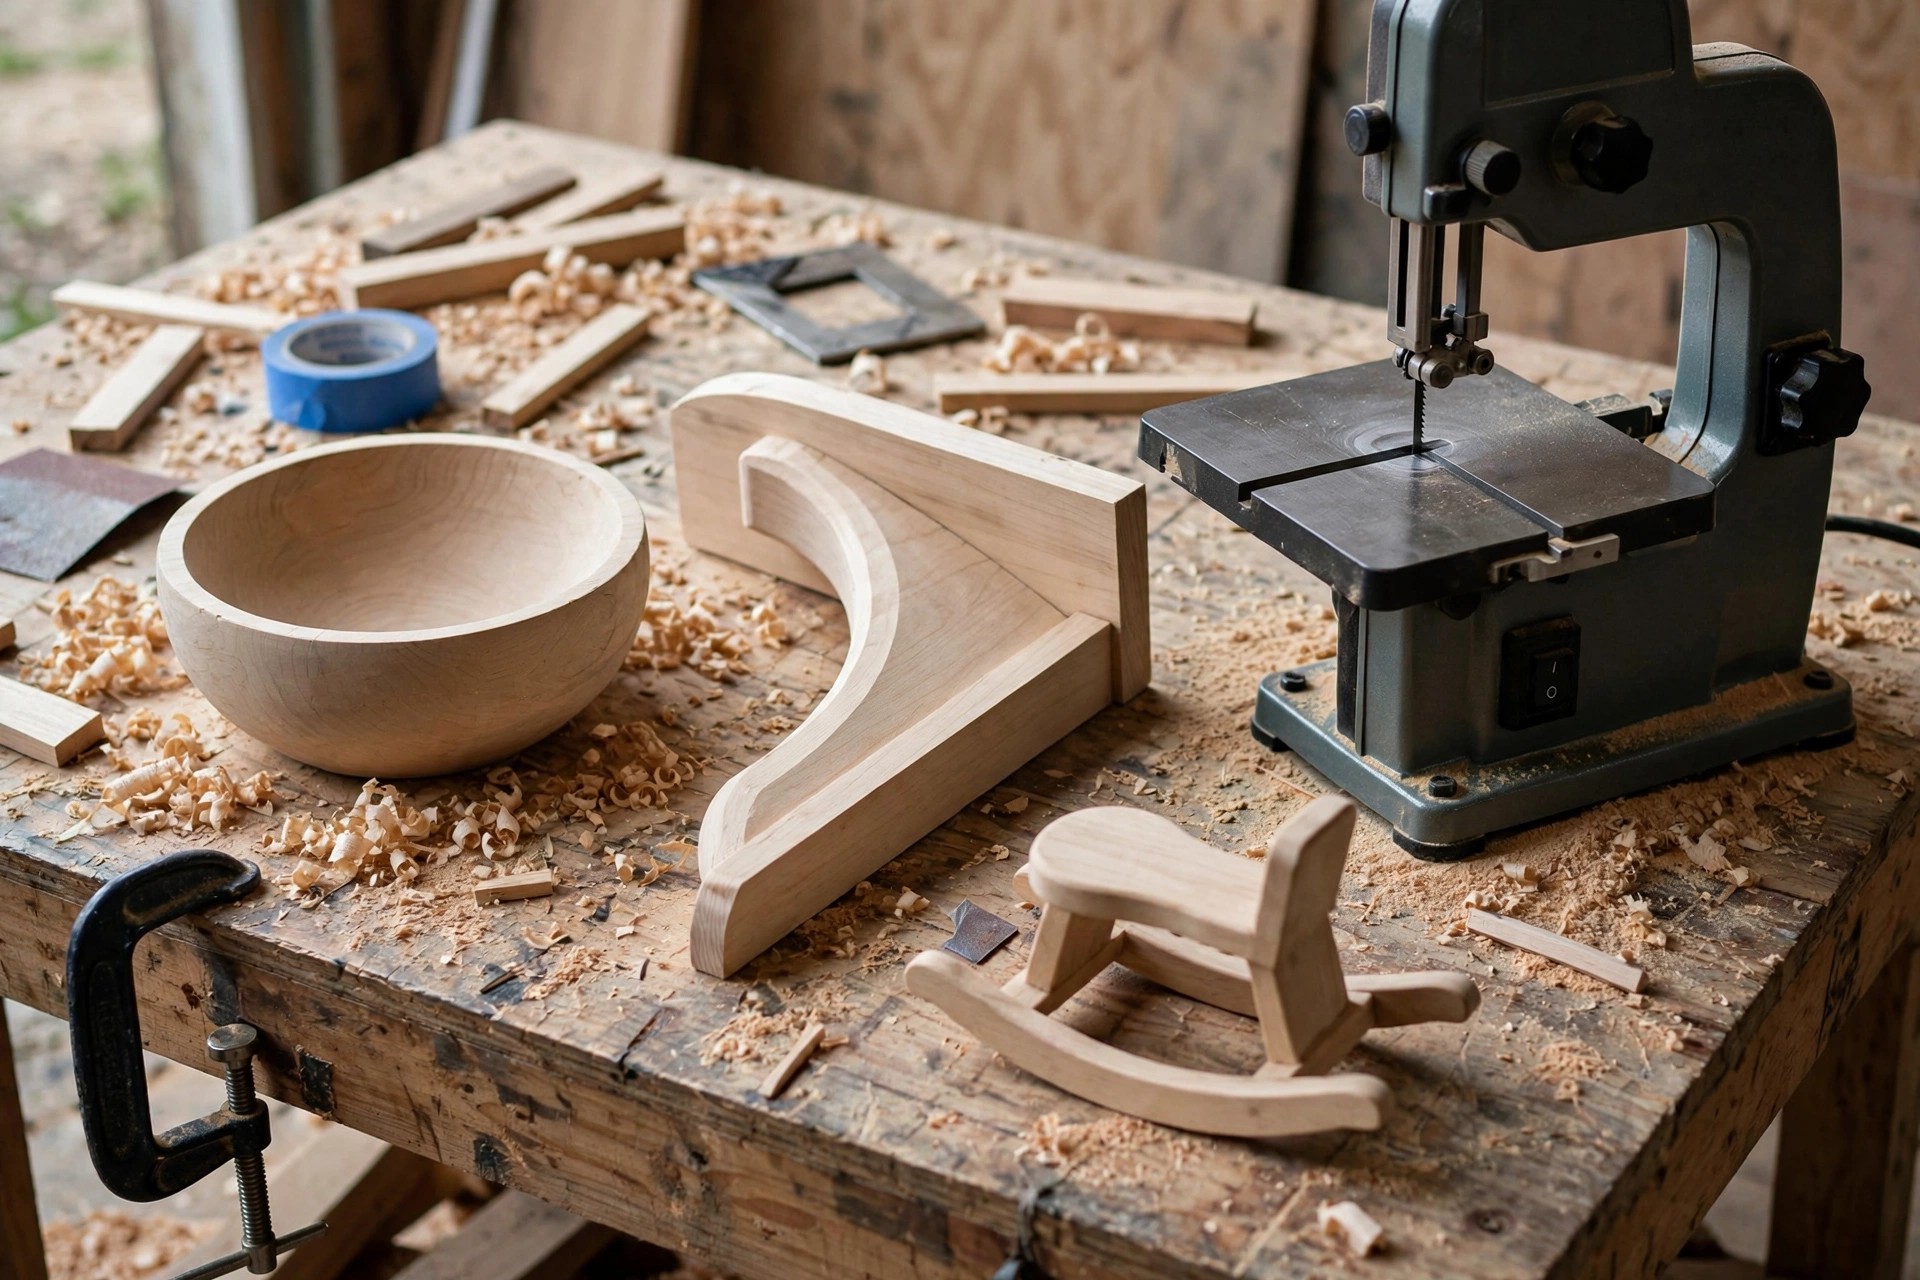
Once you can cut a clean curve, a band saw opens up projects that other beginner saws handle poorly or not at all. Start with a bandsaw box: a block of wood with a drawer cut from its centre, which teaches curves, resawing, and sanding in a single small project and makes a gift people genuinely want. Next, try curved shelf brackets, a simple rocking toy shape, or a wooden bowl blank roughed out on the band saw before turning or carving. These projects are forgiving, use offcuts, and build exactly the steering skill you practised on scrap.
For straight-cut confidence alongside curves, try resawing a pine board into two thinner boards for a small box lid, or cutting the curved back of a simple stool. Pair the band saw with other beginner tools as your projects grow: a best jigsaw for beginners guide covers the portable alternative for curves on site, while a best circular saw for beginners handles breaking down sheet goods that are too big for the band saw table. The band saw’s real gift is that it makes the curved, sculptural parts of a project — the parts that make a simple build look crafted rather than merely assembled.
Keep the same project rule that works for every beginner tool: if a project needs ten cuts you have never tried, simplify it; if it needs one new cut plus nine you know, build it. And remember that curved, well-finished pieces are exactly the kind of beginner work that sells — buyers notice a smooth curve, a clean edge, and a thoughtful finish far more than they notice the size of the saw that made them, which is why easy woodworking projects for beginners that sell is worth reading alongside this guide when you are choosing what to build next.
Frequently Asked Questions
What is the best band saw for beginners woodworking?
For most beginners, a benchtop 10-inch saw like the WEN 3959 is the best all-round first buy, thanks to its 6-inch resaw capacity and widely available 72-inch blades. A 9-inch saw like the SKIL BW9501-00 is the better budget pick if you mainly cut thinner stock and tighter curves.
Can a beginner use a band saw safely?
Yes, with basic discipline: keep the upper guide low, keep hands out of the blade’s path, unplug the saw for blade changes, never cut round stock freehand, and never force a cut. A band saw is one of the calmer, quieter power saws when these rules are followed.
What size band saw do I need for cutting curves?
A 9-inch or 10-inch benchtop saw handles most beginner curves. Throat depth limits how wide a board you can curve-cut, while blade width — not saw size — limits how tight a curve you can follow, so match a narrow blade to tight curves.
What blade should a beginner start with?
Start with a 1/4-inch, 6 TPI blade for general curves, then add a 1/2-inch, 3–4 TPI blade for resawing and a 1/8-inch, 10–14 TPI blade for tight detail work. Buy the exact blade length your saw takes.
How do I stop my band saw blade from wandering?
Check four things in order: blade sharpness, blade tension (use the flutter test), guide bearing adjustment, and upper guide height. In most cases, a fresh blade, correct tension, and a guide lowered to a quarter inch above the work fixes wandering completely.
Is a band saw better than a jigsaw for curves?
For curves in a workshop, yes: a band saw cuts smoother, straighter, and more consistently, with less vibration and better control on thicker stock. A jigsaw wins for portability, on-site work, and cuts in pieces too large or awkward for the band saw table.
Final Verdict
The best band saw for beginners is not the biggest saw, and it is not the one with the longest feature list. It is a benchtop 9-inch or 10-inch saw that fits your bench and your budget — the WEN 3959 if you want the best all-round capacity, the SKIL BW9501-00 if you want the best budget entry — fitted with the right blade for the curve, set up with correct tension and guides, and used with patient, safe habits. Buy the saw, learn the setup routine, practise curves on scrap, and then build something with a curve in it. That first smooth, sweeping cut is the moment the band saw stops feeling like a mysterious machine and starts feeling like the most useful tool in a small shop.


