
A jigsaw is the first power saw most beginners should buy. It is affordable, relatively quiet, easy to control, and it does something no circular saw can do: it cuts curves. From rounded table corners and arched signs to puzzle pieces, plant stands, and decorative brackets, the jigsaw turns a flat board into a shape. That is why it earns a place in almost every beginner project list, including easy woodworking projects for beginners that sell.
The short answer, up front: for most beginners, a mid-priced corded jigsaw with variable speed, tool-free blade change, and adjustable orbital action is the best buy. It has enough power for plywood, pine, and hardwood up to about 2 inches thick, without the price, weight, or battery complications of a professional model. The rest of this guide explains how to choose one, which blades actually matter, how orbital settings work, and how to cut smooth curves without splintering, wandering, or burning the wood.
If you already own a jigsaw and your cuts wander or chip, skip straight to the technique and blade sections. In most cases the saw is not the problem — the blade, the speed, or the way the shoe sits on the board is.
The Short Answer: Which Jigsaw Should a Beginner Buy First?
Buy a corded jigsaw in the 5 to 7 amp range, with variable speed controlled by the trigger, at least three orbital settings, a tool-free blade clamp, and a bevel base that tilts to 45 degrees. That combination covers roughly 95 percent of beginner work: straight cuts in plywood, curves in pine and hardwood, holes for sinks and outlets, and gentle bevels for decorative edges.
Avoid two common beginner mistakes. First, do not buy the cheapest jigsaw on the shelf just because it looks the same. Ultra-cheap saws often vibrate badly, have sloppy blade clamps that let the blade wander, and lack speed control, which means they tear plywood and burn hardwood. Second, do not overbuy a heavy professional barrel-grip saw on your first purchase. It will cut beautifully, but it costs two to three times as much, and you will not notice the difference until your technique is already good.
Corded versus cordless is the other decision beginners agonise over. A corded jigsaw is cheaper, never runs out of charge mid-cut, and delivers consistent power — a real advantage when you are learning, because a dying battery changes how the saw behaves halfway through a curve. A cordless jigsaw is more convenient if you work outdoors or away from outlets, but it only makes sense once you already own batteries in the same system. For a first saw, corded wins on value and consistency.
How to Choose a Jigsaw: The Features That Actually Matter
Motor power and speed control
Amps are a rough guide to power, not a guarantee of cut quality. A 6-amp jigsaw will cut 3/4-inch plywood and 1-inch pine comfortably, and will manage 2-inch hardwood slowly with the right blade. More important than raw amps is variable speed. Cutting thin plywood at full speed causes splintering and vibration; cutting hardwood too slowly causes burning. A variable-speed trigger, or a speed dial plus trigger, lets you match speed to material: faster for softwood and plywood, slower for hardwood, plastic, and metal.
Look for a speed range around 500 to 3,000 strokes per minute. You will rarely use the extremes as a beginner, but the range tells you the saw can slow down enough for delicate work and speed up enough for fast ripping in softwood.
Orbital action explained in plain language
Orbital action is the feature beginners ignore and professionals swear by, so it deserves a clear explanation. In a standard up-and-down stroke, the blade cuts only on the upstroke. With orbital action switched on, the blade also moves slightly forward on the cutting stroke and back on the return stroke, following a small oval or orbital path. That forward push clears sawdust faster and lets the blade bite more aggressively.
The practical result is simple: higher orbital settings cut faster but rougher; lower settings cut slower but cleaner. Most beginner saws offer four positions, usually marked 0 to 3. Use 0 for clean, splinter-free curves in plywood and veneer, 1 for general curves and hardwood, and 2 or 3 only for fast, rough straight cuts in softwood where the edge will be sanded or hidden. If your curves look ragged, the first thing to check is whether orbital action is set too high — it is the most common cause of rough jigsaw cuts.
Blade change, shoe, and bevel
A tool-free blade clamp matters more than it sounds. Older jigsaws need an Allen key to change blades, which means beginners avoid changing blades — and then cut everything with one dull, wrong blade. A lever or twist clamp lets you swap blades in seconds, so you actually use the right blade for each job.
The shoe, or base plate, is the flat foot that slides on the wood. It should feel solid, sit flat without rocking, and tilt for bevel cuts up to 45 degrees. A bevel scale that locks firmly is essential; a shoe that creeps mid-cut will ruin a bevelled edge. Some saws include a plastic shoe cover or splinter guard that reduces chipping on the top face — a genuinely useful beginner feature, so keep it fitted if your saw comes with one.
Other features worth having, in order of usefulness: a dust blower or dust port that keeps the cut line visible, an LED work light, a soft-grip handle that reduces vibration, and a lock-on button for long straight cuts. None of these replaces good technique, but a visible cut line is half the battle when following a curve.
Beginner Jigsaw Comparison: 5 Saws Worth Considering
The table below compares five saws beginners commonly consider. Prices vary by retailer and region, so treat the price band as a guide, not a quote. All five use the standard T-shank blade system, which is the system you want — T-shank blades are widely available and easy to change.
| Jigsaw | Power | Orbital settings | Blade change | Best for | Price band |
|---|---|---|---|---|---|
| Porter-Cable PCE345 | 6 amp, corded | 4 | Tool-free | Best all-round beginner value | Low-mid |
| Bosch JS365 | 6.5 amp, corded | 4 | Tool-free | Smoothest cuts, best vibration control | Mid |
| Black+Decker BDEJS600C | 5 amp, corded | 4 | Tool-free | Tightest budget, light occasional use | Low |
| DeWalt DW317K | 5.5 amp, corded | 4 | Tool-free | Durable workshop saw, frequent use | Mid |
| Makita JV0600K | 6.5 amp, corded | 3 | Tool-free | Low vibration, longer sessions | Mid-high |
Porter-Cable PCE345: the honest beginner pick
The PCE345 is the pick most beginners should start with because it gets the fundamentals right at a fair price. Its 6-amp motor handles plywood and pine easily, its four orbital settings cover everything from clean curves to fast straight cuts, and its variable-speed trigger is easy to feather. The trade-off is refinement: it vibrates more than the Bosch, and its dust blower is adequate rather than excellent. For a first saw used a few times a month, that trade-off is entirely reasonable.
Bosch JS365: the smoothest cut
If your budget stretches a little further, the Bosch JS365 is the upgrade worth paying for. Bosch essentially invented the modern jigsaw, and it shows in the details: lower vibration, a more precise blade guide, and a cut line that stays steadier through curves. Beginners notice the difference most on plywood, where the Bosch splinters less at the same speed. The trade-off is price — you pay noticeably more for refinement you may not fully appreciate until your second or third project. Buy it if you plan to use a jigsaw weekly, or if you already know you hate vibration.
Black+Decker BDEJS600C: the budget option, with caveats
The BDEJS600C is the cheapest credible option here, and for very light use — a few curved cuts a month in plywood and pine — it works. Its 5-amp motor is adequate for thin stock, and it has the essential features: variable speed, orbital action, and tool-free blade change. The honest caveats are that it vibrates more, feels less planted on the board, and struggles in hardwood over an inch thick. If you buy it, budget for good blades immediately; a quality blade does more for this saw than any other upgrade.
DeWalt and Makita: buy these second, not first
The DeWalt DW317K and Makita JV0600K are excellent saws, and both will last for years of regular use. The DeWalt is a tough, no-nonsense workshop saw with a comfortable grip, while the Makita is notably smooth and quiet for its power. Neither is a bad first buy, but both cost more than a beginner needs to spend before knowing how often a jigsaw will actually be used. They make ideal second saws — or first saws for a beginner who is already committed to weekly woodworking.
Jigsaw Blades: The Real Secret to Clean Cuts
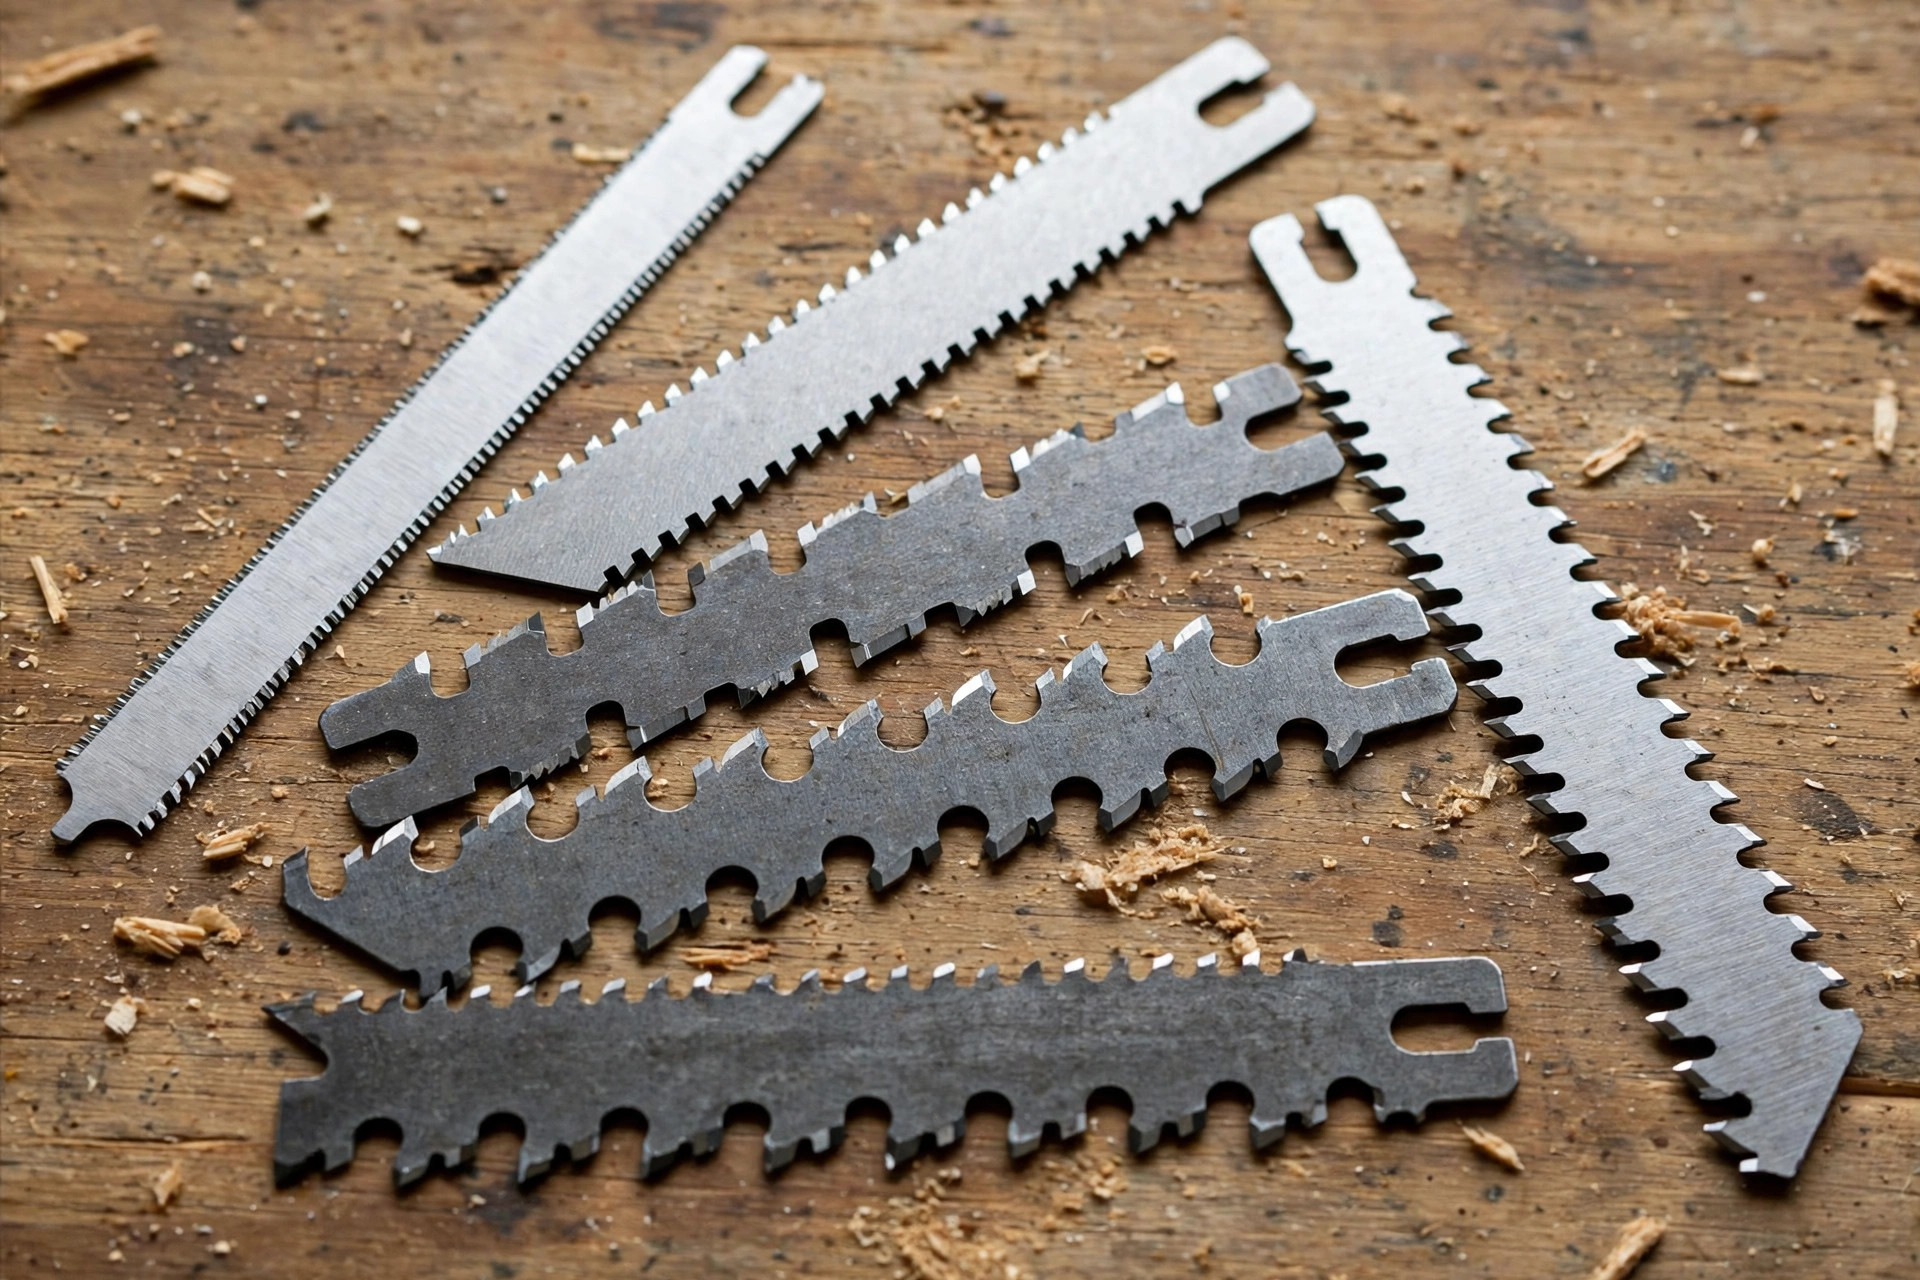
Here is the truth experienced woodworkers repeat to every beginner: the blade matters more than the saw. A mid-priced saw with the right sharp blade will out-cut an expensive saw with a dull, wrong blade every time. Blades are cheap, so there is no reason to stretch one blade across every material.
Jigsaw blades are described by three things: shank type, teeth per inch (TPI), and tooth design. Buy T-shank blades — they are the modern standard and fit every saw in the table above. U-shank blades are an older system and should be avoided on a new purchase.
Teeth per inch works like this: fewer, larger teeth cut faster and rougher; more, smaller teeth cut slower and cleaner. A 6 TPI blade powers through thick softwood quickly but leaves a rough edge. A 10 to 12 TPI blade is the versatile middle ground for plywood and pine. A 20-plus TPI blade is for thin material, veneer, and very clean cuts, but it cuts slowly and can overheat in thick wood. Tooth design also matters: a standard tooth cuts on the upstroke and can splinter the top face, while a reverse-tooth blade cuts on the downstroke and leaves the top face cleaner — ideal for visible plywood surfaces.
Blade-type table: what to use where
| Blade type | TPI | Best material | Cut quality | Beginner tip |
|---|---|---|---|---|
| Standard wood blade | 6–10 | Pine, softwood, thick boards | Fast, moderately rough | Default blade for framing and rough shapes |
| Clean-cut wood blade | 10–12 | Plywood, MDF, pine panels | Clean, low splintering | Use for any visible panel edge |
| Reverse-tooth blade | 10–14 | Plywood, veneer, laminate | Very clean top face | Flip the good face up and cut slowly |
| Scroll / fine blade | 20+ | Thin plywood, curves, detail work | Very clean, slow | Best blade for tight curves and small shapes |
| Metal-cutting blade | 18–32 | Sheet metal, nails, plastic | Clean in thin stock | Slow speed only; never force it |
| Coarse / fast-cut blade | 6 | Thick softwood, rough cuts | Rough, very fast | Only where the edge will be sanded or hidden |
A practical starter set is five blades: two clean-cut 10 TPI wood blades, one reverse-tooth blade, one fine scroll blade, and one coarse 6 TPI blade. That set costs little and covers almost every beginner project. Replace a blade as soon as it starts pushing hard, burning, or wandering — a dull blade is not just slow, it is dangerous, because it tempts you to push harder and lose control of the curve.
Step-by-Step: How to Cut a Curve with a Jigsaw
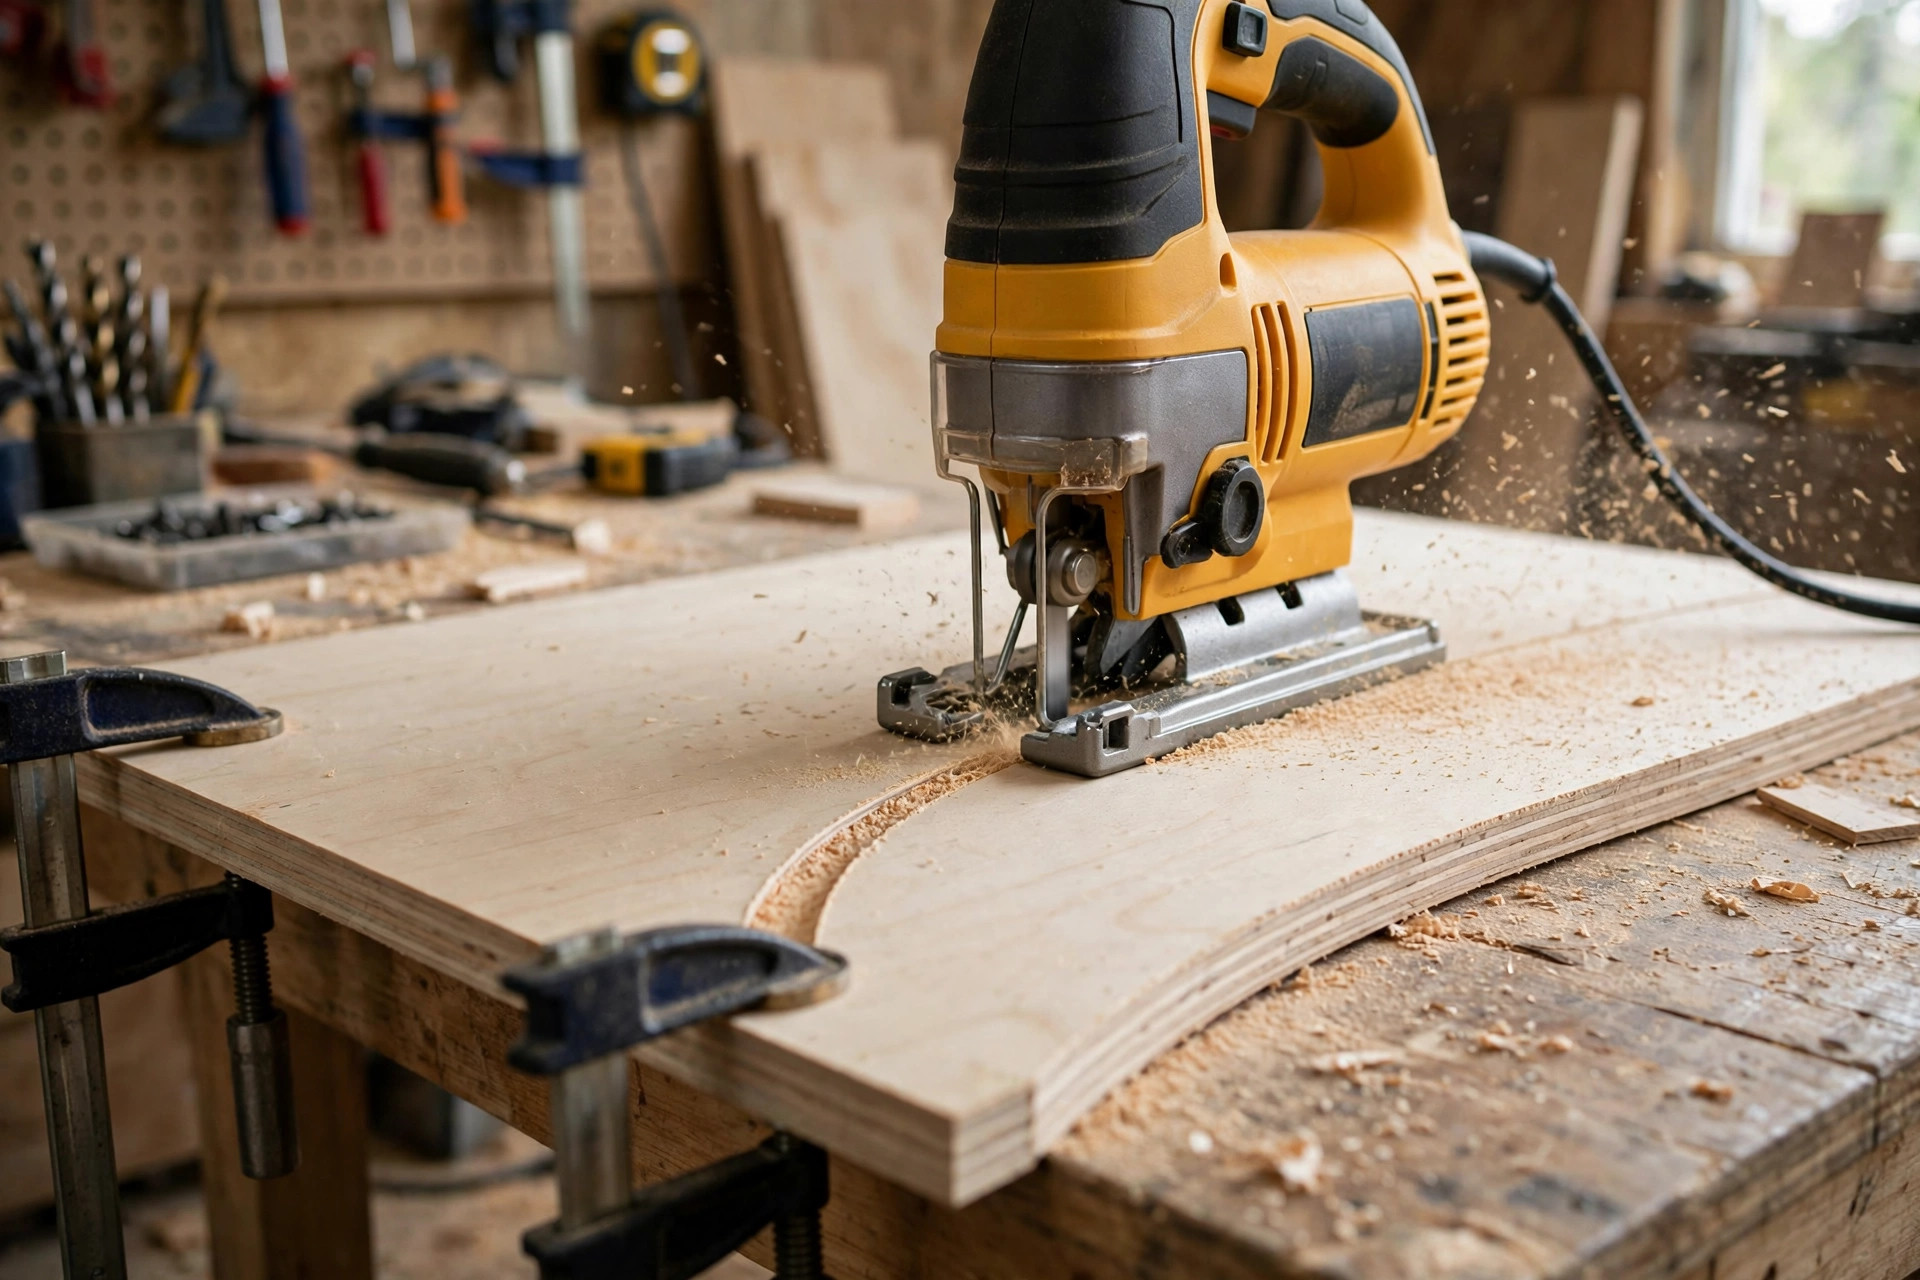
Cutting a curve well is a sequence, not a single trick. Follow these steps in order and your curves will improve immediately, whatever saw you own.
1. Mark clearly, then mark again. Draw your curve with a pencil, a template, or a compass, and make the line dark enough to see through sawdust. A faint line is the most common reason beginners drift off course. If the shape matters — a circle, an arch, a symmetrical bracket — make a cardboard template first, trace it, and check the shape before you cut. Good marking is part of the same discipline as using woodworking marking tools for beginners properly: measure twice, mark once, cut once.
2. Clamp the workpiece properly. This step is non-negotiable. The board must be clamped to a bench or sawhorses so it cannot move, with the cut line clear of the bench edge and enough clearance below for the blade. Never hold a board with one hand and saw with the other — the board will shift, the blade will bind, and the cut will wander. If you are still building your clamping kit, read our guide to the best clamps for woodworking beginners before your next project.
3. Drill a starter hole for inside cuts. For a closed shape, such as a circle inside a board or a handle hole, drill a hole just inside the waste side of the line, large enough for the blade to pass through. Insert the blade through the hole, rest the shoe flat on the board, and start cutting from there. Never try to plunge a running jigsaw into the middle of a board — that is how blades snap and boards kick.
4. Set speed and orbital action before you start. For plywood curves, set orbital action to 0 or 1 and speed to medium. For pine, orbital 1 and medium-high speed works well. For tight curves, always drop to orbital 0 and use a fine scroll blade. Changing settings mid-cut is awkward and usually means the cut is already going wrong.
5. Let the blade do the work. Start the saw before the blade touches the wood, ease it into the line, and then guide it forward with light, steady pressure. Do not push hard — pushing bends the blade, which is why cuts drift and come out bevelled underneath even when they look straight on top. Your job is steering, not forcing. Think of it as driving slowly around a bend: gentle steering, constant speed, eyes ahead of the blade, not fixed on the teeth.
6. Steer with the front of the shoe, and relief-cut tight curves. On a tight curve, the blade binds because the waste wood behind the cut traps it. The fix is relief cuts: before cutting the curve, make several short straight cuts from the edge of the board up to — but not across — the curve line, like spokes. Each spoke lets a wedge of waste fall away as you cut, so the blade can turn freely. For very tight turns, stop the forward feed, let the blade clear, pivot the saw gently on the shoe, and resume. Never twist a running blade sideways through a curve; that snaps blades and gouges the edge.
7. Finish the edge. Even a good jigsaw cut benefits from light sanding. Sand the edge with 120-grit paper, then 220-grit if the edge will be visible or finished. If the edge will be painted, a quick pass with a block plane or a sanding block is enough. For a project-ready curved piece, see how curved offcuts become finished work in easy scrap wood projects for beginners — many of those designs start with exactly this kind of curve cut.
Orbital Settings in Practice: When to Use Each One
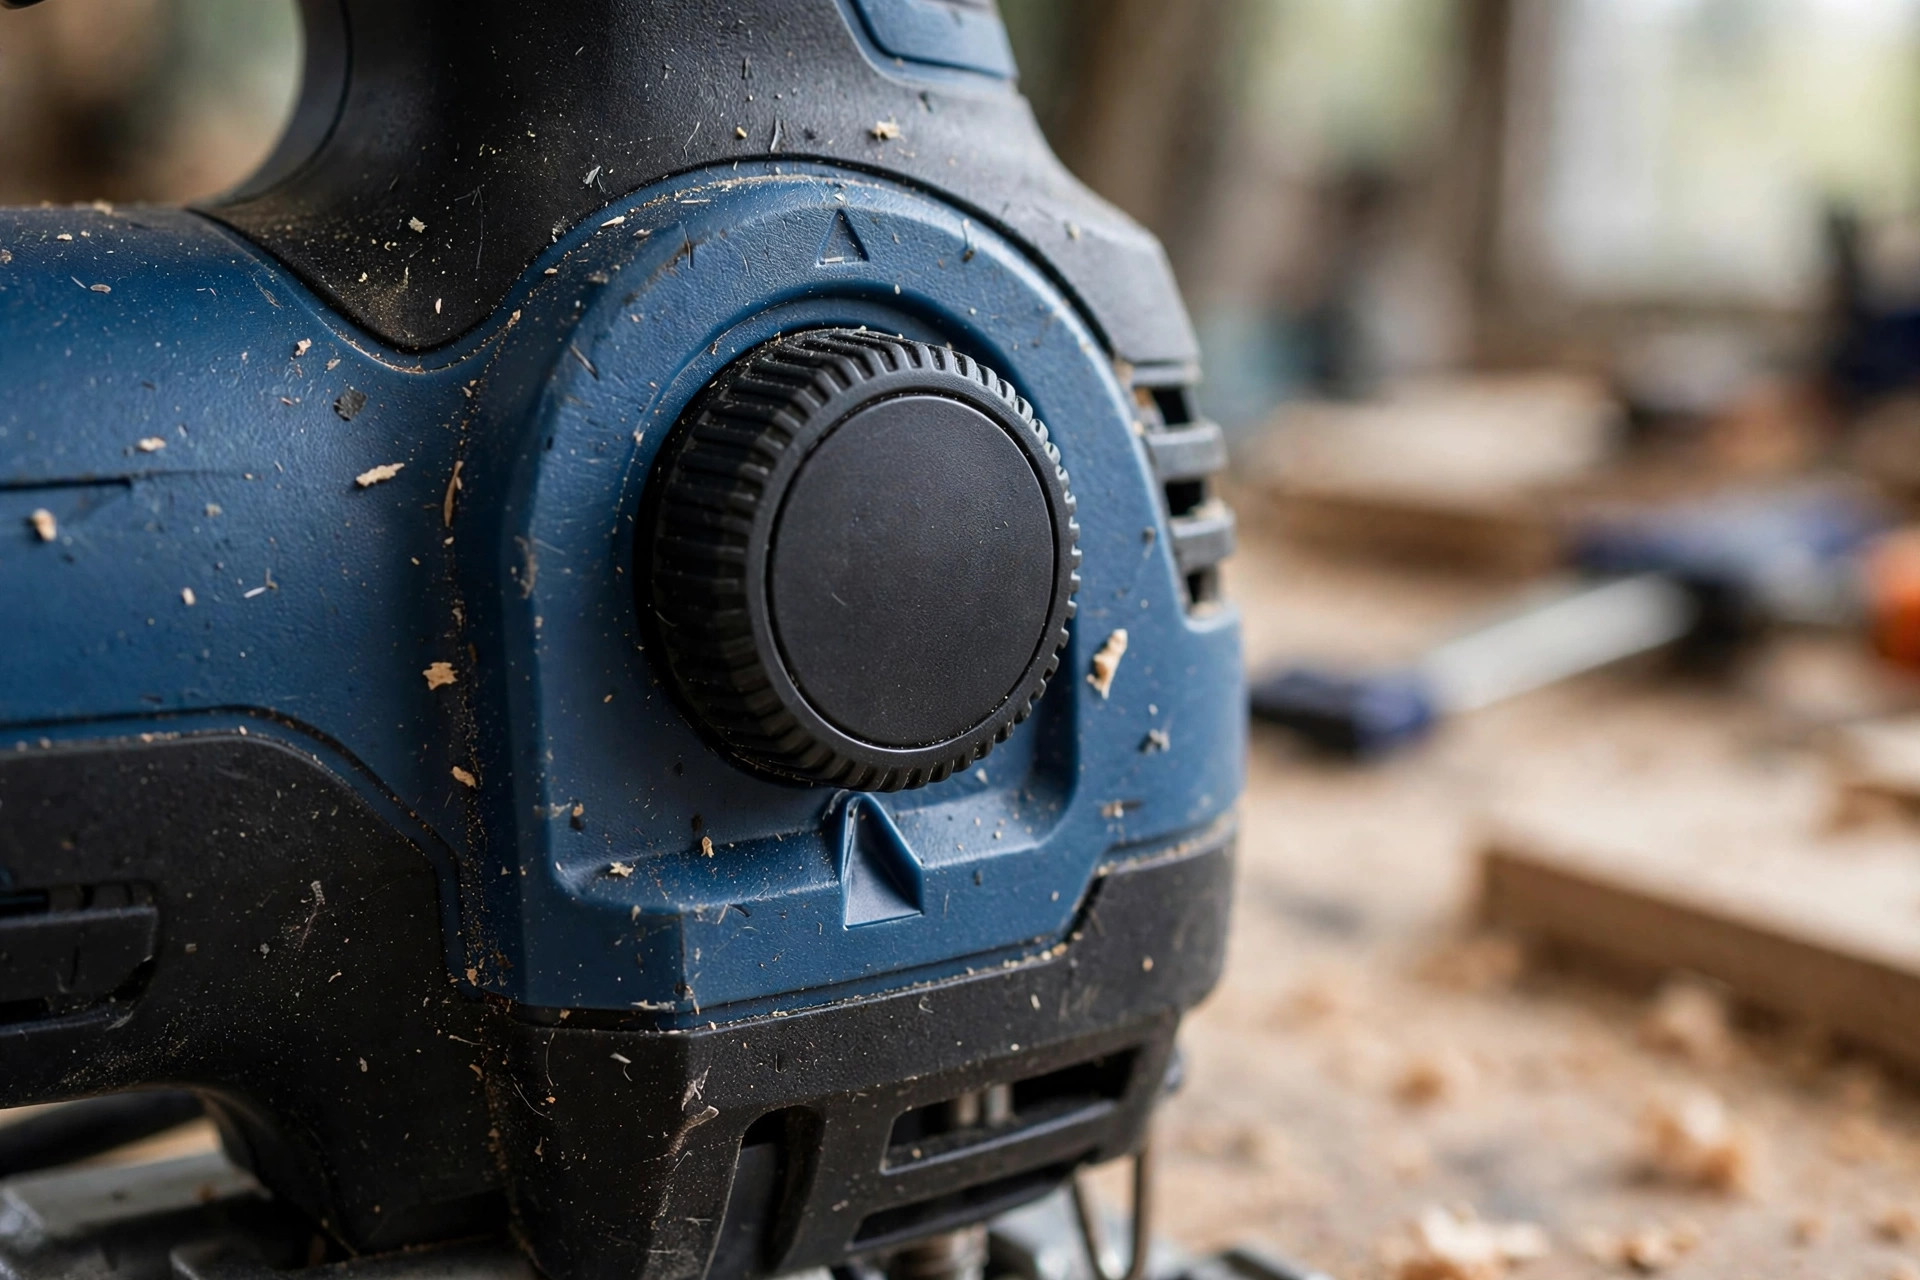
The dial is small, but it changes everything about a cut. Here is a practical rule you can remember in the workshop:
- Orbital 0 — cleanest. Use for curves in plywood, veneer, laminate, and any visible edge. Slowest, but the edge needs the least sanding.
- Orbital 1 — general purpose. Use for everyday curves and straight cuts in pine and hardwood up to an inch thick. A good default if you are unsure.
- Orbital 2 — fast straight cuts. Use for ripping softwood and rough dimensioning where the edge will be sanded, planed, or hidden inside a joint.
- Orbital 3 — fastest, roughest. Use only for rough work in softwood. Never use it on a curve or a visible edge; the blade will chatter and tear.
If you remember only one thing about orbital action, remember this: when a cut looks rough, turn the orbital setting down before you blame the blade or the saw. Beginners commonly cut plywood on orbital 3 because the saw came set that way, then wonder why the edge looks chewed. Drop to 0, switch to a clean-cut blade, and cut again — the difference is usually dramatic.
Bevel Cuts and Splinter Control
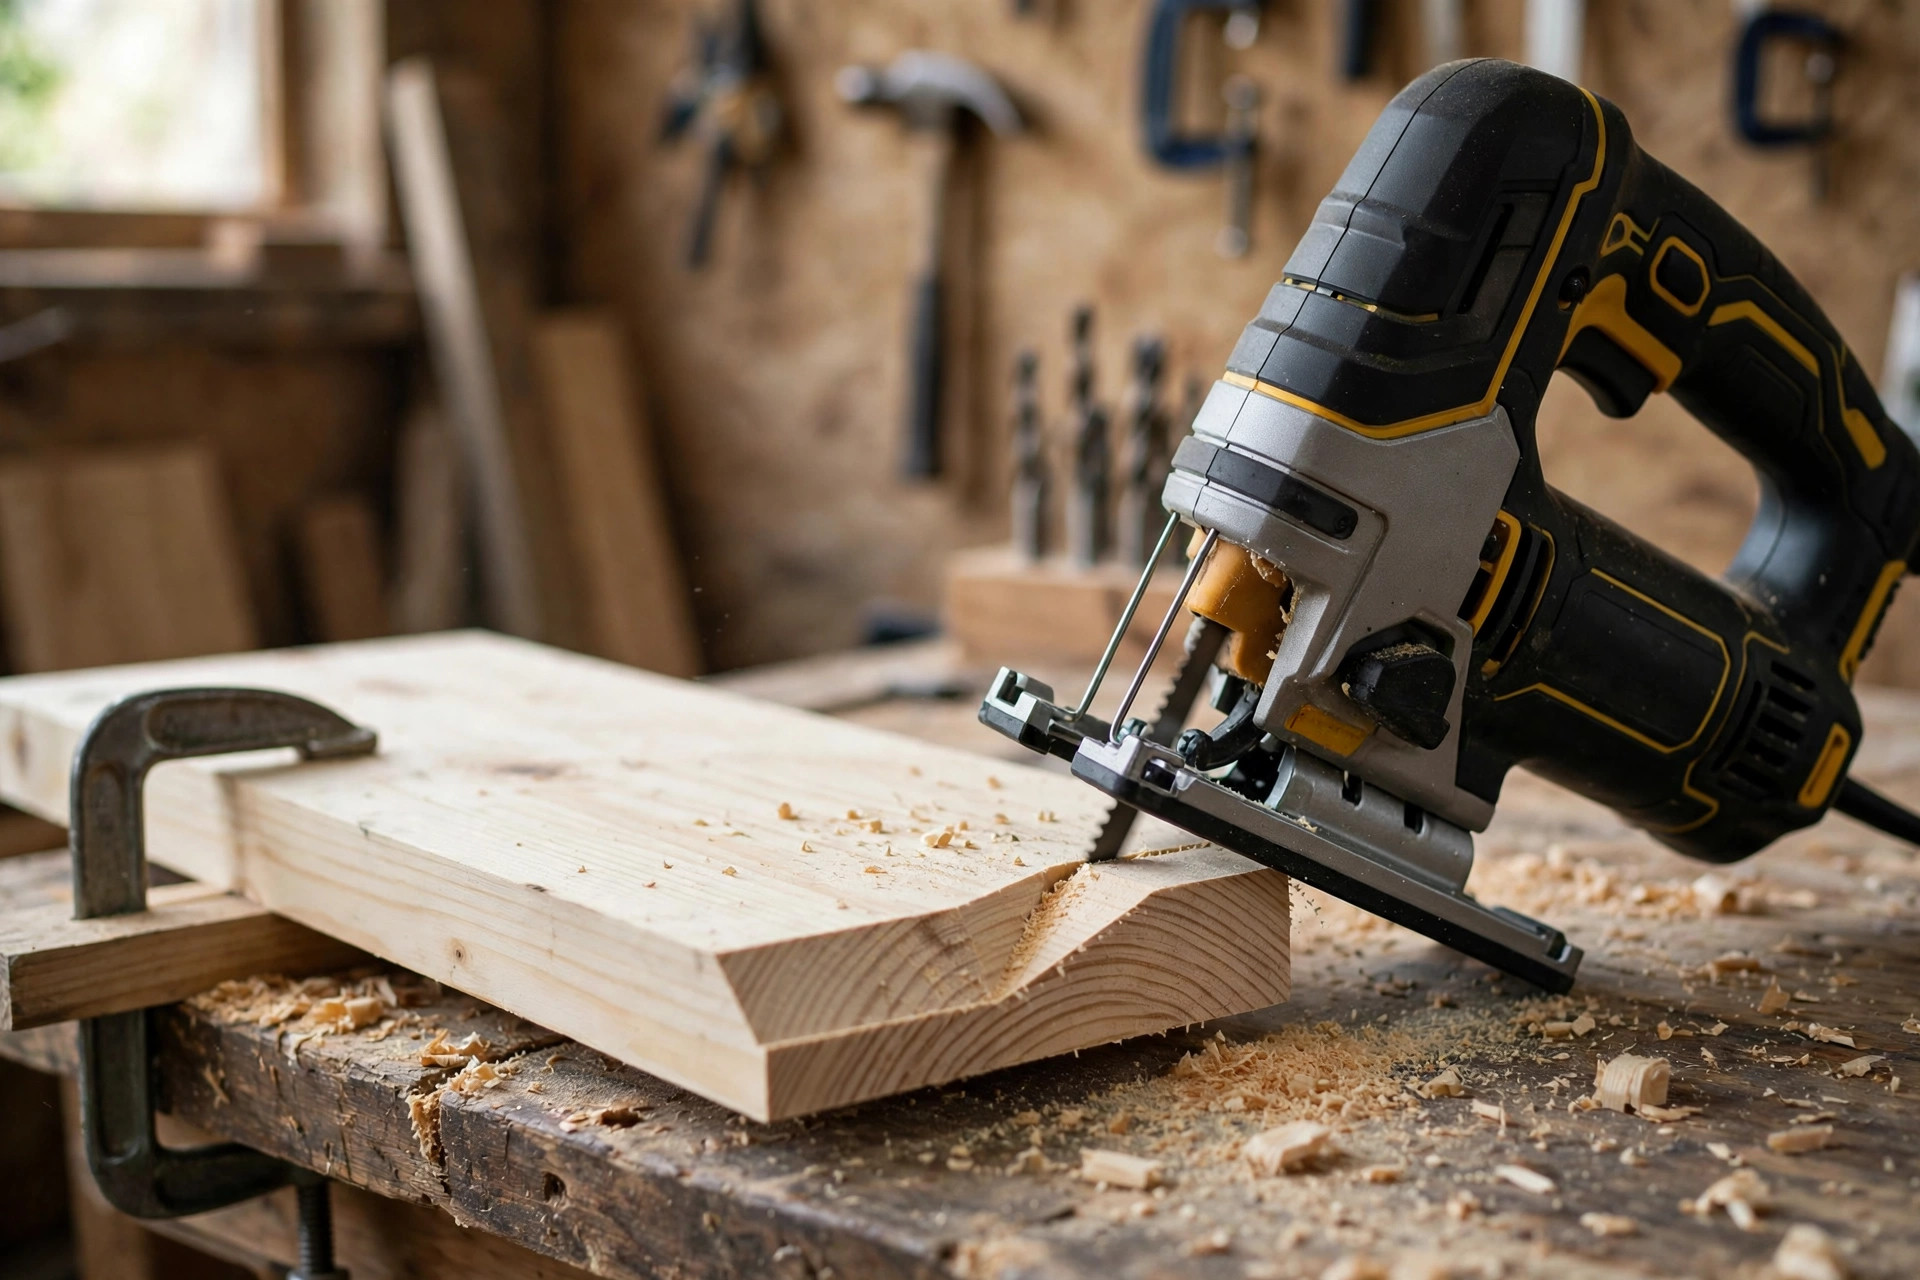
A jigsaw can cut bevels up to 45 degrees by tilting the shoe, which is useful for decorative edges, chamfered sign borders, and angled brackets. Set the bevel angle with the scale on the shoe, lock it firmly, and test on scrap first — a shoe that is one degree off looks fine until you try to join two bevelled pieces. Cut bevels slowly, with orbital action on 0 or 1, because a tilted blade is easier to deflect. And remember that a bevel cut in thick wood is demanding: the blade is effectively cutting through more material, so use a sharp blade and let the saw work at its own pace.
Splinter control deserves its own attention because it is the complaint beginners raise most often. Splinters happen when the blade’s teeth tear fibres out of the top face as they exit the wood. Four things reduce them dramatically. First, use a clean-cut or reverse-tooth blade for visible surfaces. Second, put the good face down when using a standard blade, since the upstroke cuts cleanest on the underside — or put the good face up when using a reverse-tooth blade. Third, apply masking tape along the cut line on both faces before cutting; the tape supports the surface fibres and peels off cleanly afterwards. Fourth, cut at a moderate speed with orbital action on 0. Combine all four on plywood and your edges will look almost as clean as a table-saw cut.
Clamping, Support, and Safe Setup
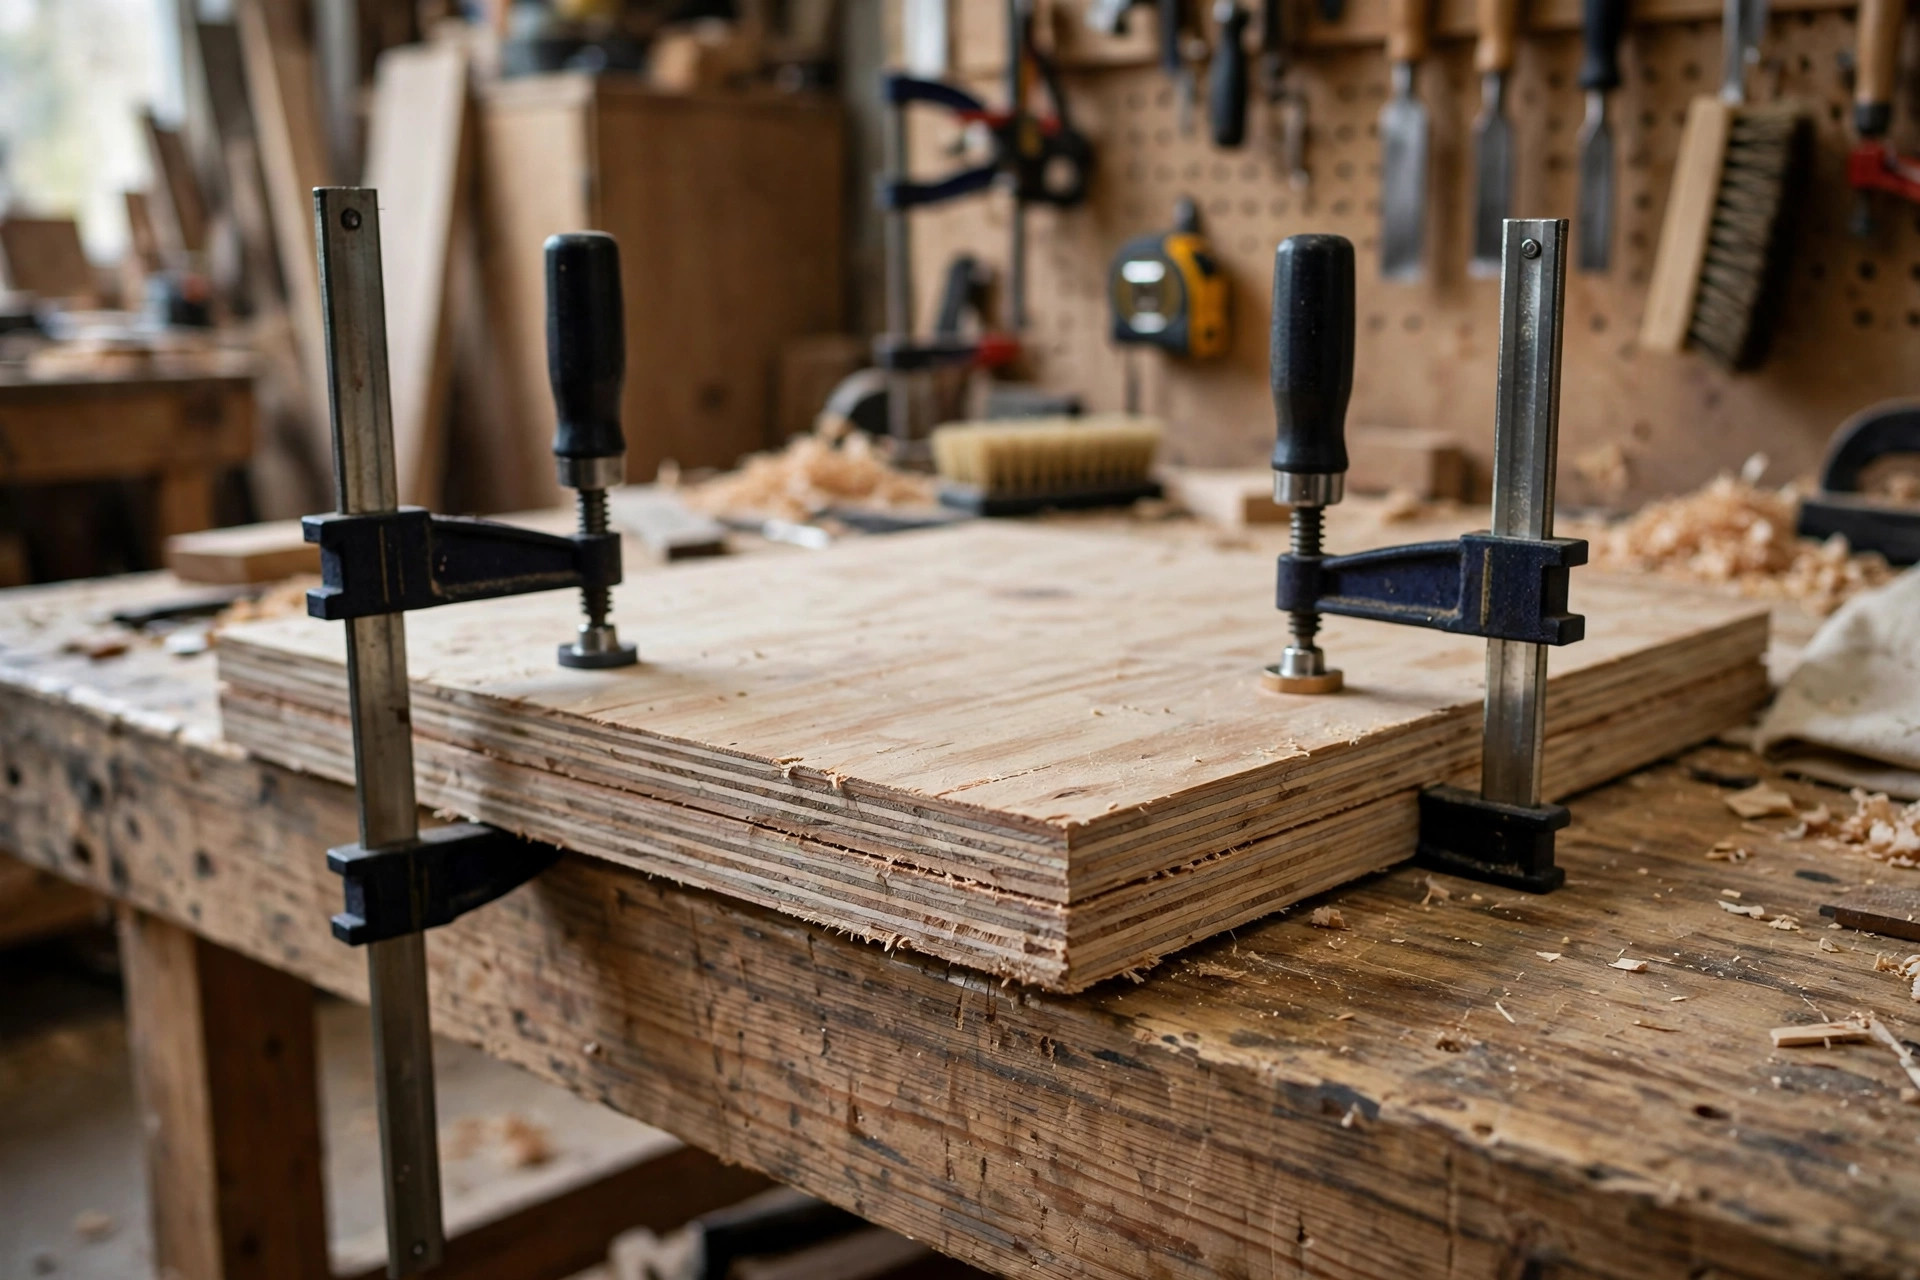
Safe jigsaw work starts before the saw switches on. Clamp the workpiece so it cannot move, and support it so the offcut cannot fall and pinch the blade at the end of the cut. Keep both hands on the saw — never reach across the cut line, and never hold the workpiece with your free hand near the blade path. Wear safety glasses always, and hearing protection for longer sessions. Keep the cord behind you, not across the bench where the shoe can snag it, and unplug the saw whenever you change a blade. These habits sound basic, but they are what separate a calm, controlled cut from a sudden, scary one.
Support matters most on large sheets. A sheet of plywood balanced on two sawhorses will flex and pinch the blade as you cut across it. Add a third support, or cut on a sacrificial sheet of foam insulation on the floor, which supports the whole sheet and lets the blade pass safely underneath. Small parts need a different approach: clamp them to a larger backing board rather than trying to hold a tiny piece by hand. If a piece is too small to clamp safely, it is too small to cut with a jigsaw — cut the shape from a larger board first, then trim it down.
Common Beginner Mistakes (and the Fix for Each)
- Pushing too hard. The blade bends, the cut drifts, and the underside comes out bevelled. Fix: ease off, let the blade cut at its own pace, and guide rather than force.
- Cutting plywood on high orbital action. The edge tears and splinters. Fix: orbital 0, clean-cut or reverse-tooth blade, masking tape on the line.
- Using one dull blade for everything. Cuts burn, wander, and take twice as long. Fix: keep a small blade set and change blades without hesitation.
- Not clamping the workpiece. The board shifts mid-curve and the cut is ruined. Fix: two clamps minimum, cut line clear of the bench, offcut supported.
- Following the blade instead of the line. Beginners stare at the teeth and drift. Fix: look a few centimetres ahead of the blade, along the line you are about to cut.
- Twisting the saw through tight curves. The blade snaps or gouges. Fix: relief cuts, stop and pivot gently, or switch to a finer scroll blade.
- Cutting with the shoe lifted. The blade vibrates and the cut goes ragged. Fix: keep the shoe flat on the board at all times, even on curves.
- Ignoring the underside. A cut that looks clean on top can be bevelled below. Fix: check the underside on scrap first, slow down, and use a sharp blade.
What to Build First with Your Jigsaw
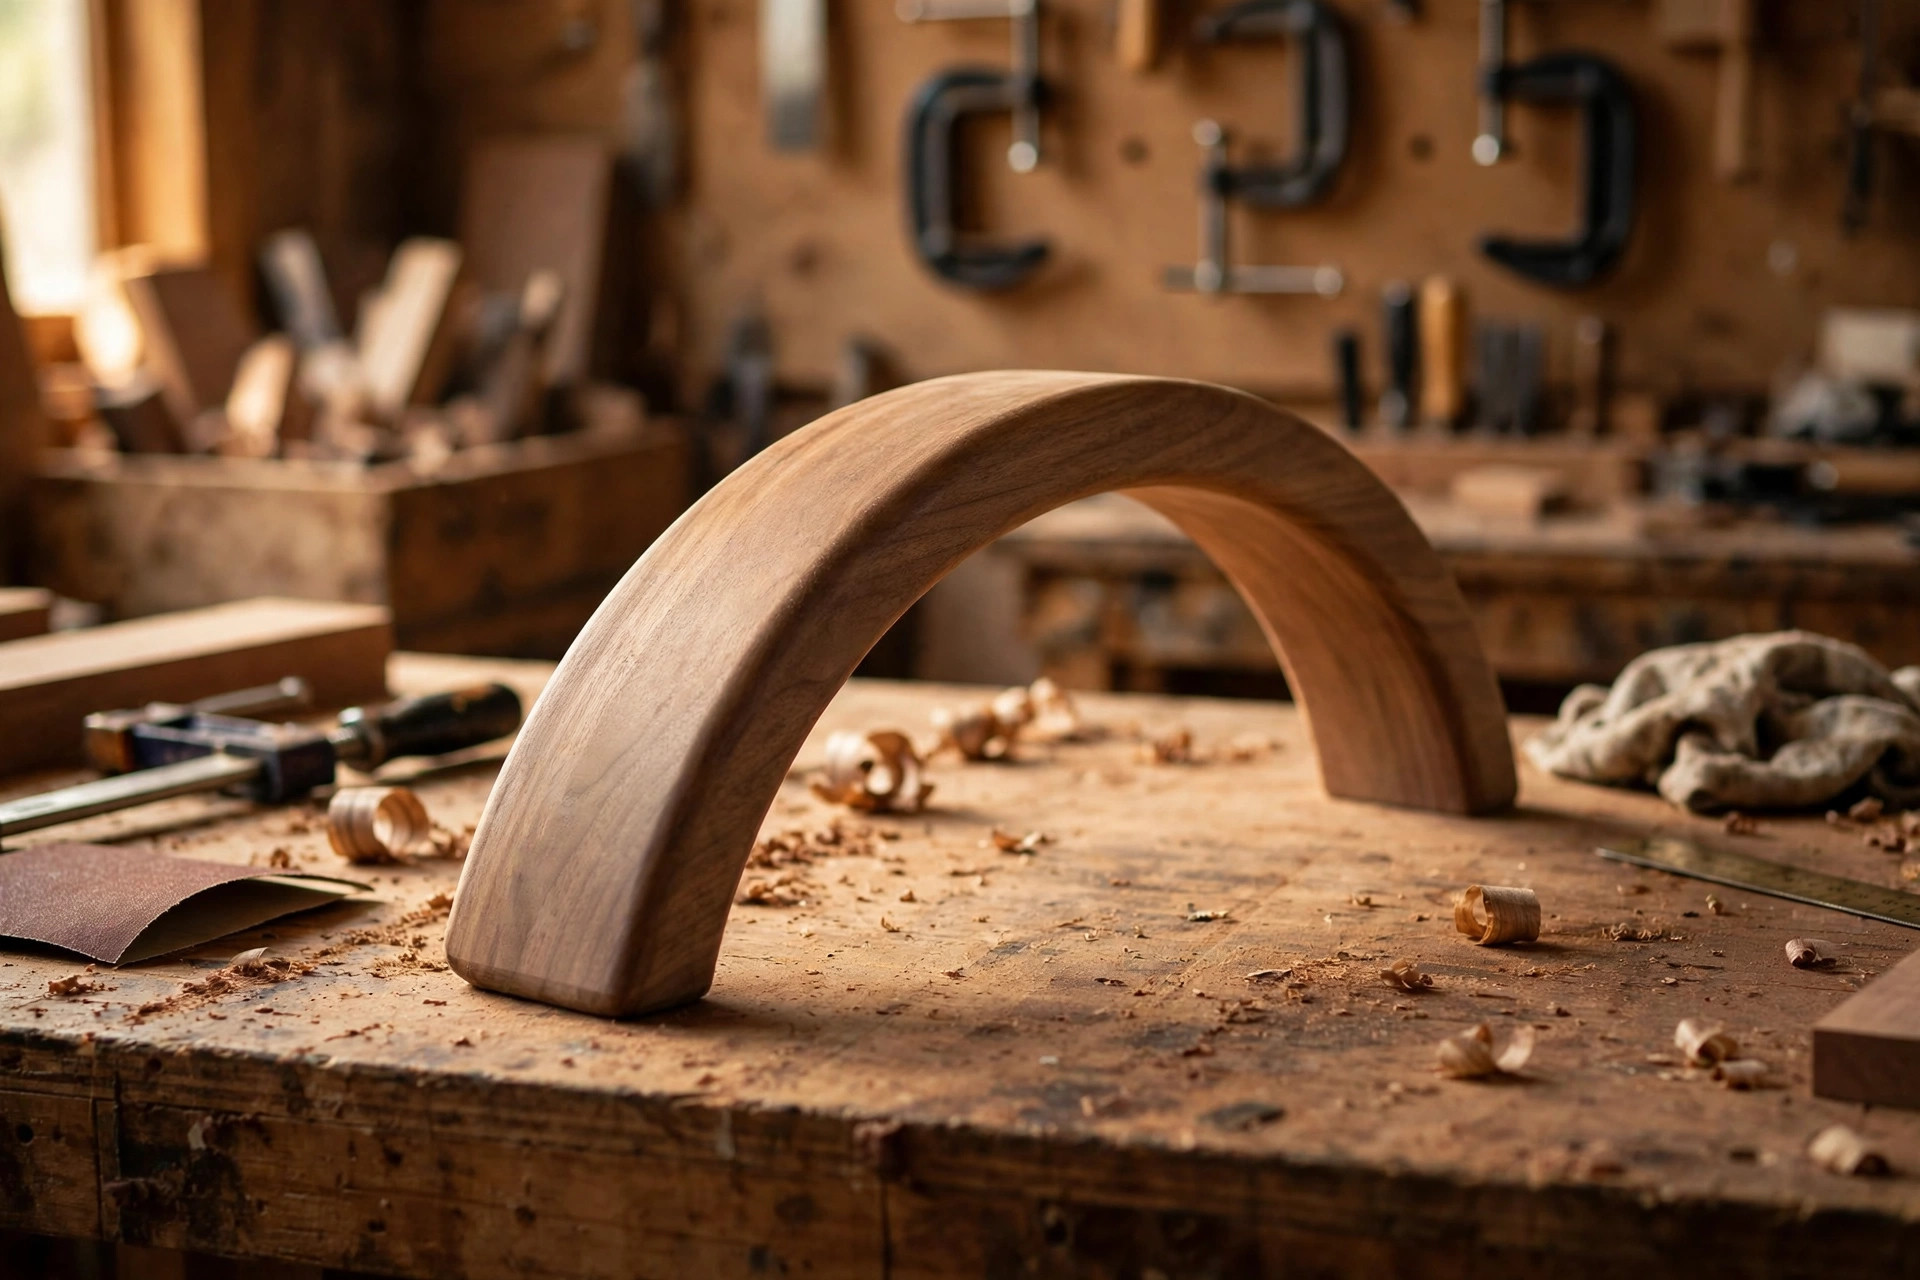
The best first jigsaw projects are ones where a curve is the whole point, so you practise the skill that makes the tool special. A simple plant stand with curved feet, a wooden wall sign with an arched top, a set of coasters with rounded corners, or a small stool with a shaped seat all teach curve cutting, blade choice, and edge finishing in a single afternoon. Start with pine or plywood, which are forgiving, and move to hardwood once your curves stay on the line without forcing.
A good progression is: first, straight cuts in plywood to learn speed and feed; second, gentle curves in pine to learn steering; third, a closed shape with a starter hole to learn inside cuts; fourth, a bevelled edge to learn shoe control. By the end of that sequence you will know your saw, your blades, and your orbital settings well enough to tackle almost any beginner project that involves a curve — and you will have four finished pieces to show for it.
FAQ: Best Jigsaw for Beginners
What is the best jigsaw for beginners?
For most beginners, a corded 6-amp jigsaw with variable speed, four orbital settings, and tool-free blade change — such as the Porter-Cable PCE345 — is the best value. If you want smoother cuts and lower vibration and your budget allows, the Bosch JS365 is the upgrade worth considering.
Is a jigsaw safe for a complete beginner?
Yes, with basic precautions. A jigsaw is one of the safest power saws to learn on because the blade is small, the cutting action is contained, and the saw sits flat on the board. Always clamp the workpiece, wear safety glasses, keep both hands on the saw, and unplug it before changing blades.
Can a jigsaw cut straight lines well?
Yes, for short to medium straight cuts, especially with a guide clamped to the board as a fence. For long, perfectly straight rips in sheet goods, a circular saw with a guide is faster and more accurate. Most beginners use the jigsaw for curves and short straight cuts, and add a circular saw later.
Why does my jigsaw cut wander or come out bevelled underneath?
Usually because of pushing too hard, a dull blade, or an orbital setting that is too high. Ease off the feed pressure, fit a sharp blade suited to the material, drop orbital action to 0 or 1, and keep the shoe flat on the board throughout the cut.
What blades should a beginner buy first?
Start with a small set: two clean-cut 10 TPI wood blades, one reverse-tooth blade for visible plywood faces, one fine scroll blade for tight curves, and one coarse 6 TPI blade for fast rough cuts. That set covers almost every beginner project for very little money.
Final Verdict
The best jigsaw for beginners woodworking is not the most expensive saw, and it is not the cheapest one either. It is a solid mid-priced corded saw, paired with the right blade for each job, set to the right orbital action, and guided — not forced — along a clearly marked line. Buy the Porter-Cable PCE345 if value matters most, the Bosch JS365 if smoothness matters most, and spend the money you save on a proper blade set and a pair of clamps. Then practise curves on scrap before your first real project. Your second curved piece will already look twice as good as your first, and by your fifth, you will wonder why curves ever seemed difficult.



Pingback: Best Scroll Saw for Beginners: Fretwork Buying Guide