
Every workshop has one: that growing pile of offcuts under the bench, the short 2×4 ends in the corner, the thin strips left over from a shelf build. Most beginners throw them away — and that is a mistake. Those scraps are the perfect training ground for a new woodworker. The material is free, the stakes are zero, and the projects are small enough to finish in an afternoon. This guide walks you through 15 easy scrap wood projects for beginners, each with exactly what scraps it needs, the tools involved, build time, and difficulty level. Whether you want useful things for your home, handmade gifts, or items you can actually sell, start here before you spend another dollar on lumber. If you are looking for bigger builds once your confidence grows, check out our roundup of easy woodworking projects next.
Why Scrap Wood Is a Beginner’s Goldmine
Scrap wood removes the two biggest obstacles beginners face: cost and fear. When your material was free, a crooked cut or a split board costs you nothing but a few minutes. That freedom is exactly what lets you practice the fundamentals — measuring, cutting, sanding, gluing, and finishing — without the anxiety of ruining a $30 board.
There is also a practical upside. Scrap projects are small, which means they finish fast. Finishing fast builds momentum, and momentum is what keeps beginners coming back to the workshop. You will also discover that small finished items — coasters, key holders, phone stands — are exactly the things that sell best at craft fairs and online shops, because buyers love affordable handmade goods. Every offcut you save today is potential profit tomorrow.
How to Sort and Store Your Offcuts
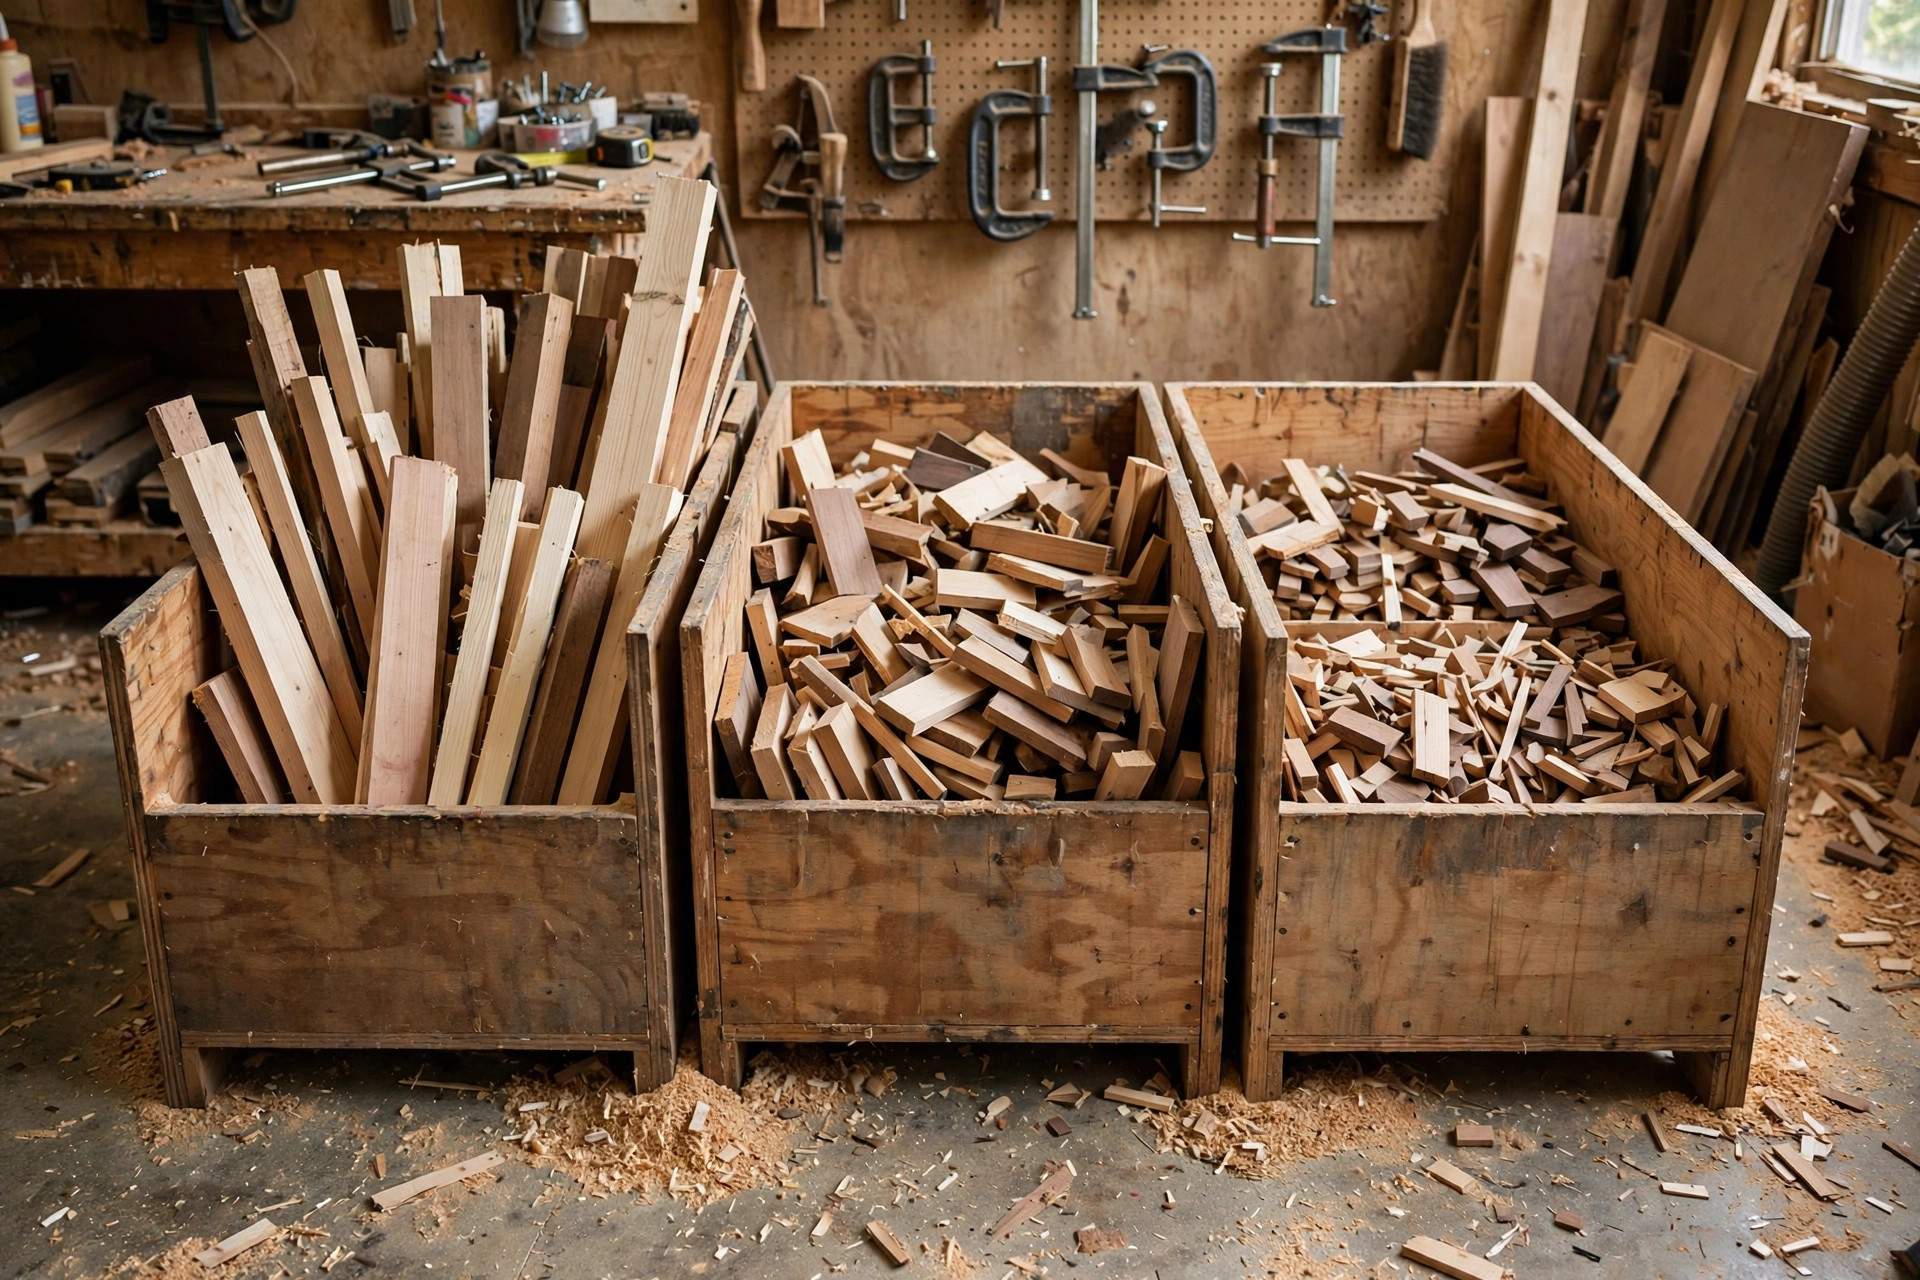
A messy scrap pile slows you down; a sorted one is an inventory. Set up a simple system before you build anything:
- Sort by length. Use three bins or buckets: shorts (under 12 inches), mediums (12–24 inches), and longs (over 24 inches). Most projects in this guide pull from the shorts and mediums bins.
- Sort by thickness. Keep flat pieces (3/4-inch boards, plywood scraps) separate from sticks and strips (1x2s, 2x2s, dowels). Flat stock suits coasters and frames; sticks suit bookends and plant markers.
- Group by species when it matters. If you plan to glue pieces together, like in a cutting board, matching species keeps the glue-up even and the color consistent. Mixed pine and oak glues fine, but it looks patchy — keep a “matching scraps” box for glue-ups.
- Keep a hardware jar. Toss usable screws, hooks, and brackets into one jar. Many projects here need exactly one hook or four screws.
- Know what to toss. Throw out (or burn, if local rules allow) pressure-treated scraps — the chemicals make them unsafe for cutting boards, planters for edibles, or anything kids will touch. Toss rotted, splintered, or moldy pieces, and anything so small you cannot hold it safely against a saw. A good rule: if you cannot grip it with a push stick or clamp, it is sawdust now.
Store flat pieces horizontally so they stay flat, and stand long offcuts vertically in a corner rack. Label your bins once, and sorting becomes a 10-second habit after every build.
15 Easy Scrap Wood Projects for Beginners
Here they are, ordered from simplest to slightly more involved. Each one tells you exactly what it is, what scraps it uses, the tools you need, how long it takes, and how hard it really is.
1. Wooden Coasters
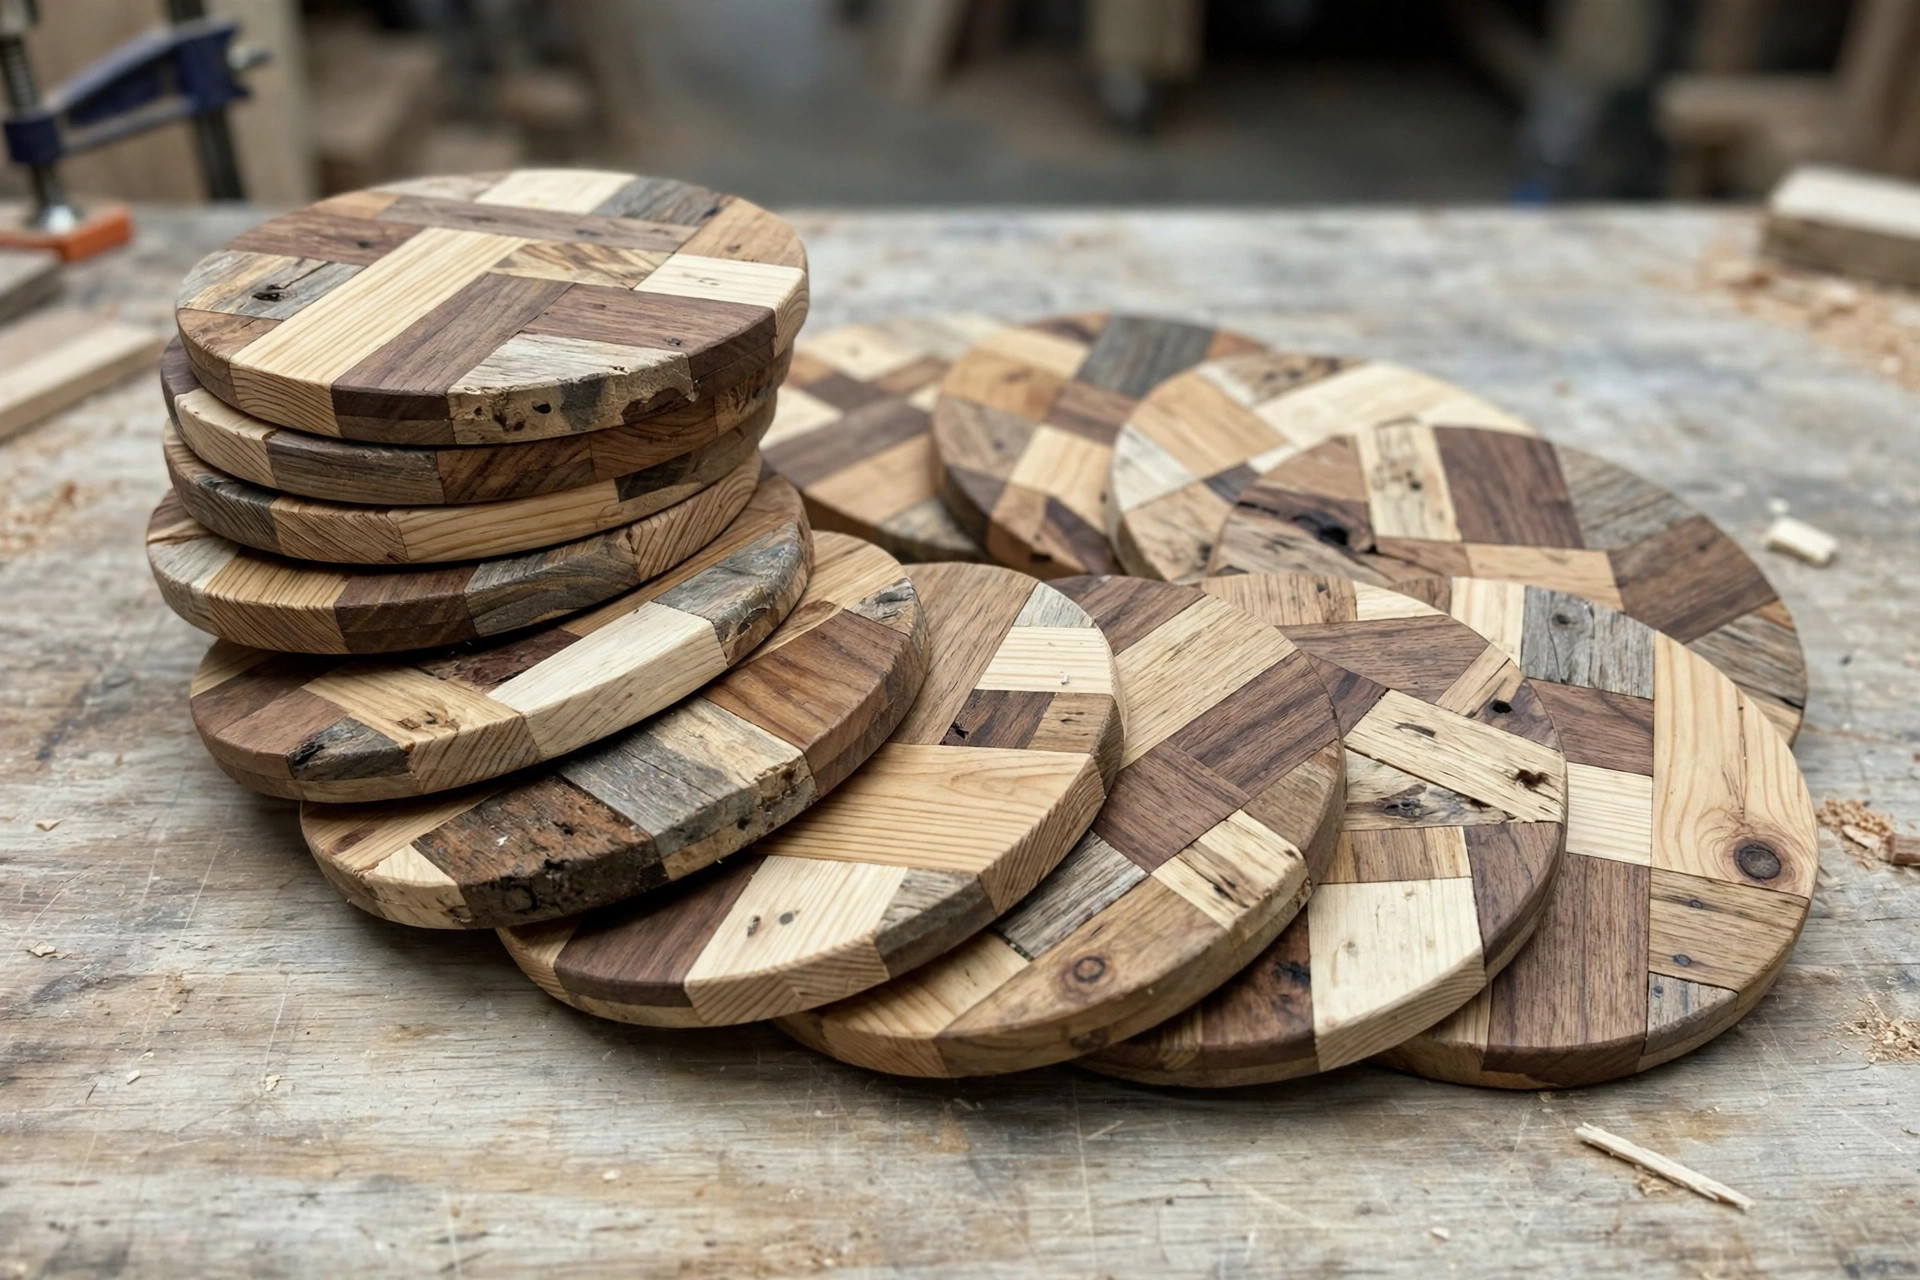
A set of four to six coasters is the classic first project for a reason. Cut squares from 1×4, 1×6, or plywood offcuts — 4×4 inches is the sweet spot. Sand every face smooth, working from 80 grit up to 220, then ease the edges slightly so they feel nice in hand. Finish with mineral oil or a wipe-on polyurethane for water resistance. Tools needed: a miter saw or even a hand saw, plus sandpaper. Build time: 30–45 minutes for a set of four. Difficulty: very easy. Make three sets in an afternoon and you have instant gifts.
2. Rustic Key Holder
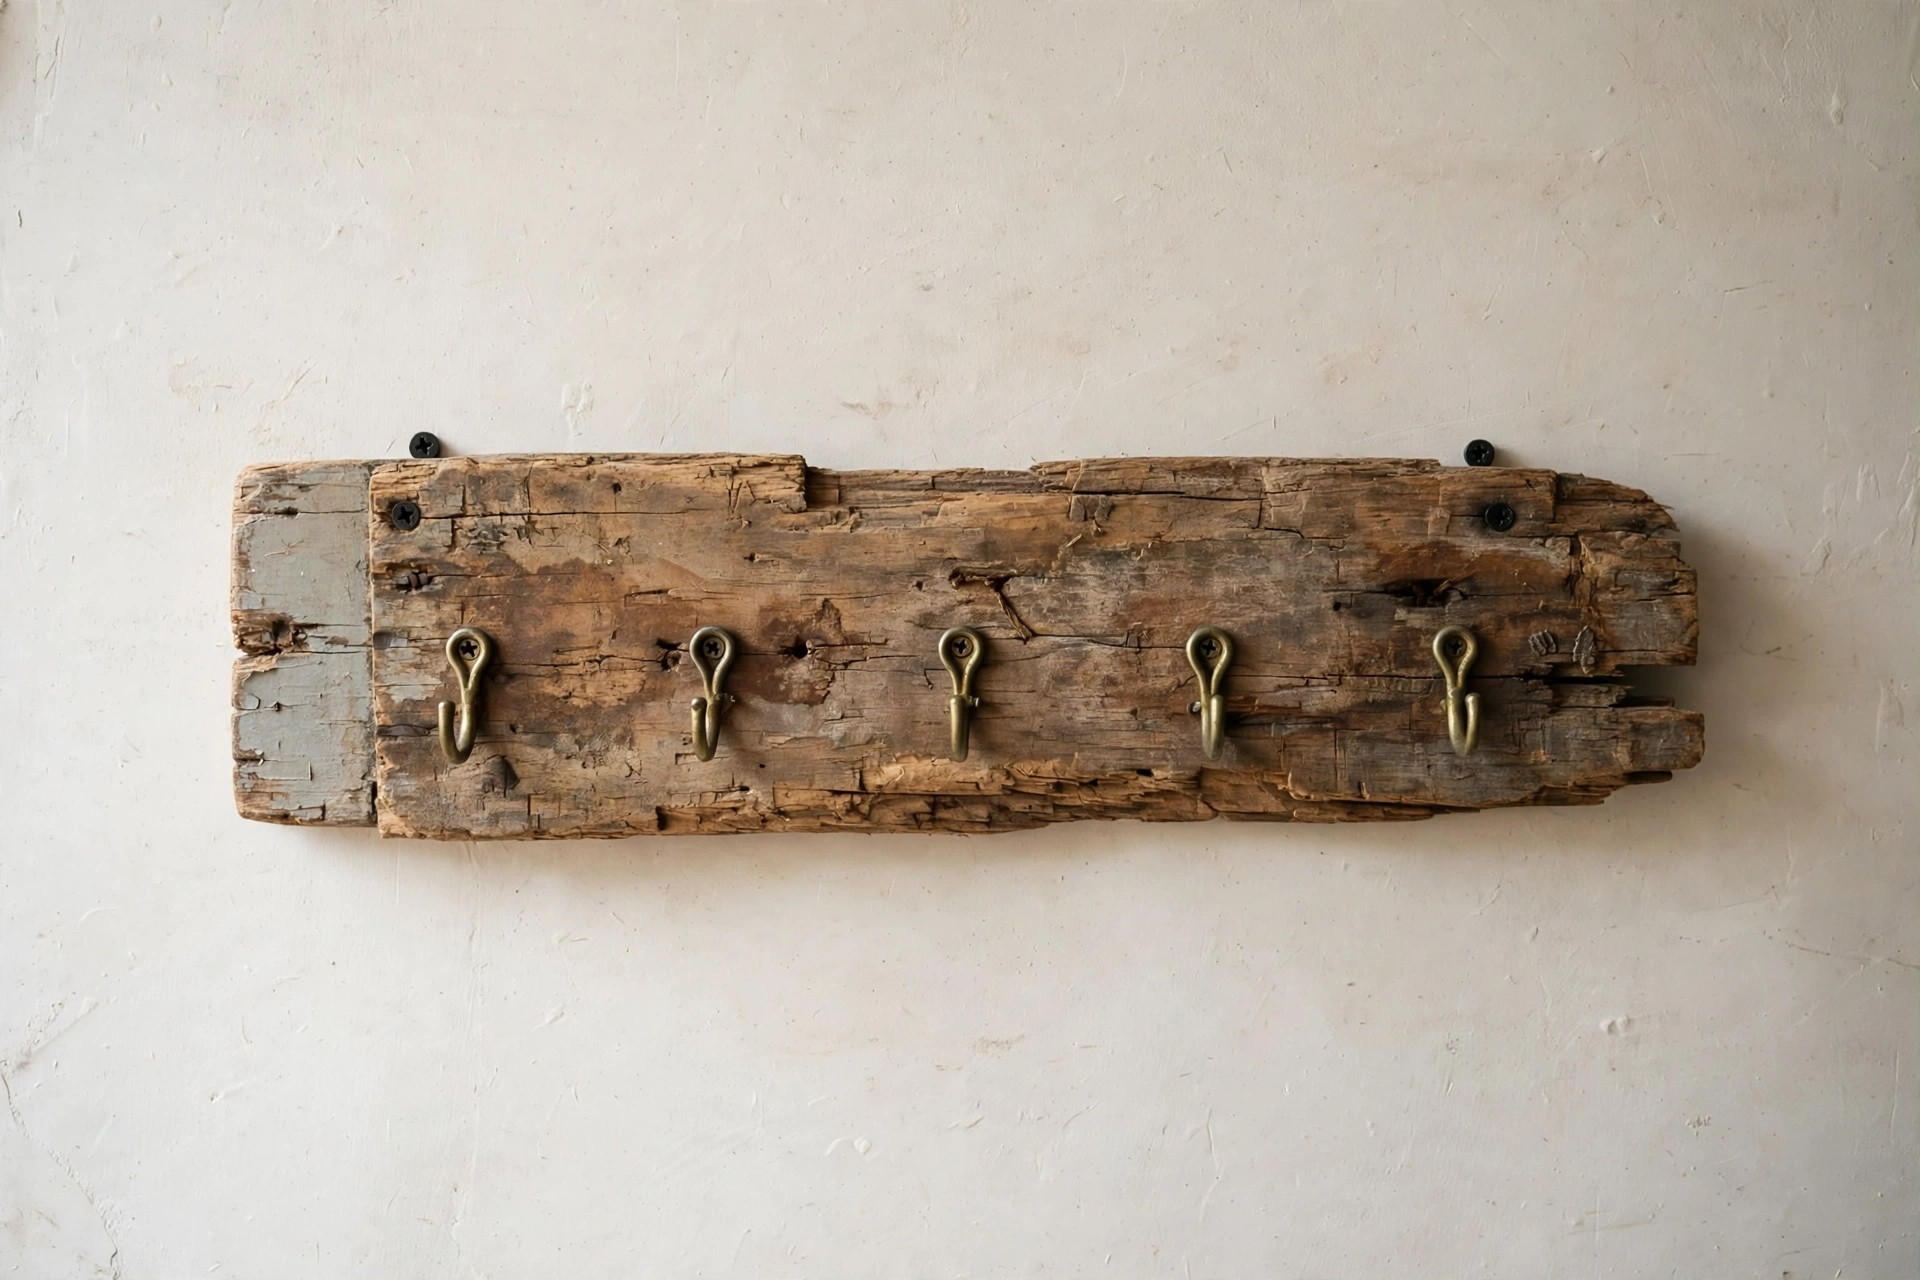
Take a single flat board — a 1×4 or 1×6 offcut about 12 inches long — and turn it into a wall-mounted key holder. Sand it, stain or paint it, then screw in three to five small hooks from your hardware jar. Add a sawtooth hanger or two keyhole screws on the back for mounting. Tools needed: saw, sander, screwdriver. Build time: about 30 minutes plus drying time for finish. Difficulty: very easy. This is one of the fastest sellers on the list — everyone loses keys.
3. Phone Stand
A simple phone stand needs just two small pieces: a base about 4 inches square and an angled support. Cut a slot in the base with a saw, glue the support in at a slight angle, sand, and finish. Use flat 3/4-inch scraps or plywood offcuts. Tools needed: saw, wood glue, sandpaper. Build time: 20–30 minutes. Difficulty: very easy. Cut extras — phone stands vanish from workbenches and desks the moment guests see them.
4. Mini Planter Box
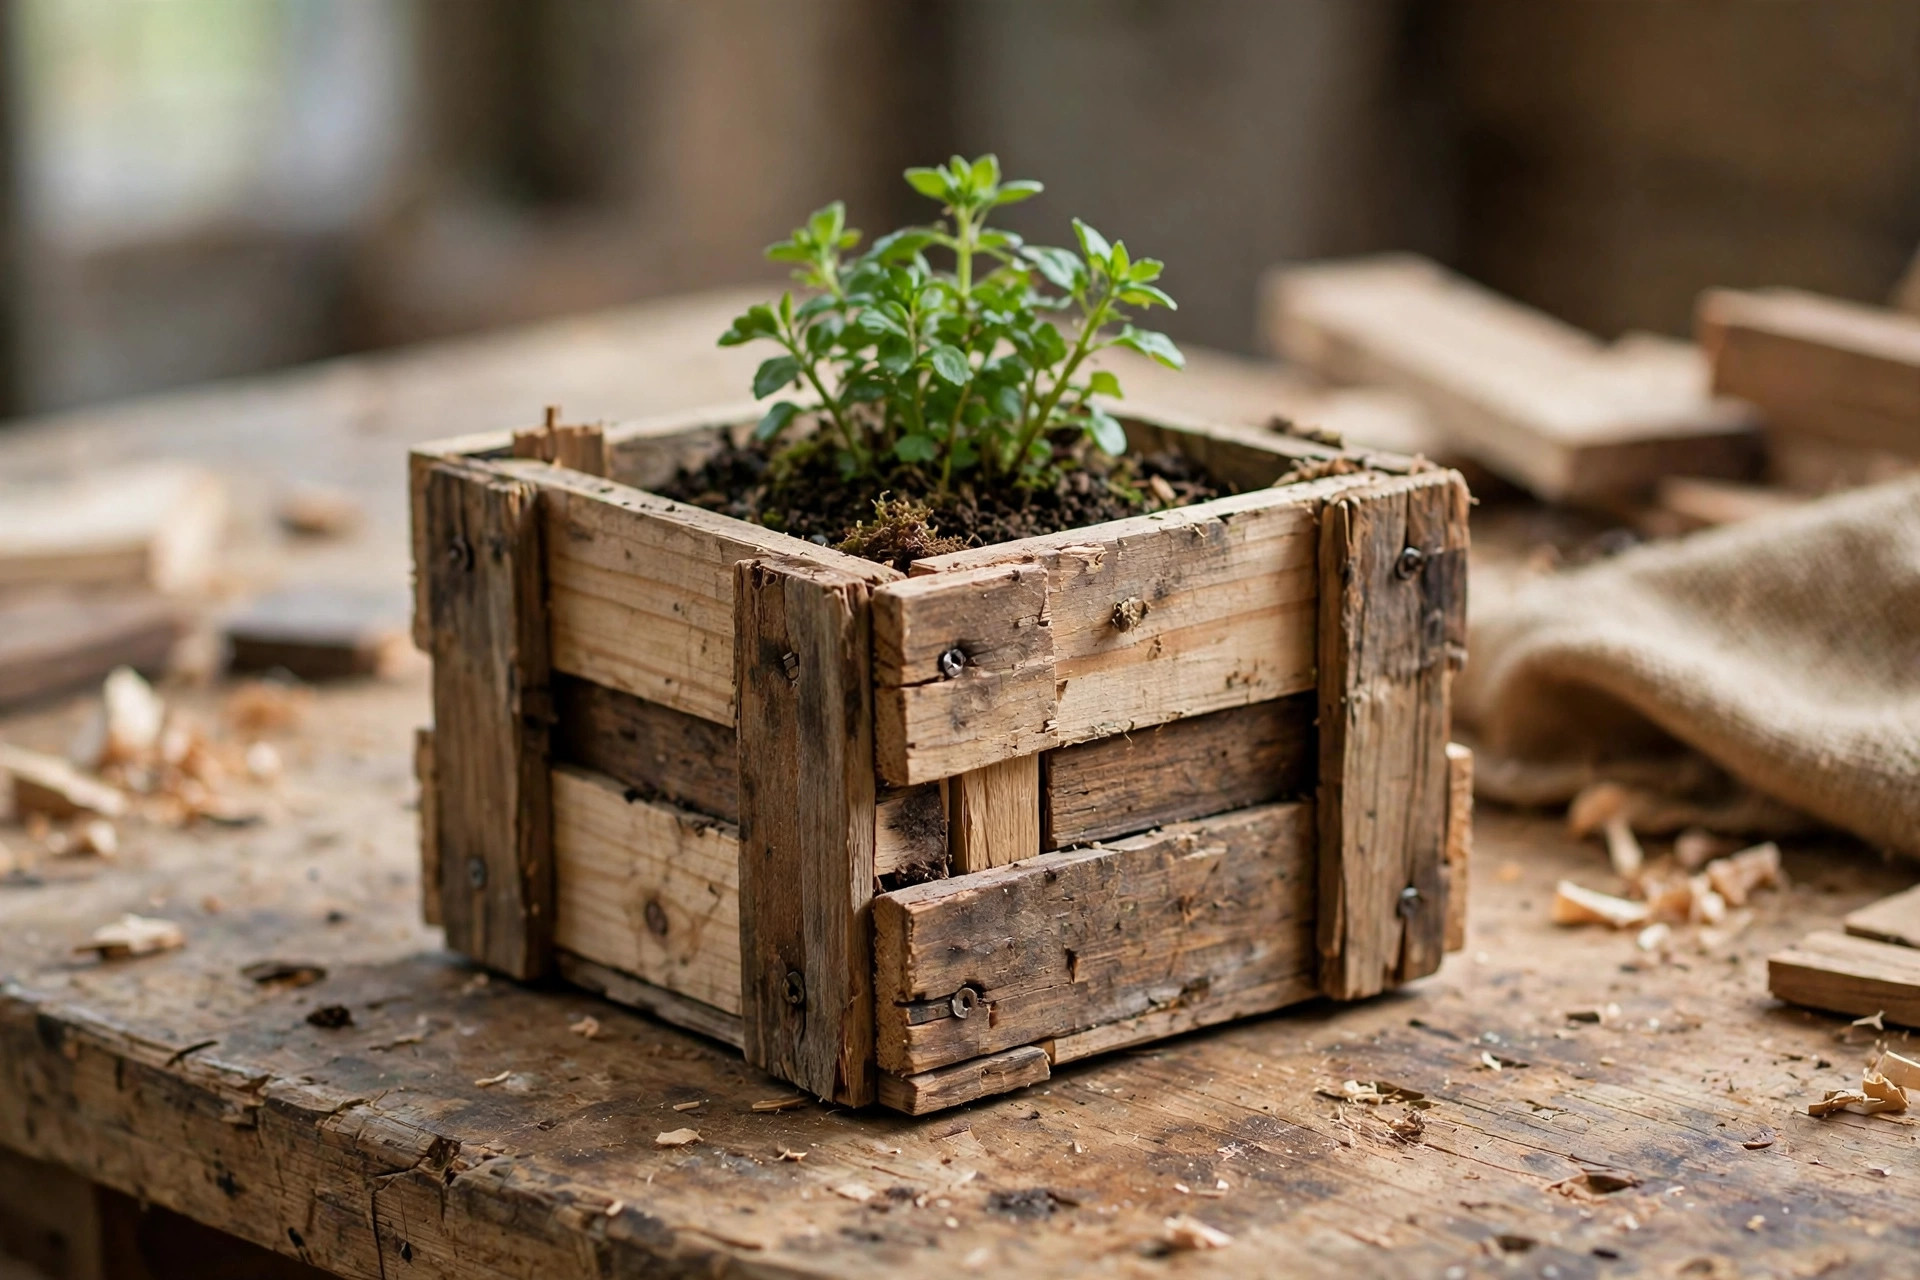
Four sides, a bottom, and you have a planter. Use 1×4 or fence picket scraps cut to 6–8 inch lengths. Assemble with exterior wood glue and small brad nails or screws, then drill drainage holes in the bottom. Line the inside with landscape fabric to hold soil. Tools needed: saw, drill, sander. Build time: 45–60 minutes. Difficulty: easy. Line up three planters in different sizes and they sell as a set — gardeners love them, and herbs thrive in them.
5. Rustic Picture Frames
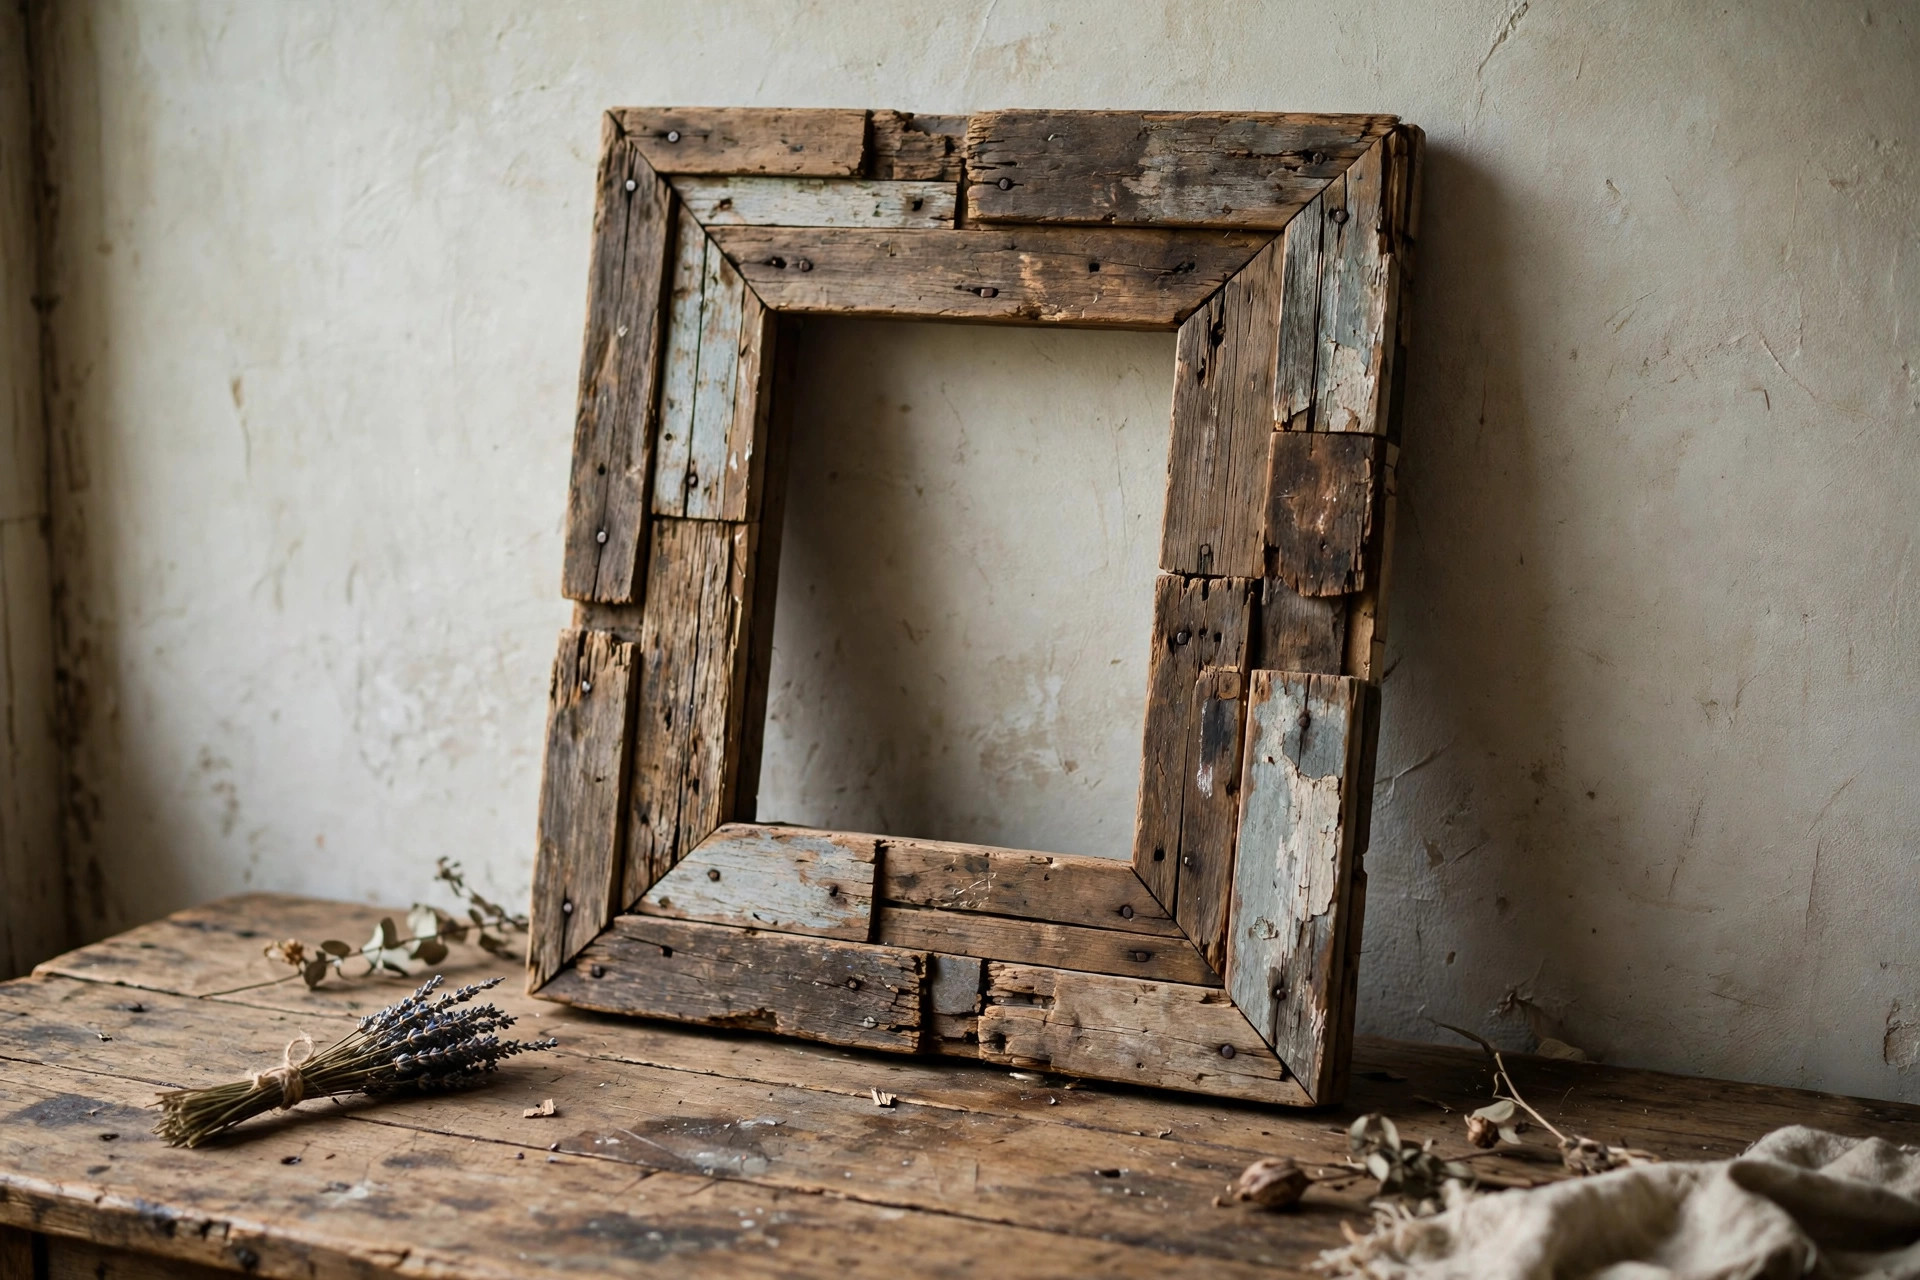
Four thin strips of 1×2 or trim scraps become a frame. Cut 45-degree miters at the corners (or skip the miters and butt-join for a farmhouse look), glue and clamp, then sand and stain. Cut a back panel from thin plywood scrap and staple it on. Tools needed: miter saw or miter box, clamps, sandpaper. Build time: 45 minutes per frame. Difficulty: easy. Frames are a perfect use for pretty grain — that one beautiful offcut you have been saving finally gets its moment.
6. Candle Holders
Short, chunky blocks — 2×4 or 4×4 offcuts — make beautiful candle holders. Cut blocks 3–6 inches tall, sand thoroughly, and drill a hole in the top sized for a tea light or taper candle using a Forstner bit. Finish with oil or a clear coat. Tools needed: saw, drill with Forstner bit, sander. Build time: 30 minutes for a set of three. Difficulty: very easy. Make them in graduated heights and they look like a designer set.
7. Desk Organizer
A desk organizer is just a small box with compartments. Use plywood or 1×4 scraps to build an open box about 10 inches long, then add one or two dividers. Glue and brad nails hold it together; sand every edge since hands will touch it constantly. Tools needed: saw, drill or brad nailer, sandpaper. Build time: 1–1.5 hours. Difficulty: easy. It is excellent practice for measuring inside dimensions — dividers must fit the box exactly.
8. Small Wall Shelf
Two small brackets and a shelf board make a floating-look wall shelf. Cut a shelf from a 1×6 offcut, cut two simple bracket triangles from 2×4 scraps, and mount everything with screws and a level. Tools needed: saw, drill, level. Build time: about 1 hour. Difficulty: easy. This project teaches you to find wall studs and drill straight — skills every bigger project needs.
9. Scrap Wood Wall Art
Glue thin strips and squares of mixed-species scraps onto a plywood backing in a pattern — herringbone, chevron, or random mosaic. The color variation between pine, cedar, and oak becomes the design. Sand lightly and seal with clear poly. Tools needed: saw, glue, sandpaper. Build time: 1–2 hours. Difficulty: easy. Wall art uses the tiniest offcuts, even 1-inch pieces, so it genuinely empties the scrap bin.
10. Cutting Board Glue-Up
This is the project that turns real trash into treasure. Rip several straight-edged strips from 3/4-inch hardwood scraps — maple, cherry, walnut, oak — and glue them edge to edge, clamping firmly. Once cured, plane or sand flat, trim to shape, and finish with food-safe mineral oil. Tools needed: saw, clamps, sander or planer. Build time: 2–3 hours including glue curing. Difficulty: medium. Only use untreated hardwoods, never pressure-treated or painted scraps, since this touches food.
11. Birdhouse
A birdhouse is six pieces: front, back, two sides, a floor, and a roof. Use 1×6 or fence picket scraps — cedar and pine both work. Cut a 1.5-inch entrance hole with a hole saw or jigsaw, assemble with exterior screws, and do not paint the inside. Tools needed: saw, drill with hole saw, screwdriver. Build time: 1–2 hours. Difficulty: easy. It is also a fantastic pick from our fun wood projects for kids — kids love decorating and hanging them.
12. Plant Markers
Cut 1×2 scraps into 6–8 inch stakes and taper one end to a point. Sand lightly, then write plant names with a permanent marker or wood-burning pen and seal with outdoor poly. Tools needed: saw, sandpaper, marker. Build time: 20 minutes for a dozen. Difficulty: very easy. These cost nothing and make gardeners happy — bundle them with a planter box as a gift set.
13. Jewelry Holder
A small upright board on a base, with pegs or hooks, becomes a jewelry or watch holder. Use a 1×4 offcut about 10 inches tall for the upright, a 6-inch square base, and short dowels or pegs for hooks. Glue, sand, and finish. Tools needed: saw, drill, glue, sandpaper. Build time: 45–60 minutes. Difficulty: easy. Stain it dark and it looks far more expensive than the zero dollars of material in it.
14. Serving Tray
A serving tray is a flat panel with four raised edges and two handle cutouts. Build the base from plywood scrap or glued strips, add 1×2 edge rails, and cut or drill handle holes in the end rails. Sand everything baby-smooth and finish with food-safe oil. Tools needed: saw, drill, sander. Build time: 1.5–2 hours. Difficulty: medium. Trays sell extremely well — they photograph beautifully and suit every home.
15. Bookends
Two L-shaped pieces — a vertical back and a horizontal foot — make a pair of bookends. Cut from 1×6 scraps, join with glue and screws, sand, and finish. Weight matters, so chunky scraps work best. Tools needed: saw, drill, sandpaper. Build time: 45 minutes for a pair. Difficulty: very easy. Paint them, stain them, or leave them raw — bookends are a blank canvas.
Project Comparison Table
| # | Project | Scrap type needed | Tools | Build time | Difficulty | Sells well? |
|---|---|---|---|---|---|---|
| 1 | Wooden coasters | 1×4/1×6 or plywood squares | Miter saw, sander | 30–45 min | Very easy | Yes |
| 2 | Key holder | One flat 1×4/1×6 board | Saw, sander, screwdriver | 30 min | Very easy | Yes |
| 3 | Phone stand | Small flat 3/4-in scraps | Saw, glue, sandpaper | 20–30 min | Very easy | Yes |
| 4 | Mini planter box | 1×4 or picket scraps | Saw, drill, sander | 45–60 min | Easy | Yes |
| 5 | Picture frames | 1×2 or trim strips | Miter saw, clamps | 45 min | Easy | Yes |
| 6 | Candle holders | Chunky 2×4/4×4 blocks | Saw, drill, sander | 30 min | Very easy | Yes |
| 7 | Desk organizer | Plywood or 1×4 scraps | Saw, brad nailer, sander | 1–1.5 hrs | Easy | Moderate |
| 8 | Small wall shelf | 1×6 board + 2×4 brackets | Saw, drill, level | 1 hr | Easy | Moderate |
| 9 | Scrap wood wall art | Thin strips, mixed species | Saw, glue, sandpaper | 1–2 hrs | Easy | Yes |
| 10 | Cutting board glue-up | Straight hardwood strips | Saw, clamps, planer/sander | 2–3 hrs | Medium | Yes |
| 11 | Birdhouse | 1×6 or picket scraps | Saw, drill, screwdriver | 1–2 hrs | Easy | Moderate |
| 12 | Plant markers | 1×2 stakes | Saw, sandpaper, marker | 20 min | Very easy | Low |
| 13 | Jewelry holder | 1×4 upright + base + dowels | Saw, drill, glue | 45–60 min | Easy | Yes |
| 14 | Serving tray | Plywood panel + 1×2 rails | Saw, drill, sander | 1.5–2 hrs | Medium | Yes |
| 15 | Bookends | Chunky 1×6 scraps | Saw, drill, sandpaper | 45 min | Very easy | Moderate |
Cost and Savings: Why Scrap Projects Win
Here is the math that makes scrap wood unbeatable. Every project below costs between nothing and a few dollars — mostly finish, glue, and hardware you already own.
| Project | Typical store price | Your cost from scrap | You save |
|---|---|---|---|
| Set of 4 wooden coasters | $12–$20 | $0–$2 (finish only) | ~$15 |
| Key holder | $15–$25 | $1–$3 (hooks) | ~$20 |
| Mini planter box | $10–$18 | $0–$2 (screws) | ~$13 |
| Rustic picture frame | $8–$15 | $0–$1 (finish) | ~$11 |
| Serving tray | $25–$45 | $1–$3 (hardware) | ~$35 |
| Cutting board | $20–$40 | $0–$2 (mineral oil) | ~$28 |
Across all 15 projects, your total material spend can stay under $20 — and if you batch them, even less, since one bottle of finish and one bag of screws covers everything.
Turn Scrap Crafts Into Cash
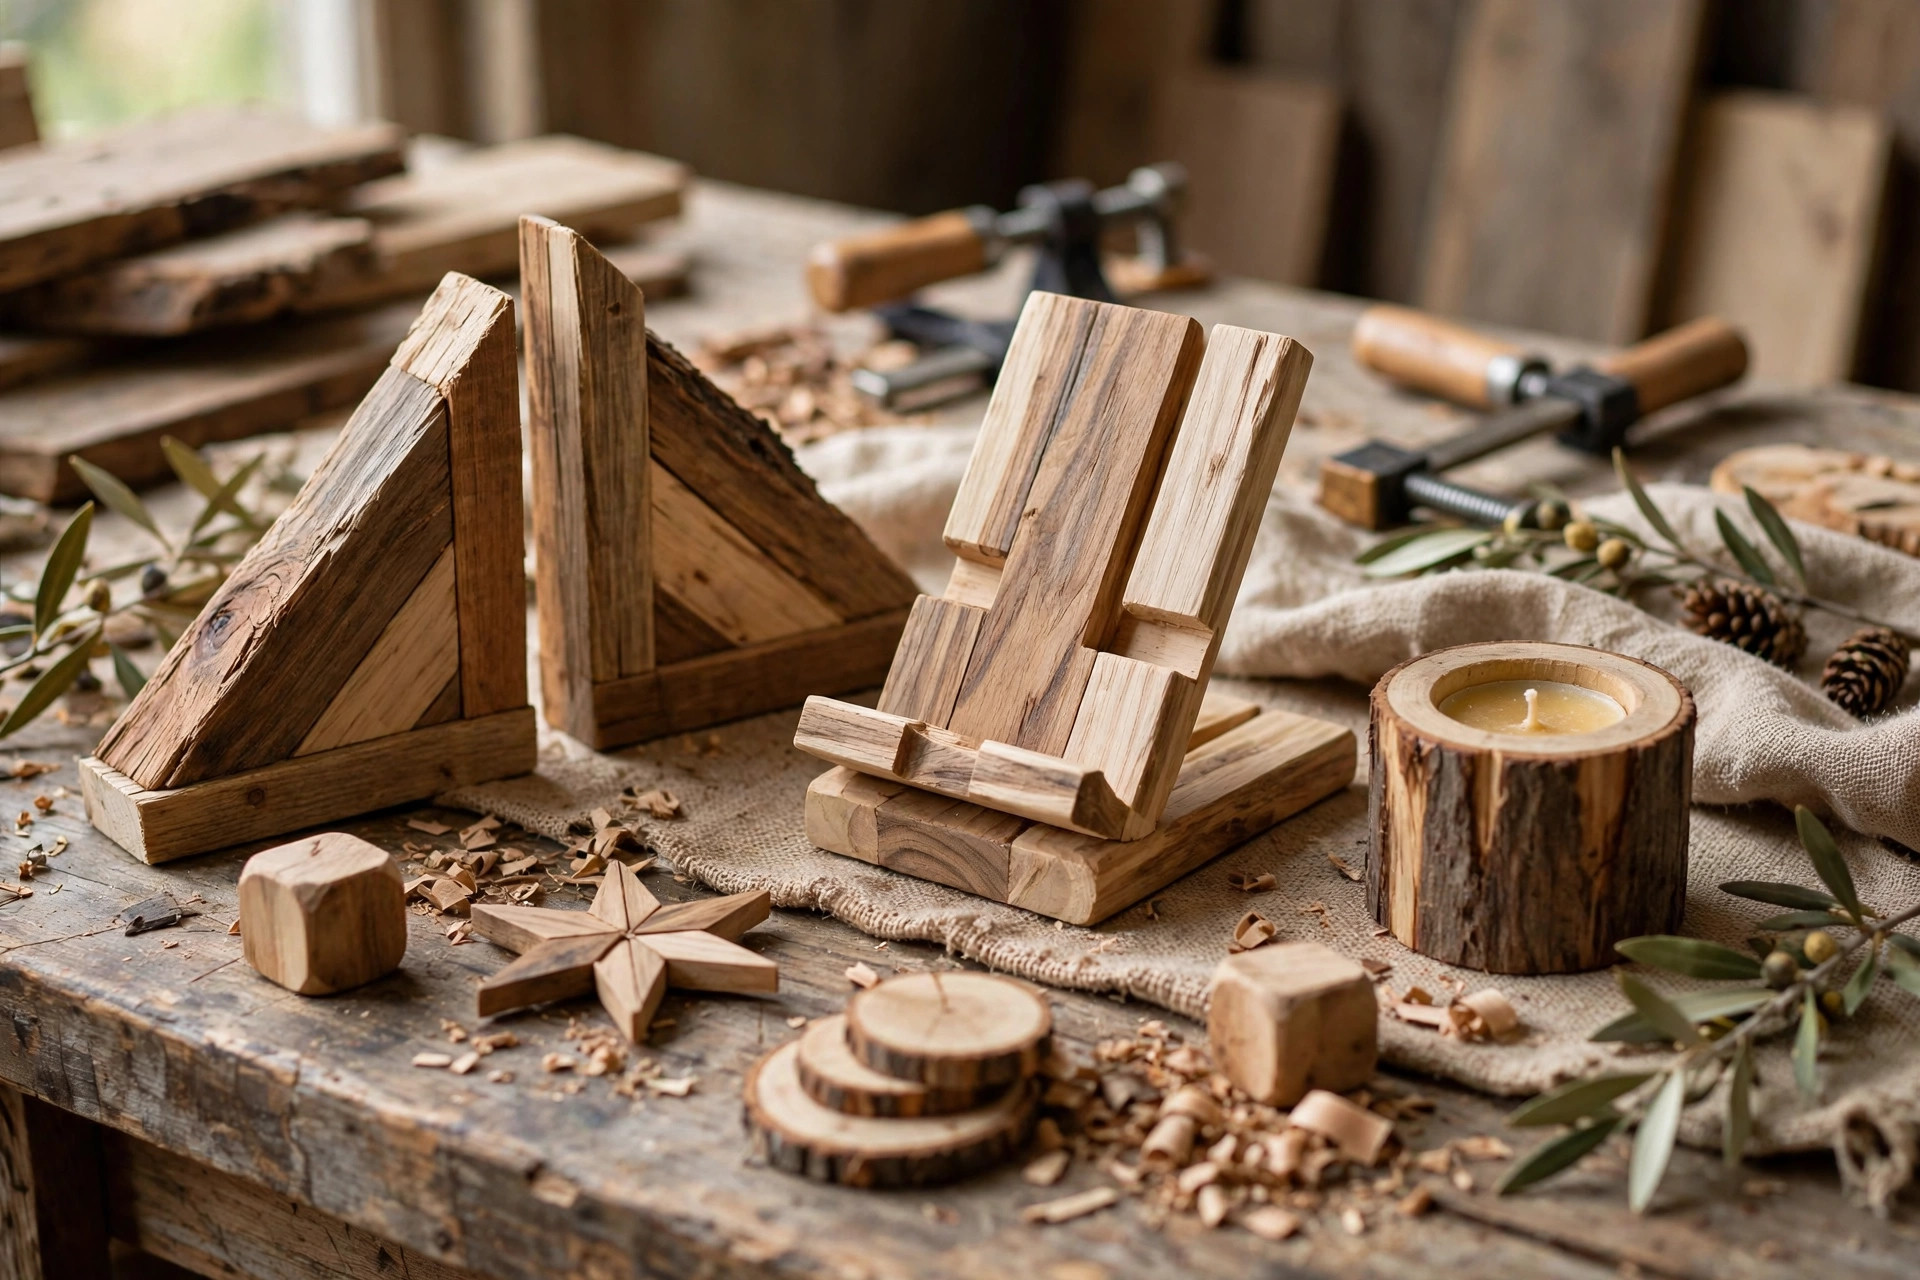
Here is the angle most beginners miss: small scrap items are the easiest woodworking products to sell. They are cheap to make, easy to ship, and priced in the impulse-buy range ($10–$30) where craft fair and online buyers spend freely. Coasters, key holders, phone stands, candle holders, and serving trays are proven sellers because everyone understands what they are at a glance.
Start with local craft fairs and farmers markets — a $30 table fee and a box of coasters and planters can return ten times that. Online, small items ship cheaply, which solves the biggest headache of selling furniture. If this side of woodworking interests you, our guide to easy woodworking projects for beginners that sell breaks down which products have the best margins and how to price them. Scrap projects are the perfect low-risk way to test what sells before you invest in lumber for bigger pieces.
Common Mistakes With Scrap Wood (and How to Avoid Them)
Scrap wood forgives a lot, but not everything. Watch for these:
- Building with warped boards. Offcuts warp as they dry. Sight down every board before you cut — if it twists or cups badly, either cut around the bad section or toss it. A warped coaster will rock on the table forever.
- Missing hidden nails and screws. Reclaimed scraps often hide metal. Run a cheap handheld metal detector or strong magnet over every piece before it touches a saw blade. One nail can destroy a $60 blade in a second.
- Skipping the sanding. Small projects get touched constantly — coasters, trays, phone stands. Sand through the grits (80 → 120 → 220) and do not stop at the first pass. Your hands will notice what your eyes miss.
- Gluing mixed species for food projects. Mixed-species glue-ups look great on wall art but can move unevenly on cutting boards. Keep species consistent for anything that touches food or water.
- Finishing scraps without testing. Offcuts absorb stain unevenly, especially pine. Always test your finish on a hidden face or a spare offcut first — a blotchy key holder is a ruined key holder.
- Cutting tiny pieces unsafely. Small offcuts are the most dangerous cuts for beginners. Never hold a 2-inch piece by hand near a blade; use clamps, a push stick, or cut from a longer piece and trim down.
Frequently Asked Questions
Q: What counts as scrap wood?
A: Any leftover lumber from a previous project: cutoffs, short boards, thin strips, plywood remnants, and reclaimed pieces from pallets or old furniture. If it is solid wood and big enough to hold safely, it counts.
Q: Is scrap wood safe to use?
A: Almost always, with two exceptions. Never use pressure-treated lumber for anything that touches food, plants you will eat, or children — the preservatives are toxic. And always check reclaimed wood for hidden nails, staples, and screws before cutting.
Q: What tools do I need to start with scrap wood projects?
A: A saw (a miter saw or even a good hand saw), a drill, sandpaper or a sander, wood glue, and clamps cover every project on this list. That is a starter kit you can assemble for well under $200 — and the projects themselves cost almost nothing.
Q: Can I really sell things made from scrap wood?
A: Yes — and buyers will never know the material was free. What matters is the finish quality, not the lumber receipt. Sand well, finish properly, and price on the item’s value, not your cost. Small items in the $10–$30 range are the easiest first sales.
Q: How should I store scrap wood so it stays usable?
A: Keep it dry, flat, and sorted. Stack flat boards horizontally with weight on top to prevent warping, stand long pieces vertically, and sort by size in labeled bins. Damp or sun-baked scraps warp and split — a dry corner of the garage beats an open backyard pile.
Q: What is the easiest scrap wood project for a total beginner?
A: Coasters. Four straight cuts, some sanding, and a coat of finish — you will hold a finished product in under an hour, and the process teaches measuring, cutting, and finishing all at once.
Start With One Offcut
You do not need a lumber run, a big budget, or a perfect workshop to begin woodworking. You need the pile you already have. Pick the coaster project, make four of them this weekend, and notice what happens: you will learn more in that one hour than in a week of watching videos, and you will have something useful to show for it. From there, the key holder, the planter box, and the rest of this list are just a few afternoons away. Save every offcut, sort them once, and let your scrap bin become the cheapest, most forgiving workshop teacher you will ever have. When you are ready to scale up to bigger builds, our easy woodworking projects collection is waiting.



Pingback: Small Garage Workshop Setup: 9 Layout Ideas That Fit
Pingback: 25 Easy Woodworking Projects for Beginners That Sell Fast