
Every experienced woodworker has a story about the cut that almost went wrong — and almost every one of them will tell you the same thing: the accident was preventable. Woodworking is one of the most rewarding hobbies you can pick up, but it is also a hobby built around spinning steel, flying debris, and invisible dust. The good news is that staying safe is not complicated. These woodworking safety tips for beginners are built around 12 simple rules that, followed consistently, reduce your risk of injury to near zero. None of them require expensive equipment. All of them are habits you can start today.
Before you make a single cut, understand this one idea: safety in woodworking is not about fear — it is about respect and routine. A table saw does not care whether you are a beginner or a professional; it only responds to how you handle it. Build the right habits now, when you are learning, and they will protect you for the rest of your woodworking life. When you are ready to put these skills to work on real builds, the projects in our pillar guide to easy woodworking projects for beginners that sell are designed to be safe, simple, and forgiving for new makers.
Rule 1: Wear Eye Protection — Always, No Exceptions
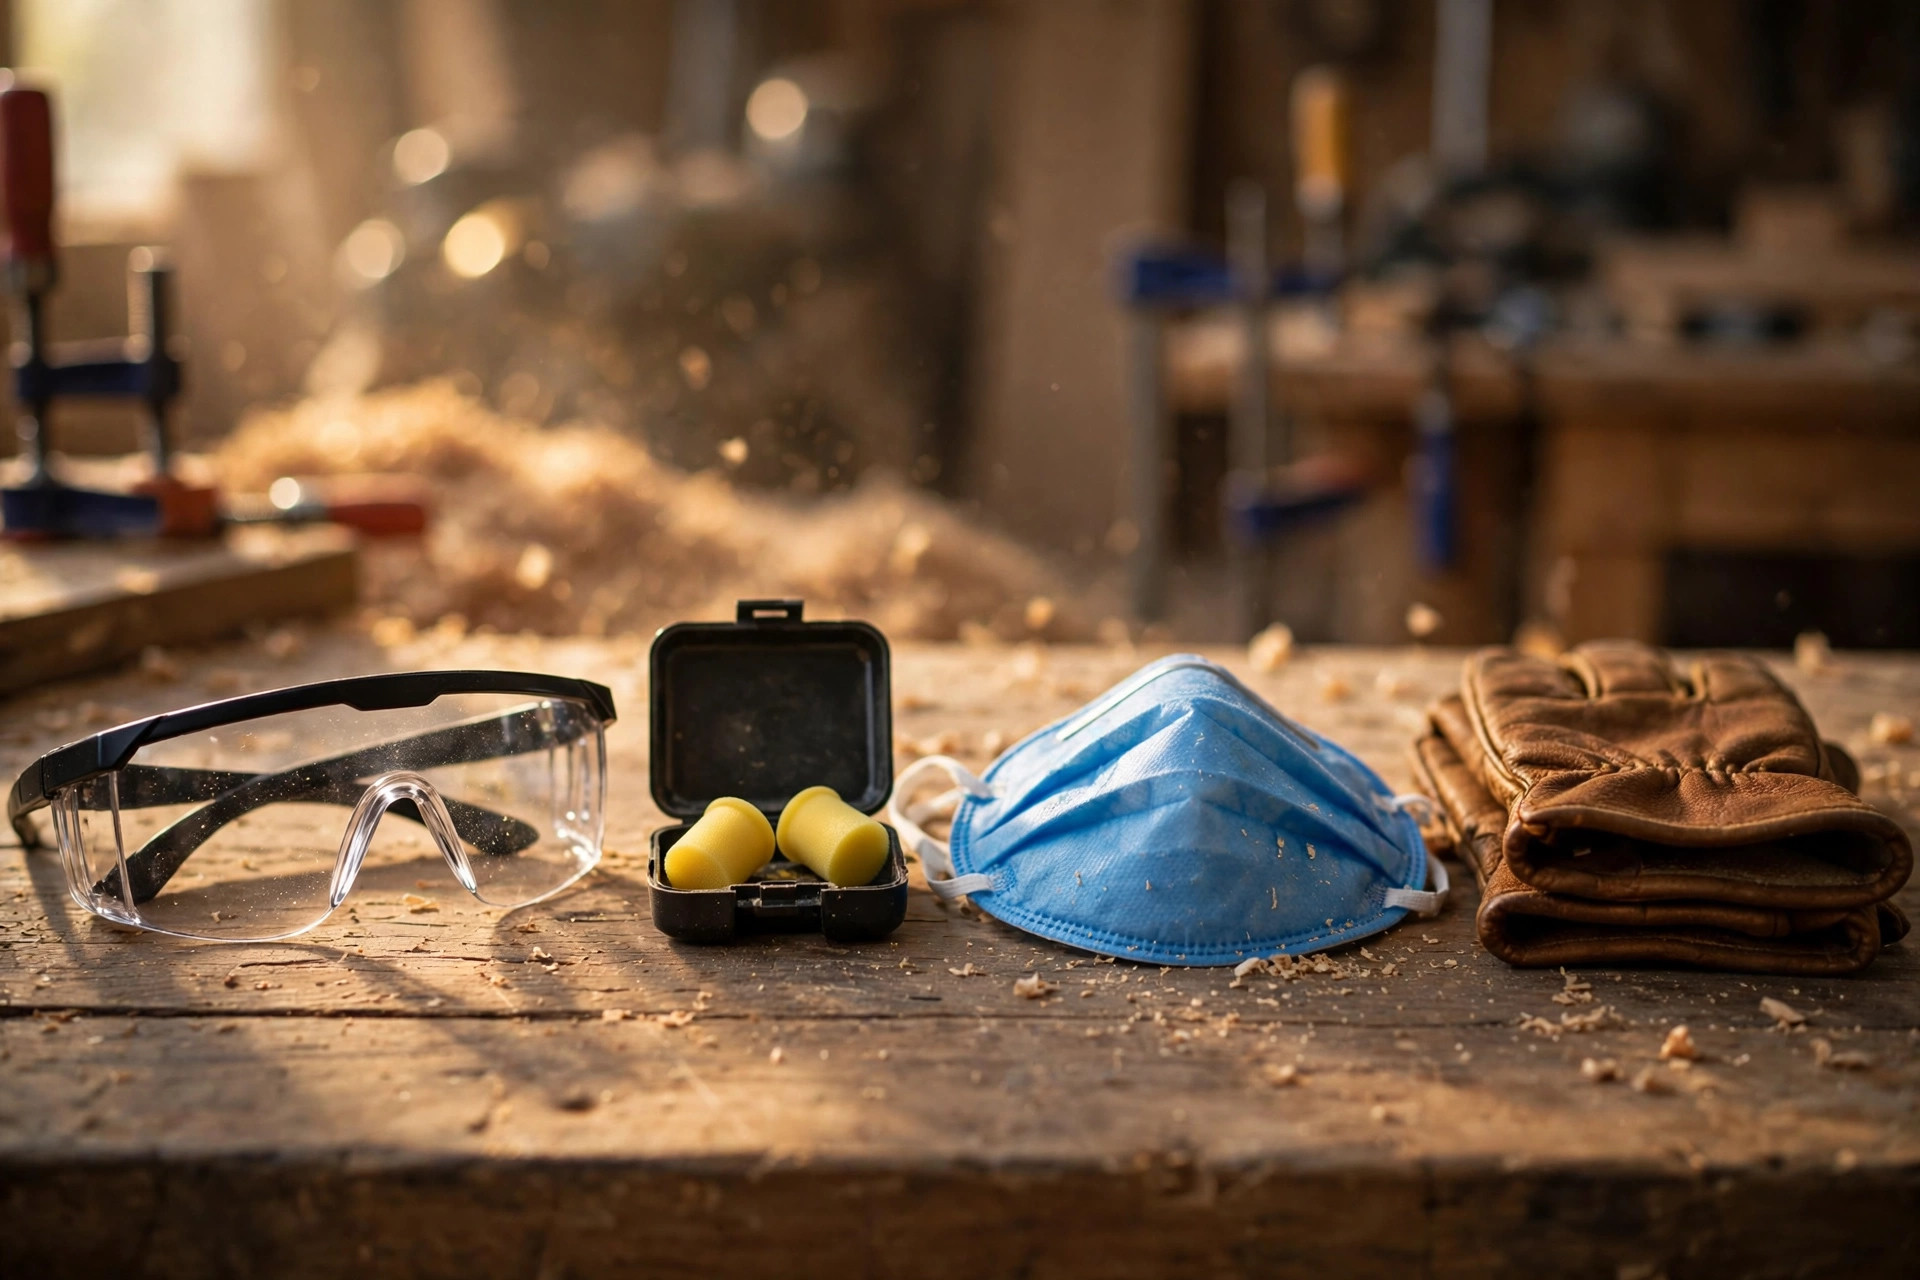
Flying chips, splinters, and dust do not give warnings. A single shard kicked back from a router can travel fast enough to cause a serious eye injury before you have time to blink. The rule is absolute: whenever a power tool is running — or anyone near you is running one — safety glasses are on your face.
Choose glasses that meet the ANSI Z87.1 standard. Standard sunglasses and prescription glasses do not count; they can shatter on impact and make things worse. Basic ANSI-rated safety glasses cost under $10, and anti-fog, wraparound models run $12–$20. If you wear prescription glasses, get safety glasses that fit over them, or buy prescription safety lenses.
Keep a spare pair hanging by the shop door. The biggest cause of skipped eye protection is not defiance — it is the two-minute walk to find the glasses you set down somewhere. Make them impossible to forget, and you will never skip them.
Rule 2: Protect Your Hearing
Hearing damage is the injury most beginners ignore because it happens silently. A table saw runs at roughly 100–105 decibels; a router can exceed 110 dB. At those levels, the safe exposure time before permanent damage starts is measured in minutes, not hours. And unlike a cut, hearing loss does not heal.
You have two good options. Earmuff-style hearing protectors (NRR 22–30) are quick to put on, cost $15–$30, and are the easiest to remember. Foam earplugs (NRR 32+) are cheaper, fit under a face shield, and are better in tight spaces. Many woodworkers use earmuffs for short cuts and plugs for long sanding or routing sessions.
Make hearing protection part of the same ritual as eye protection: glasses on, muffs on, then the tool starts. When the tool stops, they come off. Two seconds of habit prevents a lifetime of ringing ears.
Rule 3: Wear a Dust Mask or Respirator
Wood dust is not just a nuisance that makes you sneeze — it is a real health hazard. Fine dust, especially from hardwoods like oak and walnut, MDF (which contains formaldehyde), and pressure-treated lumber, can cause respiratory problems, chronic allergies, and long-term lung damage. Some tropical woods are outright toxic to breathe. This is the one PPE item beginners skip most often, and the one they regret skipping most.
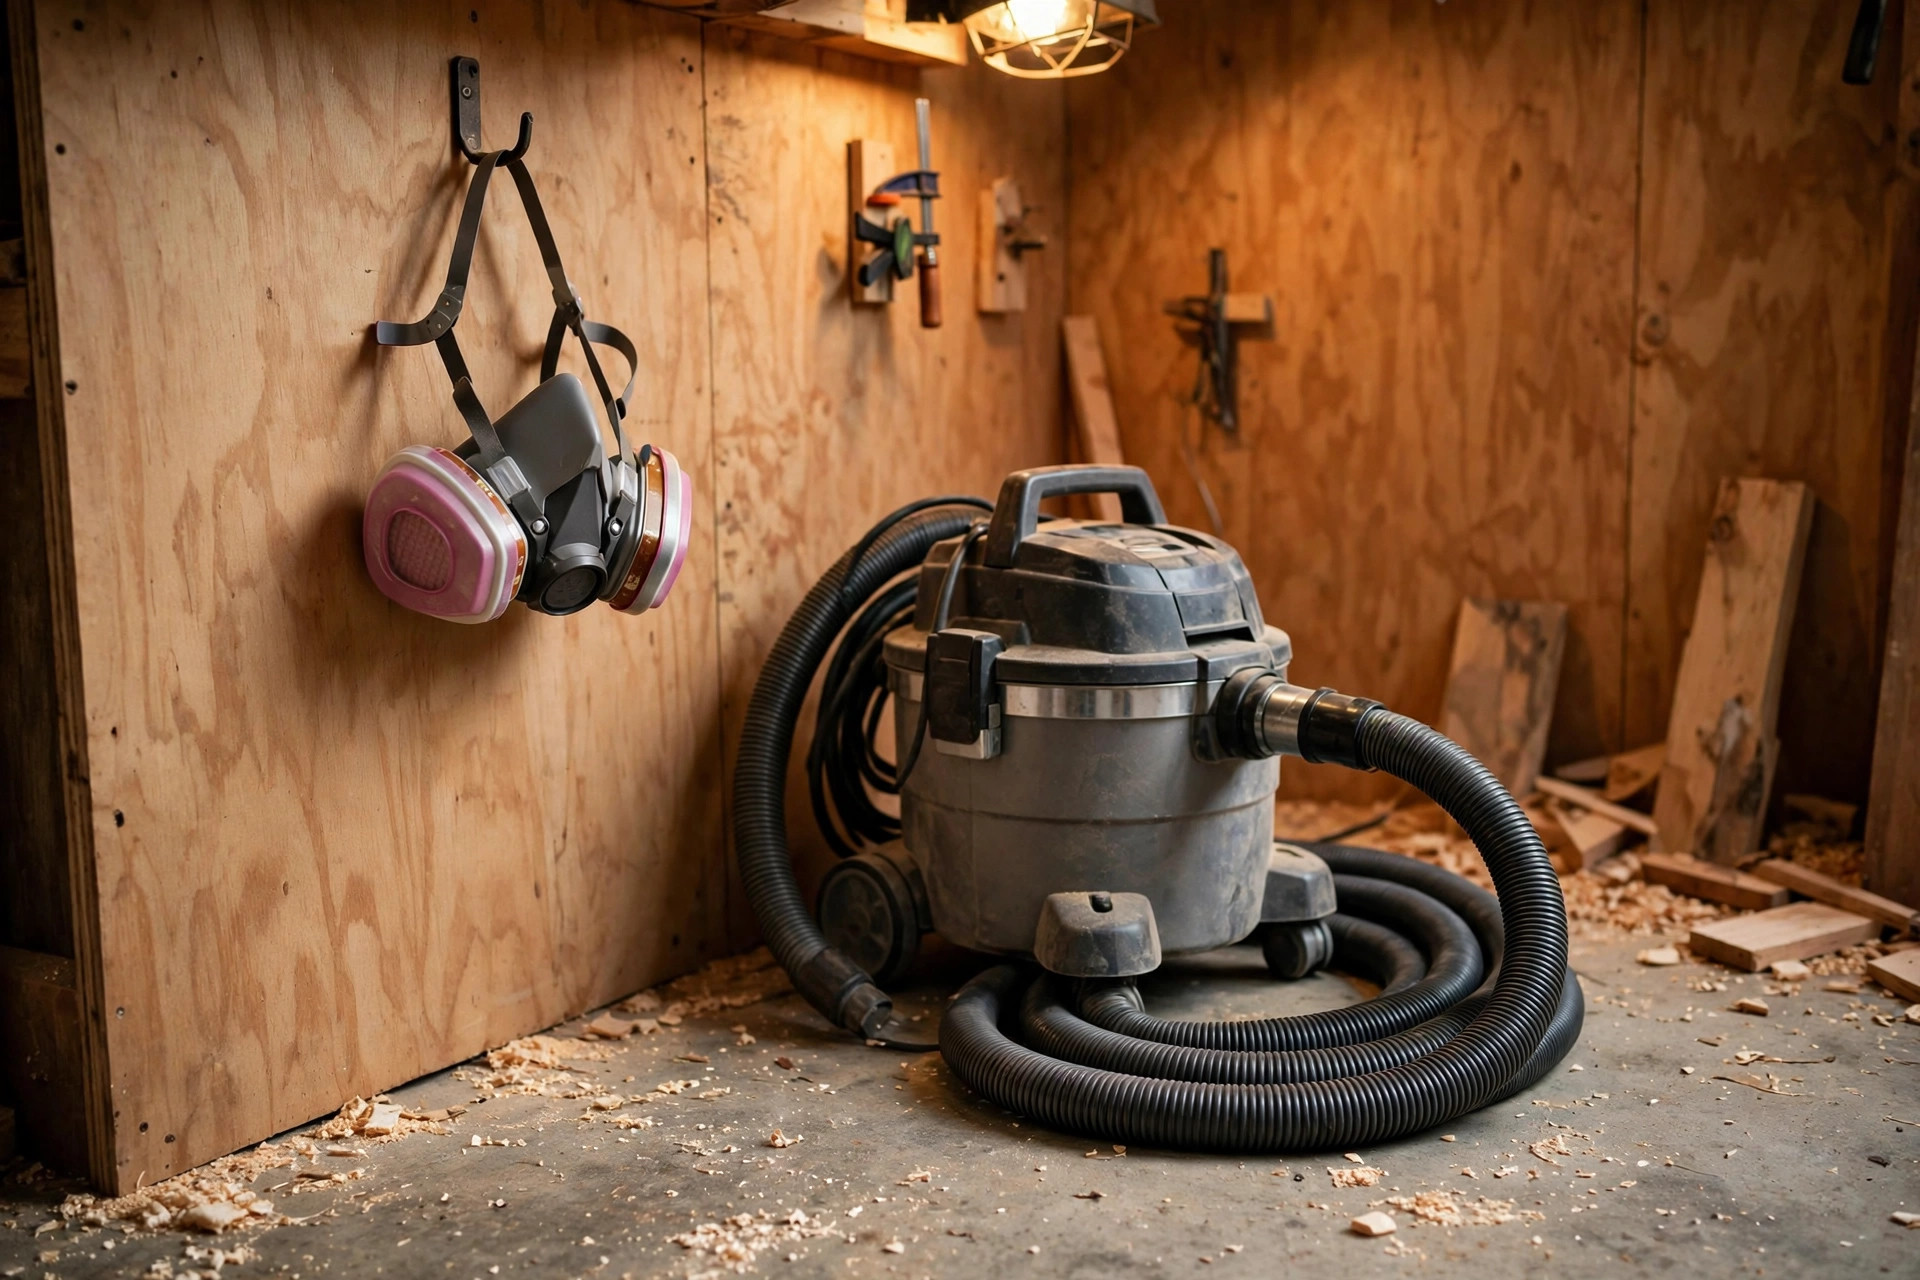
For occasional light work, a disposable N95 or P2-rated mask (about $1–$2 each in bulk) is a solid minimum. For regular shop time — especially sanding and sawing — step up to a half-face respirator with P100 filters. A good one costs $25–$40, the replacement filters last months, and it seals far better than a paper mask. Add organic vapor cartridges ($12–$15 a pair) when you are spraying finishes or using solvent-based products.
Respirators are only half the battle. Dust control at the source matters just as much, which is why pairing a mask with a proper dust collection setup for a small workshop is the single biggest upgrade a beginner can make to shop air quality. Think of it this way: the mask protects you; the collection system means the mask has less work to do.
Rule 4: Dress for the Shop — No Loose Clothing, No Jewelry
Loose sleeves, drawstrings, neckties, dangling lanyards, rings, bracelets, and watches have no place near spinning tools. A sleeve caught by a spinning blade or bit does not just snag — it can pull your hand into the cut before you can react. This is one of the fastest, least forgiving ways to get hurt in a shop.
The rule is simple and total: roll sleeves above the elbow or wear short sleeves, tuck in shirts, tie back long hair, and remove all jewelry before tools start. Wedding rings deserve special mention — many woodworkers leave them off entirely while in the shop, because a ring caught on a hook or spinning part can cause a devastating degloving injury.
None of this requires buying anything. It is free safety, and it is entirely about discipline.
Rule 5: Sharp Tools Are Safer Than Dull Ones
This feels backwards to beginners, but it is one of the most important woodworking safety tips for beginners to internalize: a dull tool is a dangerous tool. A dull chisel or blade requires more force to cut, and more force means less control. Less control means the tool slips — and when it slips under load, it slips toward you.
A sharp edge cuts with light, guided pressure. The tool does the work, your hands do the steering, and everything stays predictable. That is why learning to keep your edges keen is a safety practice, not just a craftsmanship one. Our guide to how to sharpen chisels for beginners walks through the whole process — flattening the back, setting a 25-degree bevel, and stropping to a razor edge in about fifteen minutes per chisel.
This rule applies to power tools too. A table saw blade with chipped, gummed-up, or overheated teeth tears instead of cutting, which increases resistance, burning, and the chance of kickback. Change or sharpen blades before they get scary-dull. Clean pitch and resin off blades regularly with a simple blade cleaner. If a cut suddenly needs much more pushing force than usual, stop — that is your signal the tool needs attention, not your shoulder.
PPE: What to Buy and What It Costs
Here is a complete starter PPE kit with real prices. Every item on this list pays for itself many times over.
| Item | Type to buy | Approx. cost |
|---|---|---|
| Safety glasses | ANSI Z87.1 rated, wraparound, anti-fog | $8–$20 |
| Hearing protection | Earmuffs NRR 25+ or foam plugs NRR 32 | $15–$30 (muffs) / $5 (plugs) |
| Dust mask | Disposable N95/P2, box of 20 | $15–$25 |
| Half-face respirator | With P100 particulate filters | $25–$40 |
| Work gloves | Fitted leather work gloves (for handling rough lumber, NOT near spinning tools) | $12–$20 |
| First-aid kit | Shop kit with bandages, burn gel, eye wash | $20–$35 |
| Fire extinguisher | ABC-rated, 5 lb, wall-mounted | $35–$55 |
| Push stick / push block | Wooden or plastic, for table saw and router table | $8–$15 |
| Featherboard | Magnetic or clamp-style, holds stock against the fence | $20–$40 |
Total starter cost: roughly $160–$280 — less than most single power tools, and it protects the only set of eyes, ears, and lungs you get. Notice what is not on this table: fancy gear you do not need yet. Start with the basics, wear them every time, and add to the kit as your shop grows.
Rule 6: Keep Hands Away — Use Push Sticks, Push Blocks, and Featherboards
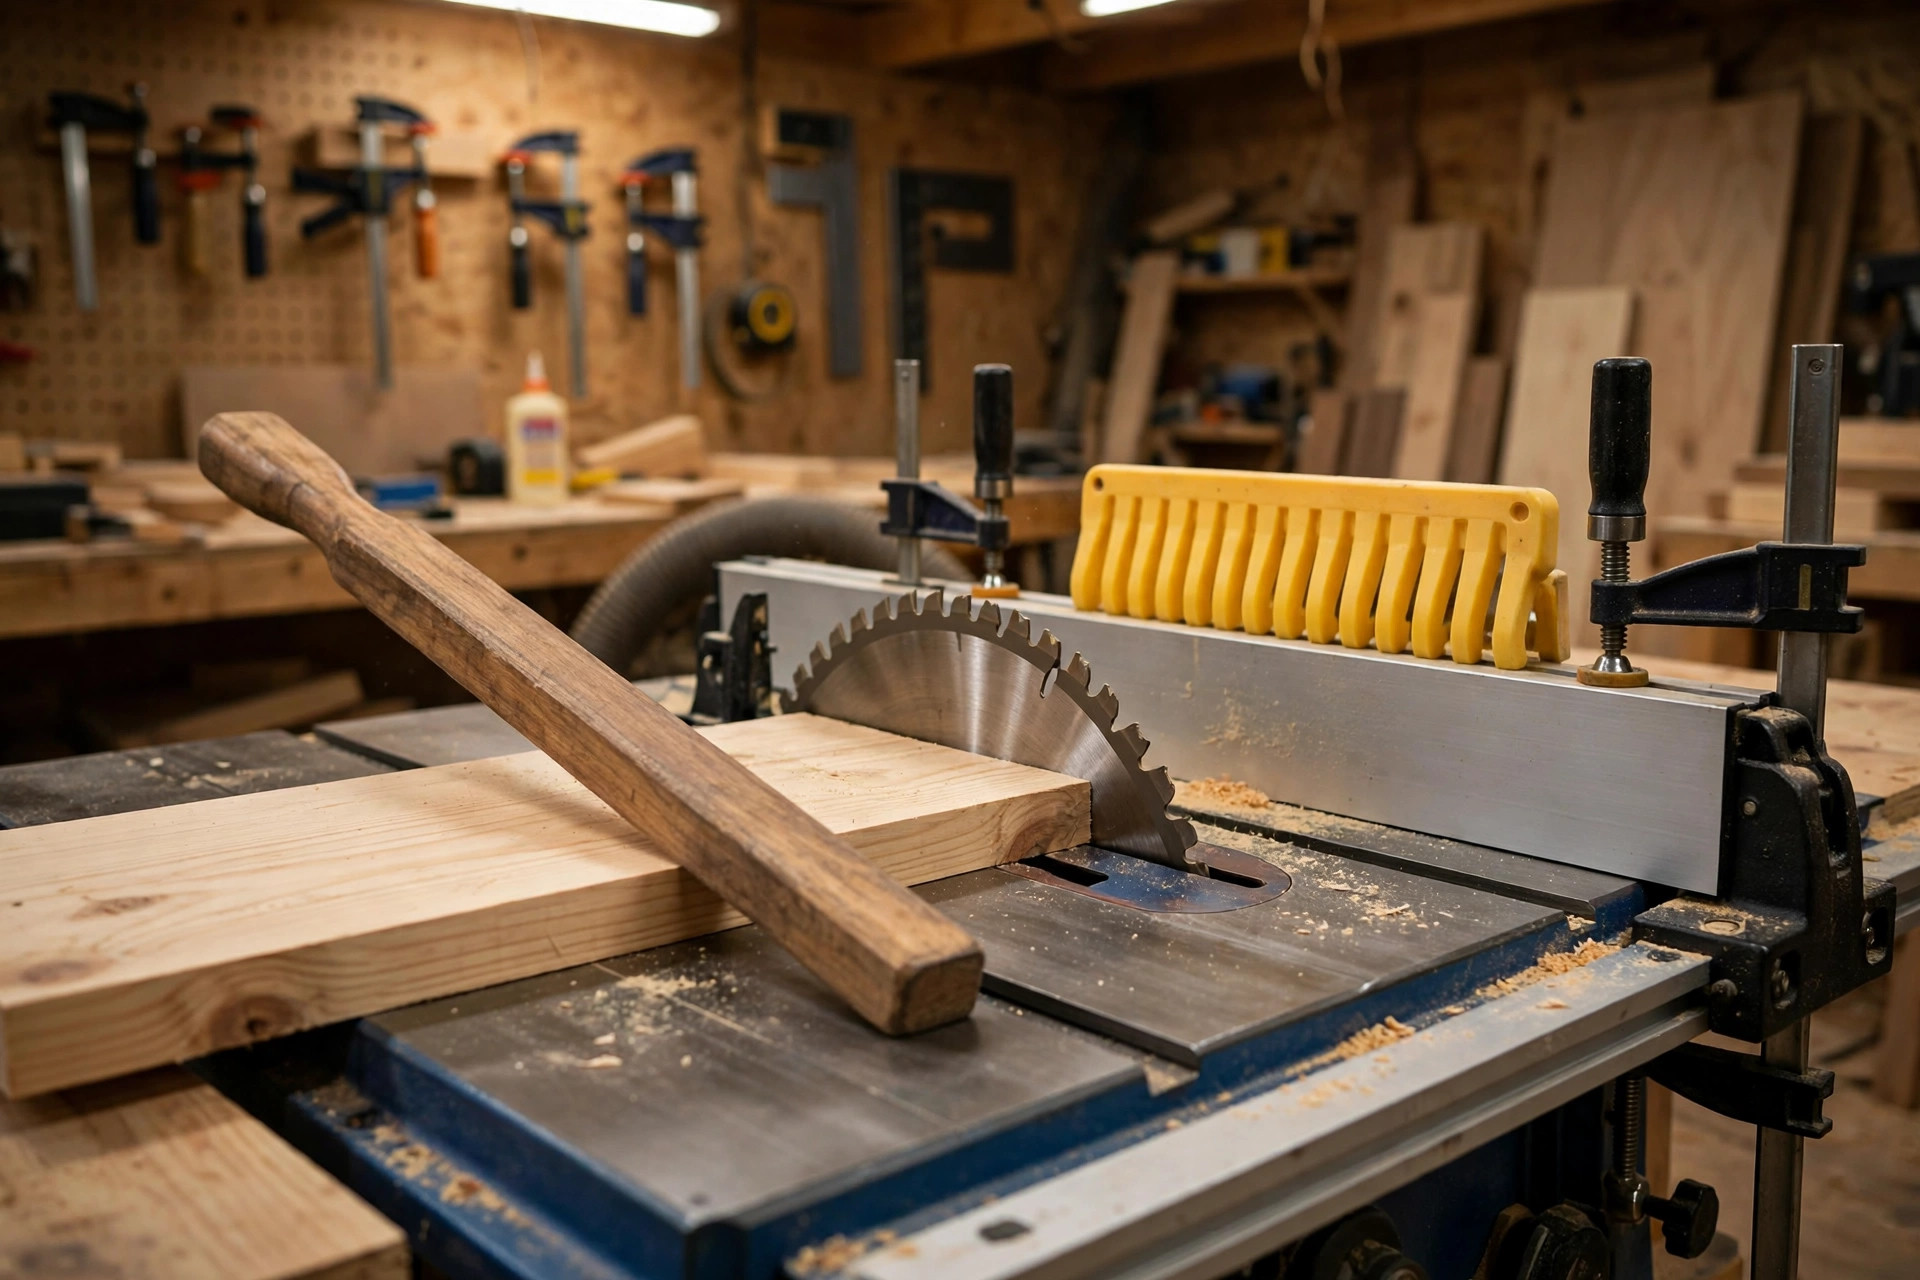
Your fingers are the most valuable tools in the shop, and the most common injury in woodworking is a hand meeting a blade. The prevention is mechanical, not brave: never let your hands come within a hand’s width (about 6 inches / 15 cm) of a spinning blade or bit. Use push sticks, push blocks, and featherboards to do the reaching for you.
A push stick keeps your hand behind the cut while feeding narrow stock through the table saw. A push block does the same with more control for wider pieces, giving you a handle and a grippy base that holds the board flat. A featherboard is even better: it presses the workpiece firmly against the fence so your hands only need to push forward, not sideways. Set up correctly, a featherboard dramatically reduces the chance of the board wandering into the blade mid-cut.
Keep push sticks hanging within arm’s reach of the saw — not across the shop. Many woodworkers make their own push sticks as one of their first small projects; it is a fine way to learn basic cuts with an immediate payoff. The point is never to catch yourself thinking “it’s just one quick cut, my fingers will be fine.” That single quick cut is where most injuries happen.
Rule 7: Understand Kickback — and How to Prevent It
Kickback is the most violent thing a table saw can do: the workpiece gets pinched between the blade and the fence, the blade catches it, and the board is hurled back toward you at tremendous speed. It happens in a fraction of a second, and it can turn a piece of lumber into a projectile. Every beginner needs to understand kickback before touching a table saw.
Kickback happens when the wood twists or closes behind the blade, pinching the rising back teeth. The prevention is a short checklist:
- Use the riving knife or splitter on your table saw — always. It keeps the cut (kerf) open behind the blade so the wood cannot pinch the back teeth. Removing it “just for this cut” is one of the most common causes of kickback injuries.
- Keep the fence parallel to the blade. A fence that toes in at the back pinches every board you rip.
- Stand to the side, not directly behind the blade, when feeding stock.
- Use featherboards to keep stock tight against the fence through the whole cut.
- Never make freehand cuts on the table saw without a fence or sled guiding the work.
- Do not force a binding cut. If the board starts to pinch, stop the saw, wait for the blade to stop, and re-set the cut.
Routers have their own version of kickback — the bit can grab and throw the workpiece, or climb-cut in the wrong direction. Always move the router against the rotation of the bit (into the cut), keep both hands on the tool, and secure the workpiece with clamps so it cannot move.
Rule 8: Unplug Tools When Changing Blades, Bits, or Batteries
A shocking number of injuries come from tools that “were off.” The switch was off, but someone’s elbow bumped it, a child touched it, or a cord got yanked — and the tool started while fingers were on the blade. The fix is absolute and physical: if the tool is plugged in, the blade is live.
Before changing a saw blade, router bit, drill bit, or any cutter: switch the tool off, unplug it from the wall (or remove the battery on cordless tools), and wait for everything to stop moving. On routers and table saws, many beginners add a second habit: flip the switch to off after every use, so the tool can never restart from an accidental bump.
Cordless tools deserve the same respect. Removing the battery takes two seconds and eliminates the start-up risk entirely. Treat battery removal as the cordless equivalent of unplugging.
Rule 9: Clamp Your Workpiece — Never Hold It by Hand
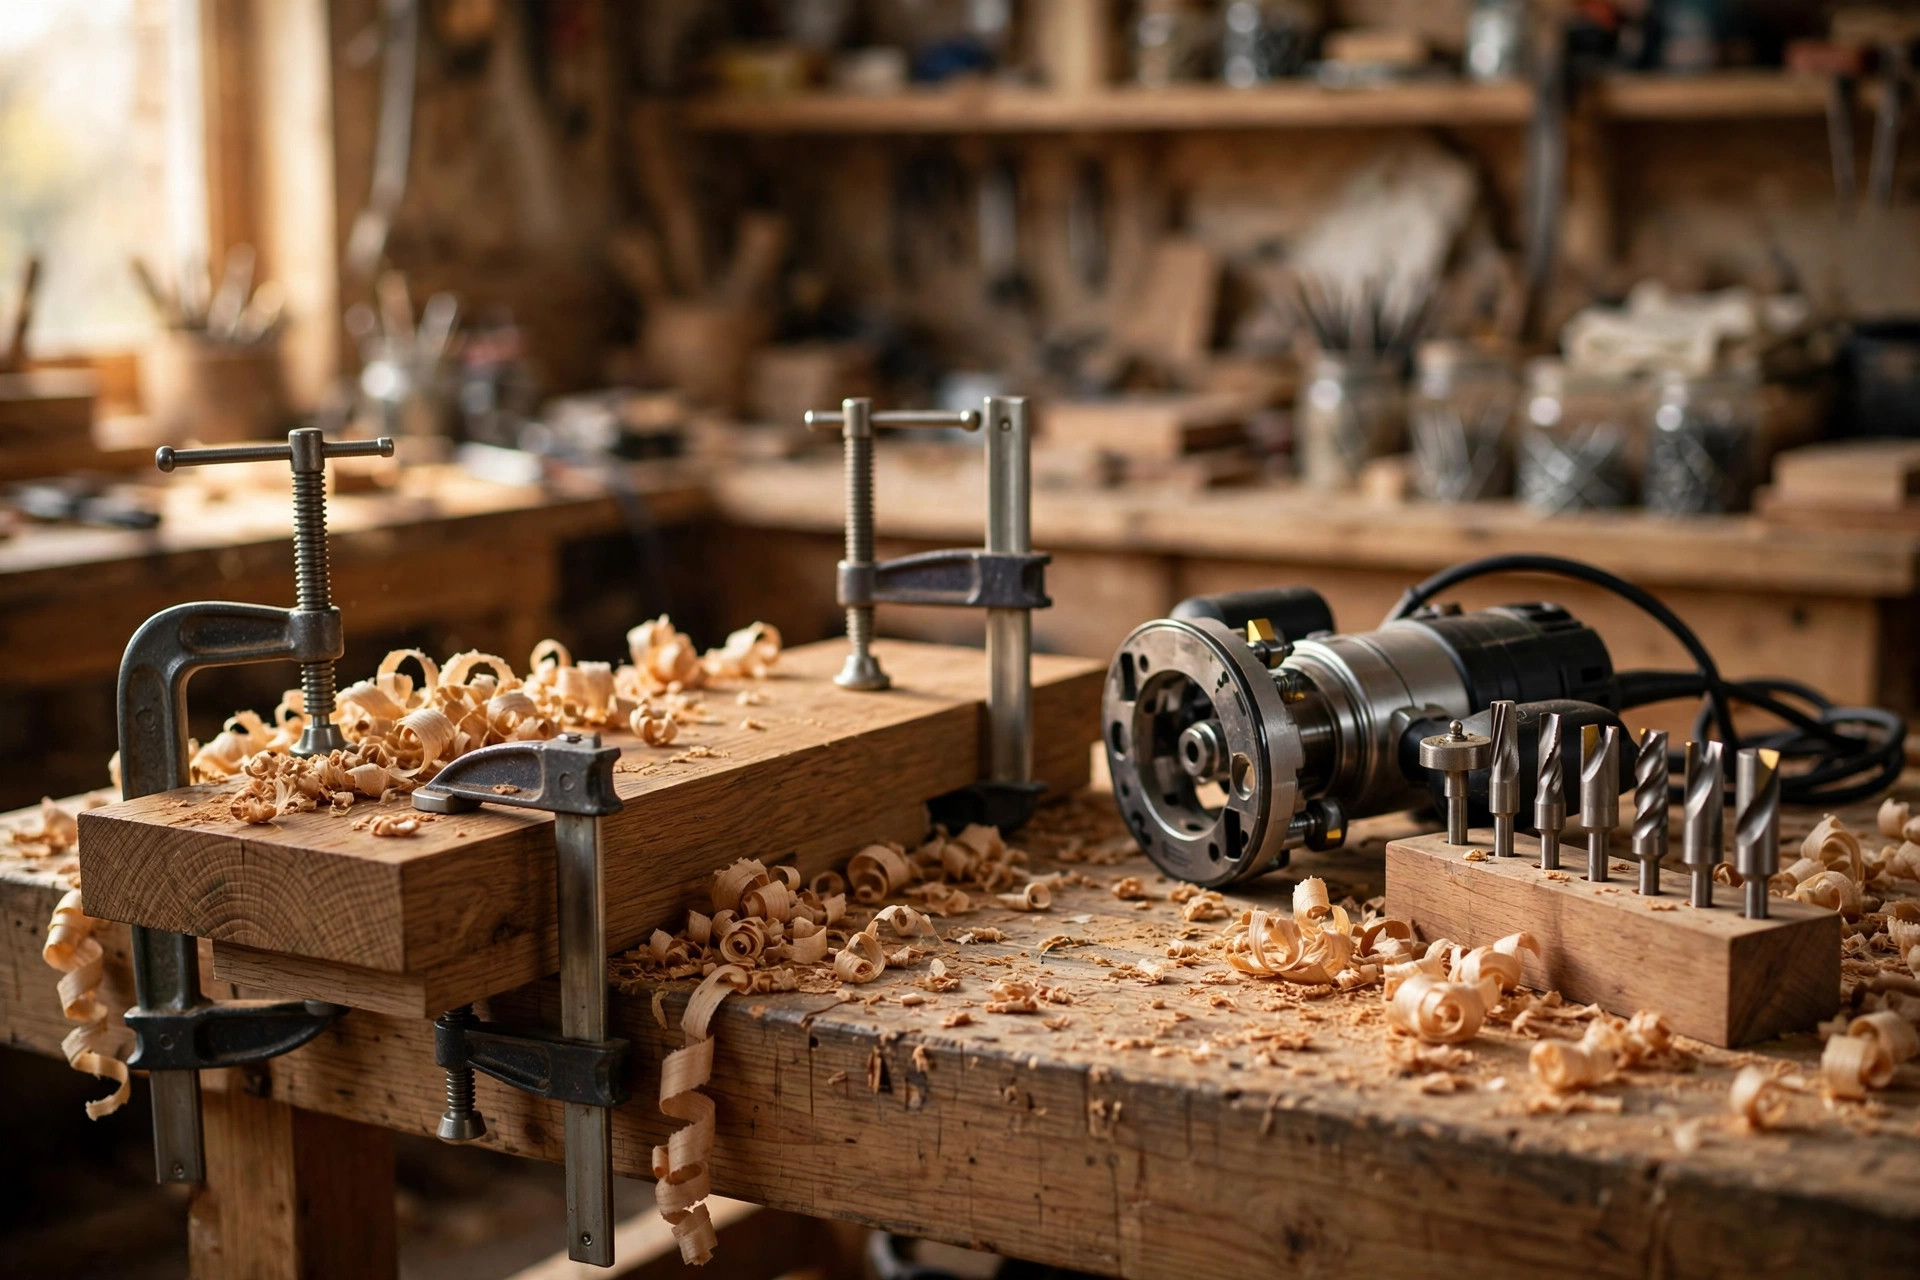
If your workpiece can move, it will move — usually at the worst moment. Drilling, routing, and cutting should never be done with a hand holding the stock near the cutter. Clamp it, screw it, or hold it in a vise. A board that spins in a drill press or climbs in a router can break fingers or fling the piece across the shop.
For the drill press specifically: clamp the workpiece to the table or hold it with a drill-press vise. For routing: use clamps on a stable bench, or better, a router table with a fence and featherboards. For hand sawing and chiseling: secure the board so it cannot shift under force, and always cut away from your body — never draw a chisel toward your hands.
This rule also protects your accuracy. A workpiece that cannot move produces cleaner, straighter, more predictable cuts. Safety and quality turn out to be the same habit.
Rule 10: Keep a Clean, Well-Lit, Trip-Free Workspace
A messy shop is a dangerous shop. Offcuts piled around the table saw become tripping hazards right where your feet need to be planted during a cut. Sawdust on a concrete floor becomes slick. A dark corner hides the exact line you need to see.
Build these habits into every session:
- Clear the floor around every machine before you start. Keep at least an arm’s length of clear space on all sides of the tool you are using.
- Good lighting is safety equipment. You need to see cut lines, your hands relative to the blade, and the grain of the wood. Overhead shop lights plus a task light aimed at the bench are the minimum. If you are setting up a small space, this pairs directly with the lighting and layout planning in our guide to small garage workshop setup ideas.
- Vacuum or sweep dust regularly, especially near walkways. Beyond the slip hazard, fine dust is flammable and coats everything, which is a fire risk in its own right.
- Put tools back when you are done with them. A chisel left edge-up on the bench is an accident waiting for a sleeve or a hand.
- Never reach over a running blade. Walk around instead — it costs five seconds.
Tool-Specific Safety: The Big Four Beginners Use
General rules keep you safe in principle; tool-specific habits keep you safe in practice. Here is what beginners must know about the four power tools they are most likely to start with.
| Tool | Key safety habits |
|---|---|
| Table saw | Riving knife always on; push stick for rips under 6 in wide; stand to the side; blade guard in place; never reach over the blade; check fence alignment before each session. |
| Router (handheld or table) | Both hands on the tool (handheld); feed against bit rotation; secure the workpiece with clamps; take shallow passes (1/8 in per pass) instead of one deep cut; unplug before changing bits. |
| Miter saw | Let the blade reach full speed before cutting; keep hands at least 6 in from the blade path; clamp small pieces — never hand-hold stock under 12 in; let the blade stop fully before lifting the head. |
| Drill / drill press | Clamp the workpiece — never hand-hold it; remove the chuck key immediately after tightening (drill press); wear eye protection for flying chips; reduce pressure when the bit is about to break through to avoid grabbing. |
A pattern runs through all four: secure the workpiece, keep hands clear, control the cut speed, and disconnect power for adjustments. Learn those four habits and you can approach any new tool with the right instincts.
Rule 11: Respect the Tool — Rest When You Are Tired, Rushed, or Frustrated
Some of the worst shop injuries happen in the last ten minutes of a long day. Fatigue dulls your judgment, slows your reactions, and makes you take shortcuts — the exact opposite of what spinning steel tolerates. If you are tired, distracted, in a hurry, or frustrated with a piece that is not cooperating, walk away. The wood will still be there tomorrow. Your fingers will only be there if you stop.
Related discipline points that save beginners:
- Never rush the final cut of the day. If it cannot be done carefully in the time you have, it waits.
- Do not work under the influence of alcohol or sedating medication. Even one drink slows reaction time enough to matter.
- Read the manual for every new tool before the first cut. It takes twenty minutes and every manual contains tool-specific warnings that general rules do not cover.
- Ask for help with heavy or awkward stock. A full sheet of plywood handled alone is an injury in waiting — to your back, your hands, and anyone the sheet falls toward.
Fatigue is invisible, which is why this rule needs to be a pre-commitment rather than a judgment call. Decide before the session: when the yawns start, the tools stop.
Rule 12: Keep a First-Aid Kit and Fire Extinguisher Within Reach
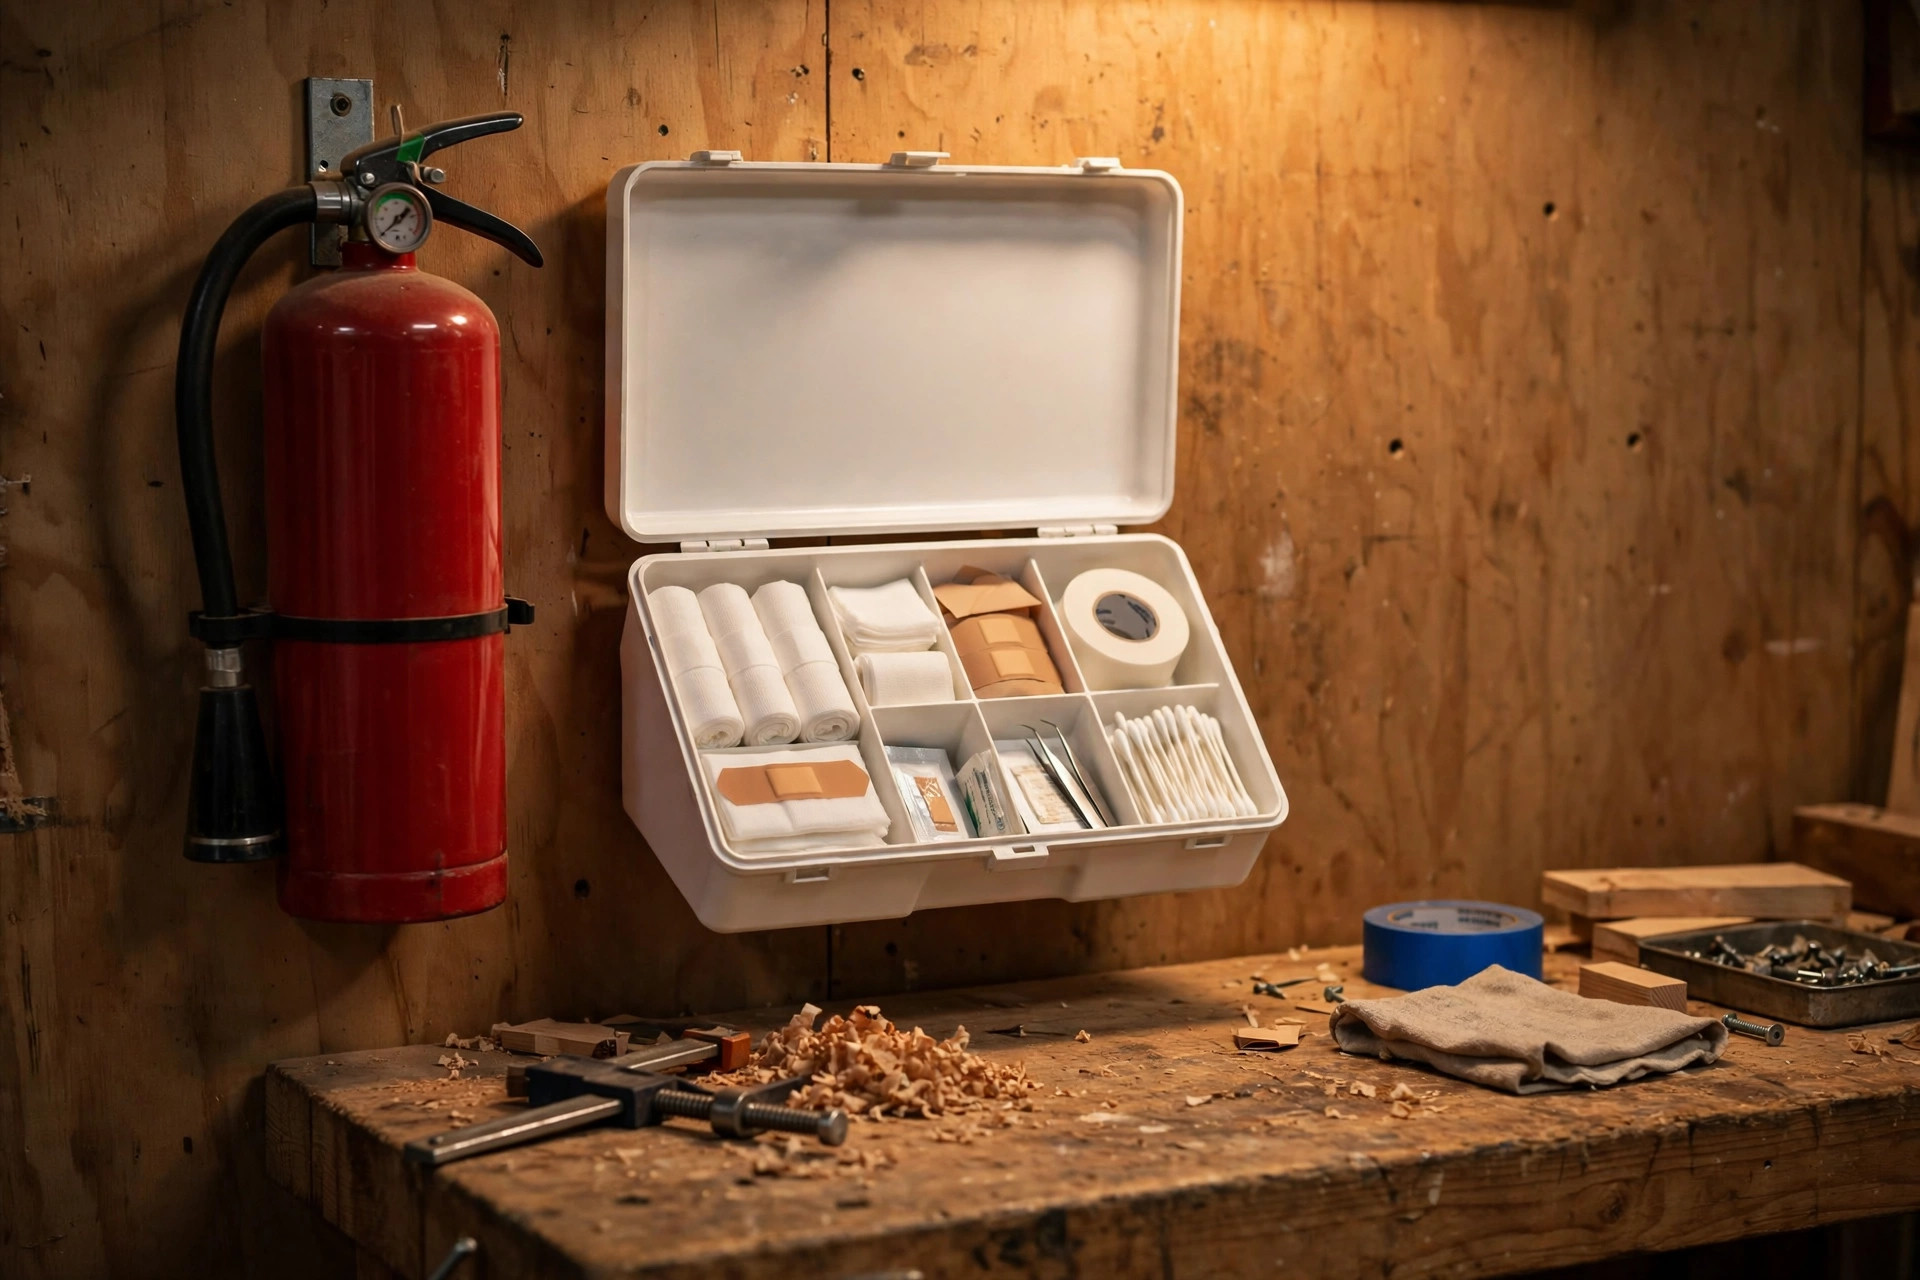
Prevention covers most risk, but preparation covers the rest. Two items must be permanently mounted in your shop, in locations you can reach without crossing past running tools:
- A shop first-aid kit stocked for the injuries woodworking actually produces: assorted bandages, gauze pads, adhesive tape, antiseptic wipes, burn gel, a cold pack, tweezers (for splinters), and an eye-wash bottle. Check it twice a year and replace anything used or expired.
- An ABC-rated fire extinguisher (5 lb minimum), wall-mounted near the exit — never buried behind lumber. Sawdust, finishes, rags soaked in linseed oil (which can spontaneously combust — store used oil rags in a sealed metal container with water, or spread them flat outdoors to dry), and solvent fumes are all real fire sources in a woodshop.
Also keep your phone charged and within reach in the shop. If something serious happens, calling for help fast matters more than anything else in the kit.
Dust Hazards: What the Fine Dust Is Really Doing
Dust deserves its own section because it is the hazard beginners underestimate the most. The big visible chips are harmless by comparison — the danger is the fine, invisible dust that stays airborne for hours and penetrates deep into your lungs. Different woods carry different risks:
- Hardwoods (oak, walnut, mahogany): fine dust is a known respiratory irritant; long-term exposure without protection is linked to nasal and lung conditions.
- MDF and plywood: the dust includes formaldehyde-based adhesives. Always wear a respirator when cutting or sanding sheet goods, and ventilate the shop.
- Pressure-treated lumber: contains copper compounds and preservatives. Wear a respirator and gloves; never burn the offcuts.
- Exotic/tropical woods (cocobolo, wenge, padauk): many are sensitizers — each exposure can trigger a worse allergic reaction than the last. Full respirator and long sleeves are the minimum.
The hierarchy of dust control is: capture at the source (dust collection on the tool), ventilate the shop, and protect the person (respirator). Our detailed walkthrough on building a dust collection system for a small workshop covers affordable setups that capture the majority of dust at the tool before it ever reaches the air. Combine that with a half-face respirator and you have taken dust from “biggest invisible risk” down to “handled.”
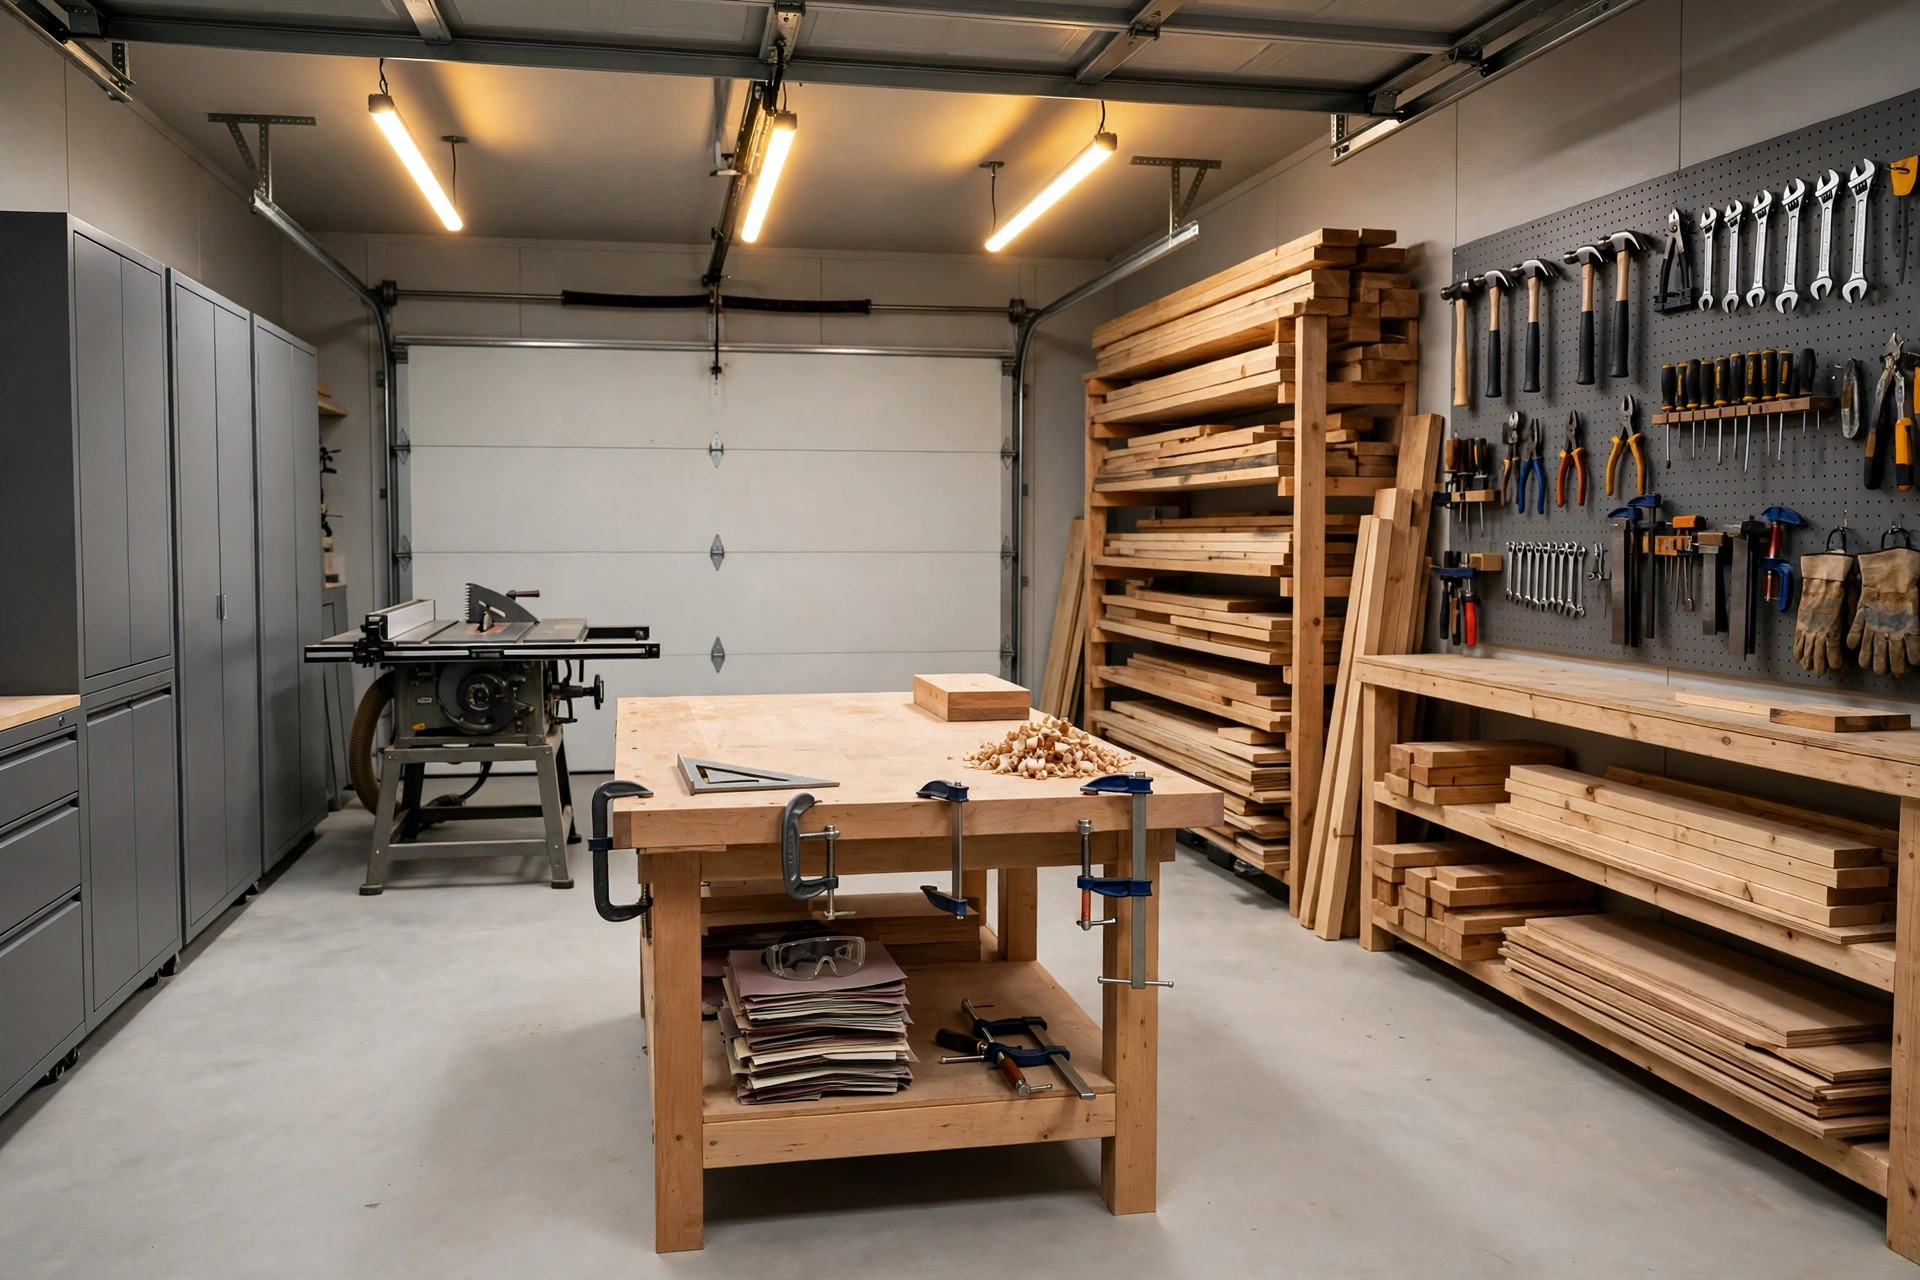
A Safe Workshop Layout for Beginners
Layout is safety. A well-arranged small shop keeps your body out of awkward positions, your hands away from blades, and your exit path clear. Whether you are working in a corner of the garage or a dedicated room, aim for these principles — expanded in our guide to small garage workshop setup ideas:
- Clear zones around every machine. Leave at least 3 feet of clear floor on the infeed and outfeed sides of the table saw, and enough room to walk completely around each tool without squeezing past another blade.
- Work flow in one direction. Arrange tools so stock flows logically: storage → saw → assembly bench → finishing area. Crossing the shop carrying a long board past running tools is an accident pattern.
- Bright, layered lighting. Overhead fluorescents or LEDs for general light, plus task lighting at the bench and over each machine. If you cannot see the cut line clearly, the cut is not safe.
- Power that reaches safely. Use heavy-gauge extension cords rated for the tool’s amperage, run them along walls or overhead, and never across walkways. A cord underfoot near a table saw is a fall-into-the-blade risk.
- Fire and first-aid stations by the exit. Extinguisher and first-aid kit mounted near the door, clearly visible, never blocked.
- Dust collection plumbed or portable. Even a shop vac on a cyclone separator, moved between tools, captures a large share of fine dust.
- A place for everything. Tools go back on the wall or in drawers after use. A tidy shop is a safe shop — and a faster one.
You do not need a big shop to be a safe shop. You need a deliberate shop, where every tool has a home and every walkway stays clear.
Your Pre-Cut Safety Checklist
Tape this next to your shop door until it is muscle memory. Run through it before every session:
- Glasses on, hearing protection on, respirator on (if cutting or sanding).
- Sleeves up, jewelry off, hair tied back.
- Blades and bits checked — sharp, clean, correct type for the cut.
- Riving knife, blade guard, and fence in place and aligned (table saw).
- Push stick, featherboard, and clamps within reach.
- Workpiece secured; cut path clear of hands and obstacles.
- Floor clear, lighting good, phone within reach.
- First-aid kit and extinguisher locations confirmed.
- Tired, rushed, or distracted? Session postponed — no exceptions.
Nine lines. Thirty seconds. It is the cheapest insurance in woodworking.
Frequently Asked Questions
What is the most important piece of safety equipment for woodworking? Safety glasses are the single most important item — eye injuries are fast, common, and often permanent, and ANSI Z87.1-rated glasses cost under $10. That said, safety is a system, not one item: glasses plus hearing protection plus a dust mask or respirator form the basic trio that should go on before any power tool starts.
Can I wear regular glasses instead of safety glasses? No. Ordinary prescription glasses and sunglasses are not impact-rated and can shatter on impact, potentially making an eye injury worse. Get ANSI Z87.1-rated safety glasses — over-glasses styles fit comfortably over prescription lenses, and prescription safety glasses are available for regular shop users.
Are dust masks really necessary for small woodworking projects? Yes. Even small cuts generate fine dust that stays airborne for hours, and hardwood, MDF, and treated-lumber dust carry real respiratory risks. A disposable N95 mask is the minimum for quick jobs; anyone sanding or sawing regularly should invest $25–$40 in a half-face respirator with P100 filters.
What is kickback on a table saw and how do I avoid it? Kickback is when the workpiece pinches behind the blade and is hurled back at you at high speed. Prevent it by always using the riving knife or splitter, keeping the fence parallel to the blade, standing to the side of the blade, using featherboards to hold stock against the fence, and never forcing a binding cut.
Should I wear gloves when using power tools? No — not near spinning tools. Gloves reduce your feel and can get caught by a blade or bit, pulling your hand into the cut. Use gloves for handling rough lumber, loading sheet goods, and cleanup, then take them off before any power tool starts.
How do I store oily rags safely in the shop? Rags soaked in linseed oil, tung oil, and some finishes can spontaneously combust as the oil cures and generates heat. Never bunch them in a pile or a trash can. Spread them flat outdoors to dry completely, or store them in a sealed metal container with water. This is one of the most common — and most preventable — causes of shop fires.
What should be in a woodworking shop first-aid kit? Stock it for likely shop injuries: assorted adhesive bandages, gauze pads and tape, antiseptic wipes, burn gel, an instant cold pack, tweezers for splinters, an eye-wash bottle, and a phone list of emergency numbers. Keep it wall-mounted near the exit where you can reach it without crossing past running tools, and check it twice a year.



Pingback: 25 Easy Woodworking Projects for Beginners That Sell Fast