
A dull chisel is not just annoying — it is dangerous. When an edge is blunt, you push harder, the tool slips, and instead of slicing clean fibers it crushes them. If you have ever wondered how to sharpen chisels for beginners without expensive equipment or years of practice, this guide is for you. With a basic sharpening stone, an inexpensive honing guide, and about fifteen minutes per chisel, you can turn a dull, chipped edge into one that shaves paper-thin curls off a pine board.
The good news: sharpening a chisel is far simpler than most tutorials make it look. There are no secrets, no magic jigs, and no need for a $300 powered system. Sharpness is simply two smooth surfaces — the flat back of the chisel and the angled bevel — meeting at a clean, burr-free edge. Everything in this article exists to help you create those two surfaces and bring them together. Once you can do it for one chisel, you can do it for every edge tool in your shop, from plane irons to carving knives.
Sharp tools also change the quality of everything you build. Clean, crisp joinery starts with sharp chisels, which is why learning how to sharpen chisels for beginners pairs so well with practicing joinery techniques that reward precision. When your chisels glide through wood instead of fighting it, dovetails fit tighter, mortises come out square, and even simple beginner projects that sell look noticeably more professional. Sharpness is the quiet upgrade behind almost every improvement in your work.
Why a Sharp Chisel Matters More Than You Think
Every beginner underestimates this. A dull chisel forces you to lean on the tool, and leaning means slipping. A sharp chisel cuts with light hand pressure, which gives you control, and control is what keeps fingers safe. It is a paradox beginners resist until they feel it: the sharper the tool, the safer the workshop.
Sharpness also decides how your finished work looks. A razor edge severs wood fibers cleanly, leaving glassy paring cuts and tight joints. A dull edge tears and crushes fibers, leaving fuzzy surfaces that need heavy sanding — and sanding can only do so much before it rounds over the crisp details you worked to create. If you already follow a proper sanding and finishing routine, you know that surface quality starts long before sandpaper touches the wood. It starts at the sharpening stone.
Finally, sharp chisels are simply more fun to use. Woodworking stops feeling like wrestling and starts feeling like carving. That difference is what keeps beginners coming back to the bench instead of giving up after their first frustrating project.
The Anatomy of a Sharp Edge (What You’re Actually Doing)
Before you touch a stone, understand what you are building. A chisel cuts where two planes meet:
- The back — the flat, unground face of the chisel. It must be perfectly flat and polished near the cutting edge, because it forms one half of the cutting point.
- The bevel — the angled face ground into the steel, usually at 25 degrees on a new chisel. This forms the other half of the cutting point.
- The edge — the microscopic line where back and bevel meet. When both surfaces are flat and smooth right up to that line, the edge is sharp.
That is the whole secret. Sharpening is the process of flattening the back, refining the bevel, and removing the tiny wire of metal (the burr) that forms where the two meet during grinding. Everything else — grits, guides, strops — is just a way to do those three jobs efficiently.
Most bench chisels arrive with a 25-degree primary bevel. For general woodworking, that angle balances sharpness and edge durability nicely. Many woodworkers then add a tiny micro-bevel at 30 degrees: a narrow second bevel right at the tip, only a fraction of a millimeter wide. The micro-bevel is what you actually sharpen during routine touch-ups, which saves time because you are honing a much smaller area of steel.
What You’ll Need: Tools and Real Cost Estimates
You do not need a wall of equipment. Here is the complete beginner kit, with honest prices:
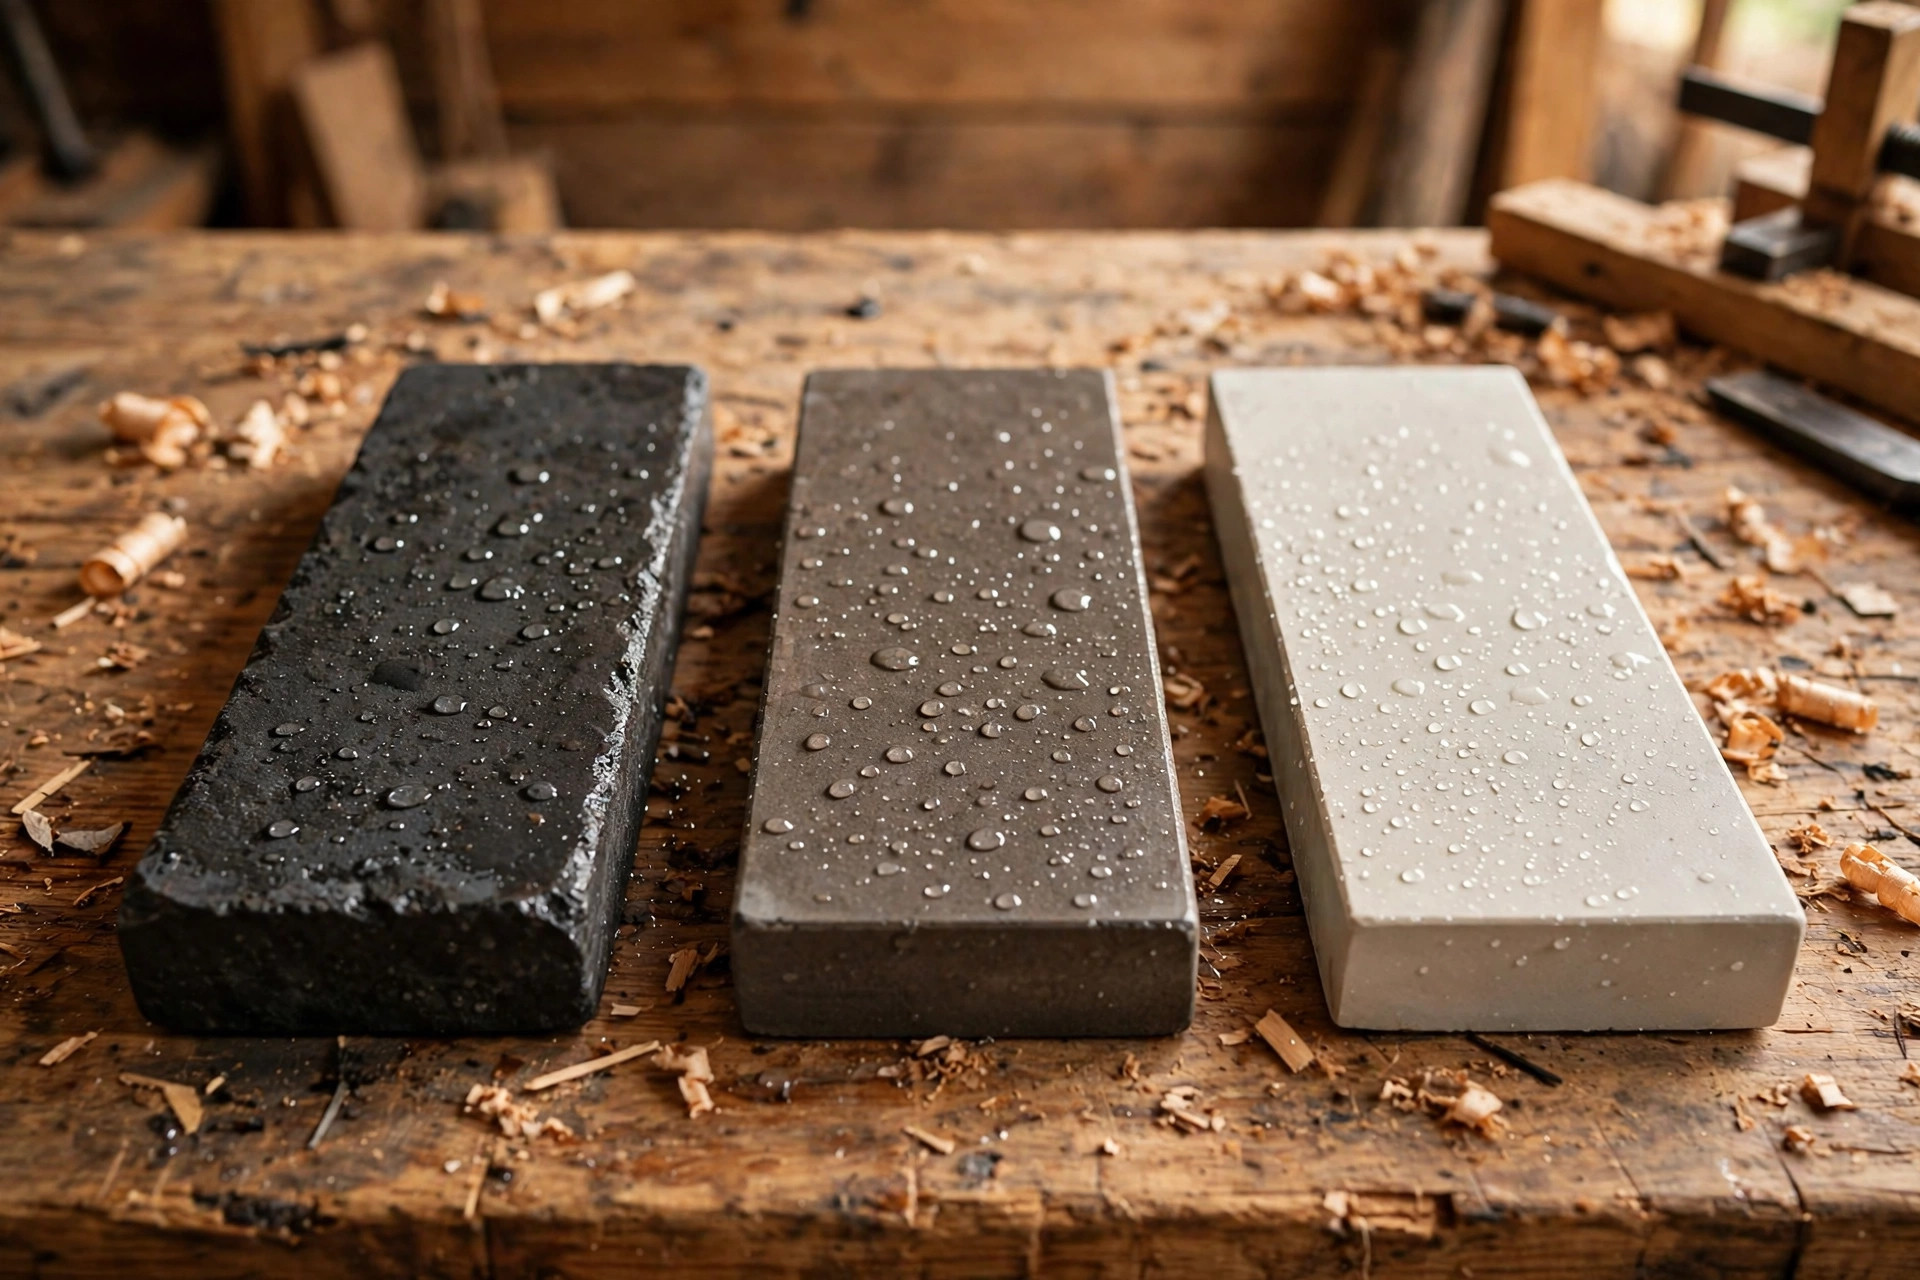
- A combination water stone (1000/6000 grit): the single most useful stone for a beginner. About $25–$40. The 1000 side does the shaping; the 6000 side polishes.
- A coarse diamond plate (around 400 grit) or coarse stone: for badly nicked edges and flattening chisel backs. About $25–$50. Optional if your chisels are new and undamaged, but highly recommended.
- A honing guide: the cheap, clamp-style rolling guide. About $12–$20. This is the beginner’s best friend — it locks in your bevel angle so you cannot mess it up.
- A leather strop plus honing compound: a piece of leather glued to a wood paddle, charged with green chromium-oxide compound. About $15–$25 for a ready-made paddle, or under $10 if you make one yourself.
- A small spray bottle of water (for water stones): pennies. Or honing oil if you choose oil stones.
- A flat reference surface: a piece of float glass, granite tile, or a machined-flat surface, for flattening stones and backs. A glass tile costs a few dollars at a home center.
- An old towel: to keep things from sliding around and to catch slurry.
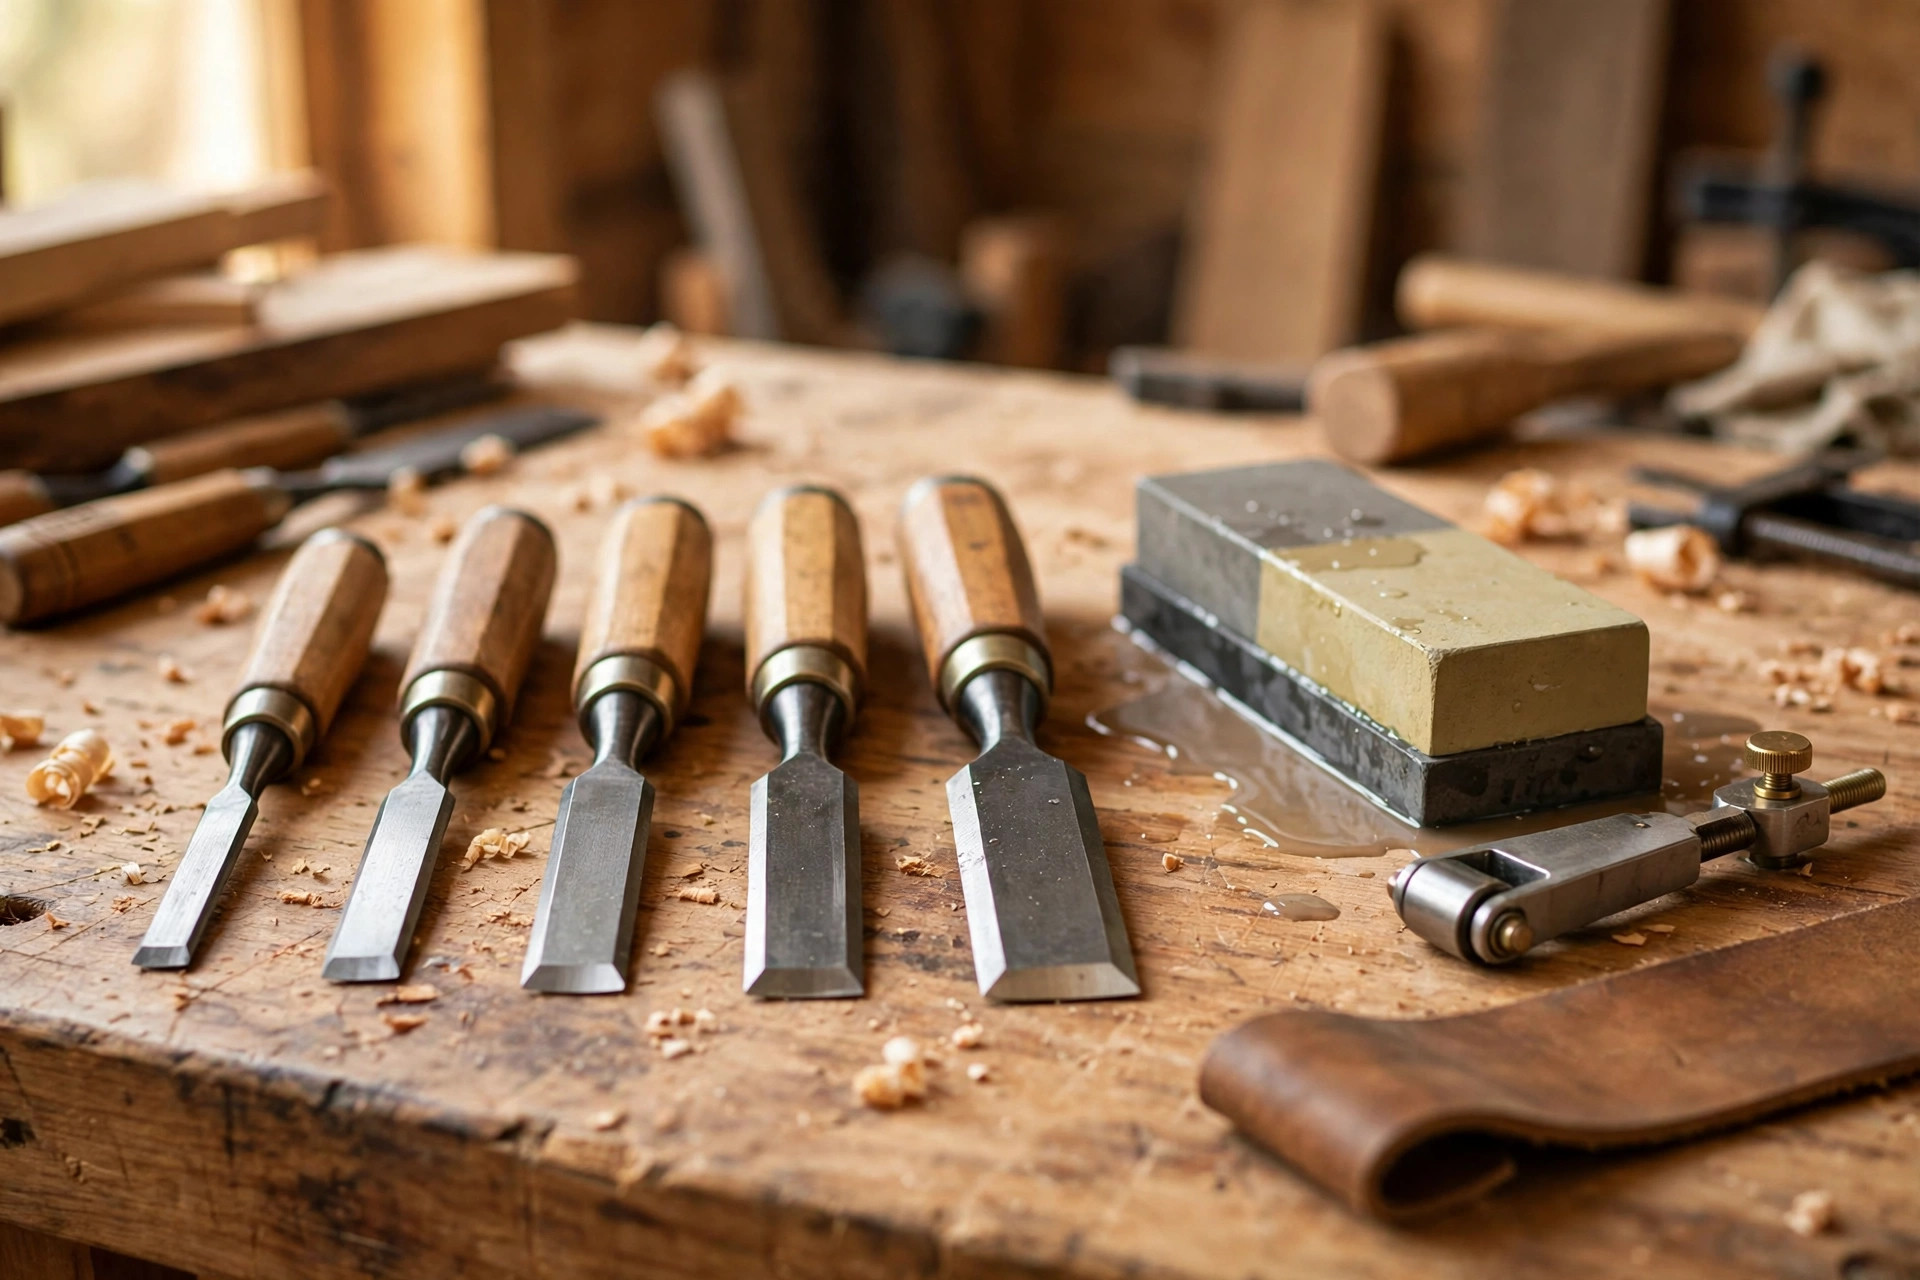
Total startup cost lands between $60 and $120 depending on what you already own — less than a single decent chisel set, and it lasts for years. If money is truly tight, the sandpaper-on-glass method works: spray-adhere sheets of wet/dry sandpaper (80 through 600+ grit) onto flat glass and sharpen on those. A full grit set costs under $15. The principles in this guide apply exactly the same way.
One more thing worth having: a magnifying loupe or even just your phone’s camera zoomed in. Looking closely at the edge teaches you more than any paragraph can. A sharp edge disappears into a clean line; a dull one reflects light as a bright ribbon.
Setting Up Your Sharpening Station
Set up somewhere you can make a little mess. Soak a water stone in water for 5–10 minutes until bubbles stop rising (diamond plates and oil stones skip this step). Lay your stones on a damp towel on the bench so they cannot walk around. Keep a small container of water nearby to re-wet the stone as you work — the surface should always look wet and slightly milky with slurry. That slurry is doing the cutting, so do not rinse it off mid-session.
Good lighting matters. You need to see the scratch pattern on the steel and, later, spot the burr. An overhead shop light or a desk lamp aimed at the stone is enough. This is also a fine moment to confirm your small garage workshop setup gives your bench decent task lighting — sharpening in dim light is how beginners round their edges without noticing.
Honing Guide vs. Freehand: Which Should a Beginner Choose?
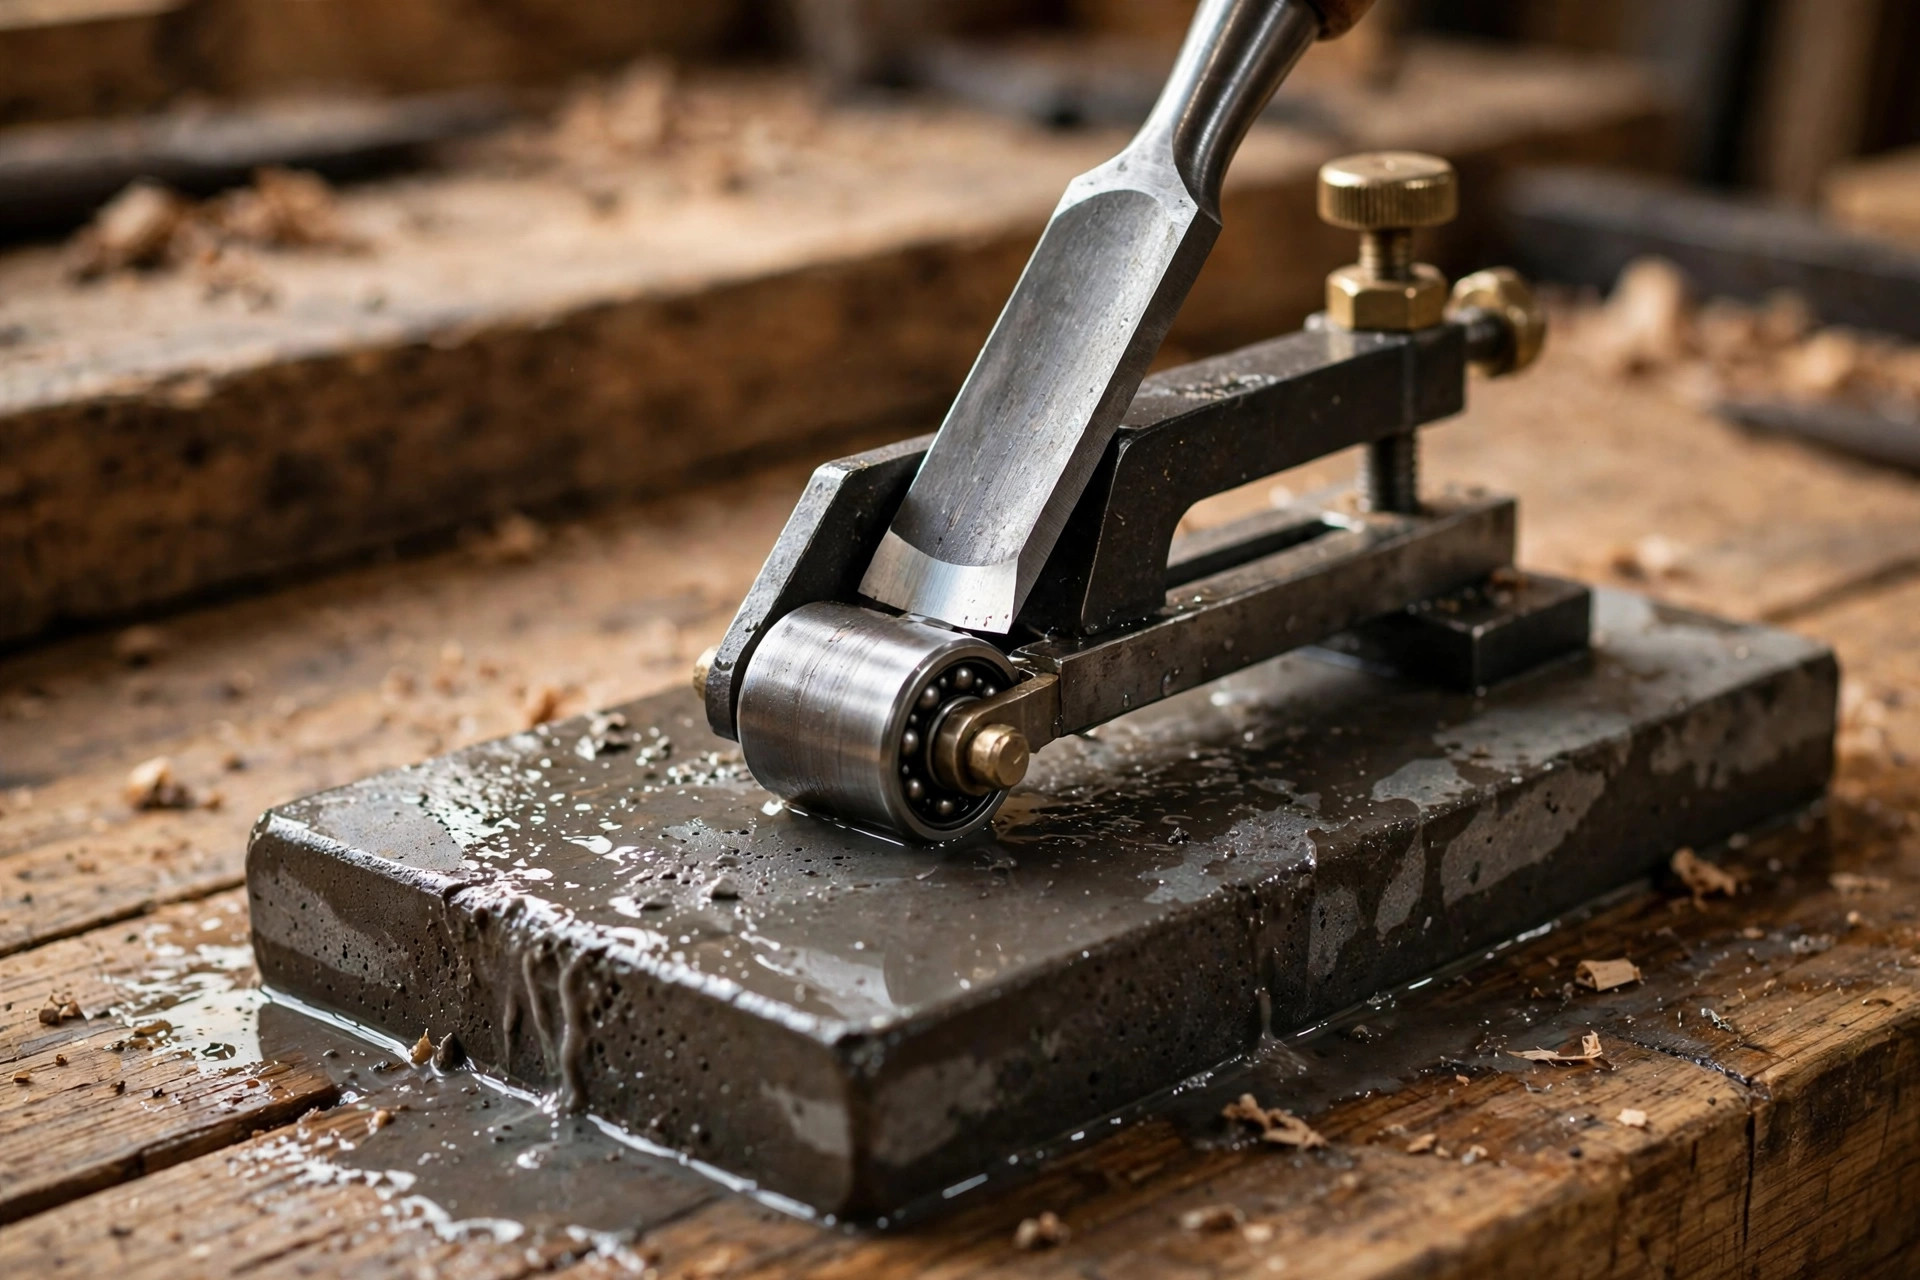
Use a honing guide. This is the single biggest shortcut available to a beginner, and there is no shame in it. A honing guide clamps the chisel at a fixed projection from its wheels, which sets a repeatable bevel angle — typically 25 degrees. You roll the guide back and forth on the stone, and the angle stays constant no matter how unsteady your hands feel. Consistent angle is the entire battle in sharpening; the guide wins it for you.
Freehand sharpening — holding the chisel by hand and locking your wrists at the right angle — is a beautiful skill, and it is faster once mastered. But it takes weeks of practice before your edges stop coming out rounded, and a rounded bevel is a dull bevel. Learn with the guide first. After a few months of guided sharpening you will have developed the muscle memory and the feel for the burr, and transitioning to freehand becomes natural rather than frustrating.
One caveat: cheap guides can be fiddly. Make sure the chisel sits square in the clamp — check with a small square before you start — and tighten firmly so nothing shifts mid-stroke. A chisel that creeps in the guide produces a skewed edge, which is worse than no guide at all.
The 15-Minute Method, Step by Step
This method assumes a chisel that is dull but not badly chipped. (For a chipped edge, start with 10 minutes on the coarse stone first.) Work through these steps in order, and do not skip ahead.
Step 1: Flatten the back (5 minutes, first time only)
This is the step everyone wants to skip. Do not. The edge is the meeting of back and bevel — if the back is hollow, scratched, or pitted near the edge, the chisel can never get truly sharp no matter how pretty the bevel is.
Lay the chisel flat on your coarsest stone, back side down. Press down with two or three fingers near the cutting edge (keep them well back from the edge itself) and rub the chisel back and forth along the stone in straight strokes. You only need to flatten the last inch or two near the edge, not the whole blade.
Watch the scratch pattern. Fresh scratches will appear on the shiny back. When the scratches run evenly all the way across the width, right up to the cutting edge, that section is flat. On a new chisel this takes a few minutes on the coarse stone. Move up through your grits — coarse, medium, fine — repeating until the last inch of the back is a clean, even polish. The great news: you only do this full job once. After that, a few strokes on your finest stone during each sharpening keeps the back perfect.
Step 2: Set the bevel angle with the honing guide
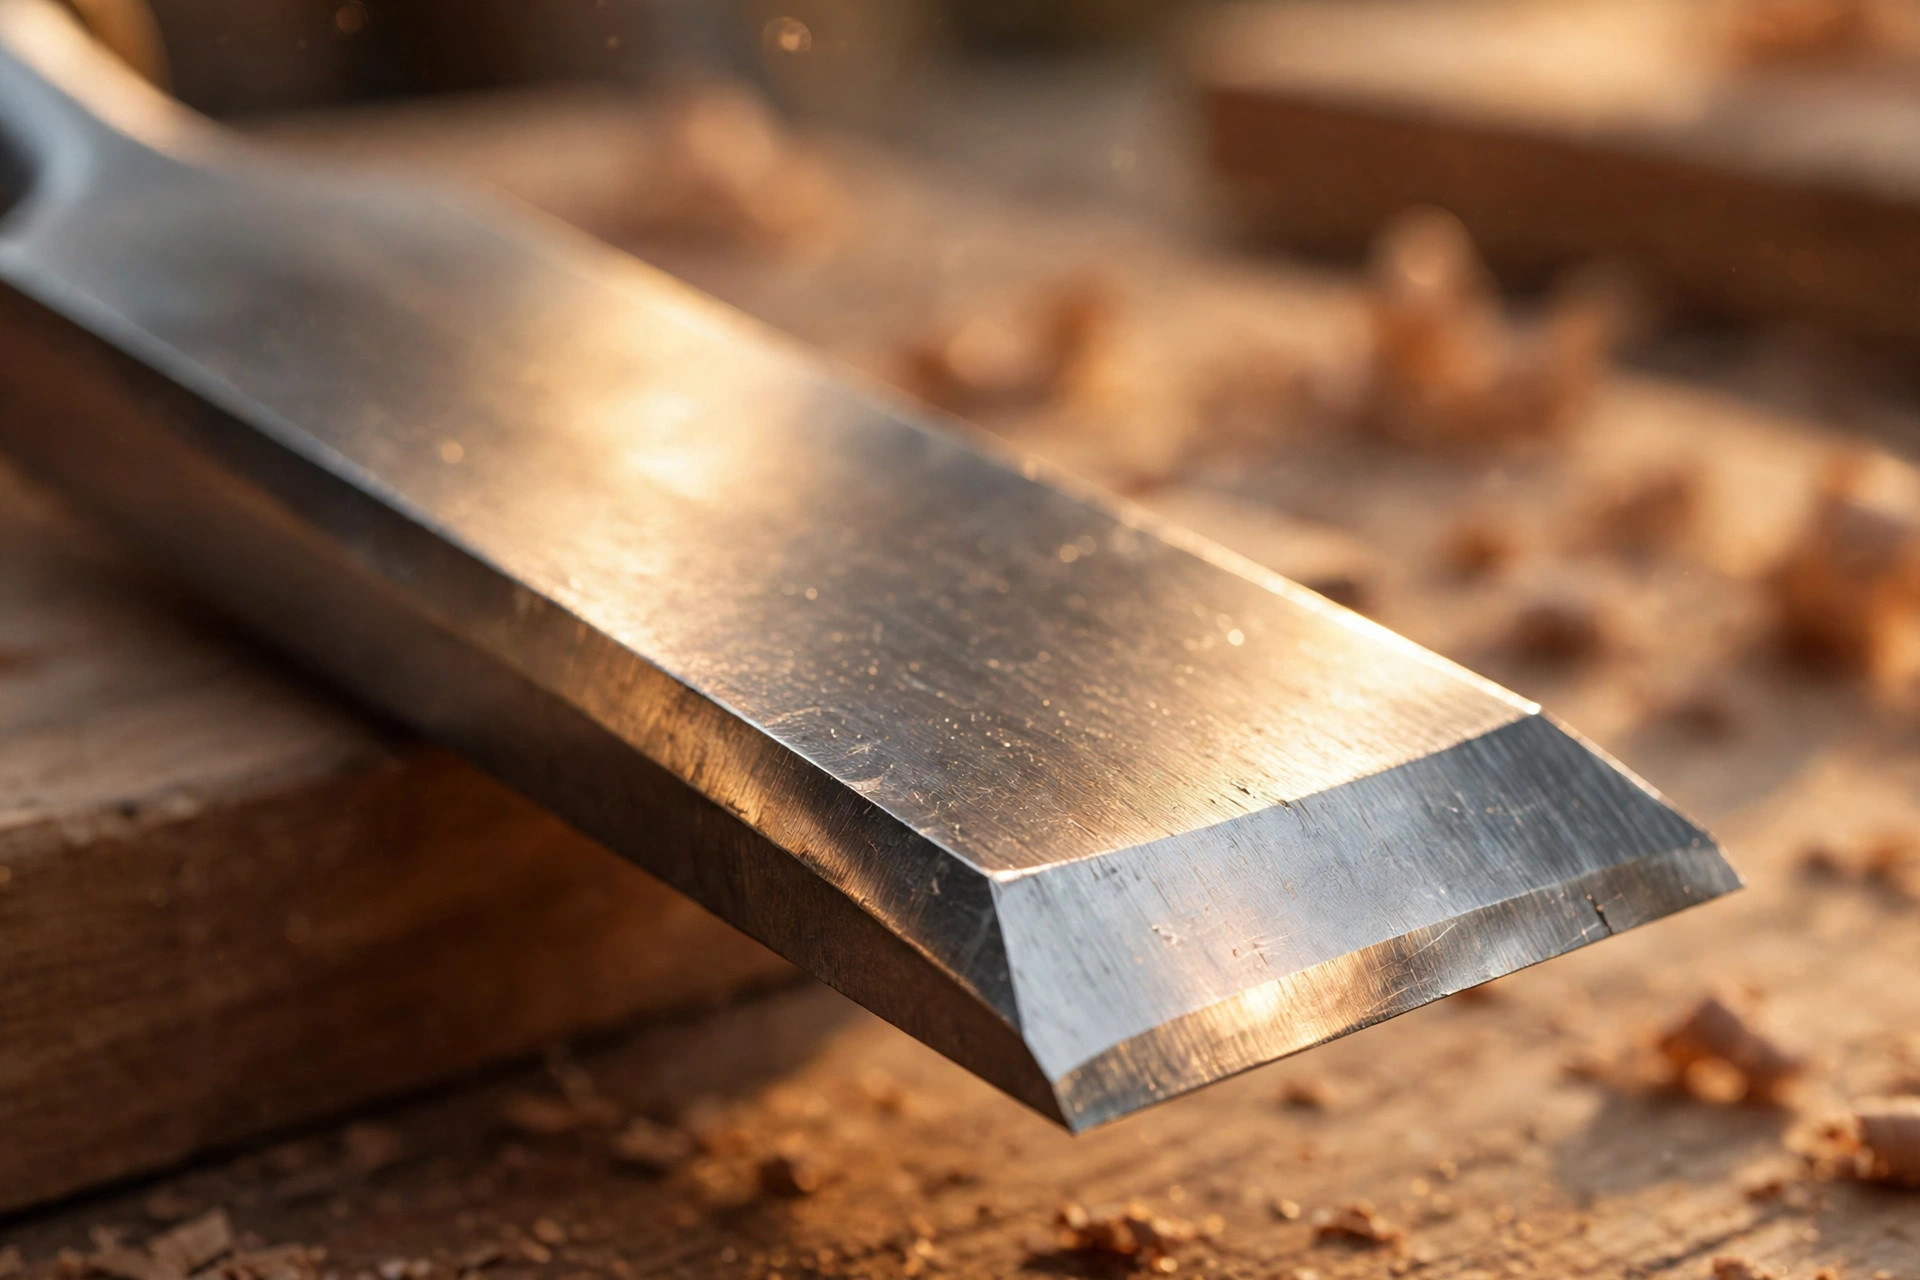
Clamp the chisel in the honing guide so it projects the correct distance to produce a 25-degree bevel. Most guides come with a setting jig or printed measurements — for the common rolling guide, the chisel tip typically sits about 1 to 1.5 inches (25–38 mm) from the guide body for 25 degrees. Double-check that the blade is square in the clamp.
Here is a trick that saves enormous time: use a permanent marker to blacken the existing bevel before you start. As you sharpen, the marker disappears wherever the stone has touched. When the black is gone evenly across the whole bevel, you know you have worked the entire surface at the right angle. It is the cheapest feedback tool in the shop.
Step 3: Grind the primary bevel on the coarse stone (3–4 minutes)
Place the bevel flat on the coarse stone (around 400–1000 grit, depending on how dull the chisel is). Lean the weight of the guide and chisel onto the bevel and push forward in smooth, even strokes, lifting slightly on the return. Use the whole length of the stone and move side to side so the stone wears evenly instead of developing a hollow.
Keep steady pressure — firm but not white-knuckled — and listen: a consistent scratching sound means the bevel is sitting flat. A change in sound usually means the chisel rocked. After 20–30 strokes, check the edge.
Step 4: Feel for the burr
This is how you know when to move to the next grit. As you grind the bevel, a microscopic lip of steel curls over onto the back of the edge. That is the burr, and it is your proof that you have sharpened all the way to the edge.
Carefully drag your fingertip across the back of the chisel, from the flat toward the edge — never along the edge itself. If you feel a slight catch or roughness along the full width, the burr is there and this grit is done. If you only feel it in one spot, keep grinding; you have not reached the edge everywhere yet. Flip the chisel and feel the bevel side too, to confirm the burr runs the whole width.
Step 5: Work up through the grits (4–5 minutes)
Move to the medium stone (around 1000–2000 grit) and repeat the same motion with slightly lighter pressure, 15–20 strokes, until a new, finer burr forms. Then move to the fine stone (4000–6000+ grit) and repeat once more with light, careful strokes. Each step removes the scratches left by the previous one, and the edge gets progressively keener.
After the finest stone, flip the chisel over and lay the back flat on the fine stone. Give it 5–10 light strokes to remove the burr. You should feel the back go glassy smooth. A few alternating strokes — bevel, back, bevel, back — on the fine stone finishes the job and leaves almost no burr behind.
Step 6: Strop on leather (1–2 minutes)
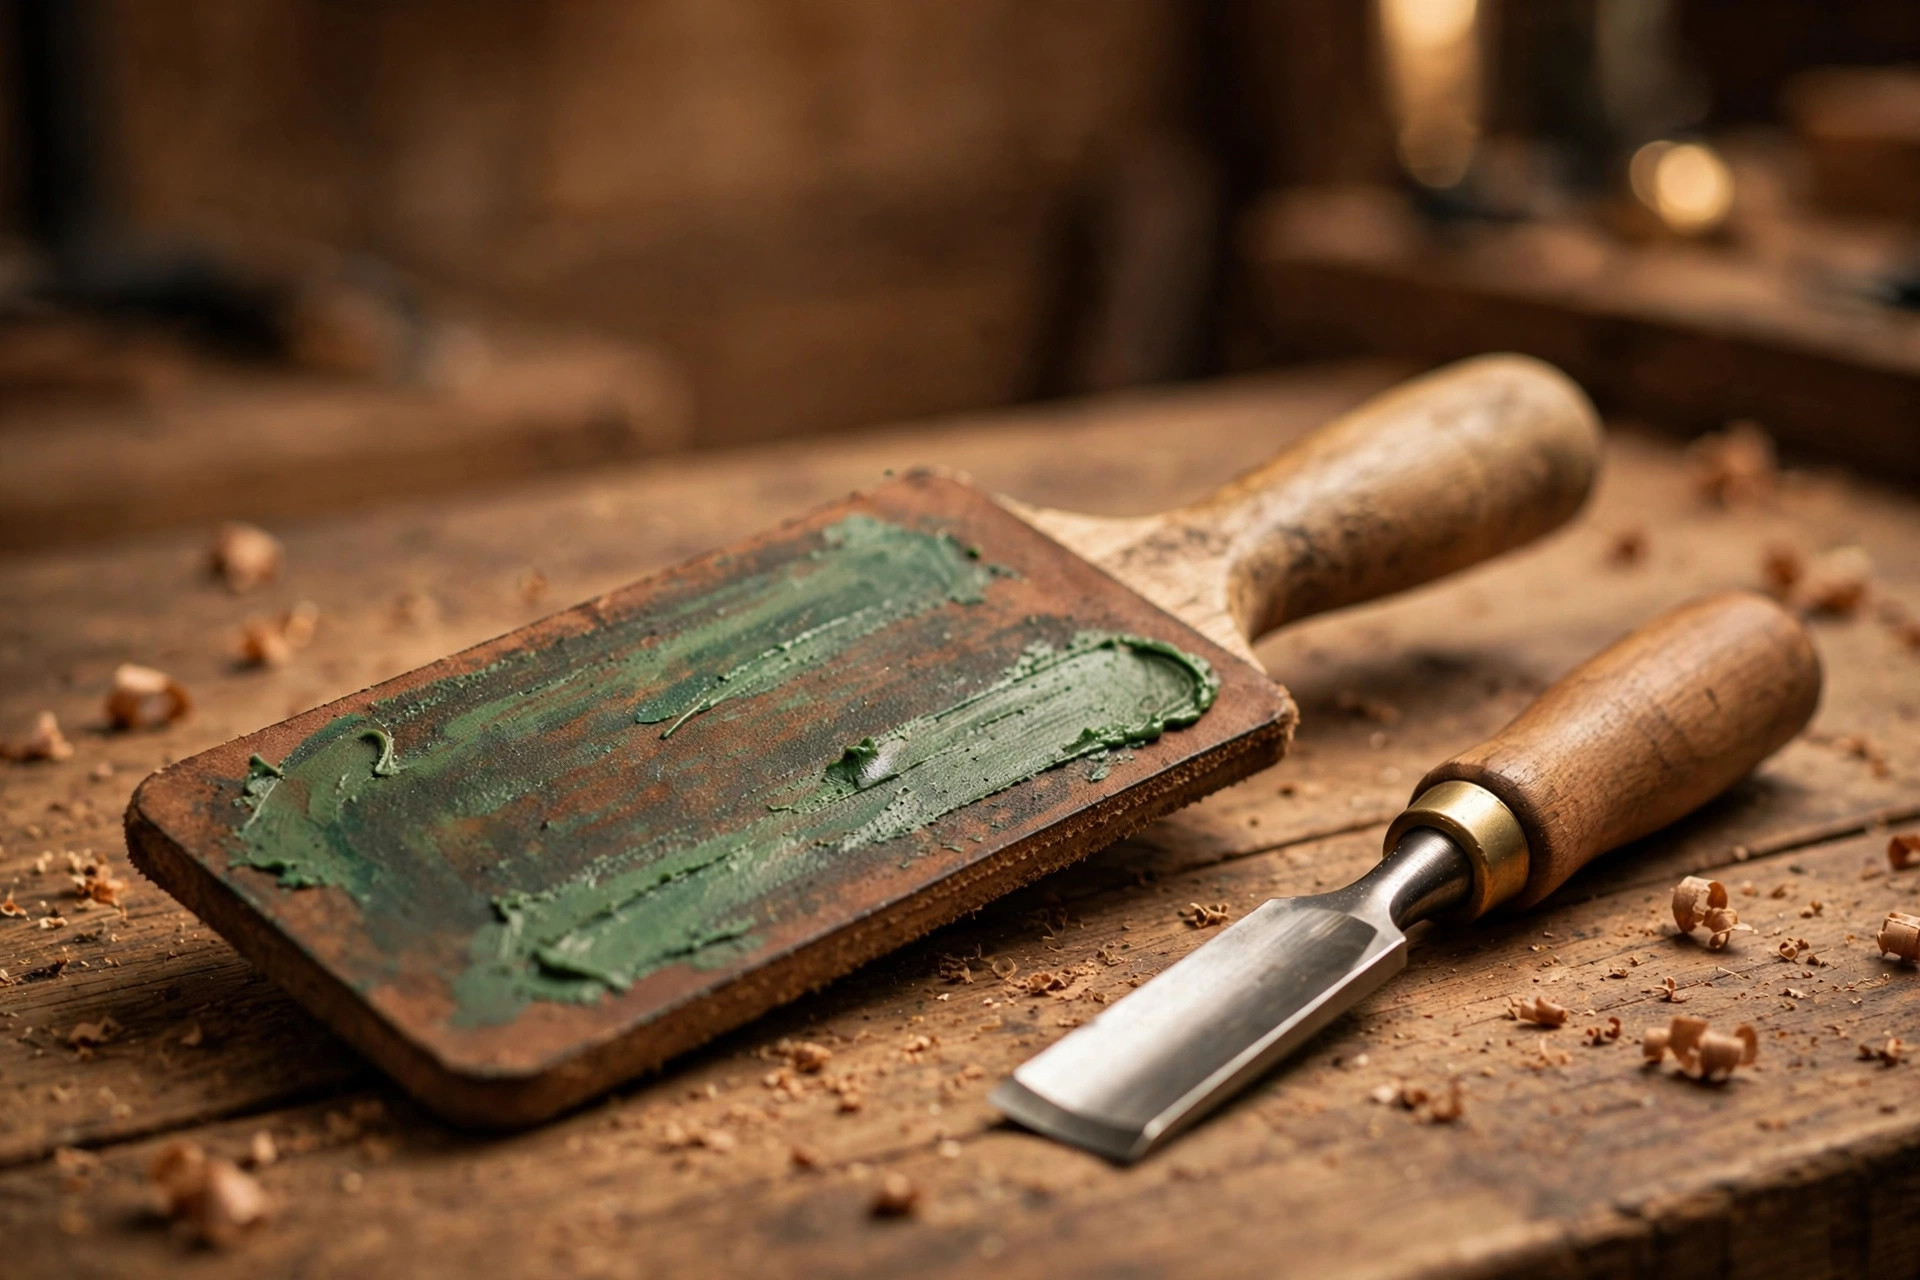
Charge your leather strop with a crayon of honing compound (green chromium oxide is the standard) — a few firm scribbles across the leather is enough. Lay the bevel flat on the strop and pull the chisel toward you, spine leading, edge trailing. Never push edge-first into leather; it will dig in and round the edge you just built.
Give the bevel 10–15 light pulls, then flip and give the back 5–10 pulls. Stropping does two things: it removes the last whisper of burr and it polishes the edge to a mirror finish. This step takes a minute and makes a startling difference — it is the gap between “pretty sharp” and “scary sharp.”
Grit Progression Chart
Here is the full progression at a glance. Beginners often ask whether they can skip grits — do not skip more than one step at a time, or the finer stone will spend forever erasing the coarse scratches.
| Grit | Purpose | Time at each stage |
|---|---|---|
| 220–400 (coarse) | Repair chips, reshape a damaged bevel, flatten the back on a new chisel | 3–10 min (only when needed) |
| 800–1000 (medium-coarse) | Establish or refresh the primary 25° bevel on a dull chisel | 3–4 min |
| 2000–3000 (medium) | Refine the bevel, remove coarse scratches | 2–3 min |
| 4000–6000 (fine) | Polish the edge, hone the micro-bevel | 2–3 min |
| 8000+ (extra fine, optional) | Mirror polish for paring chisels and fine detail work | 1–2 min |
| Leather strop + compound | Remove final burr, polish to razor edge | 1–2 min |
Total: roughly 15 minutes for a routine sharpening of a dull-but-undamaged chisel, and most of that is the first two stones. Once your chisels are in good shape, a touch-up on the fine stone plus a strop takes under five minutes — fast enough to do mid-project whenever the edge starts to drag.
Sharpening Stone Types Compared
Three families of stones dominate the market. Any of them will get your chisels sharp; the choice comes down to budget, maintenance tolerance, and personal preference.
| Stone type | Typical cost | Pros | Cons |
|---|---|---|---|
| Water stones | $25–$60 for a combo stone | Cut fast, give excellent feedback, wide grit range available | Need soaking, wear quickly and must be flattened regularly, can crack if dried too fast |
| Oil stones (India, Arkansas) | $20–$50 | Very durable, stay flat for years, low maintenance, no soaking | Cut slower than water stones, oil is messy, fewer ultra-fine grit options |
| Diamond plates | $30–$80 per plate | Stay perfectly flat forever, cut aggressively, work dry or with water | Coarse feel, can be harsh on fine edges, quality varies widely at the cheap end |
For a beginner, the practical sweet spot is a combination water stone (1000/6000) plus a coarse diamond plate for repairs and flattening. The diamond plate doubles as the tool you use to flatten your water stone when it dishes — rub the plate over the wet stone until the high spots disappear. One purchase solves two problems.
The Micro-Bevel Trick (Your Time-Saving Secret)
Remember the 30-degree micro-bevel from the anatomy section? Here is how to use it. After grinding the primary 25-degree bevel, extend the chisel’s projection from the honing guide by a tiny amount — about 1–2 mm — which raises the angle to roughly 30 degrees. Give the tip 5–10 strokes on your finest stone. You have just created a hair-thin secondary bevel right at the edge.
Why bother? Because future touch-ups now only need to hone that tiny micro-bevel instead of the whole 25-degree face. Five strokes on the fine stone, a quick strop, and you are back to work in two minutes. When the micro-bevel grows too wide after many touch-ups, grind the primary bevel back once and start over. This single technique is what turns sharpening from a chore into a two-minute habit.
How to Test Sharpness: The Paper Test and Beyond
You need an objective test, because a chisel always feels sharp to the hand that just sharpened it. Use these, in order:
- The paper test (best for beginners): Hold a sheet of printer paper by its top edge and try to slice downward through it with the chisel, starting the cut about an inch below your fingers. A sharp chisel slices cleanly with a soft whisper. A dull one catches, tears, or folds the paper. This test is honest and repeatable — make it your standard.
- The shaving test: Pare a thin shaving off the end grain of a softwood offcut, like pine. A sharp chisel lifts a translucent, continuous curl. If you get dust or broken chips, go back to the fine stone.
- The thumbnail test (use with care): Rest the edge gently on your thumbnail at a low angle and try to slide it forward. A sharp edge bites and stops; a dull edge slides. Use almost no pressure — this is about feel, not force.
- The visual test: Look at the edge under a bright light. A sharp edge is an invisible line. A dull or nicked edge reflects light as a bright ribbon or shows visible chips.
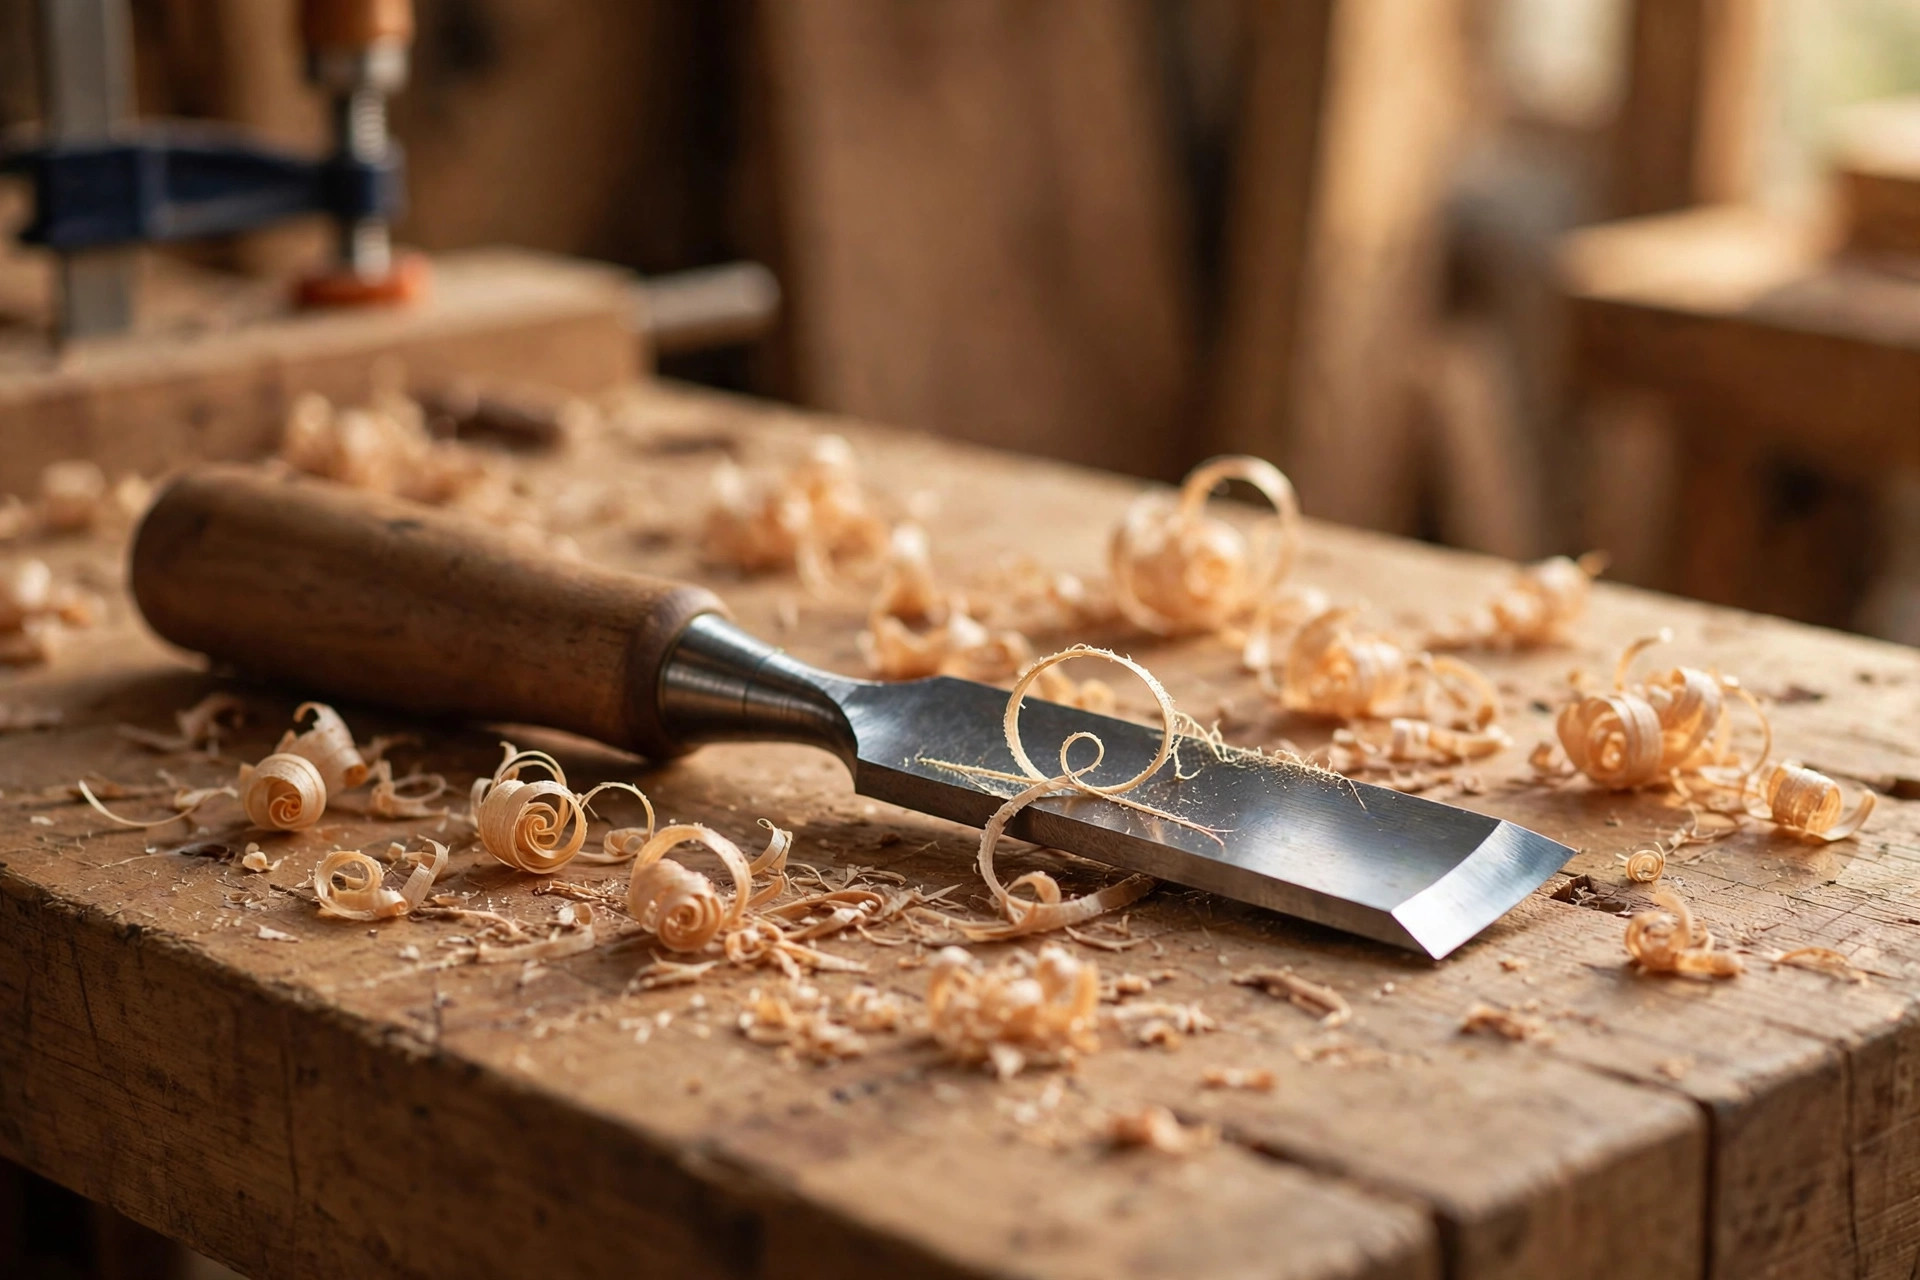
If the chisel fails the paper test after stropping, the usual culprit is a remaining burr — go back to the fine stone, do five alternating bevel/back strokes with very light pressure, strop again, and retest. Nine times out of ten, that fixes it.
7 Mistakes Beginners Make (and How to Avoid Them)
- Skipping the back flattening. The number one cause of “I sharpened for an hour and it’s still dull.” The back is half the edge. Flatten it once, properly.
- Rocking the chisel on the stone. Any up-and-down rocking rounds the bevel. Lock your wrists, keep the bevel flat, and let the guide do its job.
- Pressing too hard on fine stones. Heavy pressure on a 6000-grit stone just gouges the stone and overheats nothing — it achieves nothing. Light, even pressure on fine grits; save the muscle for the coarse stone.
- Sharpening a dirty or dry stone. A dry water stone cuts poorly and wears fast. Keep it wet. And wipe metal swarf off diamond plates so it does not glaze over.
- Chasing the perfect mirror polish on every chisel. A mortise chisel that chops waste does not need an 8000-grit mirror. Match the polish to the job: coarse work gets a working edge, paring chisels get the full treatment.
- Overheating on a grinder. If you reshape on a bench grinder, dip the steel in water every few seconds. If the edge turns blue or straw-colored, you have drawn the temper and softened the steel — the edge will never hold until you grind past the discolored metal.
- Testing sharpness on your thumb. Dragging a fresh edge across your thumb pad is how beginners get stitches. Use paper, wood, or your thumbnail — never the soft pad of your thumb.
Keeping Chisels Sharp: A Simple Maintenance Schedule
Sharpening is not a one-time event; it is a rhythm. The schedule below keeps your edges in the “two-minute touch-up” zone instead of the “thirty-minute rescue” zone:
- During use: Strop every 15–30 minutes of continuous work, or whenever you feel the chisel start to drag. Thirty seconds on the strop now saves fifteen minutes on the stones later.
- After each session: Wipe blades clean, strop briefly, and store chisels so edges do not bang together — a blade roll, a rack with individual slots, or even a simple wooden box with dividers. A well-organized small workshop makes this habit effortless.
- Monthly (for regularly used chisels): Full progression on the fine stone plus strop, even if the edge still seems okay. You are maintaining, not rescuing.
- As needed: When stropping no longer restores the edge, or you can see nicks, go back to the medium or coarse stone and re-establish the bevel.
One more maintenance item people forget: flatten your water stones. A dished stone sharpens a rounded bevel, which undoes your work. Rub the stone on a flattening plate or coarse sandpaper on glass every few sessions until a pencil grid drawn on the stone wears off evenly.
Safety: Respect the Edge You’re Creating
A freshly sharpened chisel will cut you faster than you can react, so build safe habits from day one:
- Always cut away from your body, and keep both hands behind the cutting edge. When paring, one hand guides the blade while the other pushes the handle — never place a hand in front of the edge’s path.
- Clamp your workpiece. Chasing a moving board with a sharp chisel is asking for a slip. A vise, bench dogs, or even a simple workbench with a solid top keeps the wood still so your hands stay safe.
- Carry chisels by the handle, edge pointing down and away. Better yet, sheath them — a folded piece of leather or a simple wooden guard costs nothing.
- Never catch a falling chisel. Let it drop. A chisel can be resharpened; a hand cannot be un-cut.
- Store edges protected. Loose chisels rattling in a drawer go dull and become a handful of hidden blades. Blade rolls and racks are cheap insurance.
What This Unlocks in Your Woodworking
Learning how to sharpen chisels for beginners is a gateway skill. The same stones, the same burr, the same stropping technique apply to plane irons, spokeshave blades, carving gouges, and even kitchen knives. Many woodworkers say the day sharpening “clicked” was the day their hobby leveled up — joints fit better, surfaces needed less sanding, and hand tools stopped being frustrating.
It also pays off in the projects themselves. The crisp details that make beginner projects worth selling — clean dovetail baselines, flush plugs, tidy chamfers — are all chisel work, and chisel work is only as good as the edge. Pair sharp tools with well-chosen beginner-friendly lumber, and even your early projects will look far better than their difficulty suggests.
Frequently Asked Questions
How long does it take to sharpen a chisel as a beginner?
About 15 minutes for a dull-but-undamaged chisel using the method in this guide: roughly 5 minutes to flatten the back (first time only), 8 minutes across the grit progression, and 2 minutes of stropping. Once your chisels are in good condition, routine touch-ups take under five minutes — just the fine stone and a strop.
What angle should I sharpen my chisels at?
25 degrees for the primary bevel on general-purpose bench chisels, with a 30-degree micro-bevel at the very tip for durability and fast touch-ups. Paring chisels, which take light slicing cuts, can go down to 20 degrees; heavy mortise chisels that get struck with a mallet do better at 30–35 degrees.
Do I really need a honing guide, or can I sharpen freehand?
As a beginner, get the honing guide. It locks in a consistent angle, which is the hardest part of sharpening to learn. Freehand sharpening is faster and satisfying once mastered, but most beginners who start freehand produce rounded bevels and get discouraged. Learn the feel with a guide first, then try freehand after a few months.
Can I sharpen chisels with sandpaper instead of stones?
Yes — the “scary sharp” sandpaper-on-glass method works well. Spray-adhere wet/dry sandpaper sheets (80, 150, 220, 400, 600+ grit) onto a flat piece of glass and sharpen exactly as you would on stones, progressing through the grits. It is the cheapest way to start, though the ongoing cost of sandpaper eventually exceeds a basic stone set.
How do I know when my chisel is sharp enough?
Use the paper test: a sharp chisel slices printer paper cleanly with a soft whisper when you start the cut an inch below your fingers. If it tears or folds the paper, the edge needs more work — usually a few light strokes on the fine stone and a re-strop to remove the last of the burr.
How often should I sharpen my chisels?
Strop every 15–30 minutes during use, do a quick fine-stone touch-up whenever stropping stops restoring the edge, and run the full grit progression monthly for chisels you use regularly. Store chisels in a blade roll or rack so edges never bang together, and you will spend minutes maintaining instead of half-hours rescuing.


