
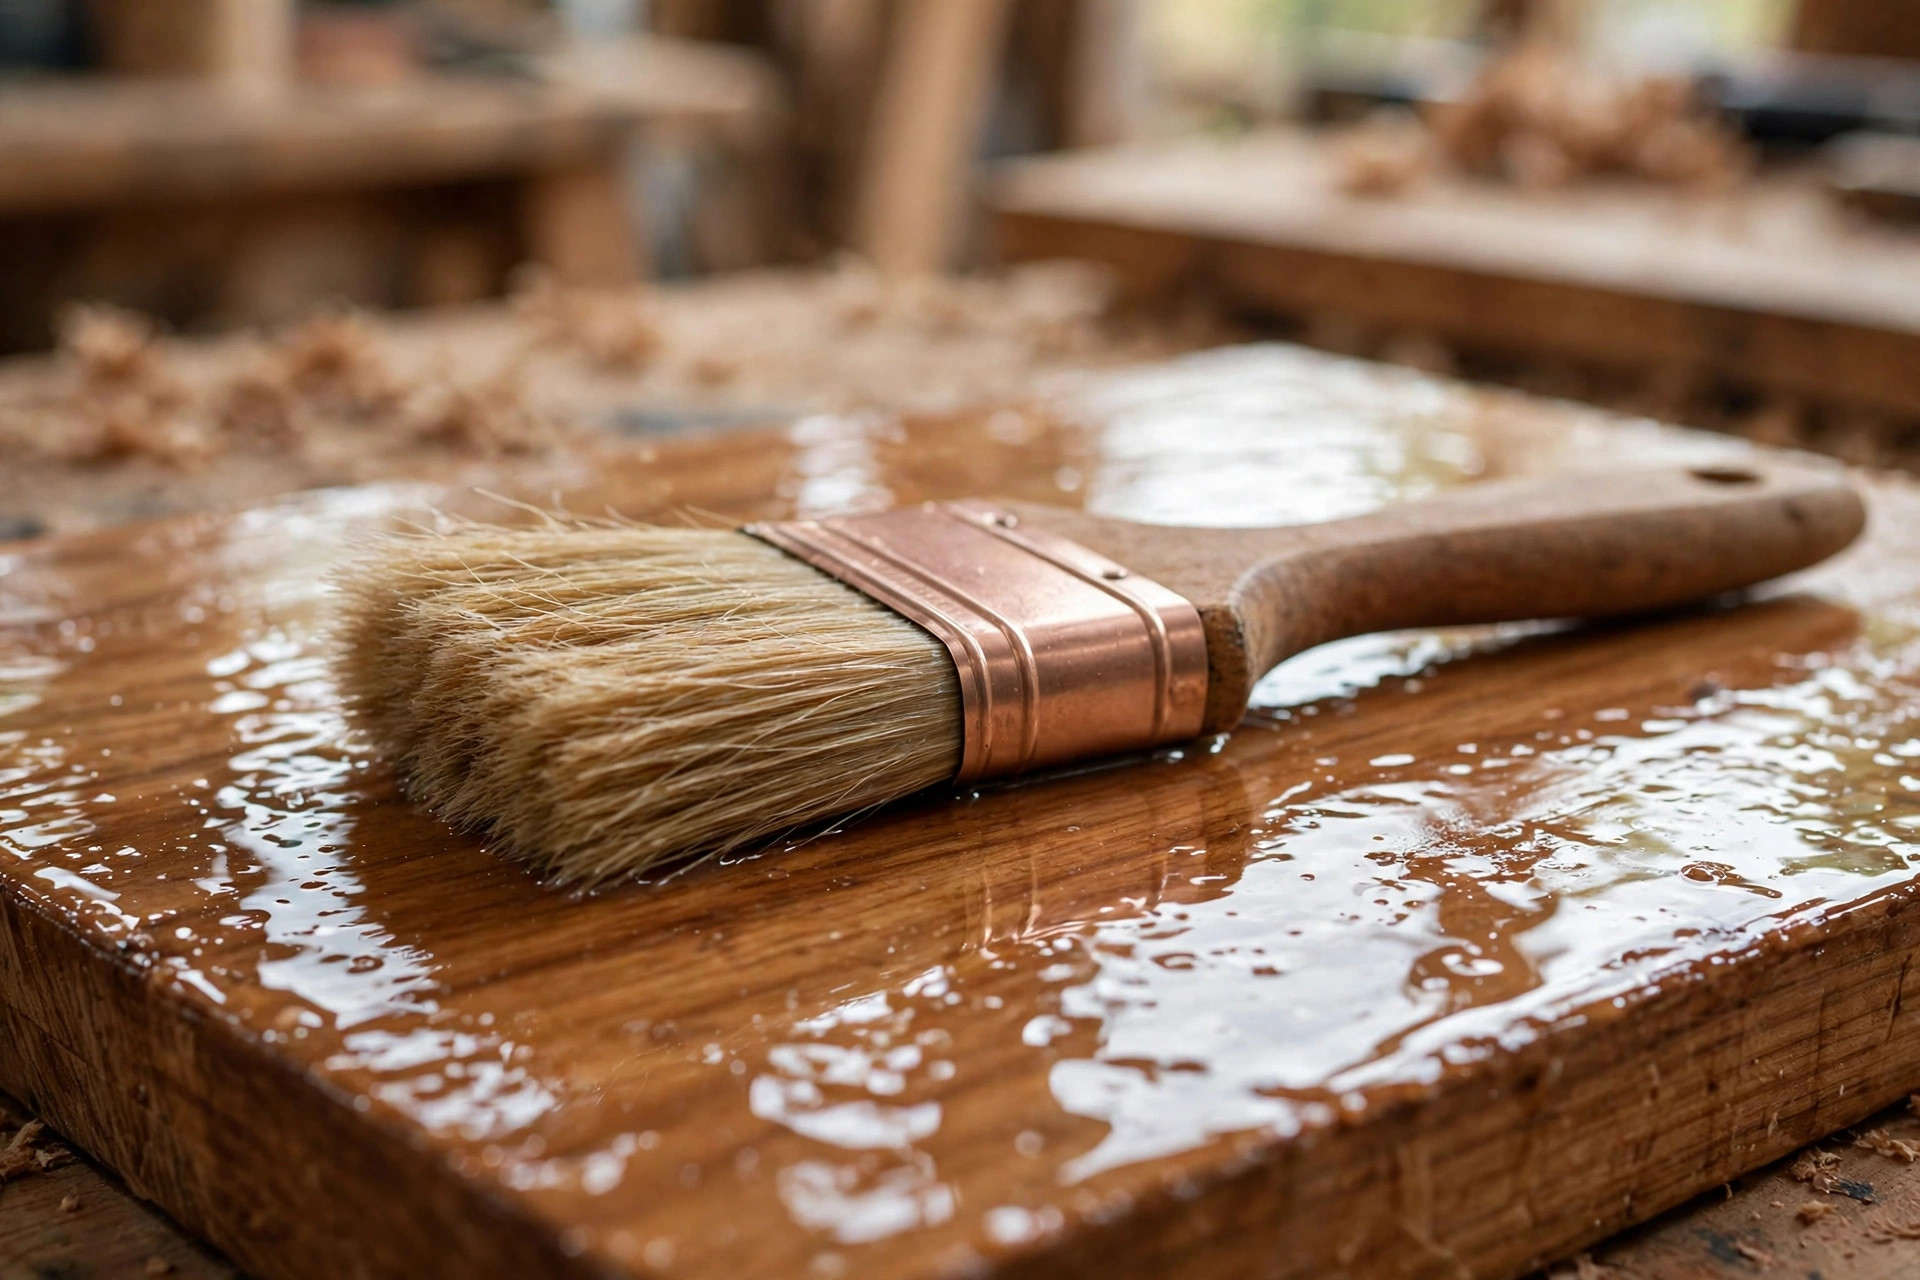
You built the table, sanded the shelf, or refinished the dresser. Now comes the step that decides whether it looks handmade in the best sense or handmade in the apologetic sense: the clear topcoat. Polyurethane is the protective finish most beginners reach for, and for good reason. It is tough, water-resistant, widely available, and forgiving enough that a careful first-timer can get a genuinely beautiful result. But it is also the step where bubbles, brush marks, dust nibs, and cloudy patches show up, usually on the very last coat, when you least want to start over.
This guide walks through how to apply polyurethane for beginners woodworking, step by step, with a furniture focus — tabletops, shelves, side tables, bookcases, and boxes, not floors. You will learn the real differences between water-based, oil-based, wipe-on, and spray polyurethane, when to use a brush and when to wipe it on, how many coats a piece of furniture actually needs, how to sand between coats without ruining your work, and how long you must wait before you can actually use the thing. You will also learn what to do when something goes wrong, because with polyurethane, almost everything that goes wrong is fixable.
The short version first. For most beginners finishing furniture, a wipe-on polyurethane or a water-based brush-on polyurethane is the easiest path to a smooth finish. Wipe-on is the most forgiving of all: thin coats, almost no bubbles, and no brush marks to fight. Brush-on builds faster, so it suits tabletops that need real protection. Oil-based polyurethane gives the warmest amber tone and the toughest film, but it dries slowly, smells strongly, and shows brush marks more readily. Whichever type you choose, the rules that matter most are the same: work in a clean, dust-free space, apply thin coats, never shake the can, sand lightly between coats, and give the finish time to cure before you put anything heavy on it.
Before you start finishing, make sure your sanding is actually done. Polyurethane does not hide scratches, dents, or leftover glue; it magnifies them. If you have not already read it, our guide on how to sand and finish wood for beginners covers the sanding sequence that should come before any topcoat. And if your piece needs colour as well as protection, decide on stain first: our guide to the best wood stain for beginners will help you pick one, because stain goes under polyurethane, never over it.
Which Polyurethane Should You Choose? Water-Based vs Oil-Based vs Wipe-On vs Spray
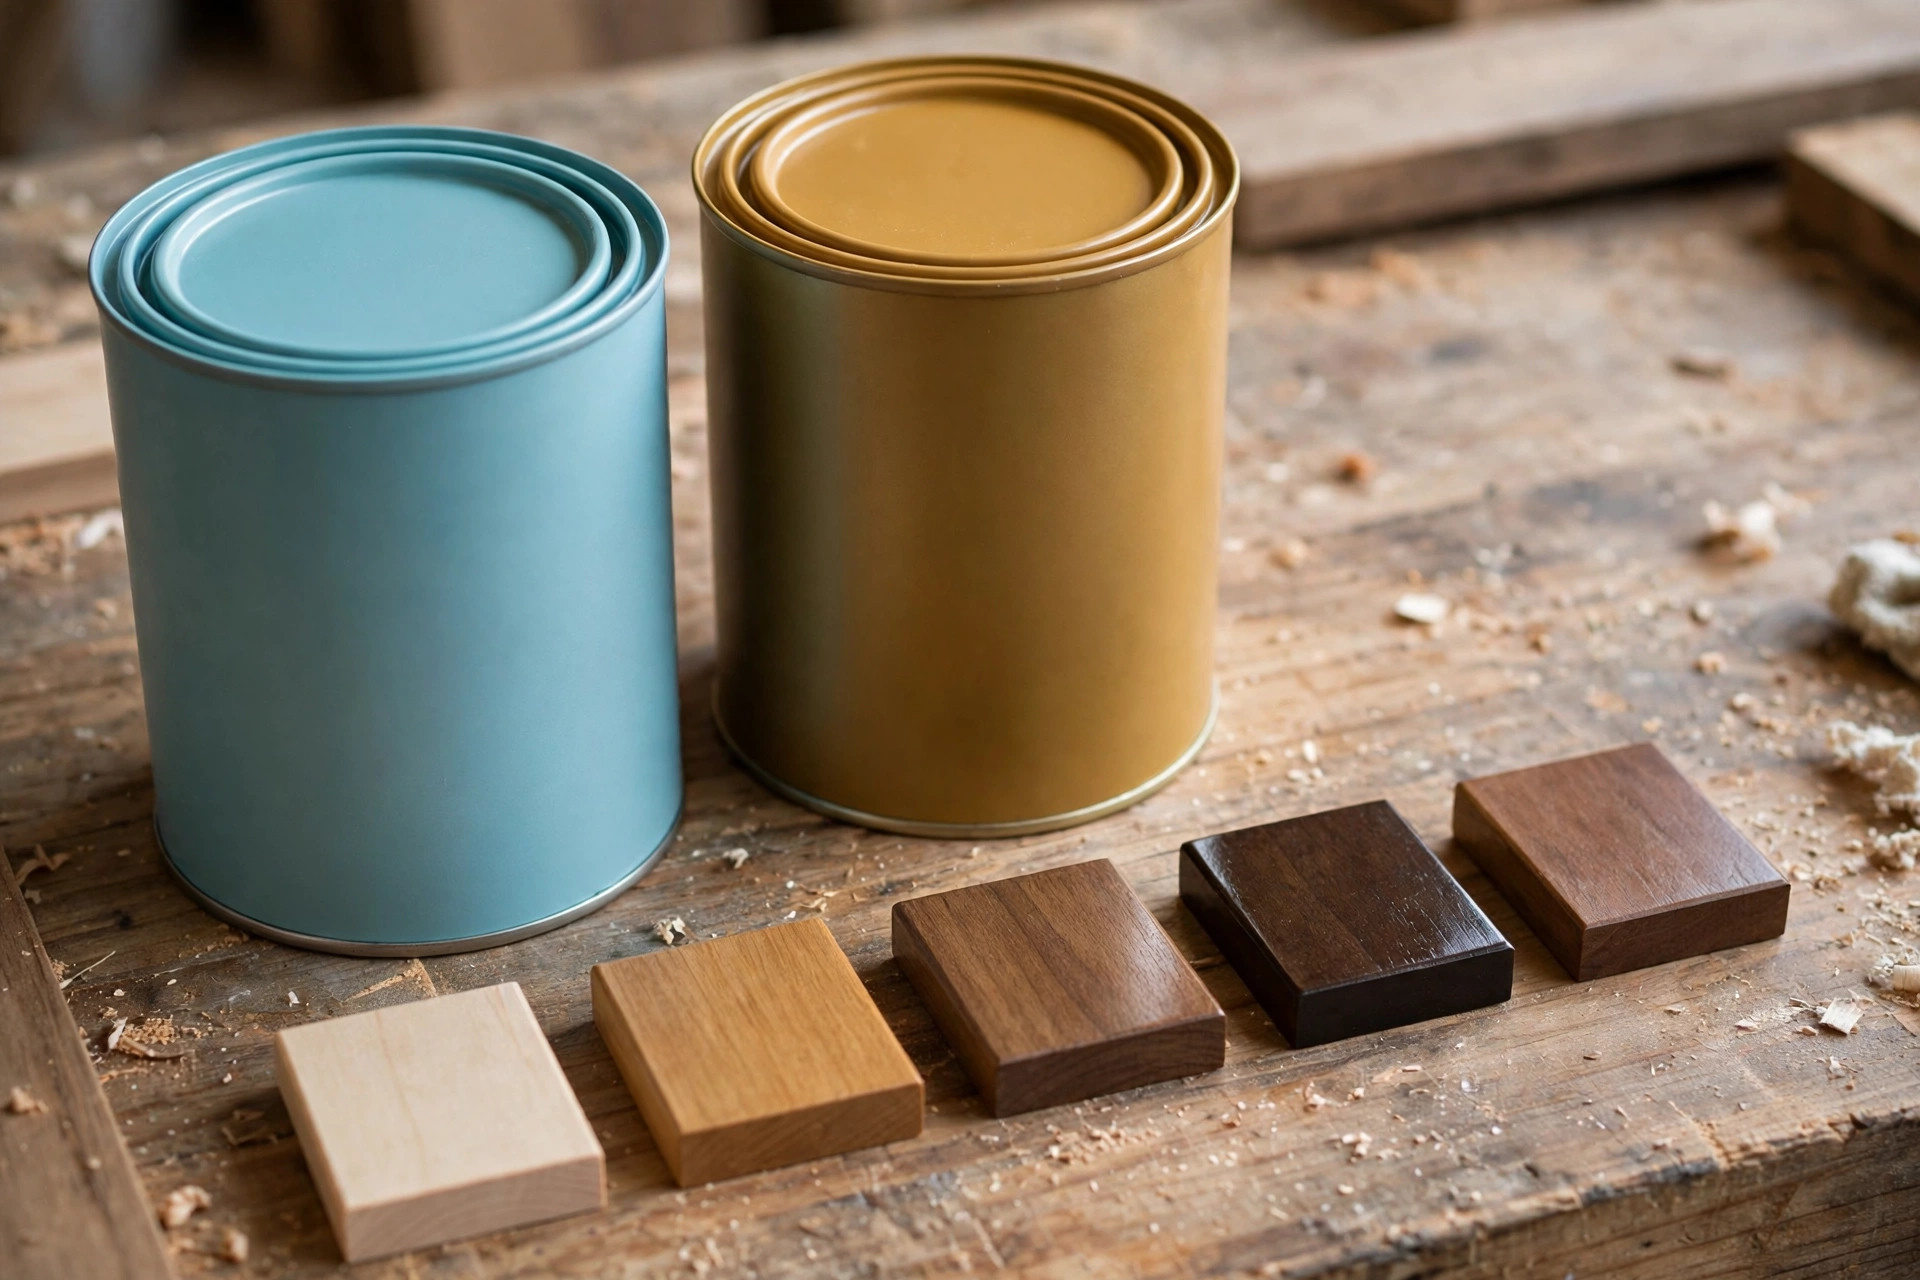
Polyurethane is not one product. The four main forms behave very differently, and picking the wrong one for your project is the most common reason beginners end up unhappy with a finish that was applied perfectly well. Here is how they compare for furniture work.
Water-based polyurethane is a milky liquid in the can that dries crystal clear. It barely changes the colour of the wood, which makes it the right choice for light woods like maple, ash, pine, and white oak, and for any piece where you want the wood to look like itself rather than honeyed. It dries fast — usually dry to the touch in 1 to 2 hours and ready for another coat in 2 to 4 hours — so you can often apply two or three coats in a single day. It has low odour, cleans up with water, and will not yellow over time. The trade-offs are that it raises the wood grain more on the first coat, so a light sanding after the first coat is essential, and it is slightly less forgiving of heavy brush strokes than oil-based poly, because it dries so quickly that you cannot keep working an area. It also tends to feel a little less warm and rich on dark woods.
Oil-based polyurethane is the traditional choice. It dries to a warm amber tone that deepens the colour of walnut, cherry, mahogany, and stained pine beautifully, and it levels out smoothly, which means brush marks tend to melt away as it dries. It is also very durable, which is why it remains popular for tabletops. The price for those virtues is time and smell: it takes 8 to 12 hours or more between coats, needs good ventilation, smells strongly, requires mineral spirits for cleanup, and it yellows further over time. That yellowing is a feature on dark wood and a flaw on pale wood, so match the product to the wood. Oil-based polyurethane also demands more patience between coats, which is where many beginners go wrong by recoating too soon and trapping solvent under the surface.
Wipe-on polyurethane is simply polyurethane thinned with mineral spirits (oil-based) or water (water-based) so that it can be wiped on with a cloth instead of brushed. It is the beginner’s secret weapon. Because each coat is very thin, bubbles almost never form, brush marks cannot exist, and drips and runs are rare. The cost is the number of coats: where a brush-on finish needs 3 coats, a wipe-on finish typically needs 4 to 6 coats to build the same protection, sometimes more on a tabletop. Each coat dries quickly and sands easily, though, so the extra coats are not as much work as they sound. If you are finishing your very first piece and you are nervous about brush technique, start with wipe-on. You can also make your own wipe-on polyurethane by thinning regular oil-based polyurethane roughly 50/50 with mineral spirits, though a ready-made product removes the guesswork.
Spray polyurethane, whether from a rattle can or a sprayer, gives the smoothest possible coat with no brush at all, and it is excellent for chairs, spindles, and pieces with lots of nooks and curves where a brush leaves drips. For a beginner, though, spray has real downsides: overspray goes everywhere, so you need a spray area or booth, the finish builds very thinly so many coats are needed, and spray cans are expensive per square foot compared with a quart of brush-on product. Spray is a great second finish to learn, after you have mastered brush or wipe-on, and it is worth keeping in mind for your first chair project. For flat furniture surfaces — the tabletops and shelves most beginners finish first — brush or wipe-on gives you more control for less money.
| Type | Look on wood | Dry / recoat time | Odour & cleanup | Best for beginners? | Watch out for |
|---|---|---|---|---|---|
| Water-based brush-on | Clear, no yellowing | Touch-dry 1–2 hrs; recoat 2–4 hrs | Low odour; water cleanup | Yes — fast, low smell, clear finish | Raises grain; dries fast so work quickly and do not over-brush |
| Oil-based brush-on | Warm amber, deepens over time | Touch-dry 6–8 hrs; recoat 8–12+ hrs | Strong odour; mineral spirits cleanup | Good for dark woods and tabletops | Slow drying; yellows pale woods; needs ventilation |
| Wipe-on polyurethane | Same as its base type, thinner build | Recoat often in 2–4 hrs (water-based) or 4–6 hrs (oil-based) | Depends on base type | Best first finish — almost no bubbles or brush marks | Needs 4–6 coats for tabletop protection; thin build per coat |
| Spray polyurethane | Smooth, even, very thin build | Recoat in 1–2 hrs typically | Overspray; ventilate well | Good for chairs and curved pieces | Overspray mess; many coats needed; costly per area |
One more choice sits inside every type: sheen. Polyurethane comes in gloss, semi-gloss, satin, and matte. Gloss shows every flaw but is the most durable and the easiest to clean; satin hides small imperfections and looks natural on most furniture, which is why it is the safest beginner choice; matte hides flaws best but can look cloudy if applied too thickly and is harder to keep clean on a tabletop. A good beginner rule is satin for most furniture and semi-gloss or gloss for a tabletop that will see heavy use. Whatever sheen you choose, stir the can gently and thoroughly — satin and matte finishes contain flattening agents that settle at the bottom, and if you do not stir them up, your first coat will be glossier than your last.
Brush vs Wipe-On: Which Technique Is Easier for a Beginner?
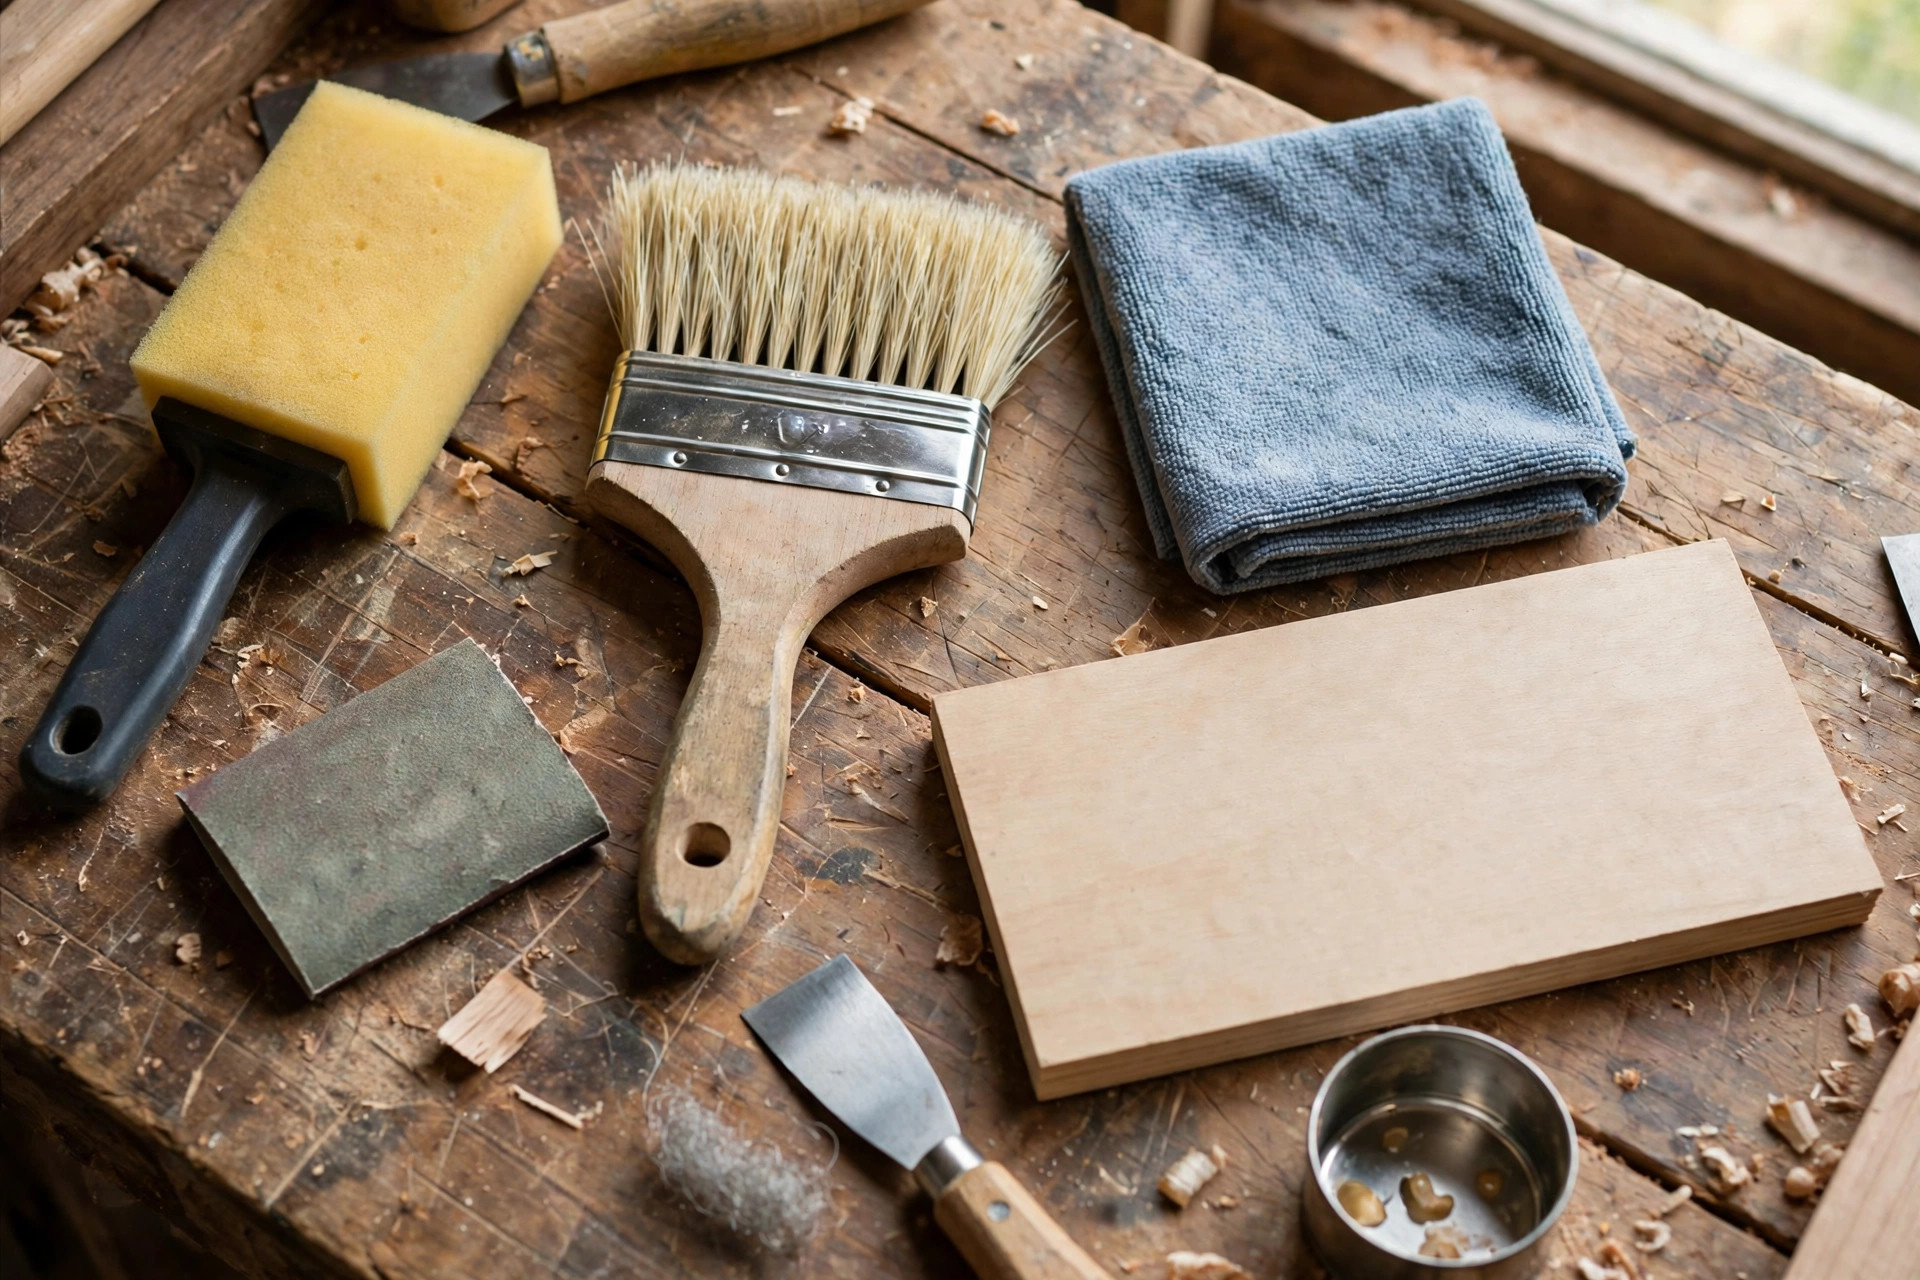
If you have chosen a brush-on product, the brush itself matters more than beginners expect. For water-based polyurethane, use a high-quality synthetic-bristle brush; natural bristles absorb water, go limp, and shed. For oil-based polyurethane, use a natural-bristle brush (often labelled china bristle) or a good synthetic brush rated for oil-based finishes; either works, but a cheap brush that sheds bristles into a wet coat will ruin an afternoon. Foam brushes are cheap and tempting, and they can work for small pieces, but they tend to introduce tiny air bubbles and they hold less finish, so most experienced finishers prefer a bristle brush for tabletops. Whichever brush you use, buy the best one you can afford in a 2-inch or 2.5-inch width for furniture work, and never use a brush straight from the packet without first flicking it firmly and running your fingers through the bristles to remove loose ones.
Wipe-on technique is simpler to learn than brush technique, and that simplicity is its whole appeal. You fold a clean, lint-free cotton cloth into a pad, dampen it lightly with polyurethane, and wipe it onto the wood in long, even strokes along the grain, overlapping each pass slightly. You do not press hard, you do not go back over an area you have already covered, and you do not try to build thickness in one pass. The coat will look thin, almost too thin, and that is correct. After it dries, you sand lightly and wipe on another. There is almost nothing to go wrong, which is why wipe-on is the technique this guide recommends for a first piece, even though it takes more coats.
Brush technique is not difficult either, but it has rules that must be respected. Load the brush by dipping about a third of the bristle length into the polyurethane, then tap it gently against the inside of the can — never drag it across the rim, which loads the brush unevenly and creates drips. Lay the finish on in a long stroke along the grain, then tip it off: one light, smooth pass along the grain with just the tips of the bristles, to level the coat and pop any small bubbles. Then leave it alone. The single biggest beginner mistake with a brush is going back to fix a spot after the finish has started to set; that dragging is what creates brush marks and pulls up half-dried finish. Work in manageable sections, keep a wet edge where one section meets the next, and work from one end of a tabletop to the other without stopping in the middle.
Whichever technique you choose, never shake the can. Shaking whips air into the polyurethane, and that air becomes bubbles in your finish. Stir gently instead, with a clean stick, scraping the bottom of the can. If you do find bubbles in the can, let it sit for a few minutes before you start. Similarly, never pour unused finish back into the can, and do not work directly from the can: pour what you need into a clean separate container so that dust, sanding residue, and brush contamination never get back into your supply. These two habits alone prevent a surprising number of ruined coats.
Step by Step: How to Apply Polyurethane to Furniture
Before you open a can, prepare the piece and the space. Finish in a room that is as dust-free as you can make it: sweep and vacuum the floor, wipe down the workbench, and if you can, wait an hour after any sanding or sawing before you start, so airborne dust settles. Aim for a temperature between about 18 and 27 degrees Celsius (65 to 80 degrees Fahrenheit) and moderate humidity; very cold, very hot, or very humid conditions all slow drying and invite cloudiness or blushing in the finish. Work in good light, ideally light that rakes across the surface at a low angle, because that is the light that reveals missed spots, drips, and bubbles while you can still fix them. Keep the room ventilated, especially with oil-based products, and keep children and pets out until the finish is dry.
Now the steps themselves. First, sand the bare wood to 220 grit, working through the grits rather than jumping straight to the fine paper, and remove all dust with a vacuum followed by a tack cloth or a cloth barely dampened with mineral spirits (for oil-based finishes) or water (for water-based finishes). If you are staining, apply the stain now and let it dry fully according to its own instructions — usually at least 8 hours for oil-based stain — because polyurethane applied over damp stain can go cloudy or peel. Second, if you are using water-based polyurethane, consider a first coat thinned very slightly, or simply accept that the first coat will raise the grain; either way, sand that first coat smooth after it dries, and the grain problem is over. Third, apply your first full coat, thin and even, along the grain. For a tabletop, work the edges first, then the top surface in long passes; for a shelf or bookcase, work the inside surfaces before the outside ones so drips land where they are easiest to fix.
Fourth, let the coat dry for the full recoat time on the can, not just until it feels dry to a light touch. Water-based polyurethane is usually ready to recoat in 2 to 4 hours; oil-based needs 8 to 12 hours or overnight. Recoating too soon is one of the most common causes of a soft, cloudy, or wrinkled finish, so when in doubt, wait longer. Fifth, sand between coats, as described in the next section. Sixth, remove the sanding dust completely — vacuum, then tack cloth — because dust left on the surface becomes bumps in the next coat. Repeat the coat, dry, sand, and clean cycle until you have the number of coats your piece needs: 2 to 3 coats for a lightly used shelf or box, 3 to 4 coats for a tabletop or a dining table, and 4 to 6 thin coats if you are wiping on. The final coat is the one exception to the sanding rule: do not sand the final coat unless you need to fix a flaw in it, in which case you will need one more coat on top.
Sanding Between Coats: The Step Beginners Are Tempted to Skip
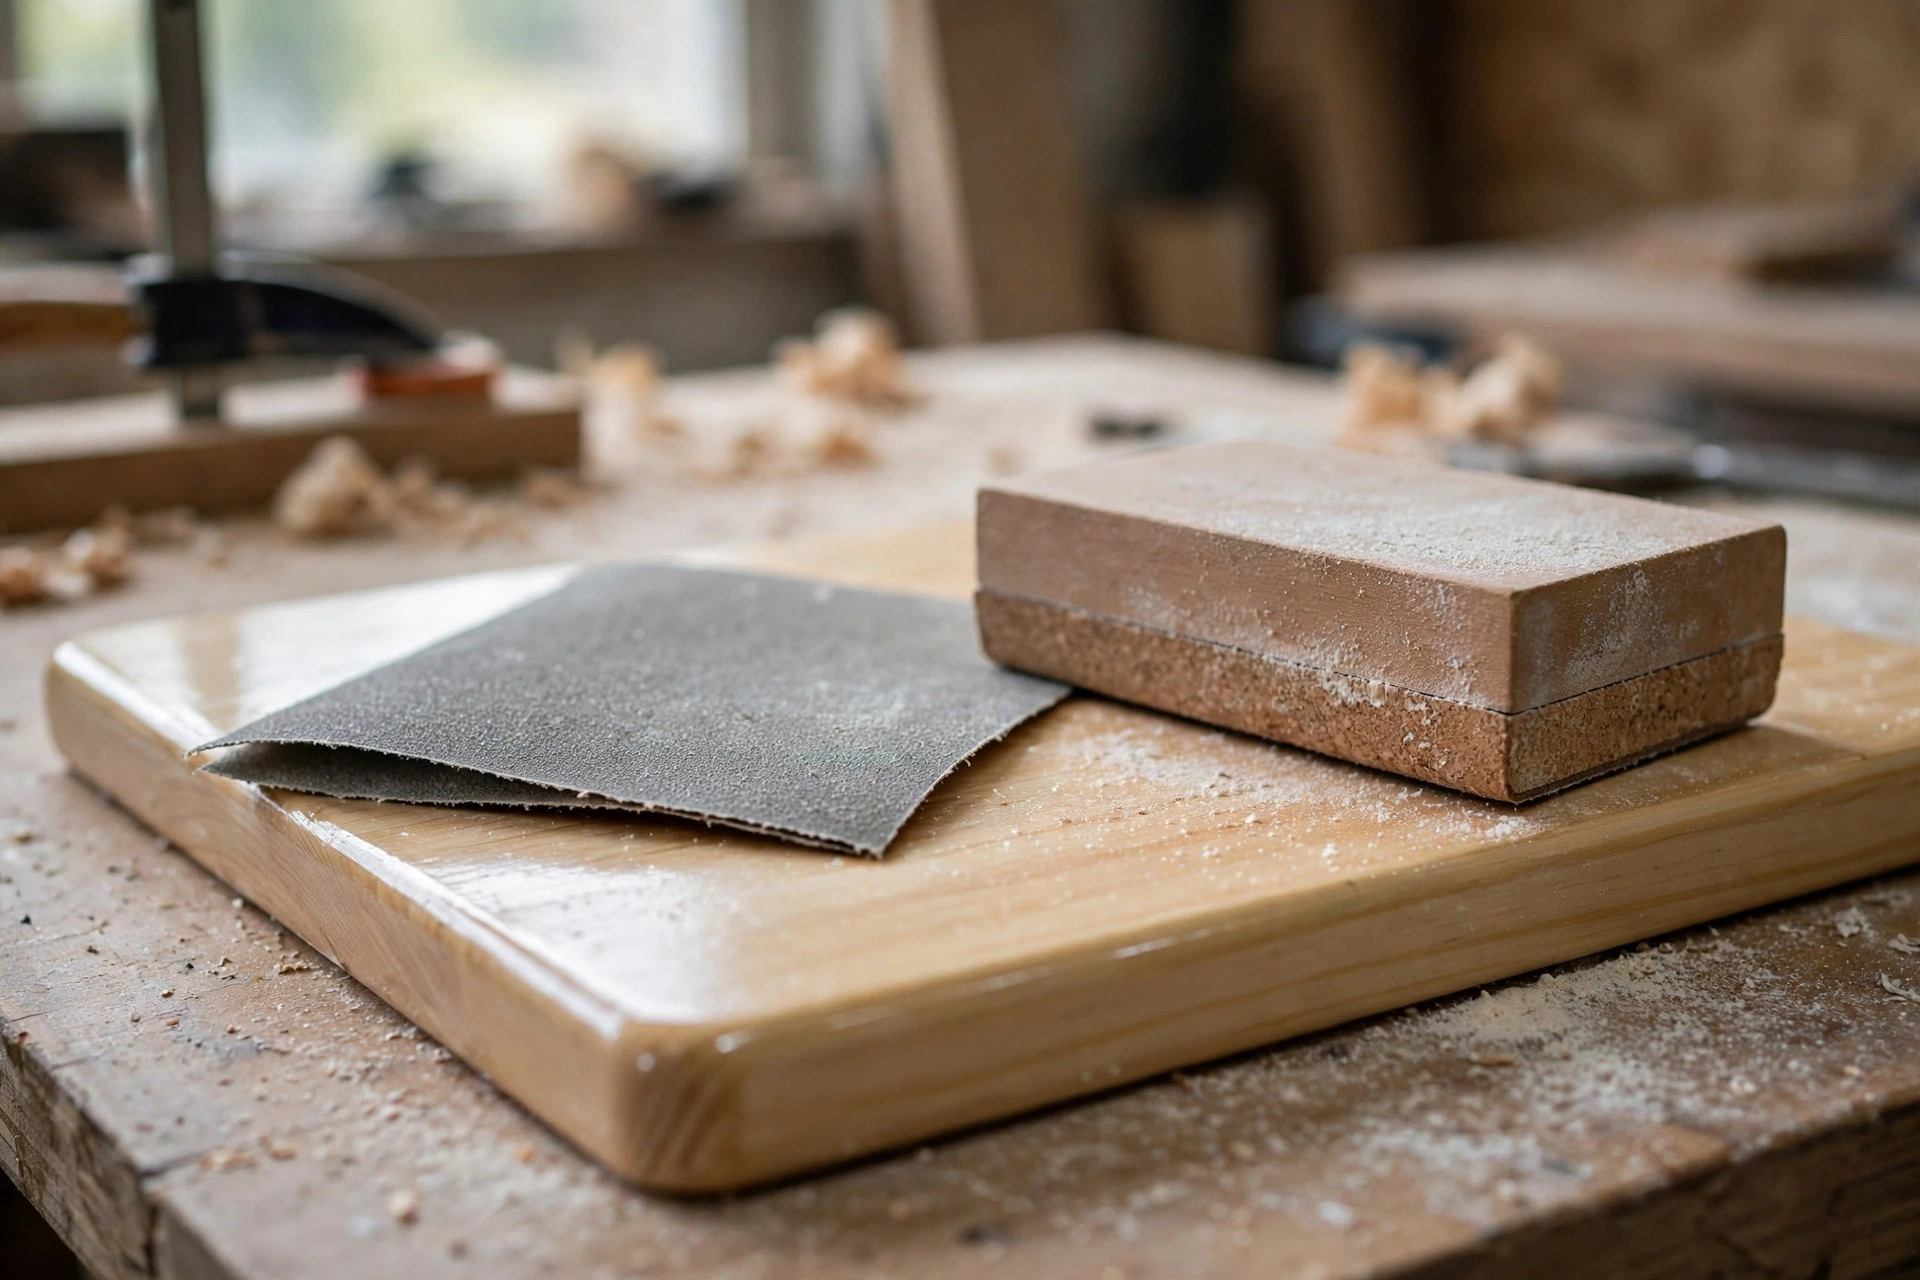
Sanding between coats is not about removing the coat you just applied. It is about giving the next coat something to grip, and about knocking down the tiny dust nibs, bubbles, and raised grain that every coat collects. Skip it, and coats can peel apart later, and dust bumps accumulate until the final surface feels like sandpaper. Do it too aggressively, and you sand through to bare wood, which means starting that section over.
Use 320-grit sandpaper for sanding between coats, wrapped around a flat sanding block for flat surfaces or folded into a pad for curved ones. Sand lightly, with the grain, using even pressure and no more than a few passes over each area. You are looking for a uniformly dull, matte surface with a fine white powder coming off — that powder tells you the coat is dry and sanding well. If the sandpaper clogs, gums up, or rolls the finish into little pills, the coat is not dry enough yet; stop, wait longer, and try again. If you sand through to bare wood anywhere — you will see a lighter, duller patch — do not panic: apply another coat to that area, let it dry, sand it lightly, and continue. It is a setback of one coat, not a ruined piece.
For wipe-on finishes, sanding between coats can be even lighter: a quick pass with 320 grit or a fine synthetic abrasive pad is usually enough, because the coats are so thin. For the final coat, many finishers rub it out after it has cured: a very light pass with 400-grit paper or a fine abrasive pad, followed by a coat of paste wax, gives a silky, hand-rubbed feel that reads as expensive. That step is optional, and it should only be done after the finish has cured properly, which brings us to the difference between dry and cured — the most misunderstood idea in finishing.
Fixing Bubbles, Dust, and Brush Marks
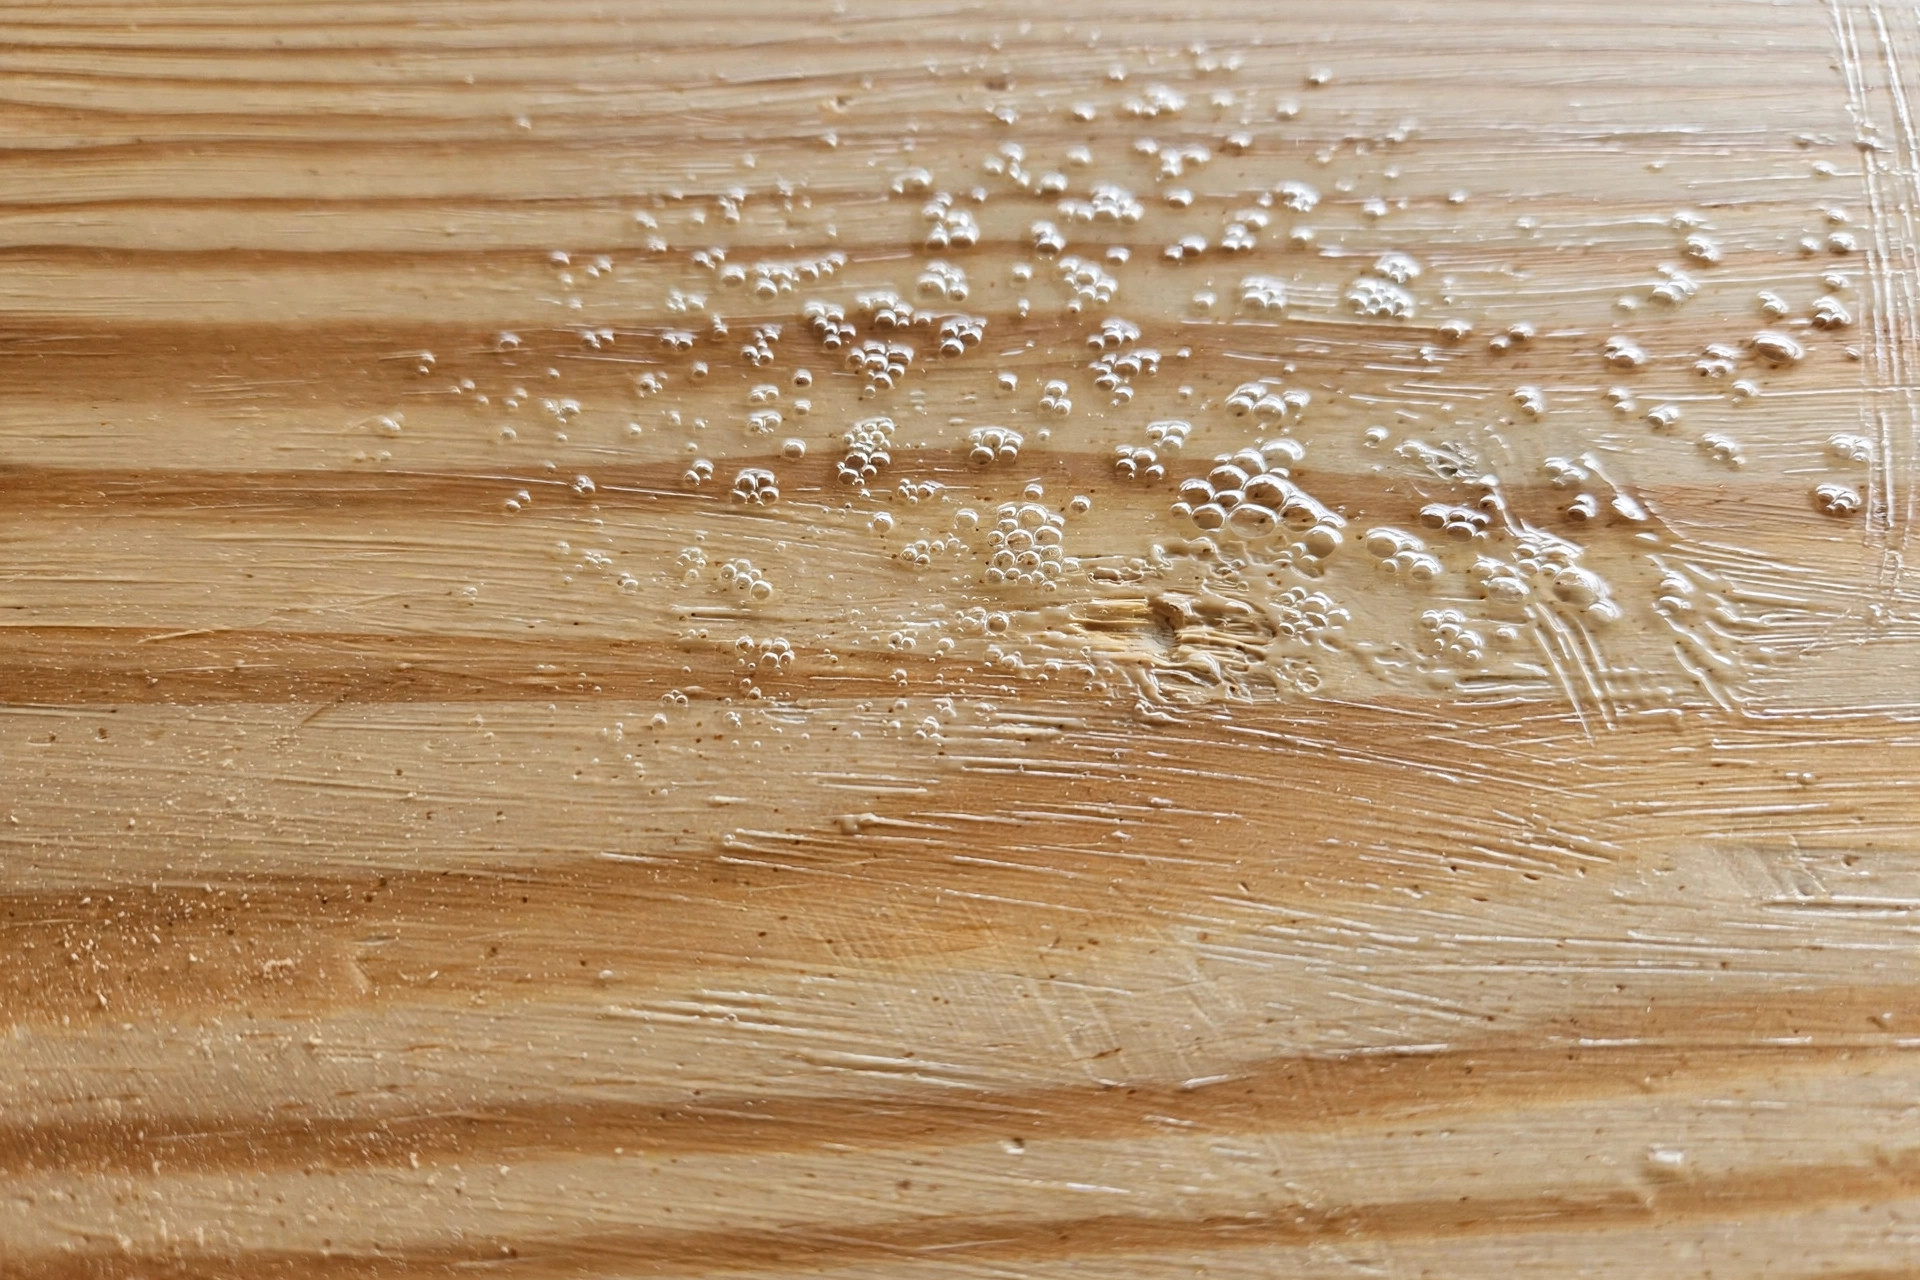
Bubbles are the complaint beginners raise most often, and they have three usual causes: shaking the can, over-brushing, and working in a room that is too warm. The fixes are preventive and simple. Stir, never shake. Load the brush moderately, not heavily. Apply thin coats, tip off each section once with the tips of the bristles, and then leave it alone. If bubbles appear in a wet coat, a light tipping-off pass will pop most of them; if they appear in a dry coat, sand them out with 320-grit paper and apply another coat. Tiny bubbles that survive into the final coat can be sanded out and recoated, and if you are using wipe-on polyurethane, you will rarely see a bubble at all.
Dust nibs — tiny bumps in the finish — come from the room, not the can. Vacuum the floor and the bench, wipe the piece with a tack cloth before every coat, and never sand in the same room immediately before finishing. If dust lands in a wet coat, let it dry, sand the nib out with 320 grit, clean the dust off, and recoat. Do not try to pick dust out of a wet coat with your fingers; you will leave a worse mark than the dust did. A surprisingly effective trick is to finish in the evening, after the workshop has been quiet for an hour, and to cover the drying piece loosely with a clean cardboard box or a tent of plastic sheeting raised above the surface, so settling dust cannot reach it.
Brush marks survive when a coat is applied too thickly, when the brush is overloaded, or when the finisher keeps going back over a setting coat. The remedies are thin coats, a good brush, and discipline: lay it on, tip it off once, and walk away. If brush marks are already dry in the finish, sand them flat with 320 grit and recoat more thinly. Water-based polyurethane is particularly unforgiving of over-brushing because it dries fast, so work quickly, keep a wet edge, and never try to touch up a section that has started to dry. For a tabletop, working in long, full-length passes from one end to the other, rather than in patches, is the single best habit for avoiding visible brush marks.
Other common flaws have equally simple fixes. Runs and drips happen on vertical surfaces and edges; catch them while wet by tipping them off, or sand them flat when dry and recoat. A cloudy or milky finish usually means moisture got trapped — recoating too soon, finishing in high humidity, or applying polyurethane over stain that was not fully dry — and the remedy is to let it dry thoroughly, sand it back lightly, and recoat in better conditions. A finish that stays soft or tacky for days has usually been applied too thickly or recoated too soon; give it more time, improve ventilation, and if it is still soft after a week, sand it back and start that section again. Orange peel texture — a fine, dimpled surface — comes from spraying too dry or brushing in very hot conditions; sand it smooth and recoat in cooler conditions. Almost nothing in this list requires stripping the piece and starting over, which is worth remembering the first time a coat goes wrong.
Drying Times, Curing, and When You Can Actually Use the Piece
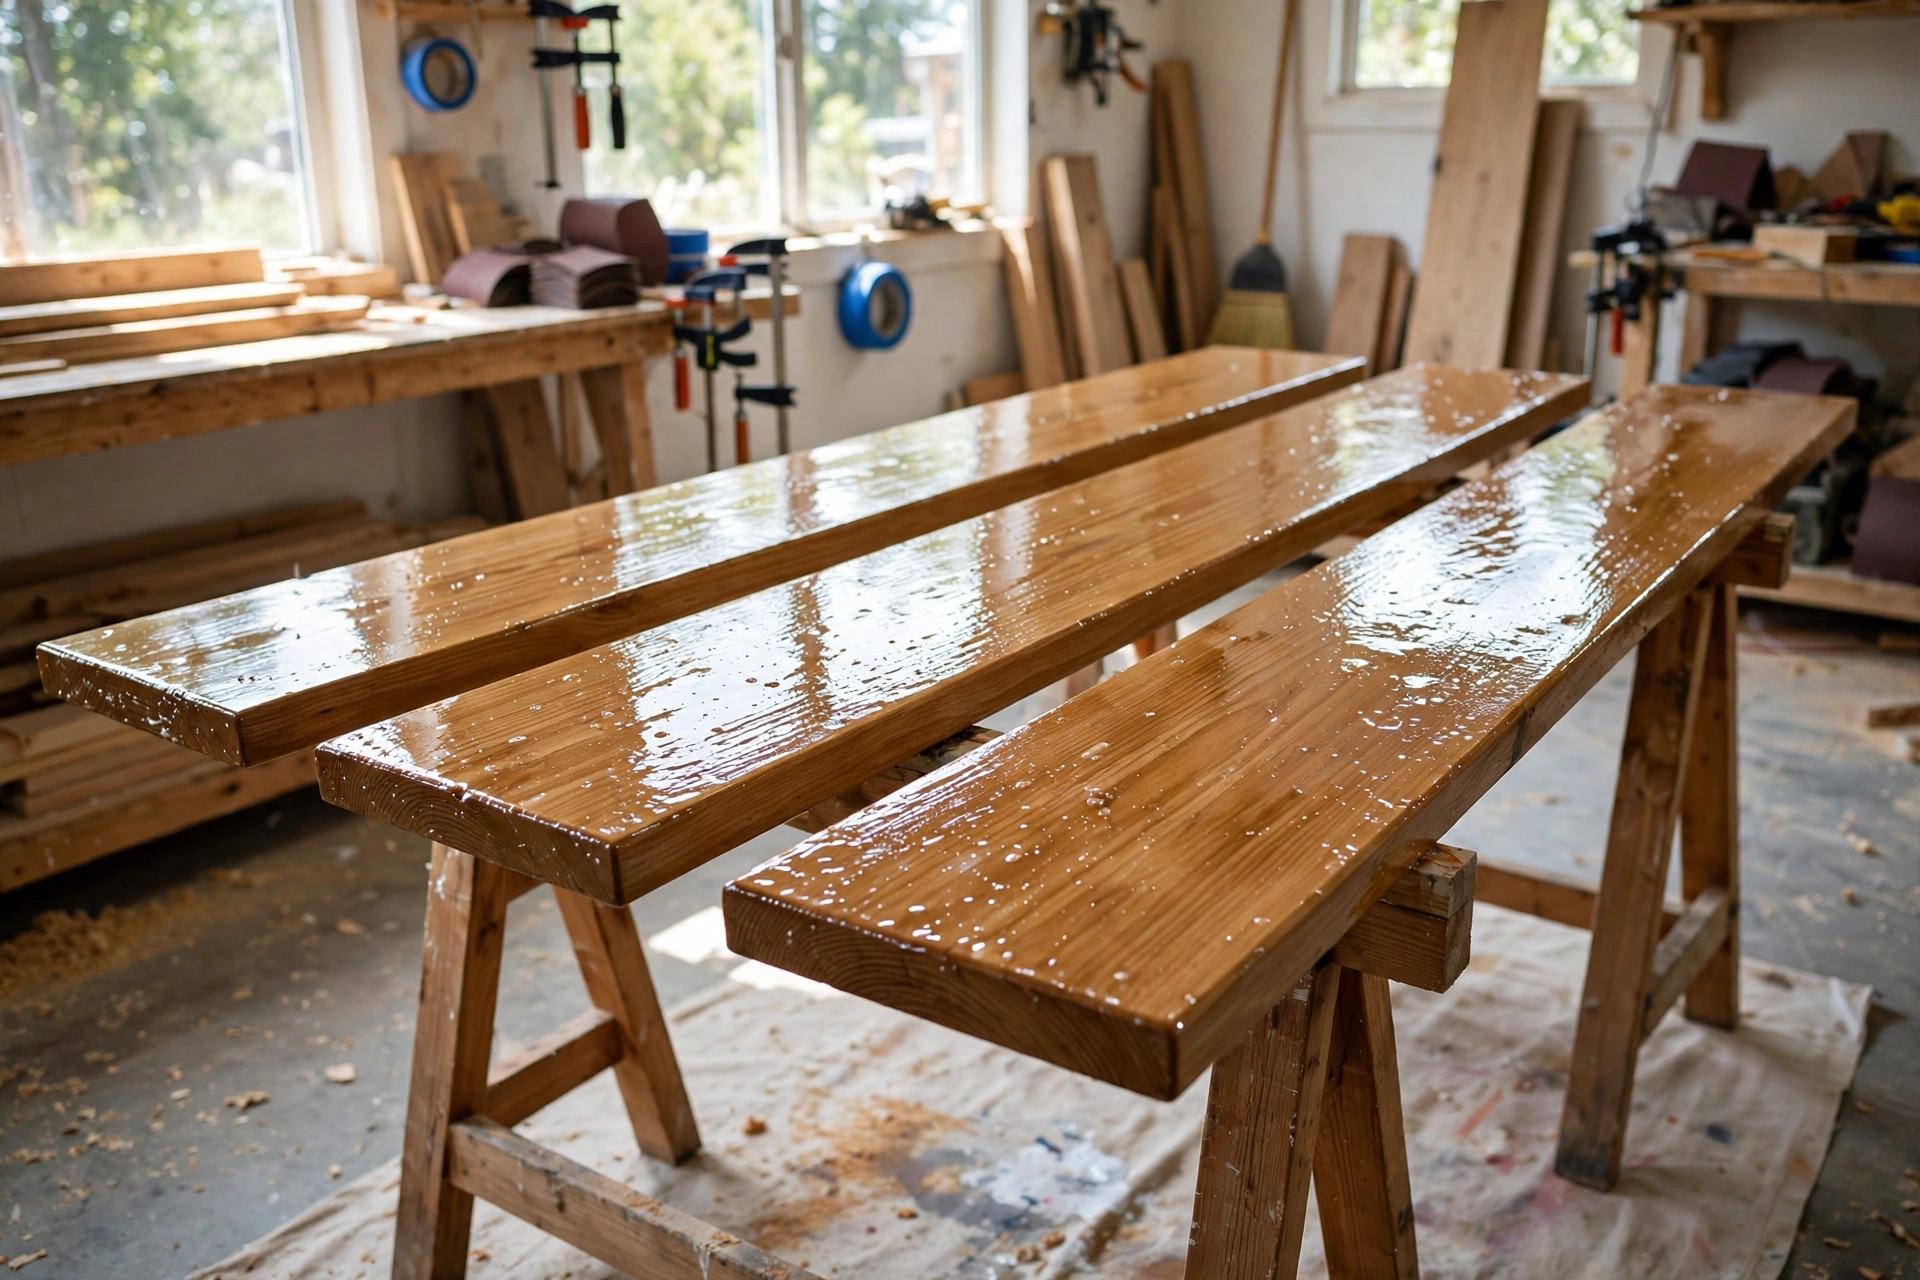
Dry and cured are not the same thing, and confusing them is how a beautiful tabletop gets a permanent ring mark from a coffee mug in its first week. Dry means the surface feels dry to the touch and can accept another coat. Cured means the finish has fully hardened through its entire thickness and reached its full toughness. Polyurethane can feel dry in hours and still take up to 30 days to fully cure, depending on the product, the thickness of the coats, and the temperature and humidity. Water-based polyurethane typically reaches full cure in about 21 to 30 days; oil-based polyurethane in about 30 days. That sounds like a long time, but it does not mean the piece is unusable for a month — it means you should treat it gently for a month.
| Stage | Water-based polyurethane | Oil-based polyurethane | What you can do |
|---|---|---|---|
| Dry to touch | 1–2 hours | 6–8 hours | Leave it alone; do not sand or recoat yet |
| Ready to recoat | 2–4 hours | 8–12+ hours (often overnight) | Sand lightly with 320 grit, clean, apply next coat |
| Light use (handling, moving) | After final coat + 24–48 hours | After final coat + 24–72 hours | Move the piece carefully; no heavy objects, no cleaning products |
| Full cure | About 21–30 days | About 30 days | Normal use, coasters, cleaning, heavy items |
| Full hardness for tabletop use | 30 days recommended | 30 days recommended | Hot mugs, plates, and daily wear without marking |
During the curing period, use coasters and felt pads under anything heavy, avoid dragging objects across the surface, do not place plastic, rubber, or vinyl directly on the finish (they can bond to uncured polyurethane and leave marks), and clean only with a dry or barely damp soft cloth. Do not use furniture polish, wax, or cleaning sprays until the finish is fully cured, because they can interfere with curing and leave cloudy patches. If you need the piece for an event before the cure is complete, cover it with a soft cotton cloth rather than a plastic tablecloth, and keep hot dishes off it.
How Much Does It Cost to Finish a Piece of Furniture?
Polyurethane is one of the cheapest parts of a woodworking project, which is good news for beginners. A quart of water-based or oil-based brush-on polyurethane typically costs around 15 to 30 US dollars, and a quart covers roughly 100 to 125 square feet per coat — enough for several small pieces or one good-sized table with multiple coats. A pint is often enough for a single shelf or box and costs less. Wipe-on polyurethane costs a little more per quart because you are paying for the thinning, but a single can still finishes several small projects. Add a good brush (10 to 20 dollars), a pack of 320-grit sandpaper, a tack cloth, and mineral spirits for oil-based cleanup, and a complete beginner finishing kit comes to roughly 40 to 70 dollars — and most of it lasts for many projects. The expensive part of finishing is never the product; it is the patience to apply thin coats and wait between them.
Safety deserves a clear word here, because finishing chemicals are easy to underestimate. Work with ventilation, especially with oil-based products, and wear a respirator rated for organic vapours if you are spraying or working in a small space. Keep rags soaked with oil-based polyurethane or mineral spirits flat and spread out to dry, or soaked in water in a sealed metal container — bunched-up oil-soaked rags can spontaneously combust, and this is a real workshop fire risk, not a myth. Dispose of them properly the same day. Keep finishes away from open flames and heaters, store cans with the lids properly sealed, and read the safety section of our guide to woodworking safety tips for beginners before your first finishing session, because the habits you build on your first piece are the ones you will carry into every project after it.
Common Mistakes Beginners Make With Polyurethane
Most polyurethane failures are not product failures; they are the same handful of habits, repeated. First, shaking the can instead of stirring it, which fills the finish with bubbles before it ever touches the wood. Second, applying coats that are far too thick, in the hope of finishing faster, which causes runs, sags, trapped solvent, and a soft finish that takes forever to cure. Thin coats are always faster in the end, because they dry properly and need less fixing. Third, recoating too soon, which traps solvent under the surface and produces cloudiness or wrinkling. Fourth, skipping the sanding between coats, which leaves dust nibs to accumulate and coats that do not bond well to each other. Fifth, finishing in a dusty room right after sanding or sawing, which guarantees dust nibs in every coat.
Sixth, using the wrong brush — a cheap shedding brush, or natural bristles with water-based polyurethane — which leaves bristles and streaks in the finish. Seventh, going back over a coat that has started to set, which drags the finish and creates brush marks that no amount of later sanding will fully hide in that coat. Eighth, finishing over stain that has not dried, or over a surface that still has glue spots, sanding scratches, or dust on it, all of which polyurethane will magnify rather than hide. Ninth, putting the piece into use before it has cured, which leaves ring marks, dents, and impressions that are difficult to remove without refinishing. And tenth, forgetting that polyurethane is a protective coat, not a wood filler: deep scratches, dents, and gaps must be fixed before finishing, not covered up by it.
If you recognise yourself in more than one of these, do not be discouraged. Every experienced finisher has made all of them, usually on the same piece. The difference between a beginner and an experienced finisher is not that the experienced finisher never makes mistakes; it is that they know which mistakes are fixable with a light sanding and one more coat, and that turns out to be almost all of them. Keep a test board beside your project — an offcut of the same wood, finished with the same products — and practise each coat on it first. That test board is the cheapest insurance in woodworking, and it lets you see exactly how your finish will look before it goes on the piece you care about.
Your Finished Piece: What a Good Polyurethane Finish Looks Like
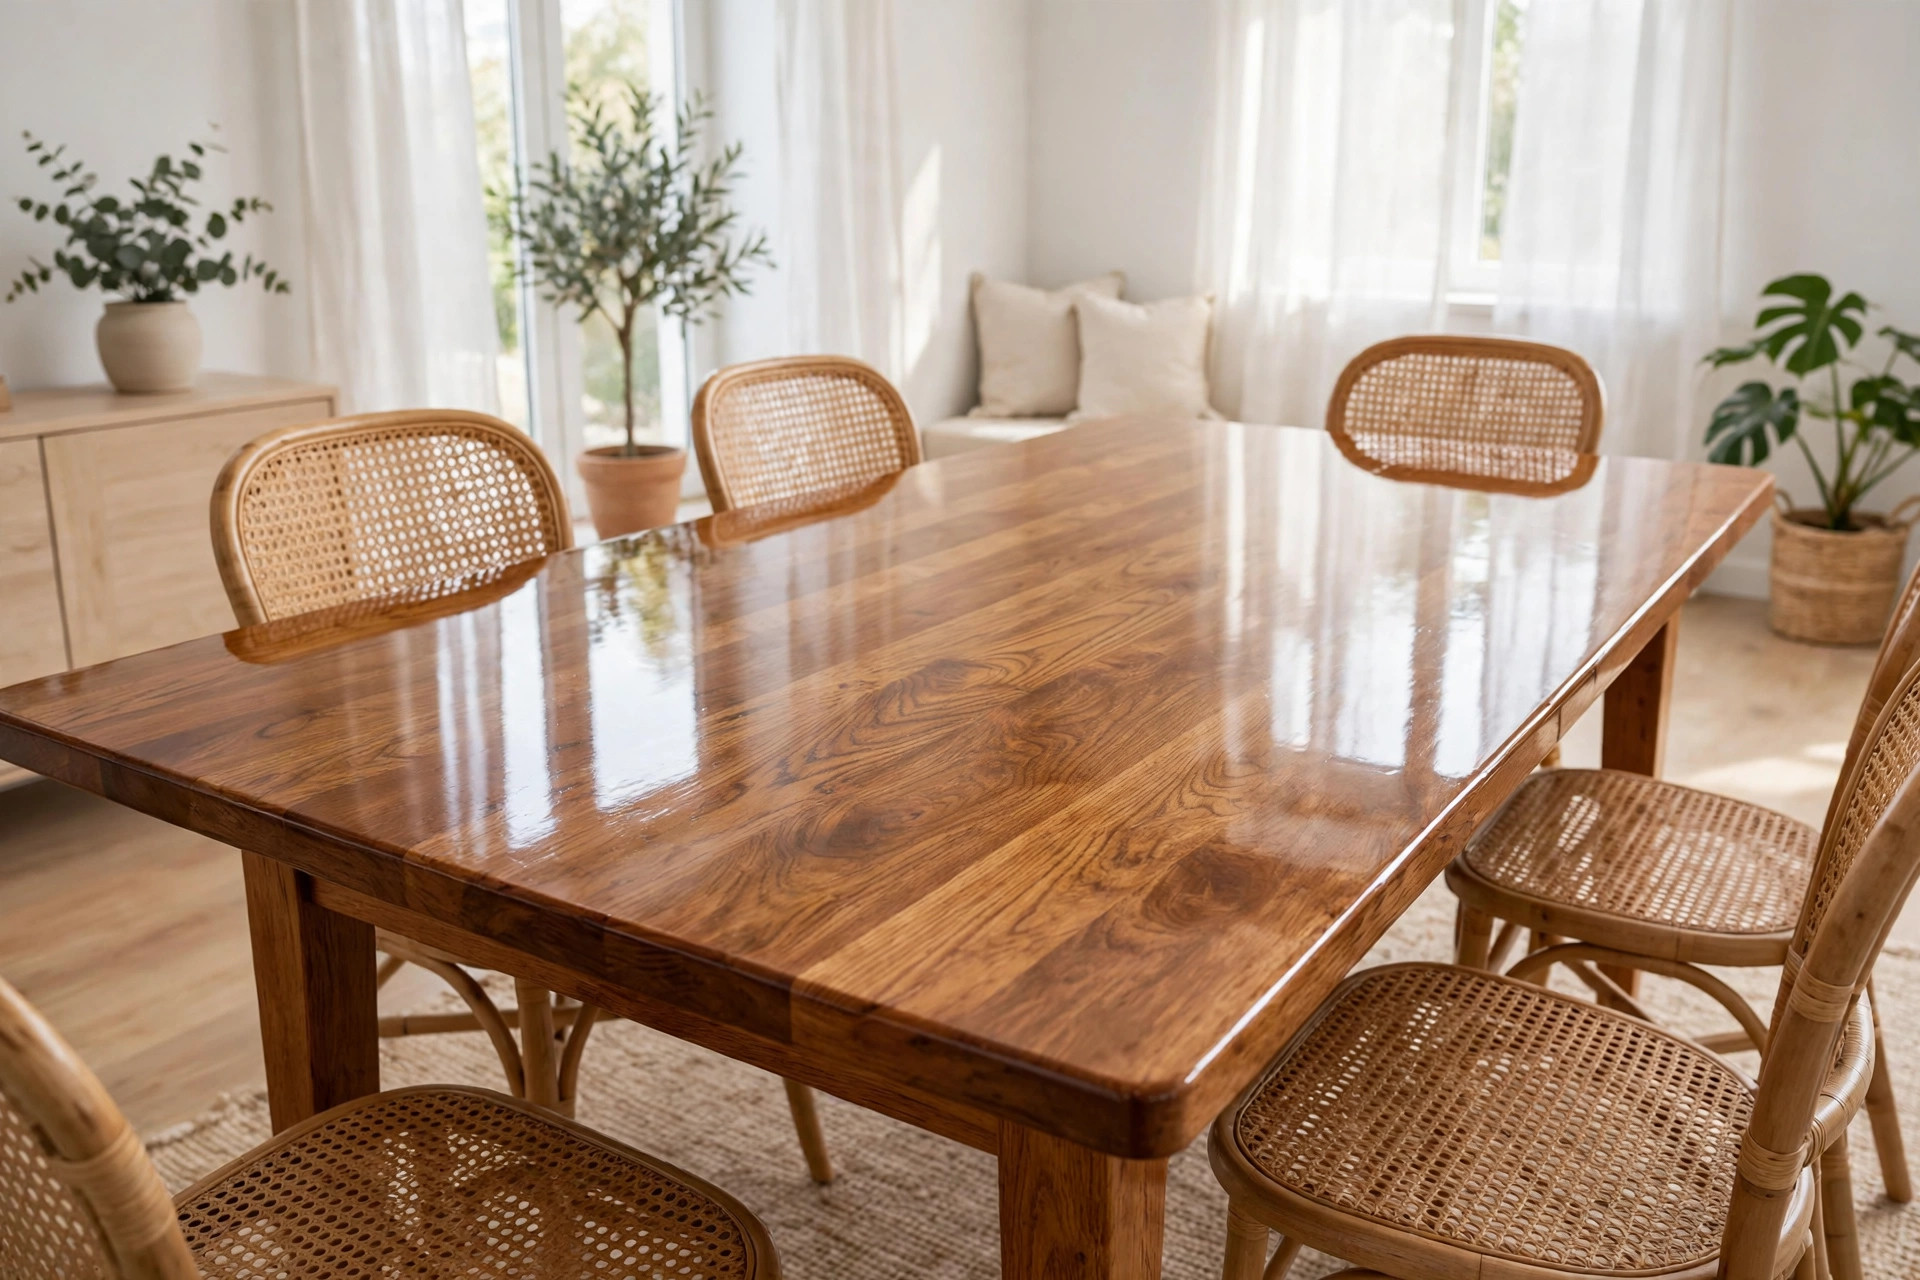
A good polyurethane finish does not look like plastic, and it should not. It looks like wood, only deeper, richer, and protected: the grain is clear and readable, the surface is smooth to the touch with no bumps or rough patches, light reflects evenly across it without wavy distortions, and the edges are fully coated with no dry or dull spots where the finish thinned out. Run your hand across it after curing: it should feel silky, not tacky, not rough, and not rubbery. Hold it under a raking light: you should see a smooth, even sheen, not orange peel, not brush ridges, and not a constellation of dust nibs. If you can tick those boxes, you have succeeded, and the piece will survive years of daily use with nothing more than dusting and the occasional wipe with a damp cloth.
Maintenance after curing is simple. Dust regularly with a dry soft cloth, wipe spills promptly with a damp cloth, and use coasters and placemats on tabletops out of habit rather than anxiety. Avoid silicone-based furniture polishes, which can build up and make future refinishing difficult, and avoid abrasive cleaners. If the finish dulls after a few years, a light cleaning and a coat of paste wax will usually restore it; if it wears through in a high-traffic spot, a light sanding and one or two fresh coats of the same product will renew it, because polyurethane bonds well to itself when sanded. A finish you can repair is a finish that lasts, and that repairability is one more reason polyurethane remains the default choice for beginner furniture makers.
If finishing has caught your interest, it pairs naturally with the rest of the beginner journey. A well-finished piece is what turns a simple build into something you are proud to sell, and our pillar guide to easy woodworking projects for beginners that sell shows which beginner projects reward a good finish most, from serving trays and shelves to small tables and boxes. Build simple, finish well, and let the finish do the talking — buyers notice a smooth, even topcoat long before they notice the joinery underneath it.
Frequently Asked Questions
How many coats of polyurethane do furniture pieces need?
For most furniture, 3 coats of brush-on polyurethane is the standard, and 4 coats is better for tabletops and dining tables that see daily wear. Wipe-on polyurethane needs 4 to 6 thin coats to build the same protection, because each coat is much thinner. Lightly used shelves and boxes can get away with 2 to 3 coats. Always sand lightly with 320-grit paper between coats, but do not sand the final coat unless you need to fix a flaw.
Should a beginner use water-based or oil-based polyurethane?
For a first project, water-based polyurethane is usually the easier choice: it dries fast, smells little, cleans up with water, and stays clear without yellowing pale woods. Choose oil-based polyurethane when you want a warm amber tone on dark woods like walnut or cherry, or when you want maximum durability on a tabletop and can accept slower drying and stronger odour. For the easiest possible first finish, choose a wipe-on polyurethane in either base.
How do I avoid bubbles when applying polyurethane?
Never shake the can — stir it gently instead. Apply thin coats, load the brush moderately, and tip off each section once with the tips of the bristles, then leave it alone. Do not over-brush, and do not work in a very warm room. If bubbles appear in a dry coat, sand them out with 320-grit paper and apply another coat. Wipe-on polyurethane almost never produces bubbles, which is why it is the most forgiving choice for beginners.
How long does polyurethane take to dry and fully cure?
Water-based polyurethane is dry to the touch in 1 to 2 hours and ready to recoat in 2 to 4 hours; oil-based polyurethane takes 6 to 8 hours to feel dry and 8 to 12 hours or more before recoating. Full curing takes much longer: up to 30 days for both types, with water-based typically fully cured in 21 to 30 days and oil-based in about 30 days. You can handle the piece lightly after 24 to 72 hours, but avoid heavy objects, hot items, and cleaning products until it is fully cured.
Do I need to sand between coats of polyurethane?
Yes. Sand lightly with 320-grit sandpaper between every coat except the final one. Sanding removes dust nibs and bubbles, and it gives the next coat something to grip so the coats bond properly. Sand with the grain, use light pressure, and stop if the sandpaper starts to gum up — that means the coat is not dry enough yet. If you sand through to bare wood, simply apply another coat to that area and continue.
Can I apply polyurethane over stain?
Yes — polyurethane is designed to go over stain, and that is how most stained furniture is protected. The key rule is that the stain must be fully dry first, usually at least 8 hours for oil-based stain and according to the stain manufacturer’s instructions. Applying polyurethane over damp stain can cause cloudiness, poor adhesion, or peeling. If you are unsure, wait longer, and test on an offcut of the same wood before committing to the piece.
Final Verdict
Learning how to apply polyurethane for beginners woodworking is less about talent and more about patience: thin coats, a clean room, a light sanding between coats, and enough waiting time between each step. Start with a wipe-on polyurethane or a water-based brush-on product, practise on an offcut, and give your piece the full curing time before you put it into service. Do that, and your first finished table, shelf, or box will look like the work of someone who has been finishing furniture for years — smooth, clear, and built to last.



Pingback: Tung Oil vs Danish Oil for Beginners: Which to Pick?