
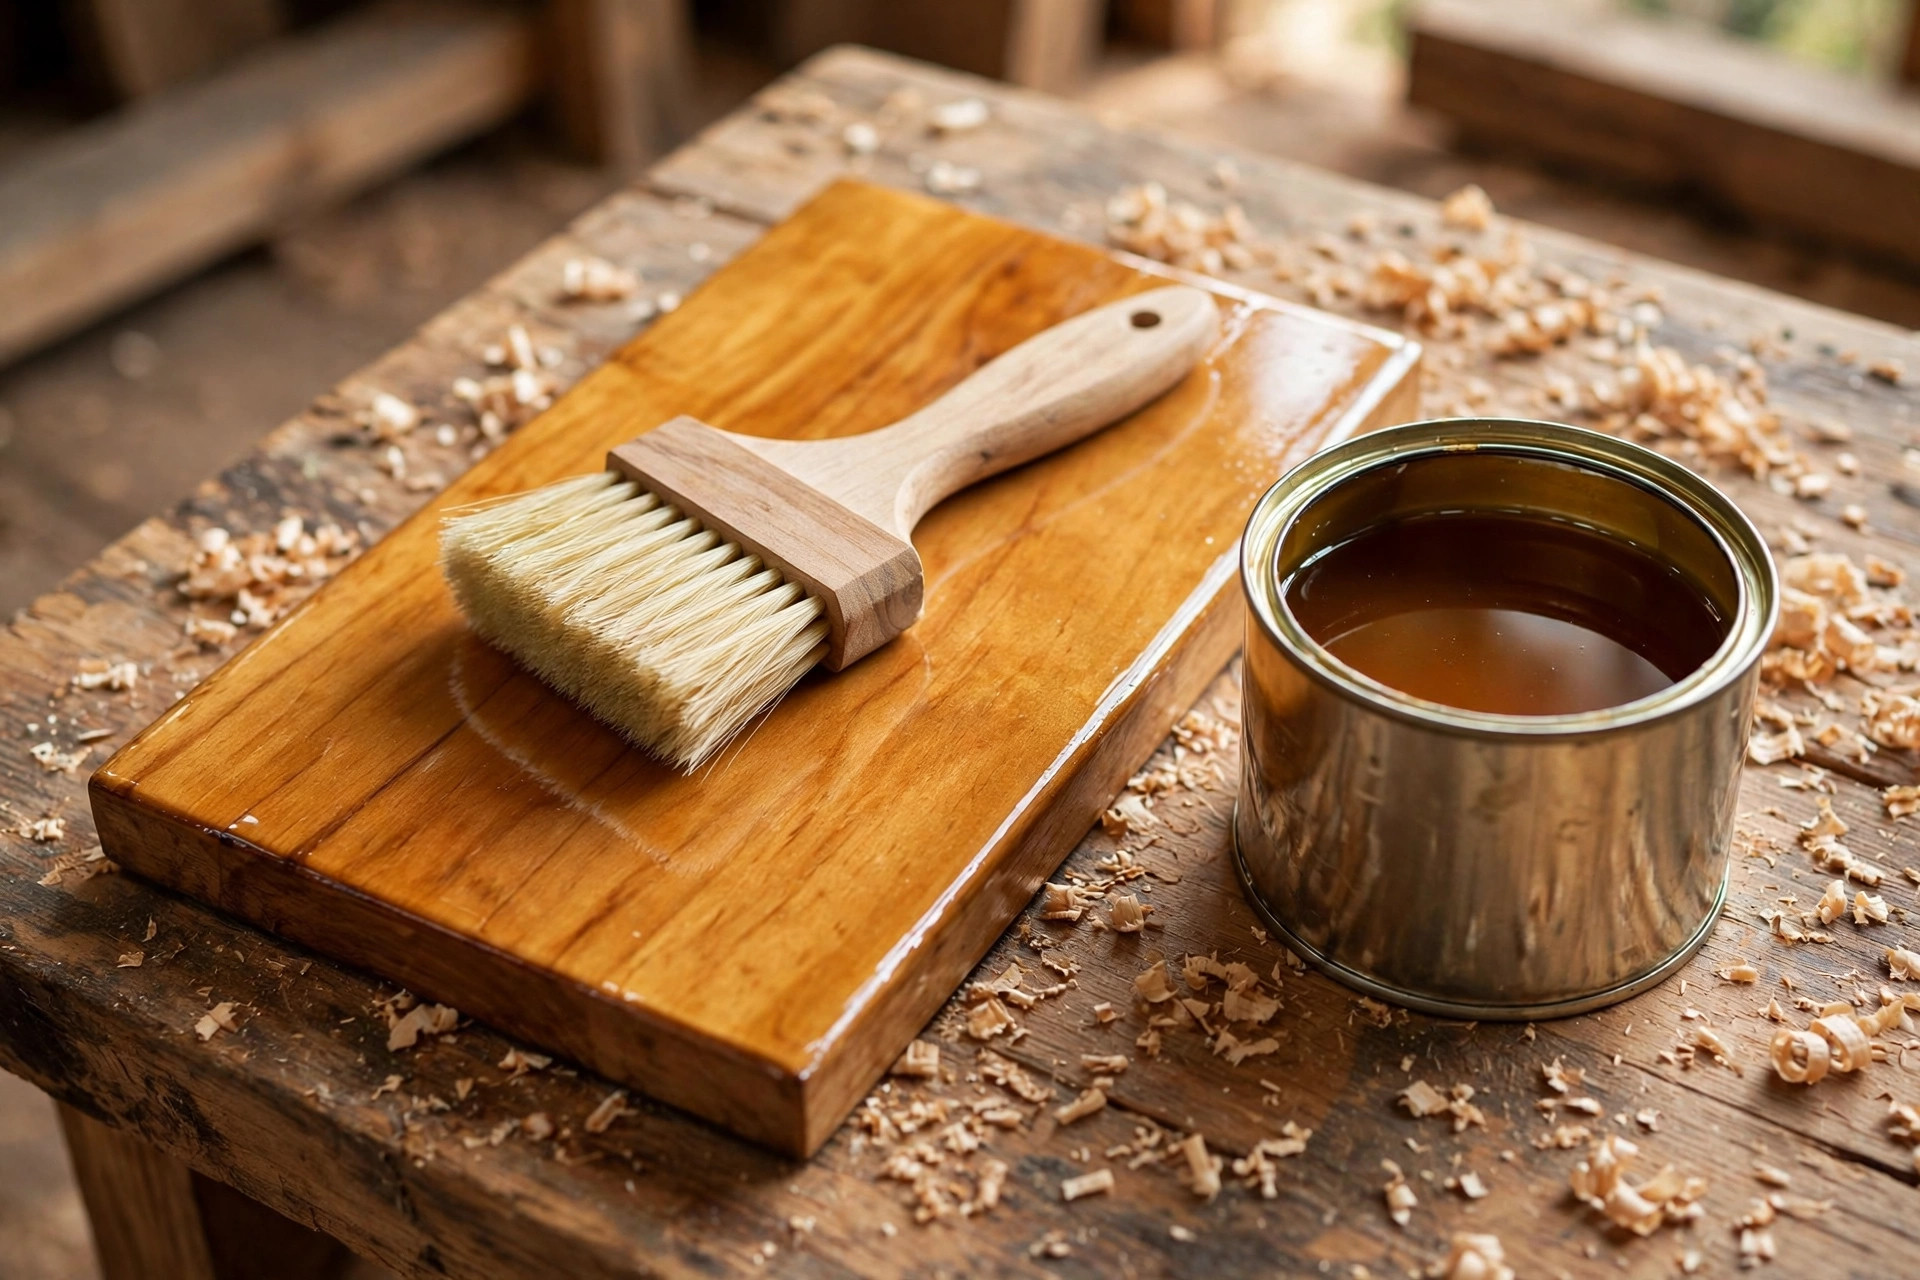
Walk into a finish aisle and two old names stare back at you from cans that look like they have not changed in fifty years: shellac and lacquer. Both dry fast, both give wood a beautiful clear coat, and both have loyal fans who will tell you the other one is a mistake. For a beginner, the confusion is real, because the two finishes look similar in the can, smell very different, behave very differently on the wood, and fail in very different ways. Learning shellac vs lacquer for beginners woodworking is really about learning one question: what will this piece have to survive?
Here is the short answer before the detail. Shellac is the friendlier, more forgiving, easier-to-repair finish, and the better first finish to learn. It is natural, dries in under an hour, is easy to touch up, and gives wood a warm, glowing depth that nothing else quite matches. Lacquer is the tougher, glossier, more water- and alcohol-resistant finish, and the better choice for pieces that will get hard daily use, but it demands better ventilation, more careful spraying or brushing, and more respect for its fumes. If your piece is a decorative box, a shelf, a picture frame, or a small table that will be treated kindly, shellac will delight you. If it is a kitchen table, a bar top, a bathroom shelf, or anything that will meet coffee rings, water glasses, and alcohol, lacquer will outlast it.
This guide compares the two finishes head to head: what each one actually is, how durable each is against water, heat, alcohol, and scratches, how to apply each one step by step as a beginner, what each costs, how to repair each when it gets damaged, and a project-by-project table so you can pick without guessing. It also covers the popular combination finish — shellac as a sealer under lacquer — because that pairing gives beginners the best of both worlds on many projects. By the end, you will be able to read a can, match the finish to the project in front of you, and avoid the classic beginner error of putting a beautiful but fragile finish on a hard-working surface.
If you are still preparing your piece, start with our guide to how to sand and finish wood for beginners before you open any can. Both shellac and lacquer show every sanding scratch and glue smear, because they are clear finishes that reveal the wood rather than hiding it. And if you are still choosing between all the finish families, not just these two, our guides to the best wood stain for beginners and how to apply polyurethane for beginners will help you place shellac and lacquer in the wider picture.
What Shellac Actually Is: A Natural Resin, Dissolved in Alcohol
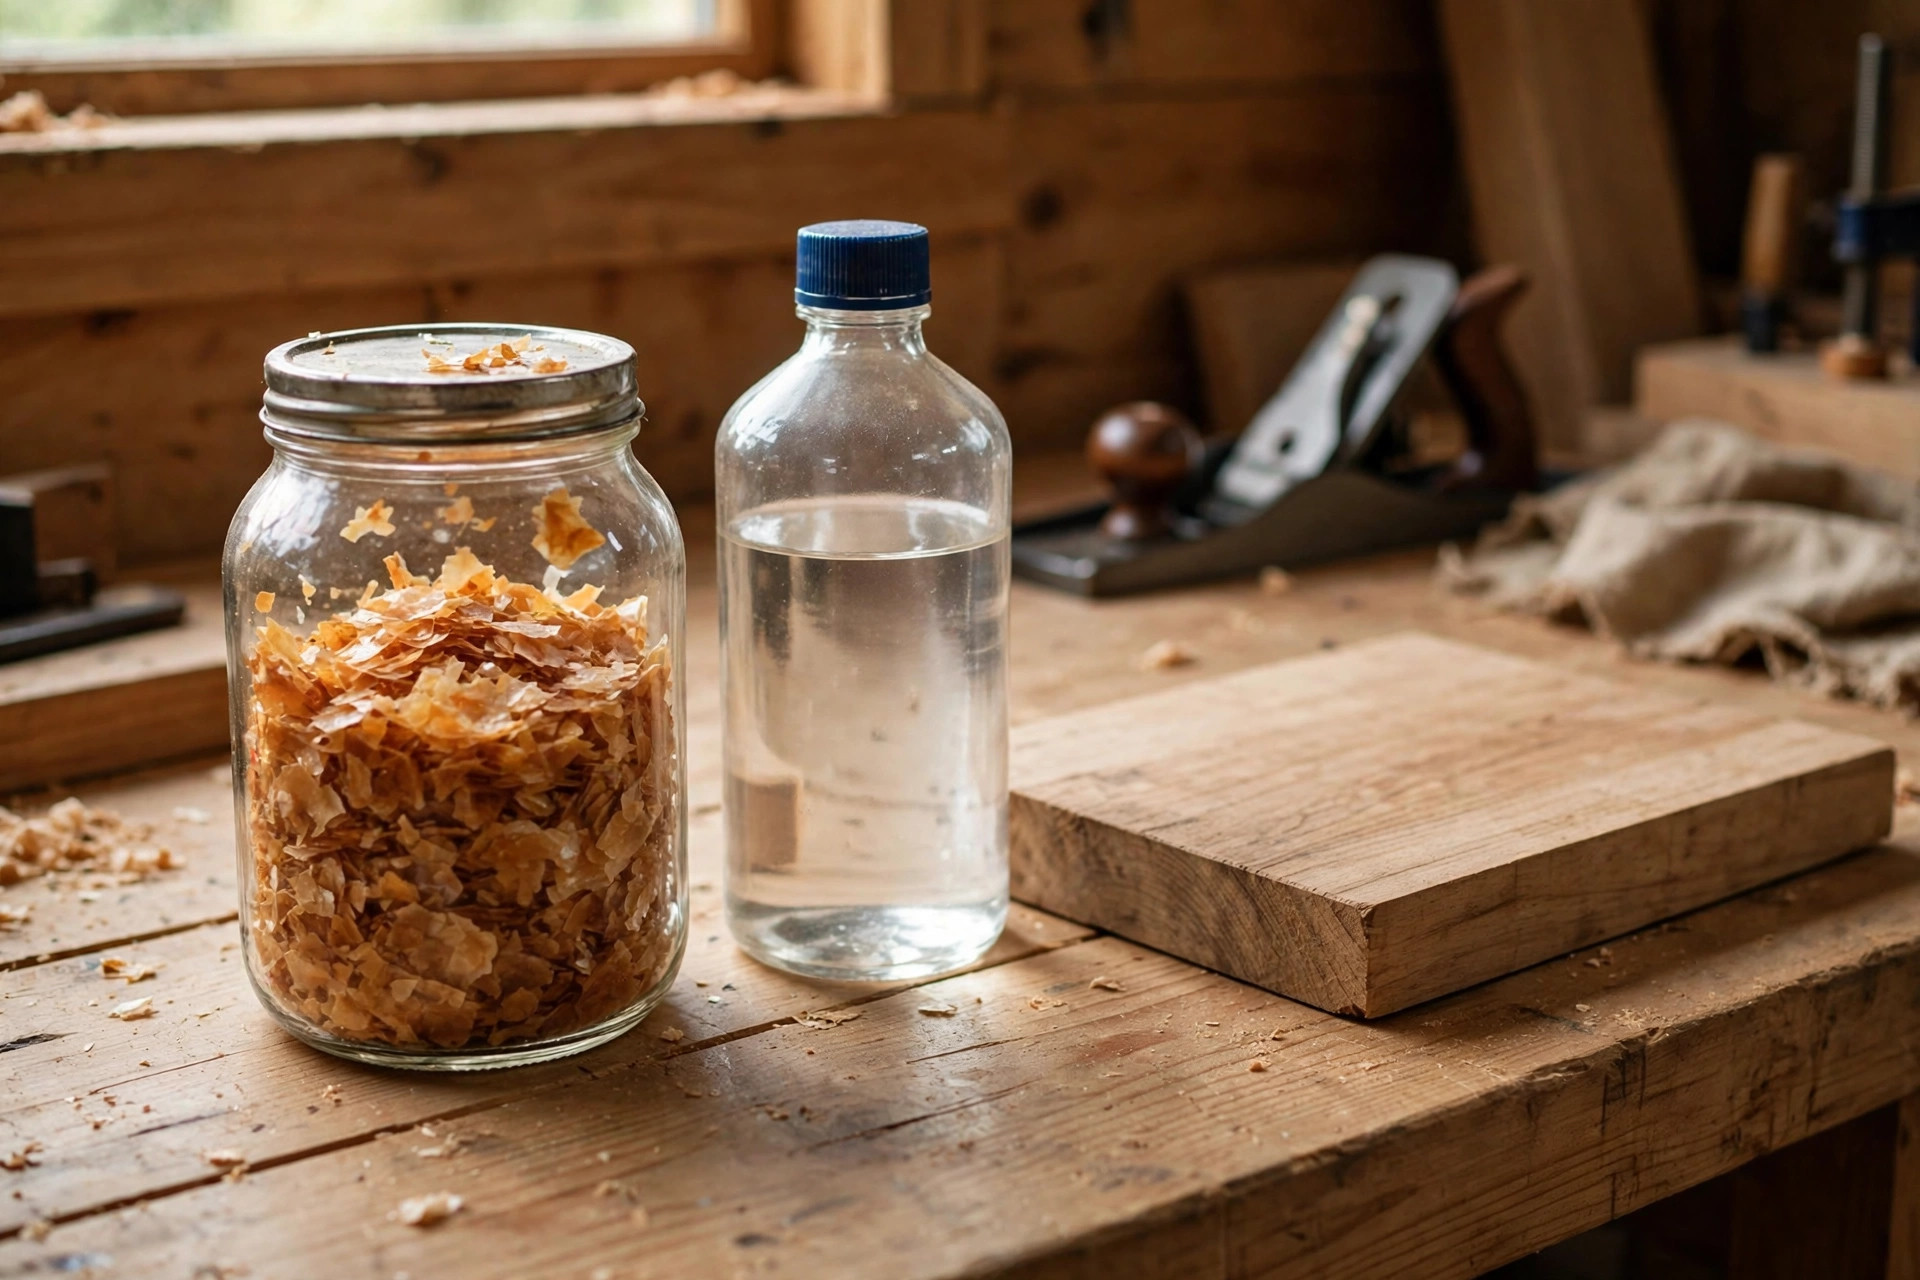
Shellac is the oldest finish in this comparison by centuries, and it is the only one that is entirely natural. It is a resin secreted by the lac insect, harvested, cleaned, and sold either as dry flakes that you dissolve yourself in denatured alcohol, or as a ready-mixed liquid in a can. When the alcohol evaporates, the resin is left behind as a thin, hard, warm-toned film on the wood. That is the whole chemistry, and it explains almost everything about how shellac behaves: it dries by evaporation, not by a chemical cure, so it dries fast; it can be re-dissolved by its own solvent, which is why it is so easy to repair; and it is sensitive to the solvents that dissolve it, which is why alcohol damages it.
Shellac comes in several colours, from ultra-blond and super-blond (nearly clear) through amber and orange to garnet (deep reddish brown). The colour you choose changes the look of the wood significantly: blond shellac barely changes pale woods like maple and ash, while amber and orange shellac warm up walnut, cherry, and oak beautifully and give pine a rich honey tone. Beginners should start with a ready-mixed blond or amber shellac, depending on the wood, because mixing flakes is a skill worth learning later, not a hurdle worth tripping over on your first project. One important distinction: dewaxed shellac has had its natural wax removed, and it is the version you want whenever another finish will go on top, because wax can interfere with adhesion. Regular shellac contains wax and is fine as a standalone finish.
Shellac’s strengths are its speed, its beauty, and its forgiveness. A coat dries to the touch in about 15 to 30 minutes and can usually be recoated within an hour, so you can build three or four coats in a single afternoon. It is non-toxic once dry, which is why it is a traditional choice for children’s toys, wooden bowls, and food-contact-adjacent items, and it is famously easy to repair: a scratch or a dull patch can be fixed by rubbing in another coat, because the new shellac melts into the old. Its weaknesses are just as clear. Shellac is not very water-resistant, it is damaged by alcohol (a spilled drink leaves a white ring), it softens under sustained heat (a hot mug can mark it), and it is not the toughest film against scratches and knocks. It is a beautiful finish for pieces that will be admired more than abused.
What Lacquer Actually Is: A Fast-Drying Synthetic Film
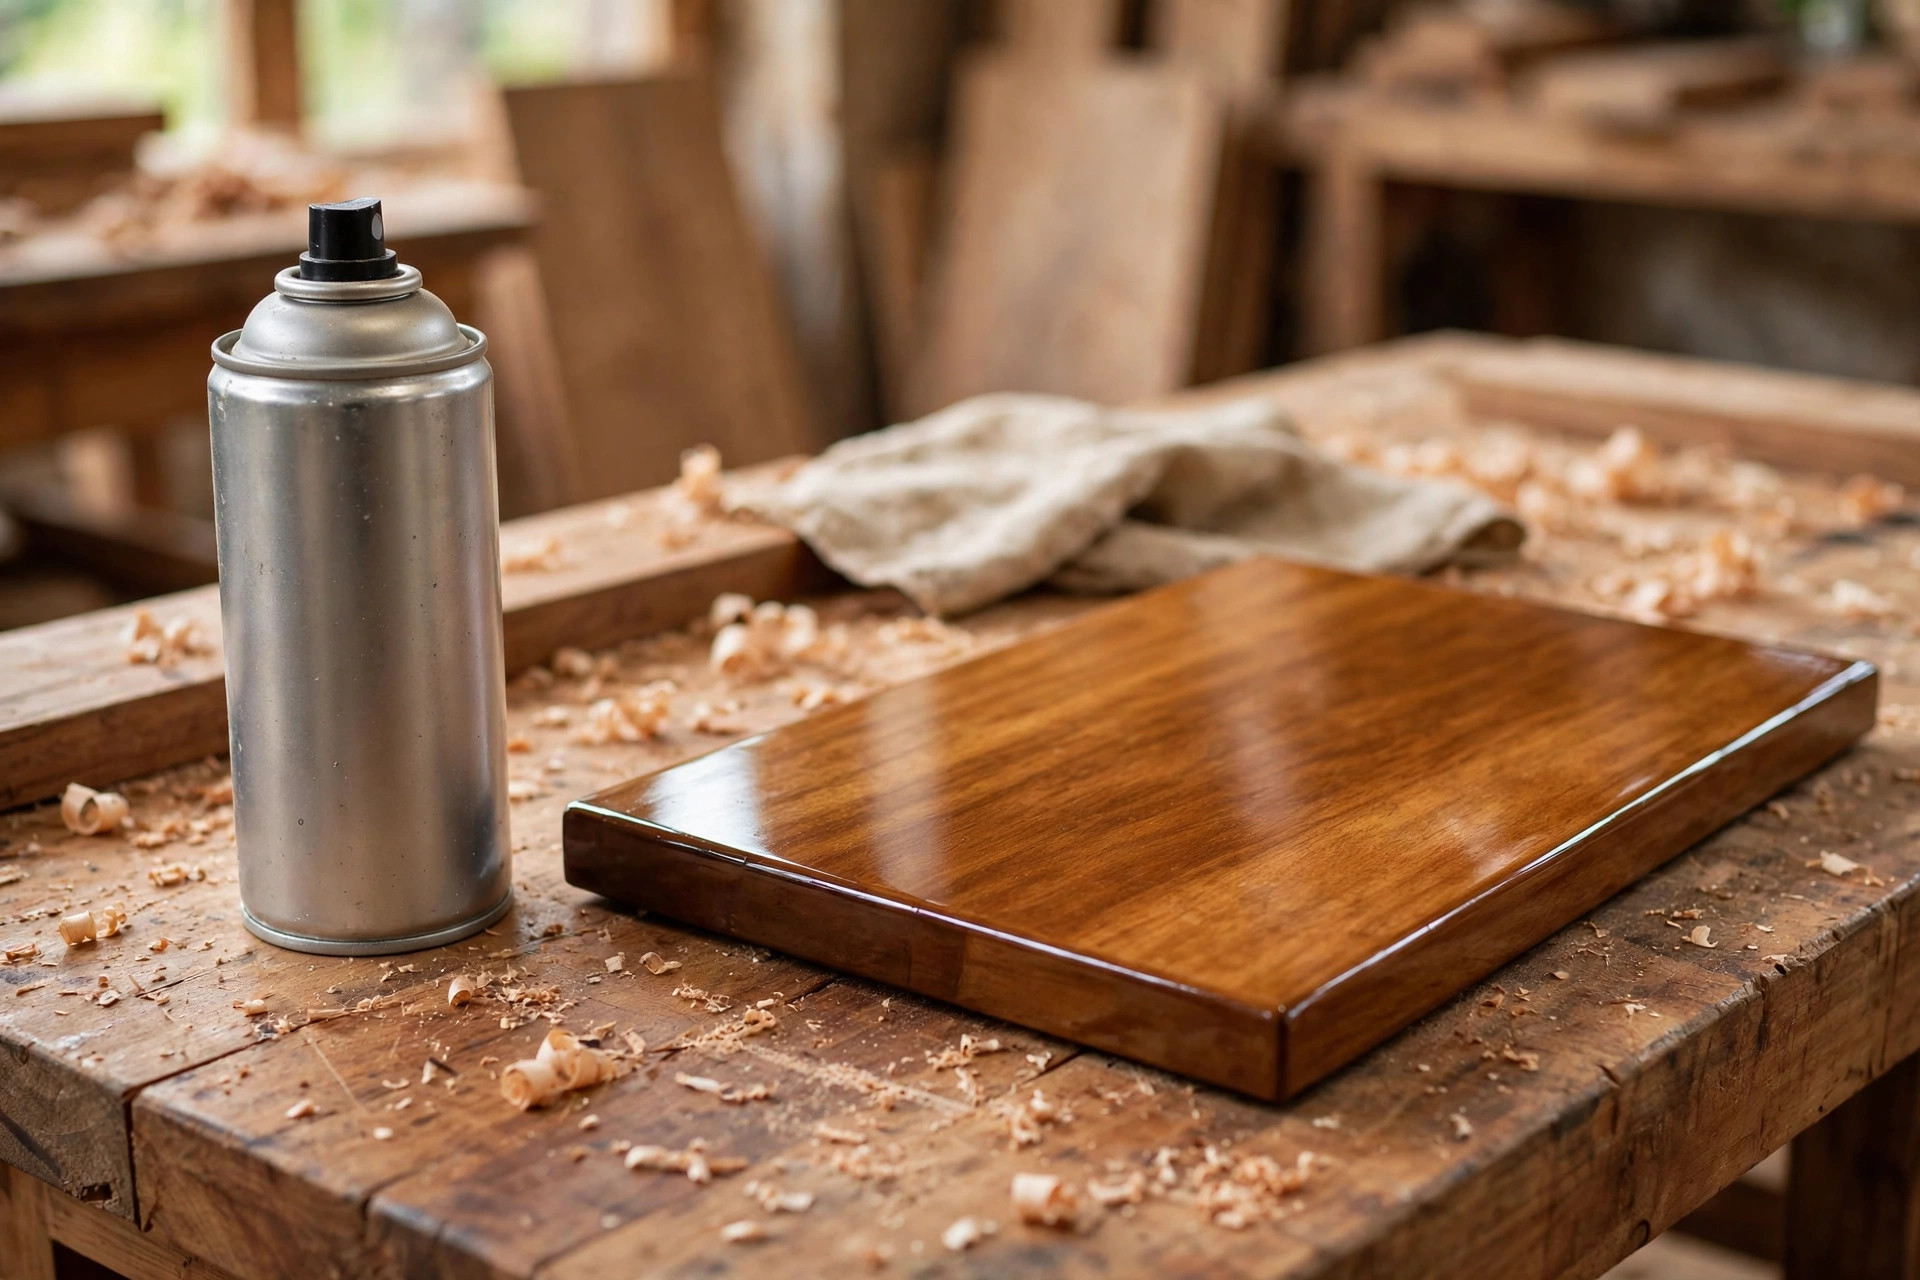
Lacquer, in the woodworking sense, is a synthetic clear finish based on nitrocellulose or acrylic resins dissolved in strong, fast-evaporating solvents. It is sold as a brushing lacquer, a spray-can lacquer, or a bulk lacquer for a spray gun, and it is the finish behind the deep, glassy shine on many factory-made cabinets, musical instruments, and pieces of furniture. Like shellac, lacquer dries by solvent evaporation, so it dries extremely fast — often dust-free in 10 to 20 minutes and ready for another coat in under an hour — and like shellac, each new coat melts into the one beneath it, which is why lacquer can be built up to a perfectly smooth, level surface with no visible coat lines.
Lacquer’s strengths are durability and looks. It is harder and more scratch-resistant than shellac, it resists water and alcohol far better (a spilled drink will not leave the white ring that ruins a shellac top), it holds a high gloss beautifully, and it does not yellow as much over time as oil-based varnishes do, especially in its acrylic form. Nitrocellulose lacquer has a slight amber tint that warms medium and dark woods, while acrylic lacquer stays clearer on pale woods. Its weaknesses are the price of that performance. Lacquer solvents are strong, flammable, and produce fumes that demand serious ventilation and a proper respirator, not just an open window. It is harder to brush without leaving marks, because it dries so fast that the brush drags if you go back over an area, which is why spraying is the preferred method for most lacquer work. And while lacquer is easier to repair than polyurethane, it is harder to spot-repair invisibly than shellac, because a repair coat needs to blend into a harder, glossier film.
For beginners, the practical difference is this: shellac forgives you, lacquer rewards preparation. A beginner can brush shellac onto a box lid and get a lovely result on the first try. A beginner spraying lacquer for the first time should practise on scrap, set up proper ventilation, and expect the first coat to teach them about overspray, dust, and distance before the second coat looks good.
Head-to-Head Comparison: Durability, Resistance, Looks, and Ease
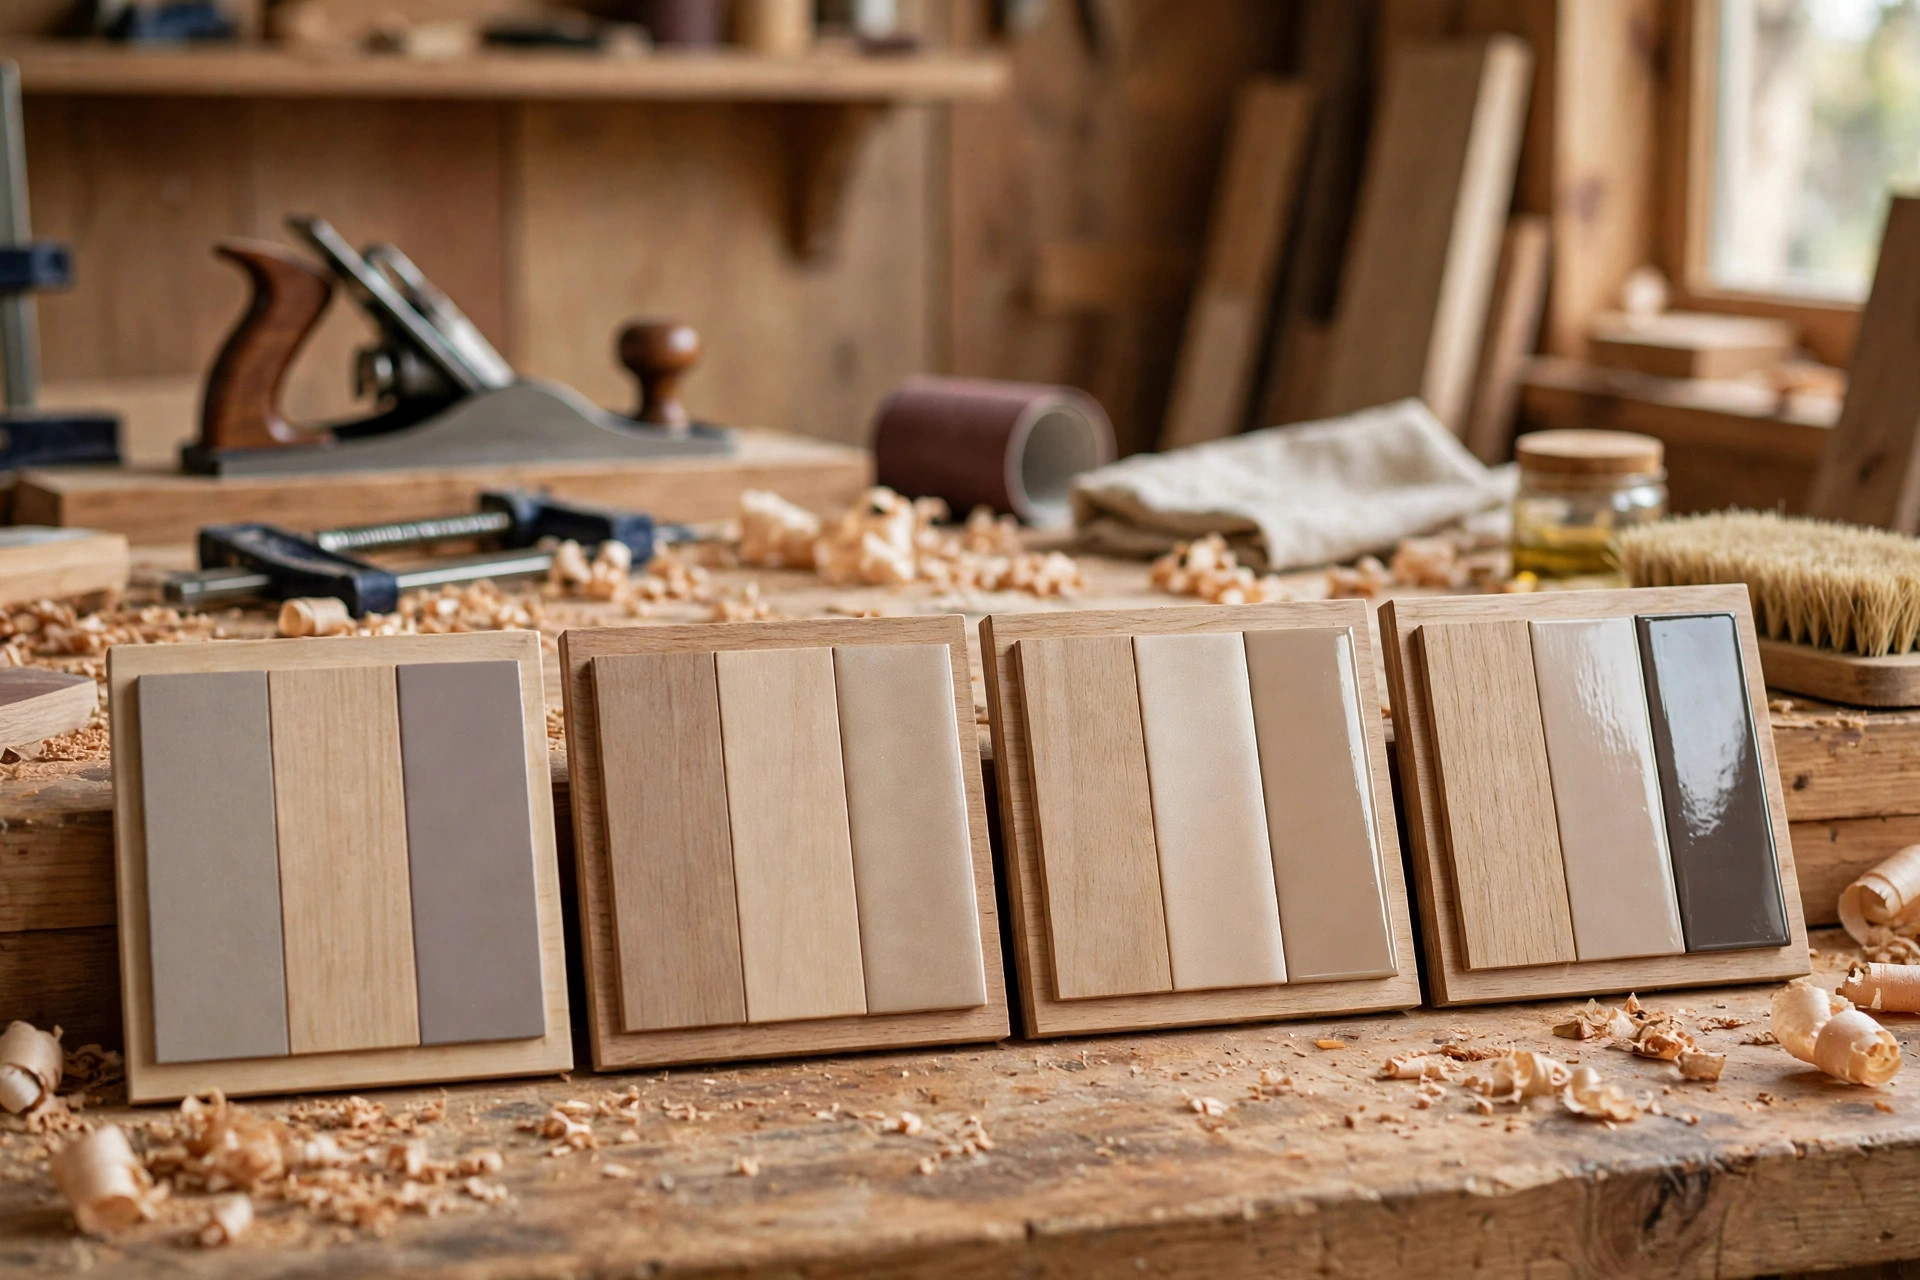
The table below is the heart of this guide. Use it to compare the two finishes on the factors that actually decide whether a finish succeeds or fails on a real piece of furniture.
| Factor | Shellac | Lacquer | Winner for beginners |
|---|---|---|---|
| Drying time | Dry to touch 15–30 min, recoat in ~1 hour | Dust-free 10–20 min, recoat in ~30–60 min | Tie — both are fast |
| Water resistance | Low to moderate; water rings and white marks appear | Good; handles spills and damp rooms far better | Lacquer |
| Alcohol resistance | Poor; alcohol dissolves shellac and leaves white rings | Good; drinks and spirits do not damage it easily | Lacquer |
| Heat resistance | Low; hot mugs and plates can leave rings | Moderate; better than shellac, still use coasters on hot items | Lacquer |
| Scratch resistance | Moderate; softer film, scratches show but repair easily | Good; harder film, resists everyday knocks better | Lacquer |
| Yellowing over time | Warms with age, amber tones deepen | Slight yellowing for nitrocellulose, minimal for acrylic | Lacquer (acrylic) |
| Ease of application | Very easy to brush or pad on; forgiving | Best sprayed; brushing needs speed and practice | Shellac |
| Ease of repair | Easiest of all clear finishes; new coat melts into old | Moderate; repairs blend well if sprayed, harder by brush | Shellac |
| Food safety once cured | Food-safe; traditional choice for toys and bowls | Not recommended as a food-contact finish | Shellac |
| Fumes and safety | Low odour alcohol fumes; ventilate, but mild | Strong solvent fumes; respirator and ventilation essential | Shellac |
| Cost per project | Low to moderate; flakes are economical, cans are affordable | Moderate; spray cans add up on large pieces | Shellac |
| Best sheen | Warm satin to soft gloss, glowing depth | Glassy high gloss to satin, very smooth | Depends on the look you want |
Read that table as a story, not just a scorecard. Lacquer wins on protection, shellac wins on friendliness. Neither finish wins outright, because they are built for different jobs. The beginner mistake is not choosing the weaker finish; it is choosing either finish without asking what the piece will face. A shellac jewellery box that never meets a wet glass will look perfect for decades. A lacquered kitchen table that meets coffee, wine, and homework every day will look good far longer than shellac would. Match the finish to the abuse, and both finishes are excellent.
Applying Shellac: Brush, Pad, and the Beginner’s First Coats
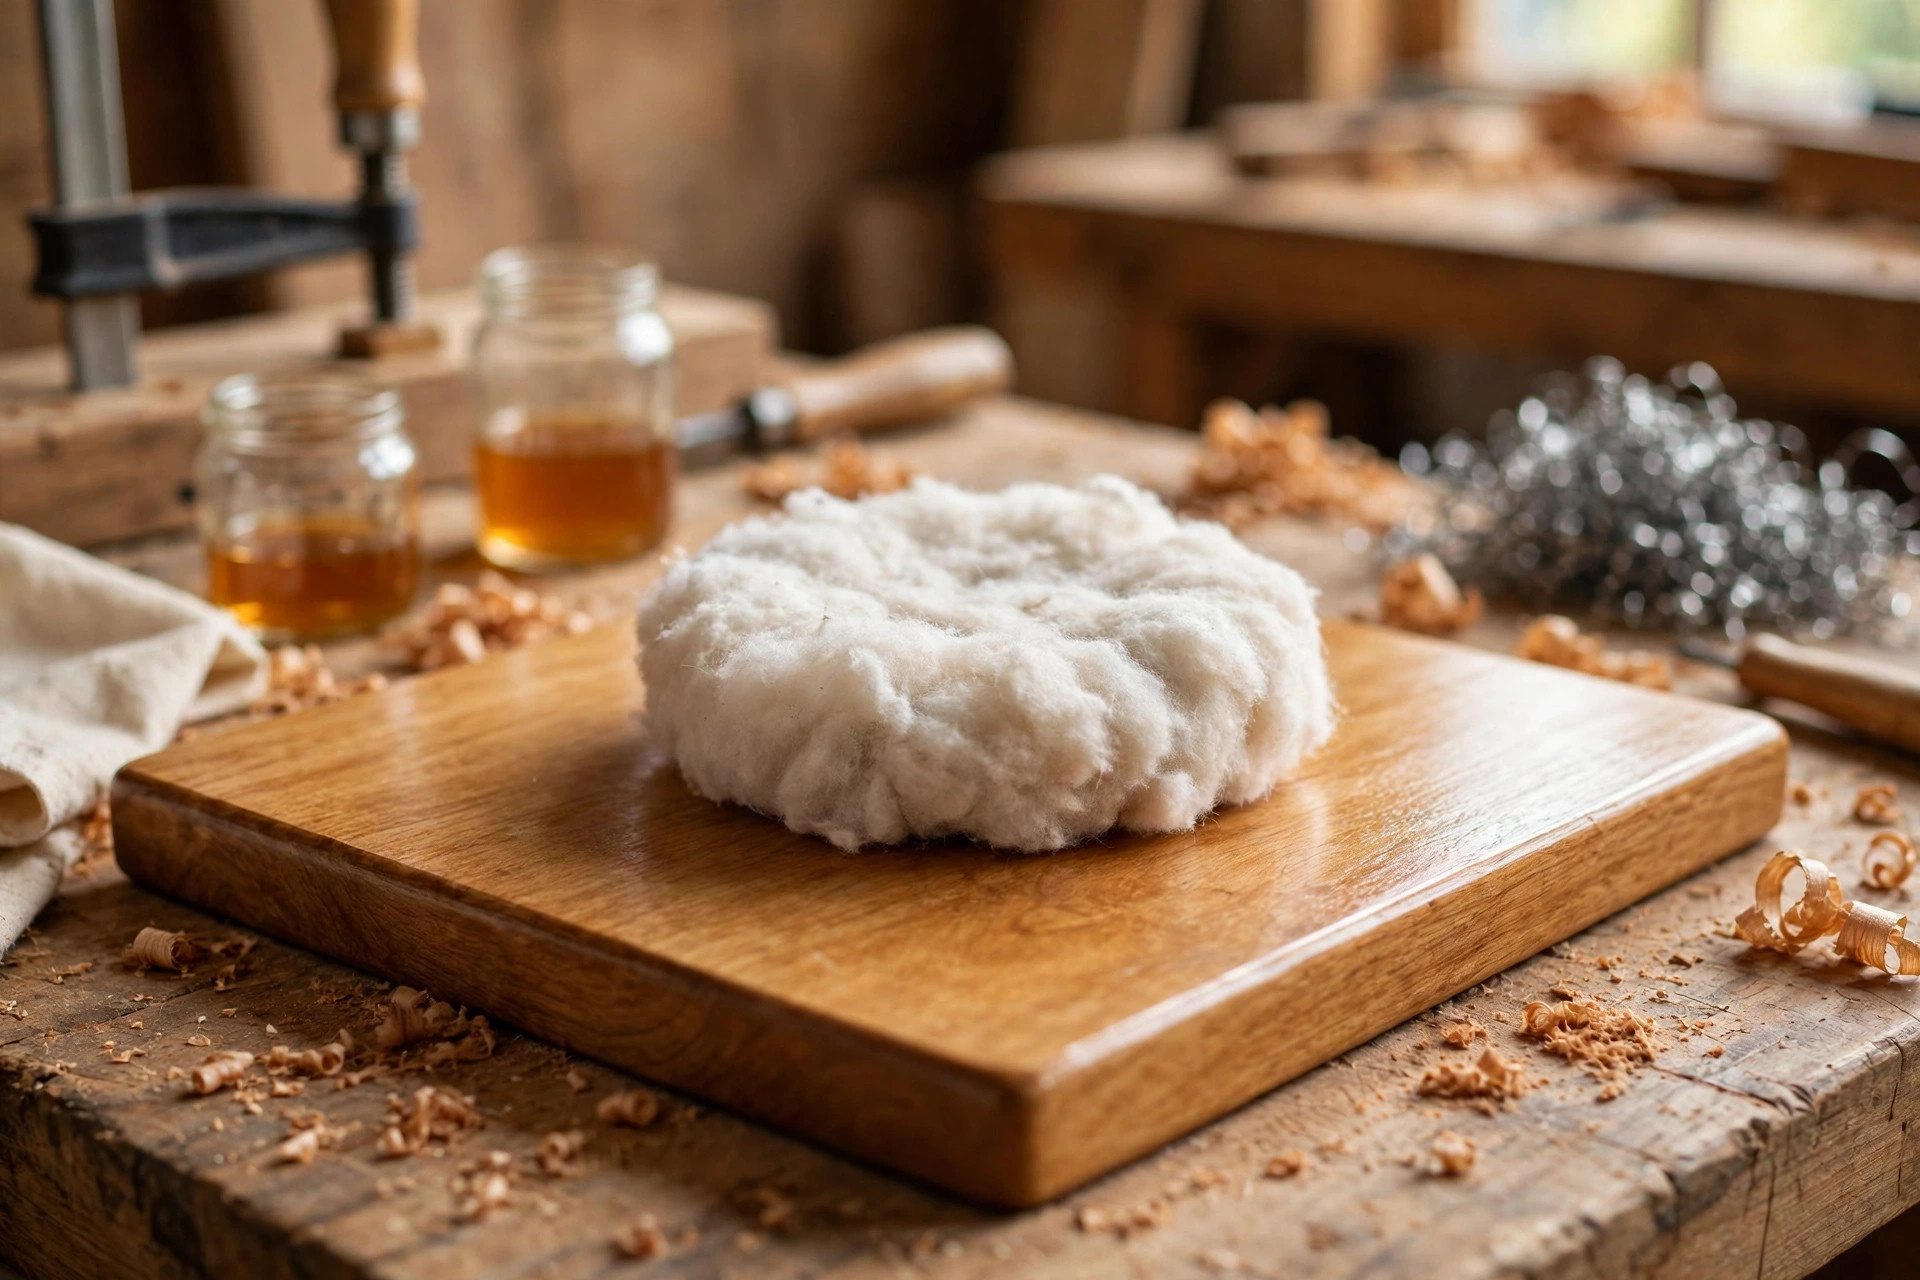
Shellac is the most beginner-friendly clear finish to apply, and there are two methods worth learning: brushing for speed, and padding for beauty. Brushing is the right first method. Use a good natural-bristle brush, load it lightly, and apply thin, even coats with the grain, working quickly and without going back over an area that has started to dry, because shellac grabs fast and rebrushing a tacky area leaves drag marks. One thin coat will look streaky and disappointing; that is normal. Shellac builds its beauty over three to four coats, with a very light sanding between coats using 320-grit paper or 0000 steel wool, just enough to knock down dust nibs, followed by a wipe with a tack cloth. Sand gently: shellac films are thin, and aggressive sanding cuts straight through to bare wood.
Padding, sometimes called French polishing when taken to its highest level, uses a cotton pad (a ball of cotton wadding wrapped in a lint-free cloth) charged with a little shellac and a drop of oil as a lubricant. You rub the pad over the surface in small circles or figure-of-eight motions, building up very thin layers that level into a deep, glowing finish. Full French polishing is an advanced skill, but a simplified padded coat — two or three padded coats over a brushed base — is well within a beginner’s reach and gives small boxes, lids, and frames a lustre that brushing alone rarely achieves. If padding interests you, practise on scrap first, keep the pad moving, and stop before the pad drags, because a dry pad sticks and leaves marks.
A few shellac rules save beginners from the common failures. Never shake a can of shellac, because bubbles in the finish become bubbles on the wood; stir gently instead. Work in a reasonably warm, dry room, because shellac can turn cloudy (blush) in cold, damp conditions, when moisture gets trapped in the film. If blushing happens, it is often fixable by wiping the surface with a cloth barely dampened with alcohol, which re-dissolves the surface and lets it dry clear. And always test your shellac colour on scrap from the same board before you commit, because amber shellac on pale pine looks very different from amber shellac on walnut, and the only way to know is to see it on your wood.
Applying Lacquer: Spraying First, Brushing With Care
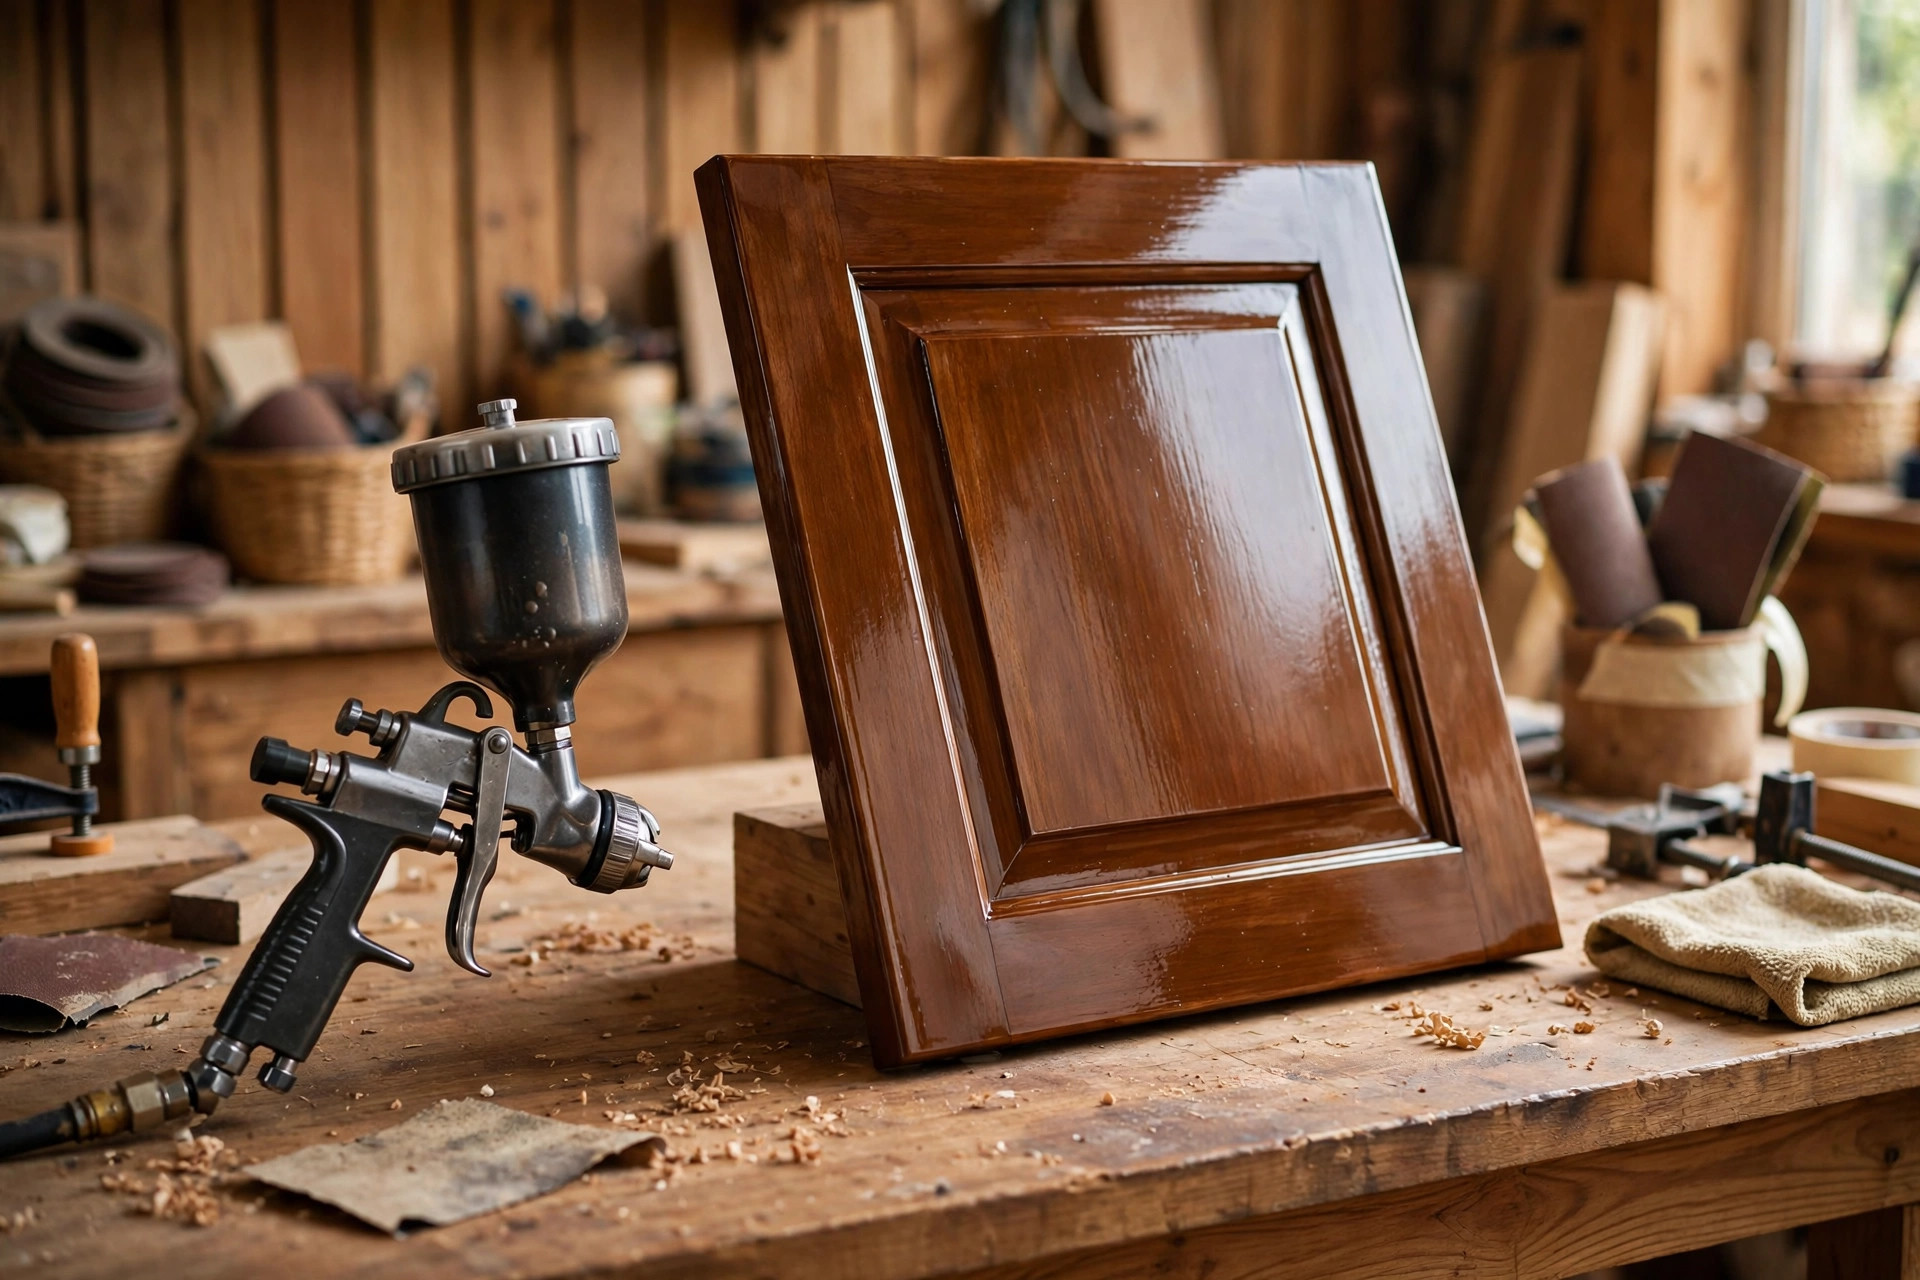
Lacquer rewards spraying, and for a beginner, a spray can is the sensible starting point before investing in a spray gun. Spraying gives the smoothest possible coat with no brush marks, and it is the only practical way to finish chairs, spindles, louvres, and other pieces with lots of curves and corners. The technique matters more than the equipment: hold the can or gun 20 to 30 centimetres from the surface, move in steady, overlapping passes, keep the coats thin, and resist the urge to lay on one heavy wet coat, because heavy coats run, sag, and trap solvent. Three to four thin coats, with a light scuff sand between coats once the film is dry, build a better finish than two thick ones, and each coat should look slightly dry and matte until the final coats build the gloss.
Brushing lacquer is possible but harder, because lacquer dries so quickly that the brush can drag and leave ridges if you work an area twice. If you brush lacquer, use a high-quality brush made for lacquer, load it well, lay the coat down in one smooth pass with the grain, and do not go back to fix it: leave the imperfection for the next coat, which will melt in and level it. Brushing lacquer also needs a product actually labelled as brushing lacquer, which contains retarders that slow drying slightly; ordinary spray lacquer brushed on will dry on the brush and drag badly.
Safety is not optional with lacquer. Work outdoors or in a well-ventilated spray area, wear a respirator rated for organic vapours (a dust mask is not enough), wear eye protection, keep the work away from sparks, flames, and pilot lights, because lacquer solvents are highly flammable, and never spray near a water heater or furnace. Overspray travels further than beginners expect, so mask off anything nearby that you do not want coated, and lay down drop cloths beyond the piece itself. These precautions sound serious because they are: lacquer is a professional finish, and treating it with professional respect is part of learning it well.
Cost Comparison: What Each Finish Really Costs per Project
| Item | Shellac (typical) | Lacquer (typical) |
|---|---|---|
| Starter product | Ready-mixed can, budget to mid-range | Spray cans, mid-range; brushing can similar |
| Coverage per can | Good; thin coats go a long way on small pieces | Lower per can when spraying; overspray uses extra product |
| Brushes and pads | Natural-bristle brush + cotton pads, low cost, reusable | Brush for brushing lacquer, or spray equipment for spraying |
| Sanding between coats | 320-grit paper or 0000 steel wool, low cost | 320-grit paper, low cost |
| Safety gear | Dust mask for sanding; ventilation for alcohol fumes | Organic-vapour respirator essential; eye protection |
| Repair cost | Very low; a small amount of shellac fixes most damage | Low to moderate; spray repair blends best |
| Whole-project feel | Cheapest clear finish to learn and to fix | Moderate; spray cans add up on large furniture |
Treat these bands as approximate, because brands, can sizes, and local prices vary, but the shape is stable: shellac is the cheaper finish to buy, to learn, and to repair, while lacquer costs more mainly in spray product and safety gear. Neither finish is expensive compared with the wood and time in a project, so let the project’s needs, not a small price difference, decide the choice. The most expensive finish is always the one you have to strip off and redo because it was wrong for the job.
The Best-of-Both Trick: Shellac as a Sealer Under Lacquer
One of the most useful techniques in this whole comparison is also the simplest: use dewaxed shellac as a sealer coat, then lacquer over it. A thin coat or two of dewaxed shellac seals the wood, prevents blotchy absorption, blocks some stains and tannins from bleeding through, and gives the lacquer a smooth, sealed base to grip. It is a classic professional sequence, and it is beginner-friendly, because the shellac coat is easy to apply and sand smooth, and the lacquer then goes onto a sealed surface rather than thirsty bare wood. Use dewaxed shellac for this, not regular waxy shellac, because the wax can weaken the bond between the coats, and keep the shellac coats thin: you are sealing, not building the finish. If you are repairing a piece that already has shellac on it and you want lacquer’s protection on top, the same rule applies: a coat of dewaxed shellac over the old finish seals it in, then lacquer goes on top. This combination is also the answer for beginners who love shellac’s warmth but need lacquer’s toughness on a tabletop: warm shellac tones underneath, protective lacquer on top.
A related caution: do not put shellac over lacquer as a topcoat and expect lacquer’s protection, because the topcoat is the coat that faces the world, and a shellac topcoat brings shellac’s weaknesses with it. Order matters. Sealer underneath, protection on top, and if you are unsure about compatibility between two specific products, test the sequence on scrap first. A ten-minute scrap test has saved more finishes than any amount of reading.
Project Pick Guide: Which Finish for Your Next Piece?
| Project | Best pick | Why |
|---|---|---|
| Jewellery box, keepsake box | Shellac | Beauty and repair matter more than toughness; padding gives a glowing finish |
| Picture frame, wall shelf | Shellac | Low abuse, warm look, fast and easy to apply |
| Children’s toy, wooden bowl | Shellac | Food-safe once cured, non-toxic, easy to refresh |
| Cutting board or serving board | Neither alone — use oil instead | Neither film finish suits constant knife and water abuse; see our oil guide on tung oil vs Danish oil for beginners |
| Dining table, kitchen table | Lacquer | Needs water, alcohol, and heat resistance every day |
| Bar top, drinks cabinet | Lacquer | Alcohol resistance is the deciding factor |
| Bathroom shelf, laundry shelf | Lacquer | Damp rooms punish shellac quickly |
| Cabinet doors, bookcase | Lacquer, or shellac sealer + lacquer top | Smooth, hard, wipeable surface that stays looking new |
| Antique restoration, period piece | Shellac | Historically correct, matches old finishes, easy to blend repairs |
| First-ever finishing project | Shellac | Most forgiving to learn; mistakes are cheap and fixable |
If your project is not on this list, ask the abuse question: will it meet water, alcohol, heat, or heavy daily wear? If the honest answer is yes, choose lacquer (or a tougher finish like polyurethane, covered in our guide to how to apply polyurethane for beginners). If the answer is no, and the piece will mostly be looked at, dusted, and handled gently, shellac will give you a more beautiful result for less effort, and you will enjoy finishing it more, which matters more than beginners are usually told.
Common Mistakes, and How to Fix Them
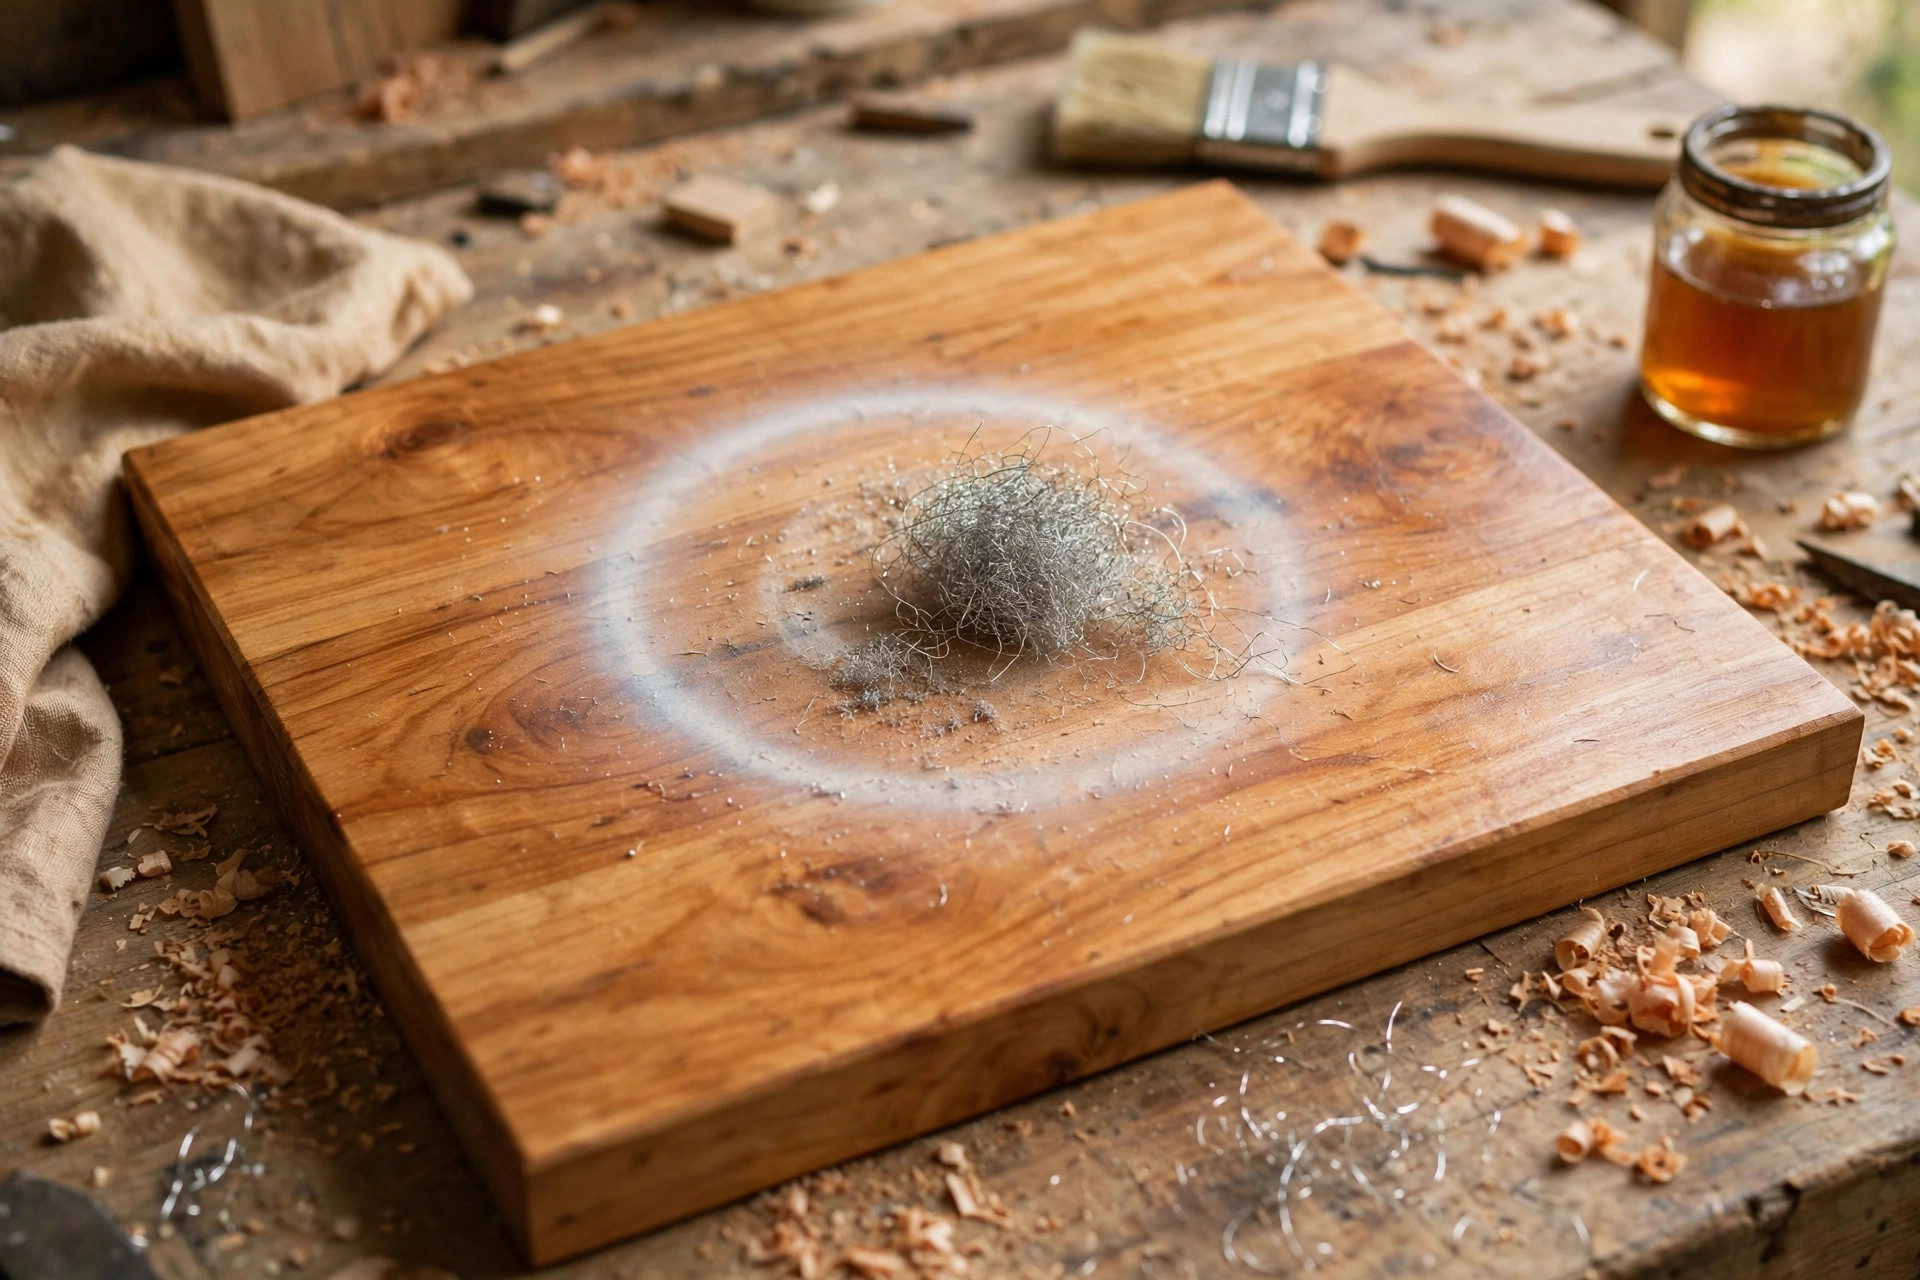
Most shellac and lacquer failures come from a short list of mistakes, and almost all of them are fixable without stripping the piece. The first mistake is putting shellac on a tabletop that will meet drinks. The fix, once the rings appear, is to buff out light rings with a cloth and a little alcohol or lemon oil and steel wool, then recoat; for heavy damage, sand back and refinish with lacquer or polyurethane instead. The second mistake is spraying lacquer in a dusty, poorly ventilated space without a respirator. Dust nibs in lacquer can be sanded out lightly between coats, but the safety mistake is the one to fix first: set up ventilation and a proper respirator before the next coat. The third mistake is brushing lacquer like paint, going back over drying areas until the brush drags. The fix is to leave the coat alone, let it dry, sand lightly, and apply the next coat in a single pass. The fourth mistake is applying either finish over unsanded, glue-smeared wood and expecting the finish to hide it. Clear finishes magnify flaws; the fix is to sand back, remove glue spots with a damp cloth test before finishing (glue spots show as pale patches under a damp wipe), and start again. The fifth mistake is skipping the scrap test, especially for shellac colour and for the shellac-under-lacquer sequence. Scrap is free; a ruined tabletop is not.
Frequently Asked Questions
Can you put lacquer over shellac? Yes, and it is a classic combination. Use dewaxed shellac as the sealer, let it dry fully, sand it lightly, then apply lacquer over it. Do not use waxy shellac under another finish, because the wax can weaken adhesion.
Can you put shellac over lacquer? You can, but it is usually pointless as a protective strategy, because the shellac topcoat brings shellac’s water and alcohol sensitivity with it. Shellac over lacquer makes sense only as a toner or colour coat in restoration work, not as protection.
Is shellac waterproof? No. Shellac resists brief, light moisture, but standing water, wet glasses, and hot drinks will mark it. For wet or hard-use surfaces, choose lacquer or polyurethane instead, or use coasters and mats religiously.
Is lacquer food-safe? Lacquer is not recommended as a food-contact finish. For cutting boards, bowls, and utensils, use a food-safe oil finish instead, and see our comparison of tung oil vs Danish oil for beginners for the food-safe options.
Which is easier for a complete beginner? Shellac, clearly. It brushes and pads on forgivingly, dries fast, smells mild, and repairs by simply adding another coat. Learn shellac first, then add lacquer when a project needs its toughness.
Does shellac yellow over time? Amber and orange shellac deepen and warm with age, which most woodworkers consider a feature on dark woods and a flaw on very pale woods. For pale woods, use blond or super-blond shellac, or an acrylic lacquer that stays clear.
How many coats do I need? For shellac, three to four thin coats for most pieces, more for a padded French-polish look. For lacquer, three to four thin sprayed coats for most furniture, with light sanding between coats. In both cases, thin coats beat thick ones, every time.
The Bottom Line
Shellac and lacquer are not rivals fighting for one crown; they are two tools for two kinds of job. Shellac is the warm, natural, forgiving finish that makes small, loved pieces glow, and it is the best first finish a beginner can learn. Lacquer is the tough, glossy, professional finish that lets a hard-working table survive real life, and it is worth learning as soon as a project demands it. Start with shellac on a box, a frame, or a shelf, learn how a thin coat behaves and how easily a mistake melts away, and when your next project is a table that will meet coffee and conversation every day, reach for lacquer with confidence, proper ventilation, and a scrap board to practise on first. Whichever you choose, you are finishing the way woodworkers have finished for generations: thin coats, patience between them, and a finish matched to the life the piece will actually live.
If this is your first finish, pair this guide with our pillar guide to easy woodworking projects for beginners that sell for a project worth finishing well, and with our guide to how to fix blotchy wood stain for beginners if colour goes on before the clear coat. A good project, a well-chosen finish, and thin coats are all a beginner needs to make a first piece look like a tenth.


