
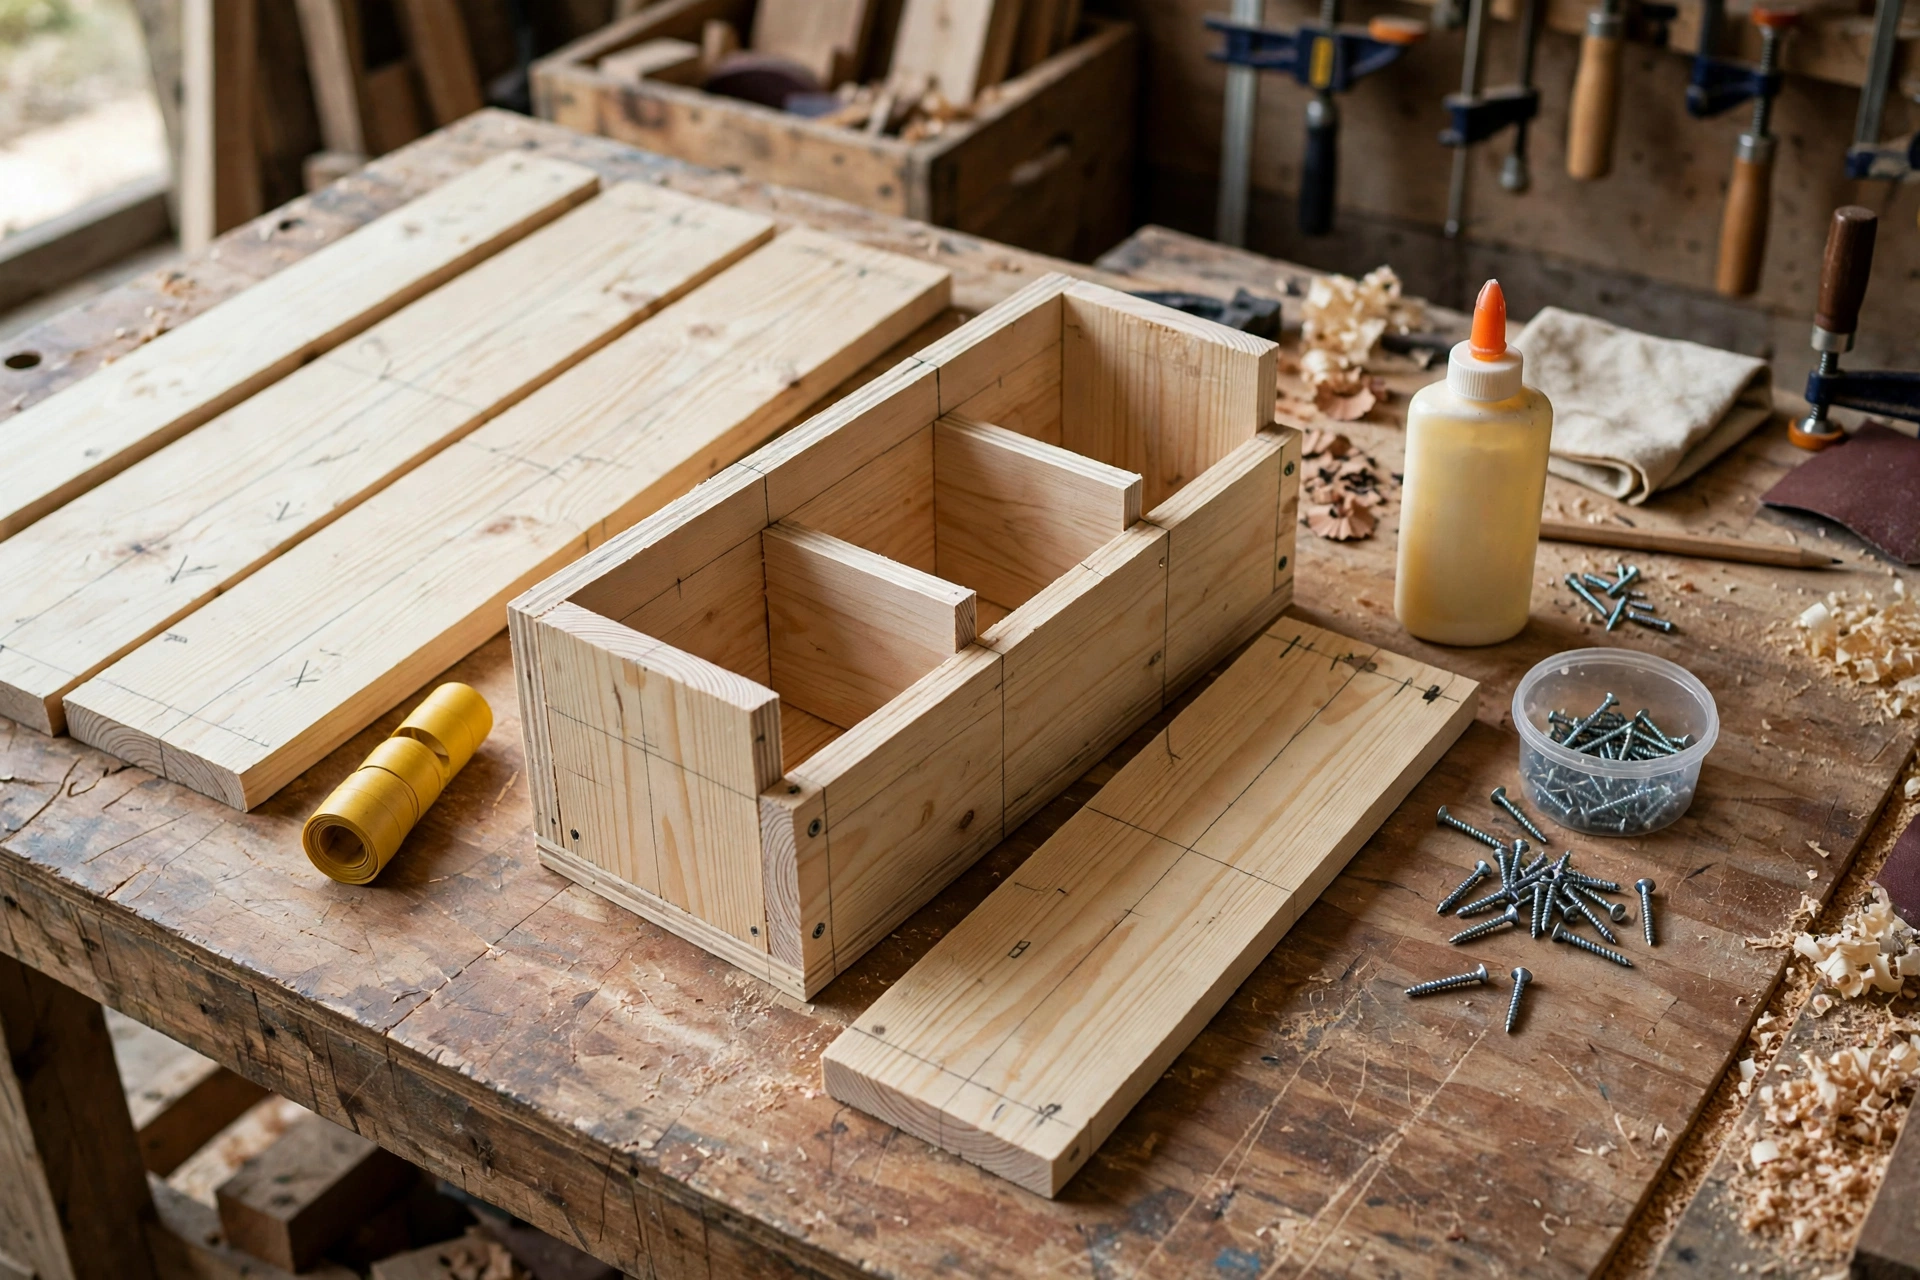
Magazines have a habit of taking over a living room. They pile up on the coffee table, slide off the sofa arm, and end up in a stack nobody wants to tidy. A wall-mounted wooden magazine holder solves that problem in one afternoon, and it is one of the friendliest first projects a beginner can take on. In this guide, you will learn exactly how to build a wooden magazine holder for beginners: a simple, slatted, wall-mounted holder made from a single pine 1×6 board, with an exact cut list, clear steps, safe mounting advice, and a finish that looks good in almost any room.
This is not a complicated piece of furniture. There are no drawers, no mitred corners, and no advanced joints. The holder is really a shallow open pocket on the wall: two upright sides, a back board, a bottom ledge, and three front slats that keep your magazines standing upright while leaving their covers visible. Because the whole thing hangs on the wall, it takes up no floor space at all, which makes it perfect for small living rooms, reading corners, home offices, and bedrooms.
If you have never built anything from wood before, this is a great place to start. You will practise the four skills every beginner woodworker needs — measuring and marking, making straight cuts, drilling and screwing, and sanding and finishing — and you will finish with something useful you can use the same day. If you have already tried a small project or two, this holder is still worth your time: it is quick, cheap, and a satisfying way to use up a single board. Readers who enjoyed our guide on how to build a simple bookshelf for beginners will recognise the same straightforward approach here, just on a smaller, wall-mounted scale.
Why This Design Works for Beginners
Before you cut anything, it helps to understand why this particular design was chosen. Many magazine holders online are either too fiddly for a first project — thin bent plywood, hidden slots, or angled pockets that need a table saw — or they are really something else, like a freestanding log basket or a fabric rack. This design avoids all of that.
First, it uses one standard board size: a pine 1×6, which is actually about 3/4 inch thick and 5-1/2 inches wide. You can buy it at almost any timber yard or home store, and one 8-foot board is enough for the whole holder, with a little left over for test cuts. Second, every cut is a straight crosscut at 90 degrees. There are no angles to calculate and no bevels to set. Third, the joints are simple butt joints held with wood glue and screws, with pocket holes used where they make assembly easier and keep screw heads out of sight. If you are unsure which glue to buy, our guide to the best wood glue for beginners explains the options in plain language and will help you pick the right bottle for this project.
Finally, the slatted front is forgiving. The slats are spaced evenly, but a millimetre or two of difference will not be noticeable once magazines are in place. That forgiveness matters on a first project. You want a result you are proud of, not a project that punishes every tiny mistake.
What You Will Need
Materials
- 1 × pine 1×6 board, 8 feet long (about 19 mm × 140 mm)
- Wood glue (PVA wood glue is fine)
- 1-1/4 inch pocket-hole screws (about 12) or 1-1/2 inch wood screws
- 2 × wall-mounting screws with wall plugs suitable for your wall type (see the mounting section)
- 2 × small keyhole hangers or a French cleat offcut (optional, see mounting options)
- Sandpaper: 80-grit, 120-grit, and 220-grit
- Wood finish: Danish oil, tung oil, or a clear water-based polyurethane
- A soft cloth and a clean brush for finishing
- Wood filler that matches pine (optional, for hiding screw holes)
Tools
- Tape measure and pencil
- Speed square or combination square
- Hand saw, circular saw, or mitre saw (any one will do)
- Drill/driver and drill bits
- Pocket-hole jig (helpful but optional — you can screw through the back instead)
- Clamps (at least two)
- Sanding block or random-orbit sander
- Spirit level
- Stud finder (helpful for wall mounting)
- Safety glasses and hearing protection
You do not need a workshop full of tools for this project. A saw, a drill, a square, and some sandpaper will get you there. If you are still building up your tool collection, a project like this is a good test of what you actually use before you spend more. It also pairs nicely with other small desk and living-room builds, such as the project in how to build a wooden desk organizer for beginners, which uses many of the same tools and the same pine board.
The Cut List: One Board, Seven Pieces
Here is the exact cut list. Measure twice and cut once, and label each piece with a pencil as you cut it so you do not mix up pieces that look similar.
| Piece | Quantity | Cut size | Notes |
|---|---|---|---|
| Back board | 1 | 24 in long × 5-1/2 in wide | Full width of the 1×6; this is the wall board |
| Side uprights | 2 | 14 in long × 5-1/2 in wide | Left and right sides of the pocket |
| Bottom ledge | 1 | 13 in long × 2-1/2 in wide | Rip a strip from the 1×6, or use the leftover width |
| Front slats | 3 | 13 in long × 2 in wide | Evenly spaced across the front |
| Top rail (optional) | 1 | 13 in long × 1-1/2 in wide | A neat top trim above the slats |
Total finished size: about 24 inches tall, 14 inches wide, and roughly 2-1/2 inches deep. That is big enough for standard magazines with room to spare, but shallow enough to sit neatly against the wall. If you want a wider holder for large-format magazines or catalogues, simply add 4 inches to the back board, slats, and ledge lengths and keep the height the same.
A note on board sizes: a board sold as a 1×6 is not actually 1 inch by 6 inches after it has been planed smooth. It measures about 3/4 inch thick and 5-1/2 inches wide. That is normal, and this cut list already accounts for it. Do not try to buy a true 1-inch board; the standard 1×6 is exactly what you want.
Step 1: Measure, Mark, and Cut
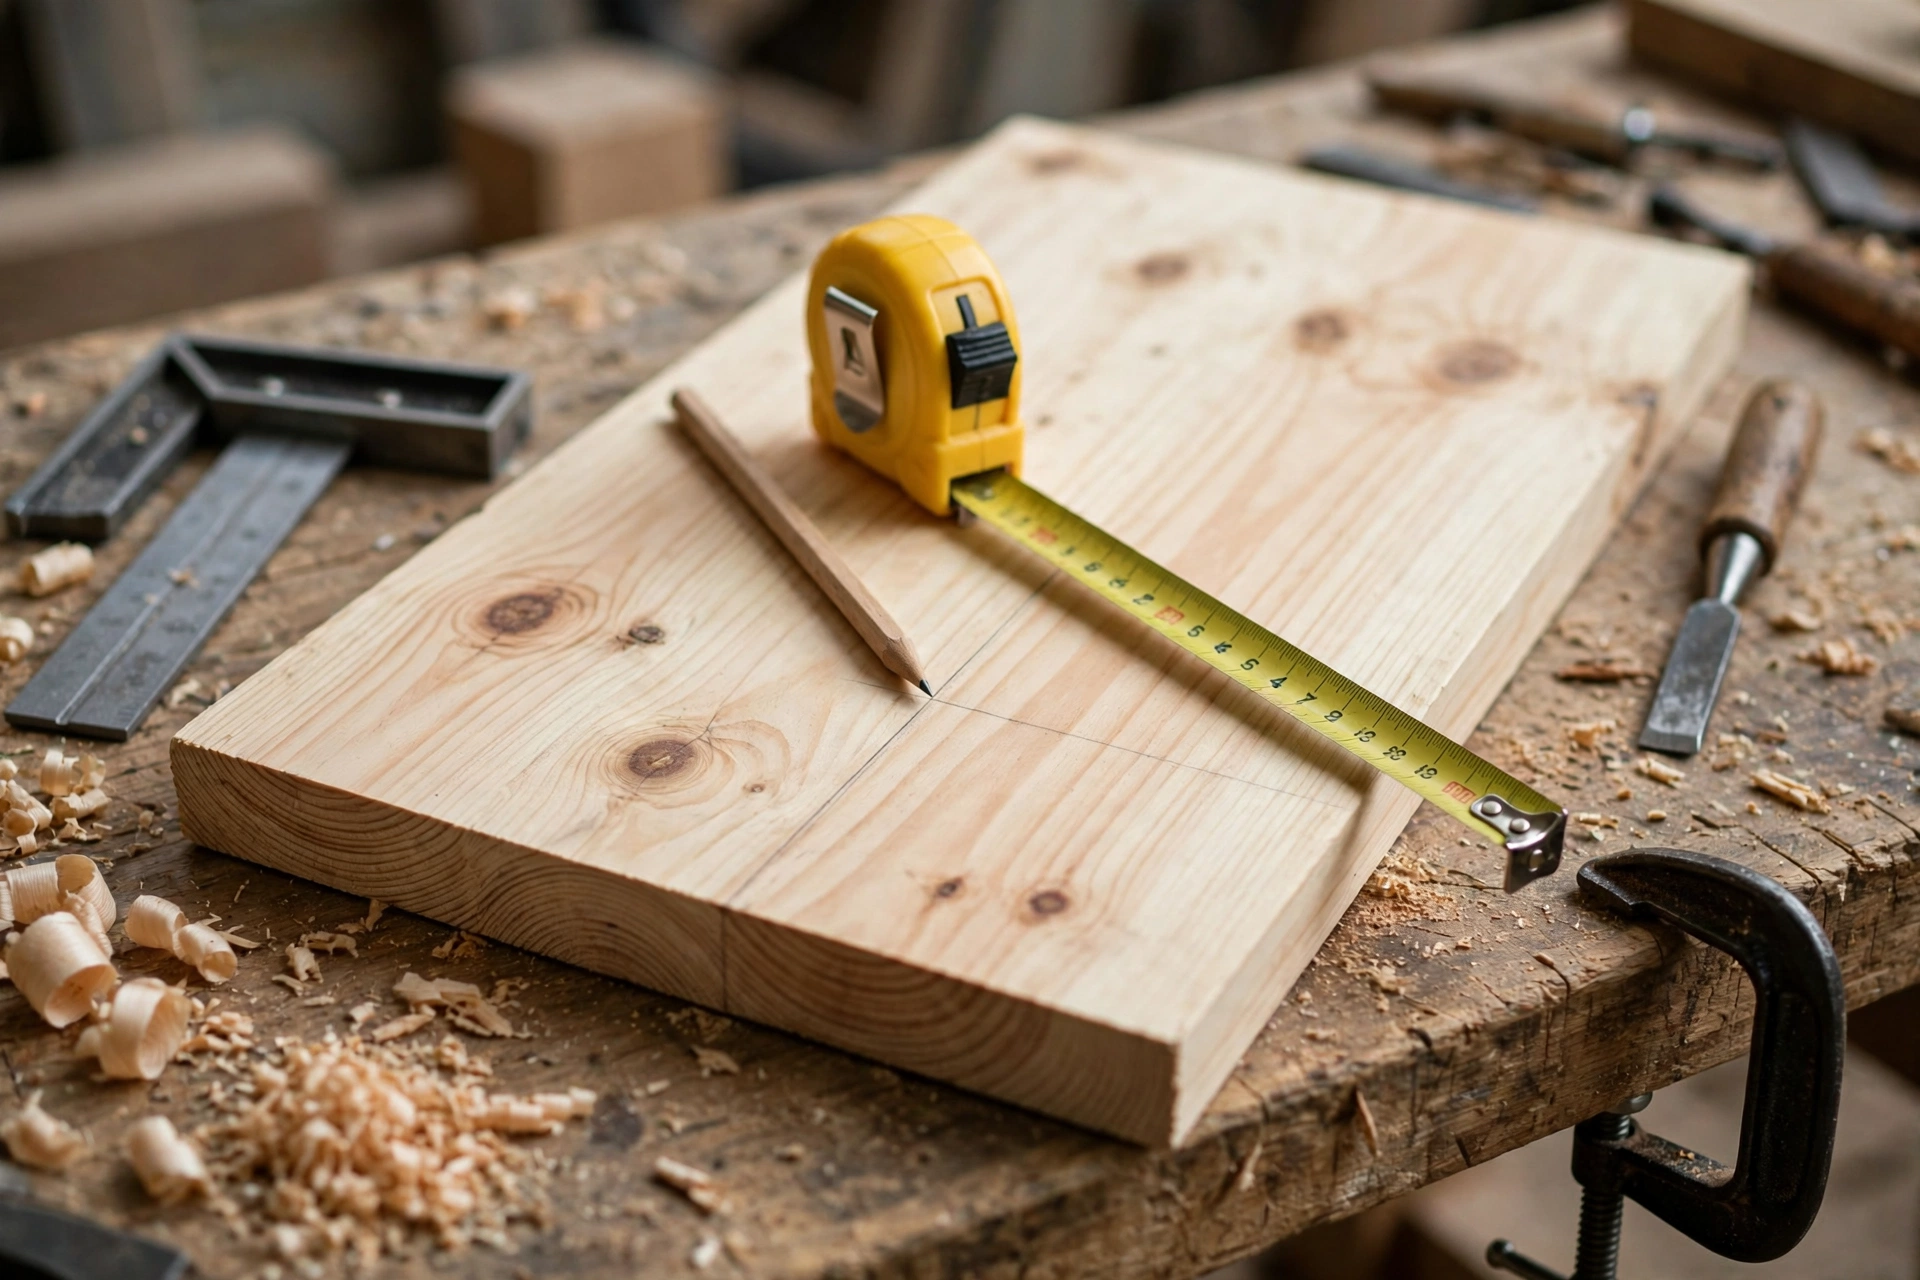
Start by marking your cuts on the 8-foot board. Use your tape measure and a sharp pencil, and draw each cut line across the board with a speed square so the line is square to the edge. A square line is the secret to a square holder: if your lines are crooked, your cuts will be crooked too.
Cut the back board first at 24 inches, then the two side uprights at 14 inches each. That uses 52 inches of your 96-inch board, leaving 44 inches for the slats, ledge, and top rail. Cut the three slats at 13 inches each. For the bottom ledge and top rail, you need narrower strips. Rip a 2-1/2-inch strip and a 1-1/2-inch strip from the remaining board lengthwise, or, if you do not have a way to rip boards, ask the timber yard to rip them for you — most will do a couple of straight rips for free or for a small fee.
After cutting, lightly sand the cut ends with 80-grit paper to remove splinters and saw marks. Do not sand the faces heavily yet; you will do the fine sanding after assembly, when you can smooth the whole holder at once.
Step 2: Drill Pocket Holes (or Plan Your Screws)
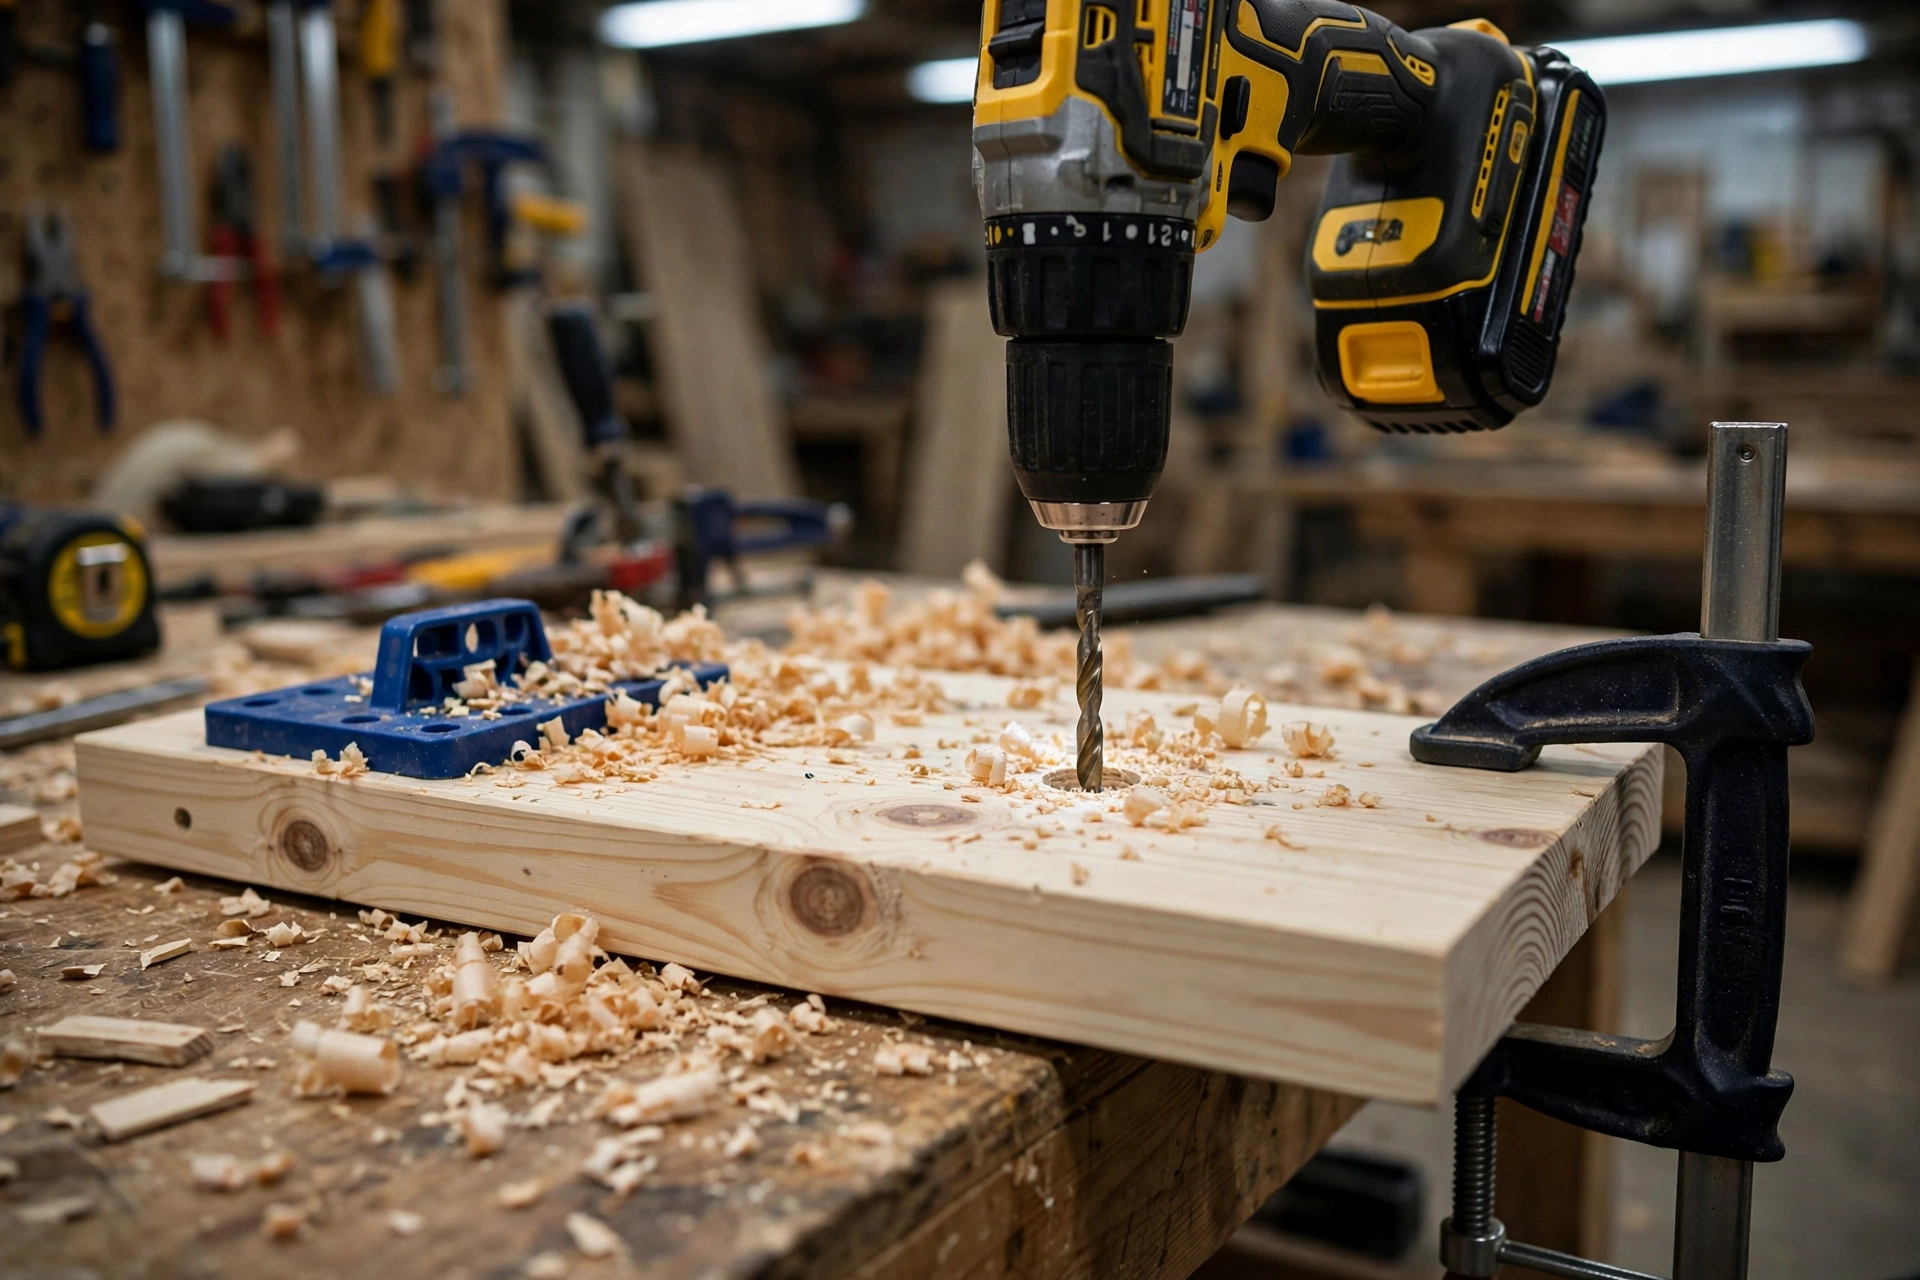
Pocket holes make this build much tidier. Set your pocket-hole jig for 3/4-inch material and drill two pocket holes on the inside face of each side upright, near the top and bottom where it will meet the back board, and two more where it meets the bottom ledge. Drill two pocket holes on each end of the bottom ledge as well, on the underside, so the screws pull the ledge tight into the sides.
If you do not have a pocket-hole jig, do not worry and do not buy one just for this project. You can simply drill pilot holes through the back board into the ends of the sides and ledge, and drive screws from the back. The screw heads will be hidden against the wall, so nobody will see them. The important thing is to drill pilot holes first: pine splits easily near the end of a board if you drive a screw in without one.
Whichever method you choose, dry-fit the pieces before you reach for the glue. Hold the back board flat, stand the two sides against it, and check that everything lines up. Dry-fitting takes two minutes and saves you from gluing something in the wrong place.
Step 3: Assemble the Holder
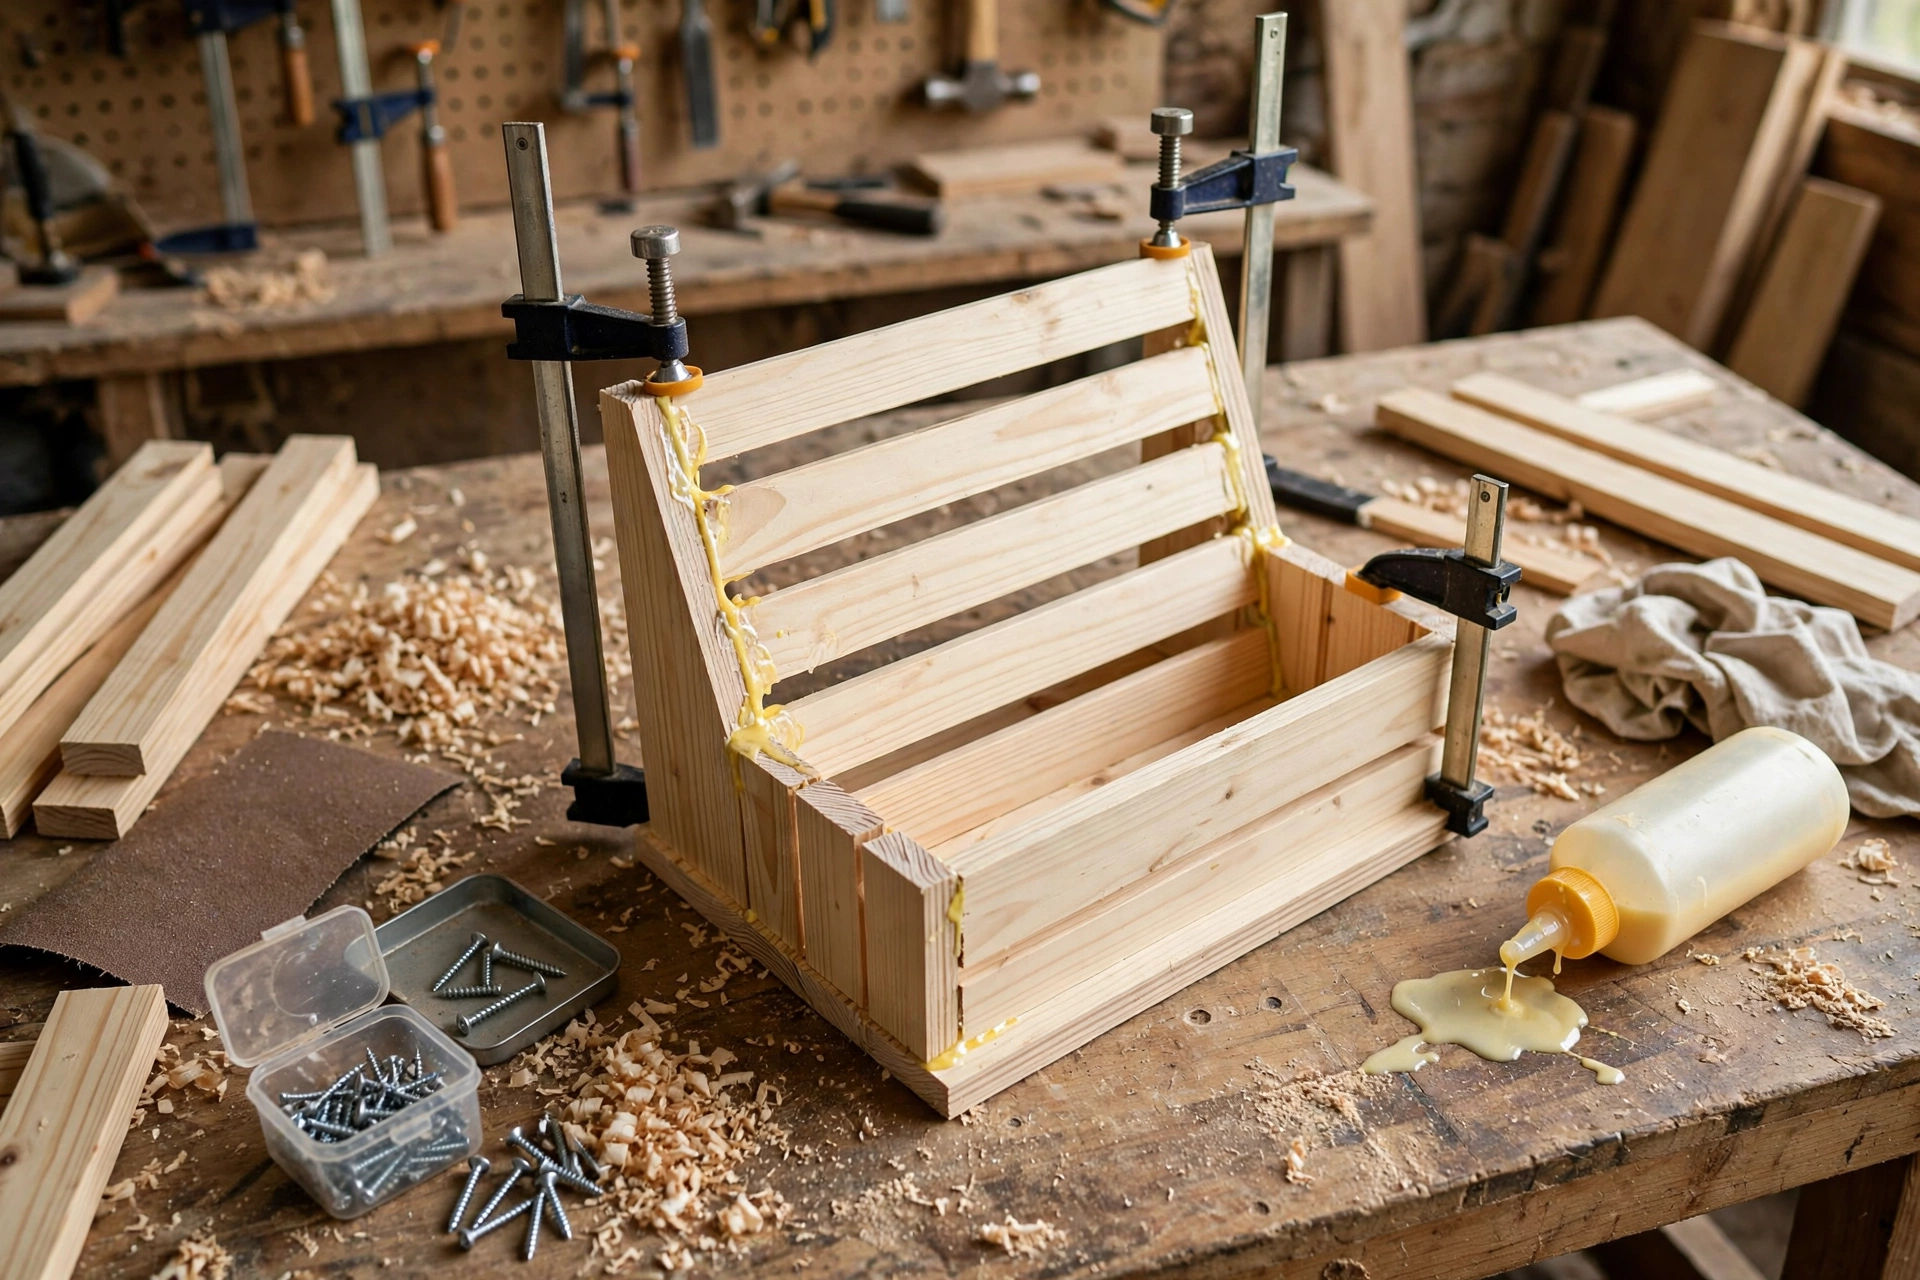
- Attach the sides to the back board. Run a thin bead of wood glue along the back edge of each side upright, press it against the back board, and drive the pocket screws (or back screws) home. Check with your square that each side is at 90 degrees to the back board.
- Fit the bottom ledge. Glue and screw the ledge between the two sides, flush with their bottom ends. This ledge is what your magazines will stand on, so make sure it is level and firmly fixed.
- Add the front slats. The three slats run horizontally across the front, bridging the two sides. Space them evenly: the bottom slat sits about 3 inches above the ledge, the middle slat about 4 inches above that, and the top slat about 4 inches above the middle. Glue and screw each slat into the sides from the inside, or use small screws through the front and fill the holes later if you prefer that look. Use a spare offcut as a spacer block between slats so the gaps stay even.
- Add the top rail (optional). If you cut a top rail, glue and screw it across the top of the sides as a finishing trim. It gives the holder a tidy, finished top edge.
- Let the glue cure. Leave the holder clamped or simply undisturbed for at least an hour, or overnight if you can. Do not sand or finish it while the glue is still soft.
Take your time with the slats. They are the most visible part of the holder, so even spacing matters more here than anywhere else. Step back and look at the holder from a few feet away before the glue sets — that is when a crooked slat is easiest to fix.
Step 4: Sand It Smooth
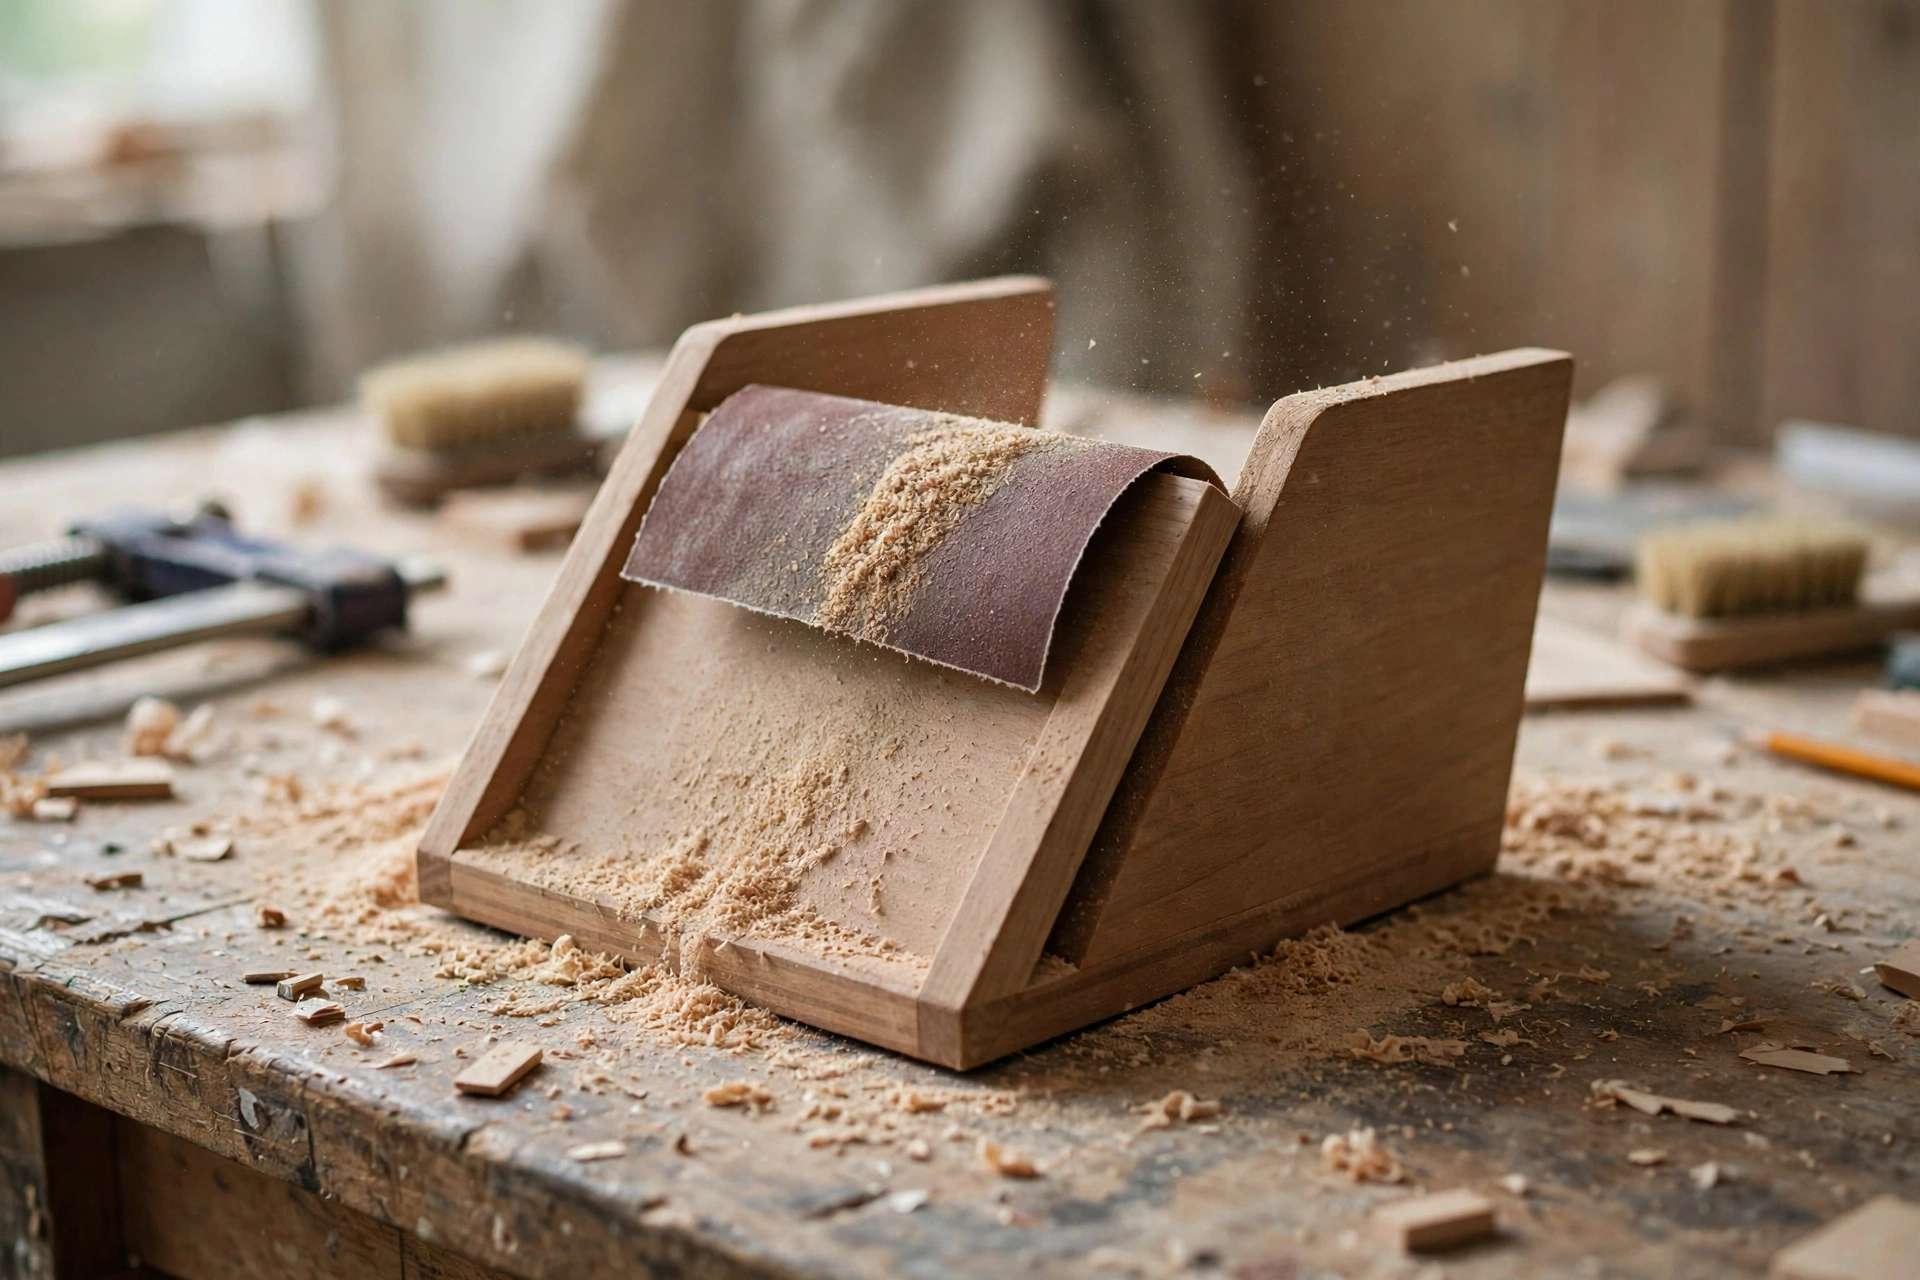
Good sanding is what separates a homemade-looking project from a handmade-looking one, and it costs nothing but patience. Start with 120-grit paper on all faces, edges, and slat edges, sanding with the grain — never across it, or you will leave scratches that show through the finish. Then move to 220-grit for a final smooth pass.
Round over the sharp edges slightly as you sand. A holder you will reach into every day should not have knife-sharp corners. Pay special attention to the top edges of the slats, where your fingers will catch when you pull a magazine out, and to the inside of the pocket, where rough wood can snag magazine covers.
After sanding, wipe the whole holder with a slightly damp cloth or a tack cloth to remove dust. Let it dry completely before finishing. If you can feel any rough spots after wiping, give those areas one more light pass with 220-grit paper.
Step 5: Apply the Finish
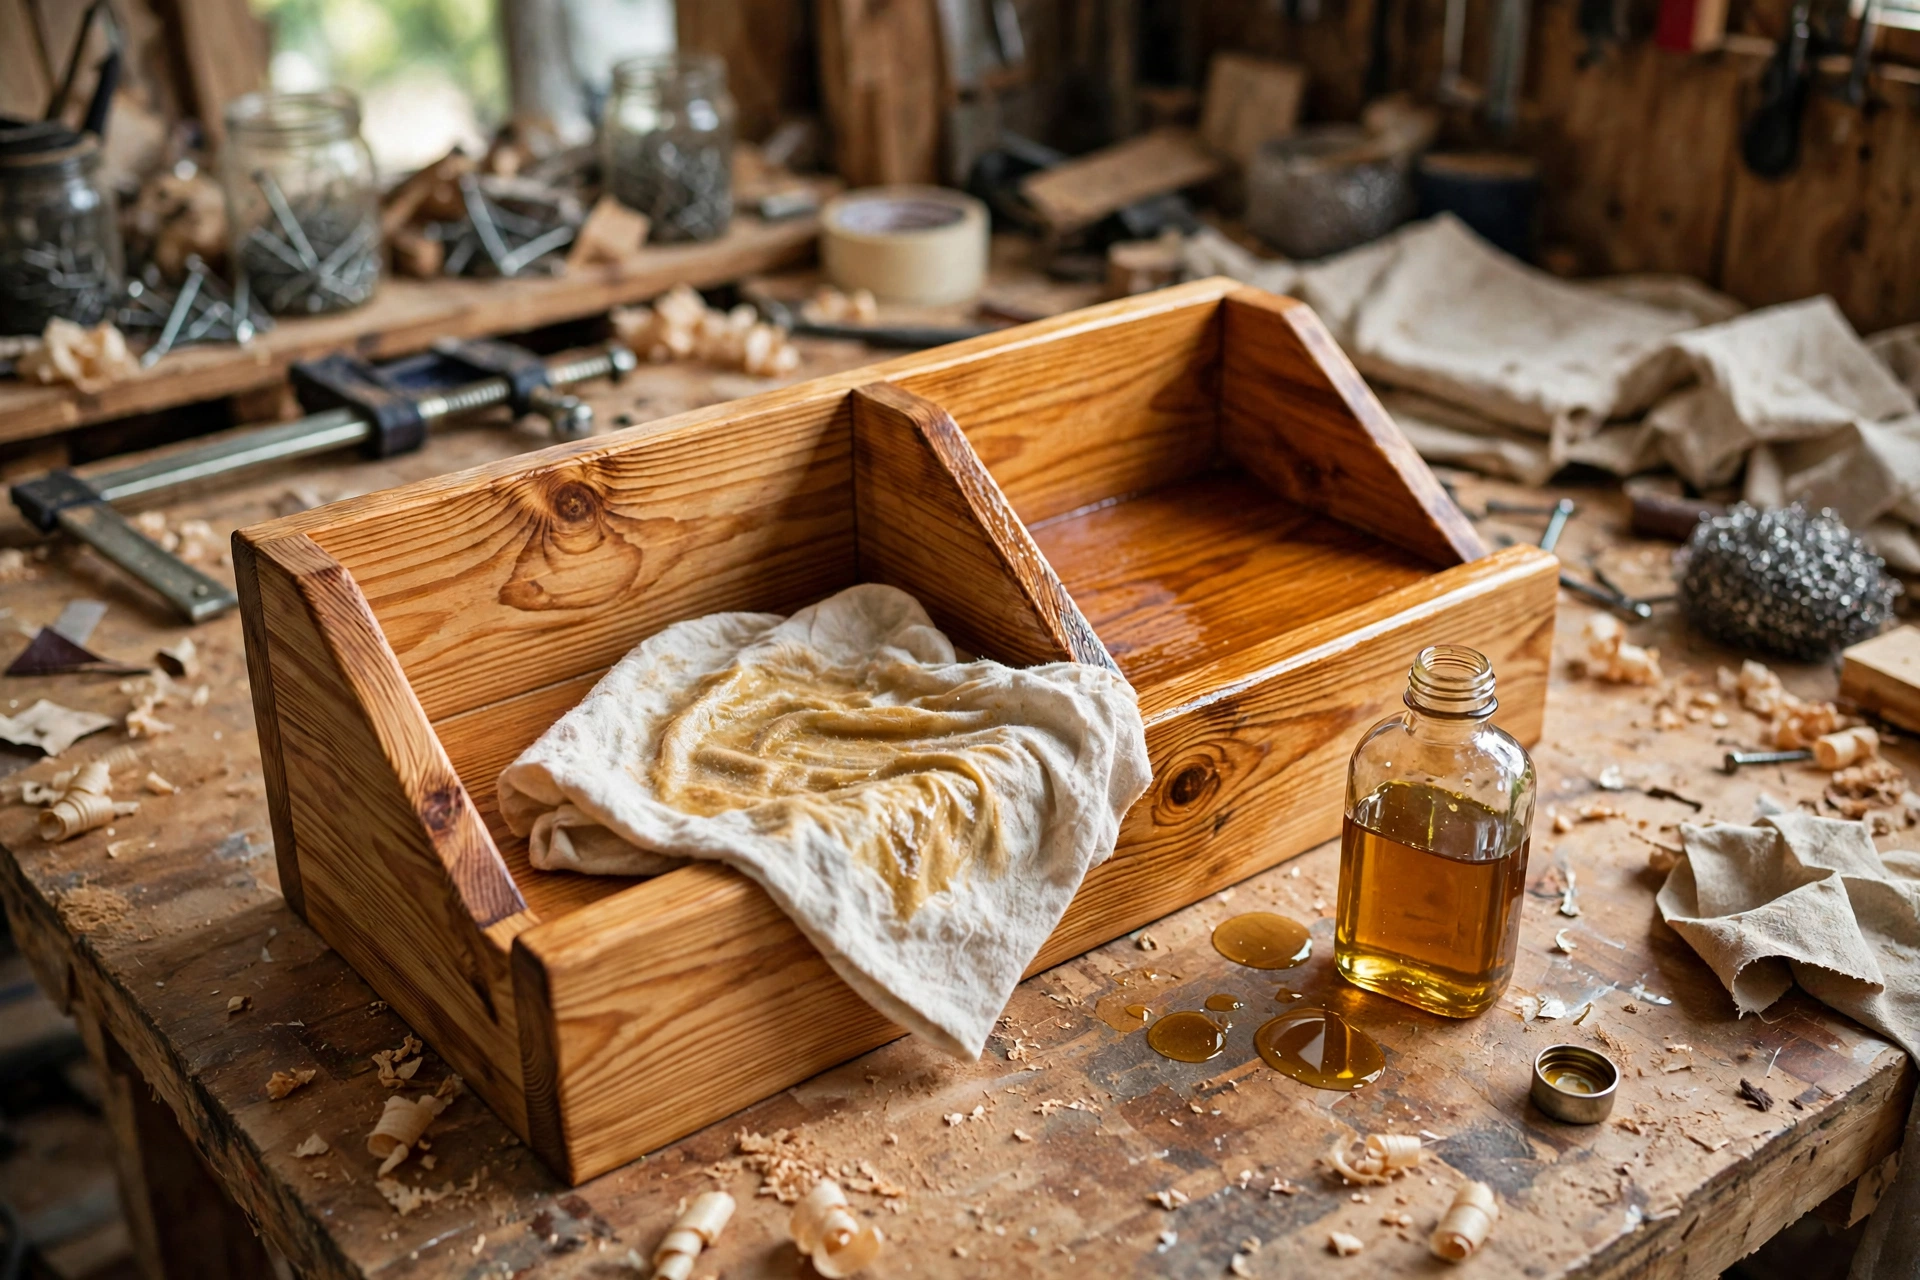
A finish protects the pine and brings out its warm grain. For a beginner, Danish oil or tung oil is the easiest choice: wipe it on with a cloth, let it soak in for 15 minutes, wipe off the excess, and repeat for two or three coats, letting each coat dry as the tin directs. Oil finishes are forgiving, easy to repair, and give a natural, matt look that suits pine beautifully.
If you want more protection — for example, if the holder will hang near a kitchen or a sunny window — a clear water-based polyurethane is a good alternative. Brush on two or three thin coats, sanding very lightly with 220-grit between coats and wiping off the dust. Thin coats dry faster and look better than one thick coat, which can drip and pool in the slat gaps.
Do not finish the back of the back board if you plan to glue a French cleat to it; leave that area bare so the glue bonds well. Otherwise, finish all surfaces, including the inside of the pocket, so the wood is protected evenly and does not warp over time.
Step 6: Mount It Safely on the Wall
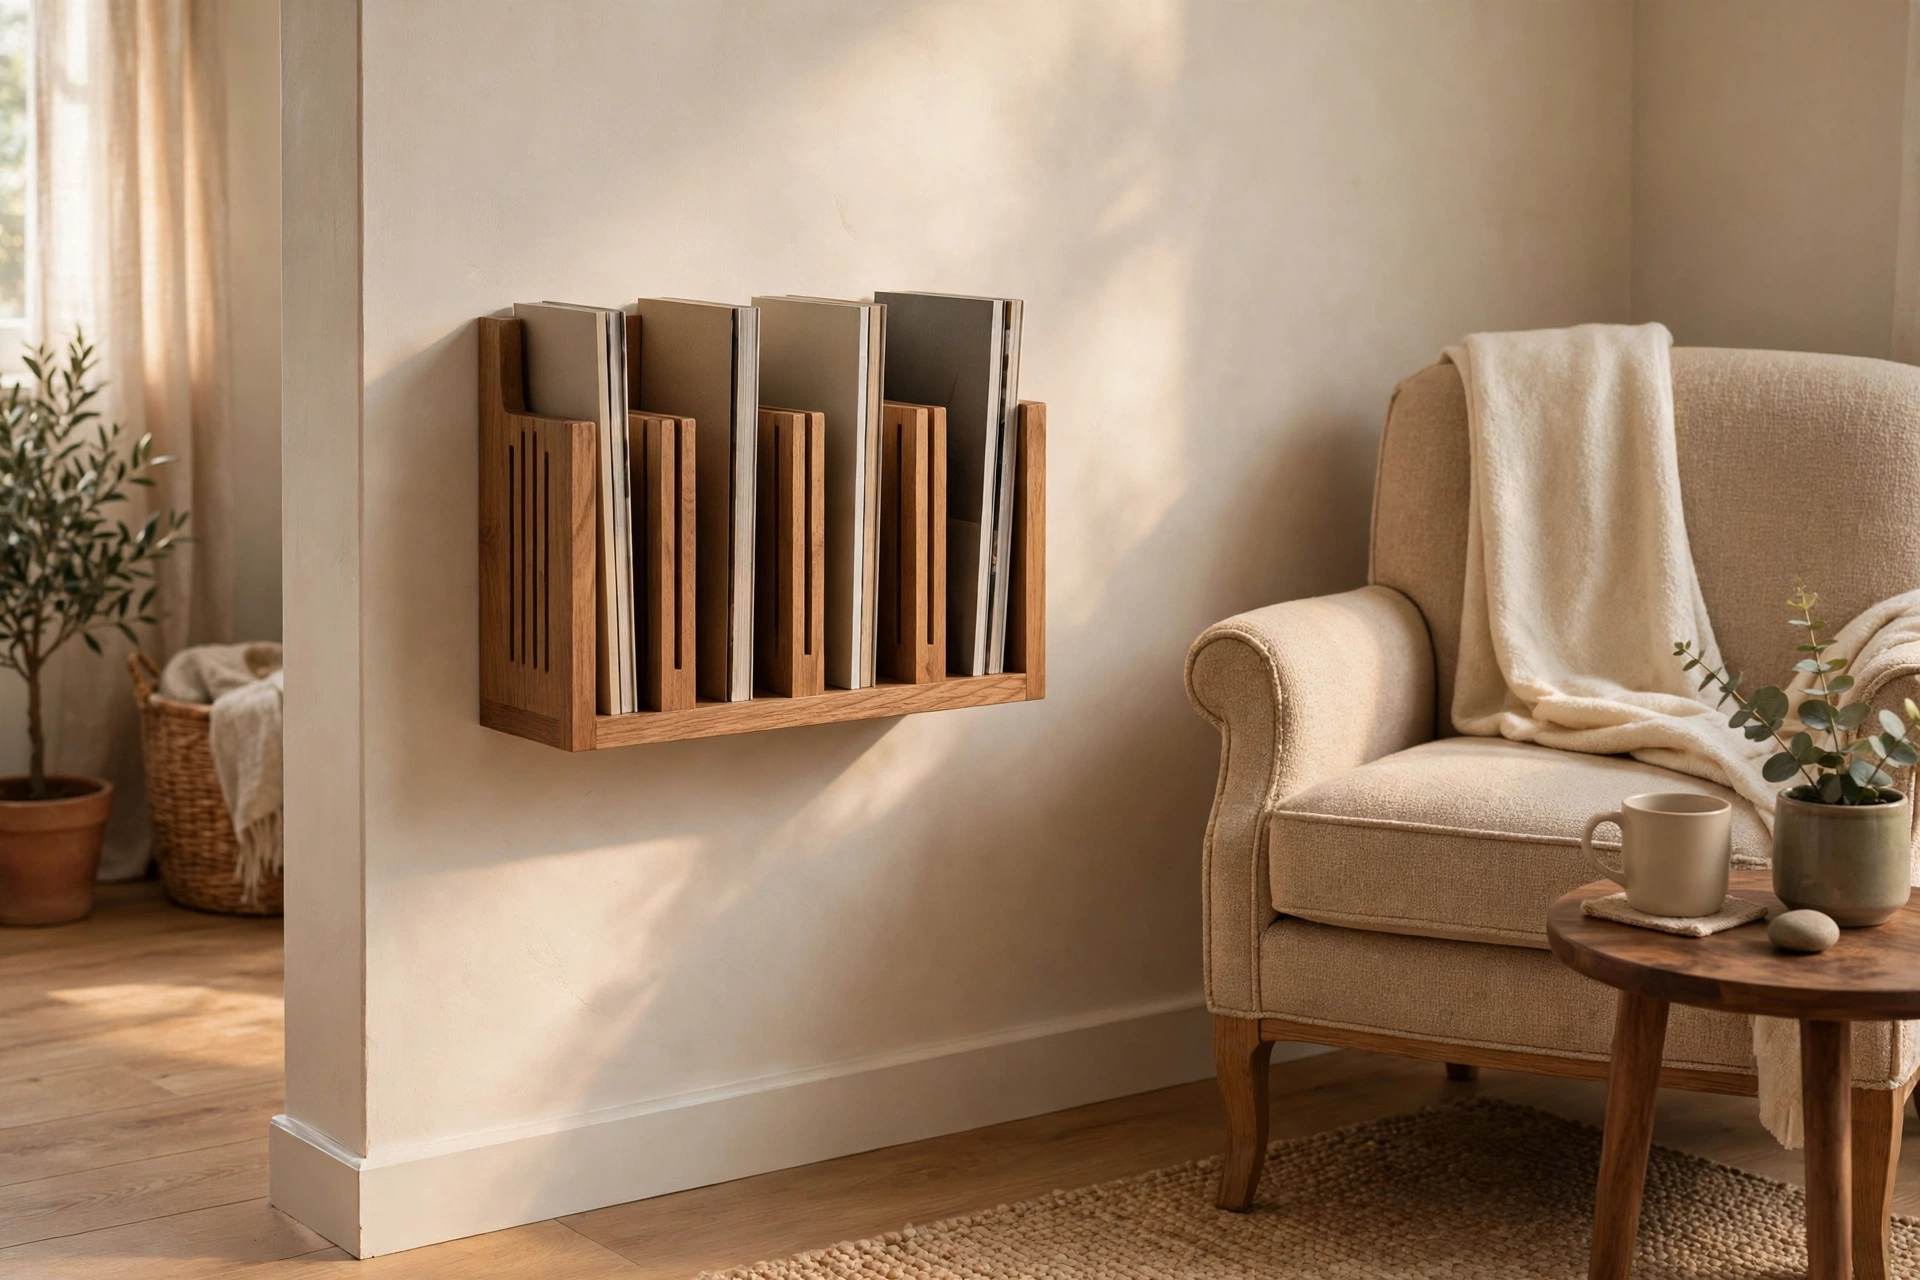
Mounting is the step beginners worry about most, and it is also the step where a little care pays off the most. A loaded magazine holder is heavier than it looks — ten magazines can weigh 3 to 5 kg — so it must be fixed properly, not just hung on a picture hook.
Find the studs if you can. The strongest mount is two screws driven into wall studs. Use a stud finder to locate them, and if the studs line up with your holder (they are usually 16 inches apart), drive 2-1/2-inch screws through the back board into the studs. For this holder, 16-inch stud spacing will not match the 14-inch width, so you will usually fix one side into a stud and the other with a wall plug — and that is perfectly strong enough.
If there is no stud, use the right plug. For plasterboard, use toggle bolts or heavy-duty plasterboard anchors rated for at least 10 kg each. For brick or concrete, use wall plugs and screws made for masonry. For plaster and lath, a toggle bolt is usually the safest choice. Never rely on a plain nail or a small picture hook for a loaded holder.
Mounting options. The simplest method is to drill two holes through the back board, hold the holder against the wall with a spirit level on top, mark the holes, drill the wall, fit the plugs, and screw the holder in place. If you want to be able to lift the holder off the wall for cleaning, fit two keyhole hangers to the back board and hang it on two wall screws, or attach a French cleat: one angled strip screwed to the wall, one to the holder, hooked together. A French cleat is the strongest and most forgiving option, and it lets you level the holder easily.
Height. Mount the holder so the bottom ledge is roughly at waist to chest height when you are standing, so you can slide magazines in and out without reaching up or bending down. The table below gives a practical starting point for common magazine sizes and rooms.
Magazine Sizes and Mounting Heights
| Magazine / item | Typical size | Holder fit | Suggested bottom-ledge height |
|---|---|---|---|
| Standard magazine (A4 / US Letter) | 8-1/4 × 10-3/4 in | Fits with room to spare | 36–42 in from floor |
| Large-format / art magazine | 9 × 12 in | Fits; check width if holder is narrow | 36–40 in from floor |
| Small magazine / journal | 6 × 9 in | Fits easily; add a bookend if it tips | 40–44 in from floor |
| Catalogue or brochure | Up to 8-1/2 × 11 in | Fits; store upright, not stacked | 36–42 in from floor |
| Reading-room / hallway holder | Mixed sizes | Use the tallest item as your guide | 38–42 in from floor |
Once it is mounted, load it gradually. Put three or four magazines in first, check that the holder feels solid and level, and then fill it up. If it pulls away from the wall at all, take it down and refit with stronger fixings — do not just tighten the same screws and hope.
Cost and Time: What to Expect
This is a genuinely cheap project. A single 8-foot pine 1×6 typically costs only a few pounds or dollars, and if you already own glue, screws, and sandpaper, your total spend may be under £10 / $15. Even if you buy everything from scratch, including a small tin of Danish oil, you should stay well under £25 / $30. That makes it far cheaper than a shop-bought wooden magazine rack, and you get exactly the size and finish you want.
Time-wise, allow about 3 to 4 hours in total, spread over a day or two: roughly 30 minutes to measure and cut, 45 minutes to assemble, 30 minutes to sand, and an hour or so for finishing, plus drying time between coats. Mounting takes about 20 minutes once the finish is fully dry. Do not rush the drying time — hanging a holder before the finish has cured can leave marks on the wall and a sticky feel on the wood.
| Item | Typical cost | Notes |
|---|---|---|
| Pine 1×6, 8 ft | £5–£8 / $7–$12 | One board is enough |
| Wood glue + screws | £3–£5 / $4–$7 | You will have plenty left over |
| Sandpaper set | £2–£4 / $3–$5 | 80, 120, and 220 grit |
| Danish oil or polyurethane | £6–£10 / $8–$12 | Enough for many small projects |
| Wall fixings | £2–£3 / $3–$4 | Match them to your wall type |
| Total (from scratch) | £18–£30 / $25–$40 | Much less if you own basics |
Common Mistakes (and How to Avoid Them)
- Skipping pilot holes. Pine splits, especially near board ends. Drill a pilot hole before every screw, every time.
- Measuring from the wrong end. Always measure from the same end of the board and mark clearly. A cut that is half an inch short cannot be stretched back.
- Uneven slat spacing. Use a spacer block instead of guessing by eye. Even gaps look intentional; uneven gaps look like a mistake.
- Over-tightening screws. Drive screws until they are snug, then stop. Over-tightening strips the hole and can crack pine.
- Sanding across the grain. Always sand along the grain. Cross-grain scratches are hard to hide, even under a finish.
- One thick coat of finish. Thin coats, fully dried between coats, always beat one thick, drippy coat.
- Weak wall fixings. A picture hook is not enough for a loaded holder. Use stud screws or rated wall anchors.
- Forgetting the tallest magazine. Measure your biggest magazine before you build, not after. If you own large art magazines, add height to the back board.
Variations to Try Next
Once you have built the basic holder, it is easy to adapt it. Make a double-width version for a family reading corner by building two holders side by side, or a taller version with four slats for oversized art books. Stain the pine a darker walnut shade for a traditional living room, or paint it white or sage green for a bedroom or a child’s reading nook. Add a small pencil ledge or a lower hook rail for keys, and the holder becomes a hallway organiser. You can even scale the same slatted-pocket idea down for a desk version that holds notebooks and journals — the skills are identical, only the measurements change.
If this project has given you confidence, the next step in the same cluster is a bigger storage build. Our pillar guide to easy woodworking projects for beginners that sell is a good place to browse what to build next, from small giftable items to larger pieces that are genuinely worth selling. Each project there follows the same beginner-friendly pattern: one clear design, an exact materials list, and steps you can actually follow in a home workshop.
Frequently Asked Questions
How long does it take to build a wooden magazine holder for beginners?
About 3 to 4 hours of active work, plus drying time for glue and finish. Most beginners finish cutting and assembly in one afternoon and apply the finish the next day.
What is the best wood for a beginner magazine holder?
Pine is the best choice for a first build. It is cheap, widely available, easy to cut and sand, and it takes oil, stain, and paint well. Hardwoods like oak look beautiful but cost more and are harder to screw without splitting.
Do I need a pocket-hole jig for this project?
No. A pocket-hole jig makes the joints tidier, but you can build the whole holder with screws driven through the back board instead. The screw heads will sit against the wall and will not be visible.
How much weight can a wall-mounted magazine holder hold?
With two good fixings — one into a stud or two rated wall anchors — this holder will comfortably hold 5 to 8 kg, which is roughly 10 to 15 magazines. Do not overload it with heavy books, and check the fixings once a year.
Can I build this holder without a power saw?
Yes. A sharp hand saw and a speed square will cut pine 1×6 cleanly, it just takes a little longer. Clamp the board firmly, cut slowly on the waste side of your line, and sand the cut ends smooth afterwards.
How do I stop magazines from falling forward out of the holder?
Keep the slats high enough — the top slat should reach at least halfway up a standard magazine — and do not space the slats so far apart that a thin magazine can slip through. If thin journals still tip, stand a heavier magazine at the front as a bookend.
Recommended Products for This Project
As an Amazon Associate, I earn from qualifying purchases.

Titebond III Ultimate Wood Glue 1413 (8 oz)
Water-resistant wood glue for strong indoor and outdoor joints.

IRWIN QUICK-GRIP Woodworking Clamps Set, 8-piece (IRHT83220)
A versatile clamp assortment for everyday glue-ups.

DEWALT Random Orbit Sander DWE6423, 5-inch
Smooth, swirl-free sanding for furniture and finishing prep.
Bosch Top-Handle Jigsaw JS470E
Clean curved and straight cuts in wood with easy blade changes.

DEWALT 20V MAX Drill/Driver Kit DCD771C2
Compact drill and driver for drilling holes and driving screws all day.


