
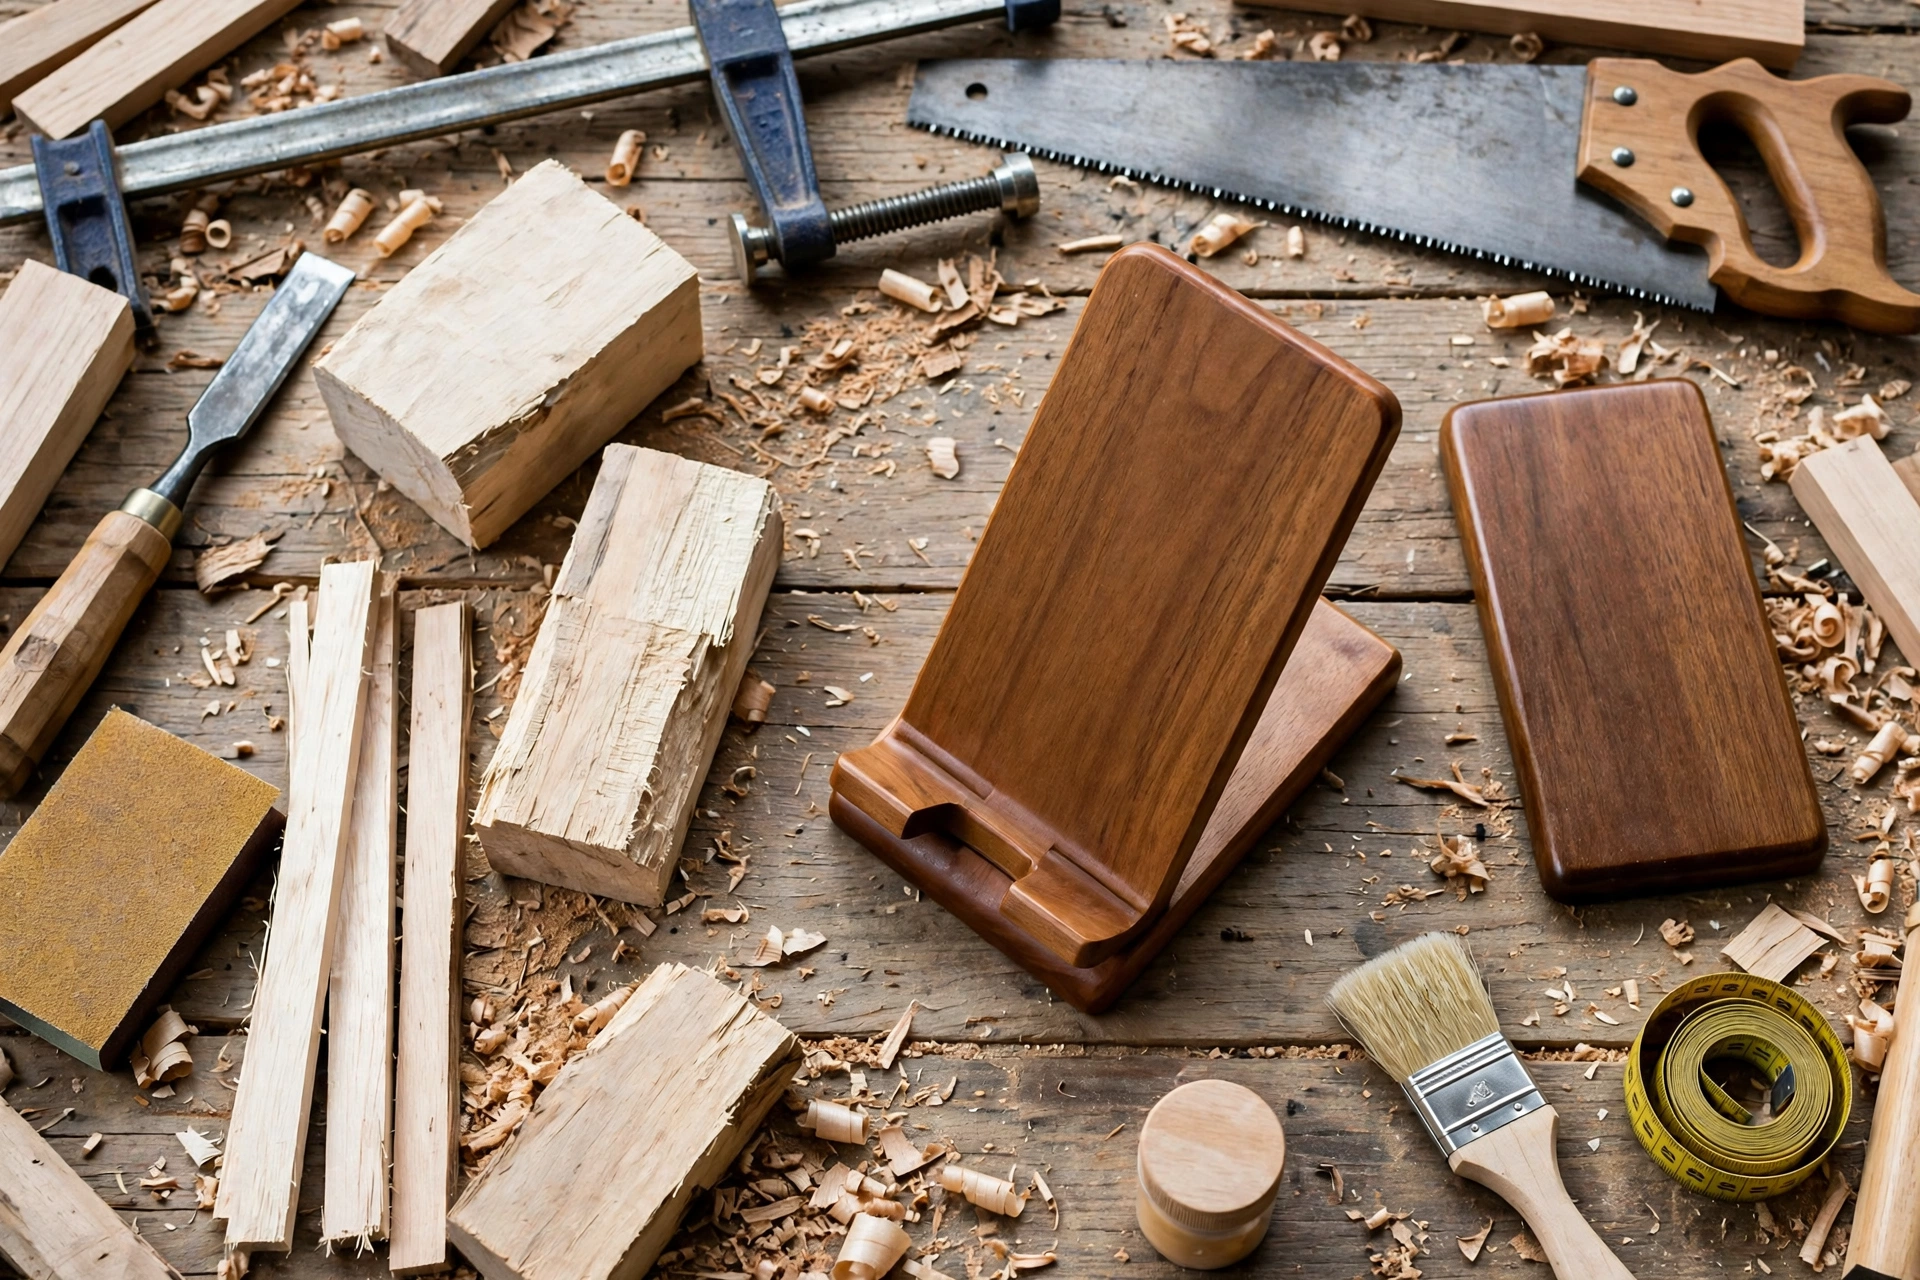
If you have ever propped your phone against a coffee mug to watch a video, you already know the problem this project solves. A wooden phone stand holds your phone at a comfortable viewing angle, keeps it charging, and looks far better on a desk than a plastic gadget. Best of all, it is one of the simplest first woodworking projects you can build: two pieces of wood, two slots, and an afternoon in the workshop.
In this guide, you will learn exactly how to make a wooden phone stand for beginners, using a two-piece slotted design that needs no screws, no hinges, and no fancy joinery. The two pieces slide together like a puzzle, lock at a comfortable angle, and come apart flat for storage or travel. You will get a complete cut list, a phone-size and viewing-angle table so the stand fits your actual phone, a cable slot for charging while you watch, and a finishing method that makes even a first project look store-bought.
This is a true beginner build. If you can measure, saw a straight line, and sand a board smooth, you can build this stand. It is also a perfect scrap-wood project: one short offcut is often enough, which means the whole build can cost less than a takeaway lunch.
Why a Two-Piece Slotted Stand Is the Best Beginner Design
There are dozens of phone stand designs online, from bent plywood curves to stands glued from five or six small blocks. The two-piece slotted design beats them for a beginner for three reasons.
First, it is forgiving. The two slots do most of the work. As long as each slot is the same width as the thickness of the other piece, the stand locks together firmly. Small cutting errors can be cleaned up with sandpaper or a chisel, and the joint still works.
Second, it uses almost no hardware. There are no screws to split thin wood, no hinges to align, and no glue joint that has to hold the whole weight of the phone. You can glue the pieces if you want a permanent stand, but the slotted joint alone is strong enough for daily use, and leaving it unglued means the stand packs flat.
Third, it is easy to customise. Change the angle of the back piece, widen the base, or cut a deeper phone groove, and you have a stand for a tablet, a stand for landscape viewing, or a stand with a deeper cable channel. Once you understand the two-piece idea, you can adapt it to almost any device.
If you are new to woodworking in general, this project also teaches the core skills every later project needs: measuring and marking accurately, cutting to a line, sanding through the grits, and applying a finish. For a broader look at beginner-friendly builds you can tackle next, see these easy woodworking projects for beginners that sell.
Choosing Your Wood
You do not need expensive hardwood for a phone stand. In fact, a softwood or a nice offcut is ideal for a first build because it is easier to cut and sand.
Pine is the classic beginner choice. It is cheap, widely available, light, and easy to saw. Its only drawback is that it dents easily, so sand it gently and do not overtighten anything against it. Oak looks more premium and holds a crisp edge, but it is harder to cut by hand, so beginners using a handsaw may prefer pine or poplar. Poplar is a great middle ground: it cuts cleanly, sands smooth, and takes paint or stain well if you want a coloured finish. Walnut offcuts make a beautiful gift stand, but save walnut for your second build, once your slot cuts are confident.
Whatever species you choose, pick a board that is flat, straight, and free of large knots in the middle of the pieces. A knot right where a slot will be cut can chip out and weaken the joint. A board 12–18 mm thick (about 1/2 to 3/4 inch) is ideal. Thinner boards feel flimsy; thicker boards make the slots harder to cut and the stand unnecessarily heavy.
Check the board for warping by sighting along its edge. A slightly bowed board can still work for the base, but the upright piece should be as straight as possible so the phone rests evenly. If you only have a warped offcut, cut your pieces from the flattest section.
Tools and Materials You Need
One of the joys of this project is the short tool list. You do not need a workshop full of power tools. Here is everything required, with a simple hand-tool alternative for each power tool.
Tools
- Pencil and ruler or combination square for marking
- A saw: a jigsaw, a handsaw, or a coping saw for the slots
- Sandpaper in 80, 120, and 220 grit, plus a sanding block
- A chisel (12 mm or 1/2 inch) or a narrow file for cleaning out the slots
- Wood glue (optional, if you want a permanent stand)
- A clean cloth and a brush for finishing
- Safety glasses and, if you are sanding a lot, a dust mask
- Clamps or a heavy book to hold pieces while glue dries (optional)
A jigsaw makes the slot cuts much faster and is a tool worth owning if you plan more beginner projects. If you are still choosing one, this guide to the best jigsaw for beginners explains what to look for before you buy.
Materials
- One board, 12–18 mm thick, at least 200 mm long and 150 mm wide (see the cut list below)
- Wood glue (optional)
- Danish oil, tung oil, or clear beeswax finish
- Two small self-adhesive felt pads (optional, to protect your desk)
- A phone case on hand for test-fitting — always test with the case on, because a case adds 2–3 mm of thickness
Total materials cost is low. If you already own sandpaper and finish, a pine offcut may be all you need to buy.
Exact Cut List
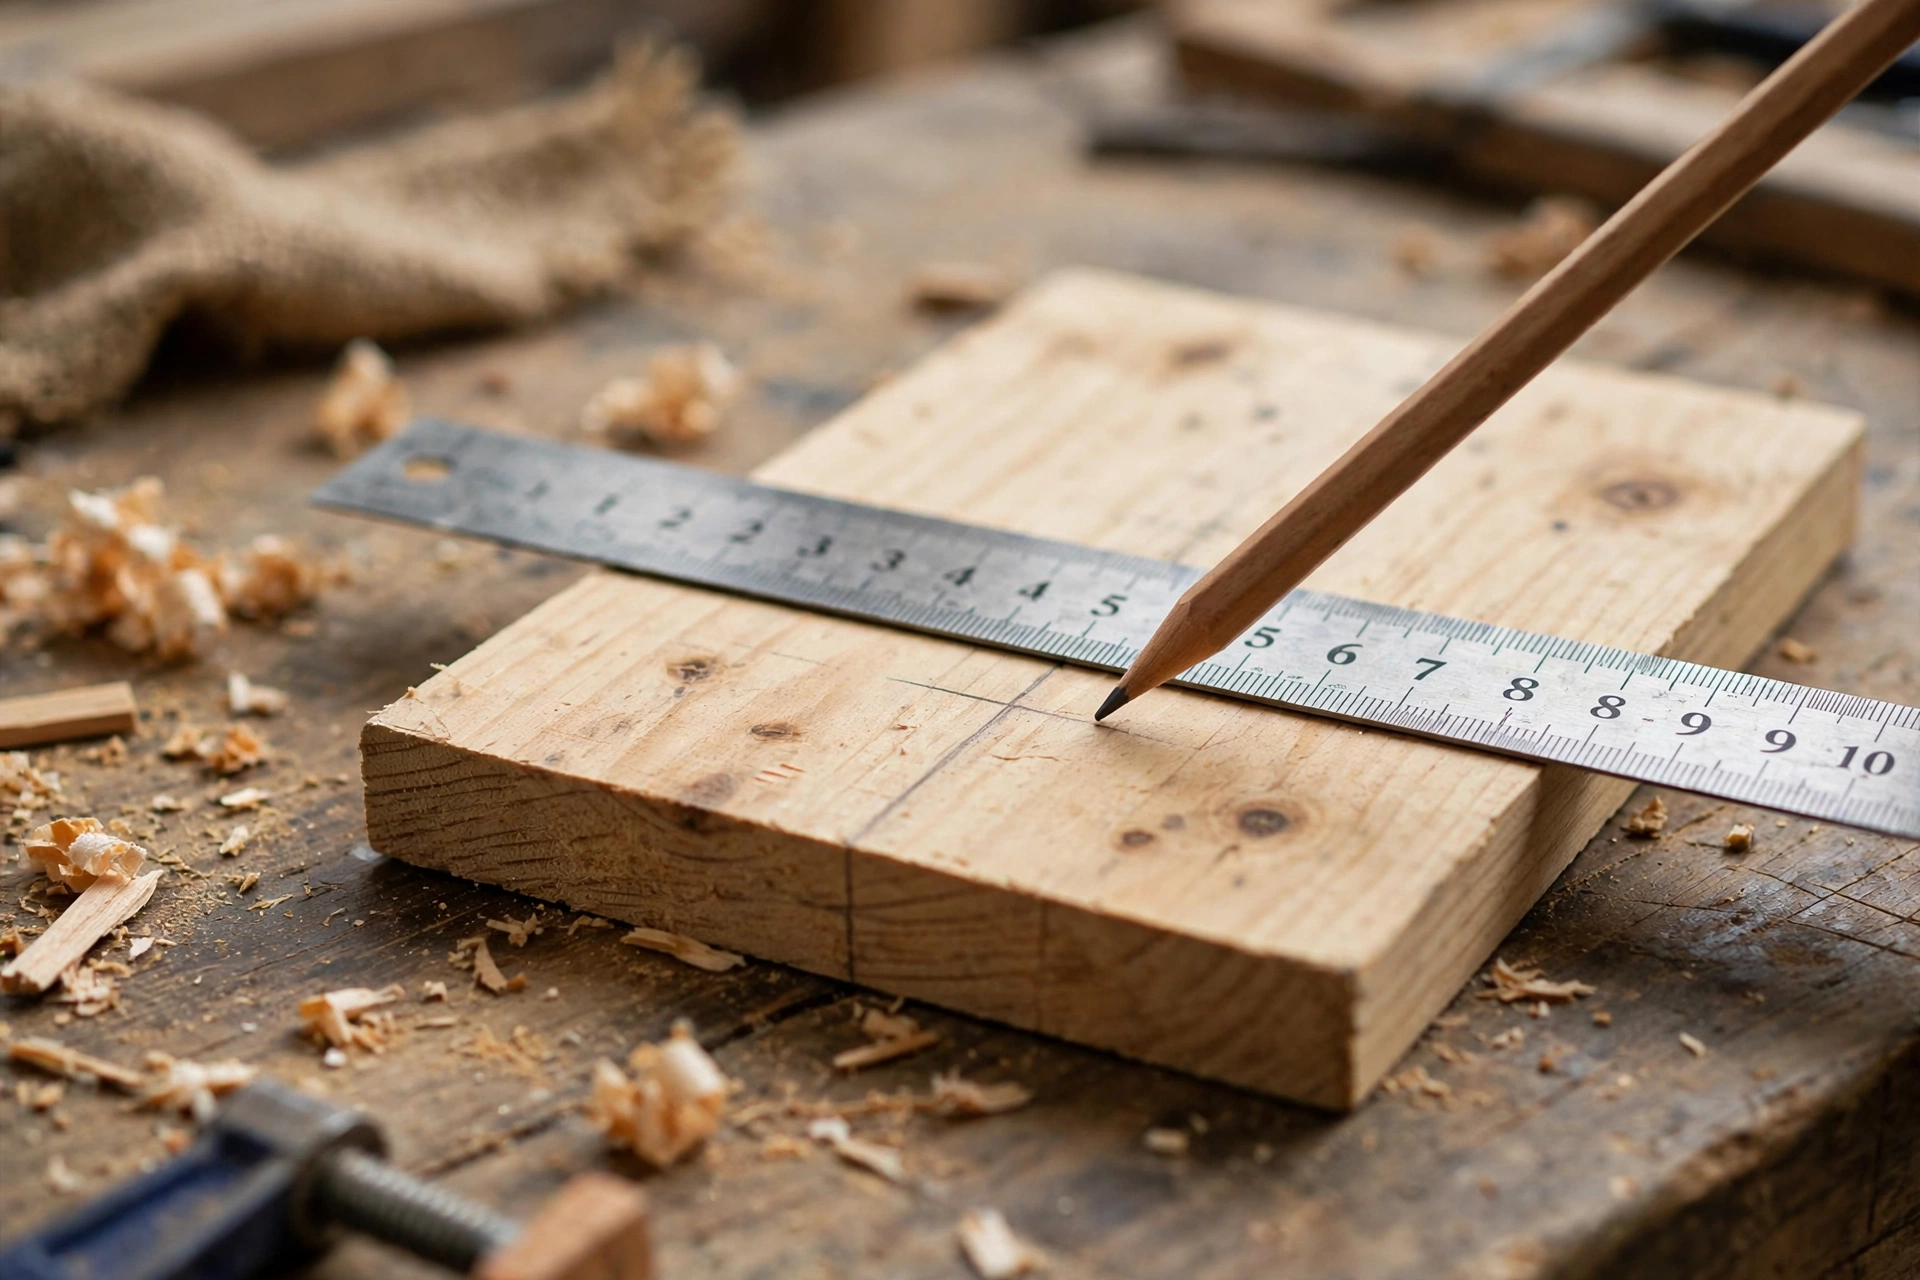
Measure twice, cut once is never more true than on a slotted joint. The slot in each piece must match the thickness of the other piece. If your board is 15 mm thick, each slot is 15 mm wide. Measure your actual board with a ruler or calipers before marking the slots — do not assume the labelled thickness is exact, because planed boards are often 1–2 mm thinner than their nominal size.
Cut the two pieces below from your board. The upright piece holds the phone; the base piece sits on the desk and locks into it.
| Piece | Length | Width | Thickness | Notes |
|---|---|---|---|---|
| Base piece | 180 mm (7 in) | 110 mm (4 1/4 in) | Same as your board (12–18 mm) | Slot cut from the centre of one long edge |
| Upright piece | 150 mm (6 in) | 110 mm (4 1/4 in) | Same as your board (12–18 mm) | Slot cut from the centre of one short edge, plus a phone groove |
| Phone groove | 10 mm deep | Full width of upright | — | A shallow ledge the bottom edge of the phone rests in |
| Cable slot | 12 mm wide | 25 mm long | Through the upright | Lets the charging cable pass behind the phone |
| Slot (each piece) | As long as half the piece width | Exactly your board thickness | Through the piece | The two slots interlock |
If your board is narrower than 110 mm, you can still build the stand — just make both pieces the width of your board, as long as the phone sits stably. A width of 90 mm or more works for most phones in portrait mode. For landscape viewing, a wider base (120 mm or more) gives better side-to-side stability.
Phone Size and Viewing Angle: Getting the Fit Right
The most common beginner mistake is building a stand that fits a phone in a shop photo but not the phone in your pocket. Phones vary in width, thickness, and case size, and the viewing angle changes how comfortable the stand feels. Use the table below to pick your dimensions before you cut.
A viewing angle of 65–75 degrees from the desk is comfortable for video calls and watching videos at a desk. A steeper angle (closer to vertical) is better for reading notifications at a glance, while a shallower angle is better for typing on the screen while it sits in the stand. The two-piece design sets its angle by the shape of the upright piece, so decide your angle before you cut the slot: the slot angle in the base sets the lean of the upright.
| Phone / device | Typical width (with case) | Suggested groove depth | Suggested viewing angle | Notes |
|---|---|---|---|---|
| Small phone (under 70 mm wide) | 65–75 mm | 8 mm | 70 degrees | Narrow base is fine; keep the upright slim |
| Standard phone (70–80 mm wide) | 75–85 mm | 10 mm | 65–70 degrees | The standard cut list above fits this size |
| Large phone / Plus size (80–90 mm wide) | 85–95 mm | 10–12 mm | 65 degrees | Widen the base to 120 mm for stability |
| Phone in a thick wallet case | Add 4–6 mm to width | 12 mm | 65 degrees | Test-fit with the case on before cutting the groove |
| Small tablet (7–8 inch) | 120–135 mm | 12 mm | 60–65 degrees | Scale both pieces up by about 40 percent; use 18 mm board |
Test the angle before you commit. Prop a book or a piece of cardboard at your chosen angle, set your phone against it, and sit in your normal chair. If your neck tilts down too far, steepen the angle. If the phone feels like it might tip forward when you tap the screen, make the base longer or the angle slightly steeper.
Step-by-Step Build
Work through these steps in order. The whole build takes about one to two hours, plus drying time for the finish.
Step 1: Mark the Pieces
Measure and mark the base piece (180 x 110 mm) and the upright piece (150 x 110 mm) on your board. Use a square to keep the lines at right angles — a wonky rectangle here means a wobbly stand later. Label each piece lightly in pencil on a face that will not be seen, so you do not mix them up after sanding.
Mark the slot on each piece. On the base, the slot runs from the centre of one long edge inward, to a depth of half the piece width (55 mm for a 110 mm wide piece). On the upright, the slot runs from the centre of one short edge inward, also to half the width. The slot width equals your board thickness. Mark both edges of each slot clearly, and shade the waste wood between the lines so you can see at a glance what to remove.
Also mark the phone groove on the upright: a shallow notch, 10 mm deep, running across the lower front face where the bottom edge of the phone will sit. And mark the cable slot: a 12 mm wide opening near the bottom of the upright, centred, so a charging cable can pass through from behind.
Step 2: Cut the Pieces to Size
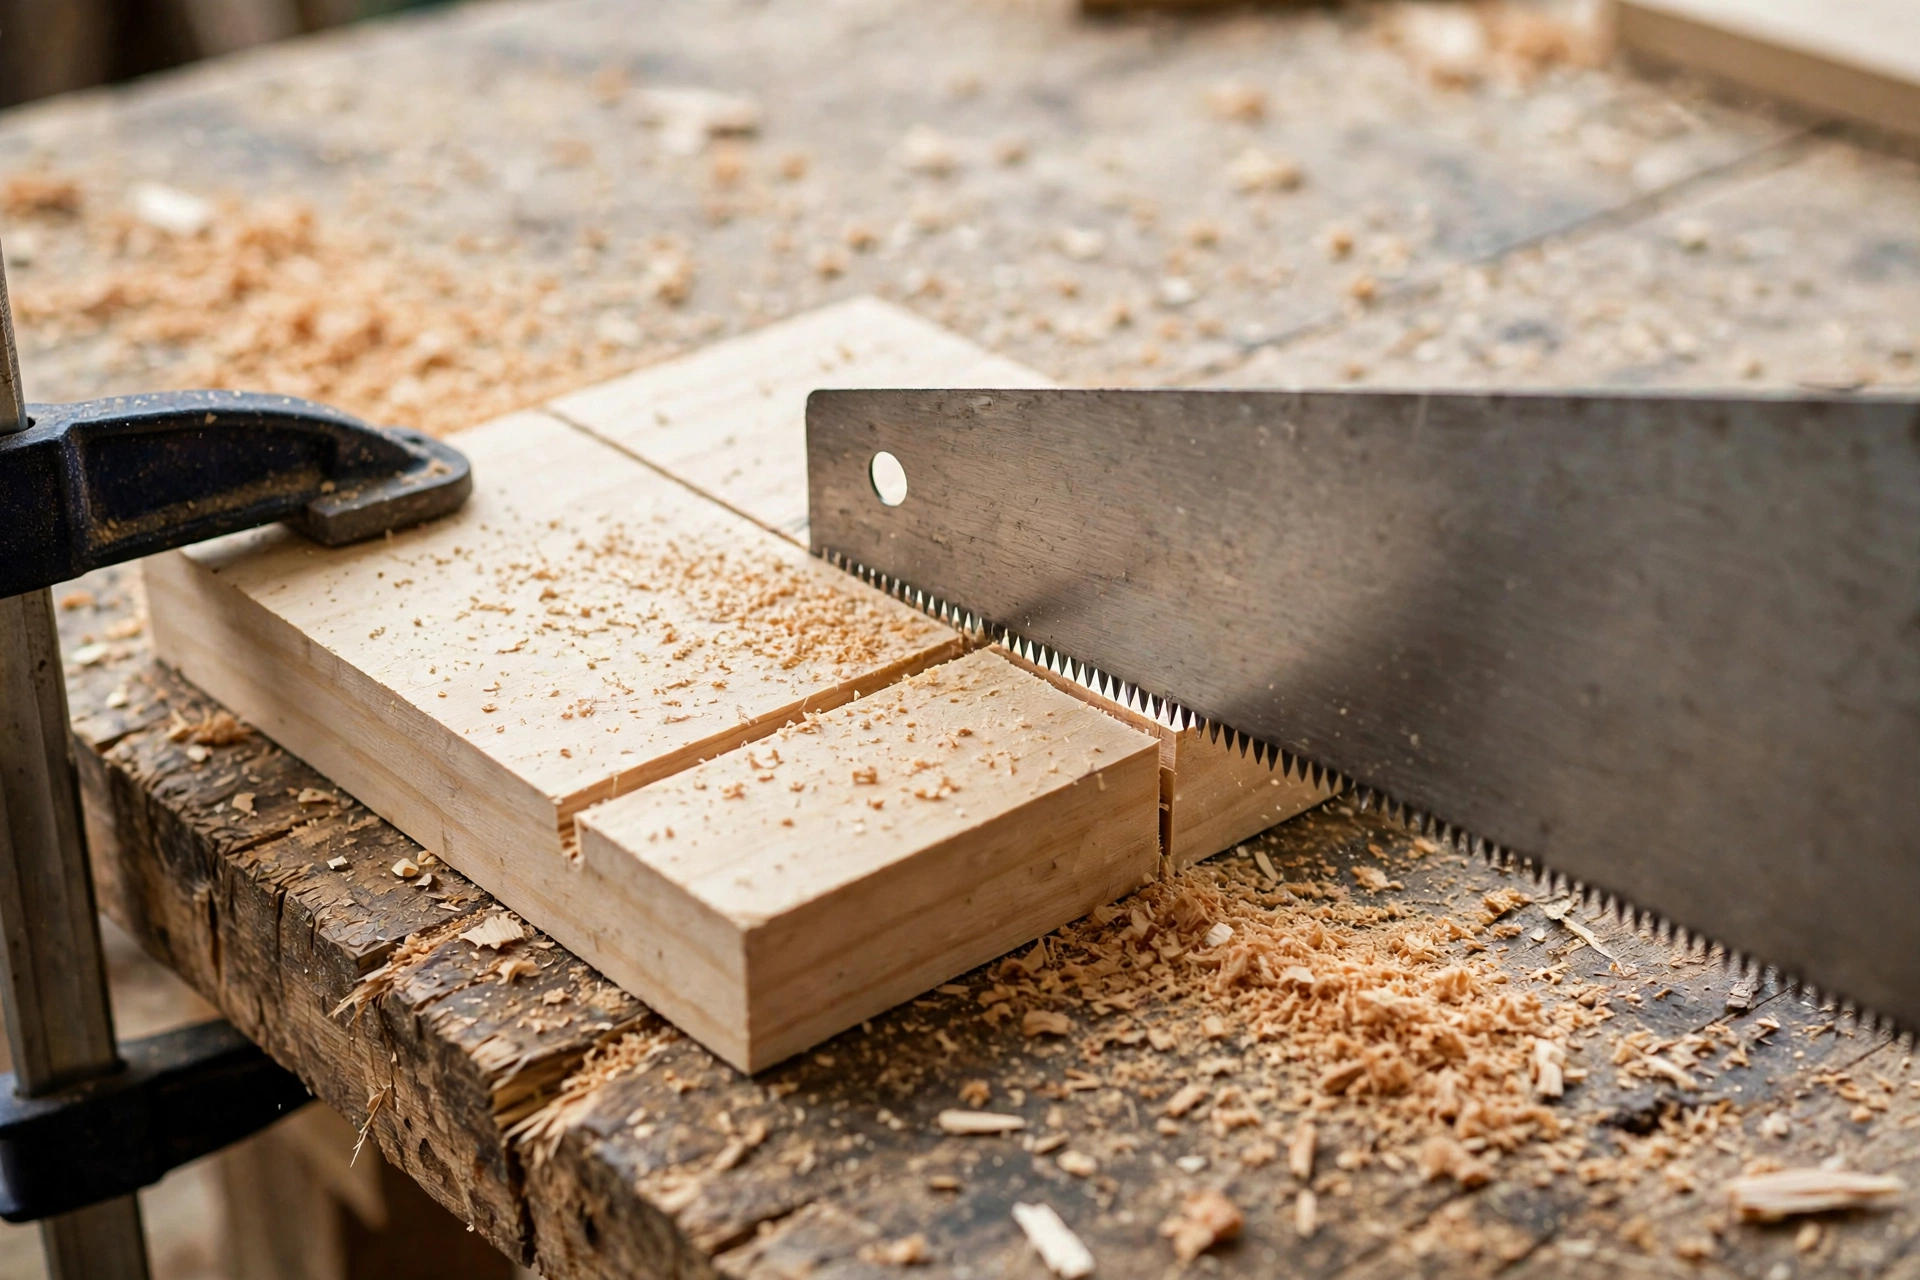
Cut the two rectangles first, sawing just outside your pencil line, then sand or plane back to the line for a clean edge. Cutting outside the line and cleaning up is far more forgiving than trying to saw exactly on the line in one pass.
If you are using a jigsaw, clamp the board firmly, keep the saw shoe flat on the board, and let the blade do the work — pushing hard causes wandering cuts. If you are using a handsaw, start with a few gentle pull strokes to establish the kerf, then settle into a steady rhythm.
Step 3: Cut the Slots
This is the step that needs the most care, so take your time. For each slot, drill or saw a small starter hole at the inner end if you are using a jigsaw, then saw along each marked slot line down to the end of the slot. Remove the waste between the two cuts with a chisel or a narrow file, working a little at a time from both faces to avoid splitting the wood at the slot end.
Test the fit often. Slide the two pieces together: they should meet with light hand pressure and stay put without wobbling. If the joint is too tight, shave a fraction of a millimetre from the inside of a slot with a file or sandpaper wrapped around a thin stick. If the joint is too loose, you can glue it permanently later, or add a thin shim of veneer inside one slot. Never force a tight joint together — thin slot walls can snap, and a snapped upright is hard to repair invisibly.
Step 4: Cut the Phone Groove and Cable Slot
Cut the phone groove across the front of the upright with a saw and chisel, or with two saw cuts and a chisel to clear the waste. The groove only needs to be 8–12 mm deep (see the table above) — deep enough that the phone cannot slide forward, shallow enough that it does not hide the bottom of the screen.
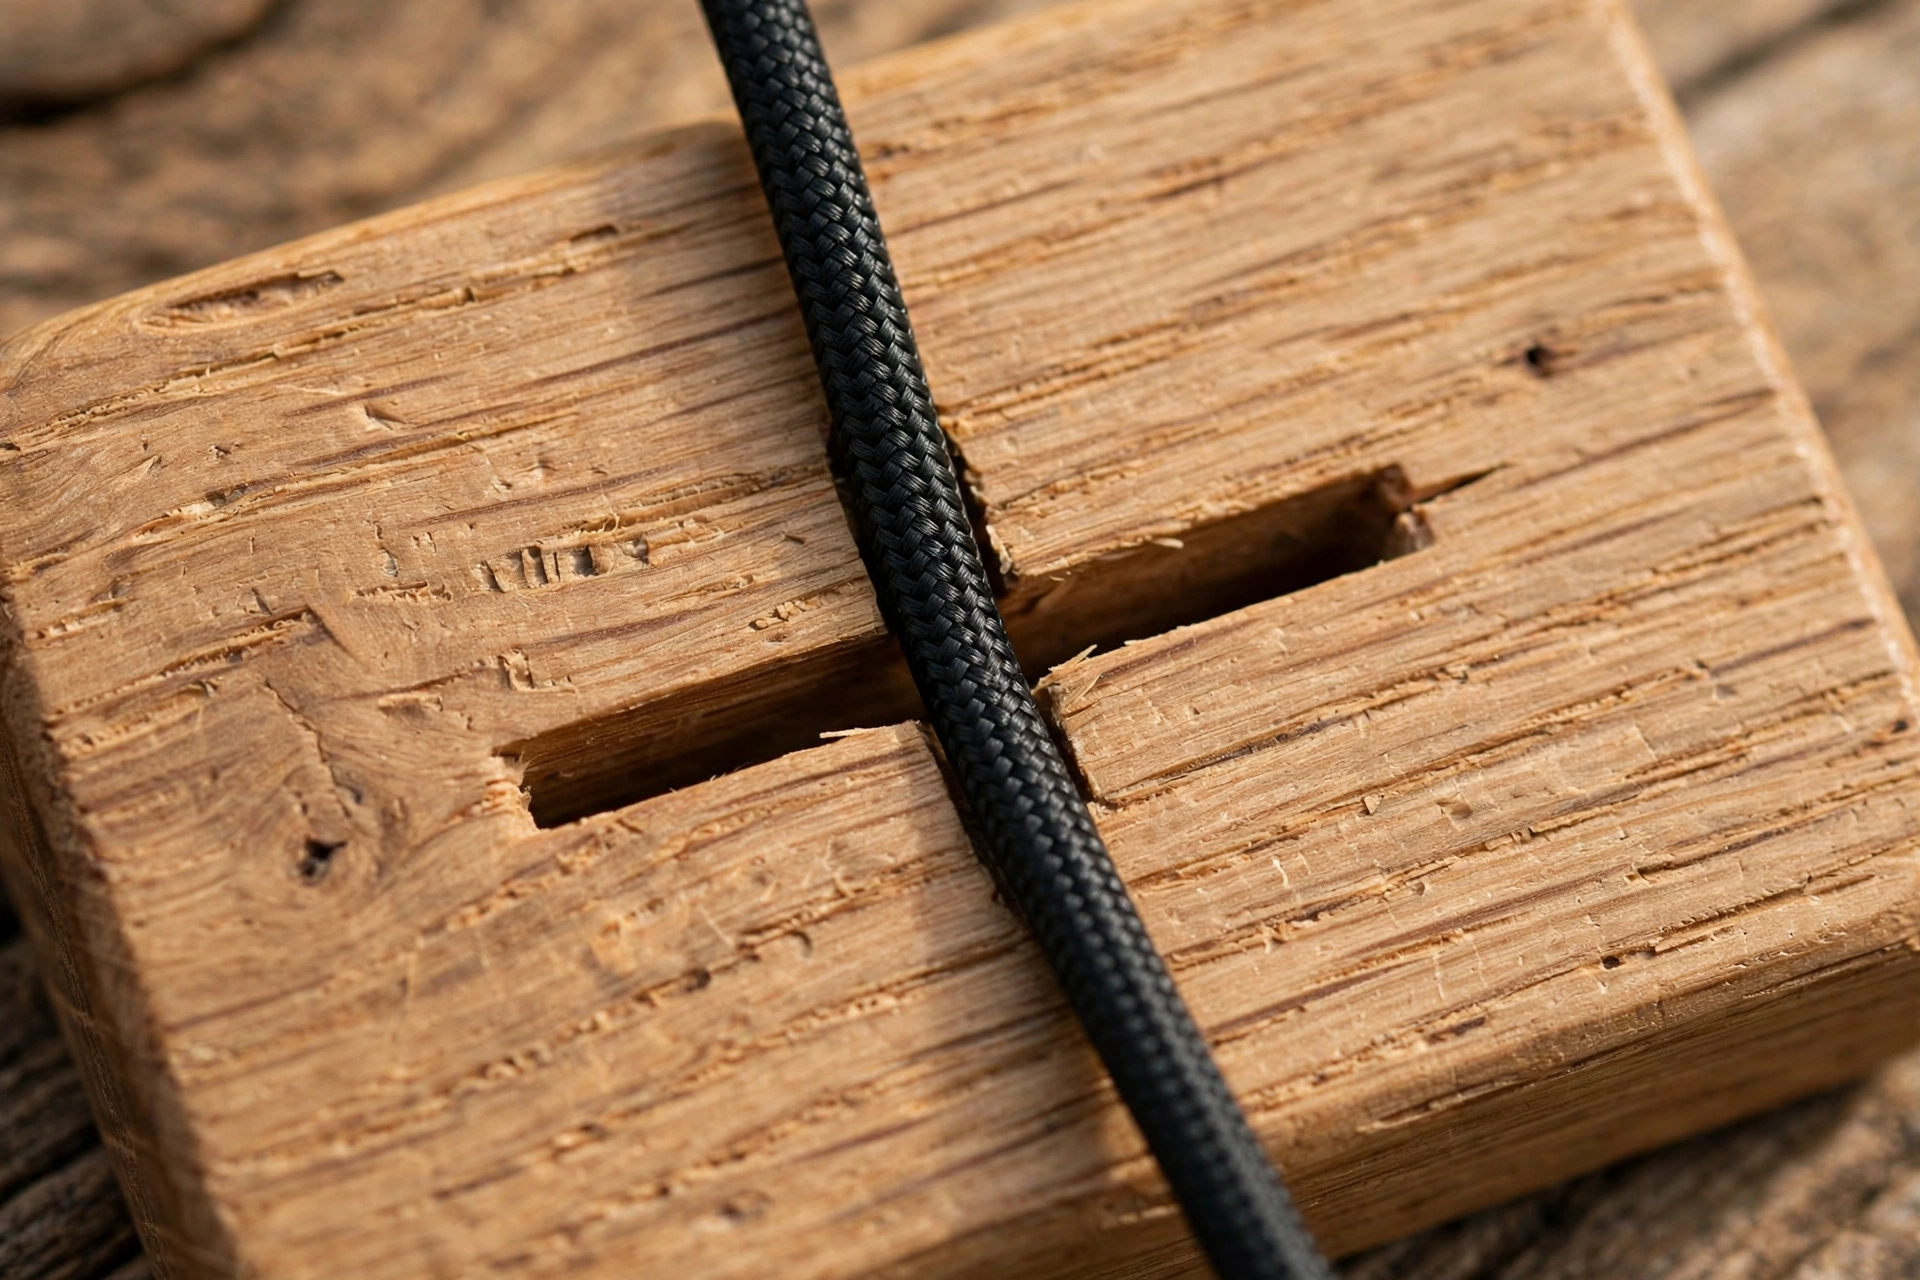
Cut the cable slot next. A 12 mm wide slot fits most USB-C and Lightning cables, including cables with a slightly chunky connector housing. Position it so the cable exits behind the upright and does not push the phone forward. If your cable has an unusually large right-angle connector, widen the slot to 15 mm before you sand and finish — widening it afterwards risks chipping the finish.
Step 5: Sand Everything Smooth
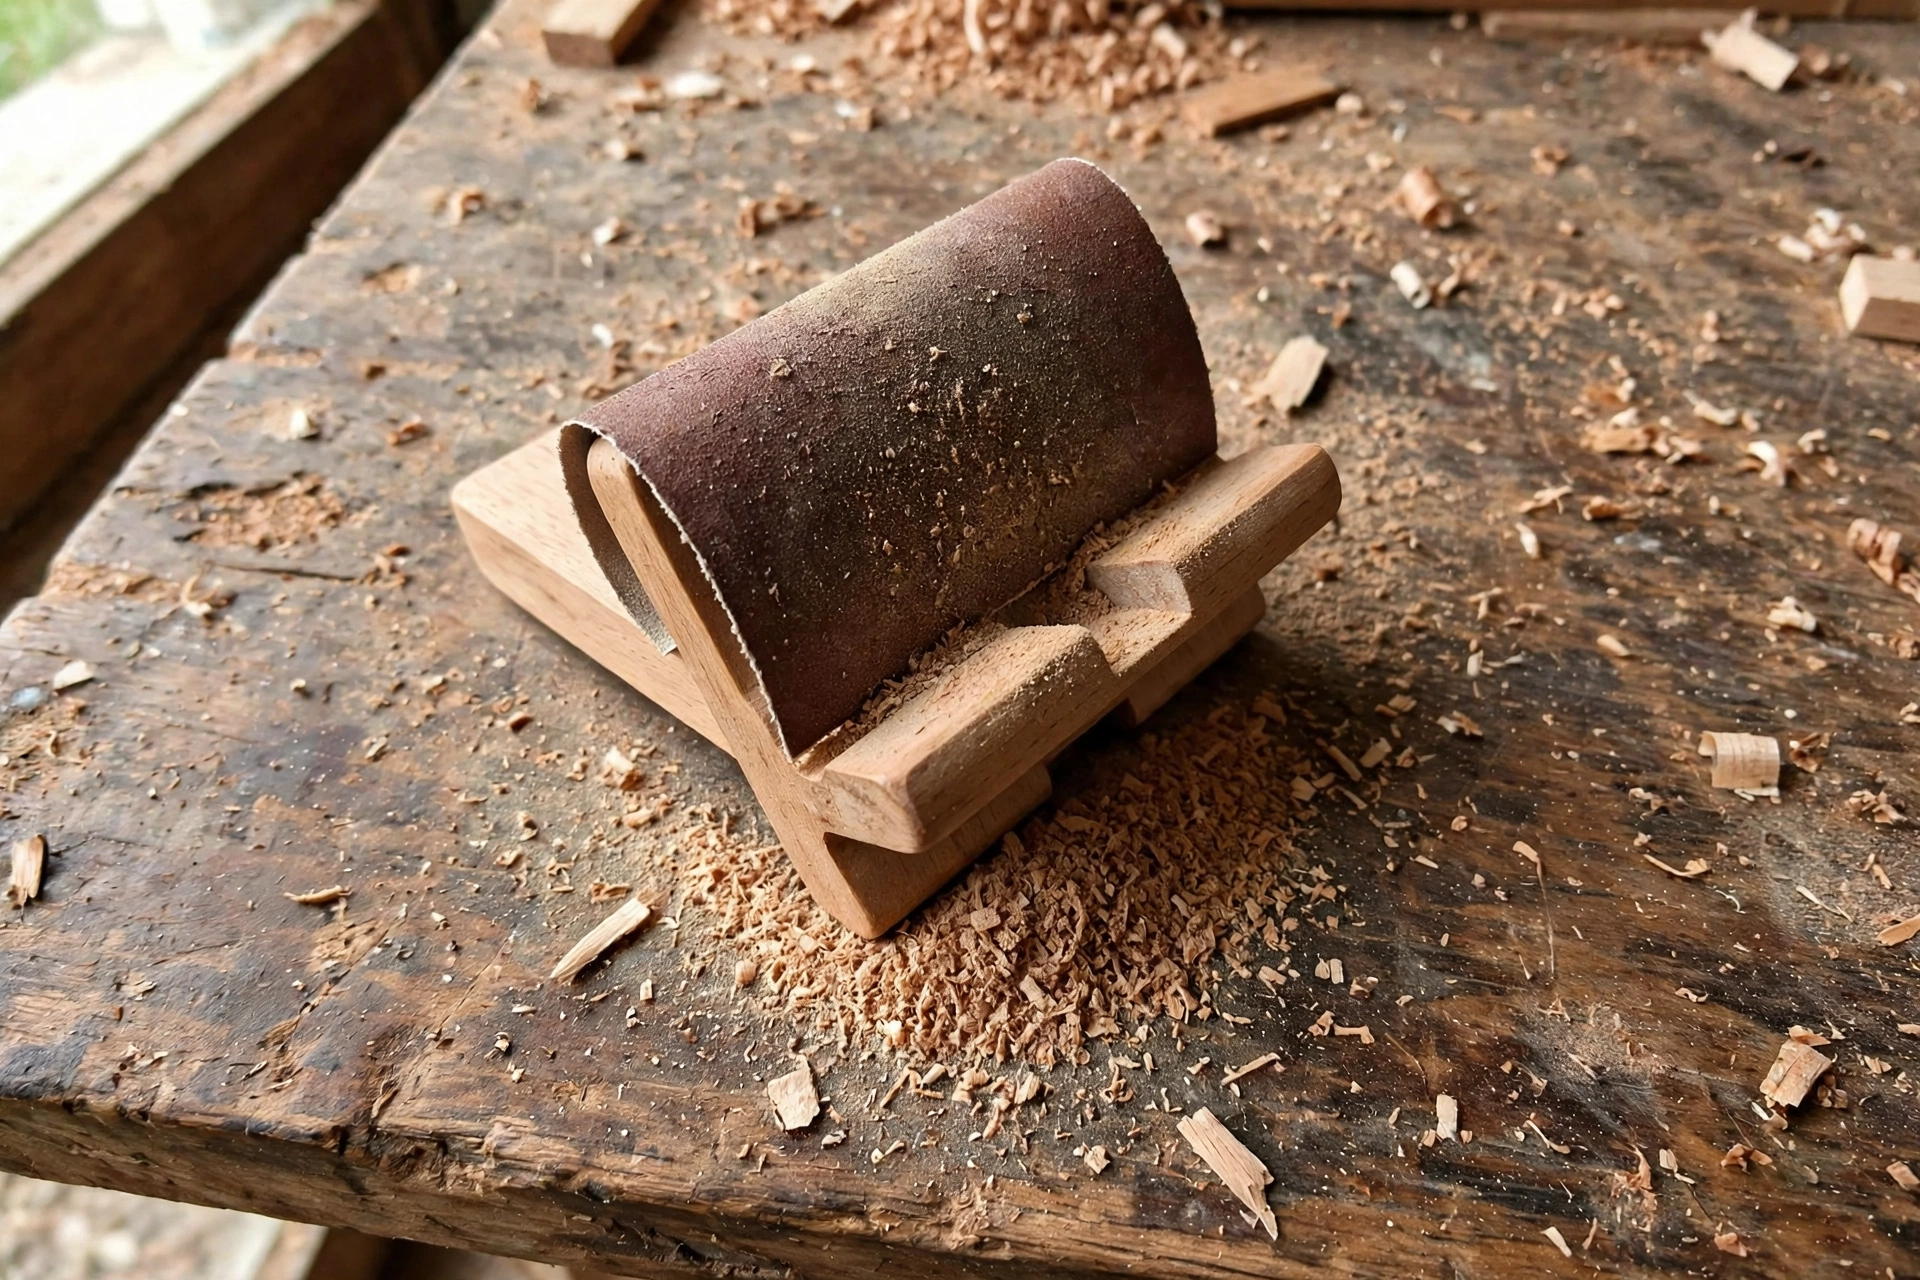
Sanding is where a beginner project starts to look professional, so do not rush it. Sand every face and edge, starting with 80 grit to remove saw marks, then 120 grit, then 220 grit for a smooth finish. Sand the inside of the slots too — rough slots make assembly feel cheap and can scratch a phone case over time. Round over all the edges slightly; a tiny roundover feels much better in the hand than a sharp square edge and is less likely to chip.
Sand with the grain, not across it, and wipe the dust off with a dry cloth between grits. If you want a deeper guide to getting this stage right, read how to sand and finish wood for beginners before you open the finish tin.
Step 6: Assemble and Test
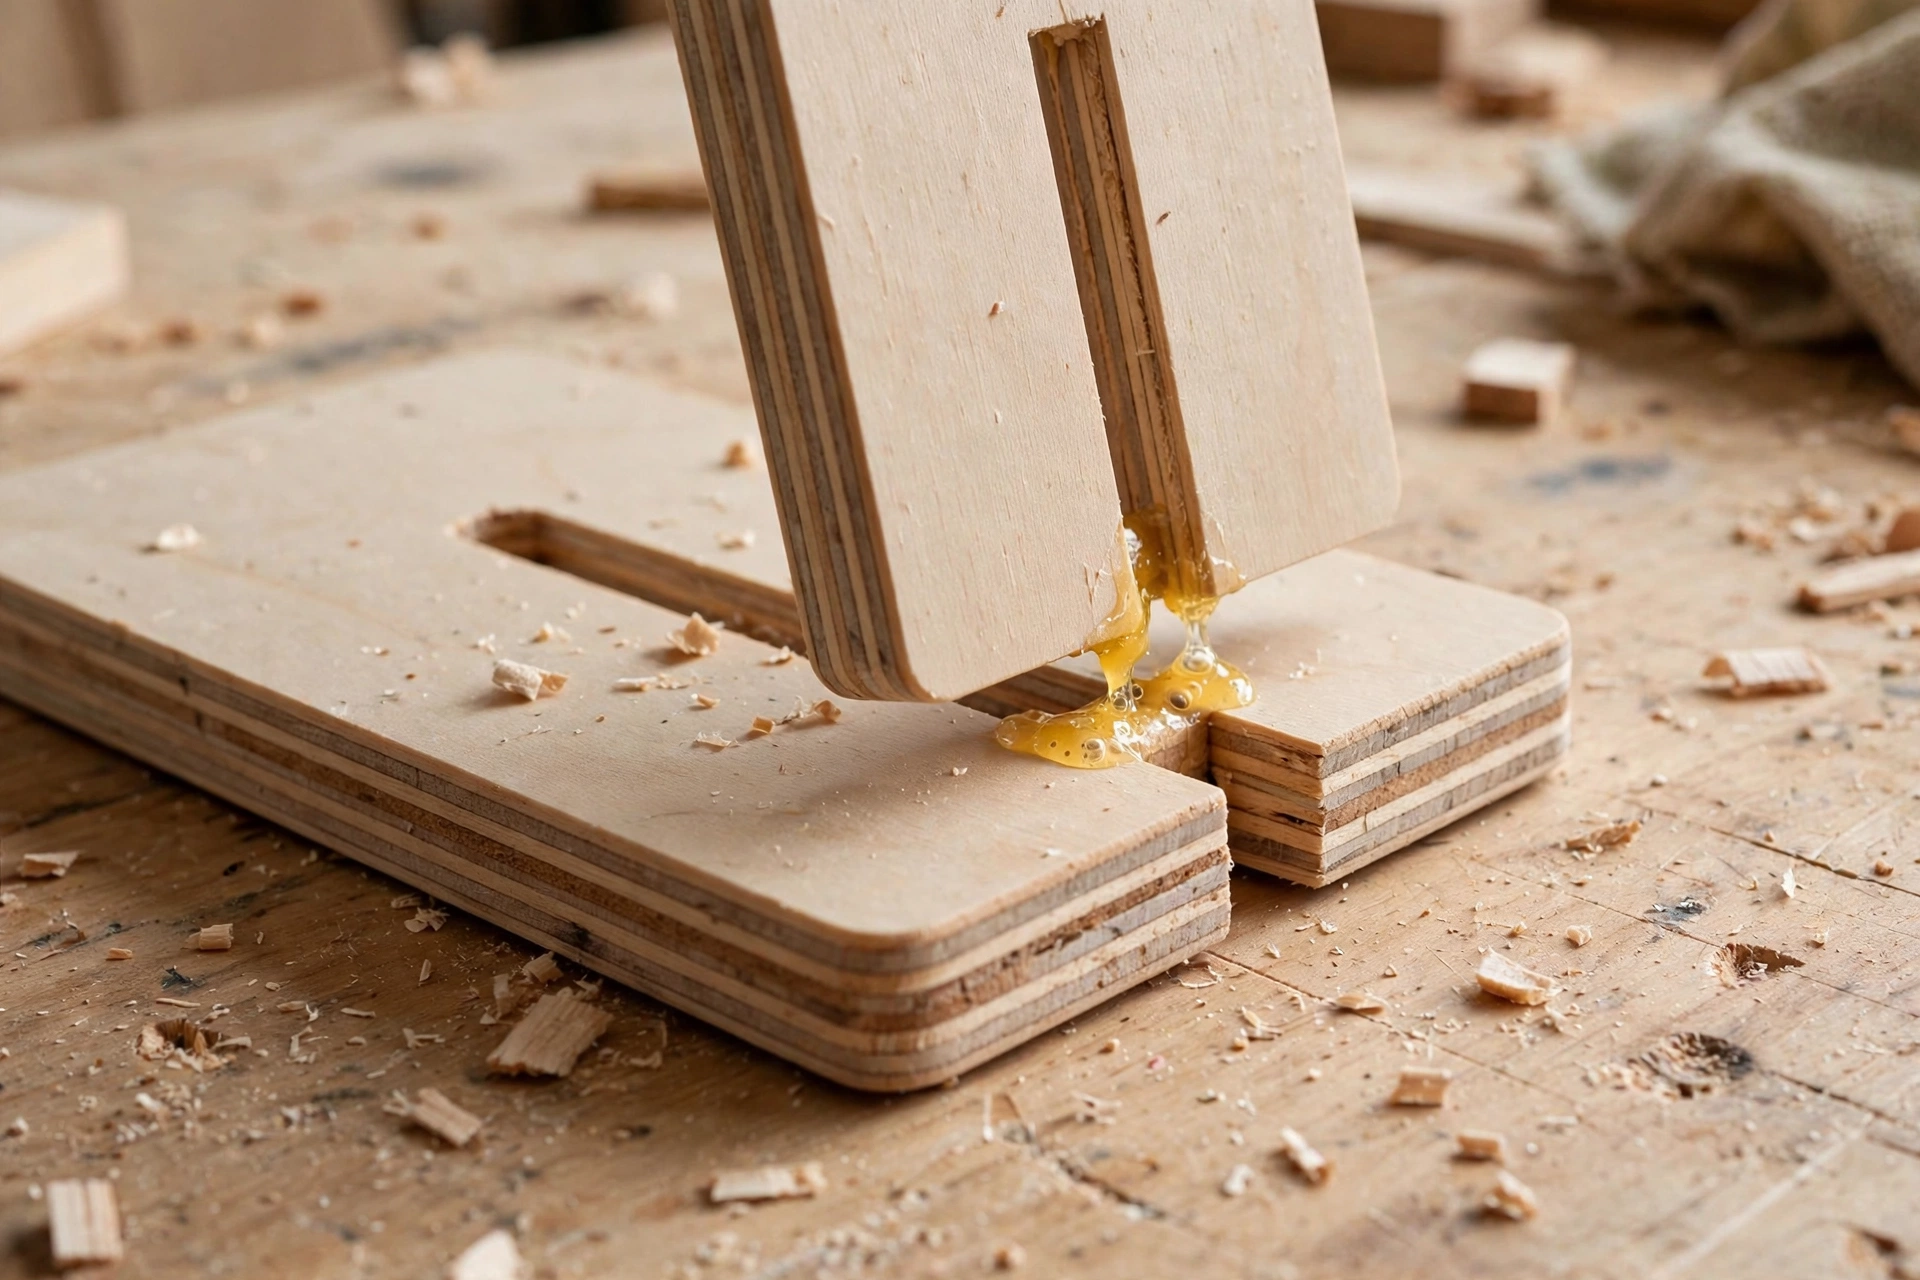
Slide the two pieces together and set your phone in the stand, with its case on and the charging cable plugged in. Check four things: the phone sits in the groove without rocking, the cable passes freely through the slot, the stand does not tip when you tap the screen, and the phone is at a comfortable viewing angle from your normal sitting position.
If the phone rocks, the groove or the base may not be flat — a few passes with sandpaper on a flat block usually fixes it. If the stand tips forward when tapped, lengthen the base or steepen the angle slightly on your next build; for this build, adding small felt pads under the front of the base can shift the balance enough. If the joint is loose, decide now whether to glue it permanently. A glued stand is sturdier, but an unglued stand packs flat — both are valid, and the choice depends on whether you will travel with it.
Step 7: Apply the Finish

A finish protects the wood from coffee rings and hand oils, and it makes the grain pop. Danish oil is the easiest beginner finish: wipe it on with a cloth, let it soak for 10–15 minutes, wipe off the excess, and repeat for two or three coats, letting each coat dry overnight. Tung oil gives a similar look with slightly more water resistance. A clear wax finish is even simpler but needs reapplying more often.
Whatever finish you choose, finish the pieces before final gluing if you plan to glue — glue does not stick well to an oiled surface. If you are leaving the stand unglued, finish both pieces fully, including the insides of the slots, and let them cure completely before sliding them together, or the pieces may stick. Add felt pads to the bottom of the base once the finish is dry, so the stand grips the desk and never scratches it.
Cost Breakdown
One reason this project is recommended as a first build is that it is genuinely cheap. Here is a realistic cost picture for a pine build using tools you may already own.
| Item | If you already own it | If you need to buy it |
|---|---|---|
| Pine board offcut (200 x 150 mm) | Free from scrap | £3–£6 / $4–$8 |
| Sandpaper set (80, 120, 220 grit) | Free | £3–£5 / $4–$7 |
| Danish oil or tung oil (small tin) | Free | £6–£10 / $8–$13 |
| Wood glue (optional) | Free | £3–£5 / $4–$6 |
| Felt pads (pack) | Free | £1–£2 / $1–$3 |
| Typical total for a first build | Under £5 / $7 | Around £16–£28 / $21–$37 |
The finish and sandpaper will last for many projects, so the cost per stand drops sharply after the first one. That is also why phone stands make good gifts and small craft-fair items: a stand that costs a few pounds in materials can sell for £12–£20 once it is sanded and finished well. If you want to turn small builds into a habit, a wooden desk organizer for beginners pairs naturally with this stand on the same desk — and in the same gift set.
Common Mistakes and How to Avoid Them
Cutting the slots too wide. This is the number one mistake. Measure your actual board thickness and mark the slot to that exact width. A slot even 1 mm too wide makes a wobbly stand. Cut inside the lines and file out to fit.
Forgetting the phone case. Always test-fit with the case on. A groove sized for a bare phone will be too shallow for a cased phone, and the phone will slide out.
Cutting the cable slot too small. Measure your thickest charging cable, not your thinnest. A slot that fits a bare cable but not its connector housing is useless.
Skipping grits when sanding. Jumping from 80 grit straight to 220 grit leaves scratches that the finish will highlight, not hide. Work through every grit.
Finishing before test-fitting. Finish last, after the stand holds your phone perfectly. Fixing a slot after finishing means sanding the finish off and starting again.
Making the base too short. A short base looks neat but tips forward when you tap the screen. When in doubt, make the base 10–20 mm longer — nobody notices a slightly longer base, but everyone notices a stand that falls over.
Variations to Try Next
Once the basic stand works, the design is easy to play with. A landscape stand uses the same two pieces, but with a wider upright and a groove that runs the full width, so the phone lies sideways for videos. A tablet version scales every dimension up by about 40 percent and needs 18 mm board for stiffness — do not just scale the phone version in thin pine, or a heavy tablet will flex it.
A two-phone or phone-and-watch stand adds a second, shorter upright to the same base, with its own slot. A charging-dock version widens the cable slot into a channel that hides the cable completely and adds a small hole in the base for a watch charger. A gift version uses walnut or cherry, chamfers every edge, and gets three coats of oil buffed to a soft sheen — the same build, but the material and the extra sanding turn it into something worth giving.
You can also personalise the upright with a carved initial, a wood-burned pattern, or a contrasting wood inlay strip across the top. Keep decorations off the phone groove and the slot walls, where they would interfere with the fit, and always finish over them to seal the surface.
Caring for Your Stand
A wooden phone stand needs almost no maintenance. Dust it with a dry cloth, wipe spills quickly, and reapply a thin coat of oil or wax once or twice a year if the wood starts to look dry. Keep it out of direct sunlight on a windowsill, which can fade the finish over time, and do not leave it in a hot car, where heat and dryness can warp thin pieces. If the slotted joint loosens after a year of taking it apart and reassembling it, a single drop of glue or a thin paper shim inside the slot restores the fit.
Frequently Asked Questions
What is the best wood for a wooden phone stand for beginners?
Pine or poplar is best for a first build. Both are cheap, easy to cut and sand, and widely available as offcuts. Oak looks more premium but is harder to saw by hand. Avoid very soft, knotty construction timber with large knots in the middle of your pieces.
What angle should a wooden phone stand be?
A viewing angle of 65–75 degrees from the desk suits most people for watching videos and video calls. Use 70 degrees as a starting point, test it in your normal chair, then steepen the angle if your neck tilts down or shallow it if tapping the screen feels awkward.
How thick should the wood be for a phone stand?
A board 12–18 mm thick works best. Thinner boards feel flimsy and can flex under a heavy phone, while thicker boards make the slots harder to cut. Measure your actual board before marking the slots, since planed boards are often 1–2 mm thinner than labelled.
Do I need a jigsaw to make a wooden phone stand?
No. A handsaw and a chisel can cut the whole project, and a coping saw handles the slots well. A jigsaw is faster and is worth buying if you plan more projects, but it is not required for this build.
How do I stop my phone sliding off a wooden stand?
Cut the phone groove 10–12 mm deep, test-fit with your phone case on, and make sure the base is long enough that the stand does not tip when tapped. A shallow groove, a missing case allowance, or a short base are the usual causes of sliding.
Can I make a wooden phone stand without glue?
Yes. The two-piece slotted design is the ideal no-glue stand: the interlocking slots hold the pieces together, and the stand packs flat for travel. Glue it only if you want a permanent, single-piece stand that never comes apart.
Final Thoughts
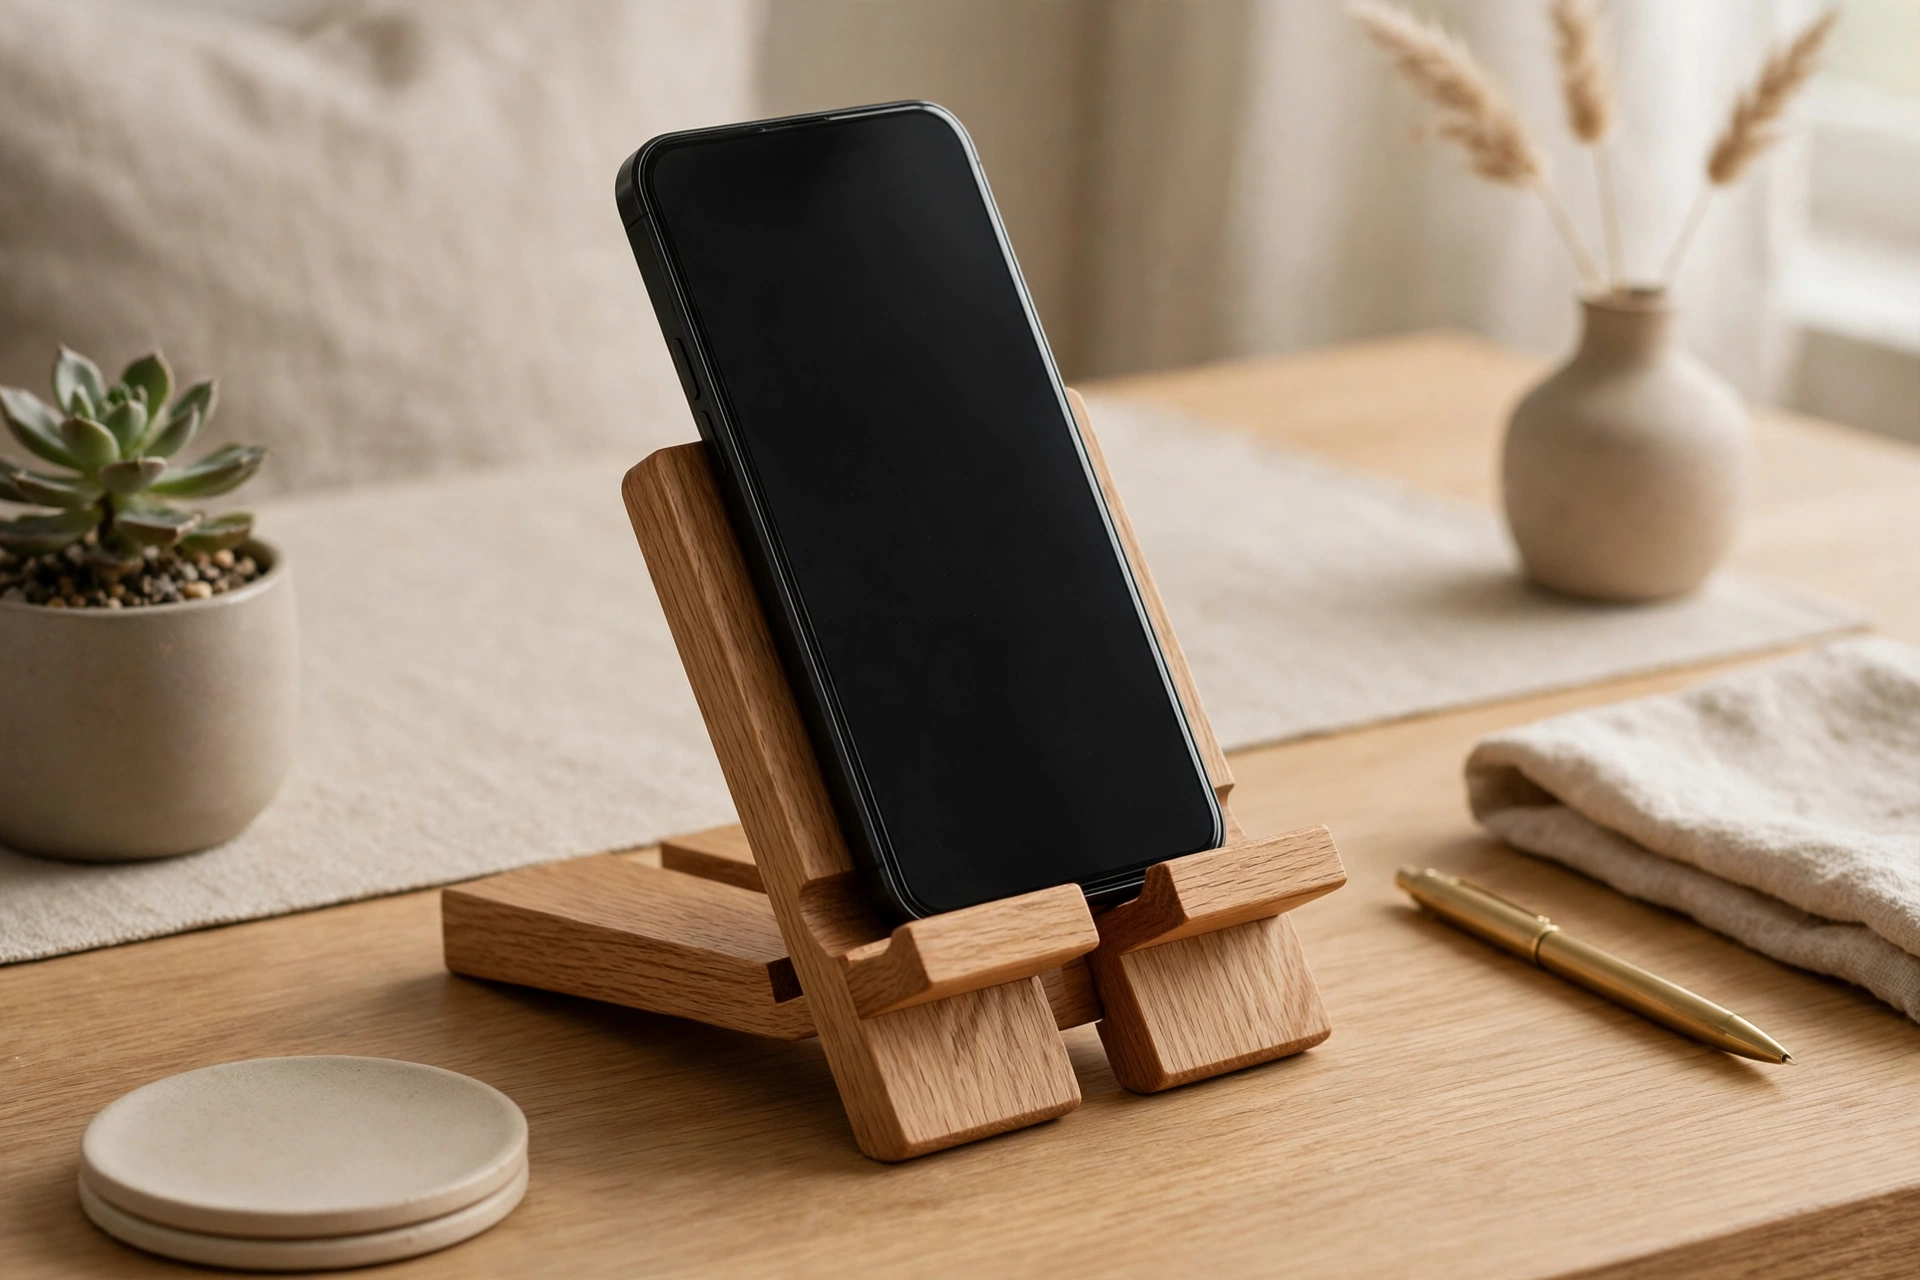
Learning how to make a wooden phone stand for beginners is about more than ending up with a useful desk accessory. It teaches measuring, sawing to a line, fitting a joint, sanding through the grits, and finishing — the five skills behind almost every woodworking project you will build next. Keep your first stand, flaws and all. In a year, when your joints are tighter and your finishes are smoother, it will be the best possible reminder of how far your woodworking has come.
Recommended Products for This Project
As an Amazon Associate, I earn from qualifying purchases.

Titebond III Ultimate Wood Glue 1413 (8 oz)
Water-resistant wood glue for strong indoor and outdoor joints.

IRWIN QUICK-GRIP Woodworking Clamps Set, 8-piece (IRHT83220)
A versatile clamp assortment for everyday glue-ups.

DEWALT Random Orbit Sander DWE6423, 5-inch
Smooth, swirl-free sanding for furniture and finishing prep.
Amazon Basics 8-Piece Wood Chisel Set with Honing Guide & Sharpening Stone
Eight chisels plus a honing guide and stone for paring and joinery.

DEWALT Concealer Safety Goggles DPG82-11C
Sealed eye protection against dust and flying chips.


