

A wooden candle holder is one of the best first woodworking projects you can build. It is small, affordable, useful, and forgiving. You do not need a big workshop, an expensive set of tools, or years of experience. With one board, a drill, and a little patience, you can make a holder that looks like it came from a craft shop — and you will learn measuring, cutting, drilling, sanding, and finishing along the way.
In this guide, you will learn how to make a wooden candle holder for beginners in two simple styles: a taper candle block holder and a chunky pillar candle holder. Both use the same basic skills, so you can build one or both in a single afternoon. You will get an exact cut list, a candle-size and drill-bit-size table, step-by-step instructions, cost estimates, and the safety rules that matter most when wood and candles meet.
If you are just starting out in woodworking, this project sits perfectly alongside other small beginner builds. For inspiration and ideas for what to make next, see our guide to easy woodworking projects for beginners that sell.
Why a Wooden Candle Holder Is a Perfect Beginner Project
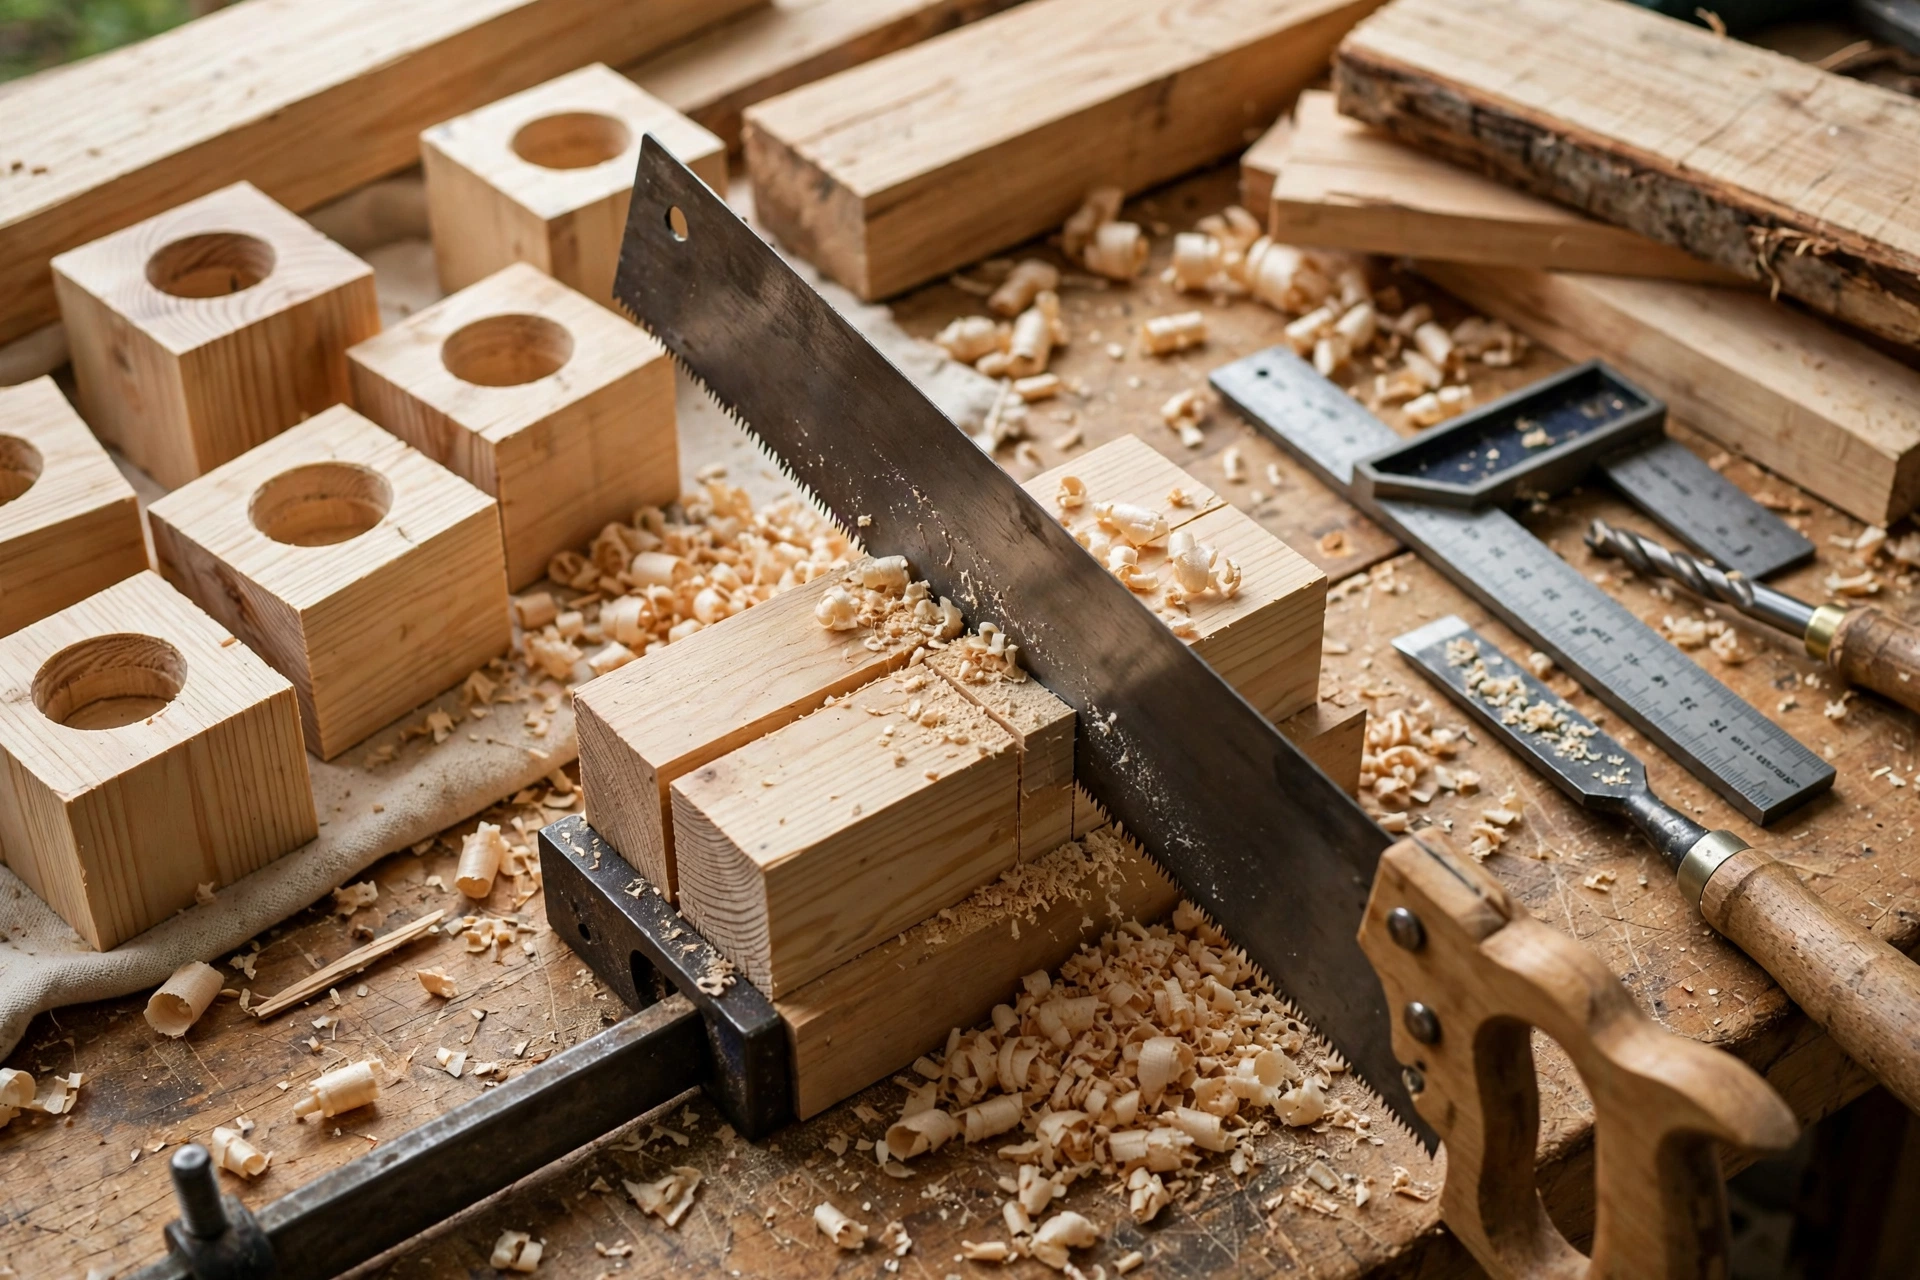
Beginner projects should teach real skills without punishing small mistakes. A candle holder does exactly that. The pieces are small, so offcuts are cheap and mistakes are easy to fix. The shapes are simple rectangles and circles, so you are not fighting tricky angles or complicated joints. And the finished piece is genuinely useful on a dining table, a mantel, or a bedside table — or as a handmade gift.
It also teaches the five core skills every beginner woodworker needs: measuring and marking accurately, cutting square and straight, drilling a clean, flat-bottomed hole, sanding through the grits, and applying a finish that protects the wood and shows off the grain. Once you can do those five things well, dozens of other projects open up, from coasters and trays to shelves and small boxes.
Another advantage is scale. You can make a single holder from a scrap board in under an hour, or a matching set of three or five for a table centrepiece in an afternoon. That makes it ideal for practising the same steps repeatedly until they feel natural, which is exactly how confidence is built in the workshop.
The Two Beginner Designs in This Guide
Design 1: Taper Candle Block Holder
The taper block holder is a solid rectangular block of wood with one or more shallow, flat-bottomed holes drilled into the top. Each hole holds a standard taper candle upright. A single block with three holes makes a beautiful table runner centrepiece, while a single-hole block is a lovely minimal accent.
This design is the easiest place to start. There are no joints, no glue-ups, and no moving parts. The whole project is: cut the block, mark the centres, drill the holes, sand, and finish. If you only have a hand drill and one Forstner bit, this is the design for you.
Design 2: Pillar Candle Holder
The pillar holder is a wider, lower block — often round, square, or slightly bevelled — with a broad, shallow recess in the top for a pillar candle to sit in. Because pillar candles are wider and heavier, the base needs to be stable and the recess needs to be flat so the candle does not wobble.
The pillar version teaches the same drilling skill, but with a larger Forstner bit or a router-style approach, and it rewards careful finishing because the larger top surface shows off the grain. Many beginners build both: taper blocks for the dining table and a pillar holder for the mantel or coffee table.
Materials and Tools You Need
Materials
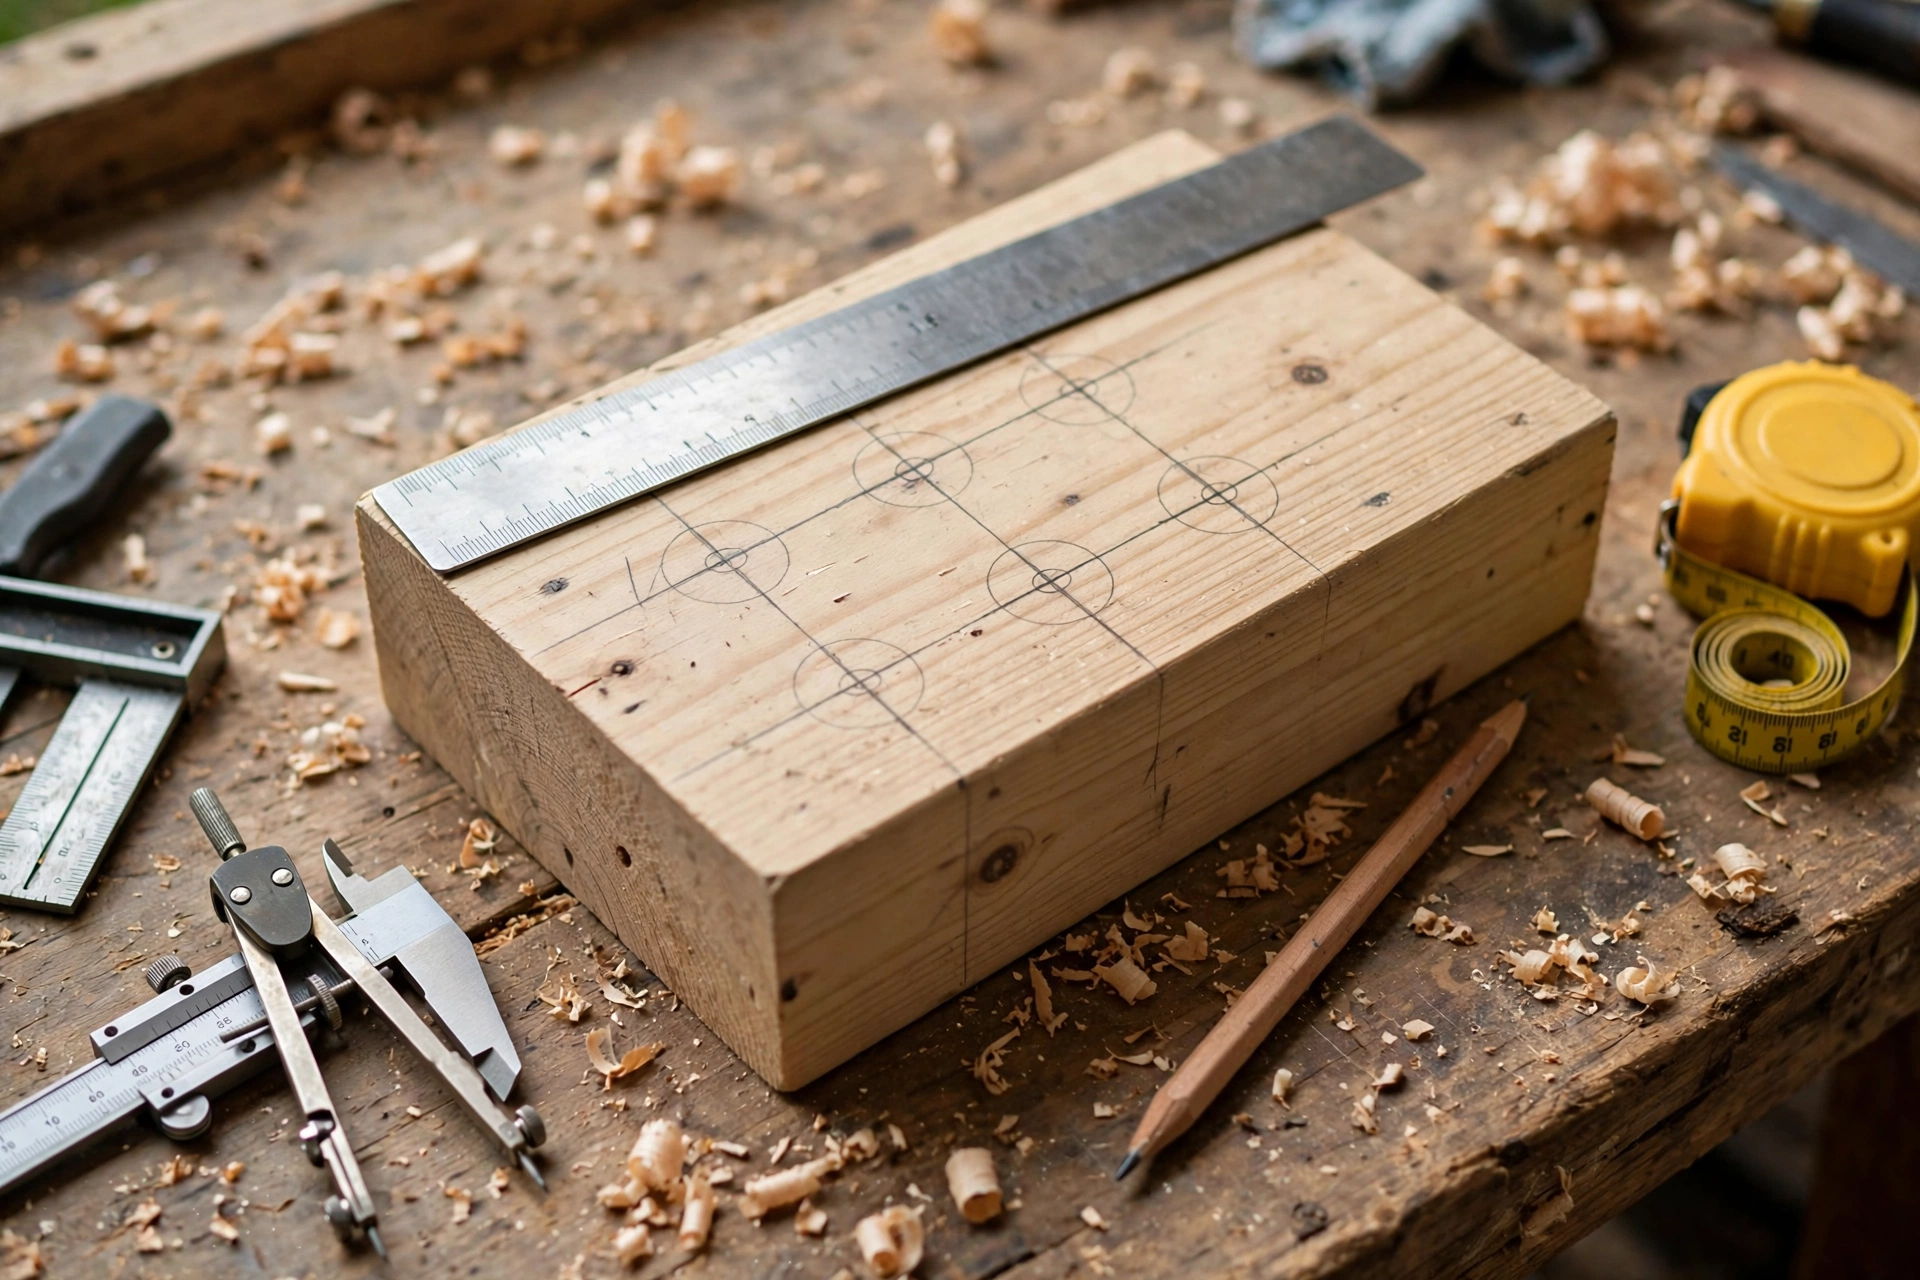
Hardwood or softwood board, about 1.5 to 2 inches thick (pine, oak, walnut, maple, or reclaimed hardwood all work well); taper candles (standard 7/8-inch diameter) and/or pillar candles (3-inch diameter); sandpaper in 80, 120, and 220 grit; wood finish such as Danish oil, tung oil, or hardwax oil, or wood stain plus a clear topcoat; felt pads for the bottom; and a drip tray, glass sleeve, or metal candle cup for use when burning.
Tools
Tape measure, pencil, and combination square; a saw (handsaw, circular saw, or mitre saw); a drill (corded, cordless, or drill press); Forstner bits in the sizes listed below; clamps; a sanding block or random orbital sander; a brush or rag for finishing; safety glasses and a dust mask.
If you do not yet own a drill, choosing the right one makes this project much easier. Our guide to the best drill for woodworking beginners explains what to look for, including power, chuck size, and which features actually matter for small projects like this one.
Exact Cut List
Measure twice, cut once. The sizes below are for a set that looks balanced on most tables. You can scale the lengths up or down, but keep the thickness and the hole depths the same — those dimensions are what keep the candles stable and safe.
| Piece | Design | Dimensions (L × W × H) | Quantity | Notes |
|---|---|---|---|---|
| Taper block | Taper holder, 3 candles | 12 in × 3.5 in × 1.75 in | 1 | Space holes 4 in apart, centred |
| Taper block, single | Taper holder, 1 candle | 4 in × 3.5 in × 1.75 in | 1 | A good first practice piece |
| Pillar base | Pillar holder | 6 in × 6 in × 1.75 in | 1 | Square base; round the corners if you like |
| Pillar base, round | Pillar holder | 6 in diameter × 1.75 in | 1 | Optional turned or jigsaw-cut round version |
A note on thickness: do not go thinner than 1.5 inches for a taper holder. A thinner block leaves too little wood under the hole, which weakens the holder and brings the candle flame closer to the table. A thickness of 1.75 to 2 inches is the sweet spot for stability, weight, and a good-looking proportion.
Candle Size and Drill Bit Size Table
This is the table most beginner guides leave out — and it is the one that decides whether your candle sits snugly or wobbles. A candle hole should be just slightly larger than the candle itself: snug enough to hold it upright, loose enough to remove it without forcing. Always test on a scrap piece first, because candle diameters vary slightly by brand.
| Candle type | Candle diameter | Recommended Forstner bit | Hole depth | Fit notes |
|---|---|---|---|---|
| Standard taper candle | 7/8 in (22 mm) | 7/8 in (22 mm) or 15/16 in (24 mm) | 1 in | Use 15/16 in if your tapers run slightly wide; add a drop of melted wax for a snug fit |
| Slim taper candle | 3/4 in (19 mm) | 3/4 in (19 mm) | 1 in | Common for dinner candles; check before drilling |
| Small pillar candle | 3 in (76 mm) | 3 in (76 mm) Forstner bit or hole saw + chisel cleanup | 1/2 in recess | A shallow recess, not a deep hole |
| Large pillar candle | 4 in (102 mm) | 4 in hole saw + flat-bottom cleanup | 1/2 in recess | Make the base at least 6.5 in wide for stability |
For taper holders, drill the hole about 1 inch deep into a 1.75-inch block. That leaves 3/4 inch of solid wood underneath. For pillar holders, a 1/2-inch recess is enough. The candle should sit in a shallow dish-like hollow, never in a deep socket that traps heat.
Step-by-Step: How to Make a Wooden Candle Holder
Step 1: Choose and Prepare Your Wood
Pick a board without large knots in the area where the holes will go. A knot near a hole can chip out during drilling and weaken the holder. Pine is cheap, easy to drill, and takes stain beautifully, which makes it ideal for a first attempt. Oak and walnut cost more but give a richer, heavier finished piece that makes a wonderful gift. Cut your block to length, check that the ends are square, and sand the faces flat first so the block sits level on the table. A holder that rocks is not just annoying — it is unsafe with a lit candle.
Step 2: Mark the Hole Centres
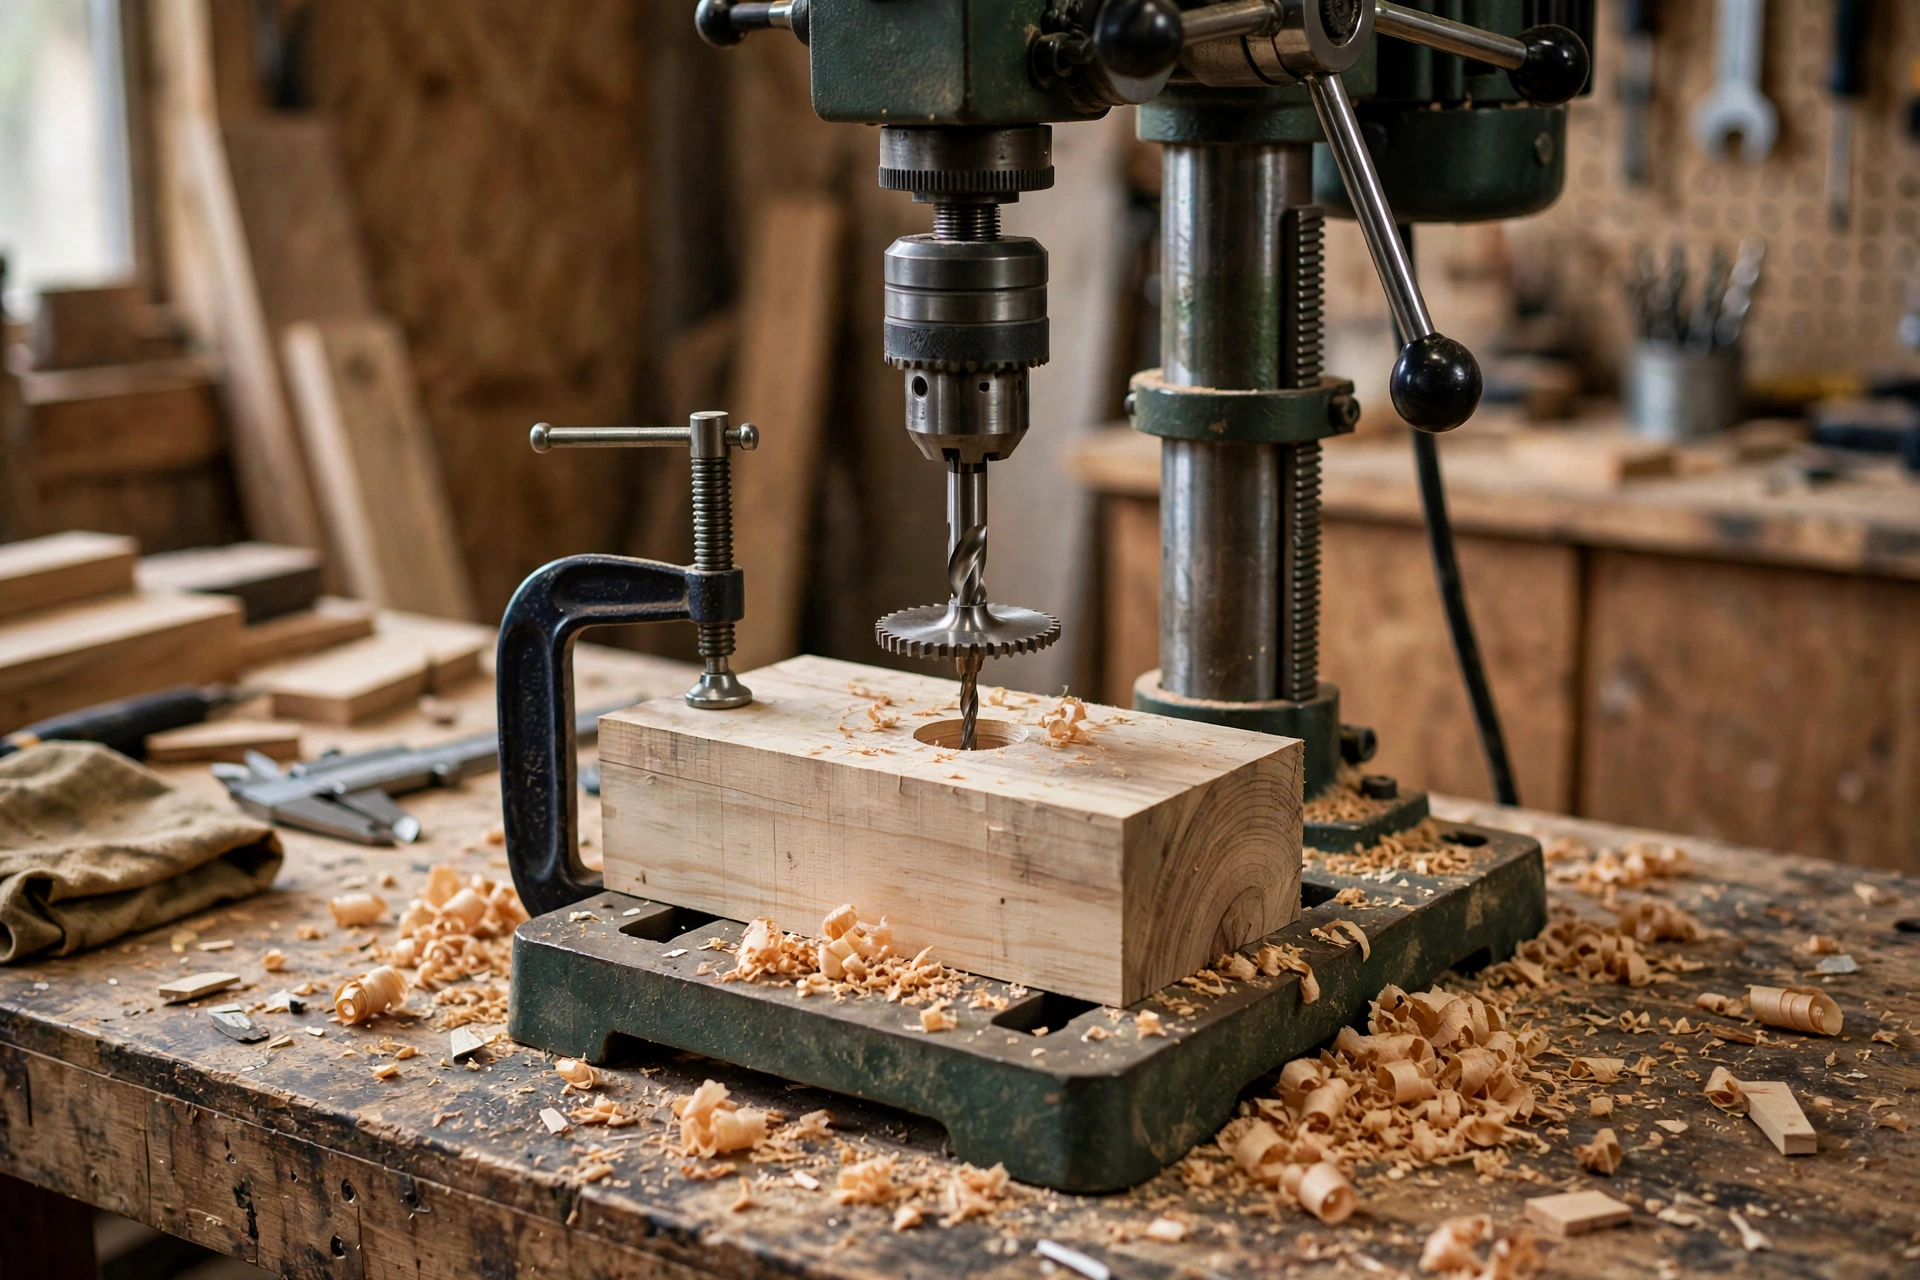
For a three-hole taper block, mark a centreline along the length of the top face, then mark hole centres at 2 inches, 6 inches, and 10 inches from one end — even 4-inch spacing with 2 inches of wood at each end. For a single holder, mark the exact centre. For a pillar holder, mark the centre of the square or circle. Use a pencil and a square, double-check your marks, then make a small dimple at each centre with an awl or nail so the Forstner bit does not wander.
Step 3: Drill the Candle Holes with a Forstner Bit
Clamp the block firmly to your workbench or drill-press table. Never hold a small block in your hand while drilling. Wear safety glasses, and clear chips regularly so the bit does not overheat. Set the drill to a moderate speed — Forstner bits cut best at lower speeds than twist bits, especially in hardwood. If you are using a drill press, set the depth stop to 1 inch for tapers or 1/2 inch for a pillar recess. If you are using a hand drill, wrap masking tape around the bit at the correct depth as a visual guide, and drill in short bursts, lifting the bit to clear chips. Press steadily, keep the drill vertical, and let the bit cut. A clean Forstner hole has a flat bottom and crisp sides.
Step 4: Shape the Edges and Sand Smooth
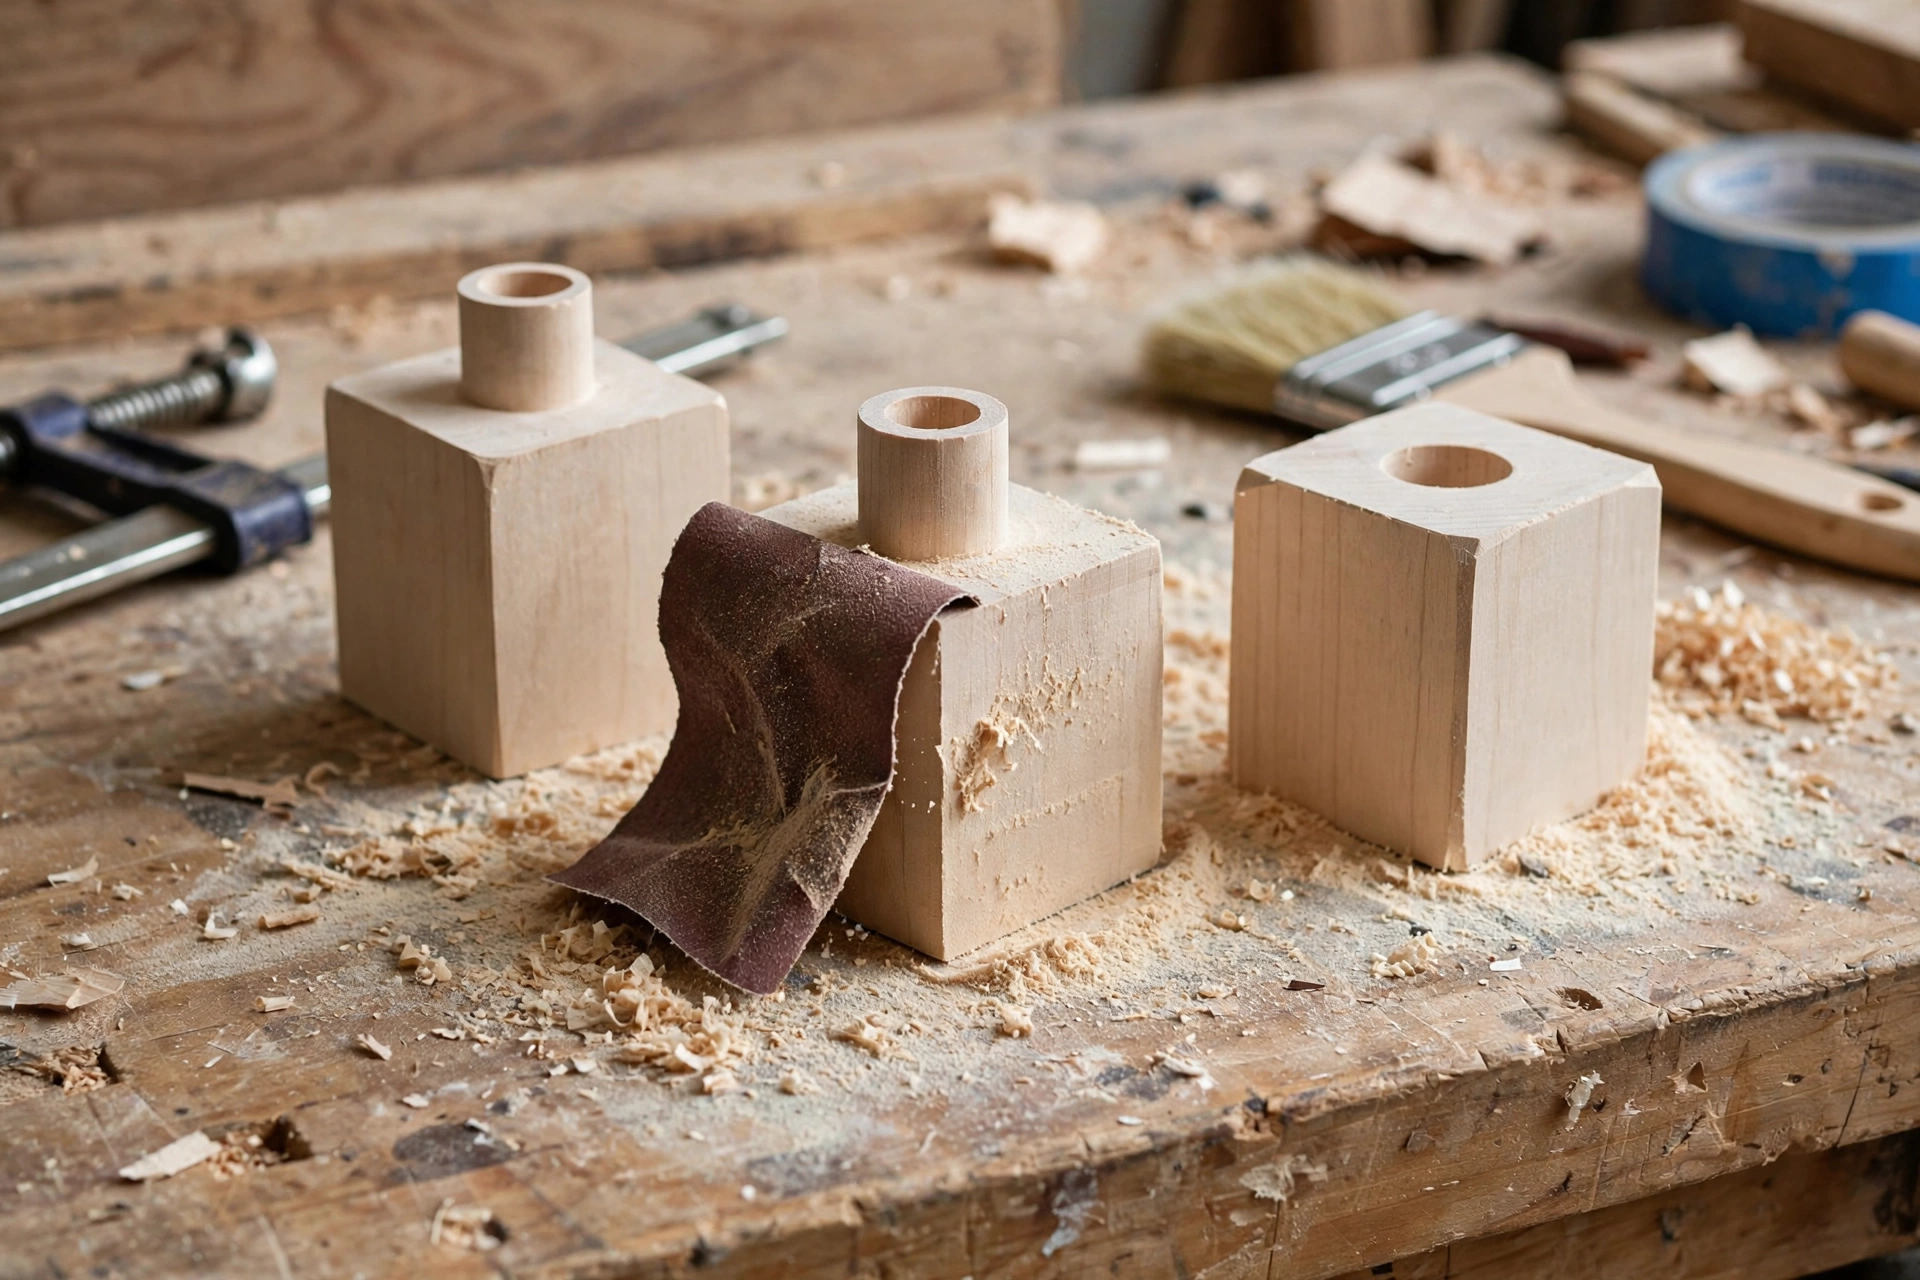
Once the holes are drilled, soften the edges with sandpaper or a router so the holder feels finished rather than freshly sawn. Sand in order: 80 grit to remove saw marks, 120 grit to smooth, then 220 grit for a silky finish. Always sand with the grain, and sand inside the rim of each hole lightly so no rough fibres catch the candle. Wipe away dust with a damp cloth and let the block dry before finishing. For a deeper guide, see how to sand and finish wood for beginners.
Step 5: Stain and Finish
Finishing protects the wood from wax drips and moisture and brings out the grain. For a natural colour, use a clear Danish oil or hardwax oil in two or three thin coats, wiping off the excess each time. For a warmer or darker tone, apply a wood stain first, let it dry fully, then seal it with a clear topcoat. Thin coats dry evenly; thick coats go sticky and blotchy. For help choosing a colour and product, see our guide to the best wood stain for beginners.
Step 6: Fit the Candles and Add Felt Pads
When the finish is fully dry and cured, test-fit your candles. A taper should slide in and stand straight without wobbling. If it is slightly loose, a thin ring of melted wax around the base of the candle, allowed to cool, will snug it up. Never force a candle in. Stick felt pads to the bottom corners to protect your table and stop the holder sliding. Your holder is now ready — but before you light anything, read the safety section below.
Candle Safety: Read This Before You Light a Candle
Wood and open flame demand respect. A wooden candle holder is safe to use when it is built correctly and used sensibly, and unsafe when either of those conditions is missing. Follow these rules every single time:
- Never leave a burning candle unattended. Stay in the room, and blow candles out before you leave the house or go to sleep. No exception.
- Keep candles away from curtains, paper, books, and anything flammable. Leave at least 12 inches of clear space around a lit candle, and never place a holder under a shelf or near a draught that could blow the flame sideways.
- Use a drip tray, glass sleeve, or metal candle cup. A glass hurricane sleeve or a metal cup catches drips, shields the flame from draughts, and keeps hot wax off the wood. For pillar candles, always use a heat-resistant plate or tray under the holder.
- Keep the correct hole depth and candle fit. Stick to 1 inch for tapers and a 1/2-inch recess for pillars, and use the candle sizes in the table above.
- Trim wicks to about 1/4 inch before lighting. A long wick makes a tall, smoky flame that can scorch wood and drip excessively.
- Never burn a candle all the way down in a wooden holder. Extinguish taper candles when about 2 inches remain, and pillar candles when about 1 inch remains.
- Keep holders on a stable, heat-resistant surface, out of reach of children and pets.
- Do not use oversized, drippy, or novelty candles unless the fit and the tray are right for them. If a candle wobbles, drips heavily, or smokes, blow it out and refit it.
If you are ever unsure, enjoy the holder with unlit candles as decoration, or use battery-operated LED candles inside it. They give the same warm look with no flame at all.
How Much Does It Cost?
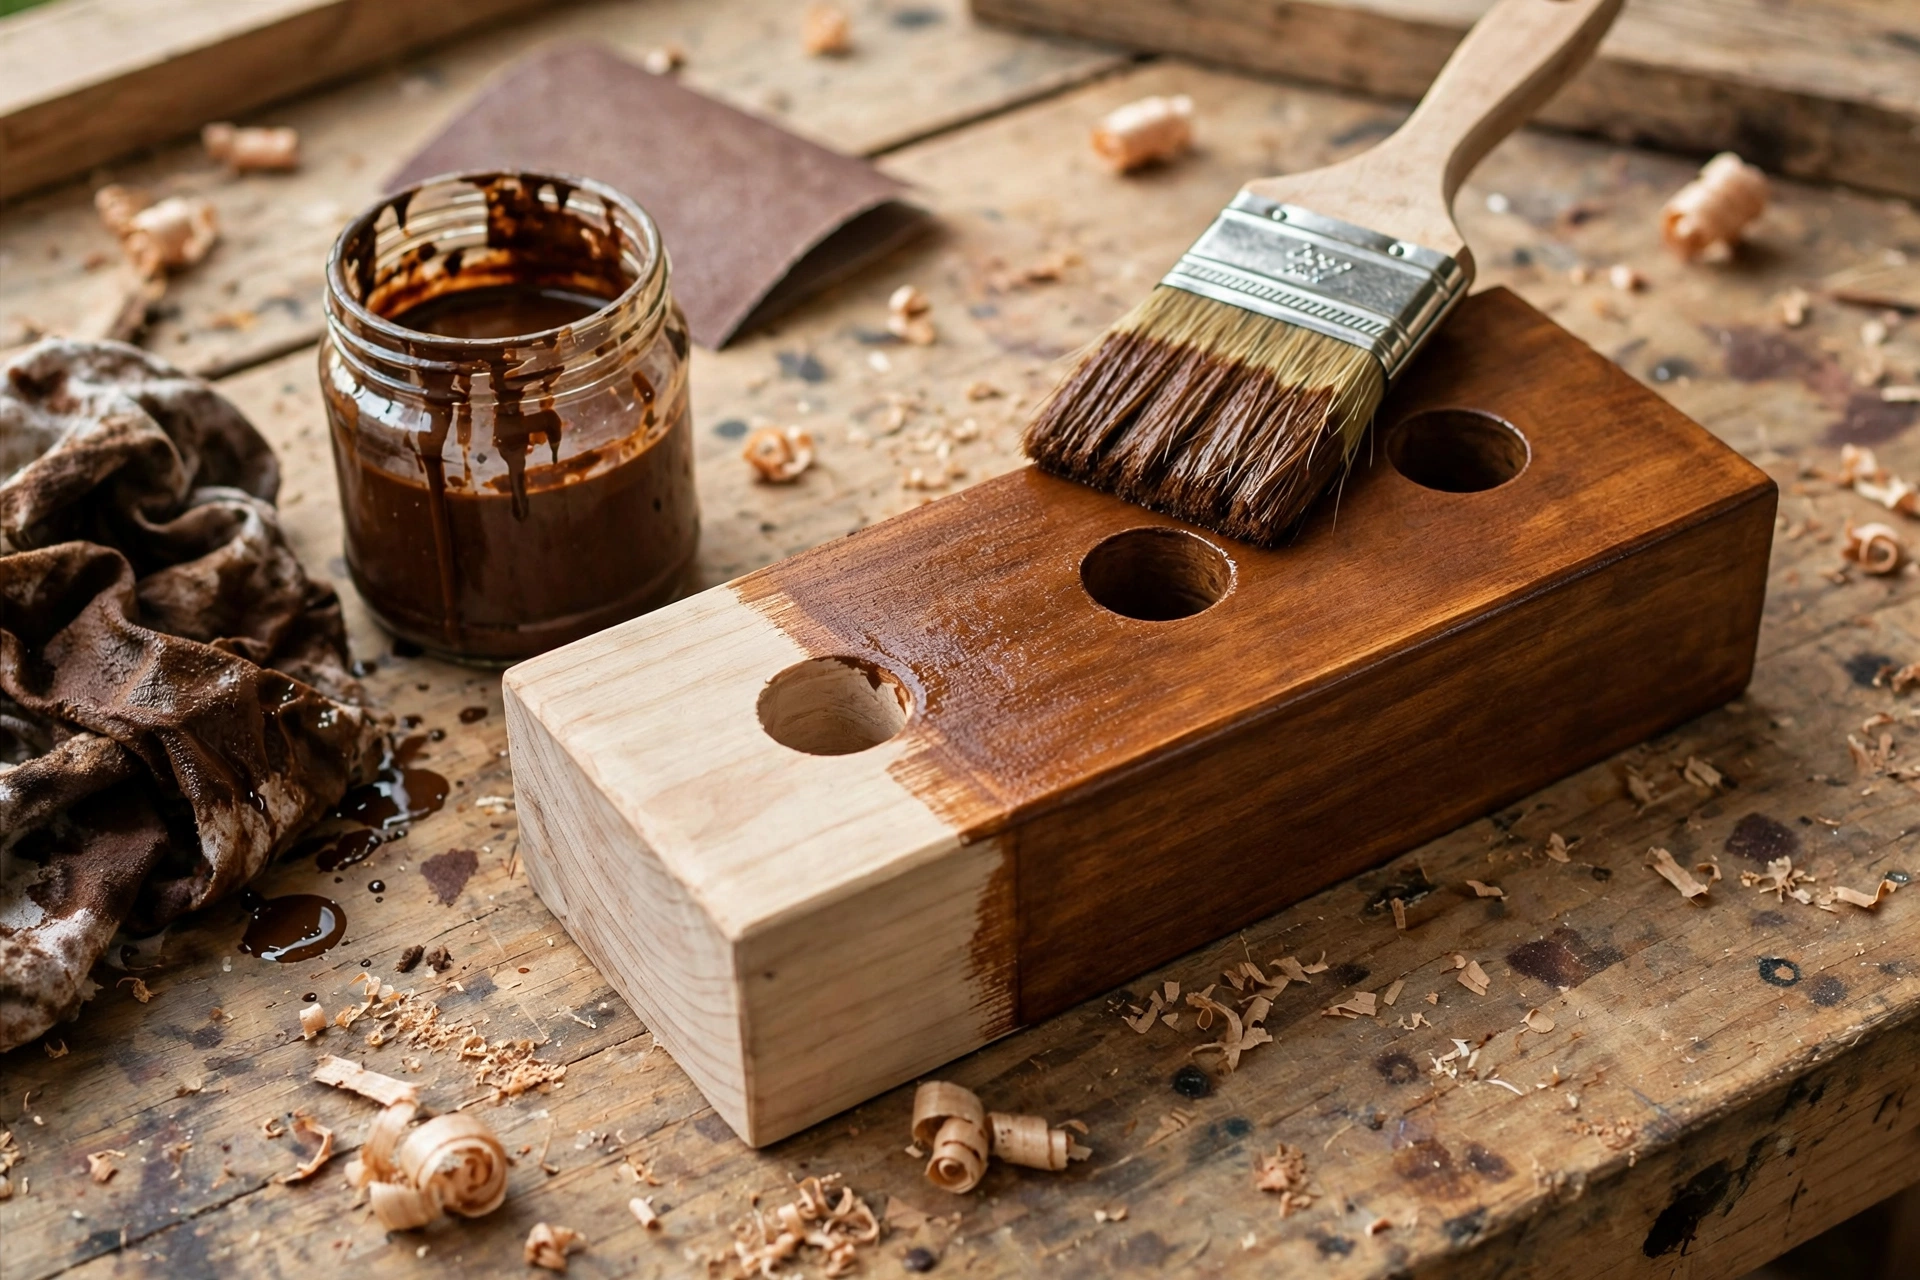
One of the joys of this project is how little it costs. A pine board offcut is often free or a few dollars, and the finish and sandpaper you buy will last for many projects after this one. The Forstner bit is the only specialist purchase, and it is one you will reuse constantly.
| Item | Typical cost (USD) | Notes |
|---|---|---|
| Pine board, 1.75 in thick | $3–$8 | Offcuts are often cheapest; hardwood $10–$20 |
| Forstner bit, 7/8 in | $8–$15 | Buy one good bit rather than a cheap set |
| Sandpaper set (80/120/220) | $4–$6 | Enough for several projects |
| Danish oil or finish | $10–$15 | One bottle finishes many holders |
| Felt pads + candles | $3–$7 | Taper candles are usually sold in pairs or boxes |
| Total for a first holder | About $15–$30 | Less if you already own a drill and sandpaper |
Common Mistakes and How to Avoid Them
Drilling without clamping: an unclamped block can spin and ruin the hole — or hurt your hand. Always clamp. Drilling too deep: set a depth stop or tape guide before you start. Skipping grits when sanding: work through the grits in order, or scratches will show through the finish. Applying finish too thickly: thin coats, wiped back, give a smooth result. Choosing the wrong candle size: measure your actual candles and test on scrap first. Forgetting the safety rules: a beautiful holder used carelessly is still a fire risk.
Variations to Try Next
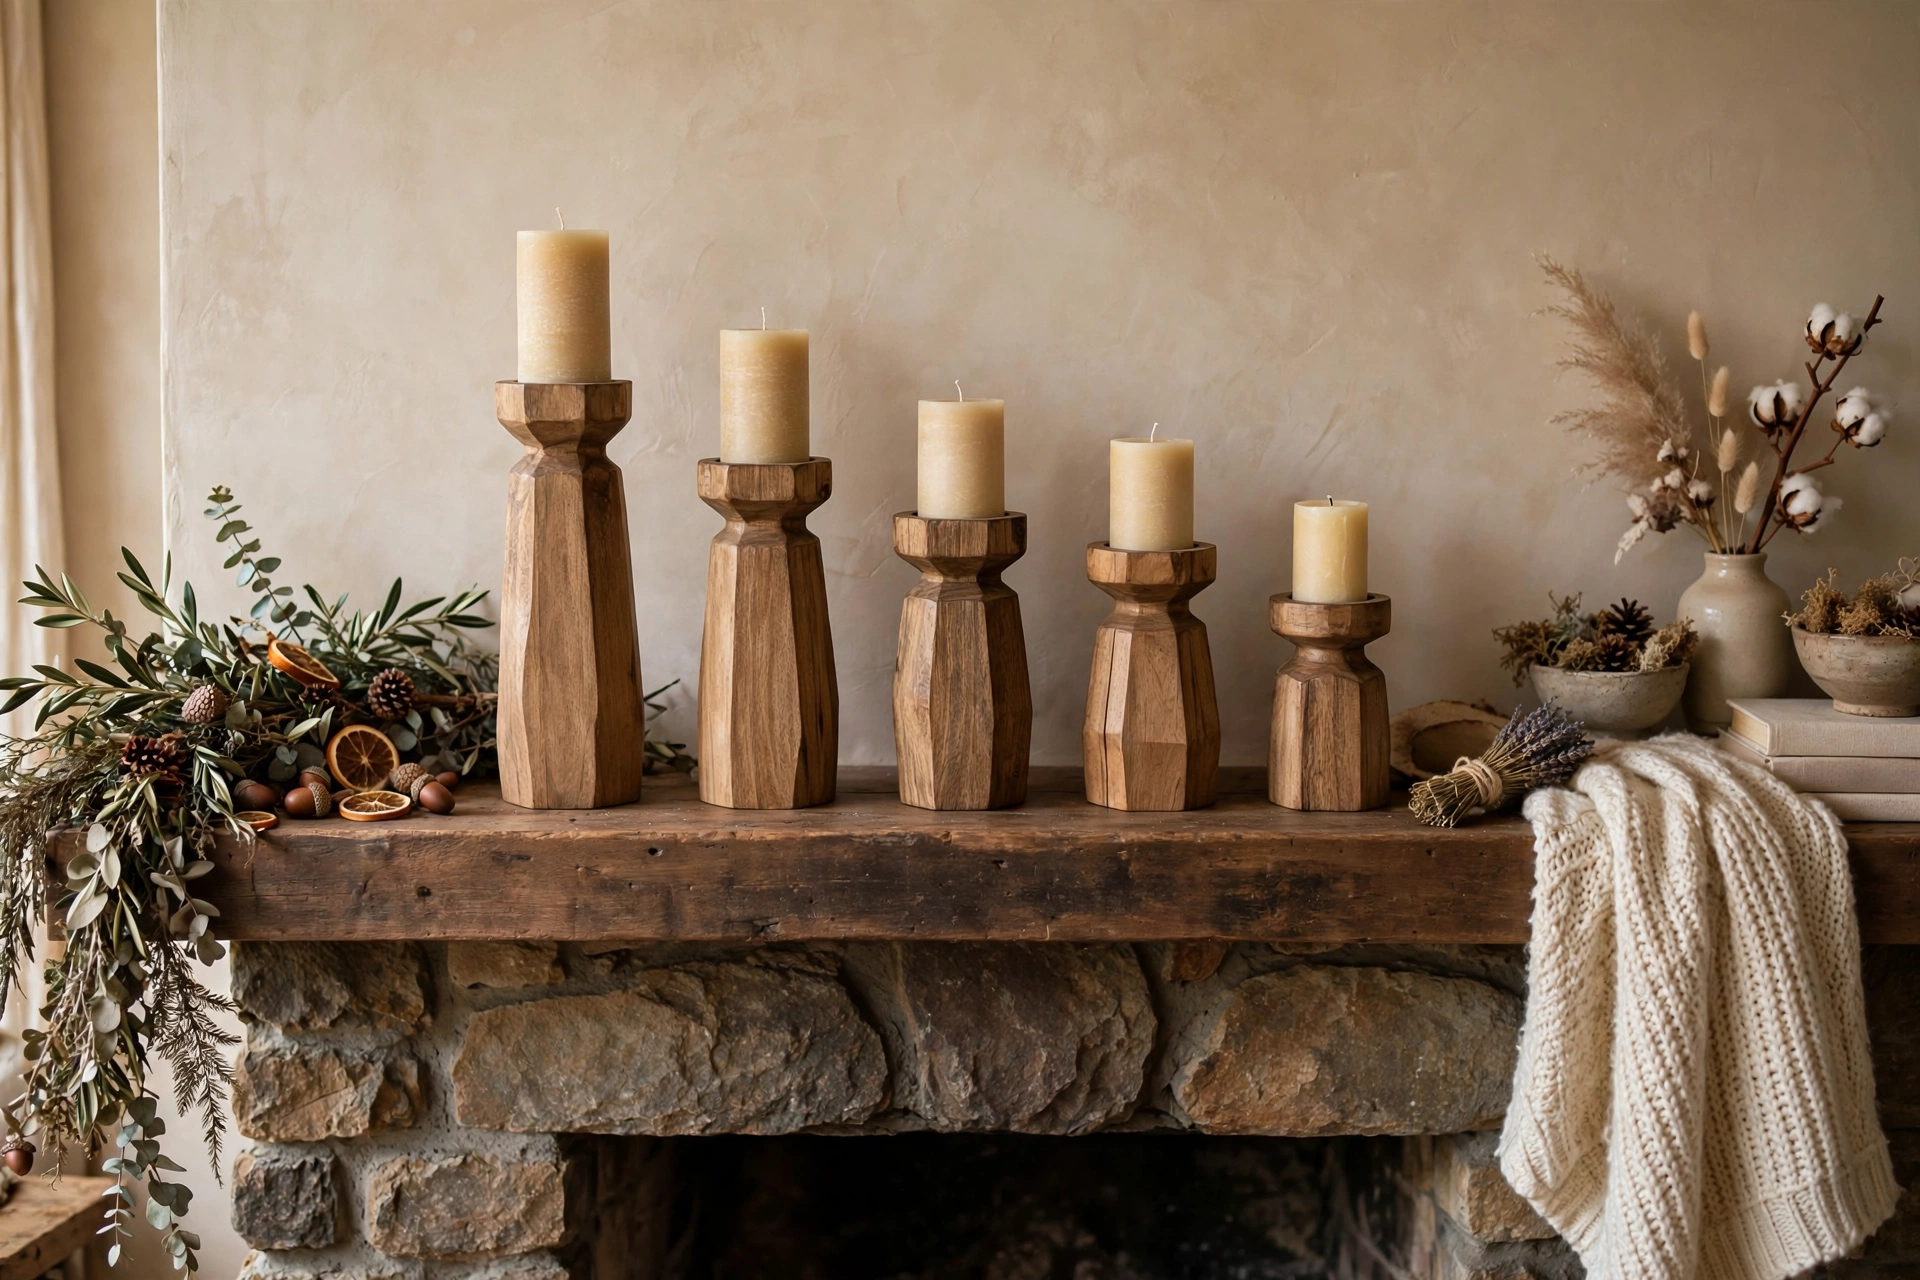
Once you have made the basic designs, small changes give very different looks. Try a live-edge block for a rustic style, a set of three single holders in graduated heights for a mantel display, a long five-hole taper runner for a festive table, or contrasting woods such as walnut with a maple inlay strip. You can also add a shallow groove along the top of a taper block to catch wax, or carve a simple bevel on the pillar base. Keep each variation simple at first — the best-looking holders are usually the simplest ones, well sanded and well finished.
Caring for Your Wooden Candle Holder
Wipe the holder with a dry or slightly damp cloth after use, and remove wax drips while they are still soft, or gently scrape them off once cool with a plastic scraper — never a knife, which can gouge the finish. If the finish looks dull after months of use, a fresh thin coat of oil will usually revive it. Store holders away from direct sunlight and radiators, which can dry and crack wood over time.
Frequently Asked Questions
What is the best wood for a wooden candle holder for beginners?
Pine is the best starting wood because it is cheap, soft, easy to drill, and widely available. Oak and maple are harder and more durable, while walnut gives a premium dark look. Avoid very resinous or heavily knotted boards for your first holder, since knots can chip during drilling.
What size drill bit do I need for a taper candle?
For a standard 7/8-inch taper candle, use a 7/8-inch Forstner bit, or a 15/16-inch bit if your candles run slightly wide. Drill the hole 1 inch deep. Always test the fit on a scrap piece first, because candle diameters vary by brand.
Can I make a wooden candle holder without a drill press?
Yes. A cordless drill with a Forstner bit and a clamped block works well. Keep the drill vertical, work at a moderate speed, and use masking tape on the bit as a depth guide. A drill press makes depth control easier, but it is not required.
Is it safe to burn candles in a wooden holder?
Yes, when the holder is built to the dimensions in this guide and used with the safety rules above: never leave it unattended, keep it away from flammable materials, use a drip tray or glass sleeve, trim the wick, and never burn a candle down to the wood. When in doubt, use LED candles for the same look with no flame.
How do I stop a candle from wobbling in the hole?
First, check the size — the hole should match the candle diameter from the table above. If it is only slightly loose, wrap a thin ring of melted wax around the candle base and let it cool before inserting. If it leans badly, the hole is the wrong size or not vertical, and it is better to re-drill a new block than to force a fit.
Can I sell wooden candle holders I make?
Yes — small wooden candle holders are popular at craft fairs and online, especially as sets of three. Price them to cover wood, finish, candles, and your time, and photograph them styled on a table or mantel. Our pillar guide to easy woodworking projects for beginners that sell explains how beginners choose projects that buyers actually want.
Final Thoughts
Learning how to make a wooden candle holder for beginners is really about learning the fundamentals: measure carefully, cut square, drill cleanly, sand patiently, and finish thinly. Do those five things well, and the holder almost makes itself. Build one for your own table first, then make a set as a gift — handmade holders are the kind of present people keep, because they can see and feel the work in them.
Just remember the golden rule that goes with every candle project: enjoy the light, respect the flame, and never leave a burning candle unattended.
Recommended Products for This Project
As an Amazon Associate, I earn from qualifying purchases.

Titebond III Ultimate Wood Glue 1413 (8 oz)
Water-resistant wood glue for strong indoor and outdoor joints.

IRWIN QUICK-GRIP Woodworking Clamps Set, 8-piece (IRHT83220)
A versatile clamp assortment for everyday glue-ups.

DEWALT Random Orbit Sander DWE6423, 5-inch
Smooth, swirl-free sanding for furniture and finishing prep.

DEWALT 20V MAX Drill/Driver Kit DCD771C2
Compact drill and driver for drilling holes and driving screws all day.

DEWALT Concealer Safety Goggles DPG82-11C
Sealed eye protection against dust and flying chips.


