
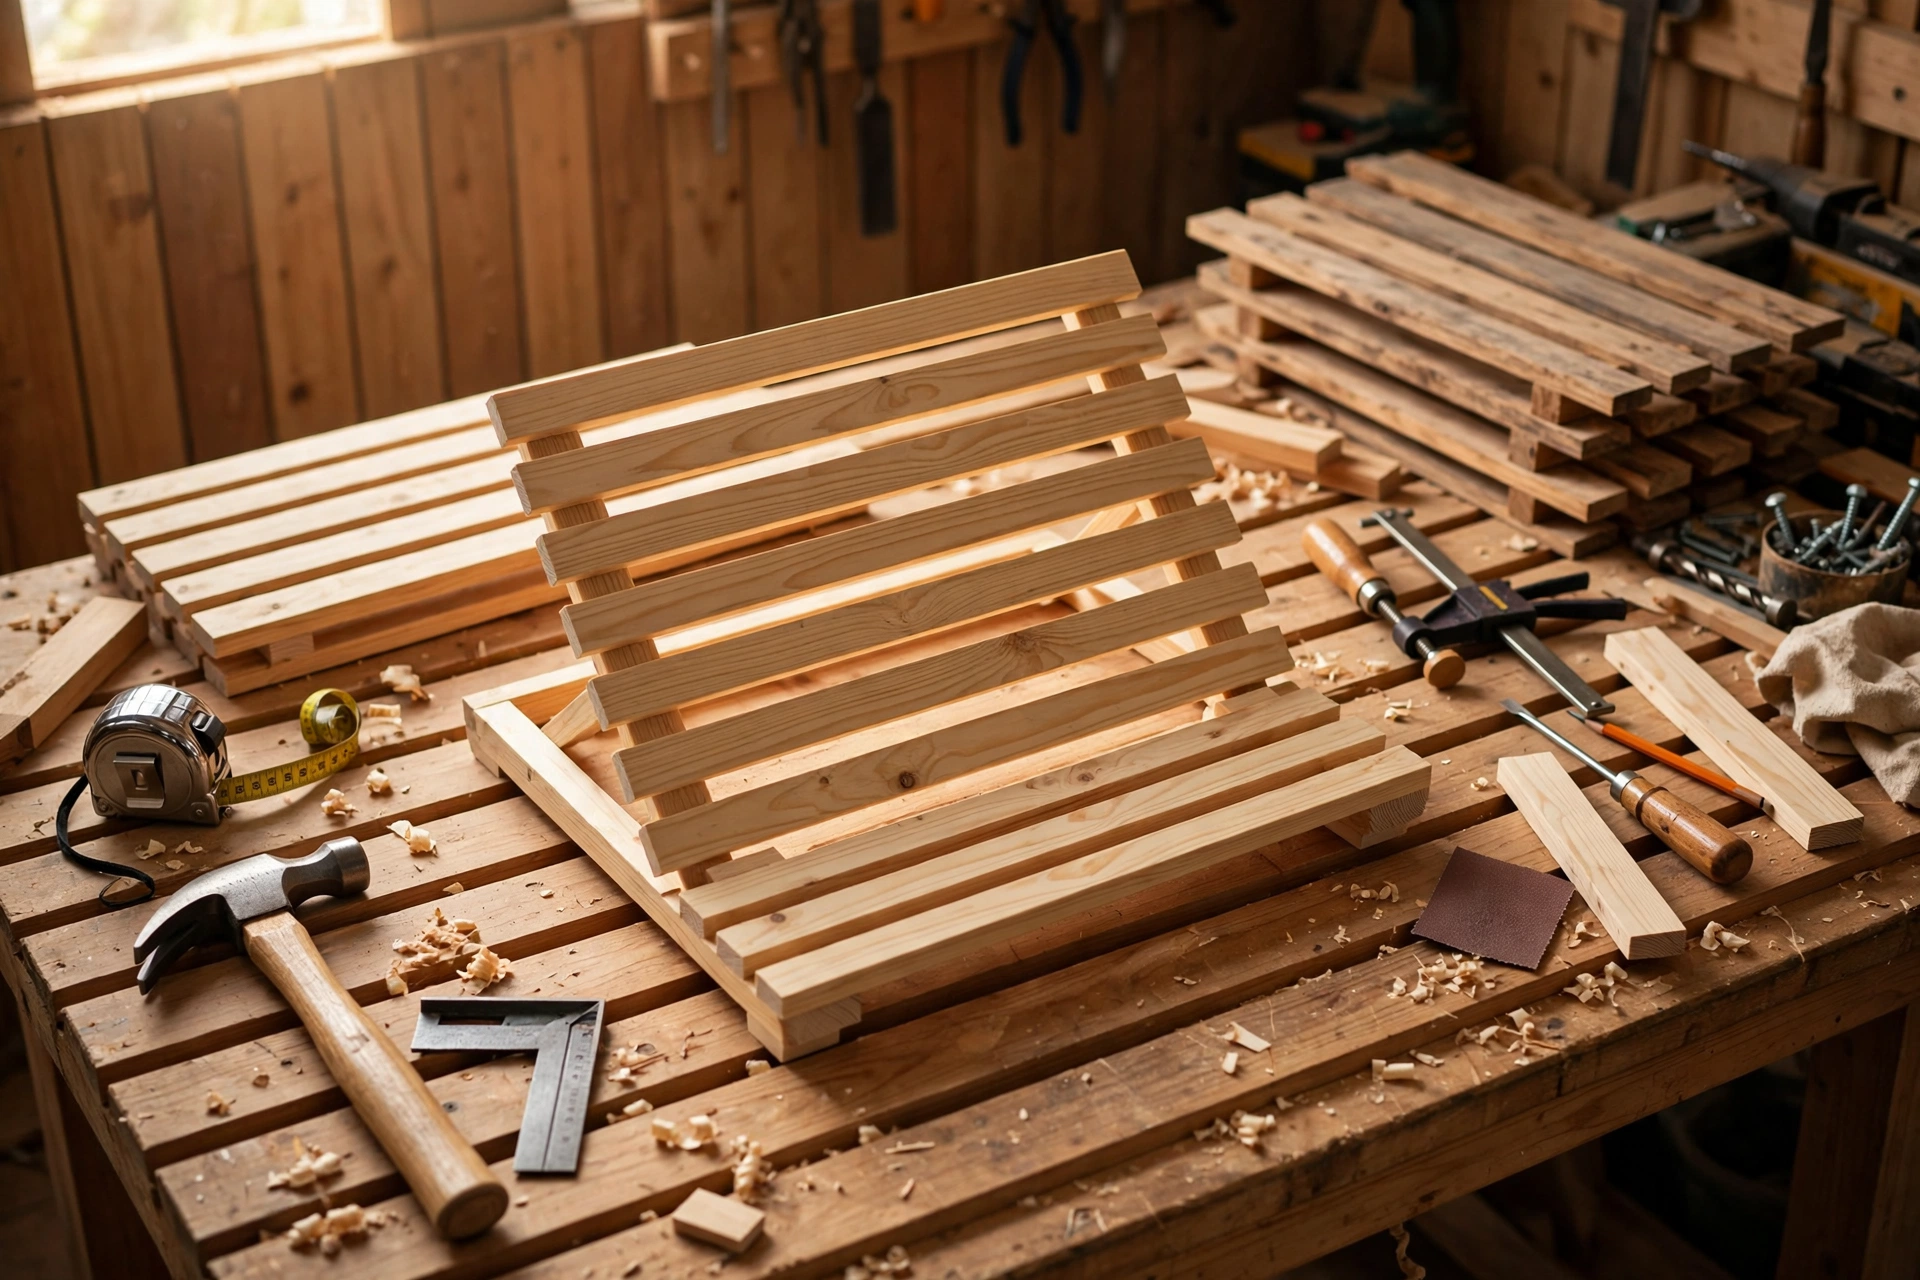
If your neck aches after a long day at the laptop, the fix may be simpler — and cheaper — than a new chair or an expensive adjustable desk. Learning how to build a wooden laptop stand for beginners is one of the most rewarding first woodworking projects you can take on: it uses only a few boards, it takes a single weekend afternoon, and it solves a real everyday problem. A well-built wooden riser lifts your screen to a comfortable eye level, lets air flow underneath your laptop so it runs cooler, and gives you a handy space underneath for a keyboard, a notebook, or a charging cable.
This guide walks you through a simple slatted riser made from 1×4 pine boards. There is no complicated joinery, no expensive hardwood, and no need for a fully equipped workshop. You will measure, cut, assemble, sand, and finish a sturdy stand that fits most 13-inch to 16-inch laptops. Along the way you will learn the core beginner skills — accurate measuring, square cuts, pilot holes, glue-and-screw assembly, and a smooth, durable finish — that you can reuse on almost any small woodworking project.
If you are completely new to the craft, this project sits perfectly alongside other beginner builds. Many readers start with our guide to easy woodworking projects for beginners that sell, then move on to small desk builds like this one. Once you are comfortable with a saw and a drill, you may also enjoy building a matching simple workbench for beginners to give yourself a proper place to build.
Why Build a Wooden Laptop Stand Instead of Buying One?
A shop-bought laptop stand usually costs anywhere from $25 to $80, and many of them are made from thin plastic or aluminium that wobbles, scratches a desk, or traps heat. A wooden stand you build yourself has several clear advantages. First, wood is naturally warm, quiet, and kind to your desk surface — especially once you add small felt or rubber feet. Second, you control the exact height, width, and depth, so the stand fits your laptop and your body rather than the other way around. Third, a slatted top is genuinely better for airflow than a solid board: warm air escapes through the gaps instead of building up under the machine.
There is also the satisfaction factor. A laptop stand is something you will touch every working day. When you made it yourself, every time you set your laptop down you get a small reminder that you can build useful things with your own hands. It also makes a thoughtful handmade gift, and if you later decide to sell your work, small desk accessories are among the easiest beginner items to offer, as explained in our pillar guide to easy woodworking projects for beginners that sell.
Finally, this is a forgiving project. The parts are small, the cuts are all straight, and a millimetre here or there will not ruin the result. That makes it an ideal first build before you move on to larger furniture.
Ergonomics First: How High Should a Laptop Stand Be?
Before you cut a single board, it helps to understand what the stand is actually doing for your body. When a laptop sits flat on a desk, the screen is far too low. You tilt your head down, round your shoulders, and strain your neck — the classic “laptop hunch.” Raising the screen so the top third of the display is roughly at eye level lets you sit upright with a neutral neck.
For most adults sitting at a standard 29–30 inch desk, a riser height of about 4 to 5 inches works well when paired with a separate keyboard and mouse. If you keep typing on the laptop’s own keyboard, a lower rise of 3 to 4 inches is more comfortable, because a very high stand forces your wrists into an awkward upward angle. The design in this guide raises the laptop platform about 4 inches off the desk — a good middle ground — and the open space underneath is tall enough to slide a slim keyboard under when you are not using it.
Screen height also depends on laptop size. A 13-inch laptop has a shorter screen, so its top edge sits lower even on the same stand. A 16-inch laptop already starts taller, so it needs less lift. Use the table below as a starting point, then test with books or blocks before you build: stack your laptop to the planned height, sit in your normal chair, and check that you can look straight ahead without tilting your head up or down.
Laptop Size and Riser Height Guide
| Laptop screen size | Typical laptop width | Recommended riser height | Best setup |
|---|---|---|---|
| 13 inch | 12–12.5 inches | 4–5 inches | External keyboard and mouse recommended |
| 14 inch | 12.5–13 inches | 4 inches | External keyboard ideal; built-in keyboard usable |
| 15.6 inch | 14–14.5 inches | 3.5–4 inches | External keyboard ideal for long sessions |
| 16 inch | 14–14.5 inches | 3–4 inches | Lower rise suits the taller built-in screen |
| 17 inch | 15.5–16 inches | 3 inches, wider platform | Widen the platform to 17 inches (see Variations) |
The platform in this project is 15 inches wide and 11 inches deep, which comfortably holds laptops up to about 15.6 inches. If your laptop is wider, simply lengthen the slats — the design scales easily, and the Variations section explains how.
Airflow matters just as much as height. Laptops draw cool air in from underneath and vent hot air out of the sides or rear. A solid board traps that heat. This design uses five slats with roughly 3/8-inch gaps between them, so air moves freely under the machine. Keep the gaps clear — do not cover them with a mousepad or a cloth — and your laptop fan should run less often and more quietly.
Materials You Will Need
You need very little timber for this project, which keeps the cost low. One 8-foot 1×4 pine board is usually enough for the whole stand, with a little spare for test cuts. Pine is ideal for beginners: it is soft, affordable, widely available, and easy to cut, sand, and finish. If you prefer a darker look, you can use poplar or oak, but expect to pay more and to work a little harder when drilling and sanding.
Buy boards that are straight and free of large knots, especially for the top slats, since knots can be hard to sand smooth and may weaken a thin piece. Sight down the length of each board in the store — if it twists or bows noticeably, pick another one. A slightly cupped board can still work for the legs, but the top slats should be as flat as possible so your laptop sits level.
You will also need wood glue, screws, sandpaper in three grits, a finish, and small adhesive feet. For the finish, a simple wipe-on oil or a clear water-based polyurethane both work well. Oil gives a warm, natural feel and is very forgiving to apply; polyurethane gives a harder, more spill-resistant surface, which is useful if coffee cups live near your desk. Either way, finish all sides, including the underside, so moisture does not warp the wood unevenly.
For tools, a circular saw or a miter saw makes the straight cuts quick and accurate, but a handsaw and a miter box will also do the job if you take your time. If you are still choosing your first saw, read our guide to the best circular saw for beginners before you buy. You will also need a drill/driver, a drill bit for pilot holes, a countersink bit or a larger bit for counterbores, a tape measure, a pencil, a speed square, and clamps if you have them. Safety glasses and hearing protection are not optional — wear them for every cut and every drilling step.
Exact Cut List for a Wooden Laptop Stand for Beginners
Measure twice and cut once — the old advice exists because it saves timber, time, and frustration. A 1×4 board is not actually 1 inch by 4 inches; its finished size is 3/4 inch thick by 3-1/2 inches wide. That matters when you work out the overall height, so this cut list uses real finished dimensions.
The stand has two parts: a slatted top platform and two side legs that also act as the frame. The top is five slats laid side by side with small gaps. The legs are simple rectangular frames made from the same 1×4 stock, cut on edge, so the platform sits about 4 inches above the desk.
Cut List Table
| Part | Quantity | Board | Length | Notes |
|---|---|---|---|---|
| Top slats | 5 | 1×4 pine | 15 inches each | Forms the 15-inch wide platform |
| Front and back rails | 2 | 1×4 pine | 13-1/2 inches each | Run under the slats, front and back |
| Side legs (uprights) | 4 | 1×4 pine | 3-1/4 inches each | Sets the riser height with rails |
| Bottom feet rails | 2 | 1×4 pine | 11 inches each | Run front-to-back under each side |
| Lip strip (front stop) | 1 | 1×4 pine, ripped or 1×2 | 13 inches | Optional front lip to stop sliding |
| Total 1×4 needed | — | — | About 11 feet | One 12-foot board or two 6-foot boards |
A note on the height maths: the uprights are 3-1/4 inches tall, and the rails and slats above them bring the laptop surface to roughly 4-3/4 inches above the desk. That is within the comfortable range for most users with an external keyboard, and you can shorten the uprights by 1/2 inch if you prefer a lower stand for built-in keyboard use.
If you add the optional front lip strip, keep it thin — about 3/4 inch tall above the slat surface is plenty to stop the laptop sliding forward, without blocking the screen or the keyboard. Some builders prefer a small rubber strip instead; either works, and the lip is easy to add later if you find your laptop creeps forward on a smooth desk.
Step-by-Step: How to Build a Wooden Laptop Stand for Beginners
Step 1: Measure and Mark Every Board
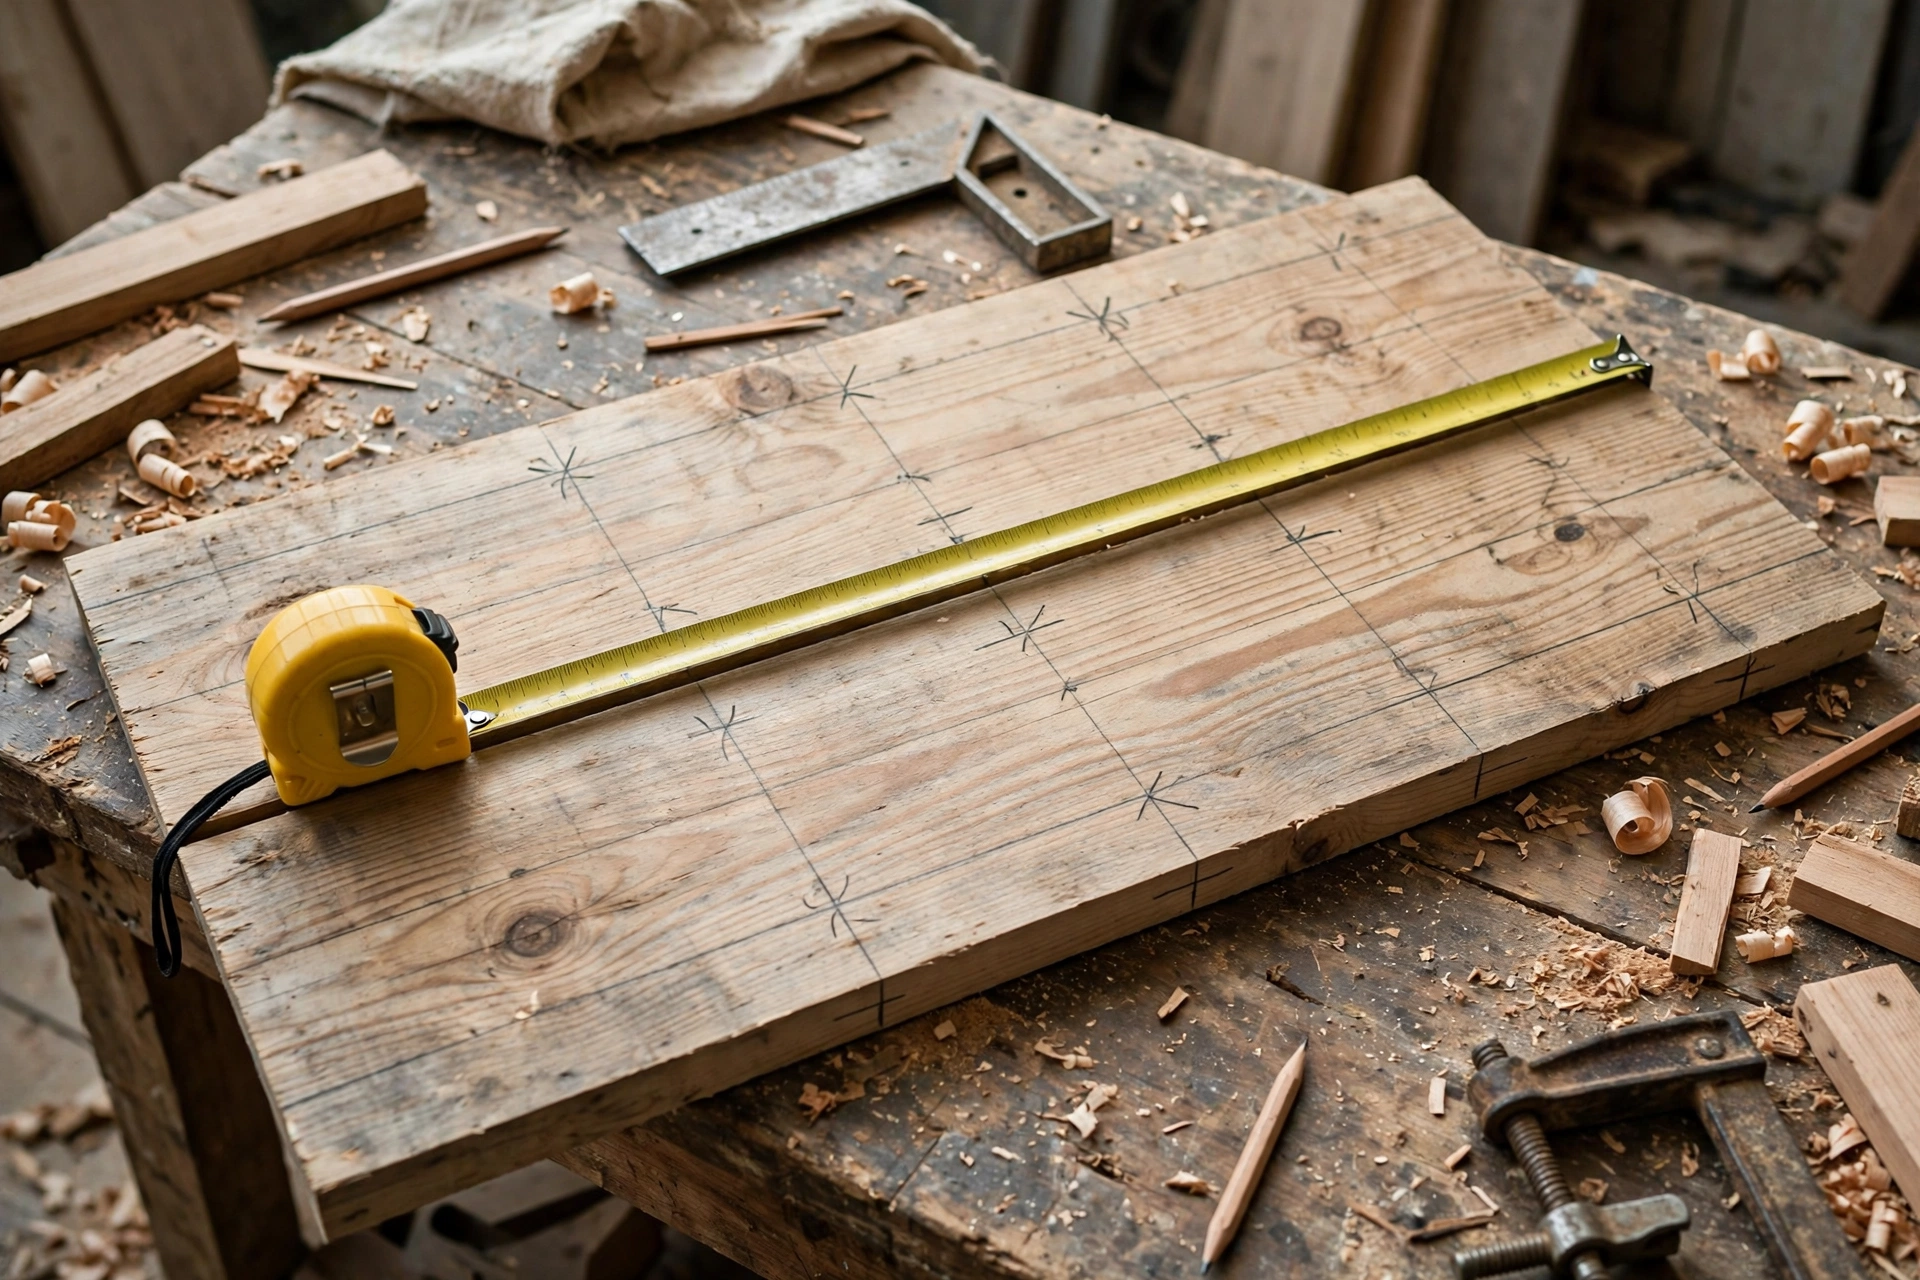
Start by measuring your laptop. Note its width, depth, and where its air vents sit. Then measure and mark each cut on your 1×4 board with a pencil and a speed square. Mark the waste side of each line with a small X so you always cut on the correct side — a common beginner mistake is cutting on the wrong side of the line and ending up 1/8 inch short.
Cut a test piece first from a scrap offcut and check it against your tape measure. If your saw cuts slightly wide or narrow, you will learn that on scrap, not on a finished slat. Label each piece lightly in pencil as you cut it: “slat,” “rail,” “upright,” and “foot.” It sounds fussy, but with thirteen pieces on the bench, labels prevent mix-ups.
Step 2: Cut the Slats, Rails, and Legs

Cut the five top slats to 15 inches first, then the rails, uprights, and feet rails. Keep the saw shoe flat on the board and let the blade do the work — pushing hard causes wandering cuts and tear-out. If you are using a circular saw, clamp a straight board as a guide for the first few cuts until you are confident freehand. Support both sides of the board so the offcut does not snap off and splinter at the end of the cut.
After cutting, dry-fit everything on the bench before any glue touches wood. Lay the five slats face-down in order, place the front and back rails across them, and set the leg frames underneath. Check the overall width, depth, and squareness. This dry run takes five minutes and catches mistakes while they are still easy to fix.
Step 3: Assemble the Two Side Leg Frames
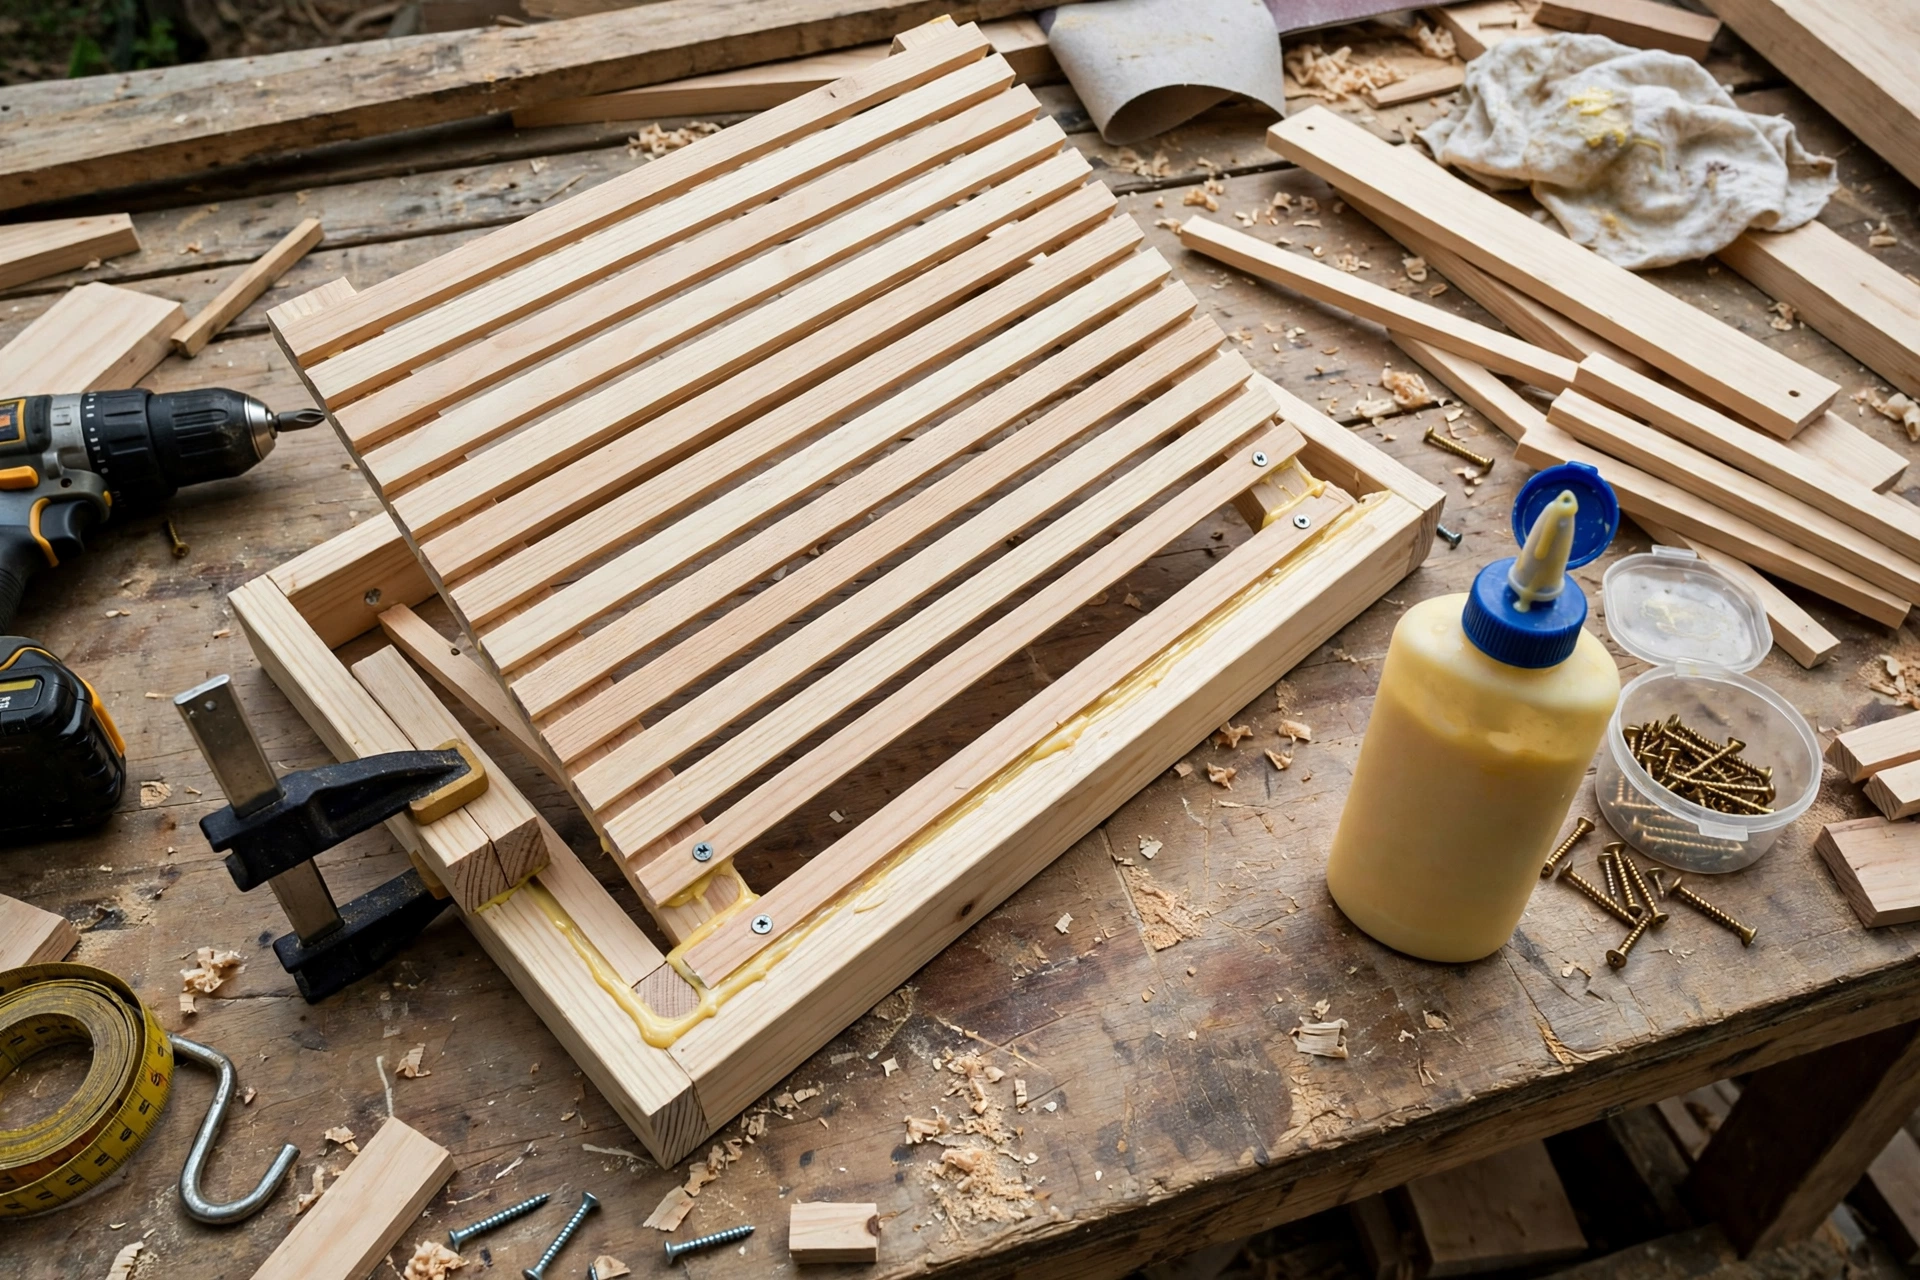
Each side of the stand is a small rectangular frame: two uprights joined by one bottom foot rail. Apply a thin, even layer of wood glue to the joints, clamp or hold the pieces square, and drill pilot holes before driving screws. Pilot holes are essential in pine — without them, screws near the end of a board will split the wood, especially in the short uprights.
Use 1-1/4 inch wood screws for most joints, and countersink each screw head slightly below the surface so you can fill it later or leave a neat, flush finish. Check each frame with a speed square: if a frame is out of square, the stand will rock. Fix it now, while the glue is still workable, rather than after the whole stand is assembled.
Step 4: Attach the Front and Back Rails
With both leg frames built, lay the five top slats face-down on a flat surface, spaced evenly with a small spacer — a spare piece of 3/8-inch scrap, a stack of coins, or a pencil works as a gap gauge. Place the front and back rails across the slats, about 1 inch in from each end, and mark their positions in pencil.
Glue and screw each slat to both rails from underneath, so no screw heads show on the top surface your laptop rests on. Work from the centre slat outward so the spacing stays even, and check the gaps as you go. If a gap drifts, nudge the slat before the screw goes in. Once both rails are attached, the top becomes a single rigid panel — a satisfying moment in any beginner build.
Step 5: Join the Top to the Leg Frames and Test for Rock
Stand the leg frames upright and set the top panel on them. The rails should sit flush on the top of the uprights. Glue and screw through the rails into the uprights, again drilling pilot holes first. Then set the stand on a known-flat surface — a kitchen counter or a sheet of glass is ideal — and press down on each corner in turn. If it rocks, find the long leg: it is usually one foot rail that is a fraction proud, or a frame that is slightly out of square.
Small rocking is fixable. Sand the long foot lightly, or add a slightly thicker adhesive foot to the short corner. Do not ignore a rock — it will annoy you every day and can make a laptop vibrate when you type. A stand that sits dead flat is the mark of a careful build, and it is worth ten extra minutes to achieve.
Step 6: Sand Everything Smooth

Sand in stages: start with 80-grit to remove saw marks and level the joints, then 120-grit, then finish with 220-grit for a silky surface. Always sand with the grain, never across it, and pay special attention to the top edges of the slats, where your wrists and your laptop will make contact. Round over sharp edges slightly with sandpaper — a soft, eased edge feels far better than a crisp 90-degree corner and is less likely to chip.
After the final grit, wipe the whole stand with a slightly damp cloth to raise the grain, let it dry, and give it one last light pass with 220-grit. This extra step takes only a few minutes and makes a noticeable difference to how smooth the finish feels. Vacuum or brush away all dust before finishing; dust trapped under oil or polyurethane shows up as rough spots.
Step 7: Apply the Finish and Add Feet

Apply your chosen finish in thin coats, following the product instructions. For wipe-on oil, flood the surface, let it soak for a few minutes, then wipe off all excess — pooled oil turns sticky and never quite cures. For polyurethane, use a foam brush or a clean cloth, keep coats thin, and sand lightly with 320-grit between coats. Two to three coats are plenty for a desk accessory.
Let the finish cure fully before you put a laptop on it — at least 24 hours for oil, and the time stated on the tin for polyurethane. Then stick small self-adhesive rubber or felt feet to the bottom of each foot rail. Rubber grips better on a smooth desk; felt slides more easily if you often reposition the stand. Either way, feet protect your desk and absorb tiny vibrations.
Stability Testing: Make Sure It Will Not Tip or Slide
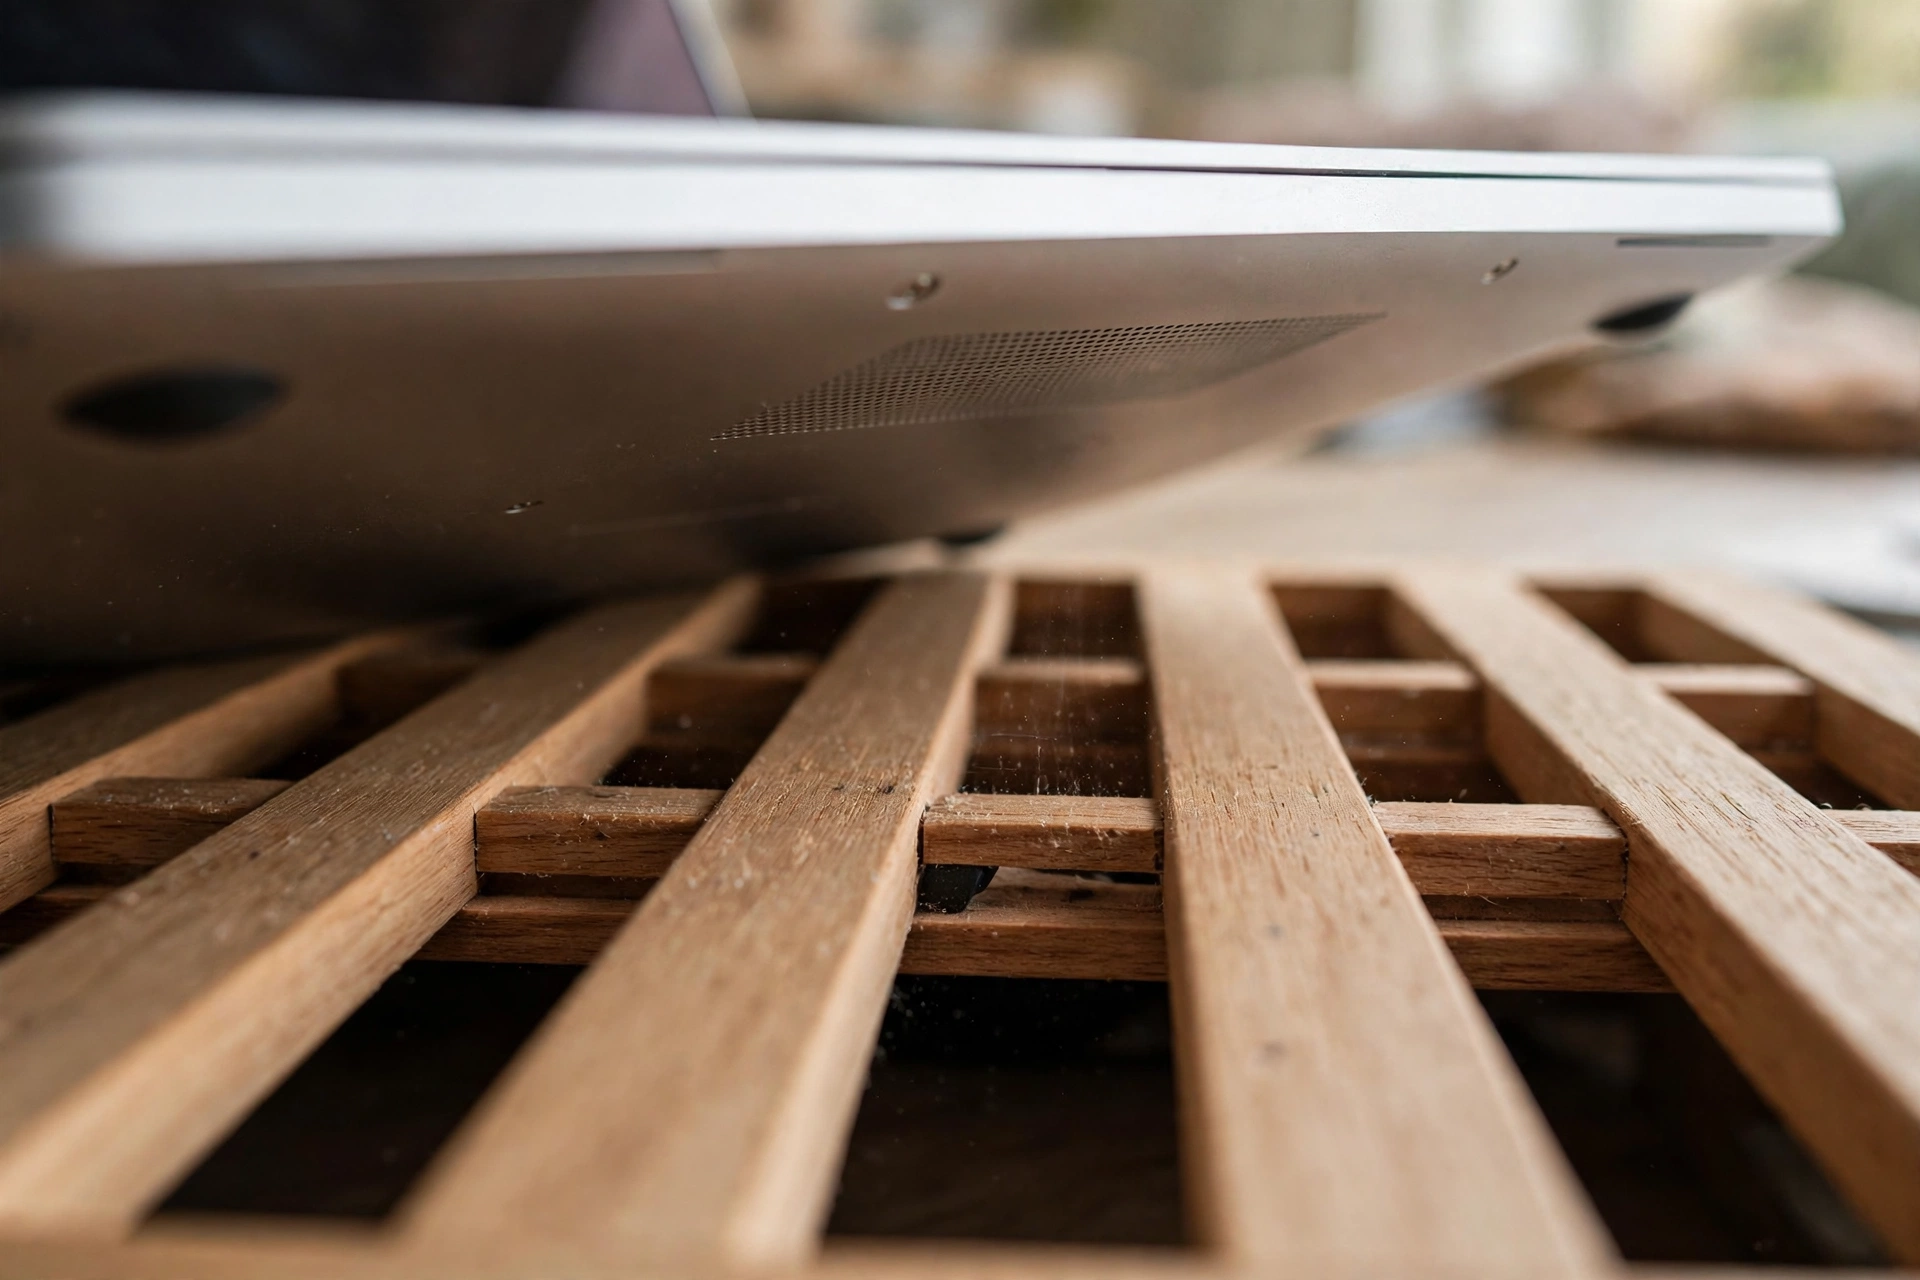
A laptop stand must be stable under real use, not just sitting empty on a bench. Test yours properly before you trust it with an expensive machine. Place your laptop on the stand, open the lid, and type a paragraph at normal speed. The stand should not rock, creep forward, or flex noticeably. Press down on the front edge as if you were resting your palms while typing — the stand should stay planted.
Next, test the tip angle. With the laptop open, gently push the top of the screen backward. A good stand keeps the laptop in place; if the whole stand tips, your base is too narrow or your laptop is too far forward. Moving the laptop back half an inch, adding the front lip strip, or widening the foot rails all help. Finally, check the weight rating in practice: most pine slat stands easily hold 8–10 pounds, far more than any normal laptop, but if you plan to use a heavy 17-inch machine or to rest books on the stand as well, add a centre support rail under the middle slat.
If you build a matching desk organiser to go with the stand, keep the two pieces in proportion — a tidy desk is easier to keep tidy. Our guide to how to build a wooden desk organizer for beginners uses the same pine, the same tools, and the same finish, so the pair looks like a set.
Costs: What This Project Really Costs
One of the best things about this build is how little it costs. Prices vary by region and store, but a realistic budget looks like this: one 1×4 pine board (8–12 feet) $6–$12, wood glue and screws if you do not already own them $5–$8, sandpaper pack $4–$6, wipe-on oil or small tin of polyurethane $8–$12, and adhesive feet $2–$3. If you already own glue, screws, and sandpaper, the timber-only cost can be under $15.
Compare that with a $40–$60 shop-bought stand, and you have saved money while gaining a custom fit and a new skill. If you make more than one — for a partner, a friend, or to sell — the per-unit cost drops further, because one tin of finish and one pack of screws covers several stands. Keep your receipts for the first build so you can price later ones accurately, a habit that pays off if you ever turn beginner projects into a small side income.
Common Mistakes Beginners Make (and How to Avoid Them)
The most common mistake is skipping pilot holes. Pine splits easily near board ends, and a split upright can ruin an otherwise perfect frame. Drill a pilot hole slightly smaller than the screw shaft for every screw, every time. The second mistake is uneven slat gaps. Gaps that wander look untidy and can make a laptop sit unevenly, so use a spacer gauge for every gap, not your eye alone.
A third mistake is sanding too little, or sanding across the grain. Cross-grain scratches show up clearly under a clear finish, so always finish with the grain and work through the grits in order — jumping from 80-grit straight to 220-grit leaves deep scratches that the fine paper cannot remove. A fourth mistake is applying finish too thickly. Thick coats drip, pool in the slat gaps, and stay tacky. Thin coats, fully wiped or brushed out, always look better.
Finally, do not rush the curing time. Putting a warm laptop on a not-yet-cured finish can leave marks that are hard to remove. Wait the full recommended time, even if the surface feels dry to the touch. Patience at this stage is what separates a stand that looks handmade in the best sense from one that looks unfinished.
Variations: Keyboard Storage, Monitor Riser, and More
Once you have built the basic stand, variations are easy. For keyboard storage, the standard 4-inch clearance already fits most slim keyboards — just slide yours underneath when you switch to an external keyboard. If your keyboard is chunky or mechanical with tall keycaps, lengthen the uprights by 1/2 inch to raise the clearance.
For a monitor riser version, scale the whole design up: widen the platform to 20–22 inches, deepen it to 11–12 inches, and use 1×6 boards for the top slats instead of 1×4. Add a centre support rail under the middle slat so a heavier monitor cannot bow the platform. The same glue-and-screw method works, and the finished riser gives you storage space underneath for a notebook, a hub, or a small speaker.
Other variations include a two-tier version with a lower shelf for a notebook, a version with a cable slot cut into the back rail for a charging cable, and a stained version in walnut or dark oak stain for a more formal office. Keep the slatted top in every version — it is the feature that keeps your laptop cool, and it is what makes this design better than a solid board.
Caring for Your Wooden Laptop Stand
Care is simple. Dust it weekly with a dry cloth, wipe spills promptly, and avoid leaving a very hot laptop on it for hours without airflow — although the slats handle normal heat well, sustained high heat can dry out an oil finish faster. Re-oil once or twice a year if you used oil: wipe on a thin coat, wait, wipe off, and let it cure overnight. For a polyurethane finish, a yearly wipe with a damp cloth and a check of the feet is usually all it needs.
If a foot wears out, peel it off and stick on a fresh one — a two-minute job that keeps the stand level and your desk scratch-free. And if the stand ever gets a dent or a scratch, that is part of its story. A light sand and a touch-up coat of the same finish will blend most marks, and a handmade object that shows gentle use looks better, not worse, than a pristine plastic one.
Frequently Asked Questions About Building a Wooden Laptop Stand for Beginners
How long does it take to build a wooden laptop stand for beginners?
Most beginners finish in 2–4 hours of active work, plus overnight curing time for the finish. Measuring and cutting takes about an hour, assembly about an hour, and sanding and finishing about an hour. If this is your very first build, allow a relaxed afternoon rather than rushing it into an hour.
What is the best wood for a beginner laptop stand?
Pine is the best choice for a first build: it is cheap, soft, easy to cut and sand, and widely available as 1×4 boards. Poplar is a good step up if you want a smoother, knot-free surface, while oak or walnut look beautiful but cost more and are harder to work with hand tools.
How high should a wooden laptop stand be?
About 4 inches is a good all-round height for most adults at a standard desk, especially with an external keyboard and mouse. If you type on the laptop’s own keyboard, aim for 3–4 inches instead so your wrists stay neutral. Test the height with books before you cut, and adjust the upright length to suit your chair and desk.
Will a slatted wooden stand keep my laptop cooler?
Yes. The gaps between the slats let air circulate under the laptop, which helps it shed heat more effectively than sitting on a solid board or directly on a desk. Keep the gaps clear, do not block the laptop’s vents, and the fan should run less often under normal use.
Do I need a separate keyboard and mouse with a laptop stand?
For long work sessions, yes — an external keyboard and mouse are strongly recommended. Raising the screen to eye level also raises the keyboard, which can strain your wrists if you keep typing on it. A basic external keyboard and mouse are inexpensive, and the space under this stand is designed to store a slim keyboard when not in use.
Can I build this laptop stand with only hand tools?
Yes. Every cut in this project is a straight crosscut, so a handsaw and a miter box, a hand drill or brace, sandpaper, and a speed square are enough. Power tools make the job faster, but they are not required — take your time, mark carefully, and the result will be just as good.
Final Thoughts
Learning how to build a wooden laptop stand for beginners is a small project with an outsized payoff: a healthier posture, a cooler laptop, a tidier desk, and proof that you can build something useful from a single board. Start with straight pine, measure carefully, drill pilot holes, sand through the grits, and finish thinly — and you will end the afternoon with a stand you will use every day.
When you are ready for your next build, keep the momentum going. A matching desk organiser, a simple workbench, or another small project from our beginner collection will build on exactly the skills you practised here. Happy building — and enjoy that first comfortable, upright work session on a stand you made yourself.
Recommended Products for This Project
As an Amazon Associate, I earn from qualifying purchases.

Titebond III Ultimate Wood Glue 1413 (8 oz)
Water-resistant wood glue for strong indoor and outdoor joints.

IRWIN QUICK-GRIP Woodworking Clamps Set, 8-piece (IRHT83220)
A versatile clamp assortment for everyday glue-ups.
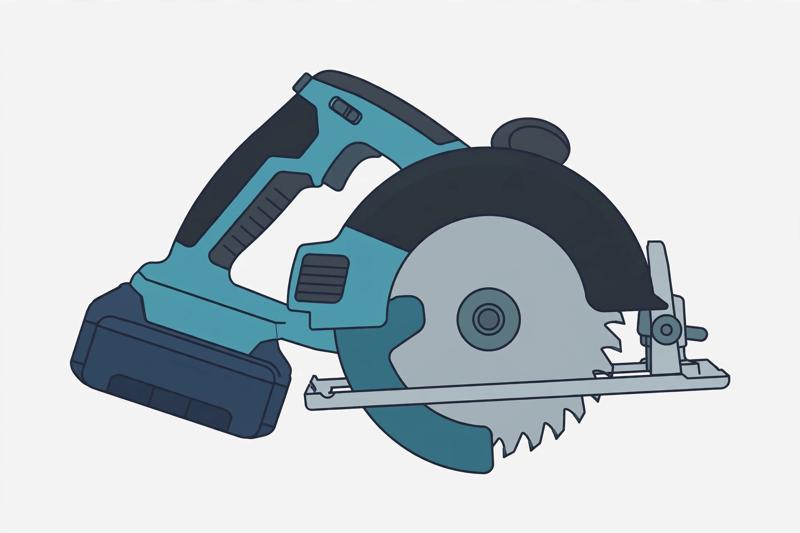
DEWALT 20V MAX Circular Saw DCS391B
Cordless 20V power for straight, fast cuts in boards and plywood.

DEWALT Random Orbit Sander DWE6423, 5-inch
Smooth, swirl-free sanding for furniture and finishing prep.

DEWALT 20V MAX Drill/Driver Kit DCD771C2
Compact drill and driver for drilling holes and driving screws all day.


