
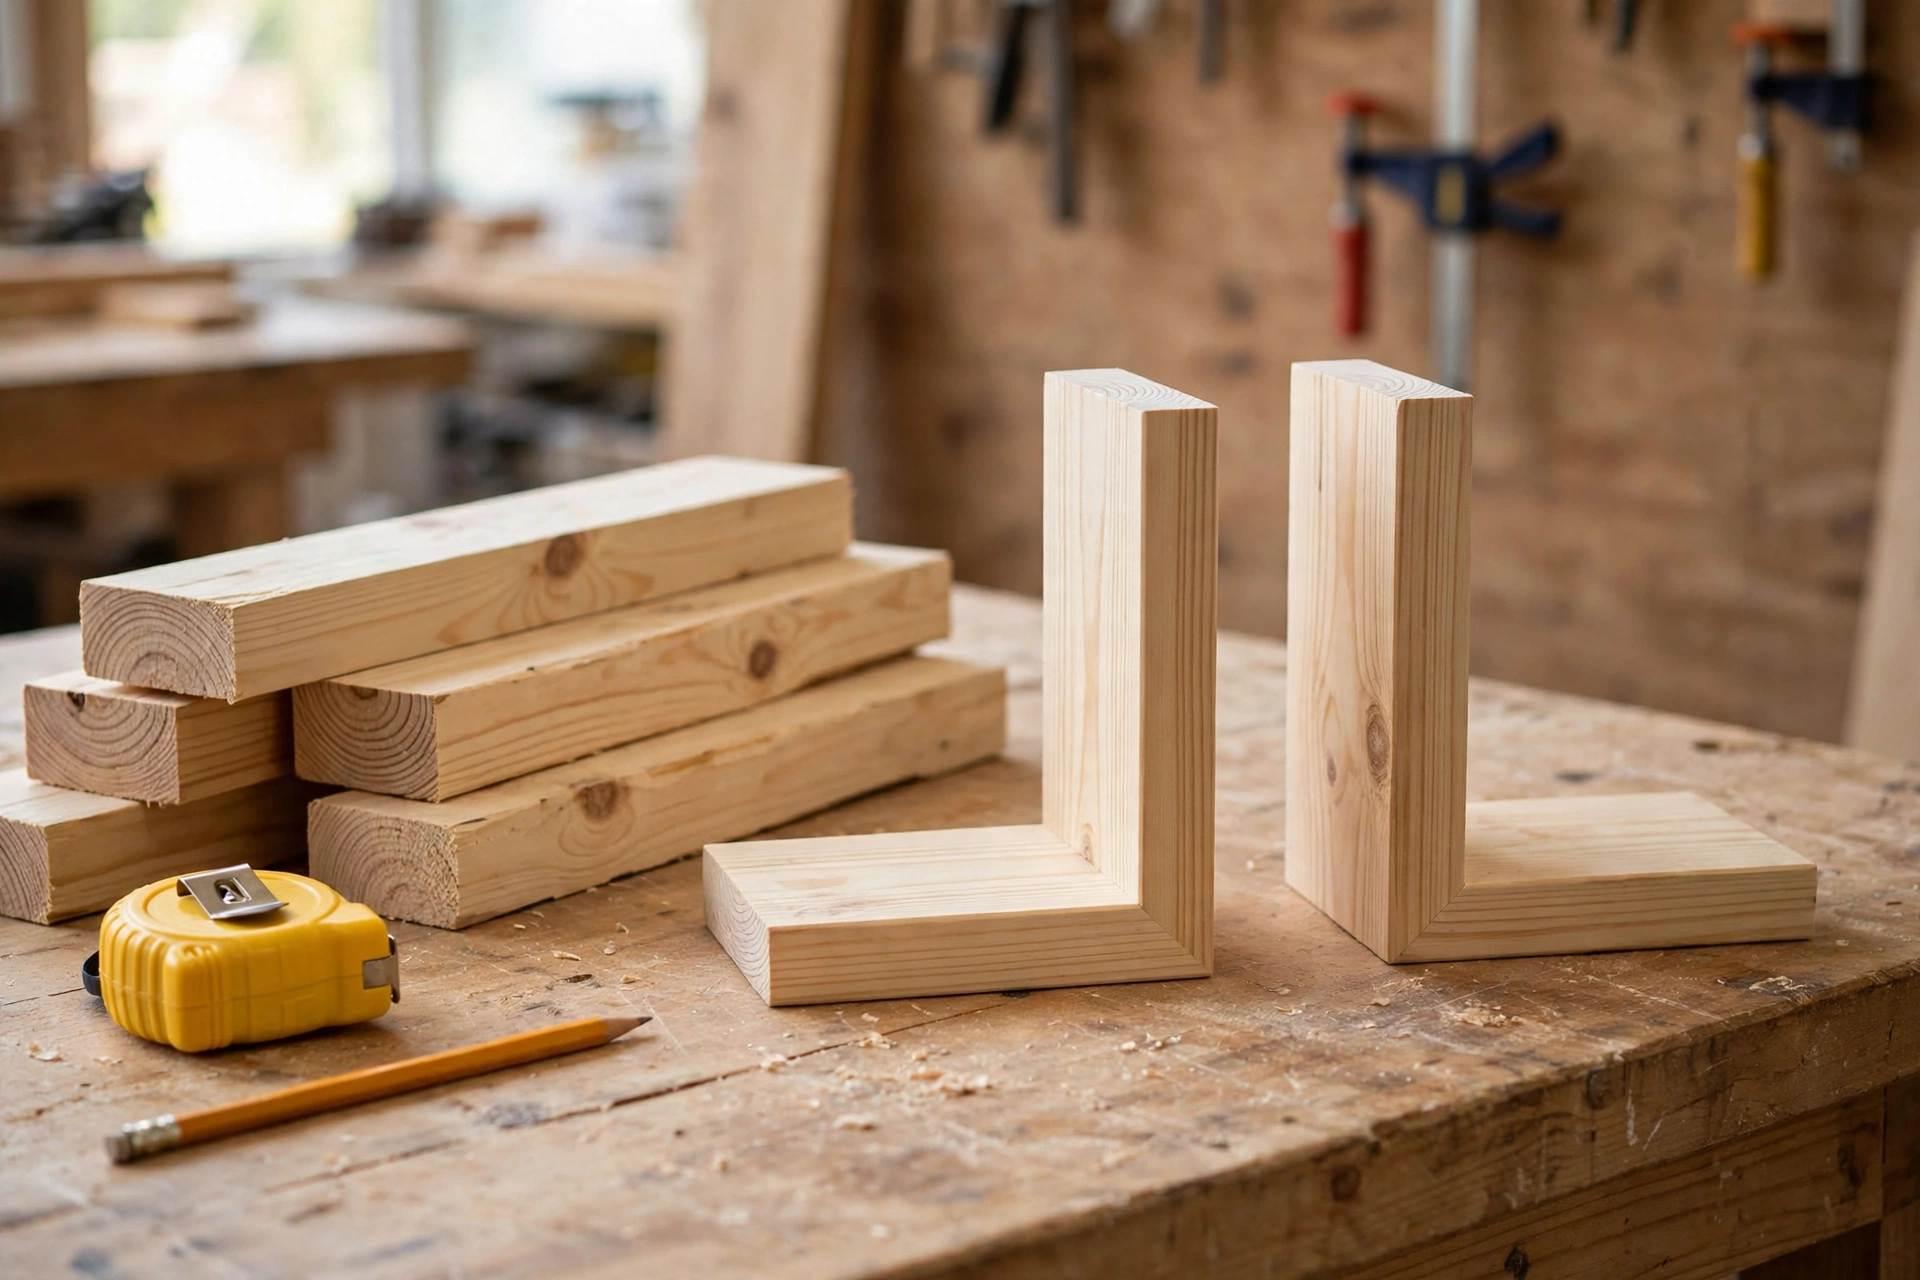
If you can measure, cut a straight line, and drive a screw, you can make a pair of wooden bookends this weekend. Bookends are one of the best first woodworking projects: they use very little wood, they need only basic tools, and you end up with something genuinely useful on your shelf. Unlike a decorative scroll-saw design that looks pretty but tips over the moment a heavy hardcover leans on it, the L-shaped pair in this guide is built to actually hold books up — and it is measured, so both bookends come out as a true matching pair.
This guide walks you through the whole build: the L-shape design, the materials, the exact cut list, the step-by-step assembly, and how to make your bookends heavy and stable enough for real books. You will also find a scrap-wood version, finishing options, costs, and the mistakes beginners most often make. By the end, you will have a pair of bookends you can be proud of — and a solid set of beginner skills you can use on your next project.
Why L-Shaped Bookends Are the Perfect Beginner Project
An L-shaped bookend is just two boards joined at a right angle: one flat board (the base) slides under the books, and one upright board (the back) stops them from falling sideways. That is the whole design. There are no complicated joints, no angles to calculate, and no parts that have to fit together precisely. If your cuts are a millimetre or two out, the bookend still works and still looks good.
The L-shape is also the most practical design for real books. The weight of the books presses down on the base board, which anchors the bookend in place — the heavier the books, the harder it is to tip over. Decorative flat bookends that just stand behind the books do not have this advantage, which is why they slide and fall. This is the same principle behind a simple bookshelf for beginners: let gravity do the work for you.
Bookends are also cheap to build. A single 6-foot pine 1×6 board costs only a few dollars and gives you enough wood for two pairs. If you already have offcuts lying around, the project can cost almost nothing. And because the pieces are small, mistakes are cheap too — a miscut board is a few cents of pine, not a ruined tabletop.
If you enjoy this kind of small, useful build, you will love the wider world of easy woodworking projects for beginners that sell — bookends are one of the simplest items in that family, and they make great gifts and craft-fair stock.
What You Will Need
Materials
- 1 pine board, 1×6 (actual size 3/4 inch thick x 5-1/2 inches wide), at least 4 feet long — enough for one pair, with spare for practice cuts
- Wood glue (PVA, such as Titebond)
- 8 wood screws, #8 x 1-1/4 inch
- Sandpaper: 80-grit, 120-grit, and 220-grit
- Finish of your choice: Danish oil, stain + polyurethane, or paint + primer
- 4 self-adhesive felt pads (optional but recommended)
- Wood filler (optional, for hiding screw holes)
Tools
- Saw: a circular saw, mitre saw, or even a hand saw — any saw that cuts straight
- Drill/driver with a countersink bit or a drill bit slightly smaller than your screws
- Tape measure, pencil, and a speed square or carpenter’s square
- 2 clamps (bar clamps or spring clamps)
- Safety glasses and hearing protection
That is genuinely all you need. If you are still building up your tool collection, our guide to the best clamps for woodworking beginners will help you pick clamps that are useful for this project and dozens of others.
Cut List for a Matching Pair of Bookends
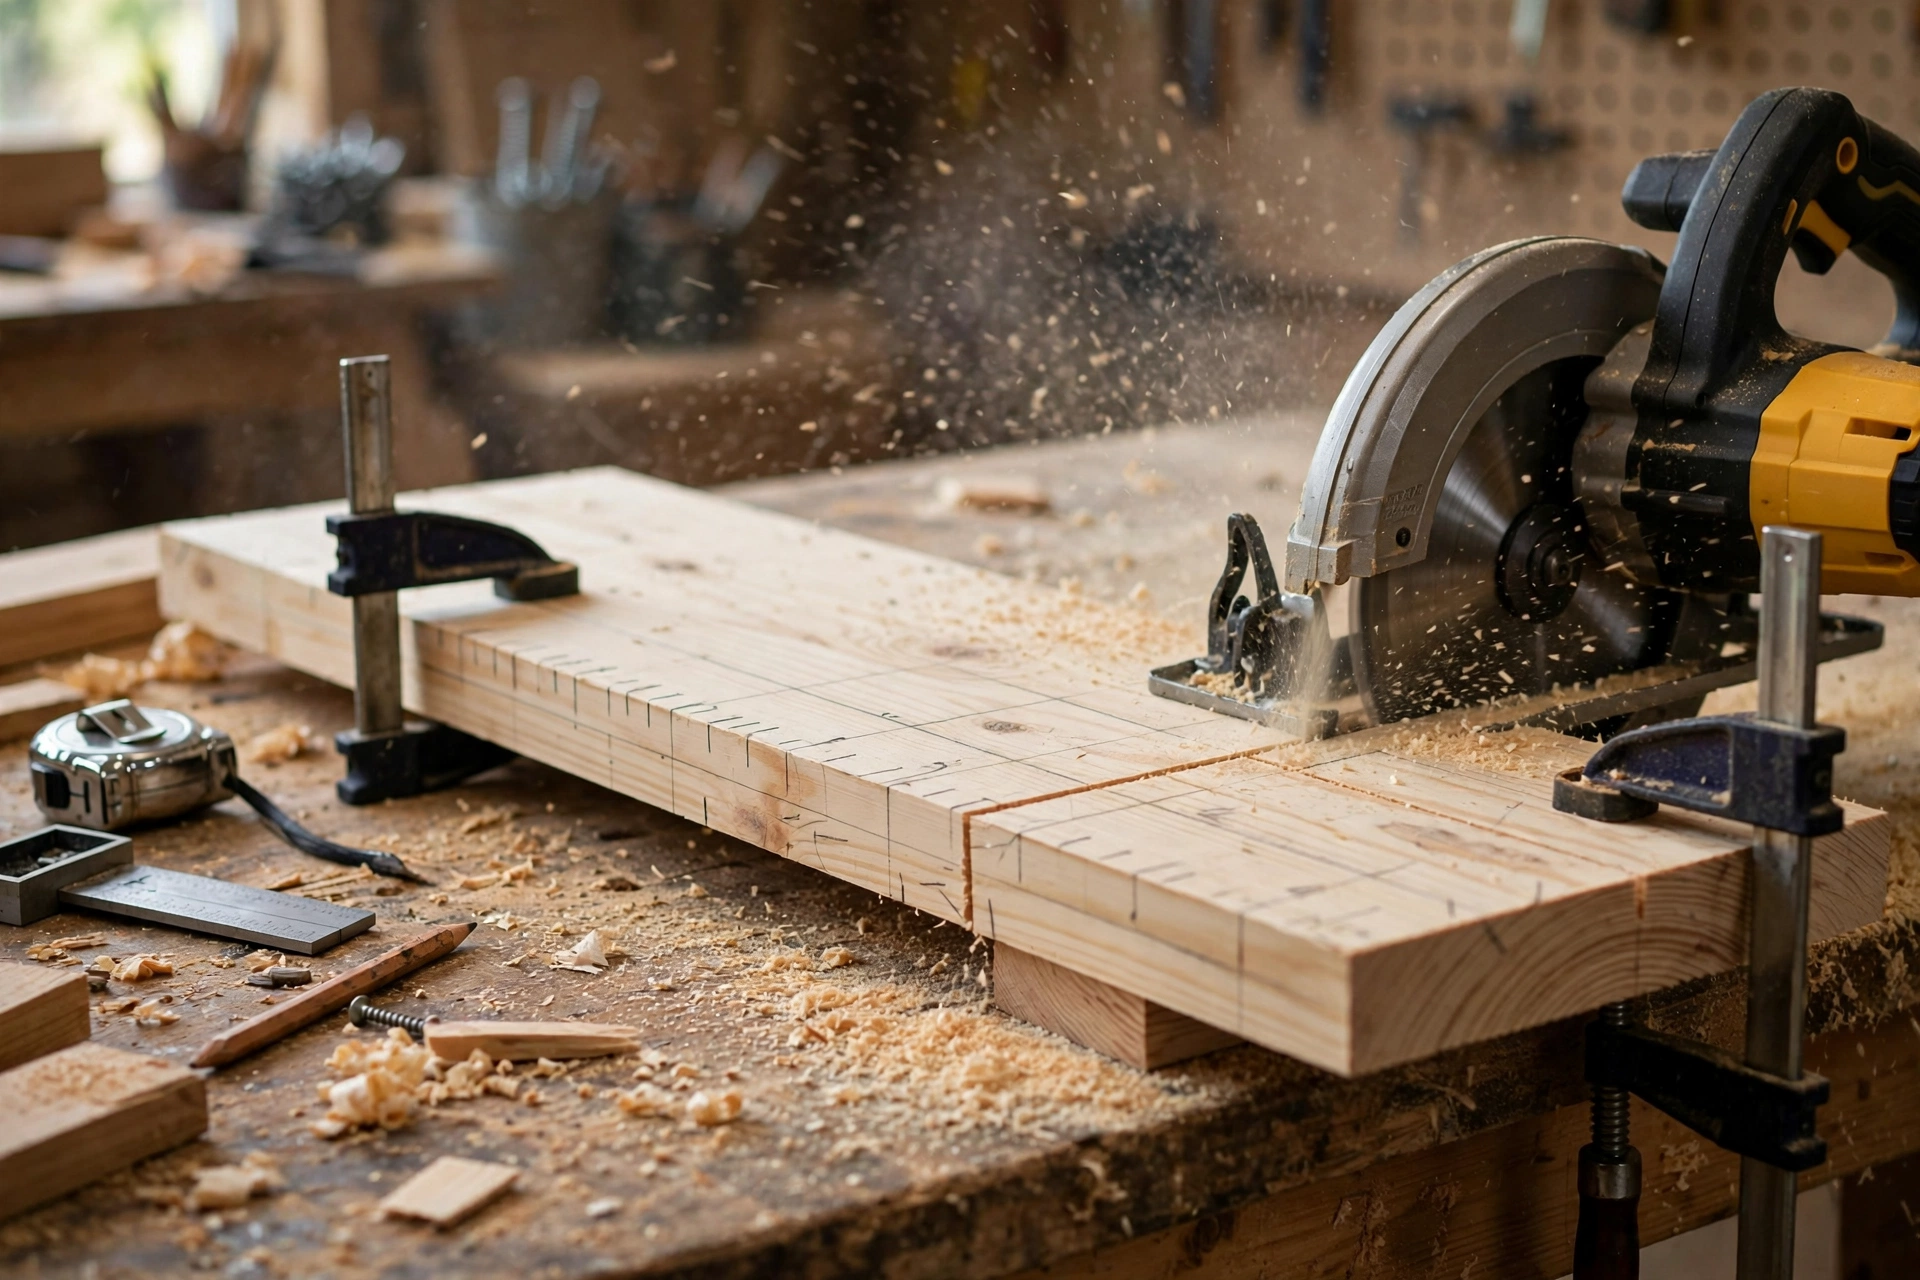
Measure twice, cut once. Each bookend needs two pieces: a base and an upright. Cut two bases and two uprights, four pieces in total. Label each piece with a pencil as you cut it so the pair stays matched.
| Piece | Quantity | Size (from 1×6 pine) | Notes |
|---|---|---|---|
| Base board | 2 | 5-1/2 in wide x 7 in long | Slides under the books; the long side faces the books |
| Upright board | 2 | 5-1/2 in wide x 7 in high | Stands against the end book |
| Total board needed | — | About 28 inches of 1×6, plus a little spare | One 4-foot board covers a pair with room for practice cuts |
The upright is 7 inches high, which suits most paperbacks and average hardcovers (up to about 9 inches tall, since the book only needs support for roughly the lower two-thirds of its height). The base is 7 inches deep, so it sits under two or three books and anchors well. If you own mostly tall hardcovers or art books, cut the uprights 8 inches high instead — just keep both uprights the same height so the pair matches.
A note on board width: a 1×6 is actually 5-1/2 inches wide, not 6 inches. That is fine — the finished bookend will be 5-1/2 inches deep, which is plenty for standard books. If you want a deeper bookend for oversized books, use a 1×8 board instead and keep the same lengths.
Step-by-Step: Building a Matching Pair
Step 1: Mark and Cut the Four Pieces
Measure and mark your four pieces on the 1×6 board: two at 7 inches for the bases and two at 7 inches for the uprights. Use a speed square to draw a square line across the board at each mark — a square line is what keeps your cuts straight and your bookends sitting flat. Cut slowly and steadily, keeping the saw on the waste side of the line so each piece stays full length.
Step 2: Sand Every Piece Before Assembly
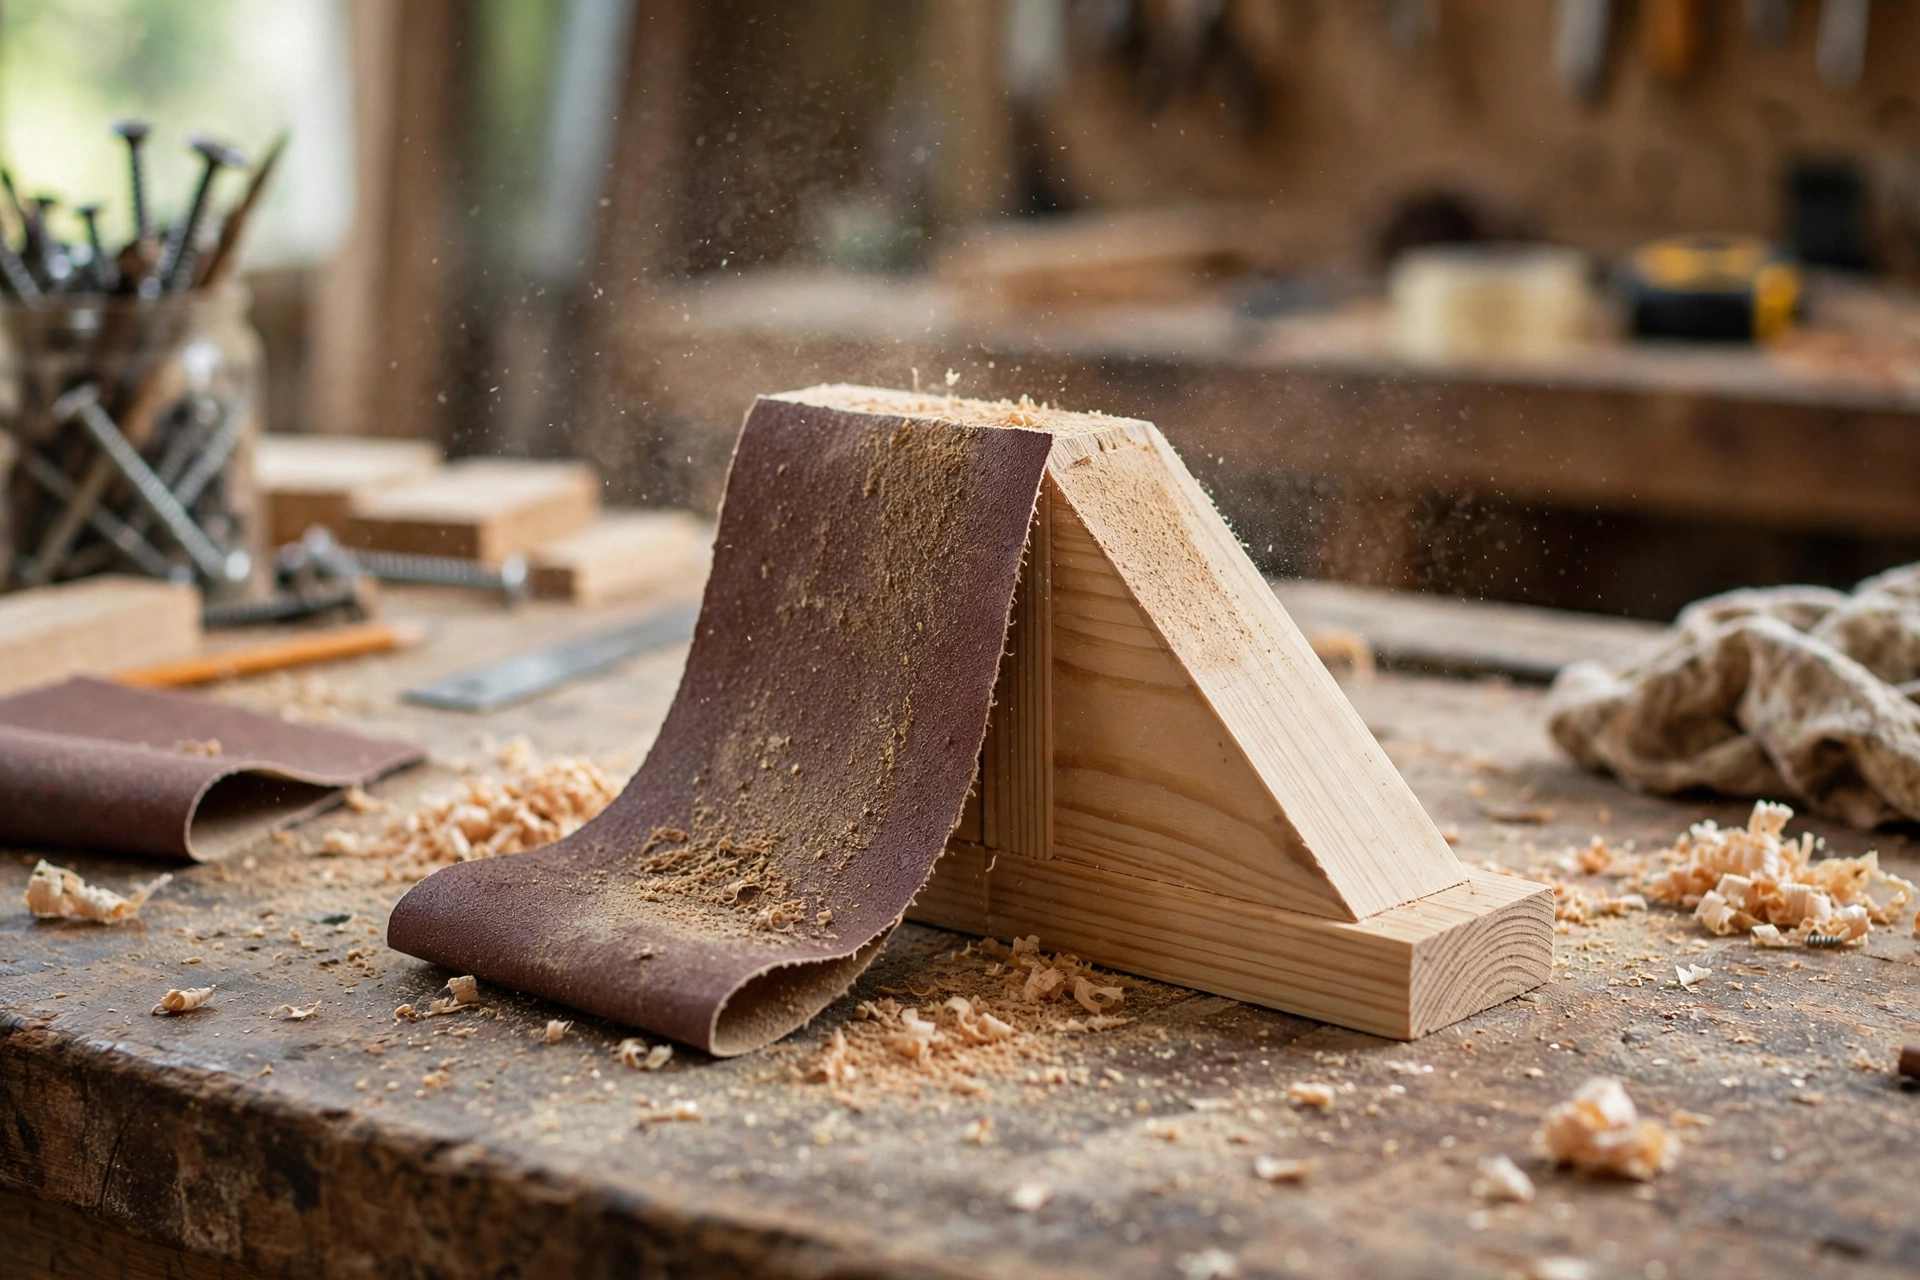
Sanding is far easier before the pieces are glued together, because you can reach every face and edge. Work through the grits in order: 80-grit to remove saw marks and sharp edges, 120-grit to smooth the surface, and 220-grit for a final silky feel. Sand with the grain, not across it, and round over the top edge of each upright and the front edge of each base slightly — sharp edges look cheap and feel unpleasant.
Step 3: Dry-Fit the L-Shape
Before any glue comes out, stand one upright on top of one base at a right angle and check the fit. The upright sits on top of the base board, flush with the back edge of the base, so the finished L has the base extending forward under the books. Check with your square that the angle is a true 90 degrees. If a cut is slightly out of square, a few passes with sandpaper on the high spot will fix it.
Step 4: Glue and Screw the Joint
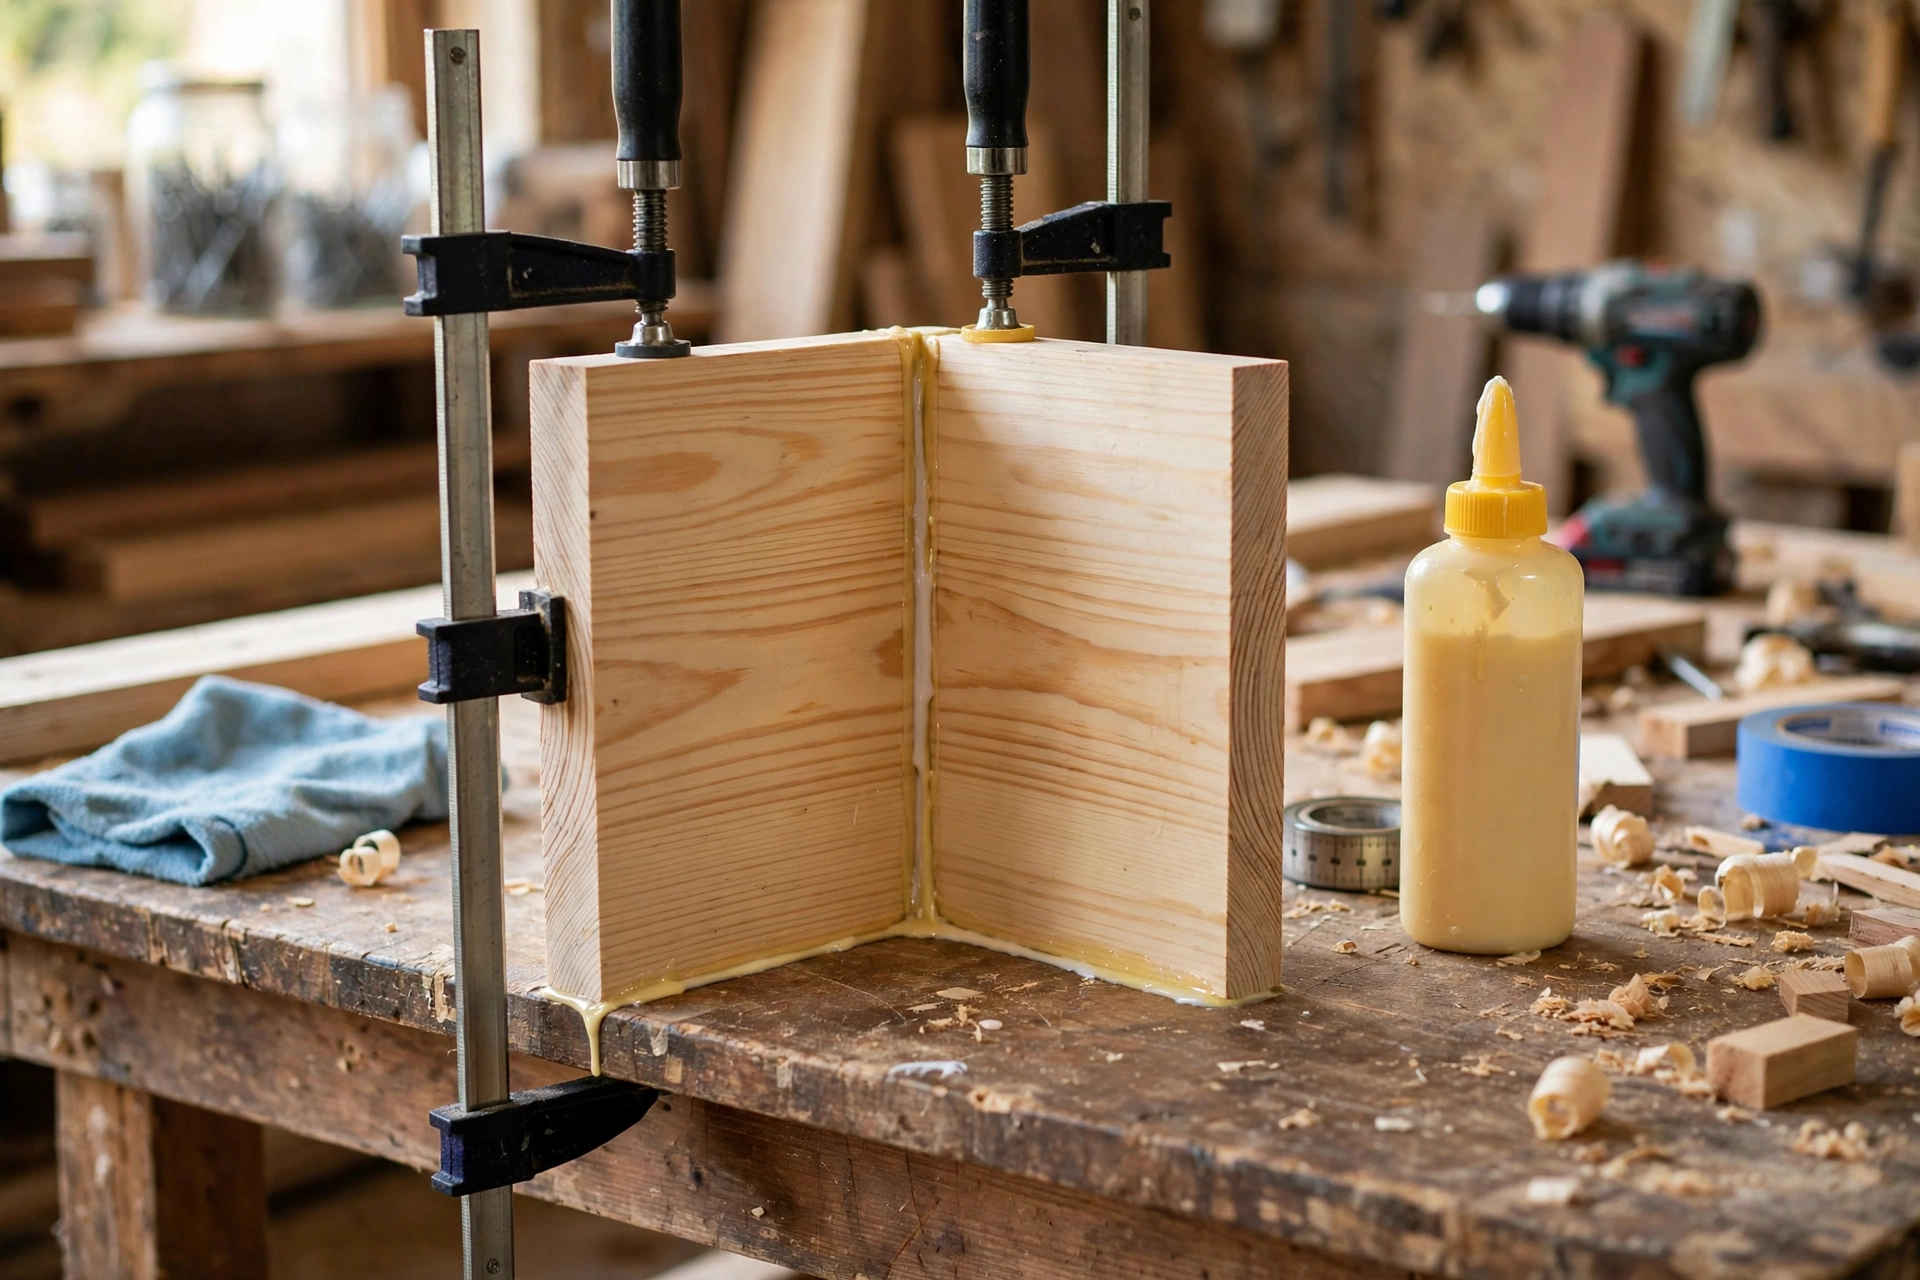
Spread a thin, even layer of wood glue on the bottom edge of the upright and on the back edge area of the base where they meet. Press the pieces together, check the square again, and clamp them. Then drill two pilot holes up through the bottom of the base into the upright (pilot holes stop pine from splitting) and drive two #8 x 1-1/4 inch screws. The glue does most of the holding; the screws mainly hold everything tight while the glue dries. Repeat for the second bookend, remembering that the pair is mirrored: the two uprights face each other when the bookends are in use, with the bases pointing inward under the books.
Step 5: Clamp and Let the Glue Cure
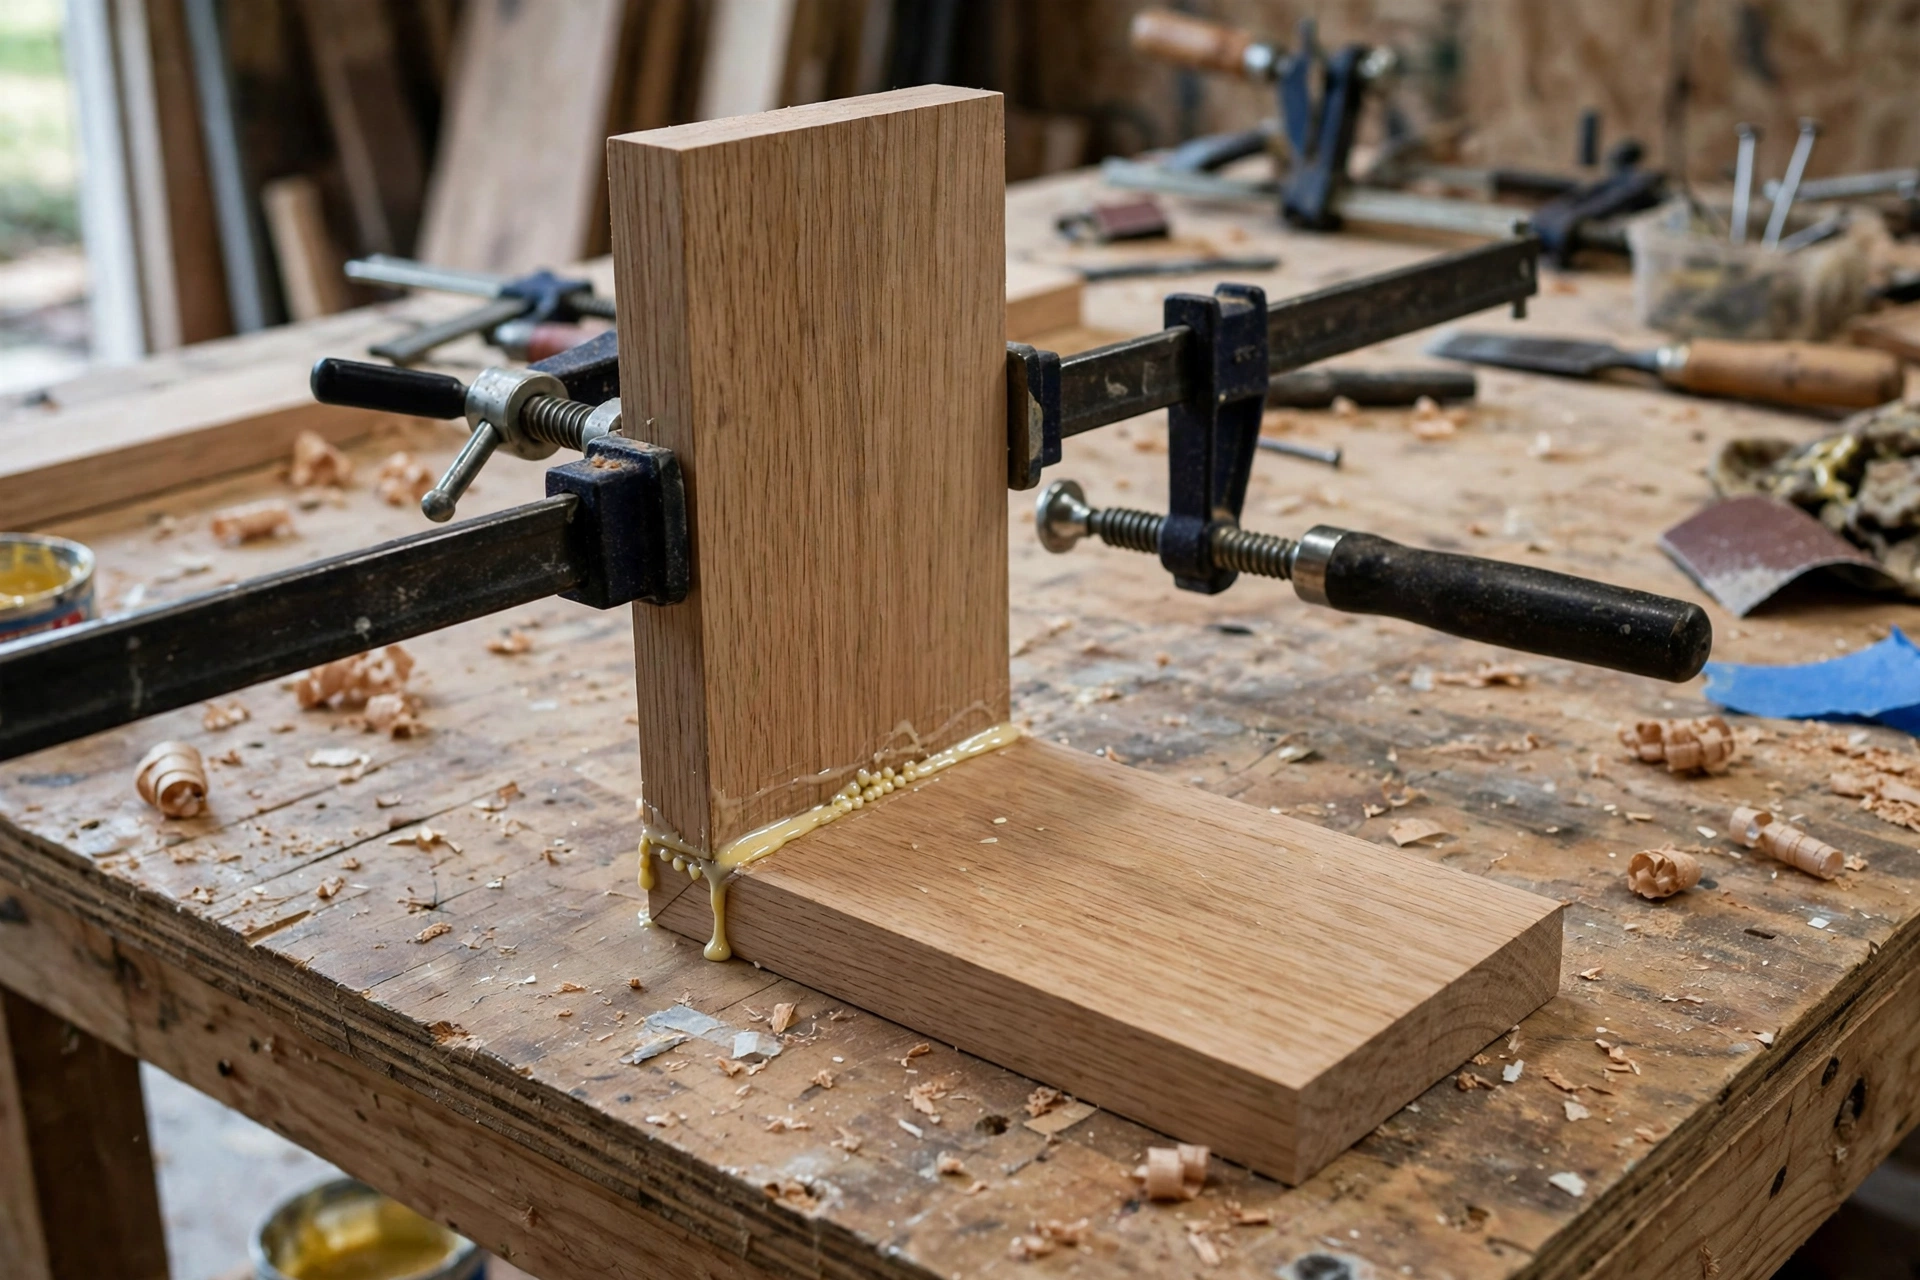
Keep the clamps on for at least 30 minutes, and do not stress the joint for a full 24 hours while the glue reaches full strength. This is the step beginners most often rush. A joint that feels solid after an hour can still creep out of square if you start sanding or finishing it too soon. While you wait, you can plan your finish or start a second pair — this project is so quick that many beginners batch two or three pairs at once.
Step 6: Fill, Sand, and Finish the Joint
Once the glue has cured, remove the clamps and fill the screw holes on the underside of the base with wood filler if you want a clean look (the underside is rarely seen, so this is optional). Give the whole bookend a light pass with 220-grit sandpaper to remove any dried glue squeeze-out, wipe off the dust with a slightly damp cloth, and apply your chosen finish. See the finishing section below for your options.
Making Your Bookends Heavy and Stable Enough
A bookend fails when the books push it over, so stability is the whole point of the design. Three things decide whether your bookends stand up to real books: how much of the base sits under the books, how tall the upright is compared with the books, and how much the bookend itself weighs.
The table below gives practical guidance. “Base under books” means how many inches of the base board are actually covered by books when the bookend is in use — more is better, because book weight pressing on the base is what anchors it.
| Bookend size | Best for | Base under books | Stability notes |
|---|---|---|---|
| Base 6 in, upright 6 in | Paperbacks and small novels | 4–5 in | Fine for light books; may tip with heavy hardcovers |
| Base 7 in, upright 7 in (this project) | Most paperbacks and standard hardcovers | 5–6 in | Good all-round size; handles a row of average books |
| Base 8 in, upright 8 in | Tall or heavy hardcovers, textbooks | 6–7 in | Best stability; use a 1×8 board for this size |
| Base 7 in + added weight | Heavy textbooks and art books | 5–6 in | Add a steel plate or lead shot pouch under the base for extra weight |
If your bookends still slide on a smooth shelf, stick felt pads or small rubber bumpers on the bottom of the base. Felt pads do double duty: they grip the shelf slightly and they protect the shelf surface from scratches. On a slick laminate shelf, a strip of non-slip shelf liner under the base works even better.
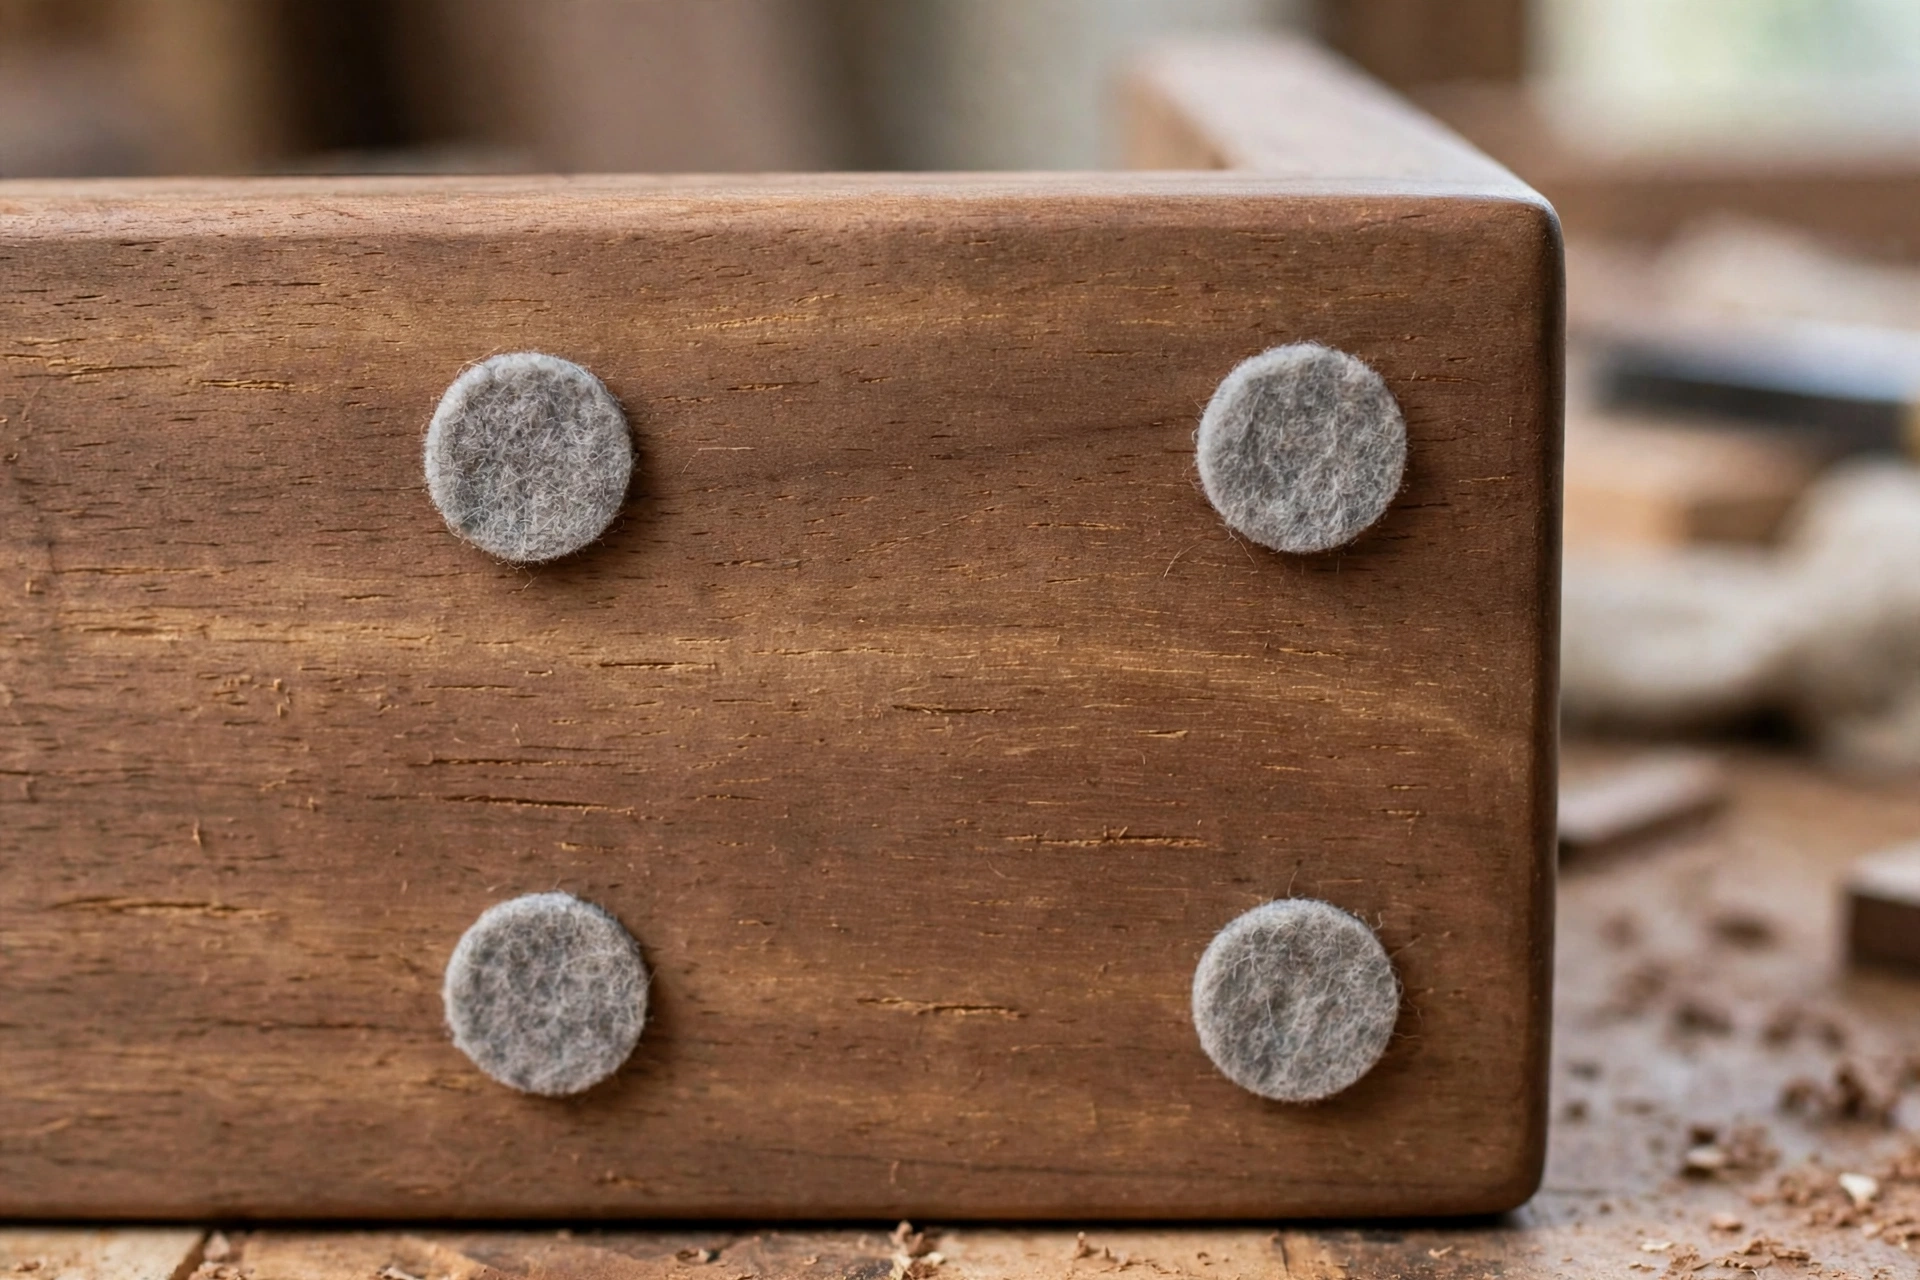
Weight matters more than it looks. A pair of pine bookends in this size weighs about 1–1.5 pounds in total, which is enough for paperbacks and normal hardcovers when the base is properly loaded. For heavy textbooks, the trick is not a bigger bookend but a heavier one: rout a shallow pocket in the underside of the base and glue in a flat steel plate, or simply place the heaviest books directly against the bookend so their weight anchors it.
Sanding and Finishing Options
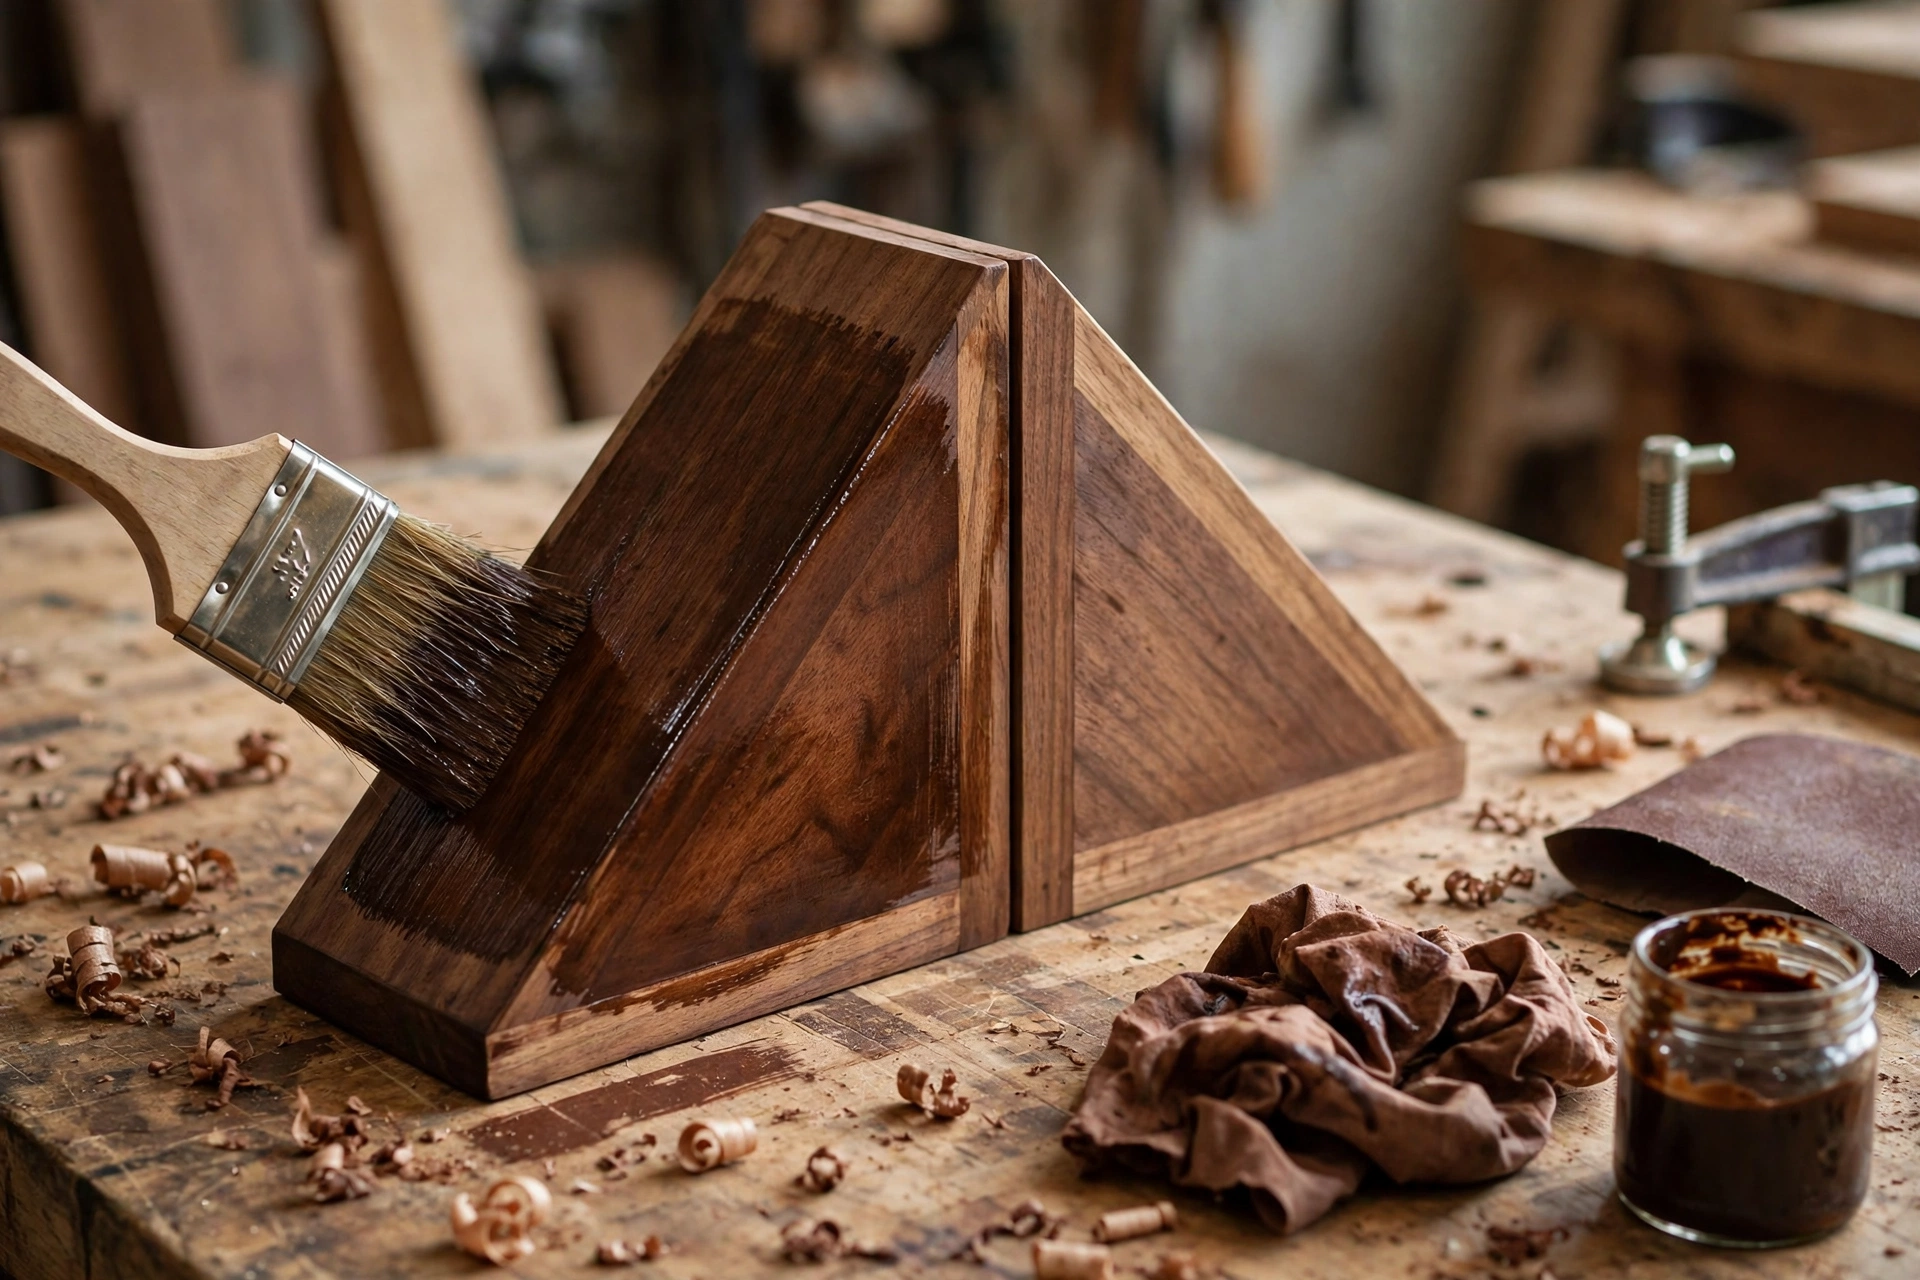
Your bookends will live on a shelf where people see and touch them, so a good finish is worth the small extra effort. Sand to 220-grit first — every finish looks better on a properly sanded surface — then choose one of these beginner-friendly options:
- Danish oil: The easiest good-looking finish. Wipe on, wait 15 minutes, wipe off, repeat for 2–3 coats. It brings out the pine grain and feels natural. Reapply once a year.
- Stain + polyurethane: Stain first to change the colour (walnut stain on pine looks surprisingly rich), then two thin coats of wipe-on polyurethane for protection. Best if your shelves are dark wood and you want a match.
- Paint: Prime, then two coats of acrylic paint in a colour that matches your room. Paint hides pine’s grain but gives the cleanest, most modern look — and it is the best choice if you plan to sell bookends, because buyers often want a colour match.
- Clear wax over stain: A soft, low-sheen look that feels lovely but offers less protection. Fine for a bedroom shelf; less ideal for a child’s room.
Whichever finish you choose, finish the underside of the base too — not for looks, but because an unfinished underside absorbs moisture from the shelf and can warp over time. And always finish in a ventilated space, especially with oil-based products.
How Much Do Wooden Bookends Cost to Make?
One of the joys of this project is how little it costs. A 4-foot pine 1×6 board is typically $4–$7, and one board makes a pair with spare wood left over. Screws cost pennies each, glue is a few dollars a bottle that lasts for dozens of projects, and sandpaper is under a dollar a sheet. If you already own a saw, a drill, and clamps, a finished pair costs roughly $5–$10 in materials. Add $5–$10 more if you need to buy a can of stain or Danish oil — but that can will finish many future projects too.
Compare that with store-bought wooden bookends, which usually sell for $20–$40 a pair, and you can see why bookends are a popular first item for beginners who want to sell their work. A painted or nicely stained pair, photographed well, is a realistic craft-fair and online-marketplace item. If selling interests you, browse the easy woodworking projects for beginners that sell for pricing ideas and other small projects that pair well with bookends.
Common Mistakes to Avoid
- Skipping pilot holes. Pine splits easily near the end of a board. Always drill pilot holes before driving screws, especially within an inch of an edge.
- Making the two bookends identical instead of mirrored. A pair must be mirror images: the bases point inward, toward each other, under the books. Two identical bookends leave one base pointing the wrong way.
- Gluing without checking square. A bookend that leans even a few degrees looks wrong and holds books badly. Check with a square before the glue sets, not after.
- Using the upright as the full height of the book. The upright only needs to reach about two-thirds of the book’s height. A 7-inch upright handles 9–10 inch books comfortably.
- Rushing the glue cure. Clamp for 30 minutes minimum and wait 24 hours before finishing or stressing the joint. Patience here is what separates a wobbly bookend from a solid one.
- Forgetting the felt pads. Bare wood on a smooth shelf slides. Four small felt pads cost almost nothing and solve the problem completely.
- Sanding after assembly only. Sanding inside corners after gluing is awkward and leaves rough patches. Sand the pieces first, then touch up after assembly.
Easy Variations to Try Next
Mountain Shape
Cut the upright as a triangle instead of a rectangle, and you get a mountain-shaped bookend. Cut a right-angle triangle from a 1×6 or 1×8 board, with the vertical edge 7 inches tall and the base 7 inches deep, and glue it to a base board the same way. The sloping side looks modern and stylish, and the shape is still simple — just one diagonal cut per upright. This is a good second project because it teaches you to cut and sand an angled edge.
Stacked-Block Style
Glue three or four short blocks of wood in a staggered stack to form the upright, like a tiny staircase or a pile of books. This style uses up small offcuts beautifully, and each block adds weight, which improves stability. Keep the stack’s footprint the same size as the base so the bookend stays balanced, and sand the whole stack as one piece after gluing.
Scrap-Wood Version
If you have a scrap bin, you may not need to buy anything at all. The design works with any board at least 3/4 inch thick and 5 inches wide. Short offcuts from a bookshelf build, old shelf boards, or pallet wood (properly cleaned and de-nailed) all work. Check out these easy scrap wood projects for beginners for more ideas on turning leftovers into useful items — bookends are one of the best uses for offcuts because the pieces are so small.
Mixing wood types in a pair can look great too: a walnut upright on a pine base, or a painted base with a natural-wood upright. Just keep both bookends the same so the pair looks intentional.
Frequently Asked Questions
How tall should wooden bookends be?
For most books, an upright 6–8 inches tall is ideal. The upright only needs to support roughly the lower two-thirds of the book, so a 7-inch bookend comfortably holds standard hardcovers up to about 10 inches tall. For very tall art books, go up to 8–9 inches.
What is the best wood for beginner bookends?
Pine is the best beginner choice: it is cheap, widely available, easy to cut and sand, and it takes stain and paint well. Hardwoods like oak and walnut look more premium and are heavier (which helps stability), but they cost more and are harder to work with hand tools. Start with pine, then try hardwood once you are confident.
How do I stop my wooden bookends from sliding?
Make sure at least 5 inches of the base sits under the books so their weight anchors the bookend, stick felt pads or rubber bumpers under the base, and place the heaviest books directly against the bookend. On very smooth shelves, a strip of non-slip shelf liner under the base helps a lot.
Can I make bookends without a power saw?
Yes. A hand saw and a mitre box will cut the four pieces accurately — it just takes a little longer. The pieces are small and the cuts are straight, so this project is one of the easiest to do entirely with hand tools. A coping saw is not recommended, as it is hard to keep its cuts square.
Do I need screws, or is glue enough?
Wood glue alone is actually stronger than the wood itself once cured, so glue is technically enough. Screws are still worth adding for beginners because they hold the joint tight and square while the glue dries, which removes the risk of the joint shifting in the clamps.
How long does it take to make a pair of wooden bookends?
About 1–2 hours of active work: 20 minutes of measuring and cutting, 20 minutes of sanding, 15 minutes of gluing and screwing, and 20 minutes of finishing. Add 24 hours of glue curing time (mostly waiting) and drying time for your finish. It is a genuine one-weekend project, and most of that weekend is waiting for glue and finish to dry.
Final Thoughts
Wooden bookends are small, but they teach big skills: measuring, square cuts, gluing, clamping, sanding, and finishing — the same skills behind every larger project, including a simple bookshelf for beginners. Build one pair for yourself, then make another as a gift. Once you have the process down, experiment with the mountain shape or the stacked-block style, and you will quickly have a shelf full of proof that you can build things with your own hands.
Recommended Products for This Project
As an Amazon Associate, I earn from qualifying purchases.

Titebond III Ultimate Wood Glue 1413 (8 oz)
Water-resistant wood glue for strong indoor and outdoor joints.

IRWIN QUICK-GRIP Woodworking Clamps Set, 8-piece (IRHT83220)
A versatile clamp assortment for everyday glue-ups.
DEWALT 20V MAX Circular Saw DCS391B
Cordless 20V power for straight, fast cuts in boards and plywood.

DEWALT Random Orbit Sander DWE6423, 5-inch
Smooth, swirl-free sanding for furniture and finishing prep.
Bosch Top-Handle Jigsaw JS470E
Clean curved and straight cuts in wood with easy blade changes.


