
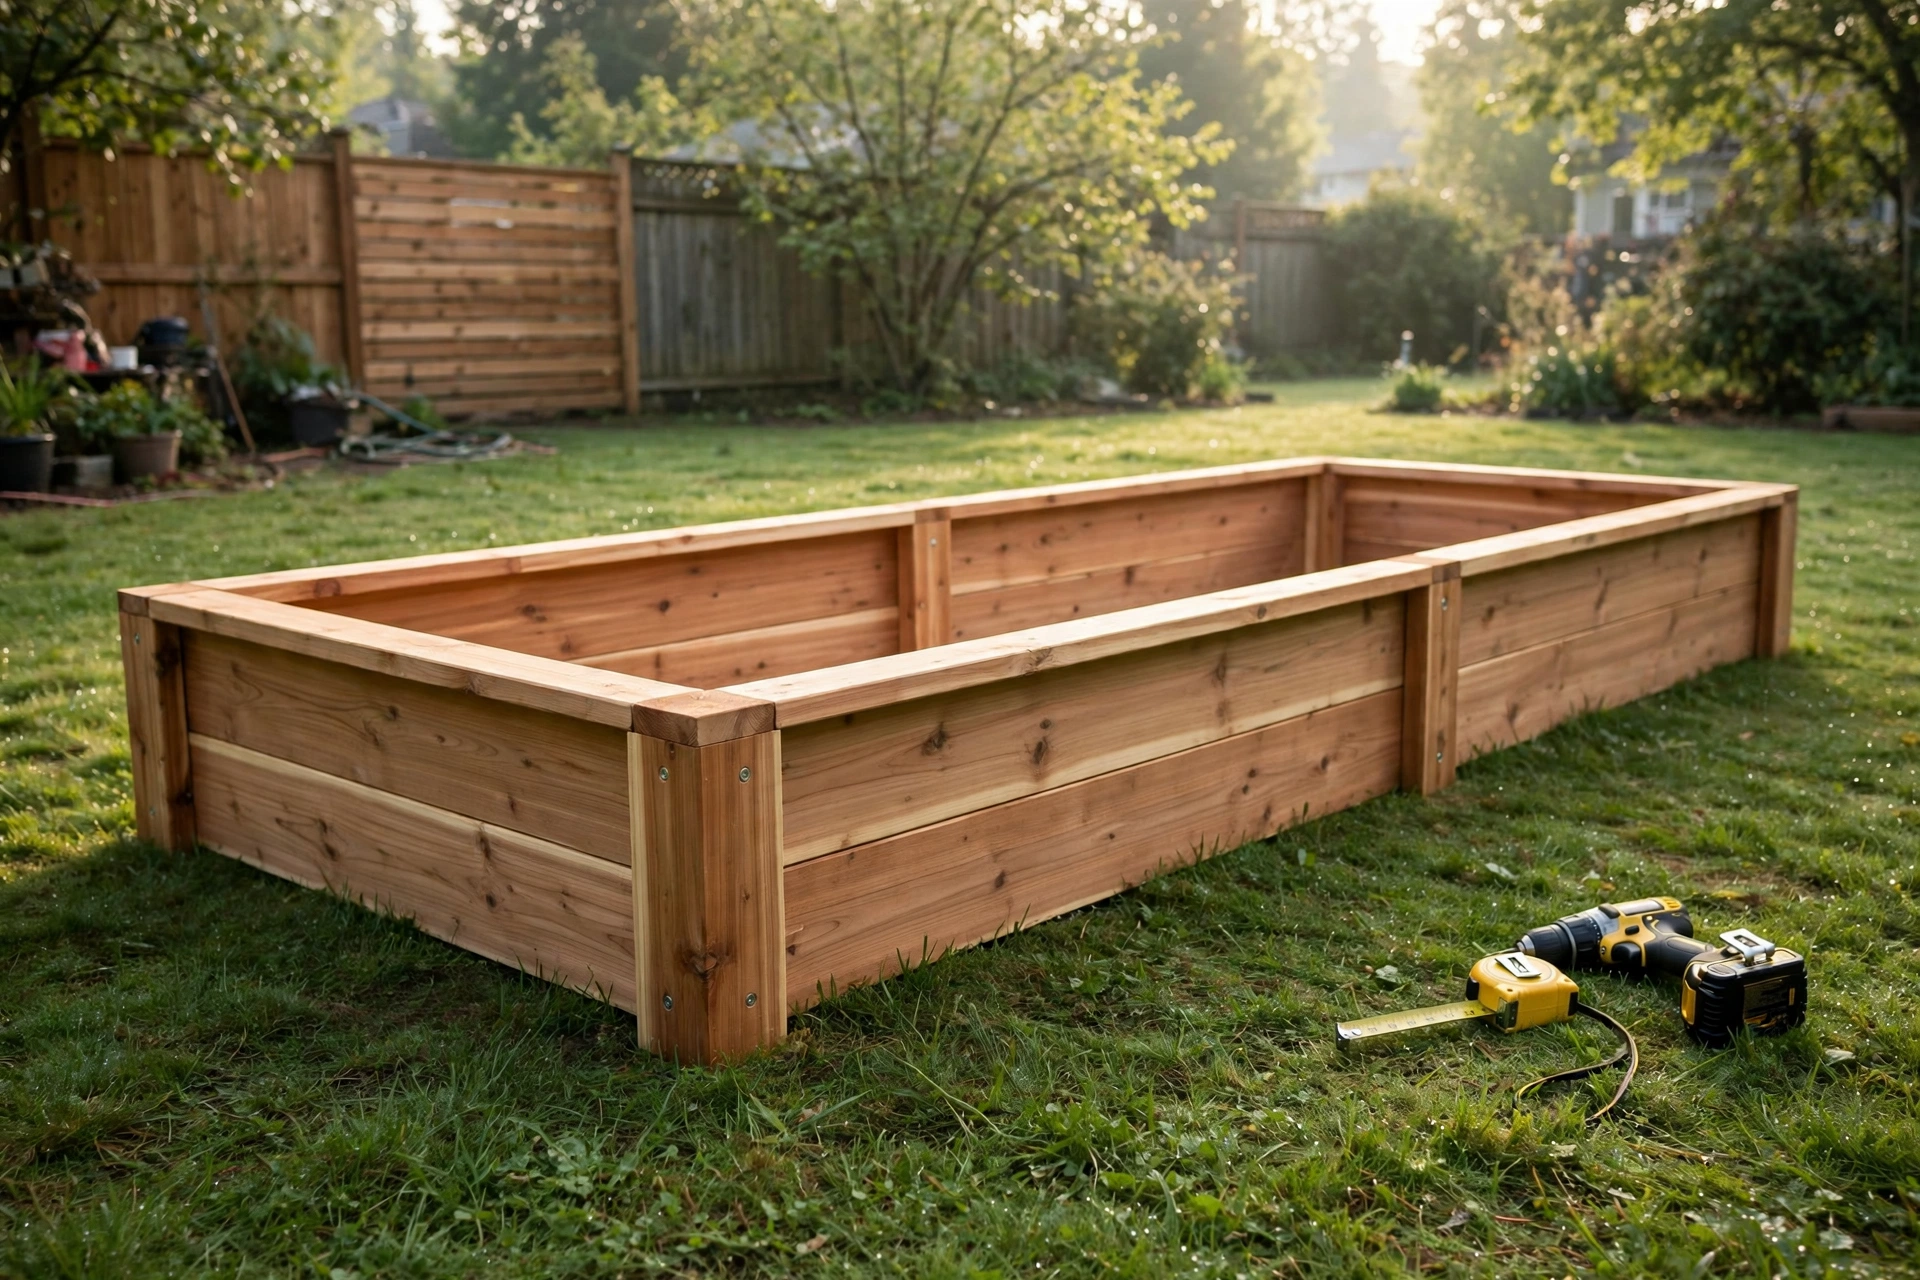
If you have ever wanted to grow your own vegetables but felt put off by poor soil, weeds, or a bad back, learning how to build a wooden raised garden bed for beginners is one of the best first woodworking projects you can take on. A raised bed lifts your plants out of compacted, weedy ground and into loose, rich soil that warms up faster in spring and drains properly after rain. It also gives you a neat, defined growing space that is far easier to tend than an open patch of dug-over garden.
This guide walks you through one specific, measured build: a 4-foot by 8-foot bed, 12 inches tall, made from cedar or untreated pine. That size is popular for a good reason. At 4 feet wide, you can reach the middle from either side without ever stepping on the soil and compacting it. At 8 feet long, you get 32 square feet of growing space, which is enough for a serious first vegetable patch without becoming a weekend-long construction job. At 12 inches tall, the bed holds enough soil for deep-rooted vegetables like tomatoes and carrots while still being a single-afternoon build with boards you can buy off the shelf.
You do not need a workshop full of tools, and you do not need any previous woodworking experience. If you can measure, cut a straight line, and drive a screw, you can build this bed. The whole project takes most beginners between two and four hours, including a trip to the lumber yard, and it should last for many growing seasons. By the end of this article, you will have an exact cut list, a clear step-by-step method, a soil-volume table so you order the right amount of soil the first time, a realistic cost breakdown, and a planting plan for your first season.
This is a ground-level garden bed, not a box planter. It sits directly on the soil so plant roots can grow down into the earth below, worms can move in, and excess water can drain away naturally. If you want a smaller, portable container for a patio or balcony, our guide to building a wooden planter box covers that kind of project instead. For a real vegetable patch, though, a ground-level raised bed like this one is the better choice, and it is the project we build here.
Why a Raised Bed Beats Digging Straight Into the Ground
Most beginner gardeners start by digging a patch of lawn and wondering why nothing thrives. The problem is rarely effort. Ordinary garden soil is often compacted from years of foot traffic, full of grass roots and weed seeds, and either heavy clay that holds water or thin soil that dries out in a day. A raised bed solves all three problems at once because you control what goes inside it.
First, the soil. When you fill a raised bed with a good mix of topsoil and compost, your plants get loose, fertile ground from day one. Roots grow deep and straight instead of fighting through compaction, and you can work the bed within a day or two of rain instead of waiting for mud to dry. Second, drainage. A raised bed sheds excess water, so roots are far less likely to rot during a wet spell, while the depth of soil still holds enough moisture for dry weeks. Third, your back and knees. A 12-inch-tall bed means less bending for planting, weeding, and harvesting, and a bed with a wide, flat top edge even gives you somewhere to sit or kneel comfortably.
There are practical benefits too. A framed bed keeps paths and growing areas separate, so you never compact your planting soil by walking on it. Weeds are much easier to spot and pull in a defined rectangle than in an open border. And because the soil in a raised bed warms up earlier in spring, you can often sow seeds and set out seedlings a couple of weeks earlier than you could in open ground, which means an earlier first harvest.
If you are new to woodworking as well as gardening, this project is also a gentle introduction to measuring, cutting, and screwing boards together. The cuts are all straight, the joints are simple butt joints reinforced by corner posts, and small mistakes are easy to hide or fix. It is the kind of build that teaches real skills while producing something genuinely useful, which is why it belongs in any beginner woodworking collection alongside other first projects. Our pillar guide to easy woodworking projects for beginners that sell lists several builds at this same approachable level, and this raised bed is a perfect next step after your first simple project.
Choosing Your Spot: Sun, Water, and Level Ground
Before you buy a single board, pick the spot where the bed will live, because moving a filled raised bed is a job nobody enjoys. Vegetables need sun above almost everything else, so look for a place that gets at least six to eight hours of direct sunlight a day. Watch your garden through a day if you can, and note where shadows from trees, fences, and buildings fall in the morning and afternoon. A spot that looks sunny at noon but sits in shade by 3 p.m. will disappoint you all season.
Water access matters just as much. You will water this bed often in summer, so keep it within easy reach of a hose or watering can route. Avoid the lowest corner of the garden where water pools after heavy rain, and avoid ground directly under large trees, where roots will invade the bed from below and the canopy will steal both light and rain. A flat or gently sloping patch of lawn is ideal. You do not need perfectly level ground — the levelling step later in this guide handles gentle slopes — but a steep bank will make the build frustrating and the bed hard to use.
Think about access as well. Leave at least 2 feet of path around all four sides so you can reach every part of the bed with a wheelbarrow and kneel beside it comfortably. If you plan to build more beds later, leave 3 to 4 feet between them so a wheelbarrow fits down the gap. Mark out the 4-by-8-foot rectangle with string and stakes or simply lay out your boards on the grass to see how the footprint feels in the space. It is much easier to shift a string line now than to rebuild a bed later.
One more consideration: check what is under the grass. Avoid building over buried cables, drains, or septic lines, and if you are renting, check that your landlord is happy for you to build a semi-permanent bed. A ground-level raised bed is easy to dismantle, but it is polite to ask first.
Cedar or Untreated Pine: Picking the Right Wood
The two sensible choices for a beginner raised bed are cedar and untreated pine, and the right one for you comes down to budget and how long you want the bed to last. Both are safe for growing food, which is the most important point. Never build a food-growing bed from treated lumber unless you are certain it is rated safe for garden use, and never use old railway sleepers or painted and stained scrap wood of unknown origin, because chemicals can leach into the soil.
Cedar is the premium choice. It is naturally resistant to rot and insects thanks to its own oils, so a cedar bed typically lasts 10 to 15 years outdoors with no treatment at all. It is also lighter and easier to cut and screw than many hardwoods, and it looks beautiful as it weathers to a soft silver-grey. The downside is price: cedar boards cost roughly twice as much as pine, so for a single 4-by-8 bed the difference is noticeable but not enormous.
Untreated pine is the budget choice, and it is a perfectly good one for a first bed. Pine is cheap, widely available, and easy to work with, but it rots faster in contact with damp soil, typically lasting 3 to 5 years before boards start to soften. Many gardeners happily accept that trade-off: by the time a pine bed needs replacing, they know exactly what size and layout they want, and rebuilding takes an afternoon. If you go with pine, you can extend its life by lining the inside of the bed with landscape fabric to reduce direct soil contact, and by letting the boards dry fully between waterings rather than keeping them permanently soaked.
Whatever wood you choose, buy boards that are straight, not warped or cupped, and check them at the yard rather than accepting a wrapped pack sight unseen. A twisted board makes assembly frustrating and leaves gaps. For this build, use boards that are actually 2 inches thick and 6 inches wide in nominal terms (sold as 2×6, measuring about 1.5 by 5.5 inches in reality). Two stacked 2×6 boards give you 11 to 12 inches of height, which is exactly the 12-inch bed this guide builds. Thinner boards, such as 1-inch fencing boards, will bow outward under the weight of wet soil unless you add extra bracing, so they are a false economy for a bed this size.
If you plan to stain or seal the outside of your bed for looks, use a garden-safe, food-safe finish on the outside only, and leave the inside raw. Our guide to the best wood stain for beginners explains which finishes are suitable for outdoor projects and how to apply them without making a mess. Never stain the inside of a food-growing bed.
Tools and Materials You Will Need
One of the best things about this project is the short tool list. You probably own most of it already, and anything you do not own is a tool you will use again on many future projects. A cordless drill/driver is the single most useful tool here, followed by a saw. A circular saw makes the cuts fast, but a handsaw works perfectly well for the six boards in this build if you take your time.
You will need: a tape measure, a pencil, a carpenter’s square or speed square, a saw (circular saw or handsaw), a cordless drill/driver with a drill bit and a driver bit, a spirit level (at least 2 feet long), a shovel, a wheelbarrow, and a staple gun if you plan to line the bed. Safety gear matters even on a simple build: wear safety glasses when cutting and drilling, and gloves when handling rough-sawn boards.
Materials for one 4-by-8-foot, 12-inch-tall bed are short and specific. You need four long side boards, four short end boards, and four corner posts, plus screws and optional lining fabric. Buy a few extra screws, because dropping one in the grass is a tradition. If your lumber yard offers a cutting service, you can have the boards cut to length there and skip the saw entirely, which makes this a genuinely tool-light project. Just double-check every cut length against the cut list below before you leave the yard.
The Exact Cut List
Here is the complete cut list for one bed. All boards are 2×6 lumber (about 1.5 inches thick and 5.5 inches wide in real measurement). The corner posts are cut from 4×4 lumber (about 3.5 inches square). Because the boards sit inside the corner posts, the side boards are cut to the full 8-foot length and the end boards fit between them. Read the table carefully before cutting, and remember the old rule: measure twice, cut once.
| Piece | Quantity | Material | Cut length | Notes |
|---|---|---|---|---|
| Long side boards | 4 | 2×6 cedar or untreated pine | 8 ft (96 in) | Two per side, stacked to make 12 in height |
| Short end boards | 4 | 2×6 cedar or untreated pine | 41 in | Two per end, fits between the side boards and posts |
| Corner posts | 4 | 4×4 cedar or pine | 12 in | Driven or set flush; top level with the top board |
| Deck screws | About 32 | 3-inch exterior screws | — | 2 screws per board end into each post |
| Landscape fabric (optional) | 1 roll | Permeable landscape fabric | About 4 x 10 ft | Lines the inside; lets water drain |
| Galvanised hardware cloth (optional) | 1 piece | 1/2-inch mesh | 4 x 8 ft | Under the bed if burrowing pests are a problem |
Why are the end boards 41 inches rather than 48 inches? Because the two long side boards, each about 1.5 inches thick, plus the space taken up by the corner posts, reduce the clear width between them. Cutting the end boards to 41 inches lets them sit neatly between the side boards with the corner posts tucked inside the corners, giving you an outside width very close to 4 feet and an inside growing width of about 3 feet 6 inches. If your boards measure slightly differently, dry-fit the frame on flat ground first and trim the end boards to fit snugly rather than forcing a gap or an overlap.
Bed Size Table: Picking the Right Footprint
The 4-by-8-foot bed in this guide is the best all-round beginner size, but it helps to know how it compares with other common sizes before you commit. Use this table to check you are building the right bed for your space.
| Bed size | Growing area | Reach from sides | Best for |
|---|---|---|---|
| 4 x 4 ft | 16 sq ft | Easy from all sides | Small gardens, first-time growers, children’s plots |
| 4 x 8 ft | 32 sq ft | Easy from both long sides | Most beginners, family vegetable patches |
| 3 x 6 ft | 18 sq ft | Very easy, even for children | Narrow gardens, patios with soil access |
| 4 x 12 ft | 48 sq ft | Easy from both long sides | Serious growers with a long sunny border |
Whatever size you choose, keep the width at 4 feet or less. Wider beds look generous but force you to step inside to reach the middle, which compacts the soil you worked so hard to loosen. Length is flexible, but 8 feet is a sweet spot because standard lumber comes in 8-foot lengths, so you need no joins and no waste on the long sides.
Step 1: Measure and Cut the Boards
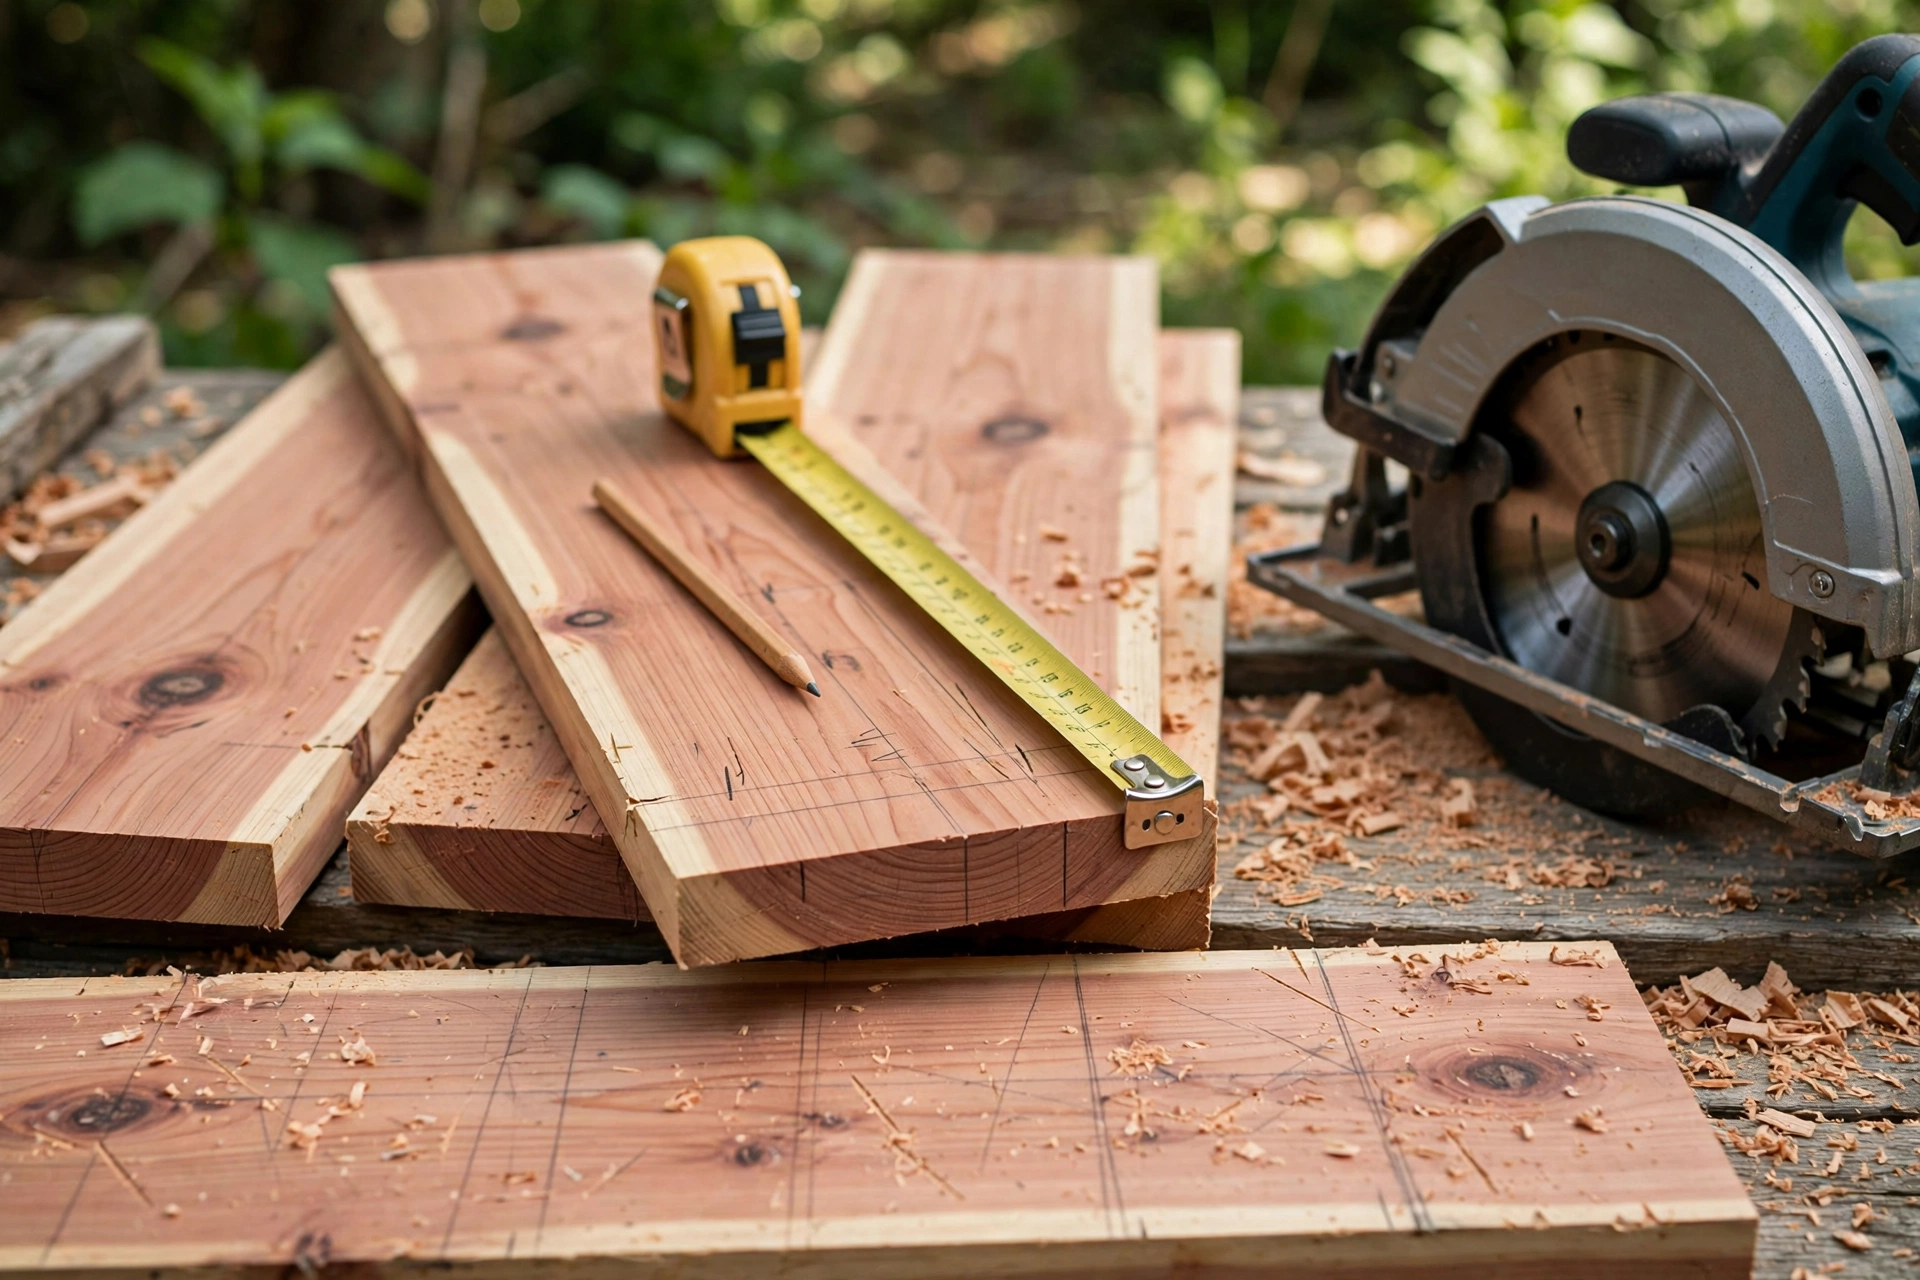
Start on a flat surface, such as a driveway or a patio, where you can lay the boards out fully. Measure and mark each board with a pencil and a square so your cut lines are straight and square across the board. Mark the long side boards at 8 feet — if you bought 8-foot boards, these need no cutting at all, which is one of the reasons this size is so beginner-friendly. Mark the end boards at 41 inches and the corner posts at 12 inches.
Cut slowly and steadily, letting the saw do the work rather than forcing it. If you are using a circular saw, clamp the board or have a helper hold it steady, keep both hands on the saw, and wear safety glasses. If you are using a handsaw, a simple saw horse or a sturdy bench makes the job far easier and safer. After each cut, check the length with your tape measure before moving on. A board cut a quarter-inch short is still usable; a board cut an inch short may leave an ugly gap at a corner.
Once all the pieces are cut, lay the frame out on the ground in its finished shape to check the fit. The two long sides should run parallel, the short ends should sit between them, and the corner posts should tuck into the inside corners. This dry fit takes five minutes and saves you from discovering a measuring mistake after you have already driven screws.
A useful habit for every woodworking project is to label each piece lightly in pencil: “side,” “end,” and “post.” It sounds unnecessary on a simple frame, but it stops you from picking up the wrong board mid-assembly, and it is a habit that pays off on bigger builds. If you are enjoying this kind of straightforward construction, our guide on how to build a simple workbench for beginners is a natural next project, and it gives you a proper bench for all your future cutting and assembly work.
Step 2: Assemble the Frame
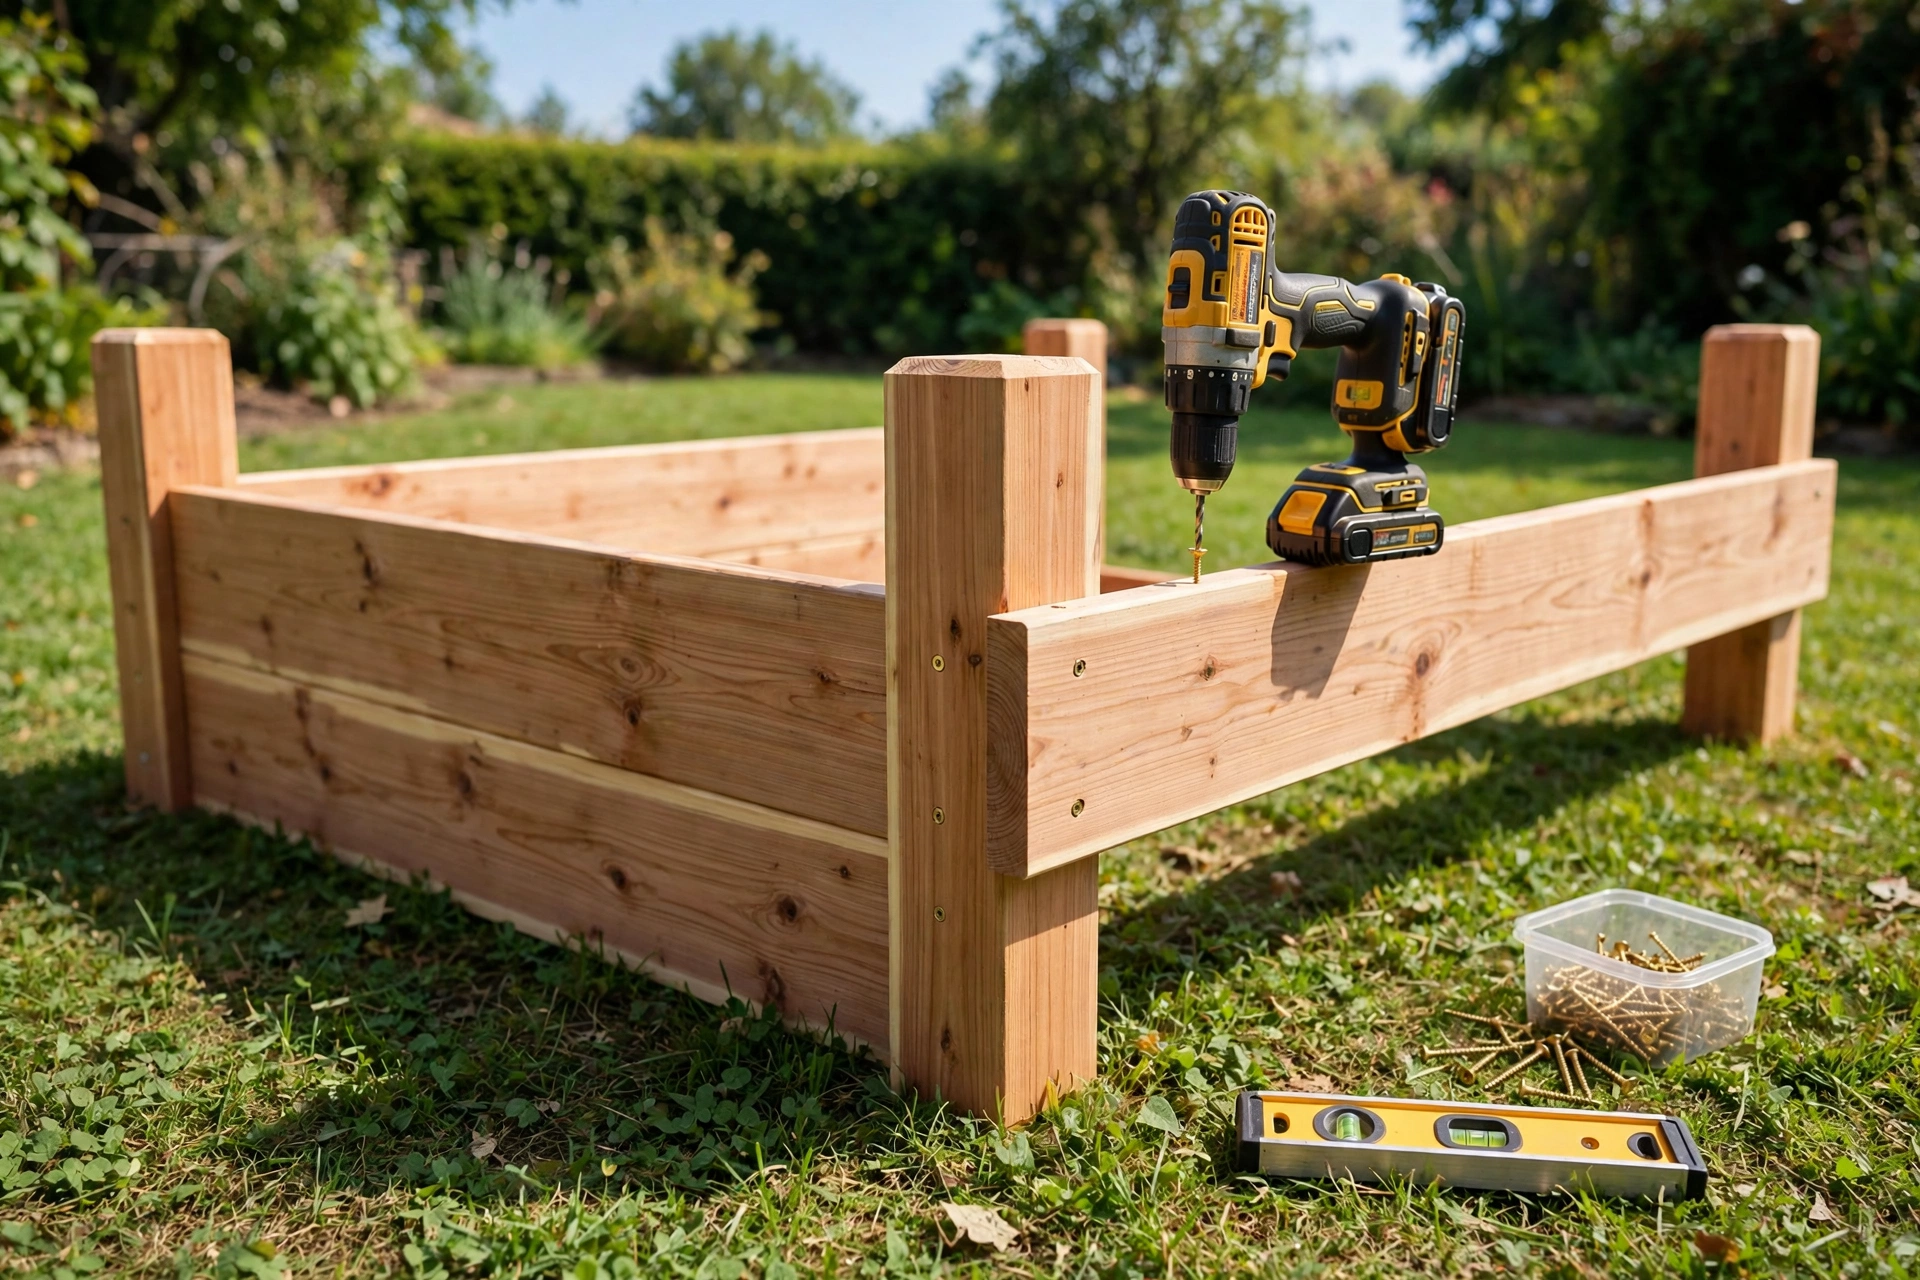
Assembly is easiest on flat ground near the bed’s final position, because a finished frame is heavy and awkward to carry far. Work with one side at a time. Lay a corner post flat on the ground, place the end of a long side board against it so the board’s end is flush with the outside face of the post, and drive two 3-inch exterior screws through the board and into the post. Repeat at the other end of the same board so you have one long side with a post at each end.
Now add the short end boards between the posts, screwing each end into the post with two screws. Then attach the second long side in the same way, and you have a rectangular frame one board high. Check that the corners are square by measuring diagonally across the frame from corner to corner: the two diagonal measurements should be equal. If they are not, gently push the frame until they match, then add the second layer of boards on top of the first, screwing each board into the posts just as you did for the first layer.
Two screws per board end is enough, but make sure the screws are exterior-rated and long enough to bite well into the post. Interior screws will rust and snap within a season. Pre-drilling pilot holes near the ends of the boards is worth the extra minute, especially with cedar, because it prevents the board from splitting when the screw goes in close to the end grain. Drive the screws until they sit just below the surface of the wood so they do not catch on hands or tools later.
When the frame is complete, stand it up and check it for wobble and twist. A good frame feels solid and sits flat when placed on level ground. If one corner rocks, the boards may be slightly different lengths or the frame may be racked out of square; loosen the screws on the offending corner, re-square with the diagonal check, and re-tighten. This is also the moment to sand off any rough splinters on the top edge, since that edge is where your hands and forearms will rest while you garden.
Step 3: Level the Ground and Set the Bed in Place
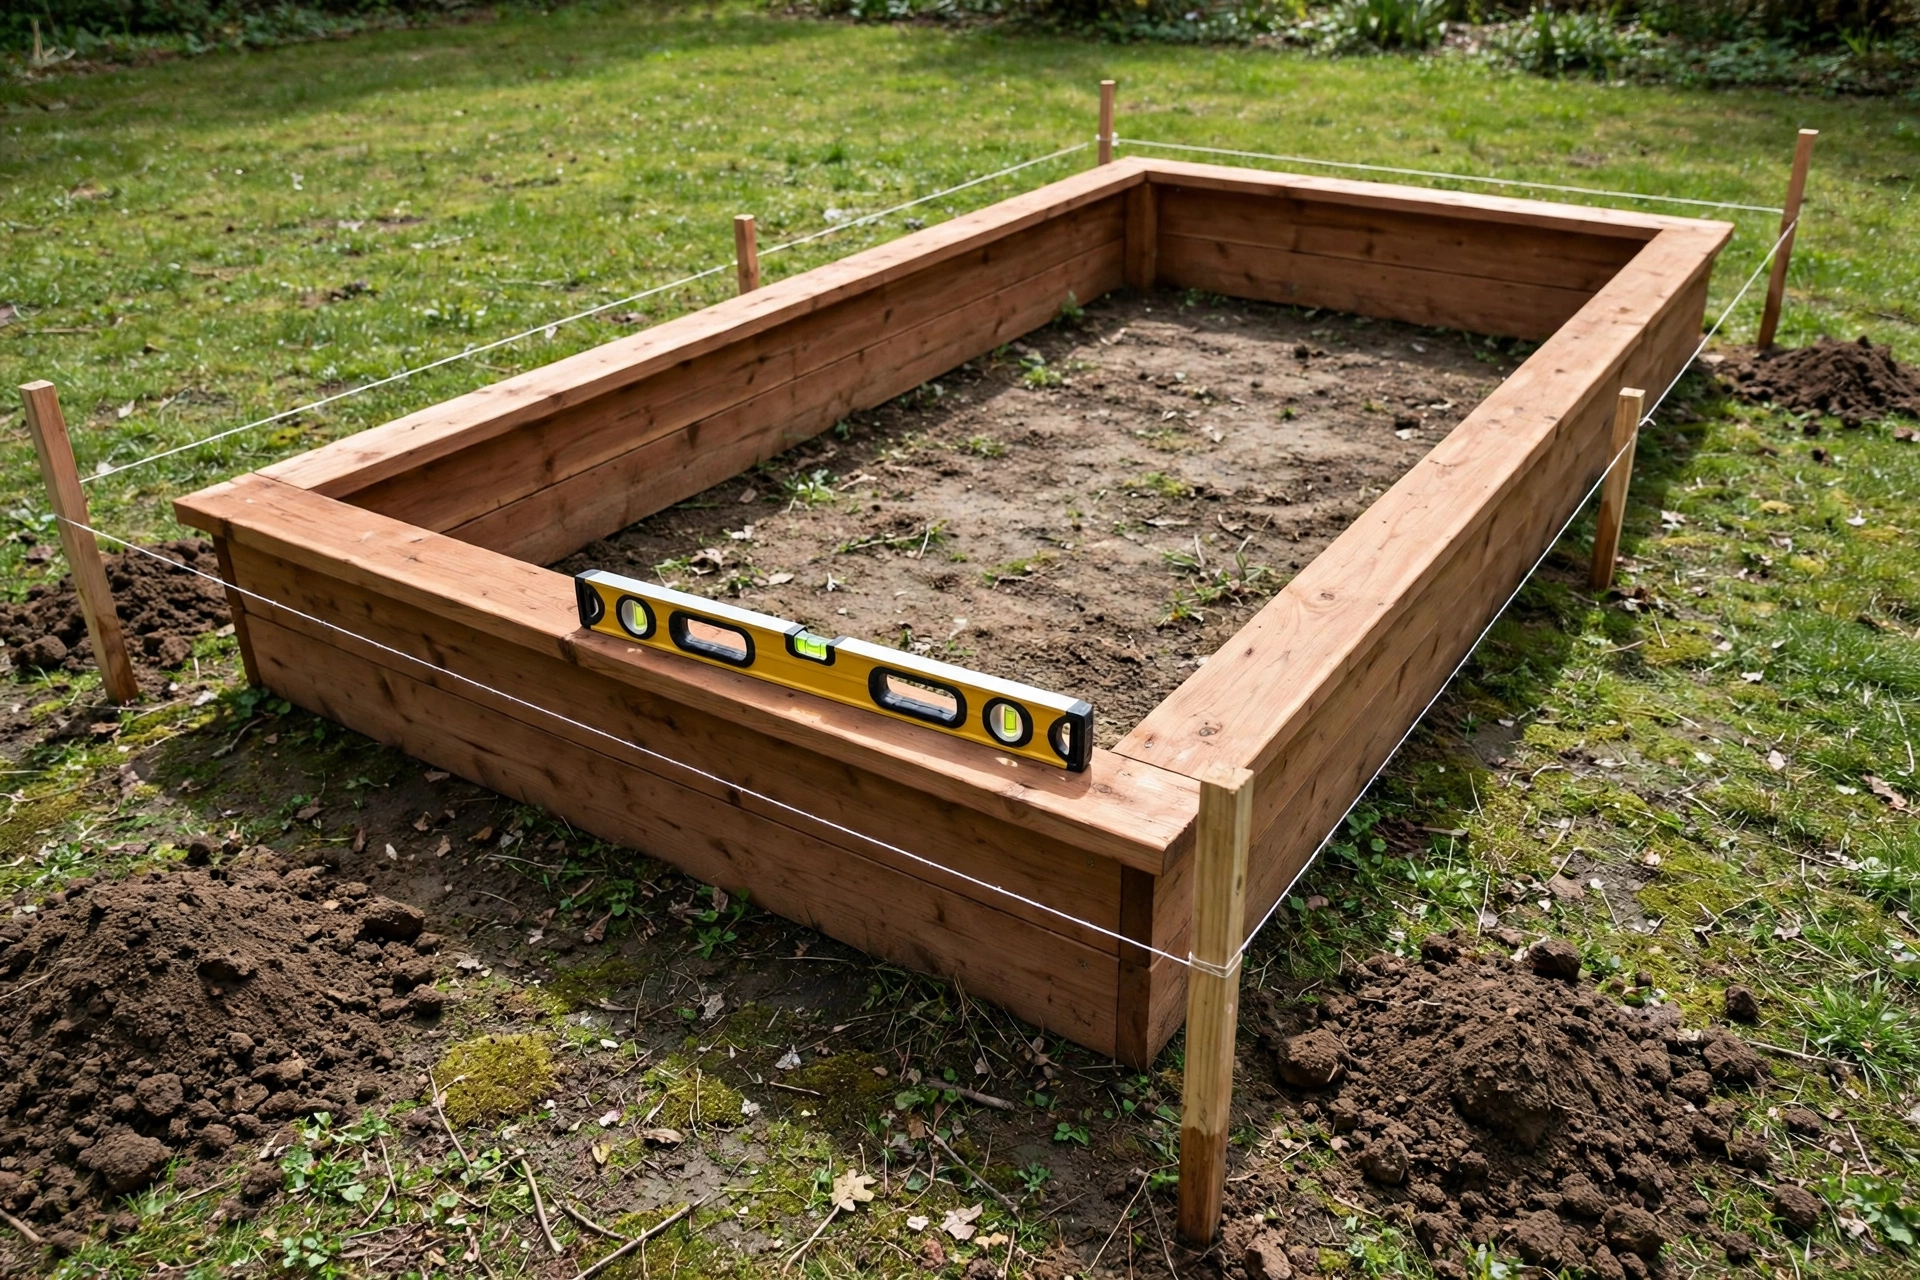
Carry or slide the finished frame to its chosen spot and set it down. Remove the grass inside the rectangle if you want a clean start, although this is optional: you can also lay cardboard over the grass inside the bed, which smothers it and rots down naturally. If you remove the turf, dig down an inch or two and roughly level the soil underneath with a shovel or rake.
Now level the frame itself. Place your spirit level on top of each long side in turn and check the bubble. On a gentle slope, dig a little soil out from under the high side or pack soil under the low side until the frame sits level in both directions. This step matters more than it looks: a bed that slopes will let water run to one end, leaving one side soggy and the other dry, and it will look noticeably wonky once filled. Take your time here and check both long sides and both ends.
Push the corner posts a couple of inches into the ground if your posts are slightly long, or simply let the frame rest on the soil surface. Some builders dig the posts in for extra stability, but for a 12-inch bed on level ground, the sheer weight of the soil once filled will hold the frame firmly in place. If your garden is exposed to strong wind or you have children or dogs who might bump the bed, sinking the posts an inch or two adds reassuring stability.
Step back and look at the bed from a distance before you fill it. Check that it sits squarely in the space, that the paths around it are wide enough, and that it catches the sun as you expected. Shifting an empty frame takes seconds; shifting a filled one takes an afternoon and a wheelbarrow.
Step 4: Line the Bed, Add Drainage, and Fill With Soil
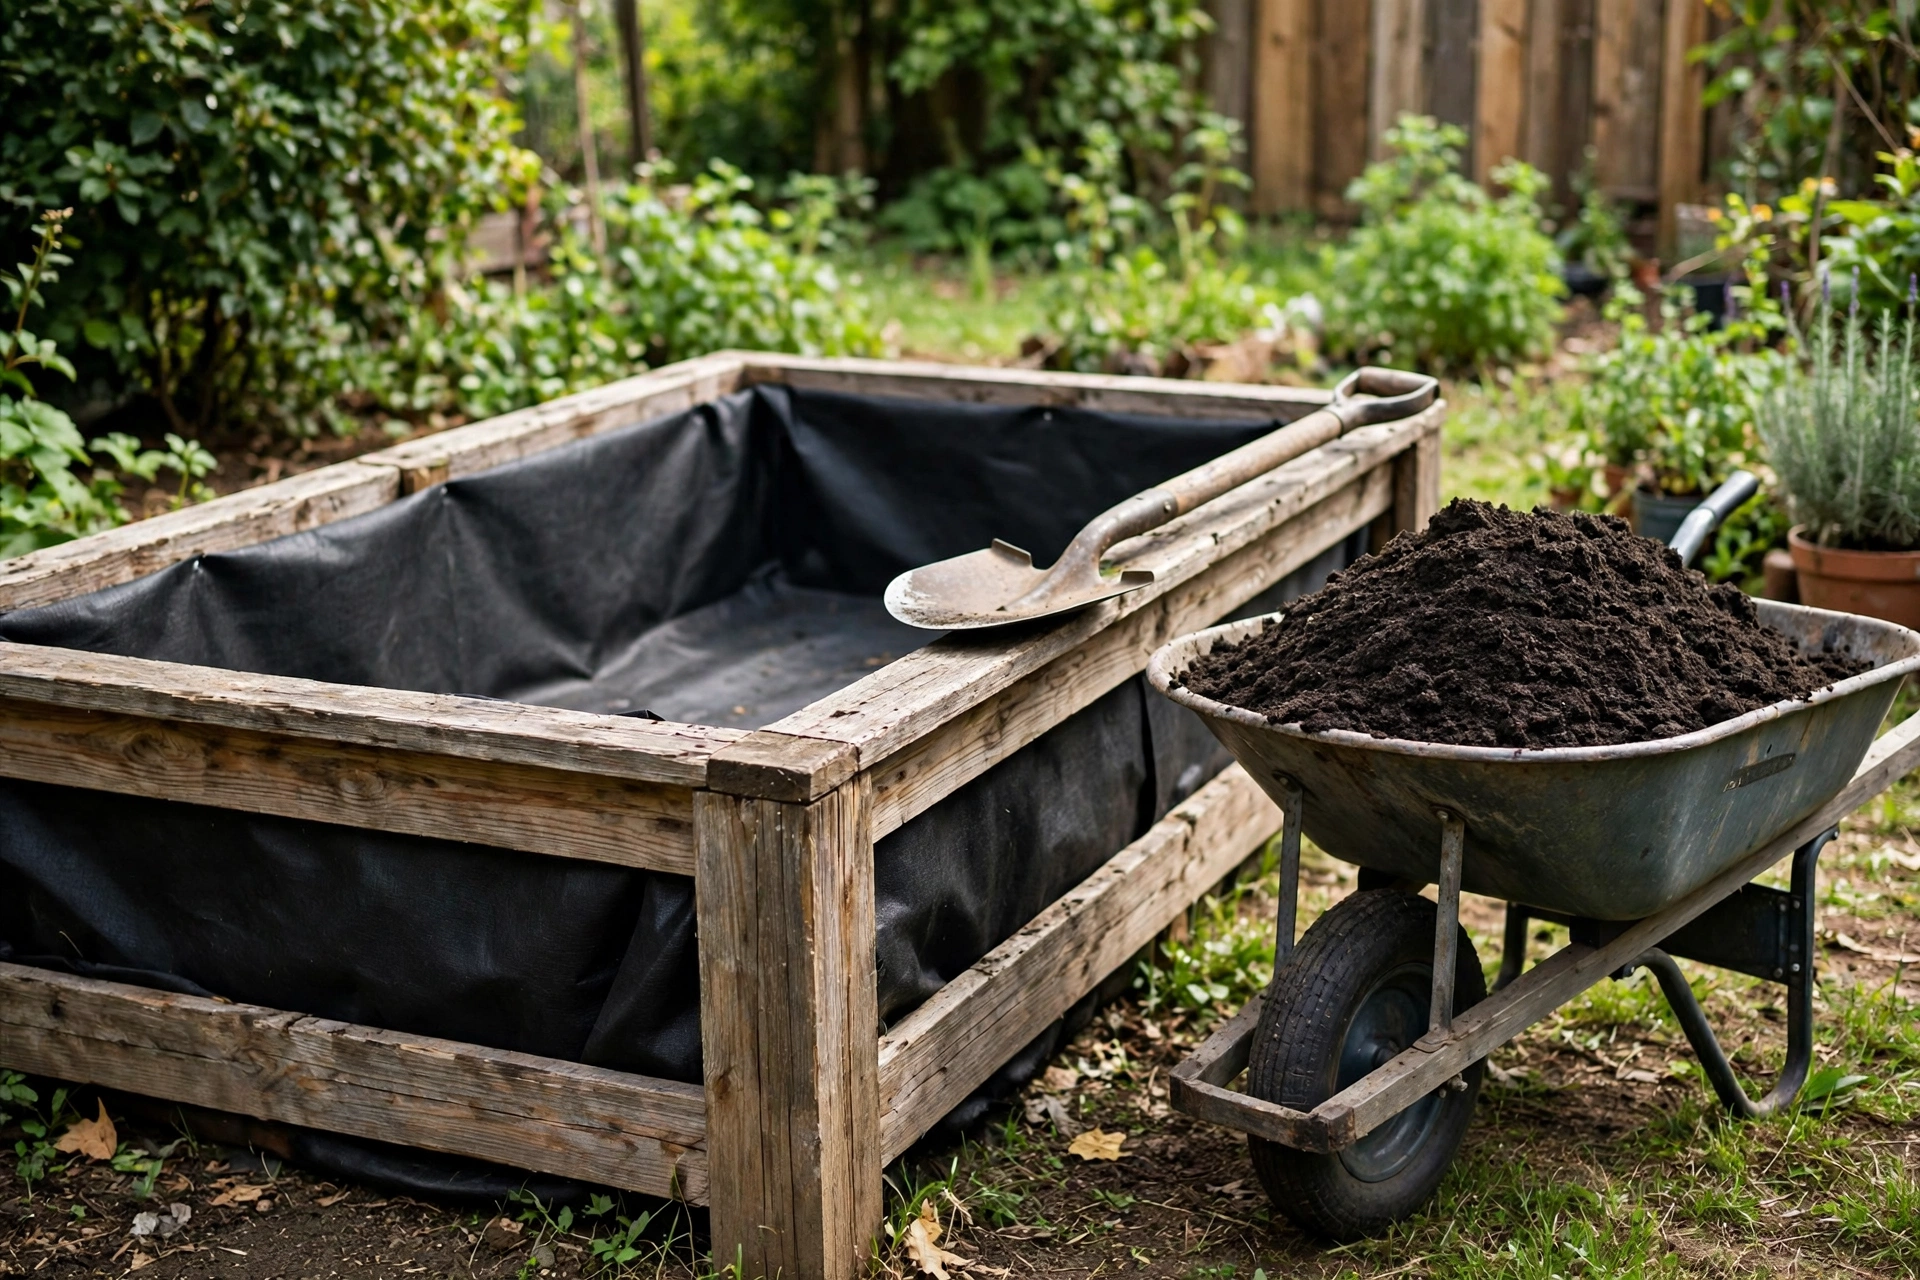
Lining is optional, but it solves two common beginner problems. A layer of permeable landscape fabric on the inside walls reduces direct contact between damp soil and the boards, which slows rot, and it helps keep soil from washing out through small gaps. Cut the fabric to fit the inside of the bed, press it against the walls, and staple it to the inside of the boards near the top. Do not use plastic sheeting: it blocks drainage and turns the bed into a soggy bath. The bottom of the bed should stay open to the ground below so worms can enter and excess water can drain away.
If moles, voles, or gophers are a problem in your area, this is the moment to add protection. Lay a sheet of 1/2-inch galvanised hardware cloth flat on the ground inside the frame before you add any soil. The mesh stops burrowing pests from coming up into the bed while still letting worms and water through. It is a five-minute job now and a very difficult job later, so do it before filling if you have any doubt.
Now the satisfying part: filling. A 4-by-8-foot bed that is 12 inches deep holds about 32 cubic feet of soil, which is roughly 1.2 cubic yards. Do not fill it with pure topsoil or pure compost alone. The best beginner mix is about 60 percent good-quality topsoil and 40 percent compost, with a few bags of well-rotted manure or leaf mould mixed in if you can get them. This blend holds moisture, drains well, and feeds plants through their first season without needing much extra fertiliser.
Fill in layers, watering each layer lightly as you go so the soil settles evenly rather than sinking dramatically later. Fill to about an inch below the top of the boards, because soil settles over the first few weeks and you want room to add mulch on top. Rake the surface level, water it thoroughly, and let it settle for a day or two before planting if you can wait that long. If you are in a hurry, you can plant the same day, but expect to top up the level with compost after the first few waterings.
Soil Volume Table: How Much Soil to Order
Ordering the right amount of soil is one of the most common beginner mistakes, so use this table rather than guessing. Volumes are for a bed filled to the full depth shown, and it is always better to order slightly more than slightly less, since leftover soil is useful elsewhere in the garden.
| Bed size | Depth | Soil volume (cubic feet) | Soil volume (cubic yards) | 40-litre bags (approx.) |
|---|---|---|---|---|
| 4 x 4 ft | 12 in | 16 | 0.6 | 12 |
| 4 x 8 ft | 12 in | 32 | 1.2 | 23 |
| 4 x 8 ft | 6 in | 16 | 0.6 | 12 |
| 3 x 6 ft | 12 in | 18 | 0.7 | 13 |
| 4 x 12 ft | 12 in | 48 | 1.8 | 34 |
For the bed in this guide, plan on about 32 cubic feet, or roughly 1.2 cubic yards, of a topsoil and compost mix. Buying in bulk from a landscape supplier is usually much cheaper than buying bags for a bed this size, but bags are easier to handle if you have no driveway access for a delivery. Either way, check that the supplier’s topsoil is screened and weed-free, and ask whether their compost is fully rotted; fresh, hot compost can damage young roots.
How Much Does It Cost?
Costs vary by region and by wood choice, but the table below gives realistic 2026 price ranges for one 4-by-8-foot bed. Cedar is the bigger upfront spend, while pine keeps the project under the price of a decent takeaway dinner for two. Tools are not included, on the assumption that most beginners already own a drill and a saw or can borrow them.
| Item | Cedar option | Untreated pine option |
|---|---|---|
| 2×6 boards (8 boards) | $80–$130 | $35–$60 |
| 4×4 posts (1 board, cut into 4) | $15–$25 | $8–$15 |
| Exterior screws (box) | $8–$12 | $8–$12 |
| Landscape fabric (optional) | $10–$15 | $10–$15 |
| Soil mix, 32 cu ft (bulk or bags) | $40–$80 | $40–$80 |
| Total estimate | $153–$262 | $101–$182 |
Soil is the wildcard in this budget. Bulk delivery can be very cheap per cubic foot but may carry a delivery fee, while bagged soil costs more but lets you buy exactly what you need. Seeds and seedlings for your first planting add perhaps $10–$20. Even at the cedar end of the range, this bed pays for itself quickly: a single season of home-grown salads, herbs, and tomatoes from 32 square feet can easily out-produce the cost of the build, and the bed itself will serve you for a decade or more.
What to Plant First in Your New Bed
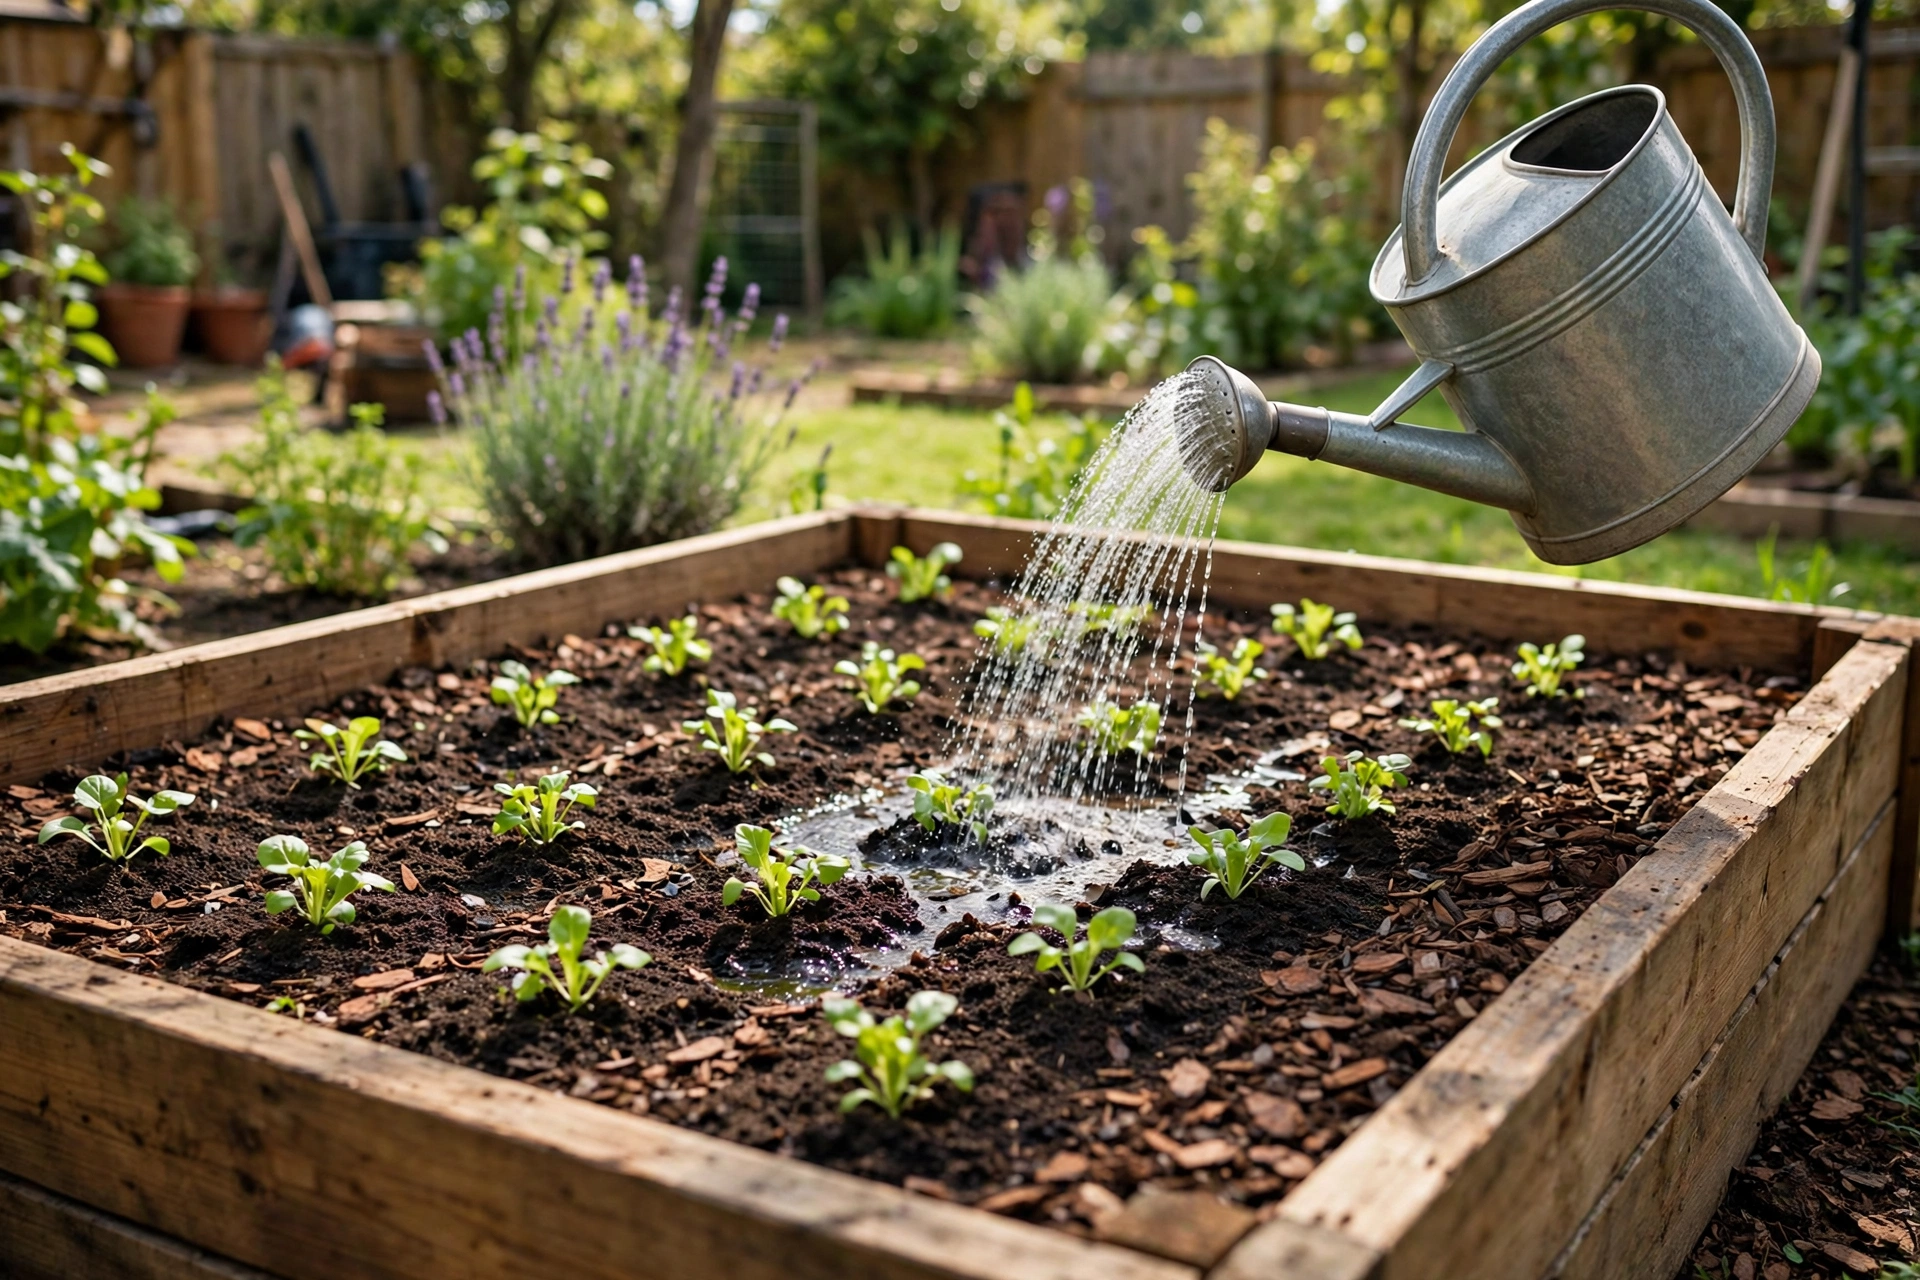
A new bed full of fresh, loose soil is the easiest ground you will ever plant into, so start with crops that reward beginners quickly. Leafy salads are the classic first success: lettuce, rocket, and spinach germinate within days, can be cut repeatedly, and taste noticeably better than shop-bought leaves. Sow them in short rows and harvest the outer leaves as you need them, and the same plants will keep producing for weeks.
Herbs are another excellent first planting. Basil, parsley, chives, and mint (always in a pot sunk into the bed, because mint spreads aggressively) give you something to pick within weeks and make everyday cooking feel like a small triumph. After salads and herbs, try one or two tomato plants supported by a cane or small trellis, a row of carrots in the loose soil, and a courgette plant if you have the space, since a single courgette plant can feed a household through summer.
Plan your layout before you sow. Put tall plants like tomatoes and beans at the north side of the bed (or the side away from the sun’s path in your hemisphere) so they do not shade shorter crops. Group plants with similar watering needs together, and leave paths of bare soil between rows wide enough for your hand and a small trowel. A simple sketch on paper now prevents the common beginner mistake of planting everything in a jumble and then being unable to reach the middle.
Resist the urge to fill every inch on day one. A half-planted bed that you can weed and water comfortably will outperform a crammed bed where plants compete for light, water, and air. You can succession-sow: as soon as one row of lettuce finishes, sow another, so the bed keeps producing from spring through autumn. By your second season, you will know which crops your household actually eats, and you can plan the whole bed around them.
If your garden also has room for a seating spot beside your new vegetable patch, a simple bench is a lovely companion project. Our guide on how to build a simple garden bench for beginners uses the same basic measuring, cutting, and screwing skills you have just practised, and it gives you somewhere to sit and admire the bed you built.
Watering, Mulching, and Looking After the Bed
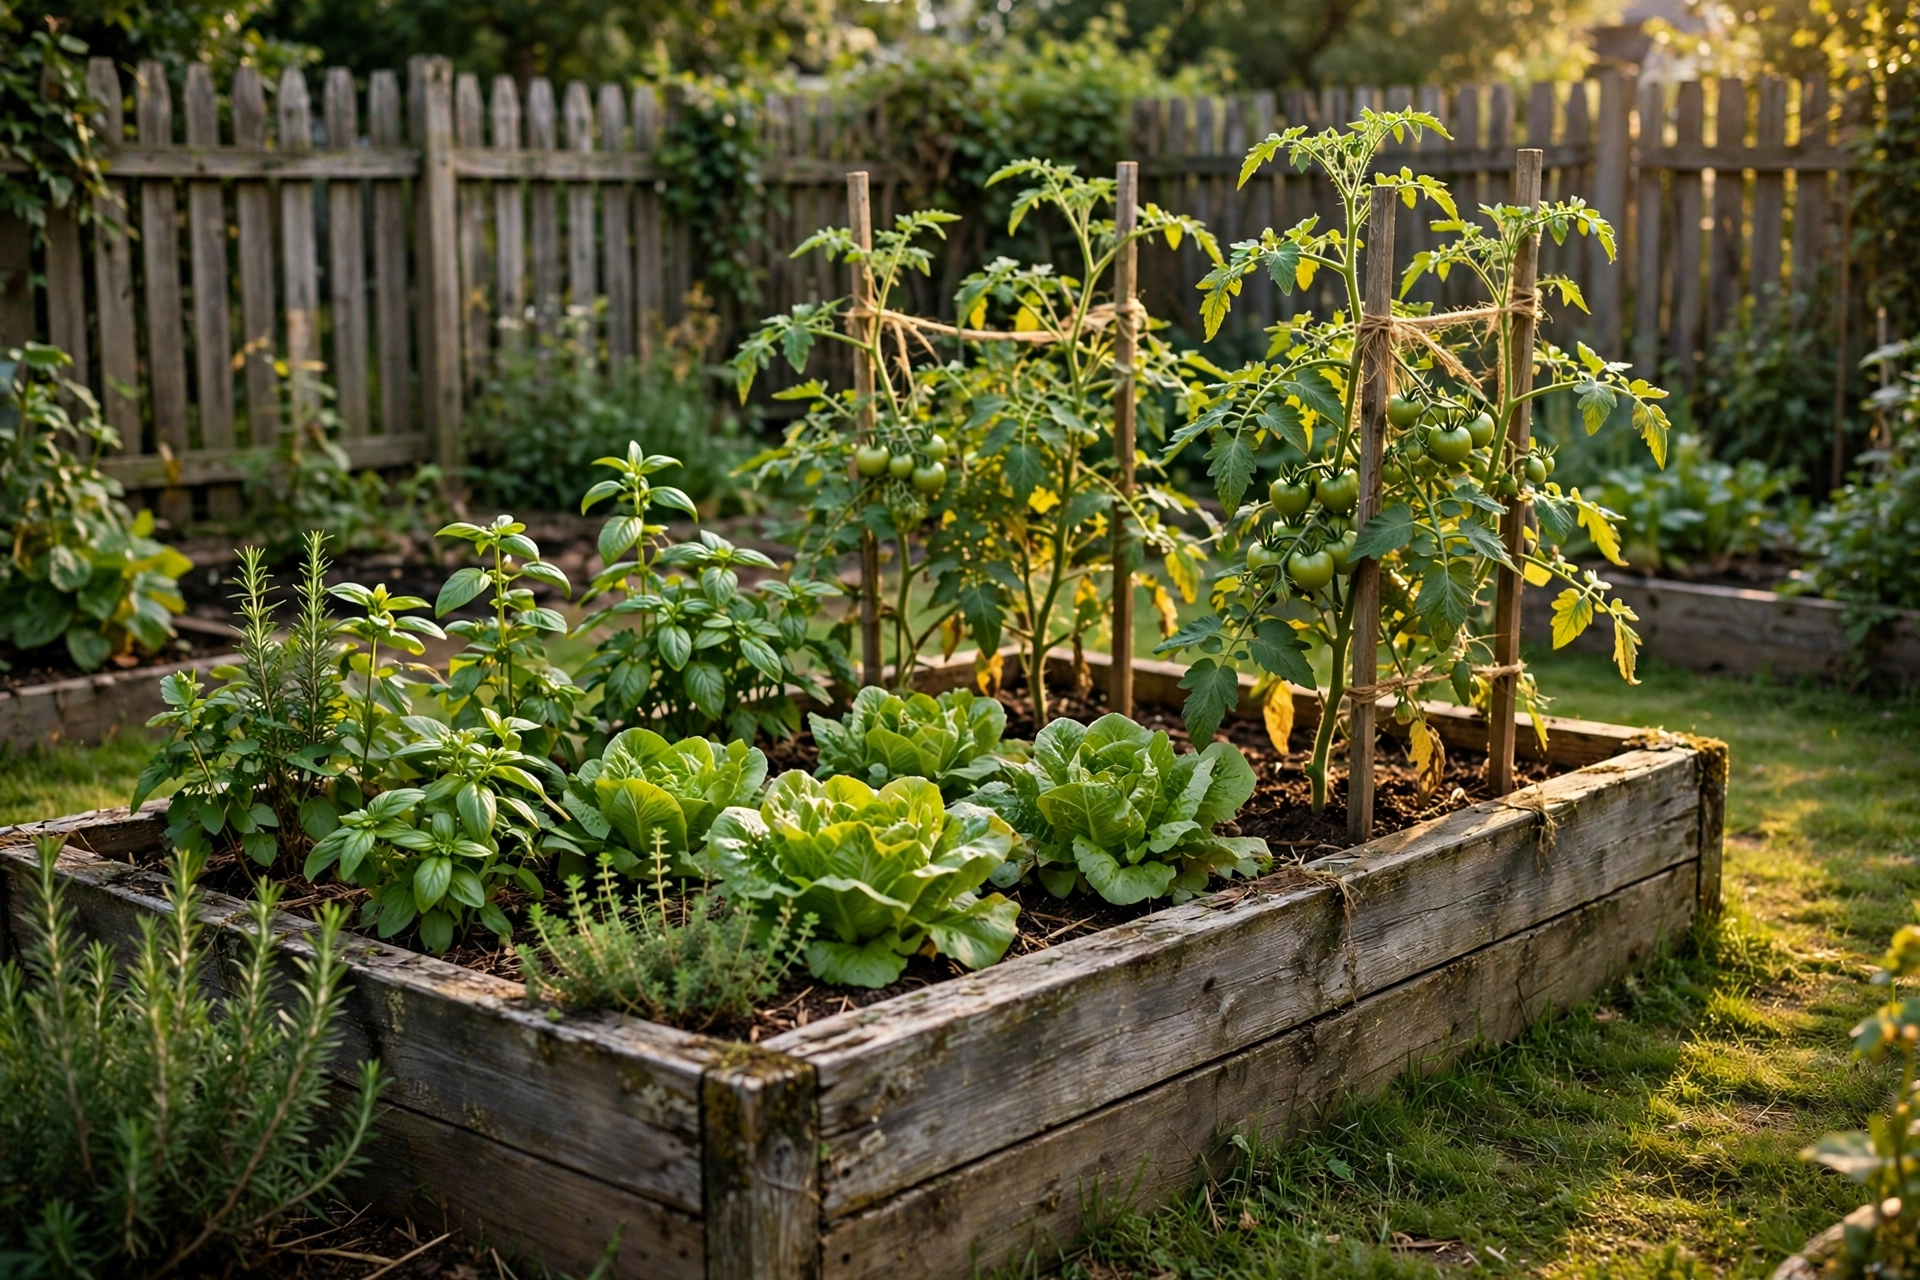
Raised beds dry out faster than open ground because they are exposed on all sides and the soil is loose, so watering is the one routine job you cannot skip in summer. Water deeply and less often rather than lightly every day: a thorough soaking that reaches the roots encourages deep root growth, while a daily sprinkle only wets the surface and leaves plants shallow-rooted and thirsty. Water in the morning or evening, aim at the soil rather than the leaves, and check the soil with your finger before watering — if the top inch is dry but the soil below is damp, wait another day.
Mulch is your best friend in a raised bed. A 2- to 3-inch layer of straw, shredded leaves, or bark chips on the soil surface cuts water loss, suppresses weeds, and keeps the soil temperature steady. Leave a small gap around plant stems so mulch does not sit against them and cause rot. Top up the mulch as it breaks down through the season, and dig the remains into the bed at the end of the year to add organic matter.
At the end of each growing season, pull out finished plants, add a thick layer of compost to the surface, and let the worms do the digging for you. This “no-dig” top-dressing keeps the soil structure intact and replaces the nutrients your crops used up. Check the boards once a year for soft spots, loose screws, or bowing sides, and tighten or replace anything that needs it before the next season. A bed that bows outward under the weight of wet soil can be saved with a simple cross-brace: a short board screwed across the middle of the long sides, or a stake driven into the ground outside the midpoint of each long side.
Over time, the soil level in any raised bed drops as organic matter breaks down. This is normal. Top it up with compost each spring, and your bed will stay productive for years. If you later decide to add a second bed, leave the same generous paths between them, and consider linking the project with other small garden builds. A wooden planter box for beginners is a great companion for herbs on a patio, while the bed itself handles the main vegetable crop.
Common Mistakes Beginners Make
Most raised bed problems are easy to avoid once you know what they are. The first is building the bed too wide. A 5- or 6-foot-wide bed looks impressive empty, but you will either step on the soil to reach the middle or leave the middle unplanted, and both outcomes waste the bed. Stick to 4 feet or less in width.
The second mistake is using treated lumber of unknown safety, or lining the bed with plastic that blocks drainage. Both can harm your plants and your soil. Use cedar or untreated pine, line only the walls with permeable fabric if you line at all, and always leave the bottom open.
The third is filling the bed with poor soil to save money. A bed is only as good as what you put in it, and cheap, heavy, un-screened topsoil full of weed seeds will undo all the advantages of building the bed in the first place. Spend the money on a good topsoil and compost mix, and your plants will repay you all season.
The fourth is placing the bed in shade. A bed in a shady corner will grow lettuce and little else, and you will blame yourself when the real problem was the location. Six to eight hours of sun is the minimum for most vegetables, so choose the sunniest spot you have, even if it is not the most convenient one.
The fifth is forgetting about watering. Raised beds need more water than open ground, especially in their first summer while the soil is still settling. Set a routine — check the soil every day or two in hot weather — and consider a simple drip line or soaker hose on a timer if you travel or tend to forget. A bed that dries out completely is hard to re-wet evenly, so little and often in a heatwave is better than letting it bake and then flooding it.
Frequently Asked Questions
How deep should a wooden raised garden bed be for beginners?
Twelve inches is the best depth for a first bed. It holds enough soil for most vegetables, including carrots and tomatoes, while keeping the build simple with two stacked 2×6 boards. Shallower beds of 6 inches work for salads and herbs but dry out faster and restrict root growth. If you are growing on top of concrete or very poor ground, go deeper, to 18 inches or more, so roots have enough good soil above the hard surface.
Can I build a raised garden bed without any power tools?
Yes. If your lumber yard cuts the boards to length for you, you can assemble the whole frame with a hand screwdriver, although a cordless drill makes the job much faster and easier. A handsaw also handles all six boards in this build if you prefer to cut them yourself. The only tools you truly need are a tape measure, a pencil, a saw or a cutting service, and something to drive screws with.
Is cedar or pine better for a raised garden bed?
Cedar lasts longer, typically 10 to 15 years, resists rot naturally, and needs no treatment, but it costs about twice as much as pine. Untreated pine lasts 3 to 5 years and is much cheaper, which makes it a sensible choice for a first bed while you learn what size and layout you prefer. Both are safe for growing food. Avoid treated lumber unless it is specifically rated safe for garden use.
Do I need to remove the grass under a raised bed?
No, it is optional. You can lay cardboard over the grass inside the frame, wet it thoroughly, and fill straight on top; the grass and cardboard break down underneath and add organic matter. Removing the turf gives you a cleaner start and a little extra depth, but it is hard work and not necessary. Whichever method you choose, do not line the bottom with plastic, because that blocks drainage and stops worms from entering the bed.
How much soil do I need for a 4×8-foot raised bed?
A 4-by-8-foot bed that is 12 inches deep needs about 32 cubic feet of soil, which is roughly 1.2 cubic yards or around 23 bags of 40 litres. Use a mix of about 60 percent topsoil and 40 percent compost rather than either one alone. Order a little extra if you can, since the soil settles over the first few weeks and you will want to top it up.
What vegetables grow best in a raised bed for beginners?
Lettuce, spinach, and rocket are the easiest first crops, followed by herbs such as basil, parsley, and chives. Tomatoes, carrots, courgettes, beans, and radishes also do very well in the loose, warm soil of a raised bed. Start with crops your household actually eats, plant a small amount of each, and add more variety in your second season once you know how much space each plant really needs.
—
Recommended Products for This Project
As an Amazon Associate, I earn from qualifying purchases.

Titebond III Ultimate Wood Glue, 8 oz (1413)
Waterproof wood glue for strong, lasting outdoor joints.

DEWALT 20V MAX Cordless Drill/Driver Kit (DCD771C2)
Compact drill/driver with two batteries for drilling pilot holes and driving screws all day.

IRWIN QUICK-GRIP Clamps Set, 8-Piece (IRHT83220)
One-handed clamps that hold boards square while the glue sets.

FIXLINK Deck Screws #8 x 2 Inch, 310-Pack
Rust-resistant coated screws that hold outdoor garden-bed joints tight.

Thompson's WaterSeal Clear Wood Sealer, 1 Gallon
Clear waterproofing sealer that protects outdoor wood from rain and sun.


