
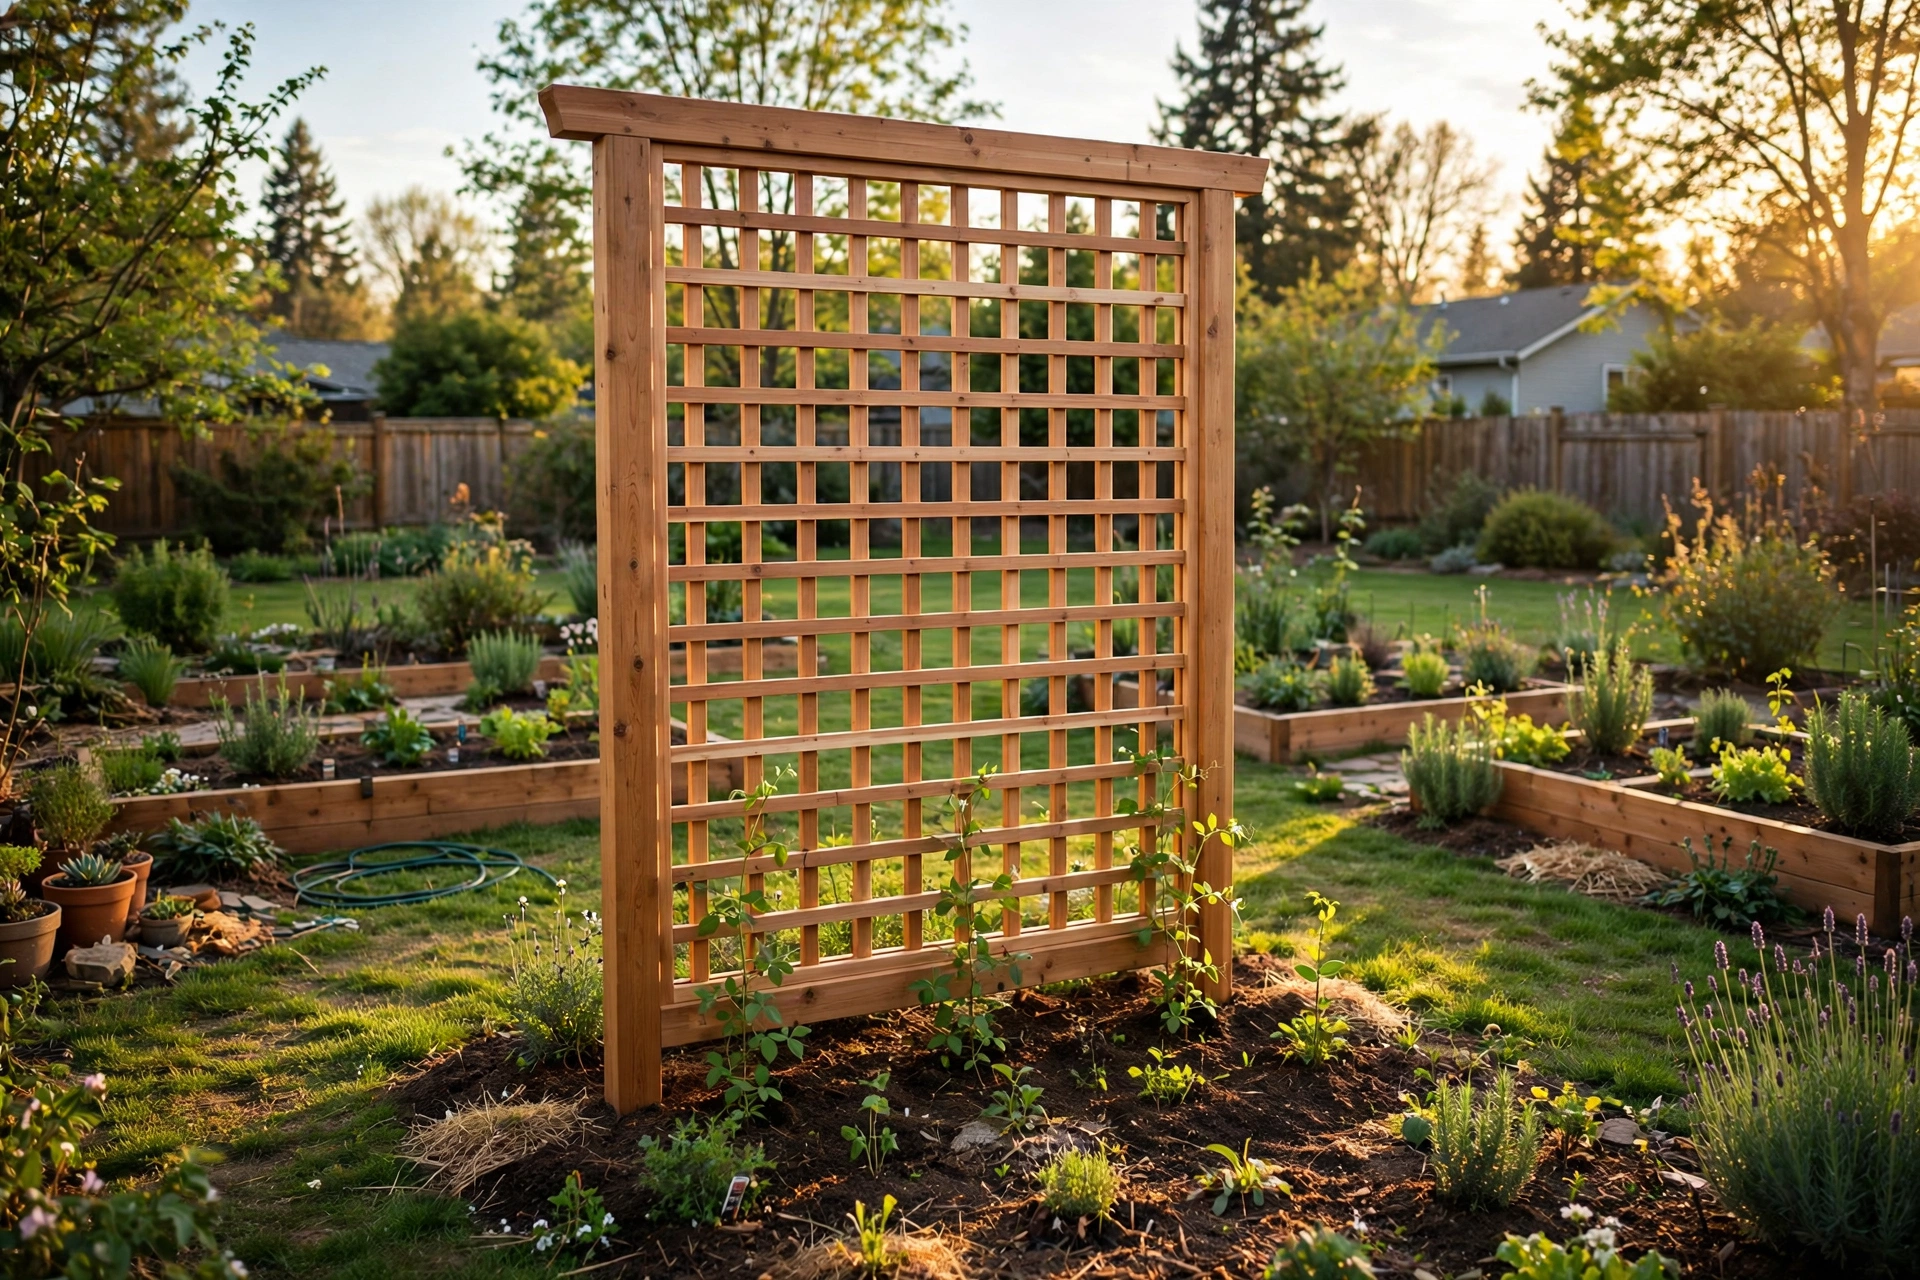
A wooden garden trellis is one of the most satisfying first outdoor projects you can build. It is simple, it is useful from the very first day, and it transforms a plain fence, wall, or open garden bed into a living green screen. If you are learning how to build a wooden garden trellis for beginners, this guide gives you a complete, measured plan: a freestanding trellis 4 feet wide and 6 feet tall, built from a sturdy cedar 2×4 frame and slim 1×2 lattice slats, with an exact cut list, clear step-by-step instructions, realistic costs, and planting advice so your climbers actually thrive.
Unlike a planter box, which holds soil, or a garden bench, which gives you somewhere to sit, a trellis is a vertical climbing support. Its whole job is to hold plants up, let air move through them, and look good while it does it. That makes it the perfect follow-up project once you have built something smaller. If you have already tried one of the easy woodworking projects for beginners that sell, a trellis is a natural next step: it uses the same basic skills — measuring, square cuts, drilling, and screwing — but at a satisfying garden scale.
This project takes most beginners a single weekend afternoon, roughly three to four hours of actual work plus drying time for the finish. You do not need a workshop full of tools. A circular saw or a handsaw, a drill, a tape measure, and a level will get the job done. By the end, you will have a structure strong enough to carry roses, jasmine, sweet peas, or beans for years, provided you anchor it properly and protect the wood from the weather.
Why Build a Trellis Instead of Buying One?
Shop-bought trellises are often made from thin, soft wood stapled together, and they rarely last more than a season or two outdoors. They flex in the wind, their joints loosen, and their slats snap under the weight of a mature climbing rose. Building your own changes all of that. You choose the wood, you set the dimensions to fit your exact spot, and you fasten every joint with screws rather than staples.
A homemade trellis also costs less than a good-quality ready-made one, and it looks better because you can match its proportions to your garden. A 4-foot-wide, 6-foot-tall trellis suits most garden beds: wide enough to make a statement, tall enough for most climbers, and still light enough for one person to move into position before it is anchored. It can stand alone in a bed, screen a compost bin or an ugly fence, or sit against a wall as a decorative feature.
There is another advantage that beginners often overlook. A trellis teaches you real outdoor carpentry skills — working with pressure-treated or naturally rot-resistant wood, drilling pilot holes so boards do not split, keeping a frame square, and finishing wood for outdoor use — without the pressure of a project that has to hold a person or a roof. If you can build this trellis well, you can build a wooden planter box for beginners with confidence, and many of the same finishing lessons apply there too.
Choosing the Right Wood for an Outdoor Trellis
Wood choice matters more outdoors than it does indoors, because rain, sun, soil contact, and insects all attack the timber. Cedar is the best choice for most beginners, and it is the wood this plan is built around. Western red cedar is naturally resistant to rot and insects, it is light and easy to cut and screw, and it weathers to an attractive silver-grey if you leave it unfinished. It costs more than pine, but a trellis uses so little timber that the difference is small, and the extra lifespan is well worth it.
Pressure-treated pine is a cheaper alternative and it is widely available. It will last a long time in the ground, but it is heavier, it can be wet and rough when you buy it, and you should wear gloves and a dust mask when cutting it. Avoid untreated pine, spruce, or interior-grade softwood for this project. They may look fine for a few months, but they will rot quickly where they touch soil or stay damp, and a trellis that rots at its feet is a trellis that falls over in the first strong wind.
Whatever wood you choose, pick boards that are straight. Sight down the length of each board before you buy it, and reject any that are badly bowed, twisted, or cupped. A trellis made from warped boards will never sit square, and the lattice grid will look uneven no matter how carefully you measure. This is also why it is worth checking your boards at home and letting them acclimatise in a dry spot for a day or two before you start cutting.
Tools and Materials You Will Need
You do not need specialist tools for this project. Here is everything required, and nothing more.
Tools: Tape measure and pencil; speed square or combination square; circular saw, mitre saw, or a sharp handsaw; cordless drill/driver with drill bits and a driver bit; spirit level (at least 600 mm long); clamps (two are enough); sandpaper, 80-grit and 120-grit; paintbrush or rag for finishing; spade or post-hole digger; safety glasses, hearing protection, and a dust mask.
Materials: Cedar 2×4 lumber for the frame and legs; cedar 1×2 lumber for the lattice slats; 2.5-inch exterior screws for the frame; 1.5-inch exterior screws or brad nails for the slats; exterior wood glue (optional but helpful); gravel and quick-setting concrete or post mix for anchoring; outdoor wood oil, stain, or exterior paint for finishing; garden twine for tying in plants.
Before you start cutting, read through the woodworking safety tips for beginners if you are new to power saws. A trellis is a beginner project, but a circular saw still demands respect: clamp your work, keep your hands clear of the blade path, and always wear eye protection.
The Exact Cut List
This plan builds a trellis with an overall width of 4 feet (48 inches) and a height of 6 feet (72 inches) above ground. The legs extend a further 18 inches below ground level for anchoring, so the full length of each leg board is 90 inches. If you buy 8-foot (96-inch) boards for the legs, you will trim 6 inches off each one, which leaves useful offcuts.
| Part | Material | Quantity | Cut length | Notes |
|---|---|---|---|---|
| Legs / side posts | Cedar 2×4 | 2 | 90 inches (72 above ground + 18 buried) | Long grain vertical |
| Top rail | Cedar 2×4 | 1 | 48 inches | Sits between the legs |
| Bottom rail | Cedar 2×4 | 1 | 48 inches | Sits between the legs, 6 inches above ground level |
| Middle rail | Cedar 2×4 | 1 | 48 inches | Centred, adds rigidity |
| Vertical lattice slats | Cedar 1×2 | 7 | 66 inches | Spaced evenly across the frame |
| Horizontal lattice slats | Cedar 1×2 | 9 | 45 inches | Spaced evenly between the rails |
| Foot / brace boards (optional) | Cedar 2×4 | 2 | 24 inches | For freestanding feet on hard ground |
If your lumber yard only stocks 8-foot boards, buy three 2×4 boards for the frame and legs (two legs plus three rails can be cut from three boards with care) and four 8-foot 1×2 boards for the slats. Always buy one spare 1×2. It costs very little, and it saves a return trip if a slat splits or you miscut one piece.
The lattice spacing in this plan gives openings of roughly 5 to 6 inches, which is ideal for most climbers. Smaller openings look fussy and block airflow, while openings wider than about 8 inches give tendrils and stems too little to grip. If you are growing heavy roses, keep the spacing at the tighter end of that range; for light annual vines like sweet peas, the wider spacing is fine.
How Much Does It Cost to Build?
Costs vary by region and by timber supplier, but a cedar trellis of this size is an affordable weekend project. The table below gives realistic 2026 price ranges for the materials, so you can budget before you shop.
| Item | Estimated cost |
|---|---|
| Cedar 2×4 boards (frame and legs) | $30–$45 |
| Cedar 1×2 boards (lattice slats) | $20–$30 |
| Exterior screws (box, shared with future projects) | $8–$12 |
| Gravel and post mix (2 bags) | $10–$16 |
| Outdoor wood oil or stain (one tin) | $15–$25 |
| Garden twine | $3–$5 |
| Total | $86–$133 |
If you switch to pressure-treated pine, the timber cost typically drops by about a third, bringing the total closer to $60–$95. A ready-made cedar trellis of comparable size and quality usually sells for $120–$200, so building your own saves money and gives you a stronger result. Tools are not included in these figures, because most beginners already own a drill, and a basic circular saw is an investment that pays for itself across many future projects.
Step 1: Measure, Mark, and Cut the Frame Pieces
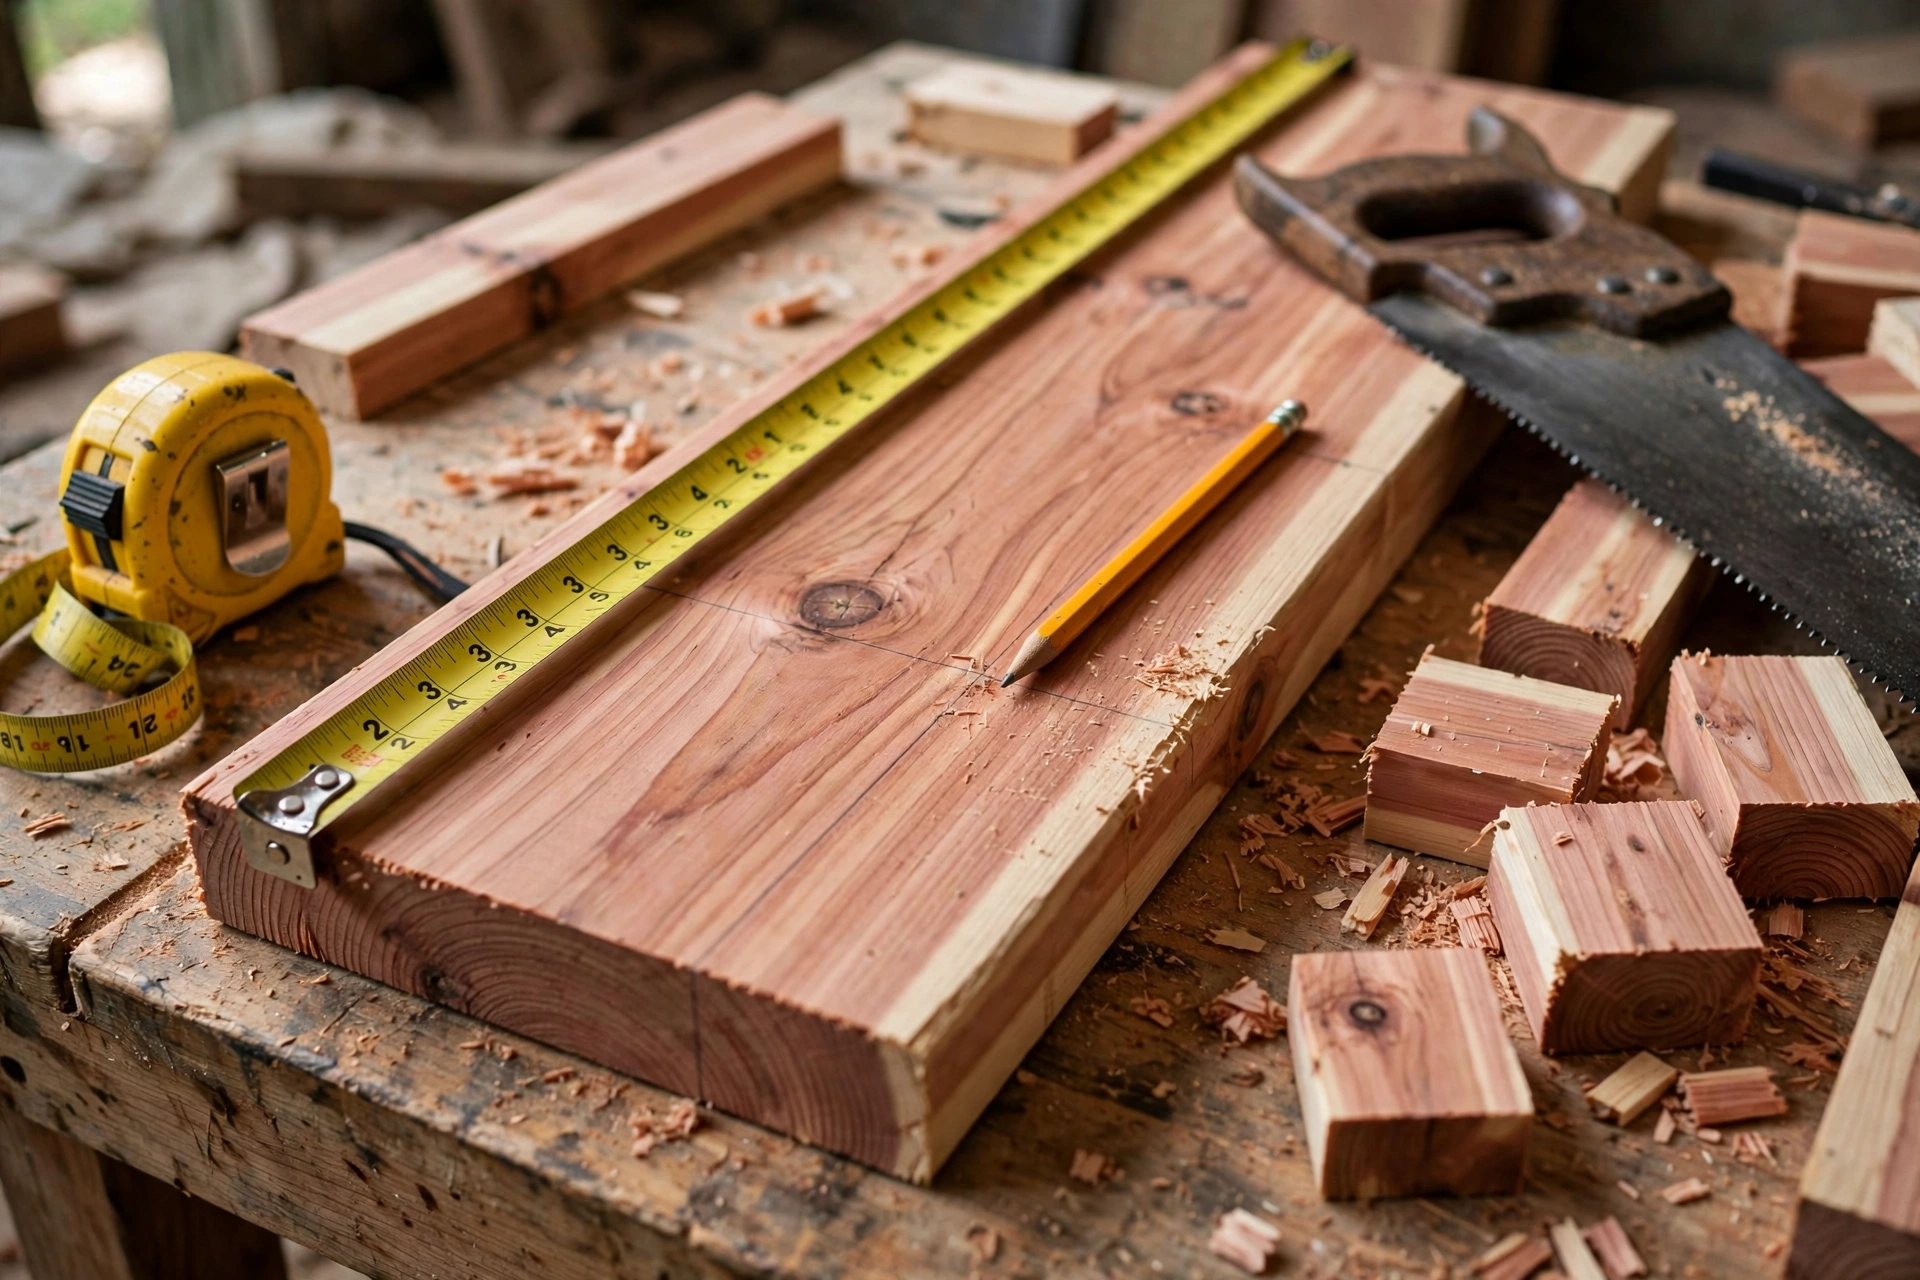
Start by measuring your site, not just your timber. Mark out a 4-foot-wide area where the trellis will stand, check that there is at least a foot of clear space behind it for air circulation and maintenance, and make sure you are not digging where underground cables or pipes run. If in doubt, ask your utility company to mark services before you dig.
Now cut the frame pieces to the lengths in the cut list. Measure twice, mark with a sharp pencil, and use a speed square to draw a square line across each board before you cut. Cut on the waste side of the line so your finished piece stays at full length. After cutting, dry-fit the frame on a flat surface: lay the two legs parallel, 48 inches apart on the outside edges, and place the top, middle, and bottom rails between them. Check the diagonals with your tape measure. When both diagonal measurements are equal, the frame is square, and that is the moment to fasten it — not after.
Sand all cut ends lightly with 80-grit paper, then 120-grit, and round over any sharp edges on the legs and rails. This small step makes the trellis safer to handle, helps the finish soak in evenly, and stops splinters catching on clothing and plant stems later.
Step 2: Build the Frame
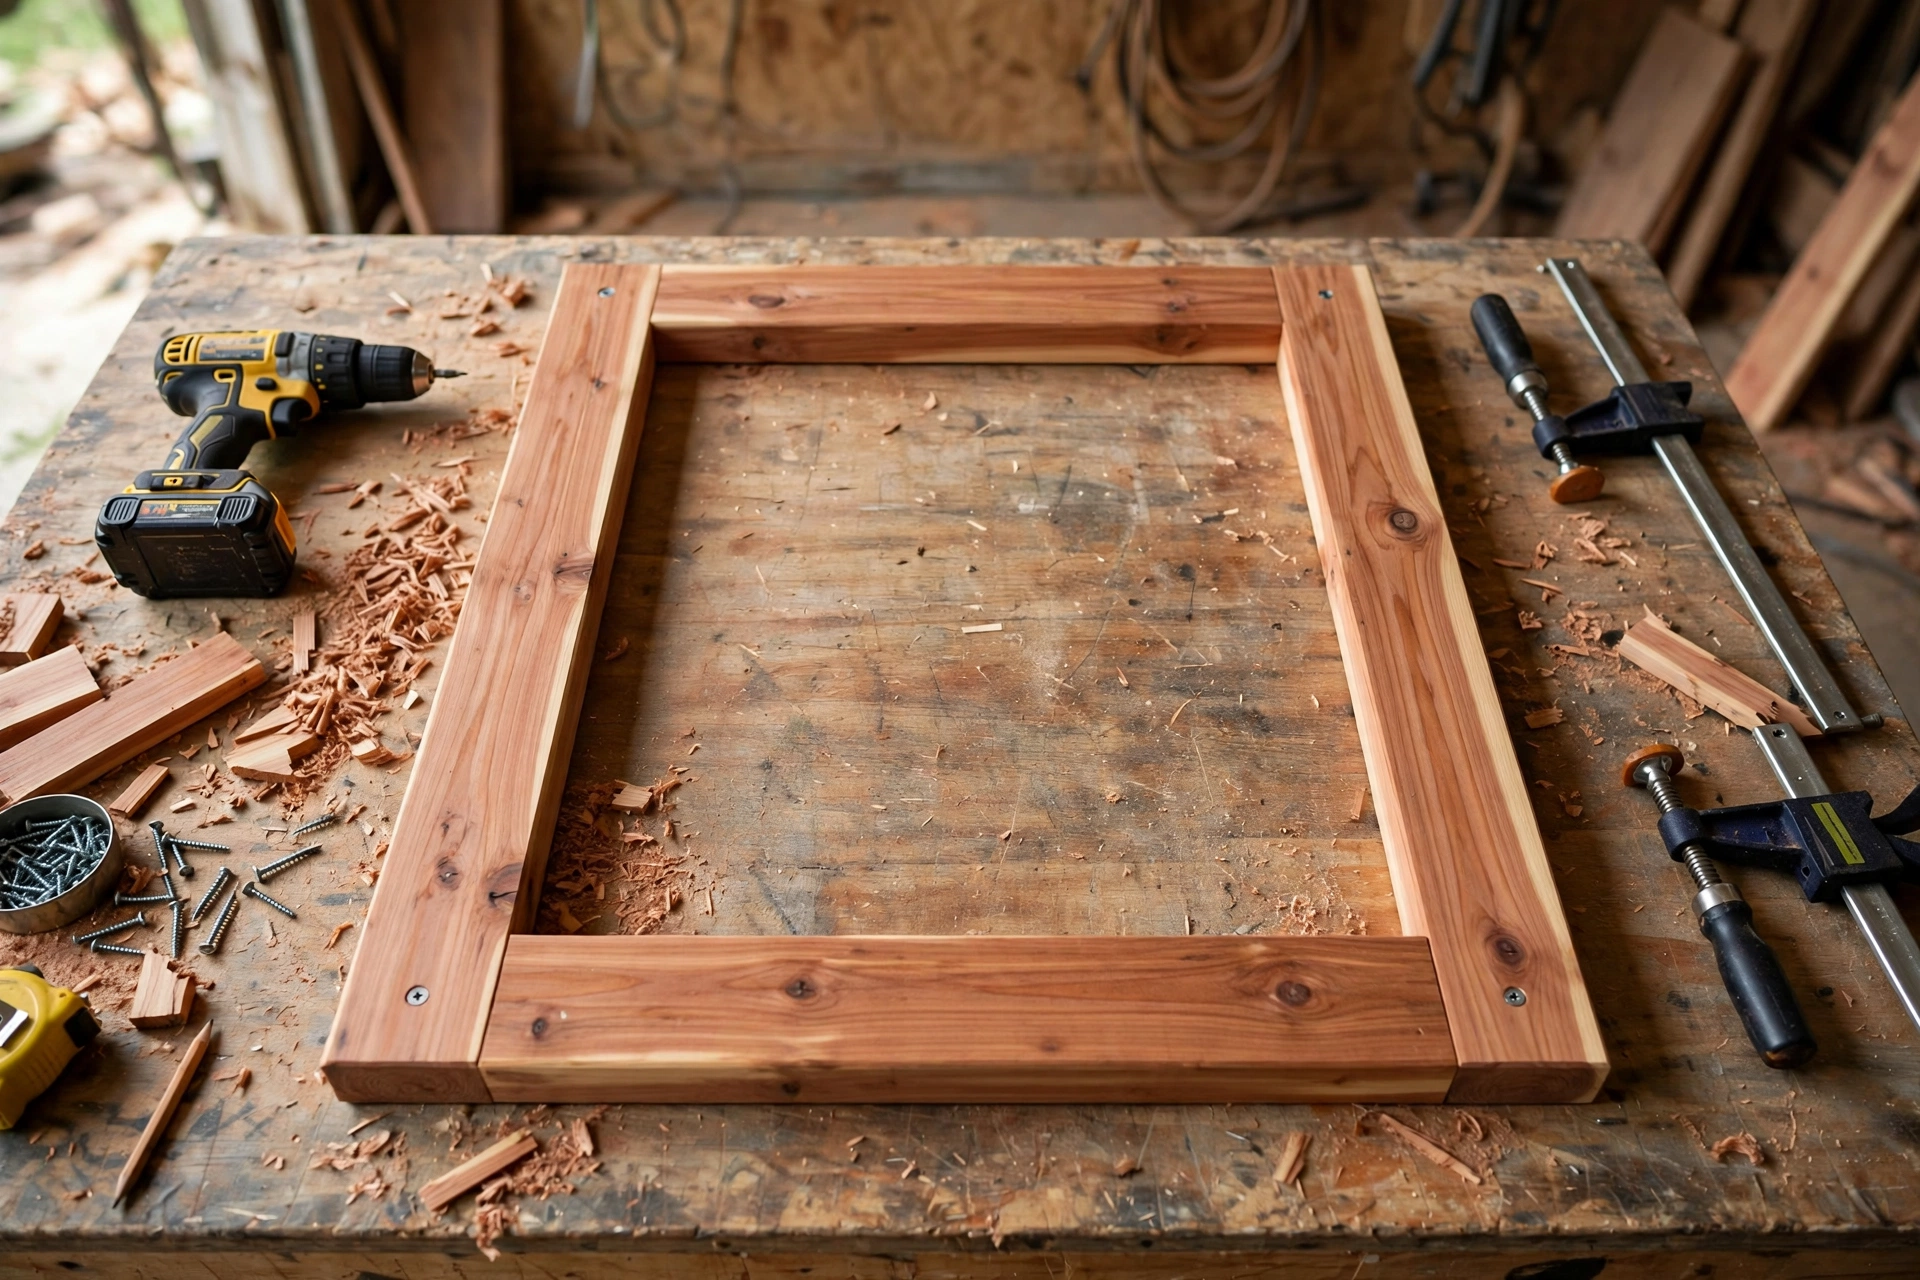
Lay the frame flat on a workbench or on the ground. Working on the flat keeps everything square while you fasten it, and it is much easier than trying to assemble a frame upright. Apply a thin bead of exterior wood glue to each rail end if you are using it, then drive two 2.5-inch exterior screws through each leg into each rail end. Always drill a pilot hole first, especially near the ends of cedar boards, because cedar splits easily when a screw is driven too close to the end grain without one.
Set the top rail flush with the tops of the legs. Set the bottom rail so its lower edge sits 6 inches above the bottom of the above-ground section — in other words, 6 inches above ground level once the trellis is installed. This gap stops the bottom rail sitting in wet soil and mulch, which is one of the main causes of rot in garden woodwork. Place the middle rail halfway between the top and bottom rails. Check the frame for square once more, and check that it lies flat without rocking. If it rocks, one joint is slightly out, and it is far easier to fix now than after the lattice is on.
A useful habit for beginners is to build the frame, then leave it overnight before adding the lattice. Fresh glue joints reach full strength with time, and you will spot any joint that needs an extra screw with fresh eyes in the morning. It is not essential, but it is a good discipline that carries over into larger projects.
Step 3: Add the Lattice Slats
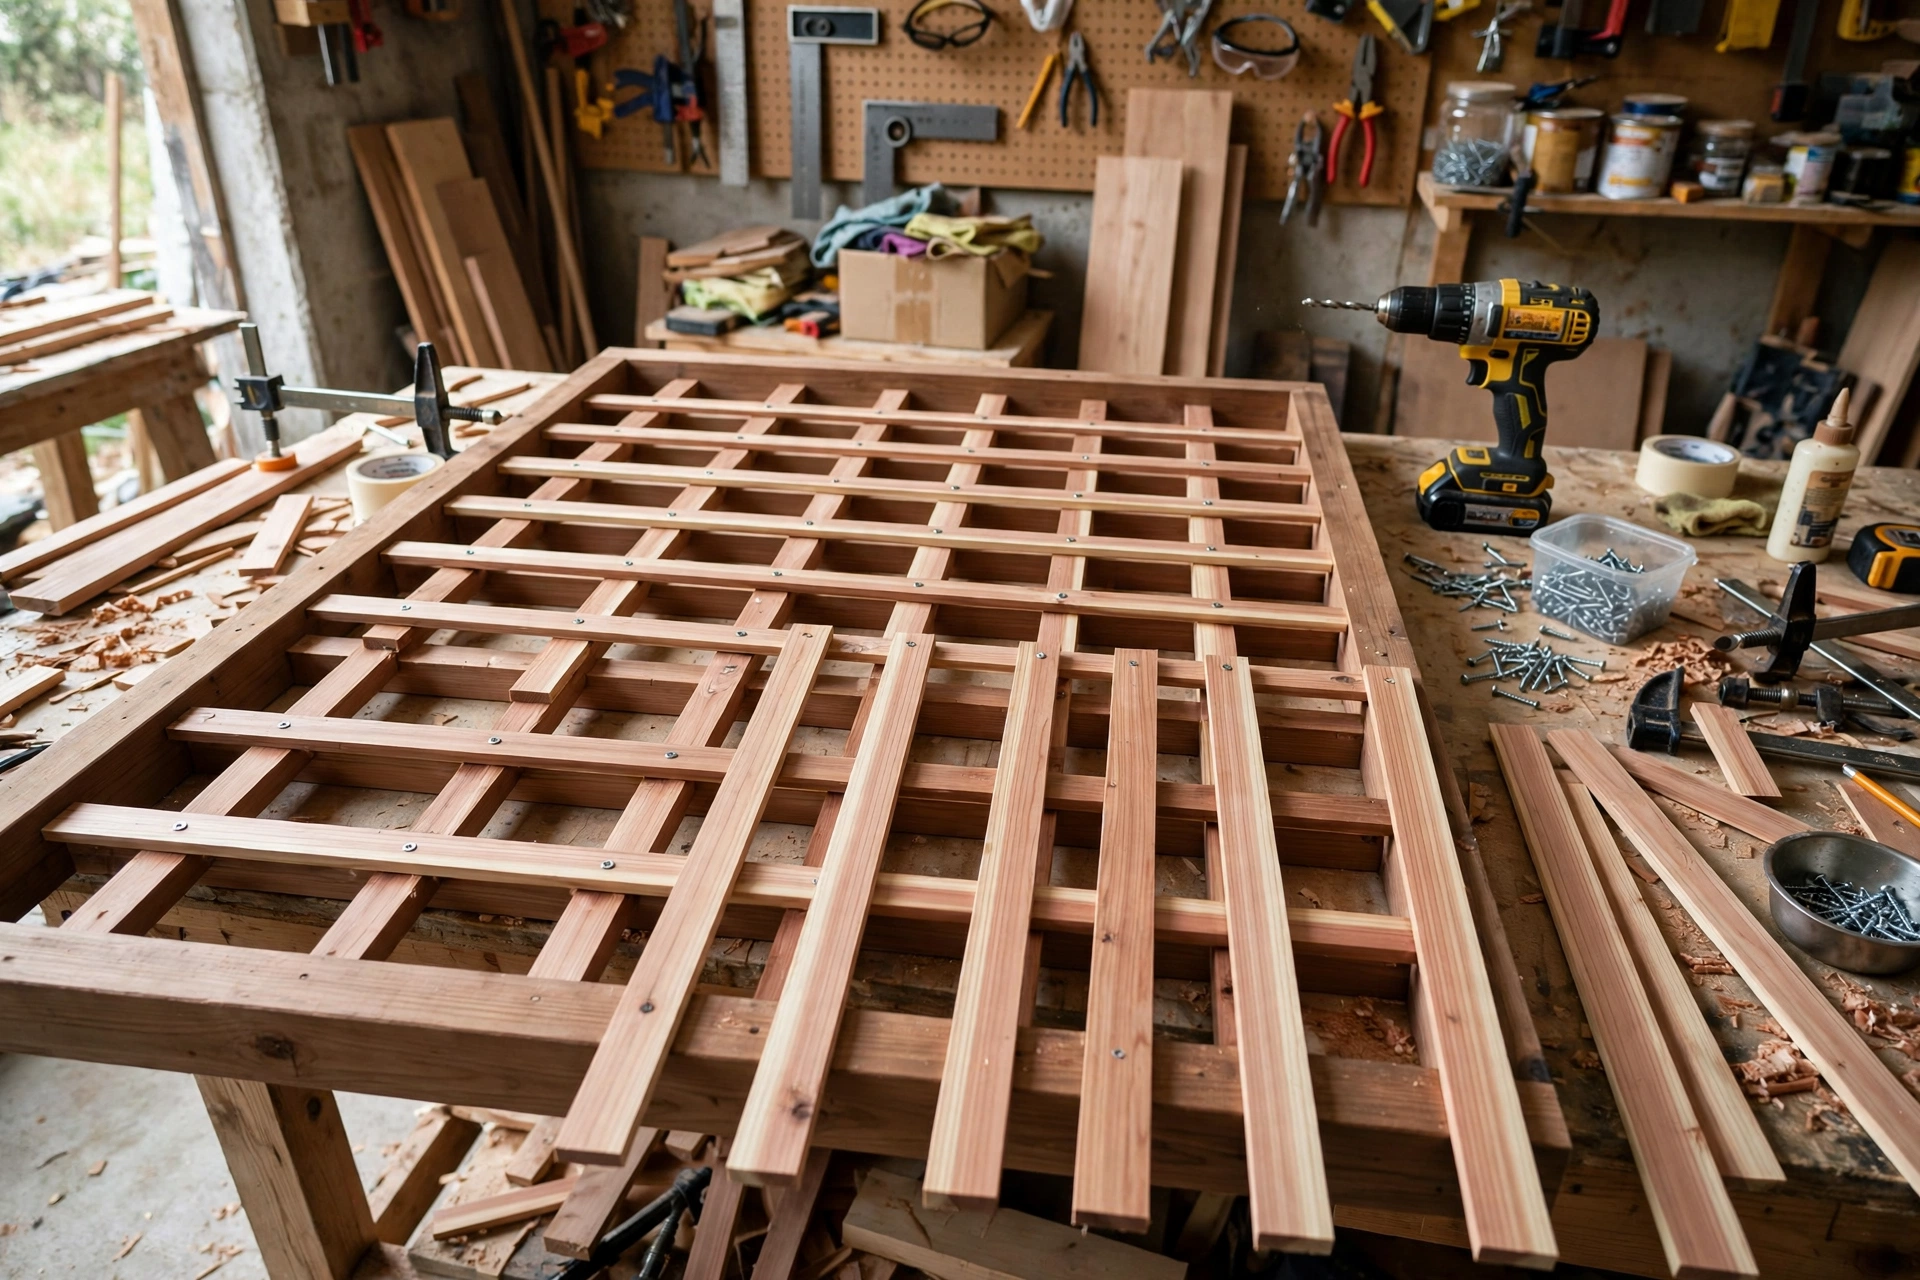
The lattice is what turns a plain frame into a trellis, and the secret to a professional-looking result is even spacing. Start with the vertical slats. Mark their positions on the top and bottom rails: with seven slats across a 48-inch frame, the centres sit roughly 6 inches apart, leaving a neat margin at each edge. Use a spare offcut as a spacer block so every gap is identical — this is faster and far more accurate than measuring each gap separately.
Fix each vertical slat to the top, middle, and bottom rails with one 1.5-inch exterior screw per joint, again drilling pilot holes. Keep the slats on the front face of the frame so the finished trellis has a clean, flat back and a slightly raised lattice front. Next, add the horizontal slats across the front of the verticals, spacing them evenly from top to bottom. Nine horizontal slats give gaps of about 6 inches, matching the vertical spacing and creating square openings that look deliberate rather than random.
Work from one side to the other, and check with your level that each slat stays straight as you go. A single slat that drifts out of line will catch the eye once the trellis is standing. If a slat splits despite your pilot hole, do not try to hide it with filler outdoors — filler rarely survives weather. Replace the slat with your spare board; it takes two minutes and the result will last years longer.
When all slats are fixed, give the whole trellis a final sand with 120-grit paper, brushing dust out of the lattice joints. The trellis is now ready for finishing, and it should feel rigid when you lift it. If it still flexes noticeably, check that every slat is screwed at all three rails; a missing screw is the usual cause.
Step 4: Anchor and Install the Trellis
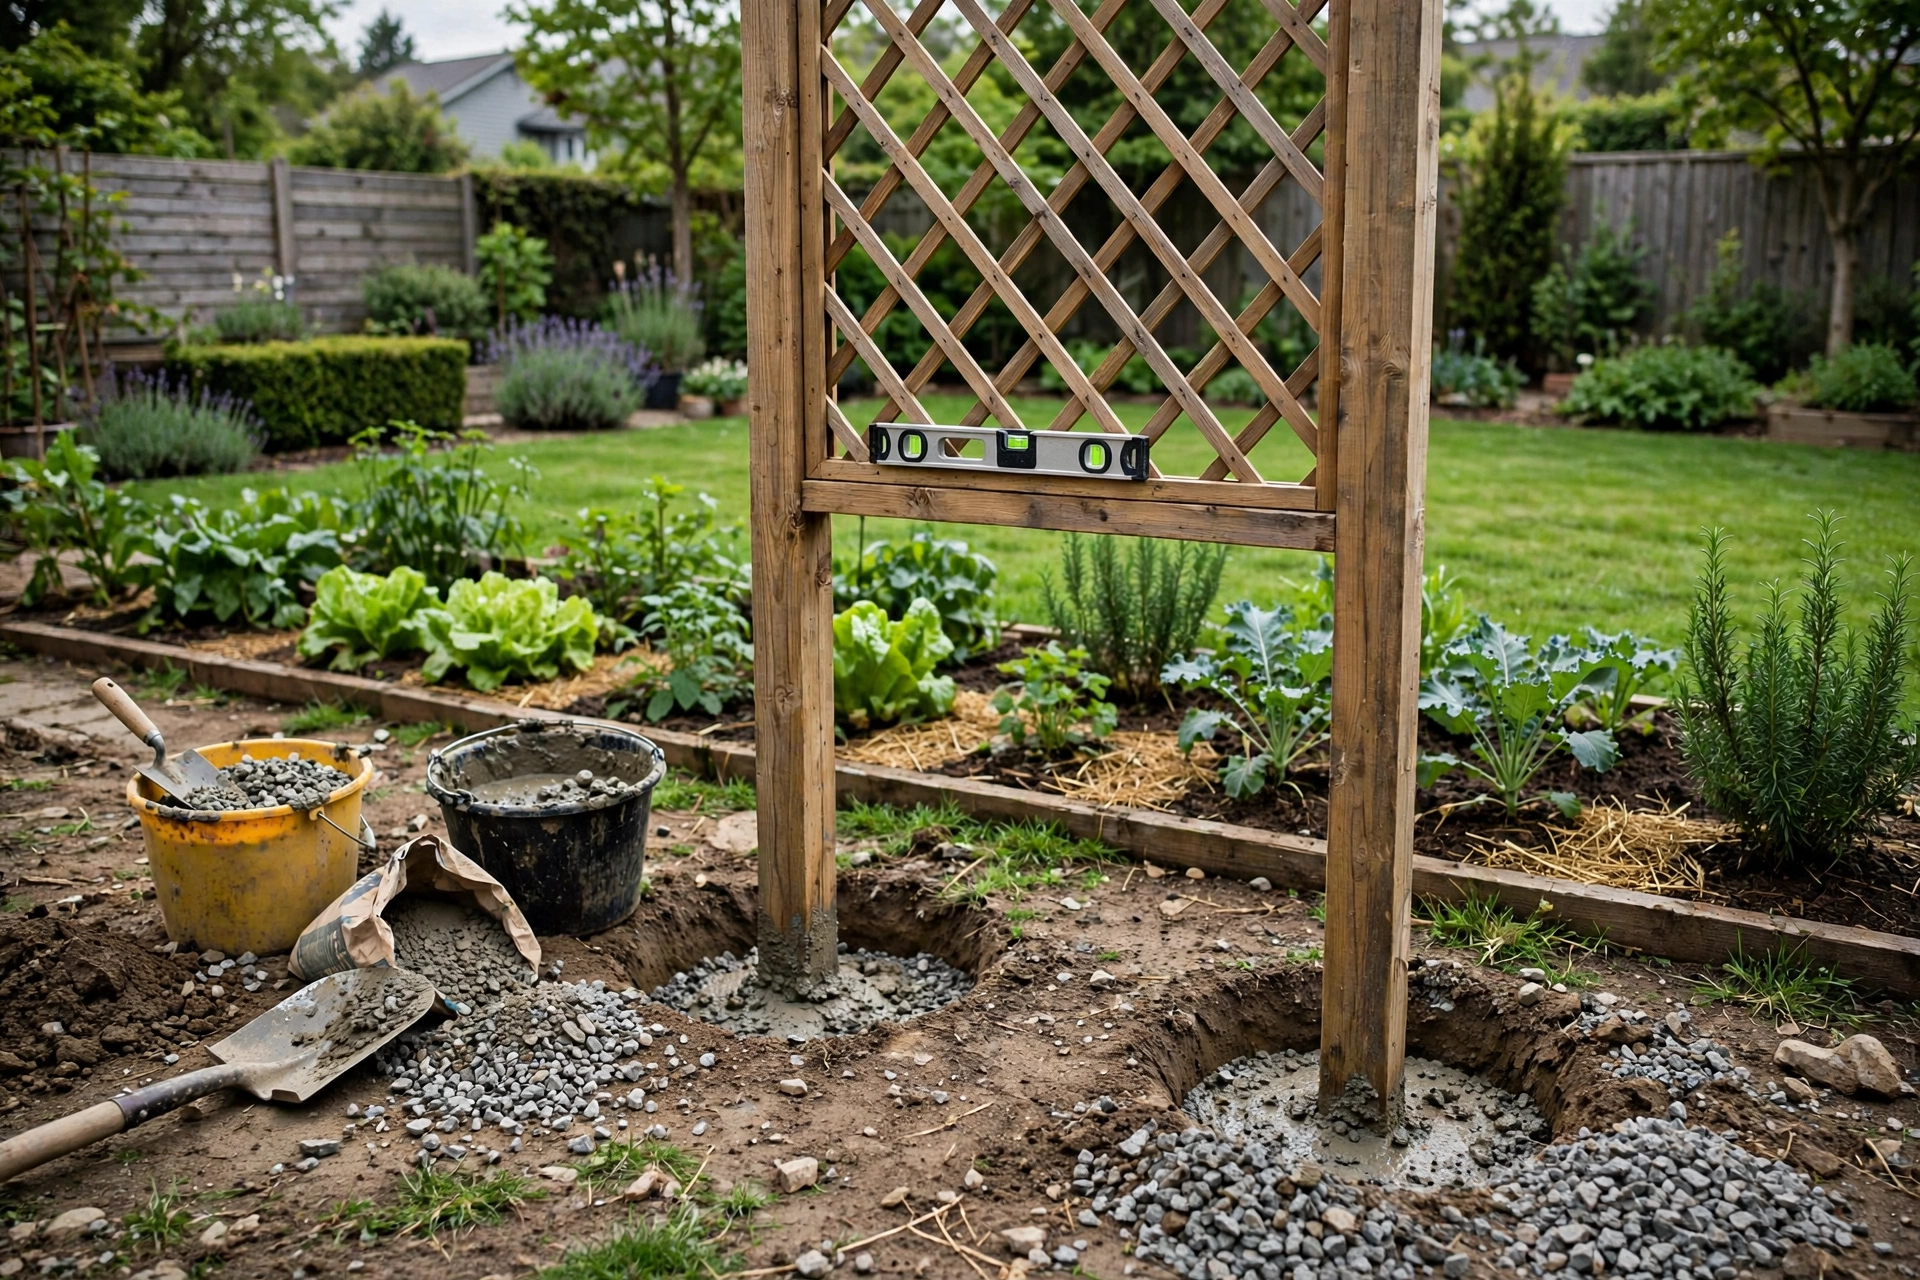
Anchoring is the step that separates a trellis that lasts from one that leans after the first storm. A 6-foot trellis covered in plants catches a surprising amount of wind, and the leverage on its feet is considerable. Never simply push the legs into soft soil and hope for the best. Choose one of the methods in the table below based on your ground and your situation.
| Mounting method | Best for | How it works | Strength |
|---|---|---|---|
| Concrete post footings | Permanent freestanding trellis in soil | Dig two 12-inch-wide, 18-inch-deep holes, add 3 inches of gravel, set legs in, fill with post mix | Highest — withstands storms and heavy roses |
| Gravel-only footings | Well-drained soil, easier future removal | Same holes, backfilled with compacted gravel instead of concrete | Good — drains well, removable |
| Wall or fence brackets | Trellis against a wall or fence | Fix brackets to the wall, stand trellis 2–3 inches off the surface for airflow | Very good — wall carries the wind load |
| Freestanding feet | Patios and hard ground where digging is impossible | Bolt 24-inch foot boards across the base of each leg | Moderate — add planters or weights for stability |
For the concrete method, dig your holes 4 feet apart to match the legs, pour in gravel for drainage, and set the trellis in with a spirit level on both the front face and the side. Brace it temporarily with scrap boards staked into the ground while the concrete sets. Keep the bottom rail at least 6 inches above soil level, and slope the top of the concrete slightly away from the legs so rainwater runs off instead of pooling against the wood.
If you are mounting against a wall, leave a gap of 2 to 3 inches between the trellis and the wall. This gap lets air circulate, keeps the wall dry, and gives you room to tie in stems and reach behind the trellis for pruning. Wall-mounted trellises are also the easiest to maintain, because you can lift the trellis off its brackets if you ever need to repaint the wall behind it.
Step 5: Finish the Wood for Outdoor Life
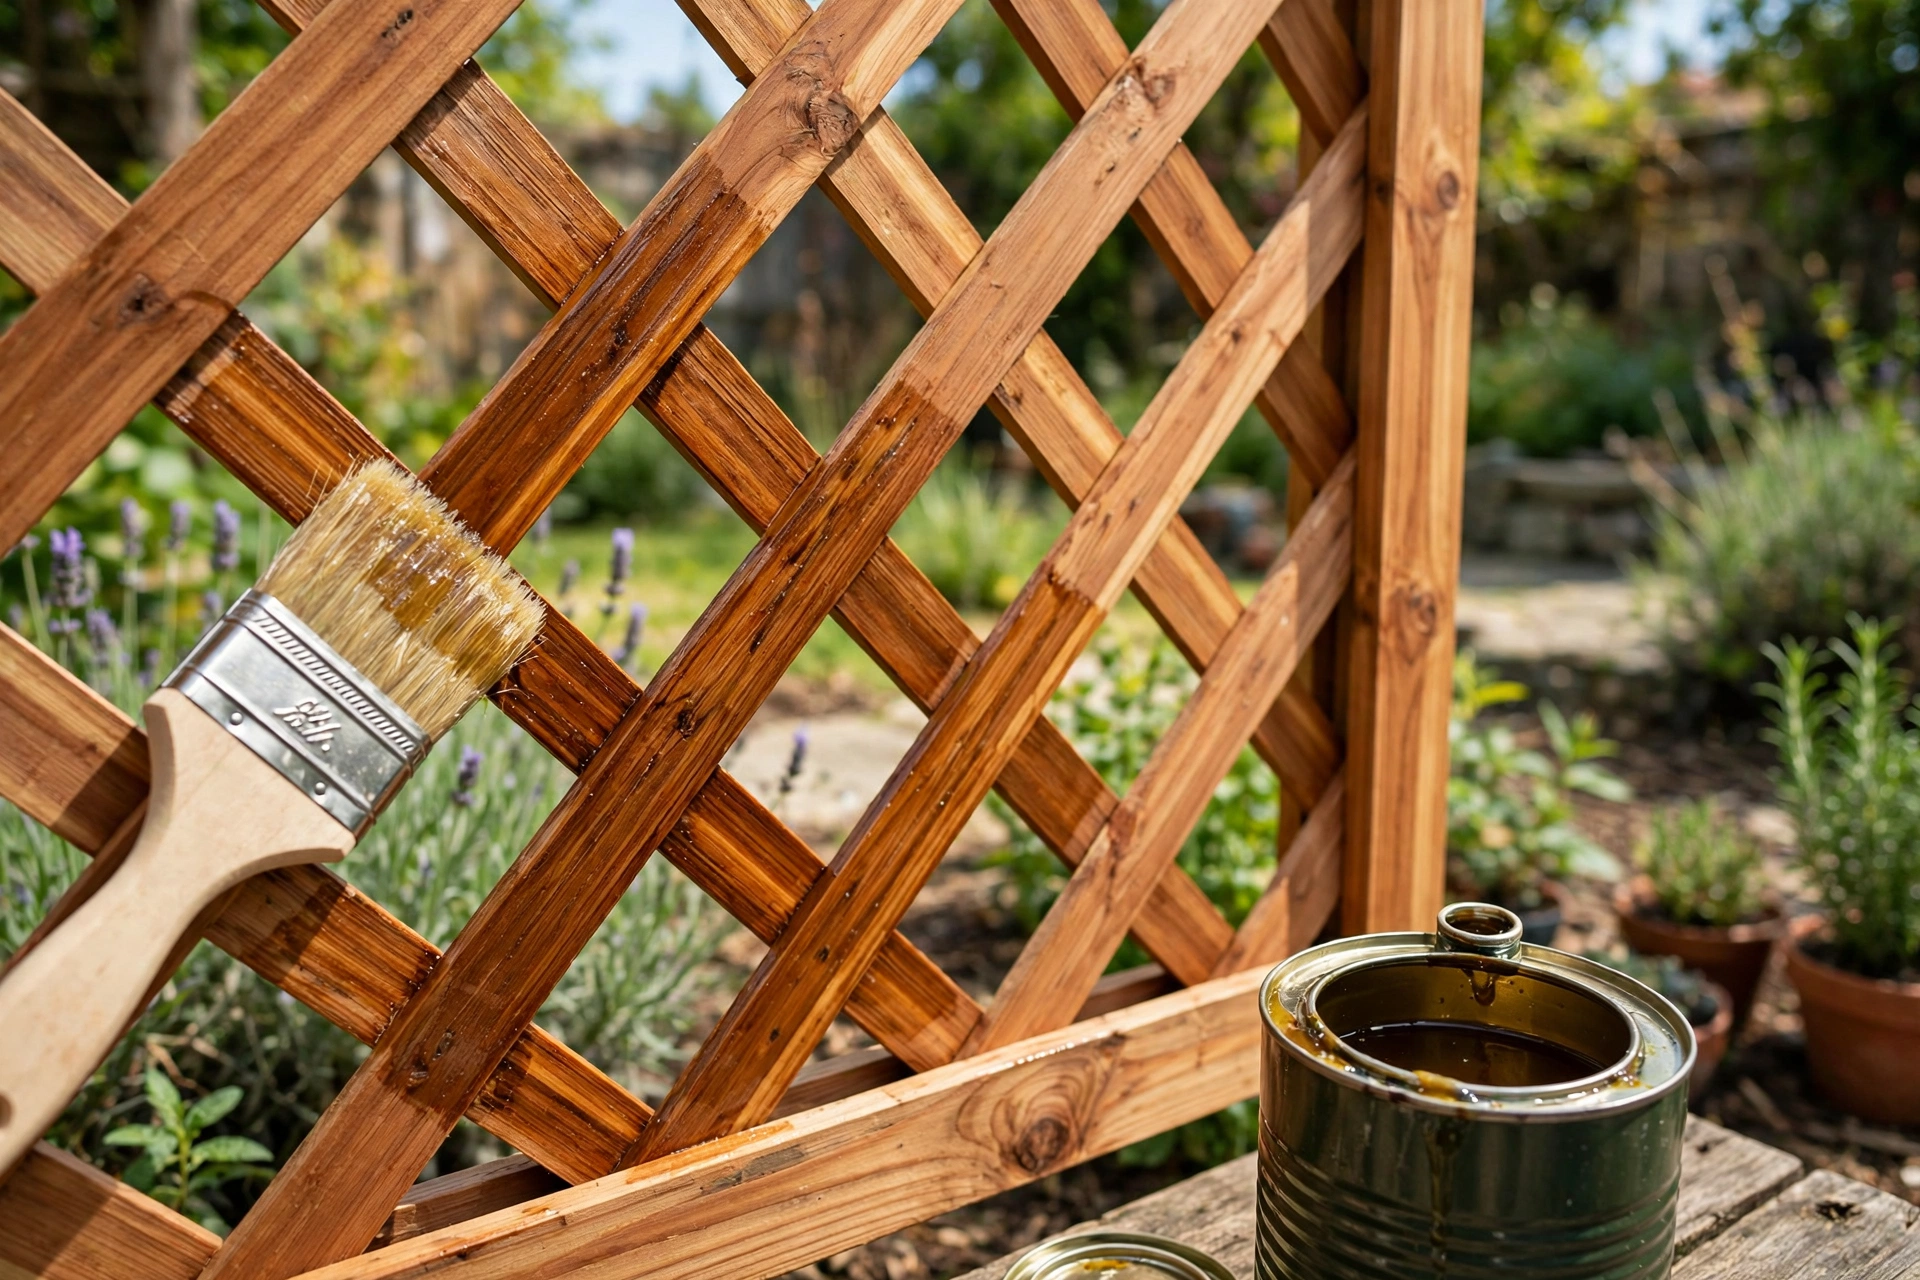
Cedar can survive outdoors unfinished, but a finish will keep it looking good for much longer and slow down greying, cracking, and moisture damage. Apply your finish before you plant anything, and ideally before installation, when you can reach every surface easily. Brush or wipe the finish into all sides of every board, including the ends and the backs of the slats, because end grain absorbs water fastest.
Outdoor wood oil is the simplest choice for beginners. It soaks in, it is easy to reapply each year, and it does not peel. Exterior stain adds colour while still showing the grain, and exterior paint gives the most protection but needs more preparation and will eventually need scraping and repainting. Whichever you choose, use a product labelled for exterior use and follow the drying times on the tin. If you want help choosing between products, the guide to the best wood stain for beginners explains the differences between oil, stain, and paint in more detail.
Two thin coats are always better than one thick coat, which can stay tacky and trap moisture. Let the first coat dry fully, lightly sand with fine paper if the grain has raised, and then apply the second coat. Recoat once a year, or whenever water stops beading on the surface, and your trellis should give you ten years or more of service.
Step 6: Plant and Train Your Climbers
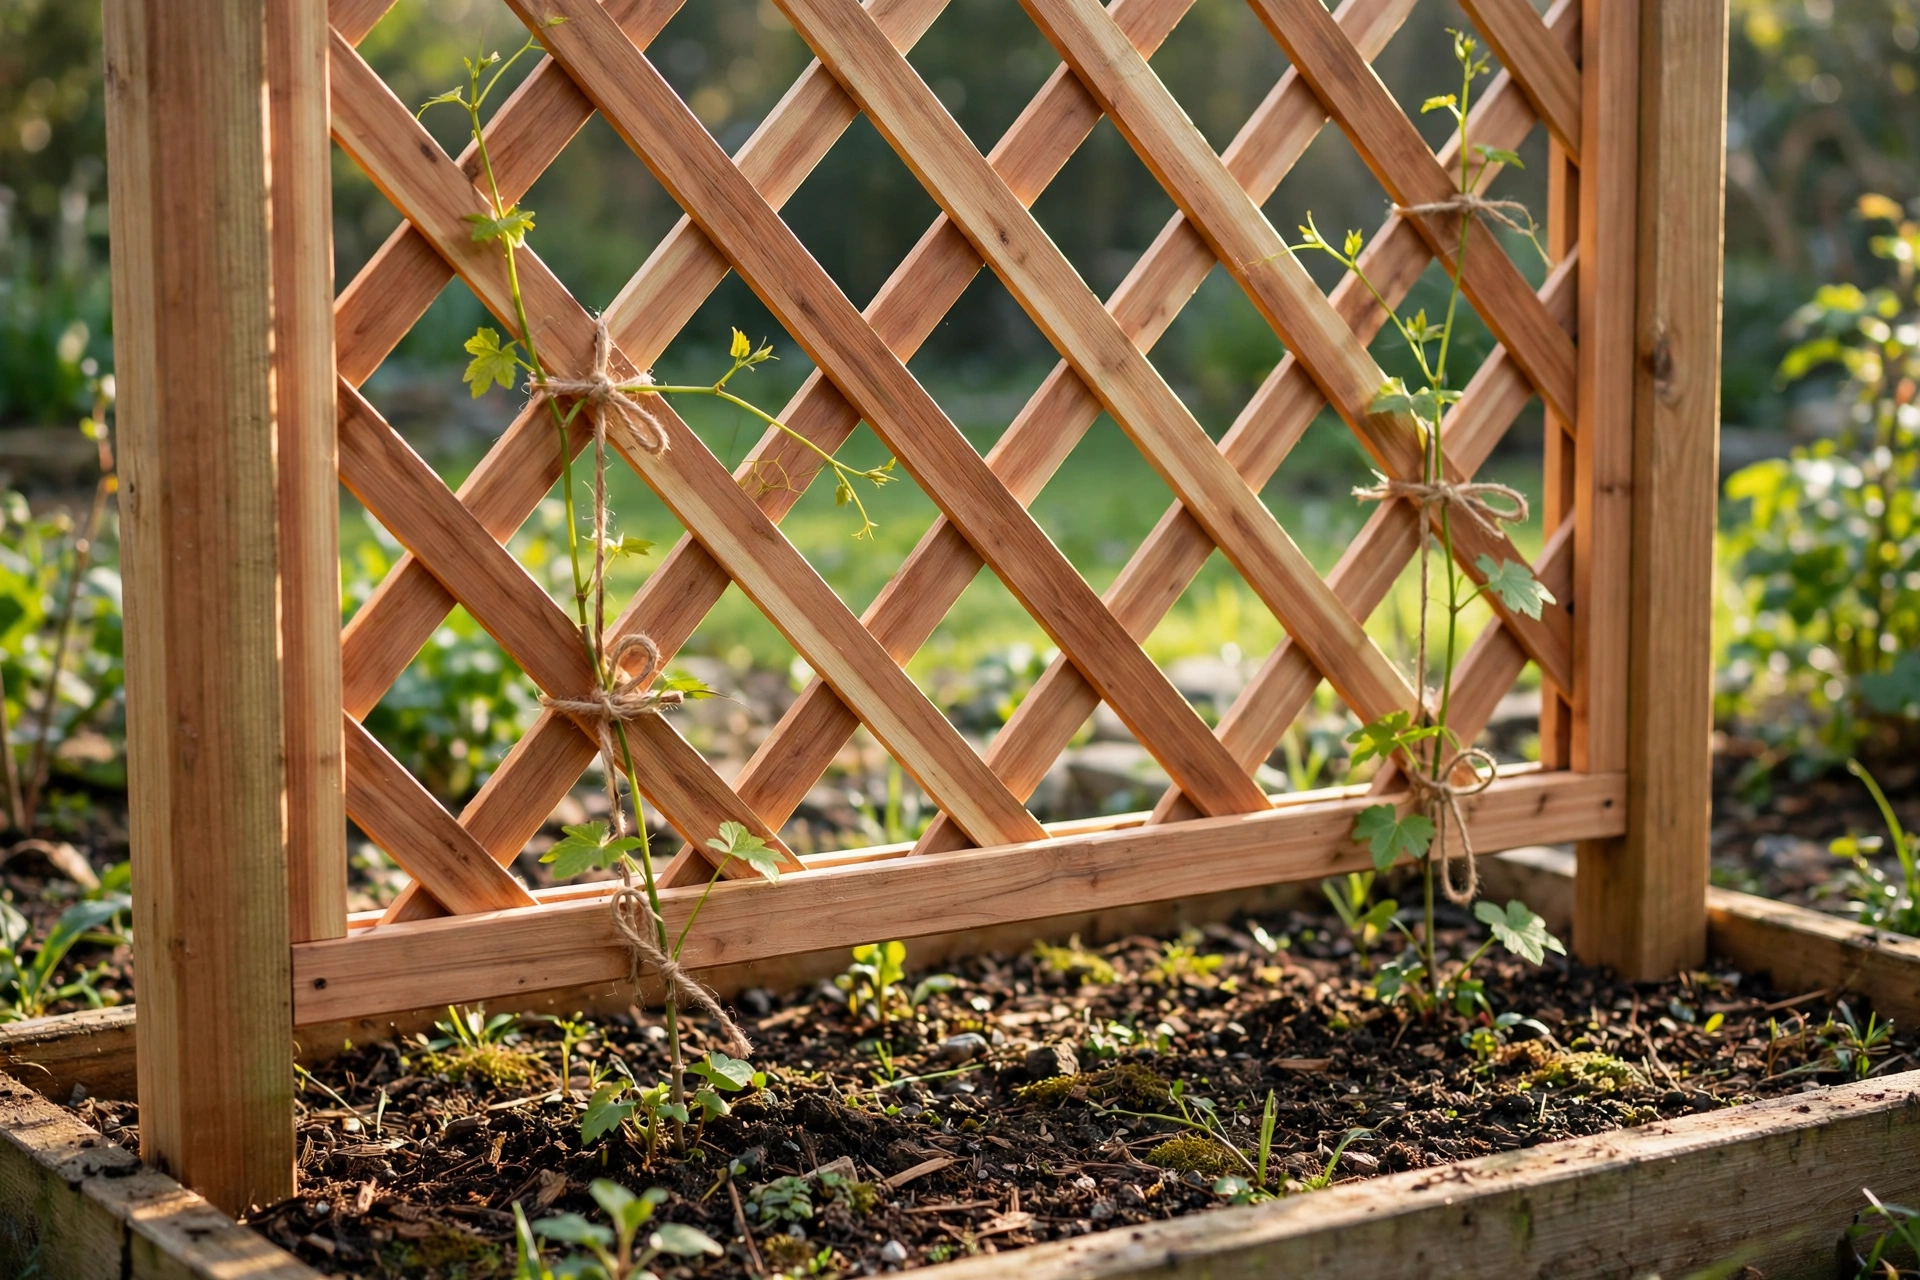
Planting is the reward for all that sawing and screwing, but a little planning here pays off for years. Plant climbers at the base of the trellis, not in front of it, and give each plant enough room to establish without fighting its neighbours for water and light. The spacing table below covers the most popular trellis plants.
| Plant | Spacing between plants | Growth habit | Notes |
|---|---|---|---|
| Climbing rose | 4–5 feet | Heavy, woody stems | Needs strong support; tie stems in fan shape |
| Jasmine | 3–4 feet | Twining, evergreen in mild climates | Fragrant; prune after flowering |
| Sweet peas (annual) | 6–9 inches | Light, fast, tendril climber | Sow direct or transplant in spring |
| Clematis | 3–4 feet | Tendril and leaf-stem climber | Keep roots shaded and cool |
| Runner beans / peas | 4–6 inches | Light, annual, edible | Great first crop for a new trellis |
| Honeysuckle | 4–5 feet | Twining, vigorous | Fragrant; prune hard if it outgrows the trellis |
Dig a planting hole about twice the width of the pot, mix in compost, and water well. Angle the plant slightly towards the trellis so new shoots naturally reach the lowest slats. Tie the main stems loosely to the lattice with soft garden twine in a figure-of-eight loop, leaving room for the stem to thicken. Never use wire or tight string, which cuts into growing stems. Check the ties every few months in the first year and retie as the plant grows.
Train young shoots horizontally as well as vertically. Stems trained sideways produce more flowering side shoots than stems that simply race to the top, which is why a fan shape works so well for roses on a trellis. Each winter, prune out dead or crossing stems and re-tie the strongest ones. A few minutes of winter pruning keeps the trellis looking full rather than tangled, and it keeps weight balanced so the structure is not pulled to one side.
Common Beginner Mistakes to Avoid
Most trellis failures come from a handful of avoidable mistakes. Building too small is the first: a 3-foot trellis is quickly outgrown by a rose, and extending a trellis later always looks patched. Build the full 6-foot height from the start, even if your plants are small now. Skipping pilot holes is the second, and it is the fastest way to split cedar slats. The third is anchoring badly, or not at all — a trellis that leans after a storm is almost always a trellis whose feet were never secured.
Another common mistake is placing the trellis hard against a wall or fence with no air gap. Plants trapped against a surface stay damp, mildew follows, and you cannot reach behind to prune or repaint. Keep that 2-to-3-inch gap. Finally, do not overcrowd the trellis. Planting three vigorous climbers on one 4-foot trellis guarantees a tangled mat that is impossible to prune and heavy enough to strain the frame. One strong climber, or two complementary ones planted at opposite ends, will look better and live longer.
Maintaining Your Trellis Year After Year
A wooden trellis is low-maintenance, not no-maintenance. Once a year, in late winter before new growth starts, inspect every joint and screw, tighten anything that has worked loose, and check the base of the legs for soft or discoloured wood, which signals rot. Clear soil and mulch away from the bottom rail so it stays dry, and reapply your finish if the surface looks dry or grey.
Prune your climbers at the same time, and use the opportunity to check that ties have not become tight around thickening stems. If a section of lattice ever does break, it can usually be replaced without dismantling the trellis: unscrew the damaged slat, cut a replacement to size, and screw it in. Keeping one spare 1×2 board in the shed makes this a ten-minute repair.
With that small annual routine, a cedar trellis built to this plan should last a decade or more. When it eventually does wear out, you will already have the skills, the tools, and the confidence to build its replacement in a single afternoon — and you will probably build a bigger one next time.
Frequently Asked Questions
How tall should a garden trellis be?
Six feet is a good standard height for most garden trellises. It suits climbing roses, jasmine, clematis, and beans, and it is tall enough to screen a seating area without needing planning permission or looking out of proportion in a typical garden. Shorter trellises suit small patios, while taller ones need deeper footings and stronger timber.
Can a beginner really build a wooden trellis in one weekend?
Yes. This project needs only straight cuts, pilot holes, and screws, and most beginners finish the build in three to four hours. Finishing and installation add another hour or two, plus drying time for the oil or stain. If you have built a simple birdhouse for beginners, you already have every skill this trellis requires.
What is the best wood for a garden trellis?
Cedar is the best all-round choice because it resists rot and insects naturally, stays light, and is easy to work with. Pressure-treated pine is a cheaper alternative that lasts well in the ground, but it is heavier and rougher. Avoid untreated pine or interior softwood outdoors, as they rot quickly at ground level.
How deep should trellis posts go into the ground?
Bury at least 18 inches of each leg, or roughly one quarter of the above-ground height for taller trellises. Set the legs in gravel for drainage, and use concrete footings if the trellis will carry heavy roses or stand in an exposed, windy spot.
Should I paint, stain, or oil my wooden trellis?
All three work. Oil is the easiest for beginners and the simplest to reapply each year. Stain adds colour while showing the grain. Paint gives the most protection but needs more preparation and eventual repainting. Whichever you choose, use an exterior product and coat all surfaces, including board ends.
How far apart should I plant climbers on a trellis?
It depends on the plant. Space climbing roses and honeysuckle 4 to 5 feet apart, jasmine and clematis 3 to 4 feet apart, and light annuals like sweet peas just 6 to 9 inches apart. One vigorous climber per 4-foot trellis is often plenty; overcrowding leads to tangled, unhealthy growth.
Can I attach a trellis to a fence instead of standing it free?
Yes, and it is often the easiest option. Fix the trellis to the fence with brackets or battens, leaving a 2-to-3-inch air gap behind it for circulation and pruning access. Make sure the fence itself is sturdy, because a planted trellis adds considerable weight and wind load to it.
Recommended Products for This Project
As an Amazon Associate, I earn from qualifying purchases.

Titebond III Ultimate Wood Glue, 8 oz (1413)
Waterproof wood glue for strong, lasting outdoor joints.

BLACK+DECKER Jig Saw, 5-Amp (BDEJS600C)
5-amp jigsaw with curve control for clean curved cuts in boards and basin shapes.

DEWALT 20V MAX Cordless Drill/Driver Kit (DCD771C2)
Compact drill/driver with two batteries for drilling pilot holes and driving screws all day.
FIXLINK Deck Screws #8 x 2 Inch, 310-Pack
Rust-resistant coated screws that hold outdoor trellis joints tight.
Minwax Water Based Helmsman Spar Urethane, Gallon, Gloss (710500000)
Clear gloss spar urethane with UV blockers for sun- and rain-exposed wood.


