
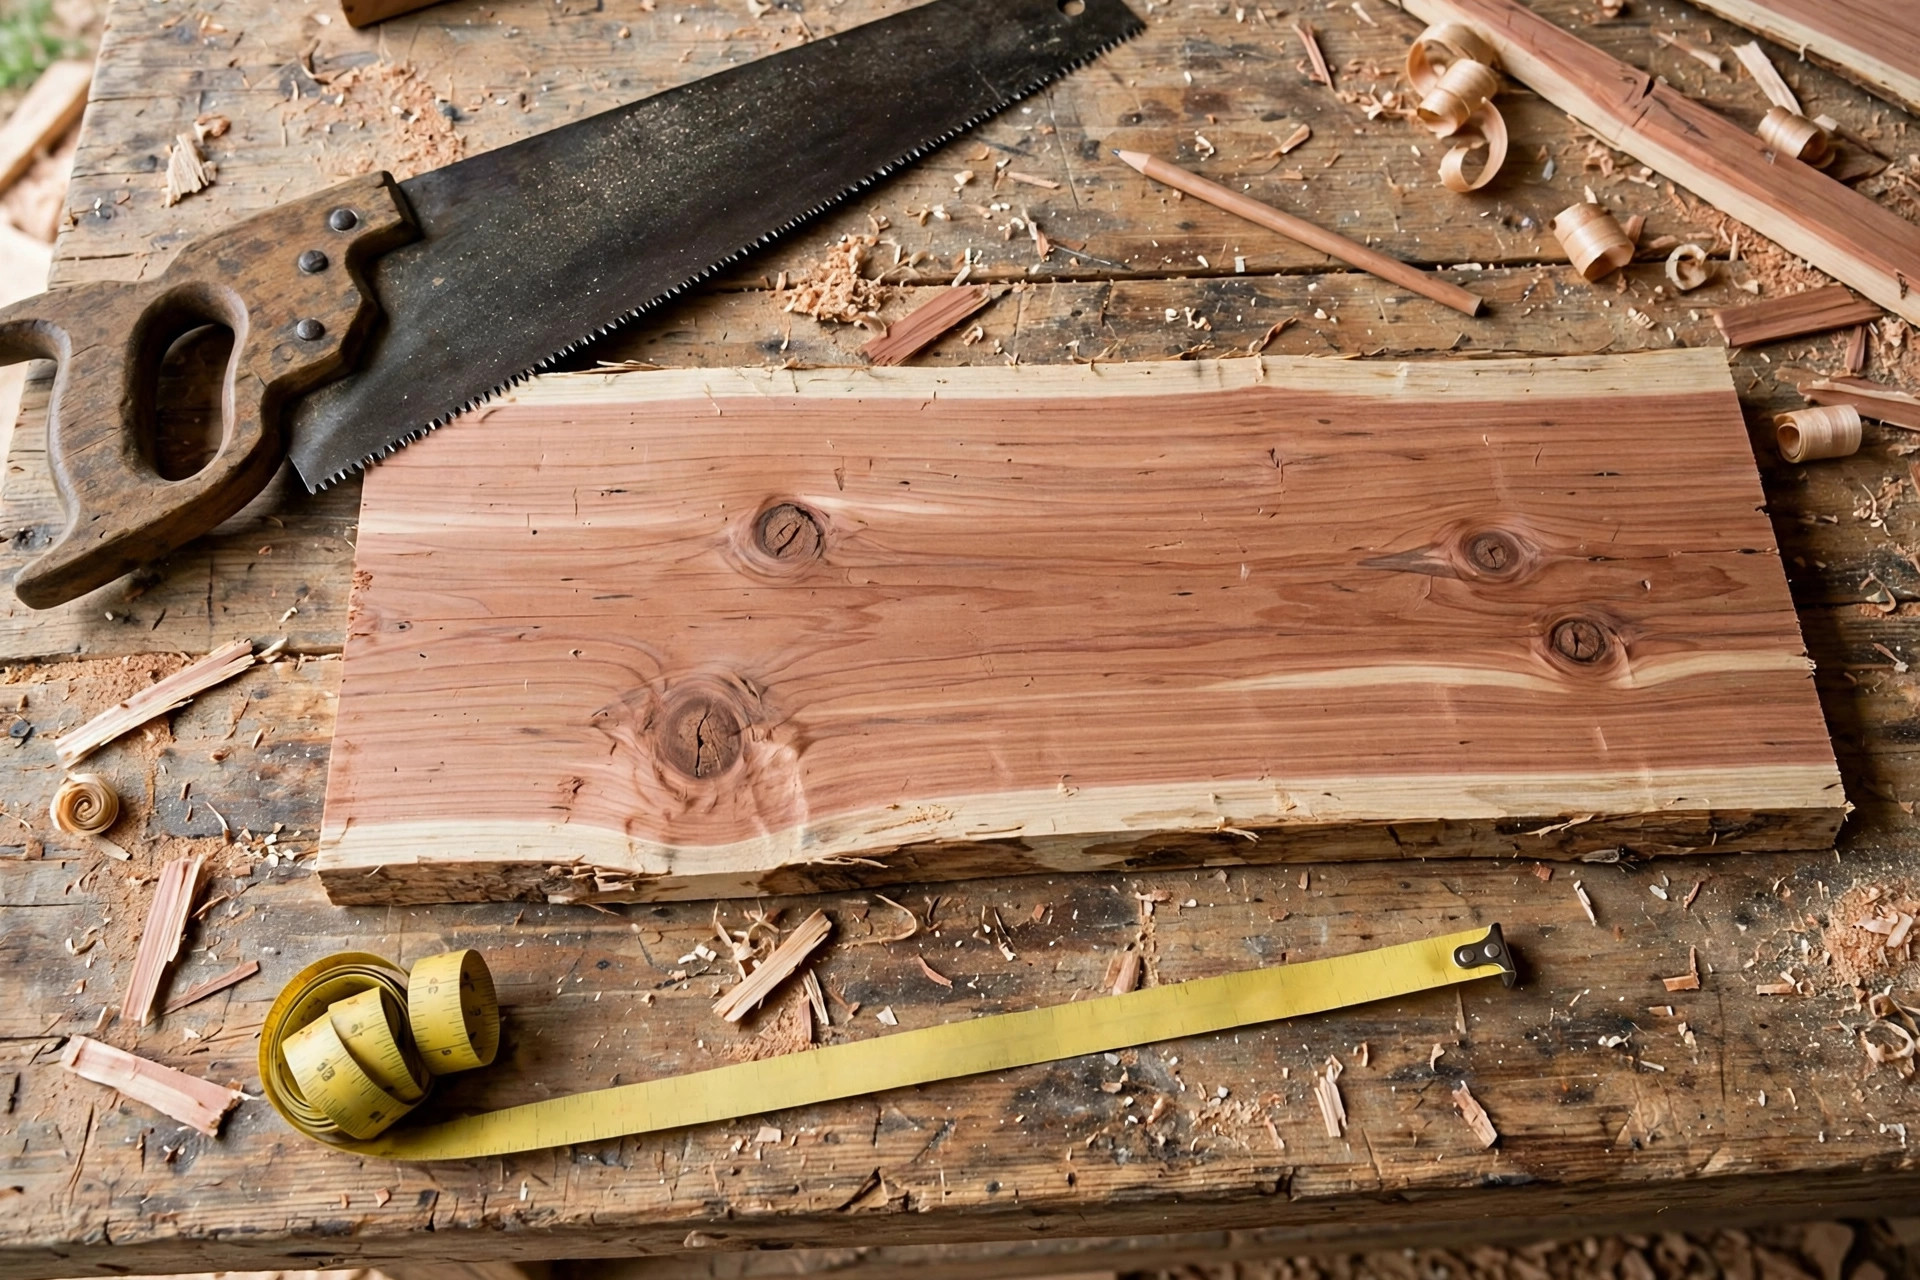
Few first woodworking projects are as satisfying as a birdhouse. You start the morning with a single board, and by the afternoon you have something useful, weatherproof, and beautiful enough to hang in the garden — and, with a little luck, a family of wrens or chickadees will move in by spring. Learning how to build a simple birdhouse for beginners is also one of the best ways to learn the core skills of woodworking in a low-stakes project: measuring, marking, sawing straight lines, drilling clean holes, driving screws without splitting the wood, and finishing a piece so it survives outdoors.
This guide walks you through the classic one-board birdhouse. It uses a single 1×6 cedar board, five to six feet long, and a handful of screws and nails. There is no complicated joinery, no router work, and no need for a fully equipped workshop. You will get a full cut list, step-by-step assembly instructions, an entrance-hole size table for common garden birds, drainage and ventilation details, mounting and placement advice, and the bird-safety mistakes that beginners most often make — including why you should never add a perch.
If you are looking for a first project that is genuinely useful rather than just practice, this is it. It also makes a wonderful handmade gift, and if you enjoy the process, it is an easy project to repeat and even sell, as our guide to easy woodworking projects for beginners that sell explains. Take your time, measure twice, and enjoy the build.
Why a One-Board Birdhouse Is the Perfect First Project
A one-board birdhouse is popular for a reason: it keeps the shopping list short, the cost low, and the build simple, while still producing a birdhouse that real birds will actually use. Cedar is the ideal wood here. It is naturally resistant to rot and insects, it is light and easy to saw and screw, it weathers to an attractive silver-grey if left unfinished, and it does not need chemical treatment. Never use pressure-treated lumber for a birdhouse, because the chemicals in it can harm nesting birds. Untreated cedar, pine, or another untreated softwood is the safe choice, and cedar is the best of them for outdoor durability.
The design in this guide is deliberately plain, and that plainness is a feature. Birds do not care about decorative trim, fancy paint, or elaborate shapes. What they care about is a dry, draught-free cavity of the right size, an entrance hole that keeps larger predators out, and a location that feels safe. A simple box with a pitched roof, a correctly sized hole, drainage in the floor, ventilation near the top, and a clean-out side does all of that. Everything else is decoration for the human, and decoration that makes cleaning harder or the box less safe is decoration best left off.
This is also a forgiving project for a beginner’s tool kit. A handsaw or a circular saw, a drill, a tape measure, a pencil, a square, and some sandpaper are enough. If you are still choosing a saw, our guide to the best circular saw for beginners will help you pick one that is safe and easy to control on small boards like this. And if you are new to workshop safety in general, read our woodworking safety tips for beginners before you make your first cut — eye protection, hearing protection, and a firm clamping setup matter even on a small, friendly project like this.
Tools and Materials You Will Need
You do not need much, and you probably already own most of it. Gather everything before you start so you are not hunting for a drill bit halfway through assembly, when glue is drying or a panel is half-screwed.
For tools, you will need a saw (a handsaw works perfectly, or a circular saw or jigsaw), a drill with a hole-saw or spade bit for the entrance hole, a smaller drill bit for pilot holes, a tape measure, a pencil, a combination square or speed square, a screwdriver or drill-driver, sandpaper in 80-grit and 120-grit, and a brush if you plan to finish the outside. A pair of clamps is very helpful for holding pieces steady while you drill and screw, and a workbench or a pair of sawhorses gives you a stable surface.
For materials, buy one untreated cedar board, nominally 1×6 (in reality about 3/4 inch thick and 5-1/2 inches wide) and 5 to 6 feet long. You will also need about fifteen to twenty exterior wood screws, 1-5/8 inches long, or galvanised nails of similar length; a small hinge and a latch or a single screw for the clean-out side; exterior wood glue; and, optionally, a small amount of exterior wood finish for the outside only. A short length of 1×2 or a scrap of cedar can serve as a mounting block, and you will need a mounting post or a tree-safe bracket for hanging — more on that below.
Check your board before you buy it. Look for a straight board with no large knots in the middle of the panels, no cracks, and no warping that would leave gaps in the finished box. A little roughness is fine — birds actually prefer a slightly rough interior, because it helps nestlings climb out — but the board should be sound. If the board is damp from the lumber yard, let it dry indoors for a day or two before you build, so it does not shrink and open gaps after assembly.
The Full Cut List: One Board, Six Pieces
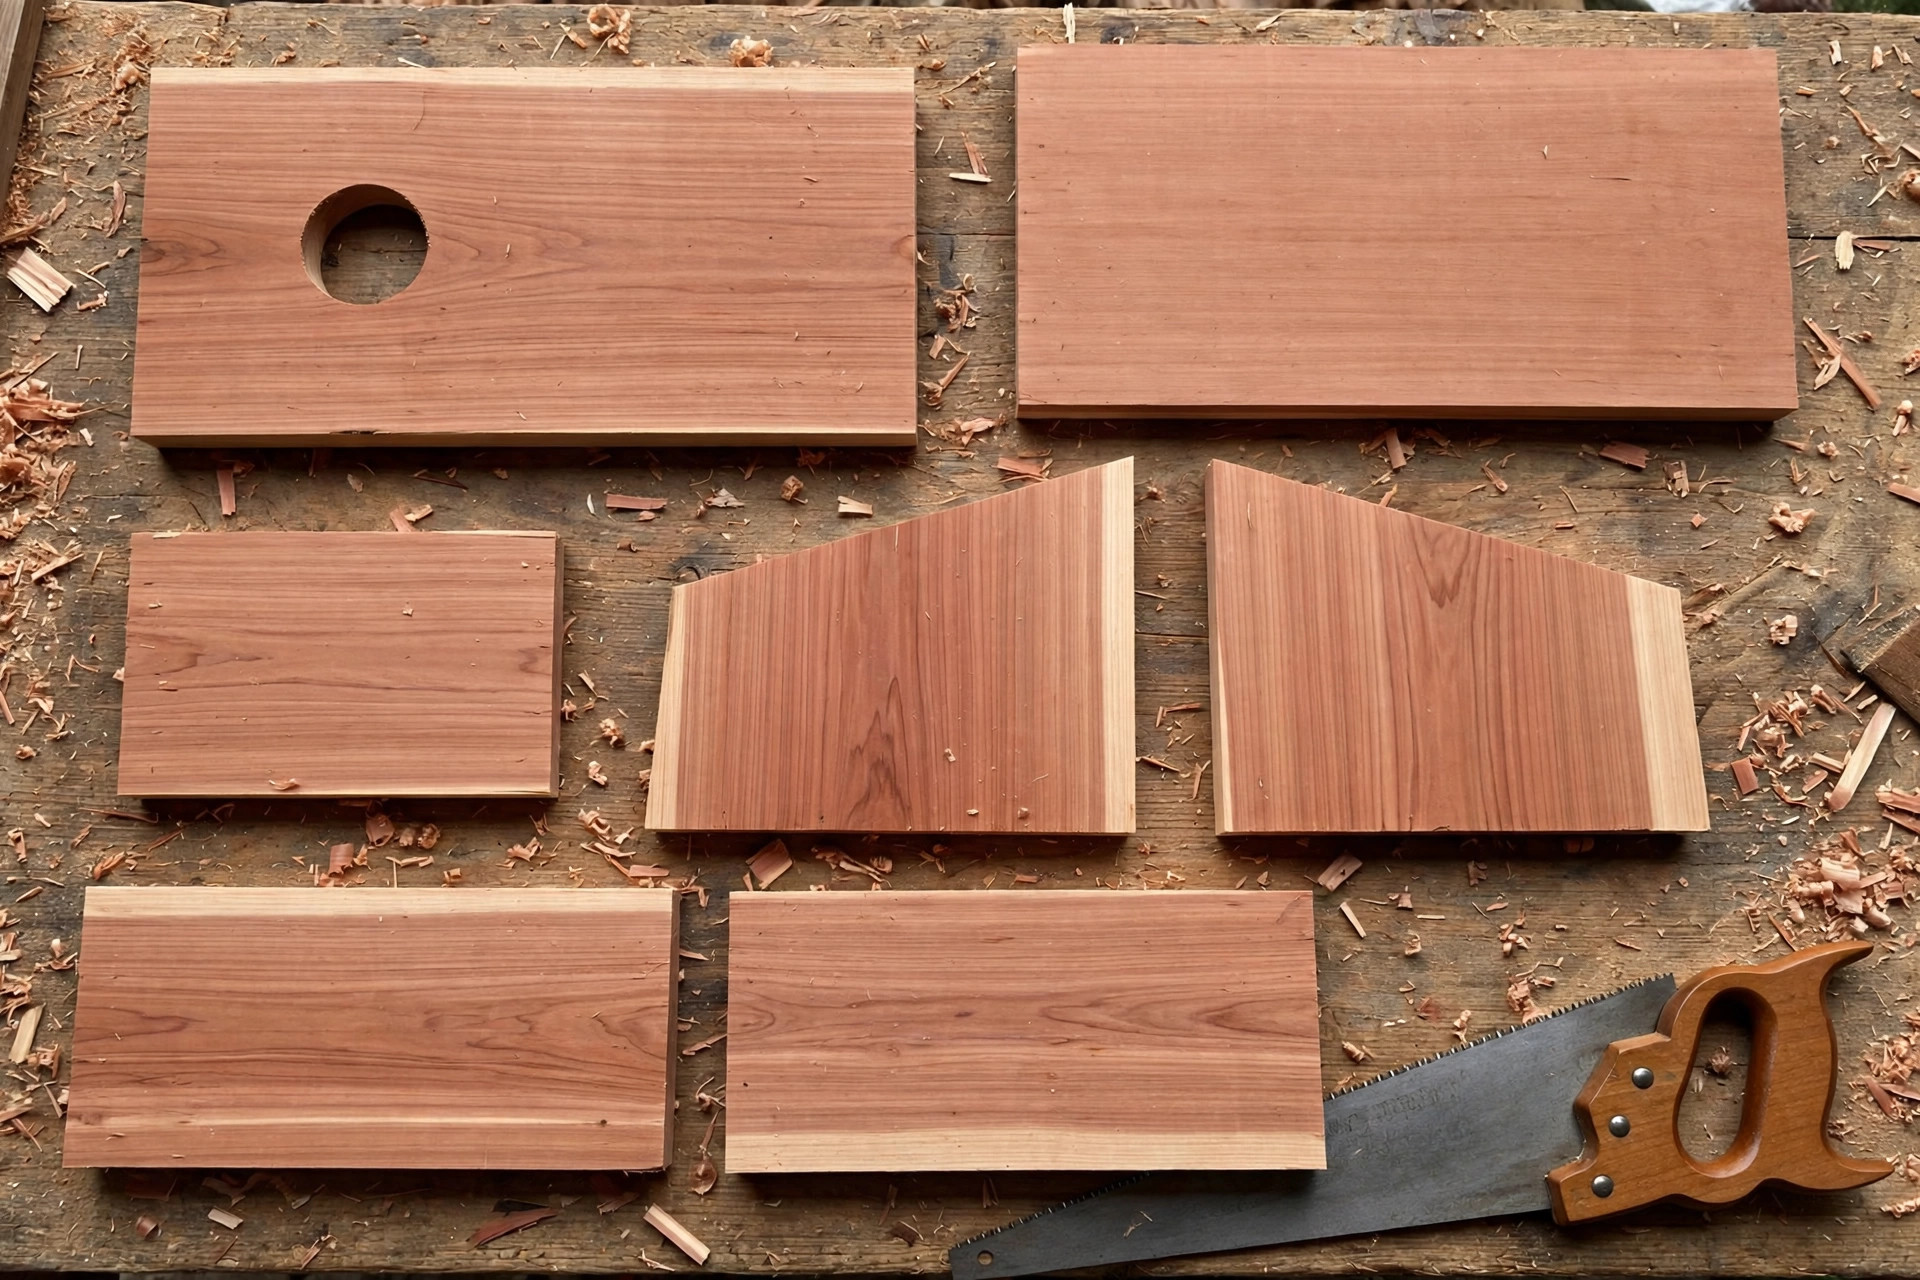
Marking out the pieces on a single board is part of the satisfaction of this project, and it is also a useful lesson in planning cuts so nothing is wasted. The board is 5-1/2 inches wide, which sets the width of every piece, and the lengths below add up to just under 5 feet, so a 5-foot board works if you cut carefully, while a 6-foot board leaves comfortable room for a mistake or a practice cut. Always mark the pieces in order along the board, and double-check each measurement before you cut.
| Piece | Size (from a 1×6 board) | Notes |
|---|---|---|
| Front | 5-1/2 in wide x 9 in long | Entrance hole centred, about 6 in from the bottom edge |
| Back | 5-1/2 in wide x 13 in long | Extra length above and below for mounting |
| Side (x2) | 5-1/2 in wide x 8 in long, top edge angled | Angle the top to match the roof slope, about 45 degrees on the taller side |
| Floor | 4 in wide x 4 in long | Cut from a side offcut or the remaining board; trim corners for drainage |
| Roof (x2) | 5-1/2 in wide x 7 in long, one piece slightly longer | The longer piece overhangs the shorter one at the ridge to shed rain |
Cut the front and back first, then the two sides, then the floor and roof pieces from what remains. When you cut the angled tops of the side pieces, mark the angle with a square rather than guessing: one side of each side panel stays 8 inches tall, and the top edge slopes down to about 6 inches on the other side, giving the roof its pitch. The two side panels should be mirror images, so the roof slopes the same way on both sides. Sand the cut edges lightly with 80-grit, then 120-grit paper, just enough to remove splinters and sharp edges — do not sand the inside faces smooth, because nestlings need a rough surface to grip when they climb to the entrance hole.
If your cuts are not perfectly square, do not worry. Small gaps of a millimetre or two can be closed by the screws pulling the pieces together, and a birdhouse does not need furniture-grade precision. What it does need is a snug floor, a roof that overhangs the walls on all sides so rain drips clear of the box, and no large gaps where wind and rain can enter. Dry-fit the pieces together before you glue or screw anything, and check that the roof overhangs the front and sides by at least an inch.
Step 1: Mark and Cut the Pieces
Start by measuring and marking every piece on the board with a pencil and a square, writing the piece name lightly on each one so you do not mix up the front and back later. Cutting in order, from one end of the board to the other, wastes the least wood and keeps the layout easy to follow. Clamp the board firmly before every cut, and keep your free hand well clear of the saw line. If you are using a circular saw, set the blade depth to just past the thickness of the board, and cut on a stable surface with the offcut supported so it does not fall and splinter at the end of the cut.
Saw slowly and let the blade do the work. Rushing a cut is how beginners wander off the line, and a wandering cut on a 5-1/2-inch-wide board is hard to hide. If a cut does go slightly astray, you can usually clean it up with sandpaper or a second, careful trim cut. Once all the pieces are cut, lay them out in the shape of the box on your bench — front, back, two sides, floor, roof — and check the dry fit. This is the moment to discover that a side panel is upside down or a roof piece is too short, while fixing it still costs nothing but a few minutes.
Step 2: Drill the Entrance Hole, Drainage Holes, and Ventilation Holes
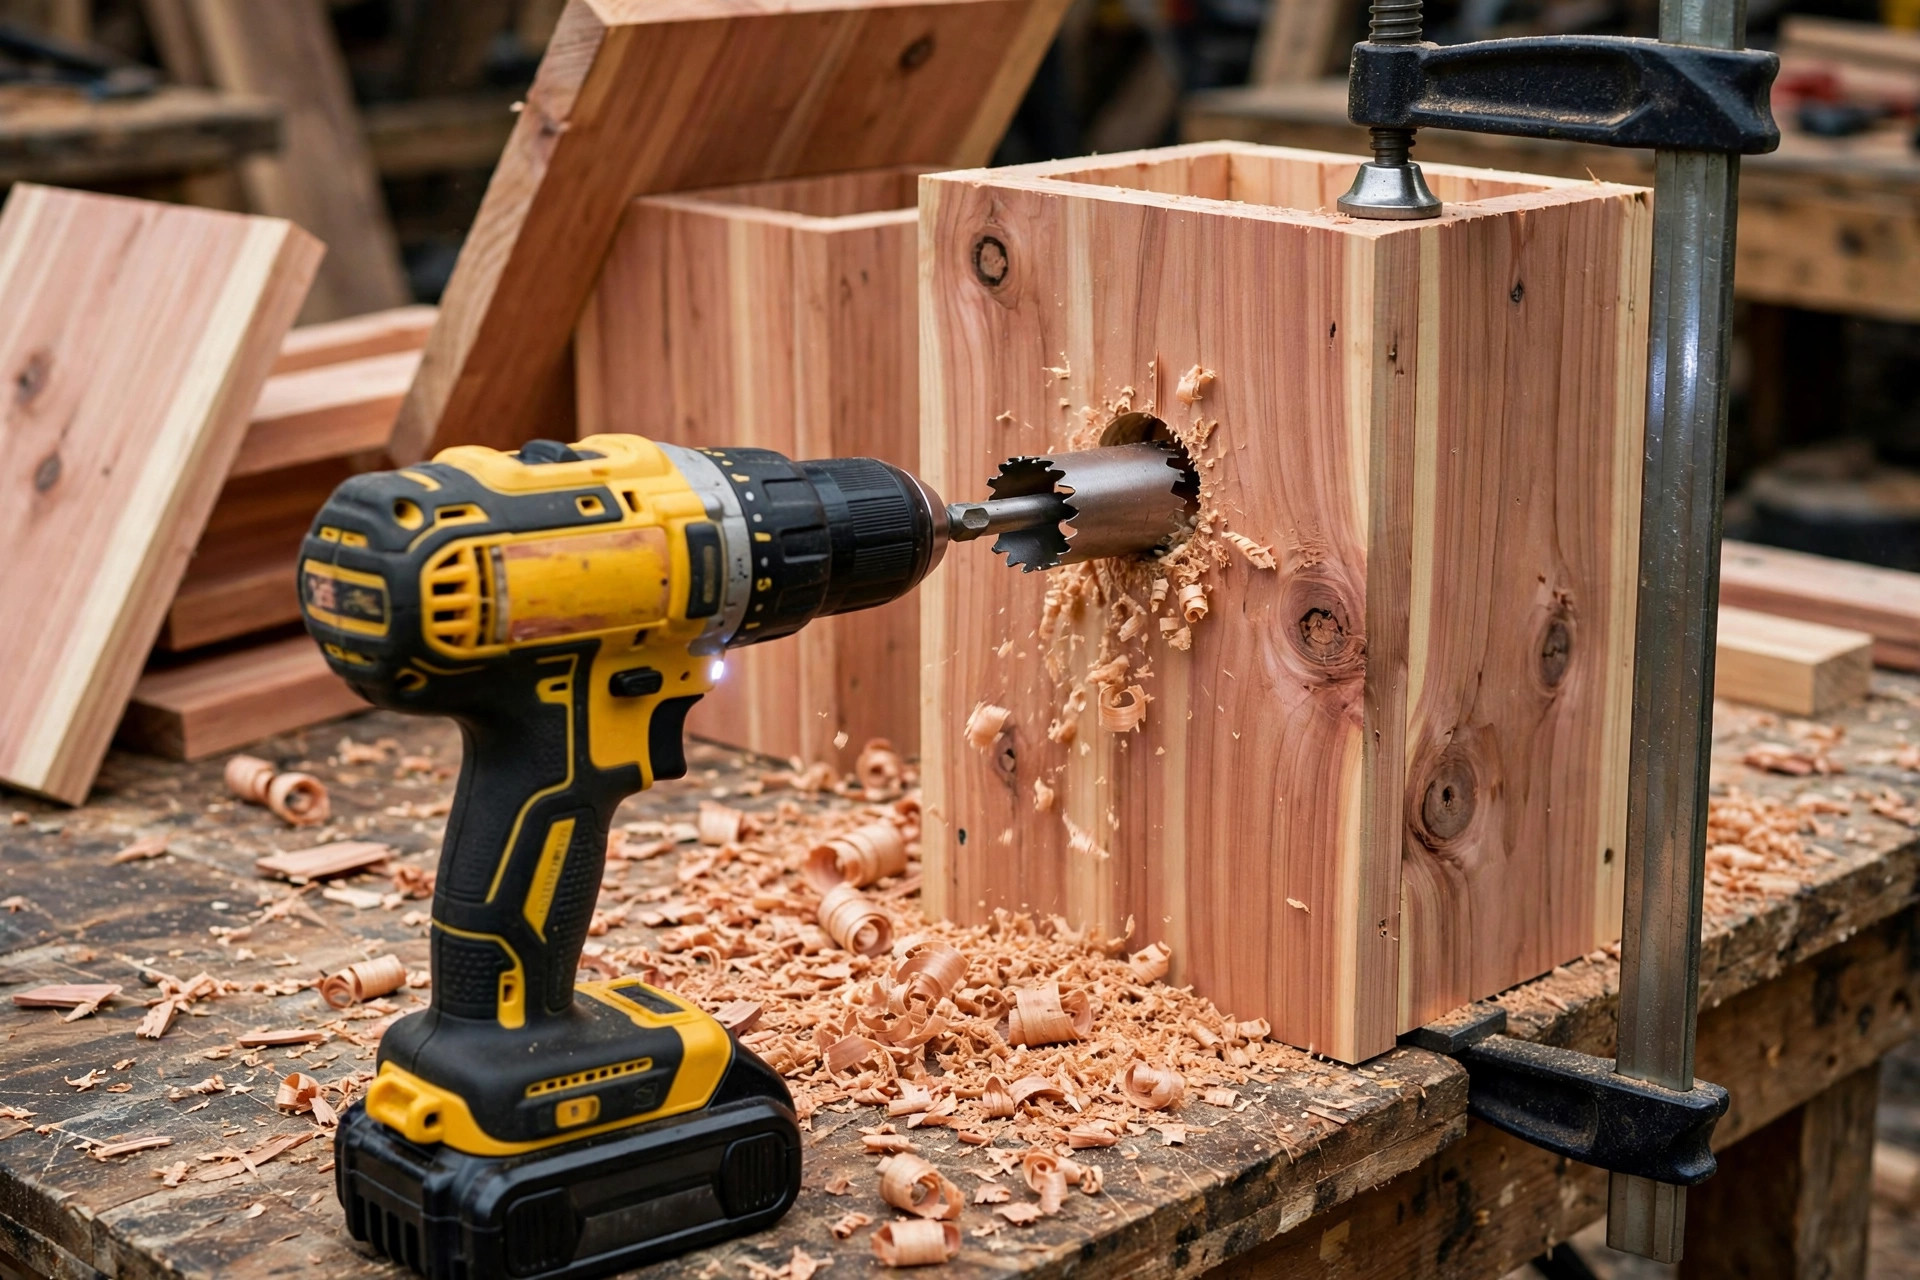
The entrance hole is the single most important detail of the whole build, because its size decides which birds can move in and which predators and competitors are kept out. Drill it in the front panel before assembly, while the panel is flat and easy to clamp. Mark the centre of the hole about 6 inches up from the bottom edge of the front panel and centred across its width. Clamp the panel to your bench with a scrap board underneath to prevent tear-out on the back face, then drill slowly and steadily with a hole saw or a spade bit of the size you need from the table below. A hole saw gives the cleanest round hole; a spade bit works too, but drill at a moderate speed and back the bit out now and then to clear shavings. Sand the rim of the hole smooth on both faces so no splinters snag feathers.
While the drill is out, add the two small holes that make the box healthy for its occupants. First, drainage: drill four 1/4-inch holes in the floor panel, one near each corner, or simply clip off the four corners of the floor by about 1/4 inch before assembly — either method lets rain that blows in drain away instead of pooling under the nest. Second, ventilation: drill two or three 1/4-inch holes near the top of each side panel, just under the roof line, or leave a small gap between the top of the side panels and the roof. Ventilation matters in summer, when a sealed wooden box in direct sun can overheat badly enough to kill nestlings. These tiny holes cost nothing and make the difference between a box birds return to and a box they abandon.
A note on drills: a basic drill-driver is all this project needs, but the right bit and a steady, clamped workpiece matter more than power. If you are still choosing one, see our guide to the best drill for woodworking beginners for the features that help most on small projects like this, including a variable-speed trigger that makes hole saws much easier to control.
Entrance-Hole Sizes and Mounting Heights by Species
Choose your entrance-hole size before you drill, because you cannot easily make a hole smaller afterwards. The table below covers the birds most likely to use a garden birdhouse. A smaller hole is almost always the safer choice: it excludes house sparrows and starlings, which can evict smaller songbirds, while still welcoming wrens, chickadees, and other small species. If you want bluebirds, you will need the larger 1-1/2-inch hole — and a predator guard, discussed below.
| Bird | Entrance-hole diameter | Mounting height | Notes |
|---|---|---|---|
| Wren | 1-1/8 in | 5–10 ft | Smallest hole; wrens tolerate boxes close to shrubs |
| Chickadee | 1-1/8 in | 5–10 ft | Add wood shavings inside; chickadees like a rough interior |
| Downy woodpecker | 1-1/4 in | 5–10 ft | Fill the box with sawdust or shavings; they excavate their own cavity |
| House finch | 2 in | 5–10 ft | Only if you accept that house sparrows may also use it |
| Bluebird | 1-1/2 in | 4–6 ft | Face the hole towards open ground; use a predator guard on the post |
| Tree swallow | 1-1/2 in | 5–10 ft | Prefers open areas near water; pairs well with a second box nearby |
| Wood duck (large box only) | 3 in x 4 in oval | 6–12 ft | Needs a much larger box than this one-board design — do not use this plan |
Mounting heights in the table are a range, not a rule to the inch. What matters more is that the box is high enough to deter ground predators, out of easy reach of cats, and stable. Five to ten feet covers most garden species, and a post-mounted box at about five feet is easy to reach for cleaning, which means you will actually clean it. Face the entrance away from prevailing wind and driving rain, ideally towards the east or south-east in most climates, so the morning sun warms the box without the afternoon heat baking it.
Step 3: Assemble the Box — and Leave Out the Perch
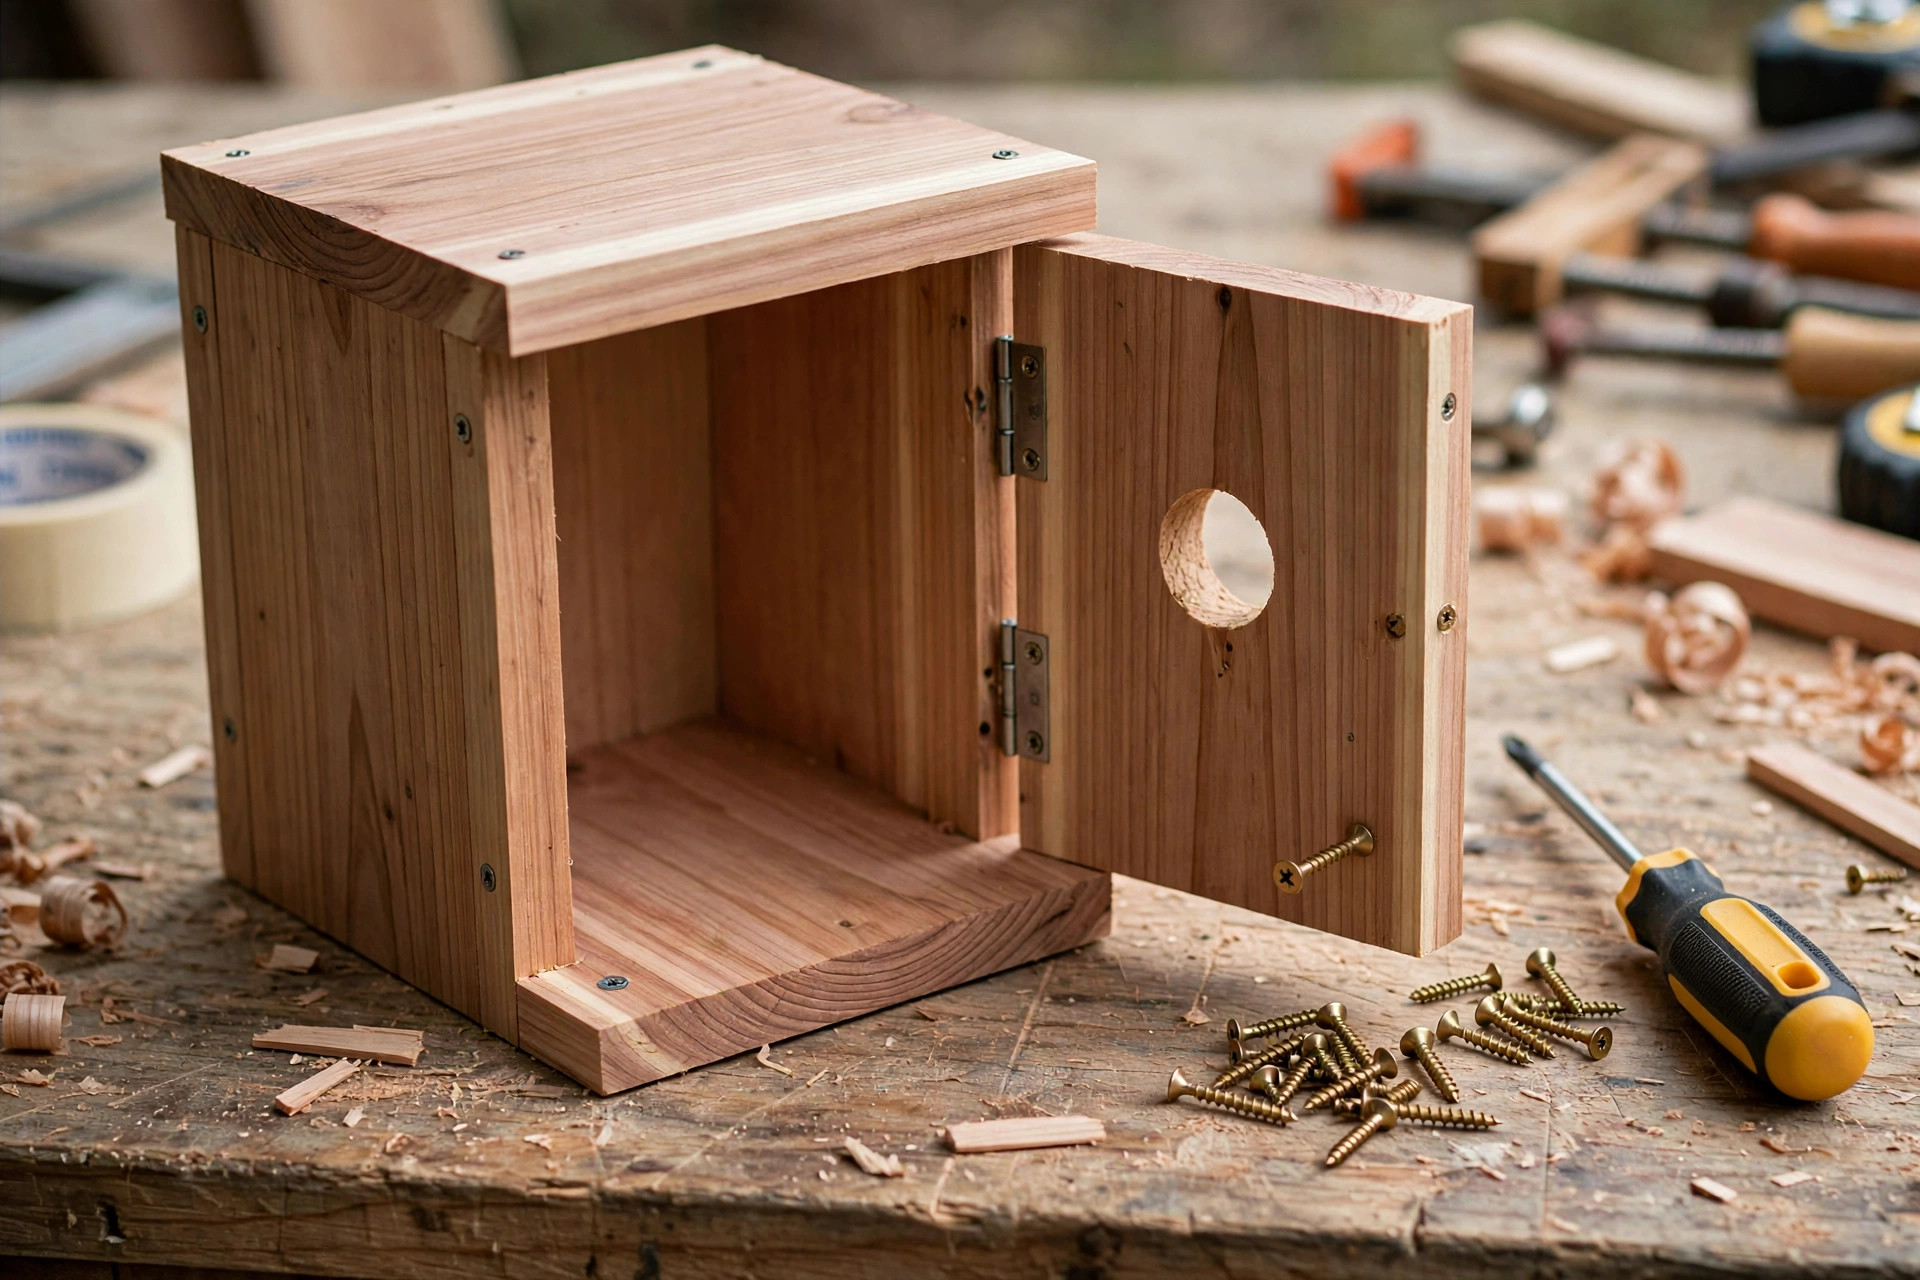
Now assemble the box, working in a sensible order: floor first, then sides, then front and back, then roof. Apply a thin bead of exterior wood glue along each joint, press the pieces together, and drive screws through pilot holes to hold them while the glue sets. Pilot holes matter in cedar, which splits easily near the ends of a board: drill a pilot hole slightly smaller than the screw, especially within an inch of any edge, and drive screws slowly. For the best glue choice and technique on a small outdoor project, see our guide to the best wood glue for beginners — exterior-rated glue is worth it here, because ordinary indoor glue softens in damp weather.
Start by attaching the floor between the two side panels, with the floor sitting slightly inside the sides so rain drips off rather than pooling on a ledge. Next, attach the front panel to the sides, then the back panel, checking that the box is square by measuring diagonally across the open top — the two diagonal measurements should match. Finally, attach the two roof pieces, with the longer piece overlapping the shorter one at the ridge, so water runs off the ridge rather than into the joint. Leave a generous overhang at the front and sides, and, if you like, a slightly larger overhang at the back to protect the mounting area. Do not nail the roof shut if you want a hinged clean-out side (see below); the roof is fixed, and the side is the door.
And now the most important safety detail in this whole guide: do not add a perch. It is tempting — a little dowel under the hole looks cute and seems helpful — but birds do not need it. Songbirds grip the edge of the hole with their feet and cling to the rough wood. A perch, however, gives cats, raccoons, jays, and house sparrows a convenient platform to reach inside the box, harass the nest, and steal eggs or nestlings. Leaving the perch off is the single easiest thing you can do to make your birdhouse safer, and it costs nothing. If you have already seen birdhouses with perches in shops, know that those are decorations made for people, not for birds.
Step 4: Add a Hinged or Screwed Clean-Out Side
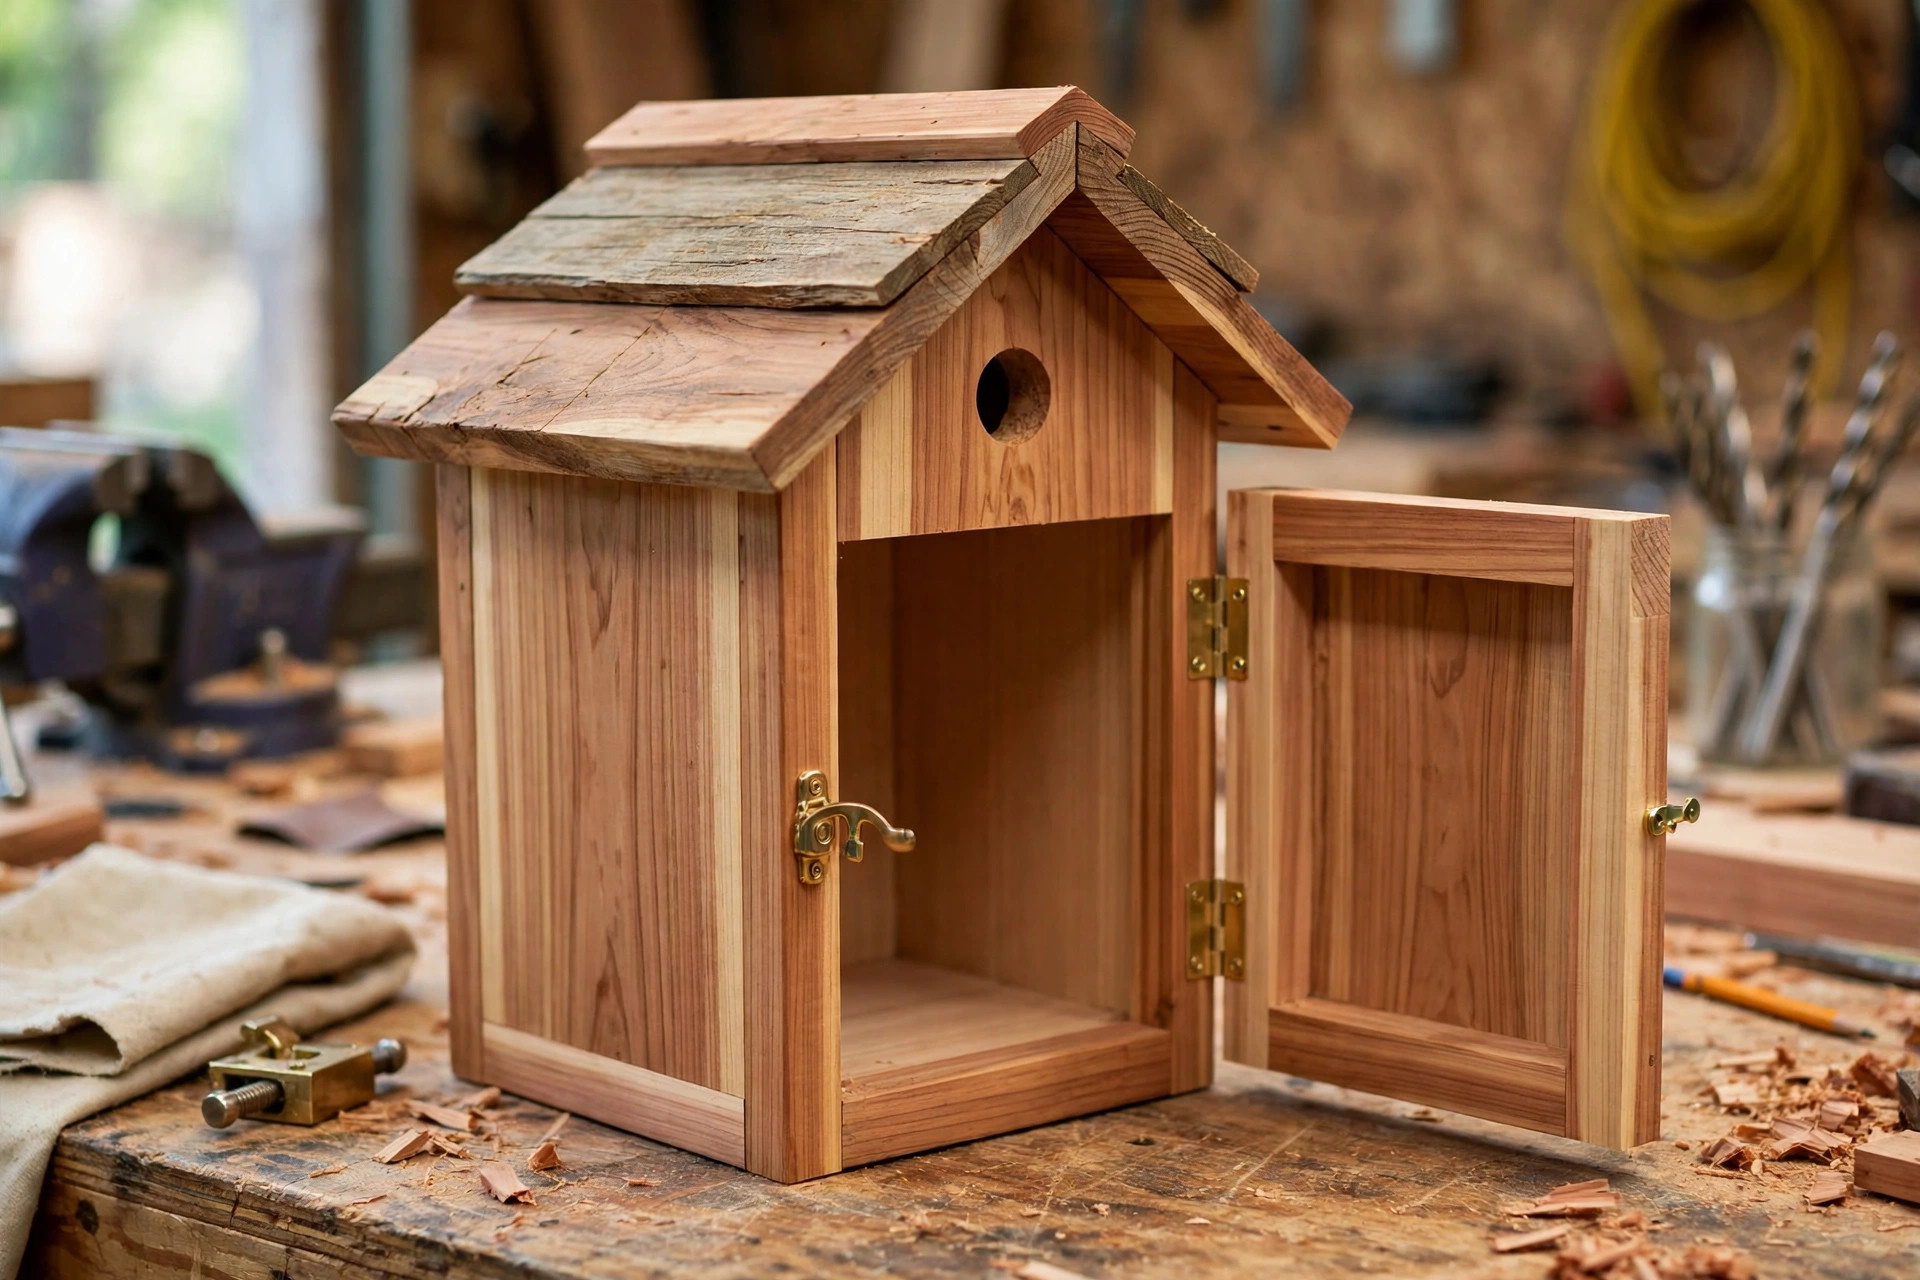
A birdhouse that cannot be opened cannot be cleaned, and a birdhouse that is never cleaned becomes a health hazard. Old nests harbour mites, parasites, and mould, and most songbirds prefer a clean cavity to a used one. That is why one side panel — or, in some designs, the front panel — must open. The simplest method for a beginner is to attach one side panel with a single screw at the top and bottom on one edge, so it pivots open when the screws are loosened, or to fit a small hinge at the top of the side panel and a latch or a single screw at the bottom to hold it shut.
Whichever method you choose, test it before you hang the box: the side should open easily with one hand, stay shut firmly in wind, and close flush with no gap large enough for rain to enter. Use exterior screws or a small brass or stainless hinge, because ordinary steel hardware rusts outdoors and can stain the wood or seize up. While you are at it, check that no screw tips poke through into the inside of the box — a protruding screw tip can injure a nestling — and file or clip any that do. The inside of the box should be completely free of sharp points, protruding nails, and loose splinters.
Some builders make the whole front panel removable instead, and that works just as well. The principle is the same: one panel opens, the rest stays fixed, and the opening is large enough for you to reach in, remove the old nest, and brush the inside clean each year. If you use screws rather than a hinge, keep a note of the screwdriver size somewhere, or use a simple wing-nut latch that needs no tools at all.
Step 5: Finish the Outside Only
A cedar birdhouse needs no finish to survive outdoors — cedar weathers gracefully on its own — but a light exterior finish can extend its life and keep it looking good. The rule is simple and absolute: finish the outside only, never the inside. Birds are sensitive to fumes, and a painted or varnished interior can off-gas, trap moisture, or leave a slippery surface that nestlings cannot climb. Leave the inside raw, rough, and chemical-free.
For the outside, use a single thin coat of exterior linseed-oil-based finish, a water-based exterior wood stain in a natural tone, or a clear exterior sealant rated for outdoor use. Apply it before mounting, let it dry and air fully — ideally for several days — before birds are expected to use the box, and avoid bright colours. Natural cedar, muted browns, greys, and greens blend into a garden and are less likely to attract predators or overheat in the sun than white or brightly painted boxes. Never use paint on the inside, never use creosote or any wood preservative inside or out, and never finish a box and hang it the same day: the smell alone can put birds off for a season.
If you would rather skip finishing altogether, that is a perfectly good choice. An unfinished cedar birdhouse will silver over a season or two and last for many years, and birds honestly do not mind. The finish is for the human and for the wood; the birds care about the cavity, the hole, and the location.
Where and How to Mount Your Birdhouse
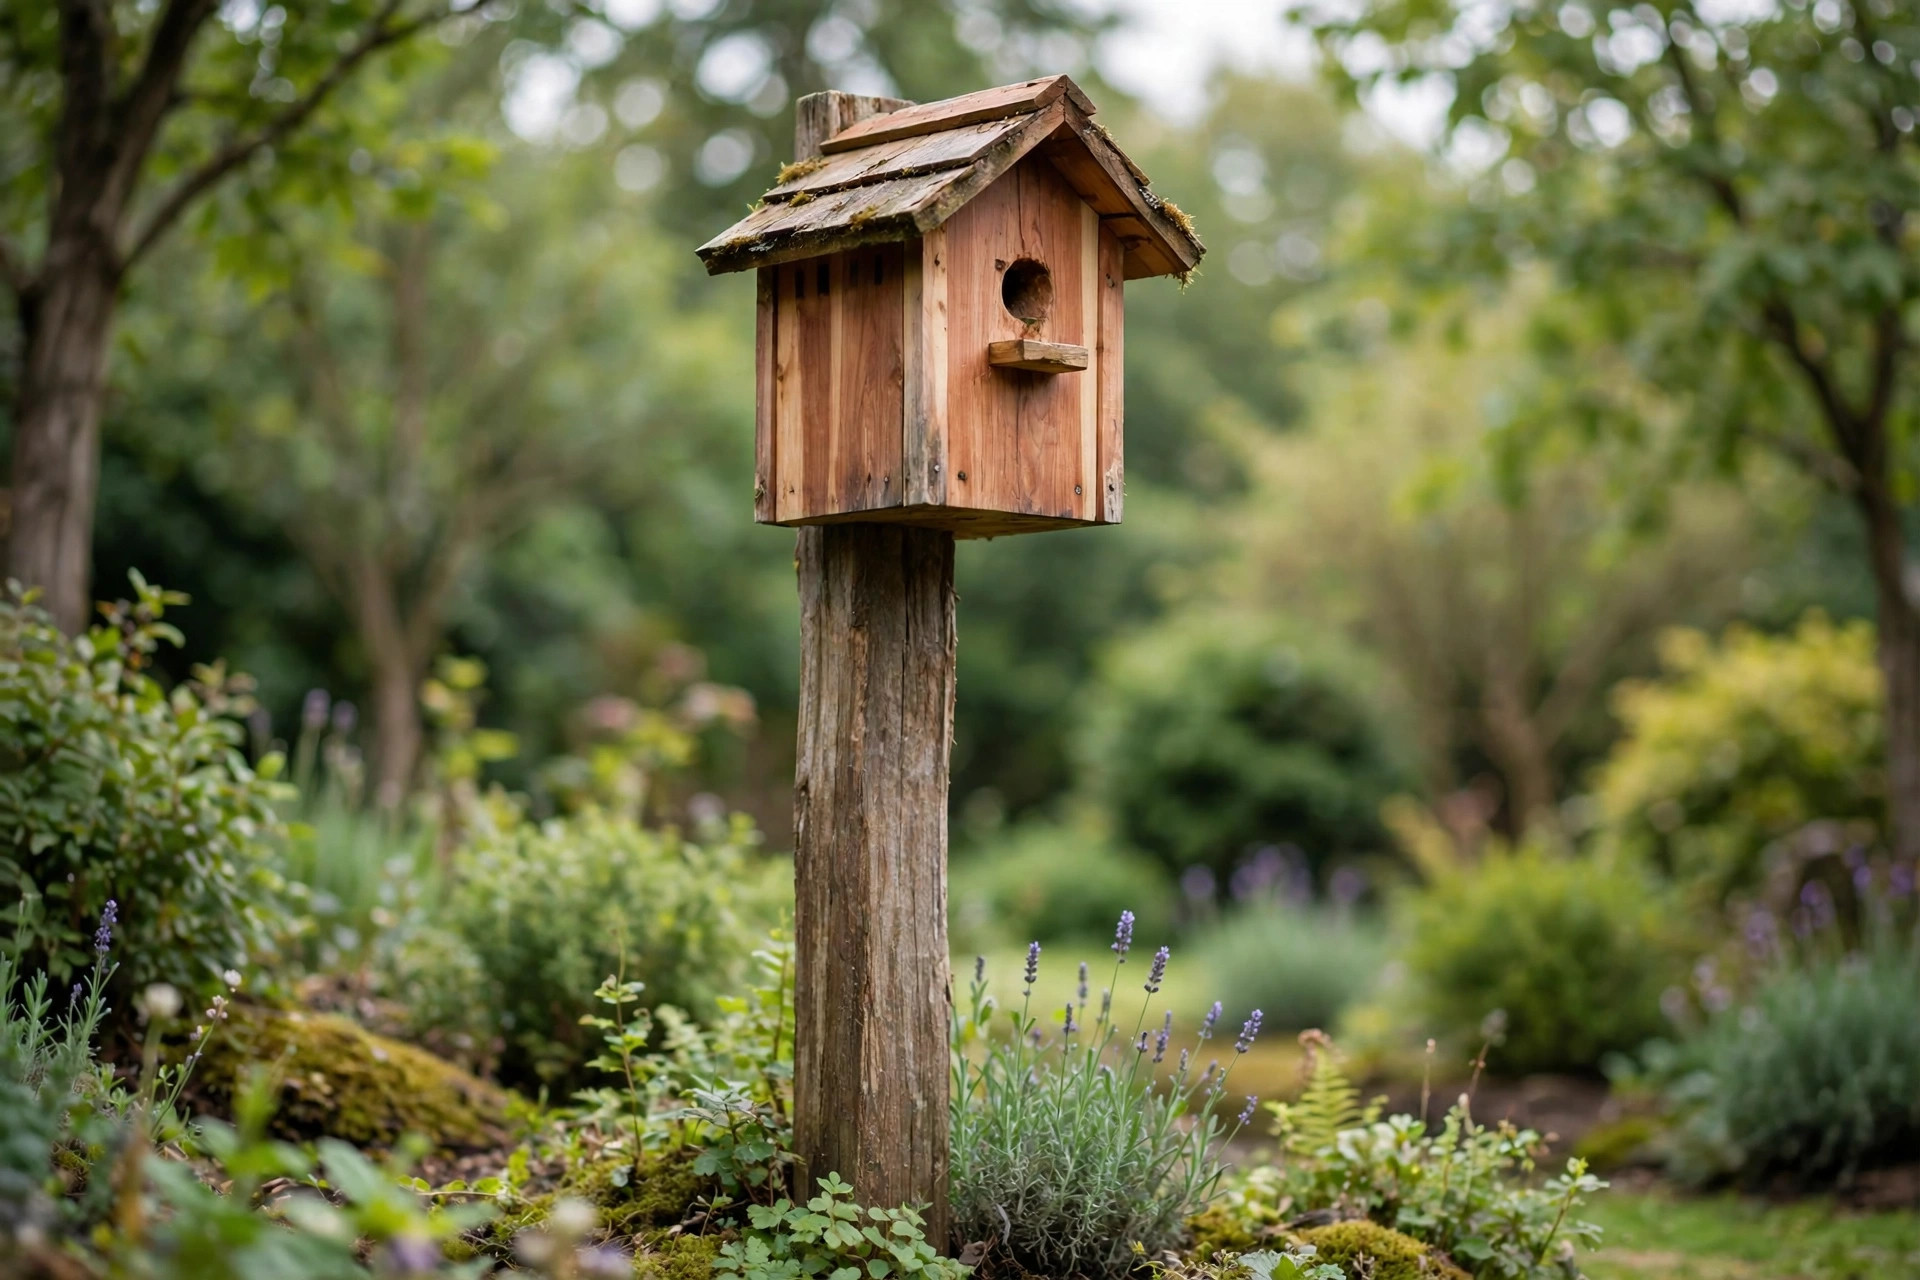
Mounting matters as much as building. A birdhouse nailed to a tree trunk looks natural, but it is the easiest target for climbing predators, and nails damage the tree. A far better choice is a sturdy wooden or metal post set in the ground, away from fences, low branches, and shrubs that a cat could launch from. The back panel of this design is deliberately longer than the box itself, giving you wood above and below the cavity to screw the box to the post without any screw entering the nesting cavity.
Mount the box at the height given in the table for your target species — about five feet is a good all-round height — and make sure it is level, or tilted very slightly forward so rain runs off the roof rather than pooling at the front. Use a predator guard if you can: a cone or a stovepipe baffle fitted around the post below the box stops raccoons and cats from climbing up to it, and it is one of the most effective bird-safety additions you can make. A metal guard is better than a plastic one, which raccoons can chew, and the guard should be wide enough that a predator cannot simply reach around it.
Spacing matters too. Most songbirds are territorial, so do not crowd boxes together: ten metres or more between boxes for the same species is a good rule, unless you are deliberately pairing boxes for tree swallows and bluebirds, which tolerate a closer neighbour. Face the entrance away from the prevailing wind, give the box a clear flight path to the hole (no dense branches directly in front of it), and avoid hanging it over a busy path, a bird feeder, or a spot where people and pets pass constantly. A quiet corner of the garden, near shrubs or trees that offer cover but not a predator highway, is ideal.
Finally, think about your own access. You will need to reach the box once a year to clean it, so do not mount it so high that cleaning requires a tall ladder, or so deep in a thorny hedge that you dread the job. A box you can clean is a box birds will reuse; a box you cannot reach is a box that slowly becomes a parasite hotel.
Cleaning Between Seasons: The Annual Job That Brings Birds Back
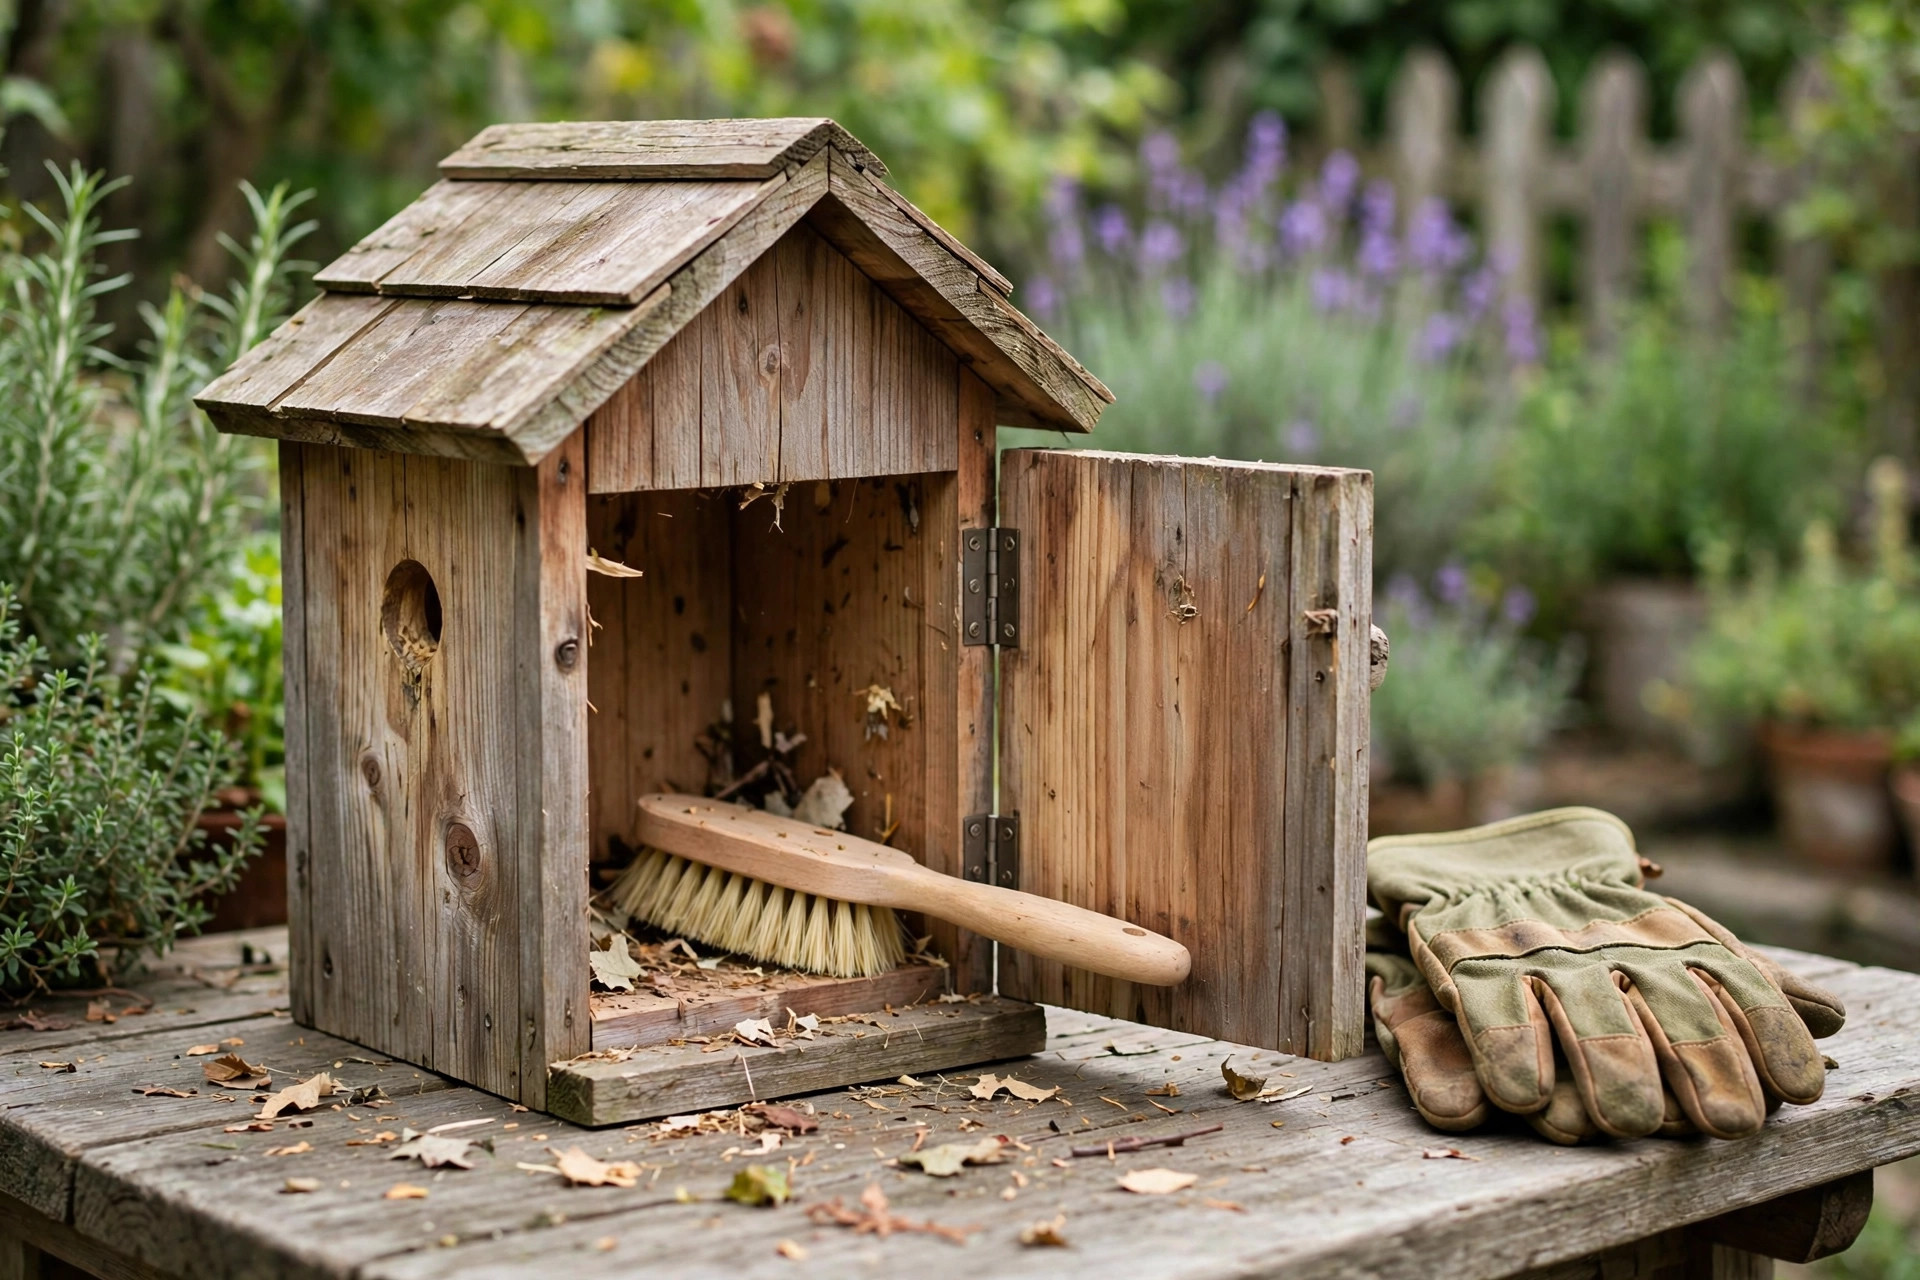
Clean your birdhouse once a year, in late autumn or early winter, after the breeding season is fully over and before the next spring. Never clean a box while birds are nesting in it, and never disturb an active nest to peek inside more than is necessary. In most climates, late October to February is the safe window, but check local guidance if you are unsure whether a late brood is still active.
Cleaning is simple: open the clean-out side, pull out the old nest with gloved hands, and brush the inside with a stiff brush. Scrape off any droppings or debris, and, if the inside is dirty, scrub it with a weak solution of one part household bleach to nine parts water, then rinse thoroughly and leave the box open to dry completely before closing it again. Do not use strong disinfectants, insecticides, or air fresheners inside the box — a clean, dry, chemical-free cavity is what birds want. While the box is open, check it over: tighten any loose screws, check the roof for leaks, make sure the entrance hole has not been enlarged by woodpeckers or squirrels (a metal hole protector can fix that), and check the mounting post and predator guard.
If you find an unhatched egg or a dead nestling during cleaning, remove it with gloves and dispose of it in household waste, then wash your hands. This is normal and not a sign that you did anything wrong — some nests fail for reasons that have nothing to do with the box. What matters is that the box is clean and ready for the next pair. Many experienced birdhouse builders keep a simple log — the date cleaned, the species seen, whether the box was used — and over a few years that log tells you which boxes and locations work best in your garden.
Bird-Safety Mistakes Beginners Should Avoid
Most birdhouse mistakes are made with good intentions, so it is worth naming them plainly. The first is the perch, covered above: leave it off. The second is paint or finish inside the box: finish the outside only. The third is using treated lumber, plywood with toxic glues, or painted scrap wood of unknown origin: use untreated cedar or pine. The fourth is hanging the box in a tree without a predator guard, or so low that a cat can reach it: use a post, a guard, and a sensible height. The fifth is placing boxes too close together, or facing the entrance into the prevailing wind and driving rain: space them out and face them east or south-east.
Other mistakes are subtler. Do not put a bird feeder right next to a birdhouse, because feeders attract crowds, and crowds attract predators and disease to a nesting site. Do not check the box constantly during nesting season: occasional, quiet observation from a distance is fine, but opening the box repeatedly stresses the parents and can cause them to abandon the nest. Do not add nesting material inside the box beyond, at most, a small handful of wood shavings for chickadees or woodpeckers — most songbirds prefer to build their own nests, and the wrong material (string, yarn, dryer lint, plastic) can tangle or harm nestlings. And do not be disappointed if no bird moves in during the first season: birds are cautious about new boxes, and a box that stands empty one year is often occupied the next, especially once it has weathered a little and looks less new.
Finally, a word on safety for the builder, not just the birds. Small projects deserve the same safety habits as big ones: eye protection when sawing and drilling, a clamped workpiece rather than a hand held near the blade, a sharp blade rather than a dull one you have to force, and a tidy bench so offcuts do not trip you. If any step feels unsafe, stop and re-clamp, re-measure, or ask for help — a birdhouse is never worth an injury.
Frequently Asked Questions
What is the best wood for a beginner birdhouse?
Untreated western red cedar is the best choice: it resists rot and insects naturally, is light and easy to work, and lasts for years outdoors without finish. Untreated pine is a cheaper alternative that also works well, but it will not last as long. Never use pressure-treated lumber, painted scrap of unknown origin, or plywood with interior glues for a birdhouse.
How big should the entrance hole be?
It depends on the bird you want. Use 1-1/8 inches for wrens and chickadees, 1-1/4 inches for downy woodpeckers, and 1-1/2 inches for bluebirds and tree swallows. A smaller hole is safer, because it excludes house sparrows and starlings. Always check the table in this guide before you drill, because a hole that is too large cannot easily be made smaller.
Should a birdhouse have a perch?
No. Birds do not need a perch — they grip the hole and cling to the wood — and a perch helps predators and house sparrows reach into the box. Leave the perch off, and keep the front of the box below the hole clear so nothing has a platform to stand on.
Do I need to finish or paint my birdhouse?
No, it is optional. Cedar survives outdoors unfinished and weathers to grey. If you do finish it, finish the outside only with a natural-toned exterior stain or sealant, let it dry and air for several days, and never paint or varnish the inside.
Where is the best place to hang a birdhouse?
On a sturdy post, about five feet high, facing away from prevailing wind (ideally east or south-east), with a clear flight path to the entrance and a predator guard on the post. Keep it away from fences and branches a cat could jump from, and space boxes for the same species at least ten metres apart.
How often should I clean a birdhouse?
Once a year, in late autumn or winter, after breeding season ends. Open the clean-out side, remove the old nest, brush the inside, and wash it only if needed with a weak bleach solution, rinsed well and dried fully. Never clean or open a box while birds are actively nesting.
Why has no bird used my birdhouse yet?
Birds are cautious about new boxes, and the first season is often empty. Check that the hole size matches a local species, that the box is not in a busy or predator-exposed spot, and that it is clean and dry inside. Leave it up through winter — many birds inspect boxes in late winter — and it will often be occupied the following spring.
The Bottom Line
Learning how to build a simple birdhouse for beginners is really learning how a small, useful object comes together: one board, six pieces, a correctly sized hole, and a few details — drainage, ventilation, a clean-out side, no perch, and a safe mounting — that turn a wooden box into a home. The build itself takes an afternoon, the skills transfer directly to your next project, and the reward lasts for seasons: a garden that is a little livelier, a little wilder, and a little more your own.
Start with this one-board cedar design, hang it on a post with a predator guard, clean it once a year, and be patient. If you enjoy the process, pair it with our pillar guide to easy woodworking projects for beginners that sell for your next build, and keep your workshop habits safe with our woodworking safety tips for beginners. A simple birdhouse, well built and well placed, is a beginner project you can be genuinely proud of — and the birds, in their quiet way, will agree.



Pingback: How to Build a Wooden Bird Feeder for Beginners