
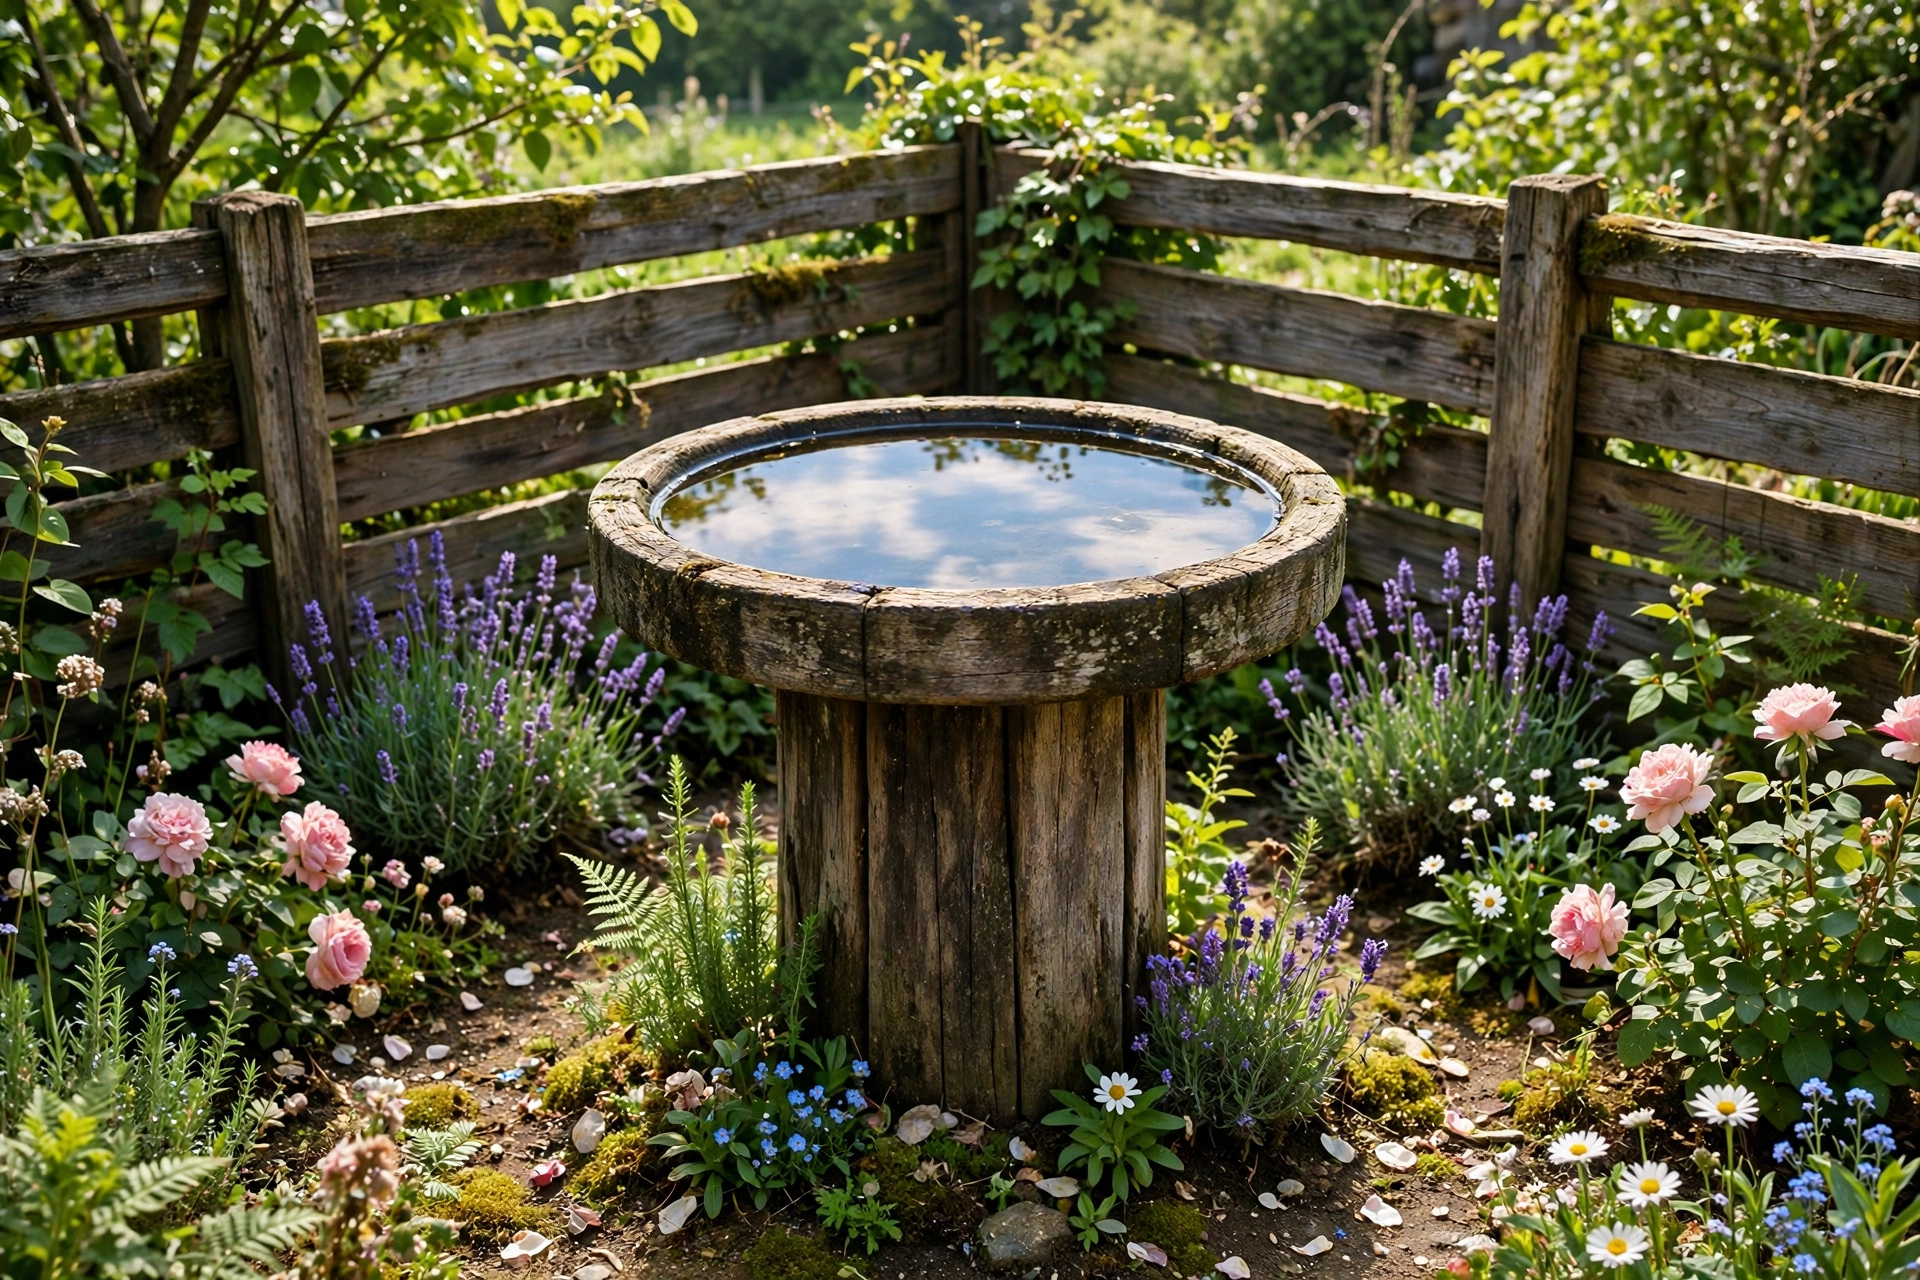
There is something quietly magical about watching birds splash in a bird bath you built with your own hands. A wooden bird bath brings life to a garden in a way few other beginner projects can: within days of setting it out, sparrows, finches, and robins may be stopping by for a drink and a bath. And unlike a birdhouse or a feeder, a bird bath fills a need birds cannot meet anywhere else in a dry spell — fresh, clean, shallow water.
This guide walks you through exactly how to build a wooden bird bath for beginners, from the first board to the first splash. You will build a sturdy pedestal bird bath with a shallow wooden basin about 20 inches across and just 1 to 2 inches deep in the middle — the depth birds actually prefer. The project uses simple cuts, basic tools, and one weekend afternoon. No advanced joinery, no lathe work, and no special skills are required.
If you have already tried a small garden project, this one will feel comfortably familiar. The basin is made from flat boards joined edge to edge, much like a simple tray, and the pedestal is a strong post on crossed feet. If you are brand new to woodworking, do not worry: every cut is a straight cut, every joint is screwed, and every step is explained below, including the mistakes most beginners make and how to avoid them.
Why Build a Wooden Bird Bath Instead of Buying One
Store-bought bird baths are usually made of concrete, ceramic, or resin. They look nice, but they have real drawbacks for a beginner gardener. Concrete baths are extremely heavy and can crack in a freeze. Ceramic baths chip easily and are expensive to replace. Resin baths are light, but they often blow over in wind and look plasticky next to a natural garden.
A wooden bird bath solves all three problems. Wood is light enough to move but heavy enough, once built on a wide crossed-foot base, to stand firm in wind. If a board ever cracks or warps, you can replace that one board instead of the whole bath. And a cedar or pine bath weathers into a soft, natural grey-brown that looks like it has always belonged in the garden.
There is also the cost. A decent shop-bought bird bath easily costs $60 to $150, while this wooden version costs roughly $35 to $60 in materials, depending on your local lumber prices. For a beginner, that is a satisfying saving — and you get the pleasure of building it yourself.
Best of all, a wooden bird bath is a genuinely useful garden feature, not just decoration. Birds need water for drinking and for keeping their feathers clean, and clean feathers insulate better and fly better. A reliable water source in your garden helps local birds survive hot summers and dry spells, and it gives you a front-row seat to their daily visits.
What Makes a Bird Bath Safe and Inviting for Birds
Before you cut a single board, it helps to understand what birds actually want from a bath — because a bath built for human tastes is often too deep, too slippery, or too exposed for birds to use.
First, depth matters more than anything else. Most garden birds bathe standing in the water, not swimming in it. A basin that is 1 to 2 inches deep in the centre, sloping gently to almost nothing at the rim, lets small birds wade in at their own comfort level. A deep bowl, even a beautiful one, will simply be ignored — or worse, it can be dangerous for fledglings. That is why this design keeps the water shallow on purpose.
Second, birds need grip. A smooth, varnished surface is slippery under tiny wet feet. The inside of this basin is left with a lightly sanded, natural texture, and the gentle slope of the slats gives claws something to hold. You can also add a couple of flat stones in the basin to create shallow perching spots, which birds love.
Third, placement is safety. Birds will not use a bath where a cat can hide beside it and pounce, or where they feel trapped. The finished bath should stand in the open, with a clear view in all directions and some nearby shrubs or a tree — close enough for a quick escape, but not so close that a predator can hide in them. We cover exact placement distances later in this guide.
Finally, water quality matters. A wooden basin needs a bird-safe finish that protects the wood without leaching chemicals into the water, and the bath needs regular cleaning. Both topics are covered in full below, including a bird-safety table you can refer back to.
For a broader set of beginner-friendly garden builds, the pillar guide to easy woodworking projects for beginners that sell is a great place to plan your next project after this one.
Tools and Materials You Will Need
One of the best things about learning how to build a wooden bird bath for beginners is how little equipment it takes. You probably already own most of these tools, and the rest are inexpensive basics worth owning for any future project.
Tools
- Circular saw or handsaw (a jigsaw also works well for the round basin shape)
- Cordless drill/driver with drill bits and a Phillips or Torx bit
- Tape measure, pencil, and a speed square or carpenter’s square
- Orbital sander or sanding block with 80-grit and 120-grit sandpaper
- Clamps (at least two, for holding boards while you screw them)
- Safety glasses and hearing protection
- Spirit level
- Paintbrush for applying the finish
Materials
Cedar is the best wood choice for this project. It is naturally resistant to rot and insects, it is light and easy to cut, and it looks beautiful outdoors. Pine is a cheaper alternative and works fine if it is sealed well, but it will not last as long in constant contact with water. Redwood is another excellent option if it is available and affordable near you. Avoid pressure-treated lumber for the basin itself: the chemicals used to treat it are not something you want leaching into water birds drink and bathe in.
You will also need exterior wood screws, waterproof wood glue rated for outdoor use, and a bird-safe finish. For the finish, look for a food-contact-safe or explicitly bird-safe outdoor oil or sealant — raw linseed oil (not boiled linseed oil with chemical driers) and tung oil are popular choices, as are water-based exterior sealants labelled safe for bird baths and animal waterers. Always read the label and let the finish cure fully before adding water.
Exact Cut List
The table below is the complete cut list for one bird bath. Buy your boards a little long and trim them to size — it is always better to have a little extra than to come up short. All measurements are in inches.
| Part | Material | Size | Quantity | Notes |
|---|---|---|---|---|
| Basin slats | Cedar board, 3/4 in. thick | 22 in. long x 3-1/2 in. wide | 6 | Trimmed to form a 20 in. round basin |
| Basin bottom battens | Cedar board, 3/4 in. thick | 16 in. long x 2-1/2 in. wide | 2 | Screwed across the underside of the slats |
| Pedestal post | Cedar 4×4 post | 26 in. long | 1 | Main upright; bury nothing, it stands on the feet |
| Cross feet | Cedar 2×4 | 22 in. long | 2 | Crossed at right angles under the post |
| Foot braces | Cedar 2×4 offcuts | 10 in. long, ends cut at 45 degrees | 4 | Diagonal braces from post to feet |
| Rim blocks (optional) | Cedar offcuts | 3 in. long | 8 | Small blocks to round out the basin edge, optional |
In total, you need roughly one 8-foot cedar 1×6 board (for the slats and battens), one 8-foot cedar 2×4 (for the feet and braces), and one 3-foot length of cedar 4×4 for the post. Ask your lumber yard to cut the 4×4 to length if you do not have a saw that handles thick stock comfortably.
Project Cost Estimate
| Item | Estimated Cost (USD) |
|---|---|
| Cedar 1×6 board, 8 ft | $12 – $18 |
| Cedar 2×4, 8 ft | $6 – $9 |
| Cedar 4×4 post, 3 ft | $8 – $14 |
| Exterior screws (box) | $6 – $8 |
| Waterproof wood glue | $5 – $7 |
| Bird-safe outdoor finish | $8 – $12 |
| Sandpaper | $3 – $5 |
| Total | $48 – $73 |
Prices vary by region and by season, and if you already own screws, glue, and sandpaper, your out-of-pocket cost drops to around $35 to $45. Either way, this is one of the most affordable outdoor woodworking projects you can build, and the finished bath looks far more expensive than it is.
Step 1: Measure and Cut the Basin Slats
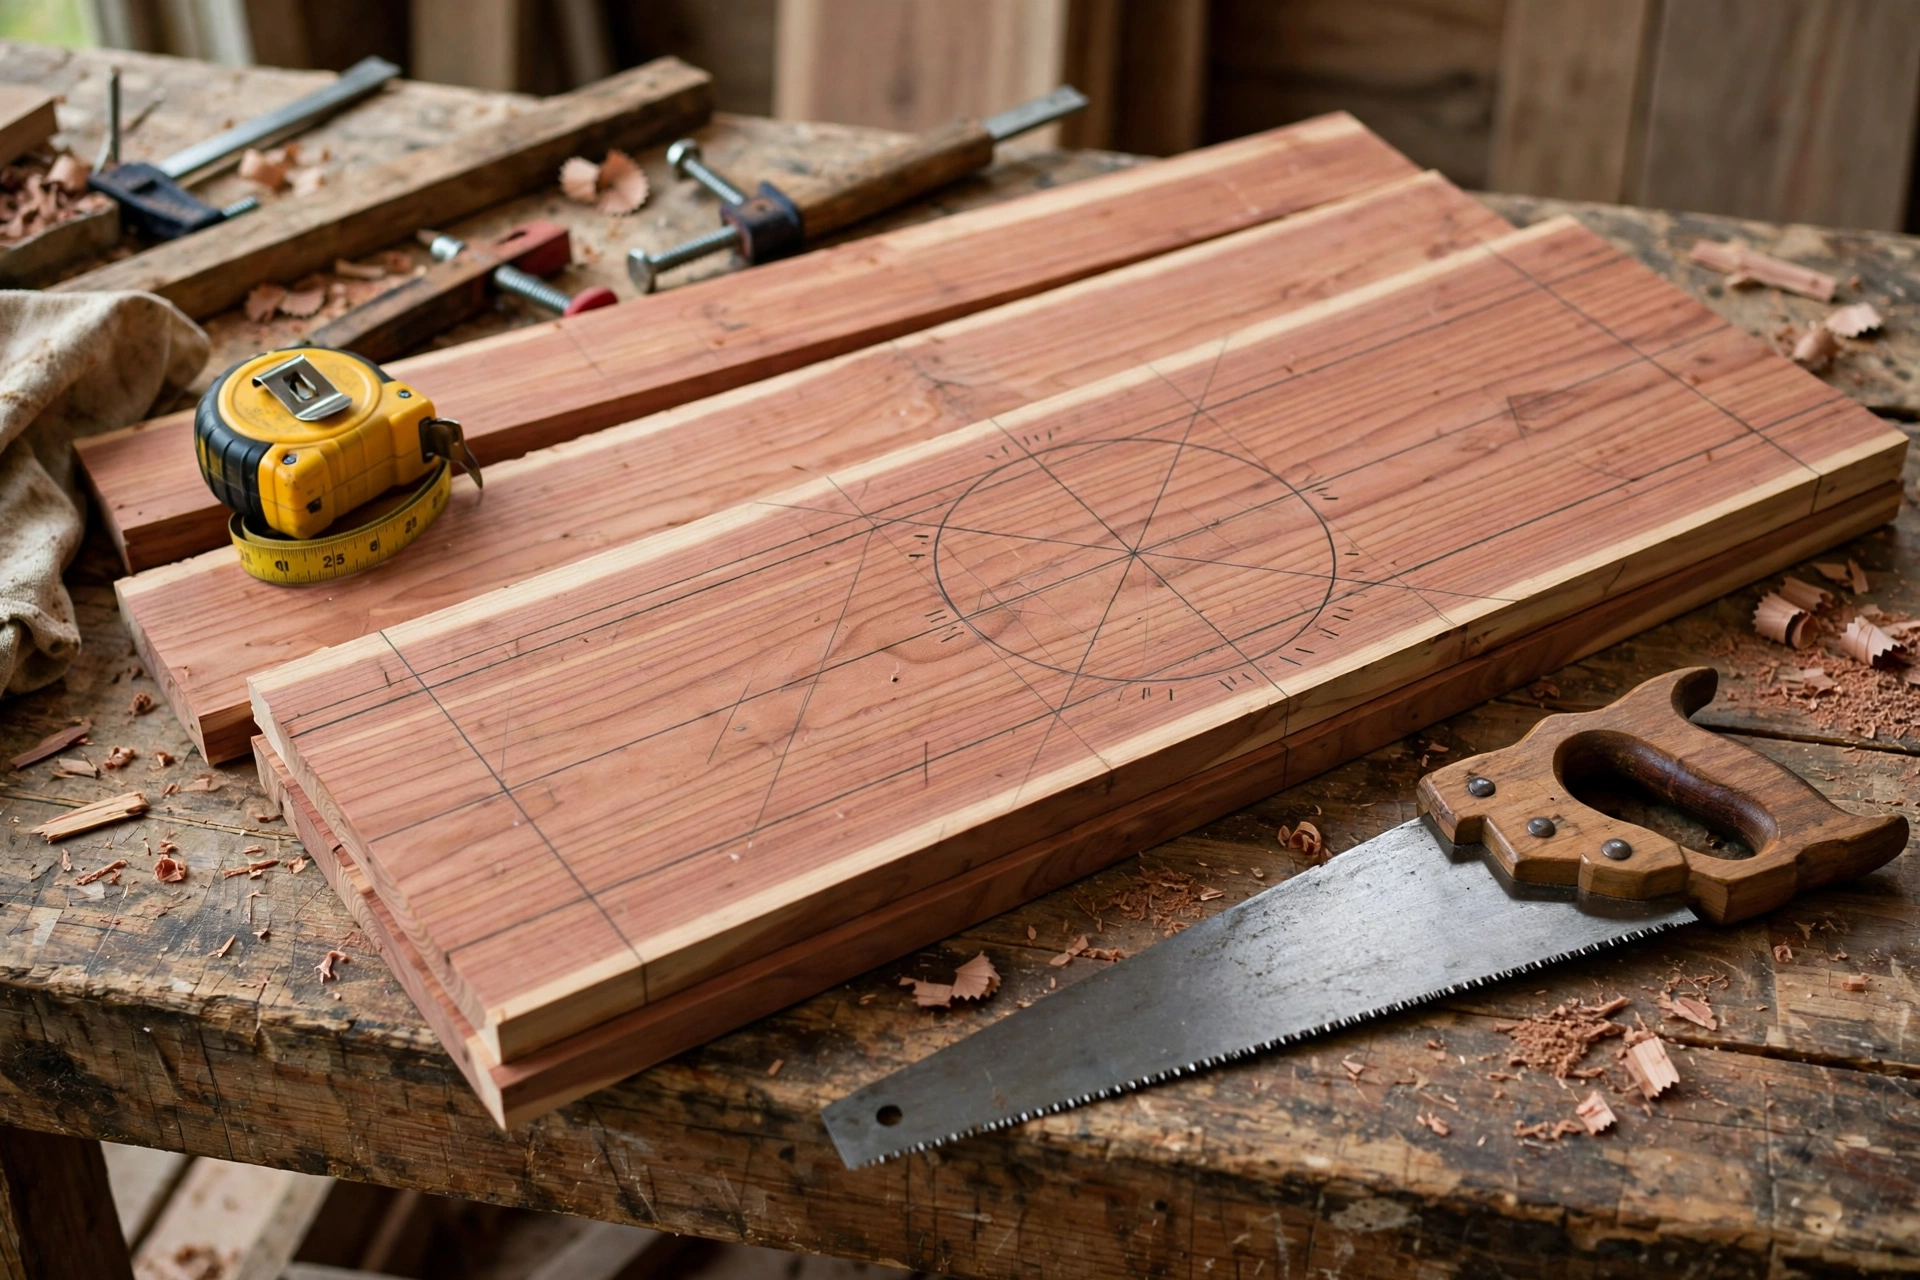
Start with the basin, because it is the part you will look at most. Lay your cedar 1×6 board on your workbench and measure out six lengths of 22 inches. Mark each one clearly with a pencil and a square so your cuts stay straight, then cut them with your circular saw or handsaw. Take your time here: straight, square cuts make the basin sit flat and look neat.
Next, lay the six slats side by side on a flat surface, with their best faces up. The combined width should be about 21 inches. Do not worry about tiny gaps yet — the glue and the battens will pull everything together. Number the slats lightly in pencil on their undersides (1 to 6) so you can keep them in the same order after sanding.
Now mark the circle. Find the centre of the rectangle formed by the slats, push a small nail or pin into that point, and tie a pencil to a 10-inch length of string looped over the pin. Swing the pencil around the pin to draw a 20-inch circle across the slats. This simple trammel method gives you a perfect circle without a compass. The circle is your cutting line for the round basin shape.
Cut along the circle with a jigsaw, keeping the blade just outside the line so you can sand to the exact line afterwards. Go slowly and let the blade do the work — forcing a jigsaw around a curve causes rough edges and wandering cuts. If you do not own a jigsaw, you can leave the basin square or octagonal instead: simply trim the corners off at 45 degrees for an octagon, which looks just as charming and needs only straight cuts.
Step 2: Join the Basin and Sand It Smooth
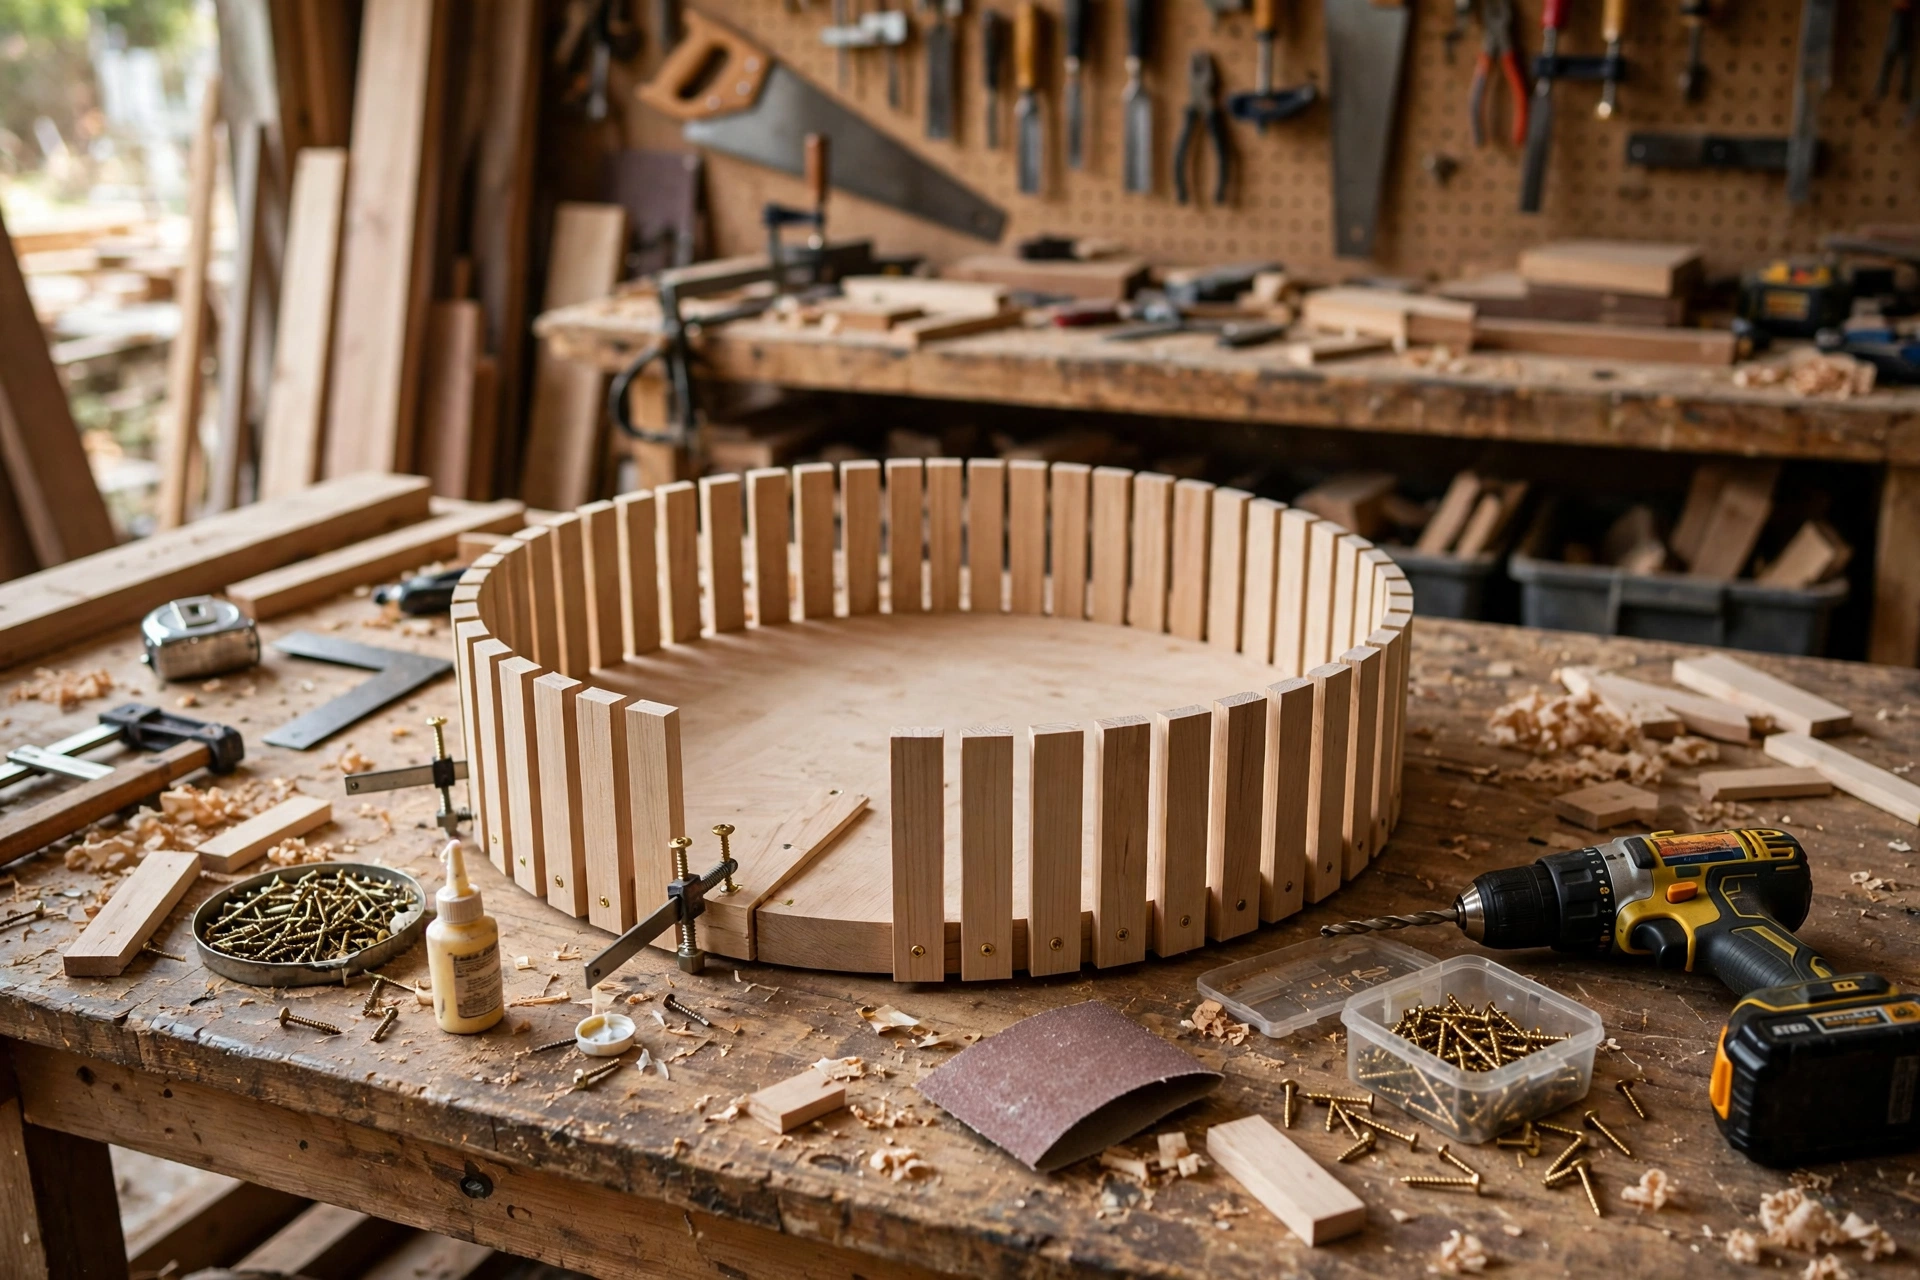
Lay the slats face-down in their numbered order on a flat surface. Run a thin bead of waterproof wood glue along each long edge, then press the slats together. Wipe away any glue squeeze-out on what will be the top face with a damp cloth — dried glue blocks stain and finish, and it shows up as a blotch.
While the glue is still workable, screw the two bottom battens across the underside of the slats, at right angles to them, about 4 inches in from each end of the circle. Pre-drill each screw hole to prevent the cedar from splitting, and use 1-1/4 inch exterior screws that will not poke through the top surface. The battens do two jobs: they hold the slats together permanently, and they give you a solid point to attach the pedestal later.
Leave the basin clamped flat for at least an hour, or overnight if you can. When the glue is dry, flip it over and sand the top surface. Start with 80-grit to level any small differences between slats and to smooth the sawn edge of the circle, then finish with 120-grit. Round over the outer edge slightly so there are no sharp edges where birds will perch. The top should feel smooth to your hand but not glassy — remember, birds need a little grip.
Check the basin with a spirit level and by sighting across it. A slight dish shape is ideal: perfectly flat is fine, because the water will sit evenly, but if your slats have cupped slightly, a gentle hollow in the middle actually helps hold a shallow pool. What you do not want is a basin that rocks or tilts to one side, because the water will pool at one edge and spill from the other.
Step 3: Build the Sturdy Pedestal Base
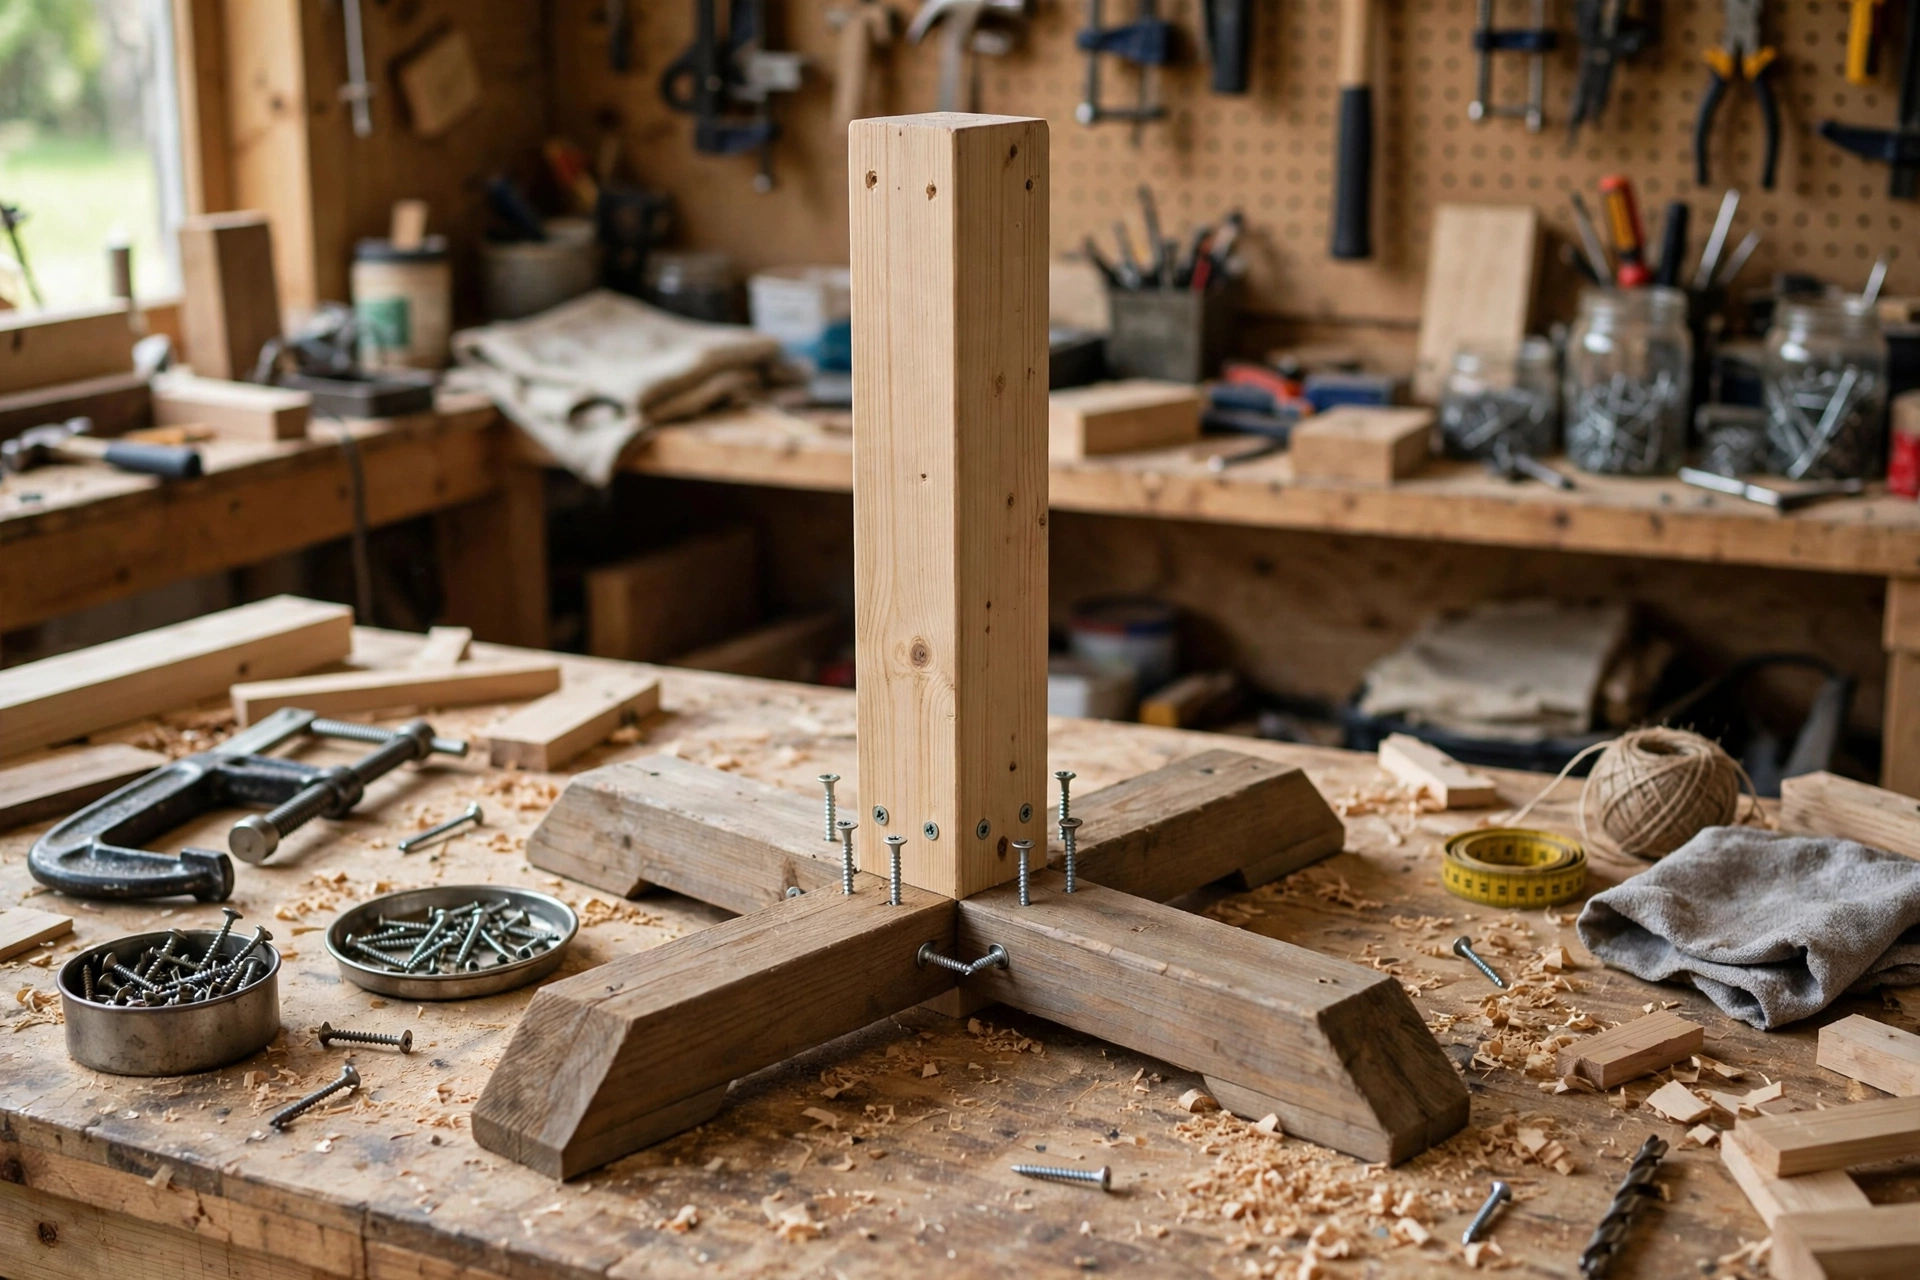
A bird bath that wobbles will not be used, and one that tips over can injure a bird or spill dirty water across your garden. The crossed-foot base in this design is wide, low, and very stable — and it is simple to build.
Take your two 22-inch 2×4 feet and lay one across the other at right angles, forming a plus sign. Mark where they overlap, then cut a half-lap joint if you are feeling confident, or simply screw them together with two long exterior screws through the top foot into the bottom one. The simple screwed cross is plenty strong for a bird bath, and it keeps this a true beginner project. Use a square to make sure the cross is at exactly 90 degrees.
Stand the 26-inch 4×4 post upright in the centre of the cross and check it with a spirit level on two sides. Screw it down into the cross from above with two long exterior screws, pre-drilling first, or attach it from below with screws driven up through the feet. Either method works; the goal is a post that does not lean in any direction.
Now add the four diagonal braces. Each brace is a 10-inch 2×4 offcut with both ends cut at 45 degrees. Hold a brace against the post and the foot, mark the exact fit, and screw it in place with one screw into the post and one into the foot. Repeat on all four sides. These braces are what turn a wobbly post into a rock-solid pedestal: they triangulate the joint and stop the post from flexing in the wind.
Finally, stand the pedestal on a flat surface and test it. Push it gently from each side. It should feel planted, not tippy. If it rocks, check that your feet are the same length and that the cross joint is flat — a few passes with sandpaper or a hand plane on the high foot will usually fix a rock.
If you enjoyed building a small garden structure like this, you may also like the companion guide on how to build a simple birdhouse for beginners, which uses many of the same cuts and tools.
Step 4: Attach the Basin to the Pedestal
With the basin and pedestal built, joining them is a five-minute job — but it is worth doing carefully, because this joint carries the weight of the basin plus water.
Turn the basin upside down on your workbench, with the battens facing up. Set the pedestal upside down on top of it, so the top of the post sits flat against the battens, centred on the basin. Check from the sides that the post is centred — an off-centre basin looks wrong and makes the bath tippy. Mark the post position in pencil on the battens.
Drive four exterior screws up through the battens into the end of the post, two per batten, pre-drilling to avoid splits. Use screws at least 2-1/2 inches long so they bite deeply into the post. Then flip the whole bird bath upright and check it with a spirit level on the basin. It should sit level and steady. If the basin tilts, loosen the screws slightly, adjust, and re-tighten — cedar is forgiving, and small adjustments now save frustration later.
At this point, your bird bath is structurally complete. Give it a final sanding all over with 120-grit paper, brushing away dust, and run your hand over every edge a bird might touch: the rim, the basin surface, and the feet. Nothing should catch your skin or snag a cloth.
Step 5: Seal and Waterproof with a Bird-Safe Finish
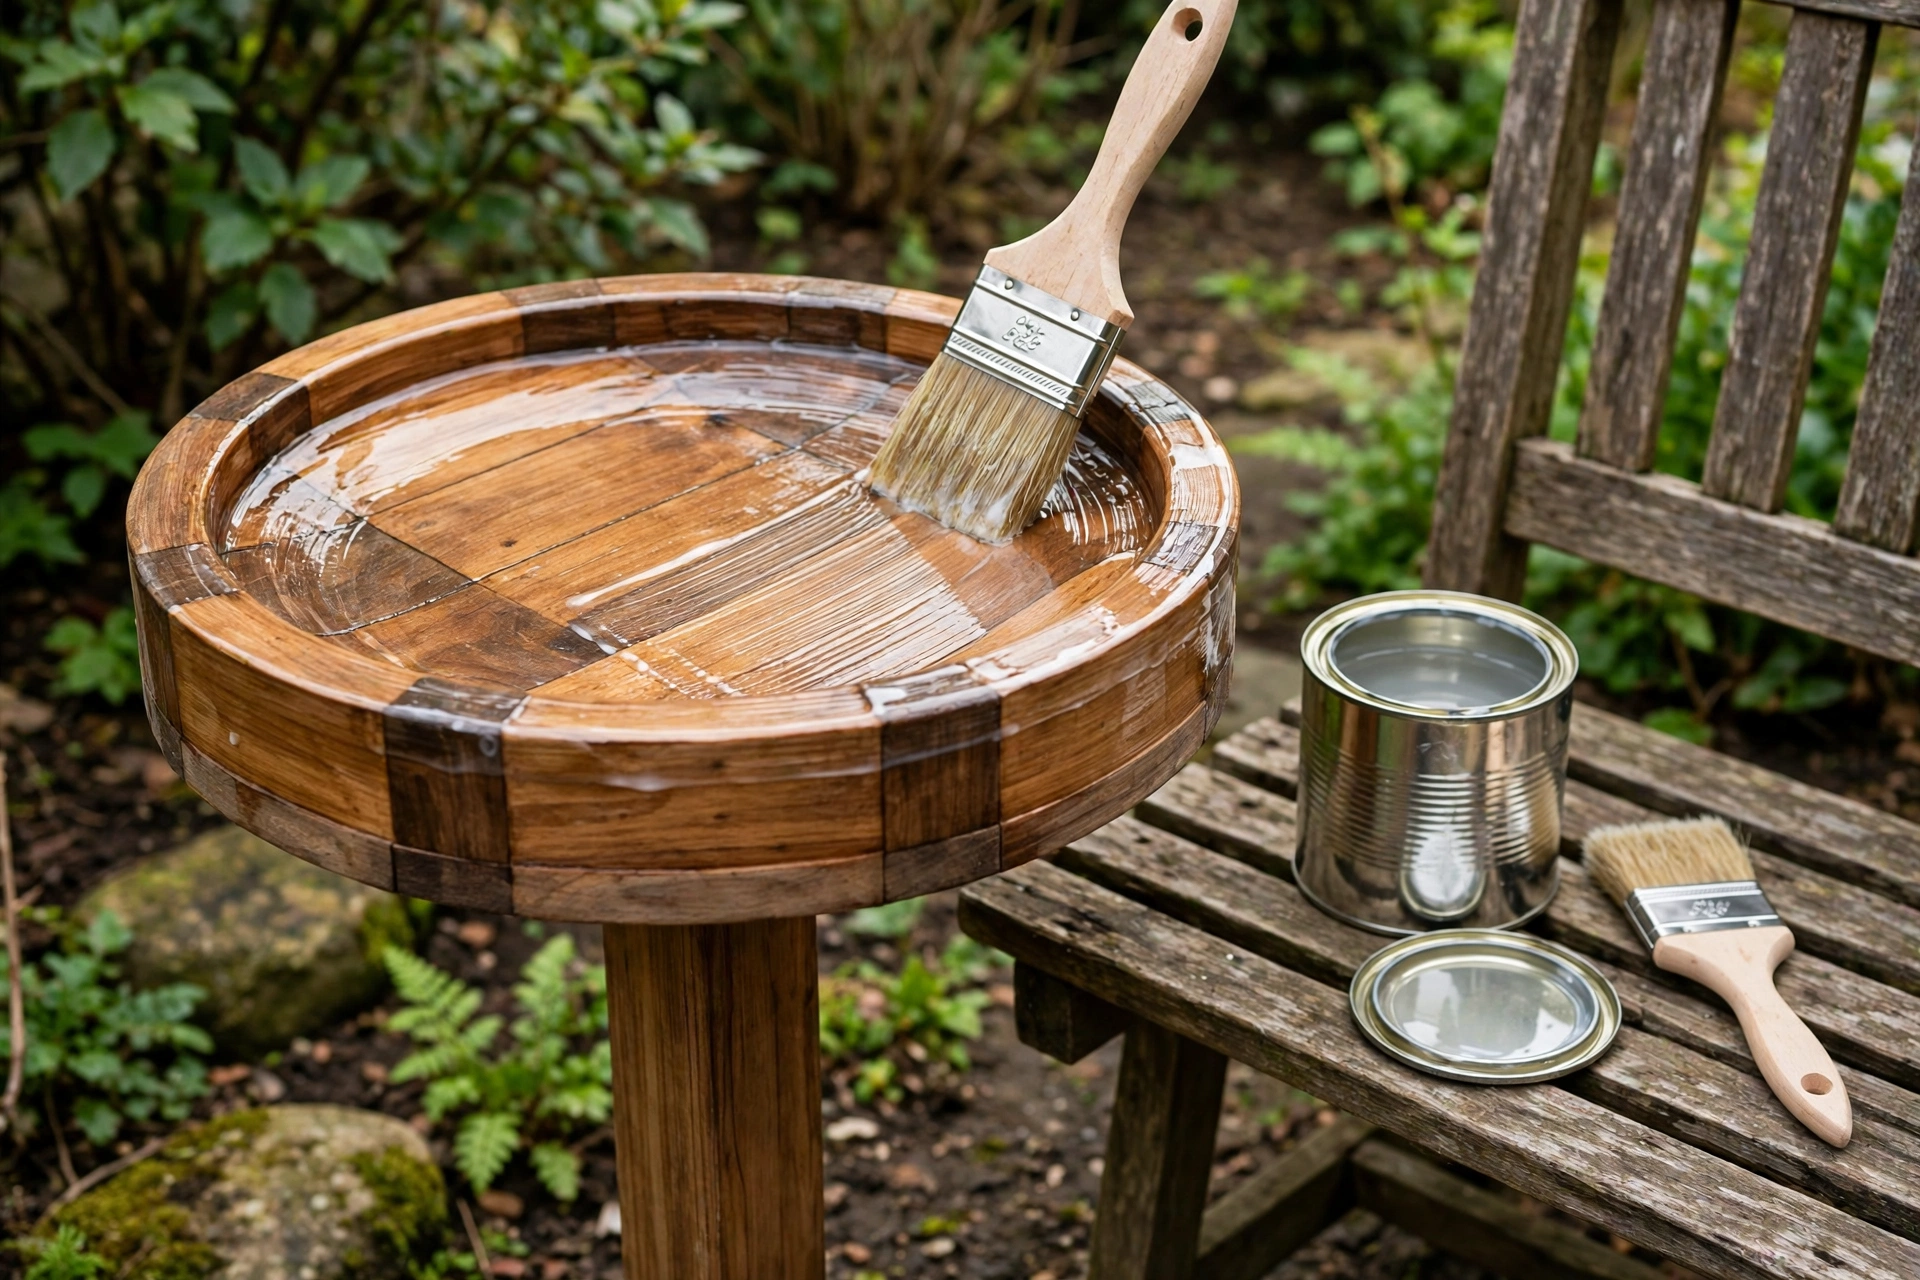
An unsealed wooden basin will soak up water, swell, crack as it dries, and eventually rot. Sealing is not optional — but the finish you choose must be safe for birds, because they will drink and bathe in water that sits against it.
Safe choices include raw linseed oil, pure tung oil, and water-based exterior sealants specifically labelled safe for bird baths or animal water containers. Avoid boiled linseed oil that contains chemical driers, creosote, old engine oil, and any paint or varnish not rated for contact with drinking water. When in doubt, choose a product that says “food-contact safe” or “safe for bird baths” on its label, and let it cure for the full time the manufacturer recommends — usually several days — before you add water.
Apply the finish to the whole bird bath, not just the basin, with a brush, working it into the end grain of the slats and the post, which soak up moisture fastest. Two thin coats are better than one thick coat: let the first coat soak in and dry, then apply the second. Wipe off any excess that pools in the basin, because a sticky, thick layer of finish inside the basin will feel unpleasant under birds’ feet and may flake into the water.
Once the finish has cured, fill the basin with clean water and leave it for a day. Check for leaks — a little dampness on the underside at first is normal as the wood swells and seals itself, but steady dripping means a joint needs re-gluing or an extra coat of finish. Cedar has a lovely habit of swelling slightly when wet and sealing its own joints, which is one more reason it is the best wood for this project.
For help choosing a finish that suits your wood and your climate, the guide to the best wood stain for beginners explains the differences between oils, stains, and sealants in plain language.
Step 6: Place and Install Your Bird Bath in the Garden
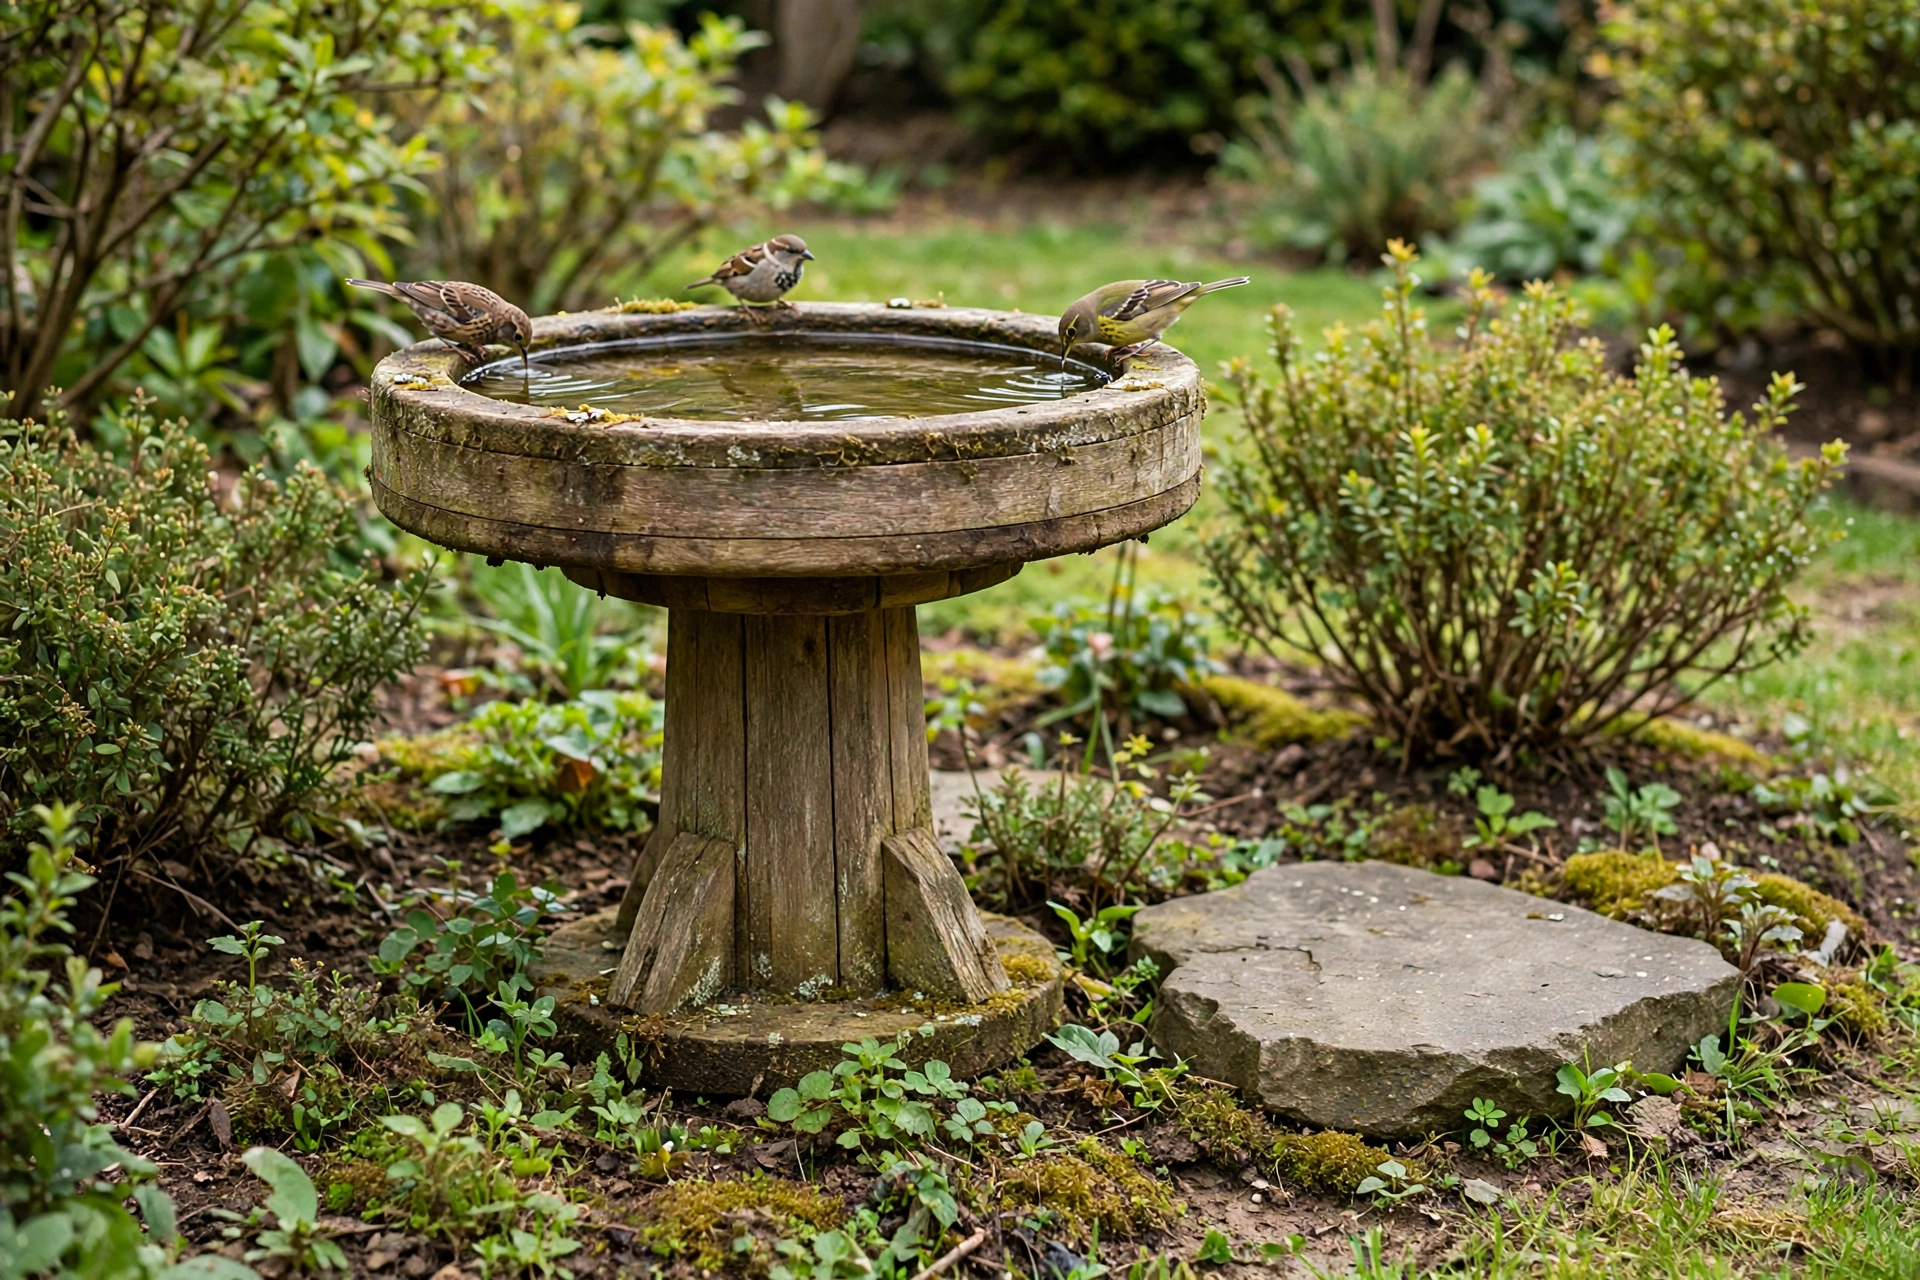
Where you put the bath matters as much as how you built it. Take a walk around your garden with the finished bath in mind before you commit to a spot.
Look for a location that gets some morning sun and some afternoon shade. Morning sun warms the water and attracts birds early in the day, while afternoon shade slows evaporation and keeps the water cooler in summer. Avoid placing the bath directly under a tree that drops leaves, seeds, or sap into the water — you will be cleaning it constantly. A spot near shrubs, about 5 to 10 feet away, is ideal: close enough for birds to dart to cover if a hawk passes, but far enough that a cat cannot hide in the shrub and spring directly onto the bath.
Set the bath on level ground. Dig away any high spots, press the feet firmly into the soil, and check the basin with a spirit level. If your garden soil is soft, set a flat paving stone or a few bricks under the feet to stop the bath from sinking unevenly after rain. On a patio, the crossed feet sit happily on the flat surface, and a stone underneath is usually unnecessary.
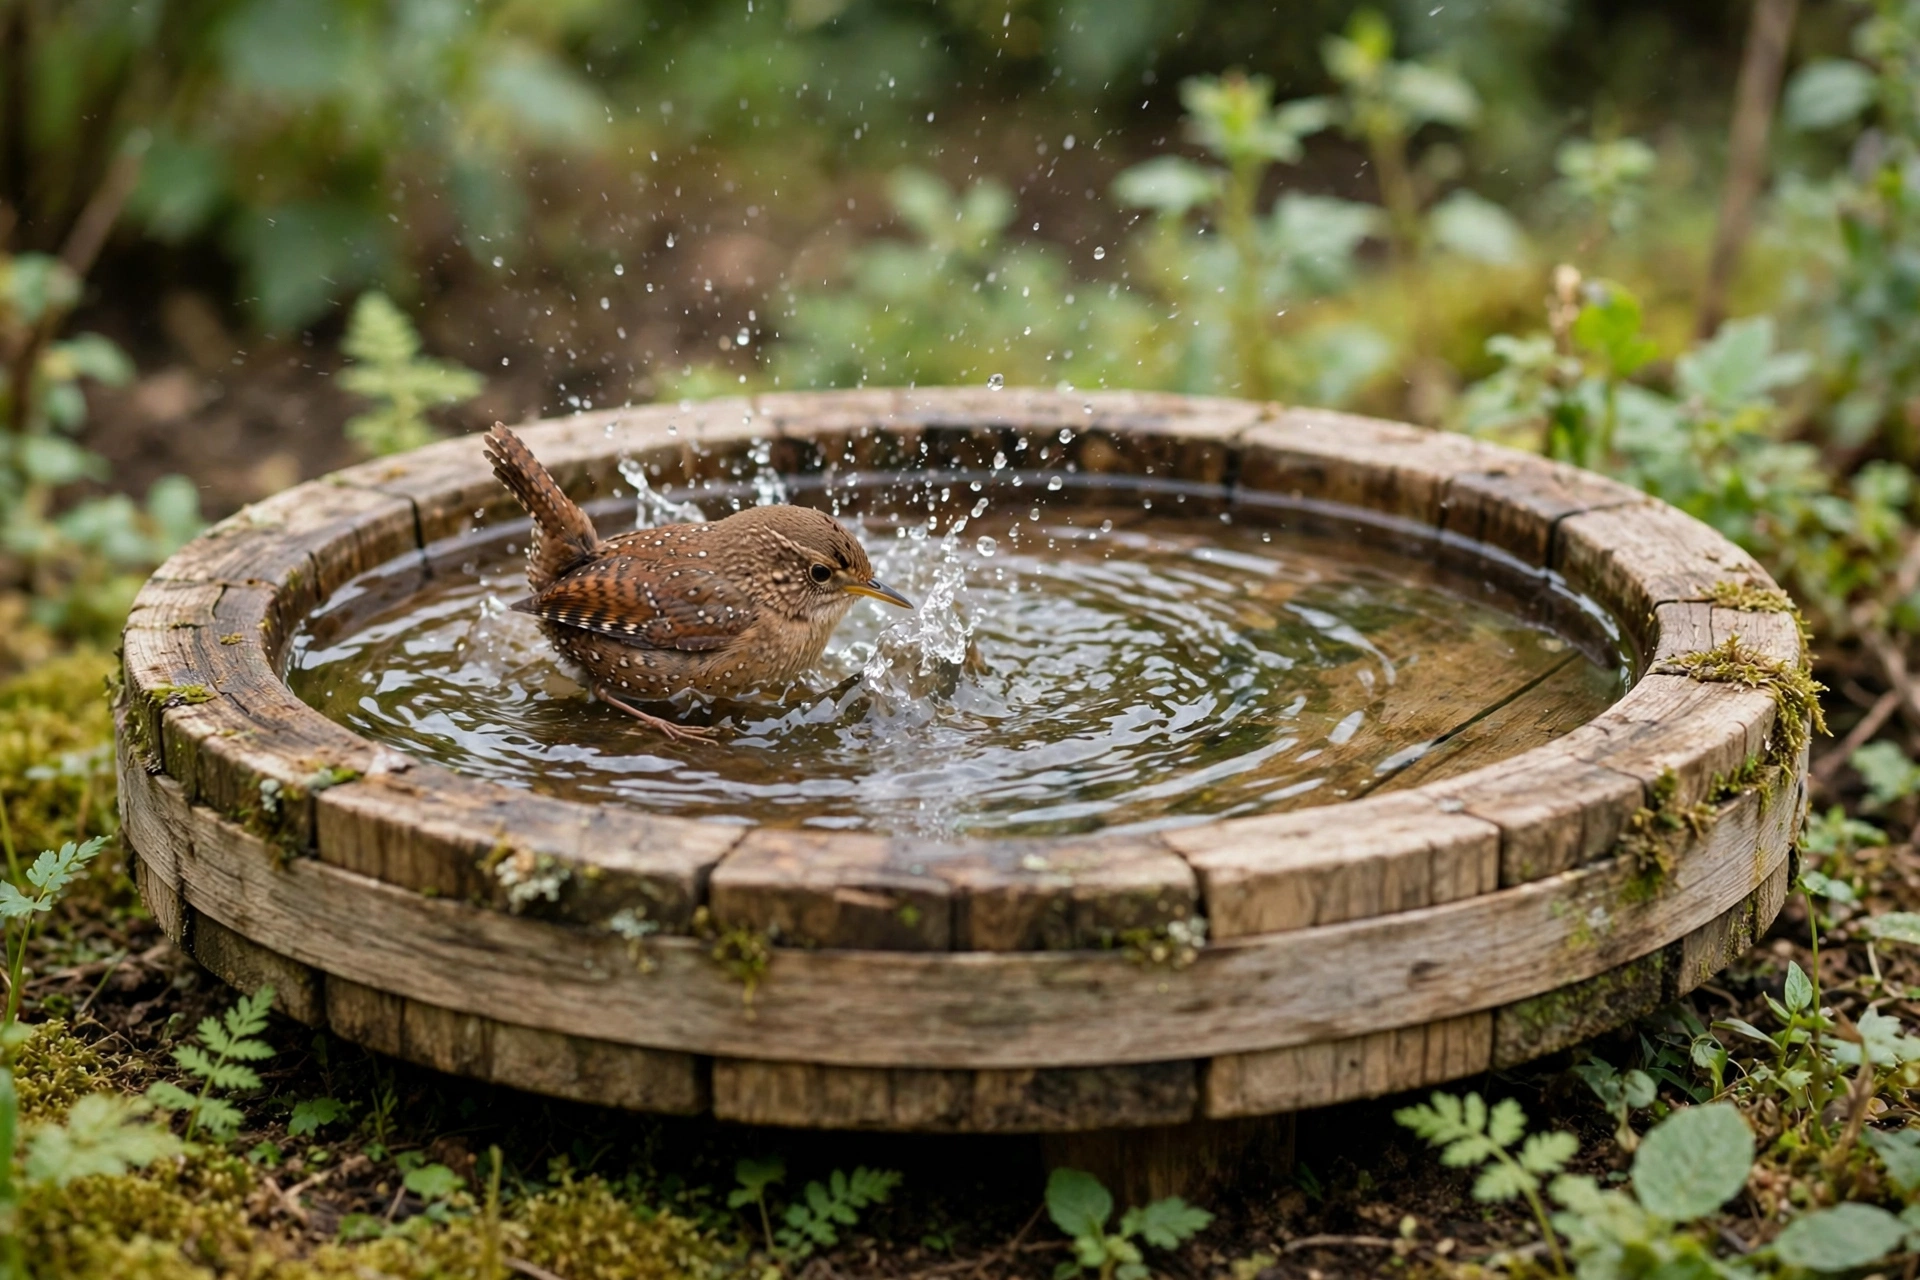
Fill the basin with fresh water to a depth of 1 to 2 inches in the centre. If your basin is very flat and the water spreads thin, add one or two flat stones that rise just above the surface — they give birds a dry place to stand and step into the water gradually. Stand back and watch from a distance for a few minutes: birds are cautious about new objects, and it can take a few days before the first brave visitor tries it. That first splash is worth the wait.
This water feature pairs beautifully with a planted garden, so if you are planning the area around it, the guide on how to build a wooden planter box for beginners will help you add matching cedar planters nearby.
Basin Depth, Bird Safety, and Cleaning
Getting the details right is what turns a nice wooden object into a bird bath birds actually use. The two tables below gather the most important numbers in one place, so you can check them at a glance whenever you maintain the bath.
Basin Depth Guide
| Bird Size | Ideal Water Depth | Notes |
|---|---|---|
| Small birds (finches, sparrows, wrens) | 1/2 – 1 inch | A gently sloping edge lets them choose their depth |
| Medium birds (robins, blackbirds, starlings) | 1 – 2 inches | This bath’s centre depth suits them perfectly |
| Larger garden birds (doves, jays) | 1-1/2 – 2 inches | They need a basin at least 20 inches across to splash |
| All birds | Never deeper than 2 inches | Deeper water is avoided and can be dangerous for fledglings |
Bird-Safety Checklist
| Topic | Safe Practice | Avoid |
|---|---|---|
| Finish | Raw linseed oil, pure tung oil, or a sealant labelled safe for bird baths | Boiled linseed oil with chemical driers, creosote, untreated pressure-treated wood |
| Placement | Open spot, 5–10 ft from escape cover, clear view all around | Right beside dense shrubs where cats can hide, under a bird feeder (droppings foul the water) |
| Water | Fresh water, 1–2 inches deep, changed every 2–3 days | Stagnant, algae-filled, or mosquito-breeding water |
| Cleaning | Scrub with a stiff brush and plain water; rinse well | Bleach, detergents, or disinfectants left in the basin |
| Winter | Break ice and refill, or use a safe heater rated for bird baths | Letting the bath freeze solid for weeks, or adding antifreeze of any kind |
| Predators | Keep the area around the bath open and the feet unclimbable where possible | Low branches overhanging the bath that cats can drop from |
Cleaning deserves emphasis. Scrub the basin with a stiff brush and plain water every few days in summer, and rinse it thoroughly before refilling. Algae is natural and mostly harmless in small amounts, but a slimy, green basin puts birds off and can harbour bacteria. A quick scrub takes two minutes and is the single best thing you can do to keep birds coming back.
A note on feeders and baths together: do not hang a bird feeder directly above the bath. Droppings and spilled seed fall into the water and foul it quickly. Keep feeders and baths a few feet apart. If you want both features in the same corner of the garden, the guide on how to build a wooden bird feeder for beginners shows a simple feeder design that complements this bath nicely.
Common Beginner Mistakes and How to Avoid Them
Even a simple project has traps, and most of them are easy to dodge once you know about them.
Making the basin too deep. This is the number one mistake. A deep, bowl-shaped basin looks generous to a human but scares birds away. Stick to 1 to 2 inches of water in the centre, and let the edges slope up to dry rim. If your basin holds deeper water, add stones or a layer of gravel to raise the floor until the depth is right.
Using the wrong finish. A hardware-store varnish or a treated-wood preservative may protect the wood beautifully — and poison the water. If a product does not say it is safe for bird baths, food contact, or animal waterers, do not use it inside the basin. When in doubt, leave the basin unfinished for a season rather than risking an unsafe coating; cedar will survive a season unsealed, though it will weather faster.
Skipping pre-drilling. Cedar splits easily near the ends of boards, especially when a screw goes in close to the edge. Pre-drilling every hole takes a few extra minutes and saves you from cracked slats and wobbly joints. It is the single habit that separates tidy beginner work from frustrating beginner work.
Building a wobbly base. A pedestal that rocks will spill water and deter birds. Test for wobble on a flat surface before you finish the bath, and fix it by levelling the feet rather than by shimming the basin. The diagonal braces in this design are there for a reason — do not skip them to save time.
Forgetting drainage and maintenance. A wooden basin that never gets cleaned will grow algae, and a basin that never dries out will rot faster. Cleaning every few days and letting the bath dry occasionally between refills will extend its life by years. If you go on holiday, empty the bath rather than leaving stagnant water in it.
Placing the bath in the wrong spot. A bath tucked against a fence or deep inside a shrub border feels like a trap to birds. Give it open sky above and a clear view, with escape cover a short flight away, and birds will find it much sooner.
How Long Will a Wooden Bird Bath Last?
With cedar and a bird-safe finish, expect your bird bath to last five to eight years outdoors, and often longer with regular re-sealing. Reapply the finish once a year, ideally in spring before the bathing season peaks: clean the basin, let it dry fully, brush on a fresh coat, and let it cure before refilling. Replace any single slat that cracks or warps badly — that is the great advantage of a slatted basin over a carved one, since repairs are small and simple.
Pine baths last less long, typically three to five years, because pine absorbs more water and rots faster. That is still a good return on a weekend project, and many builders treat their first pine bath as a practice piece before building a cedar version they keep for years. Whichever wood you choose, keeping the bath clean and re-sealed is what decides its lifespan more than anything else.
Frequently Asked Questions
How deep should a wooden bird bath be?
A wooden bird bath should hold 1 to 2 inches of water in the centre, sloping to almost nothing at the rim. Small birds bathe in half an inch of water, while robins and doves are comfortable in up to 2 inches. Never make the water deeper than 2 inches, because deep water deters birds and can be dangerous for young fledglings.
What is the best wood for a wooden bird bath?
Cedar is the best choice for most beginners because it resists rot and insects naturally, is light and easy to cut, and weathers attractively. Redwood is equally good if it is affordable near you. Pine works and costs less, but it needs sealing more carefully and will not last as long. Avoid pressure-treated lumber for the basin, because its treatment chemicals can leach into water birds drink.
What finish is safe for a bird bath?
Use raw linseed oil, pure tung oil, or a water-based exterior sealant labelled safe for bird baths or animal water containers. Let the finish cure fully — usually several days — before adding water. Avoid boiled linseed oil with chemical driers, creosote, and any paint or varnish not rated for contact with drinking water.
How often should I clean a wooden bird bath?
Scrub the basin with a stiff brush and plain water every two to three days in warm weather, and rinse well before refilling. Change the water at least every two to three days even if it looks clean, because stagnant water breeds mosquitoes and bacteria. A two-minute scrub is the most effective maintenance you can do.
Where should I place a wooden bird bath in my garden?
Place it in the open, with morning sun and afternoon shade, about 5 to 10 feet from shrubs or a tree that birds can escape to. Keep it away from dense cover where cats can hide, avoid putting it under a tree that drops leaves into the water, and do not hang a bird feeder directly above it. Set it on level ground, with a paving stone under the feet if your soil is soft.
Will birds actually use a wooden bird bath?
Yes, birds use wooden bird baths readily as long as the water is shallow, clean, and in a safe, open location. It can take a few days for the first birds to trust a new bath, so be patient. Keeping the water fresh and the basin clean is the fastest way to turn occasional visitors into daily regulars.
Can a beginner really build this in a weekend?
Absolutely. This design uses only straight cuts, screws, and glue — no advanced joinery. Most beginners finish the cutting and assembly in three to four hours, plus drying time for glue and finish. Let the glue dry overnight and the finish cure for a few days, and the bath is ready for the garden by the following weekend at the latest.
Final Thoughts
Learning how to build a wooden bird bath for beginners is one of those projects that rewards you twice: once in the workshop, when a pile of cedar boards becomes a solid, handsome pedestal bath, and again in the garden, when the first bird lands on the rim and splashes in water you provided. Keep the basin shallow, the finish bird-safe, the water fresh, and the placement open, and your bath will become one of the busiest spots in your garden.
When you are ready for your next build, start with the pillar guide to easy woodworking projects for beginners that sell, and pick a project that uses the same tools you just practised with. Each build makes the next one easier — and your garden will thank you for every one of them.
Recommended Products for This Project
As an Amazon Associate, I earn from qualifying purchases.

Titebond III Ultimate Wood Glue, 8 oz (1413)
Waterproof wood glue for strong, lasting outdoor joints.
BLACK+DECKER Jig Saw, 5-Amp (BDEJS600C)
5-amp jigsaw with curve control for clean curved cuts in boards and basin shapes.

3M Aluminum Oxide Sandpaper, Assorted Grits, 9-in x 11-in Sheets (9005NA)
Assorted 100/150/220-grit sheets for smoothing rough cuts to a finish-ready surface.
Thompson's WaterSeal Clear Wood Sealer, 1 Gallon
Clear waterproofing sealer that protects outdoor wood from rain and sun.

DEWALT Concealer Safety Goggles (DPG82-11C)
Clear, fog-resistant goggles that protect your eyes while cutting and sanding.


