
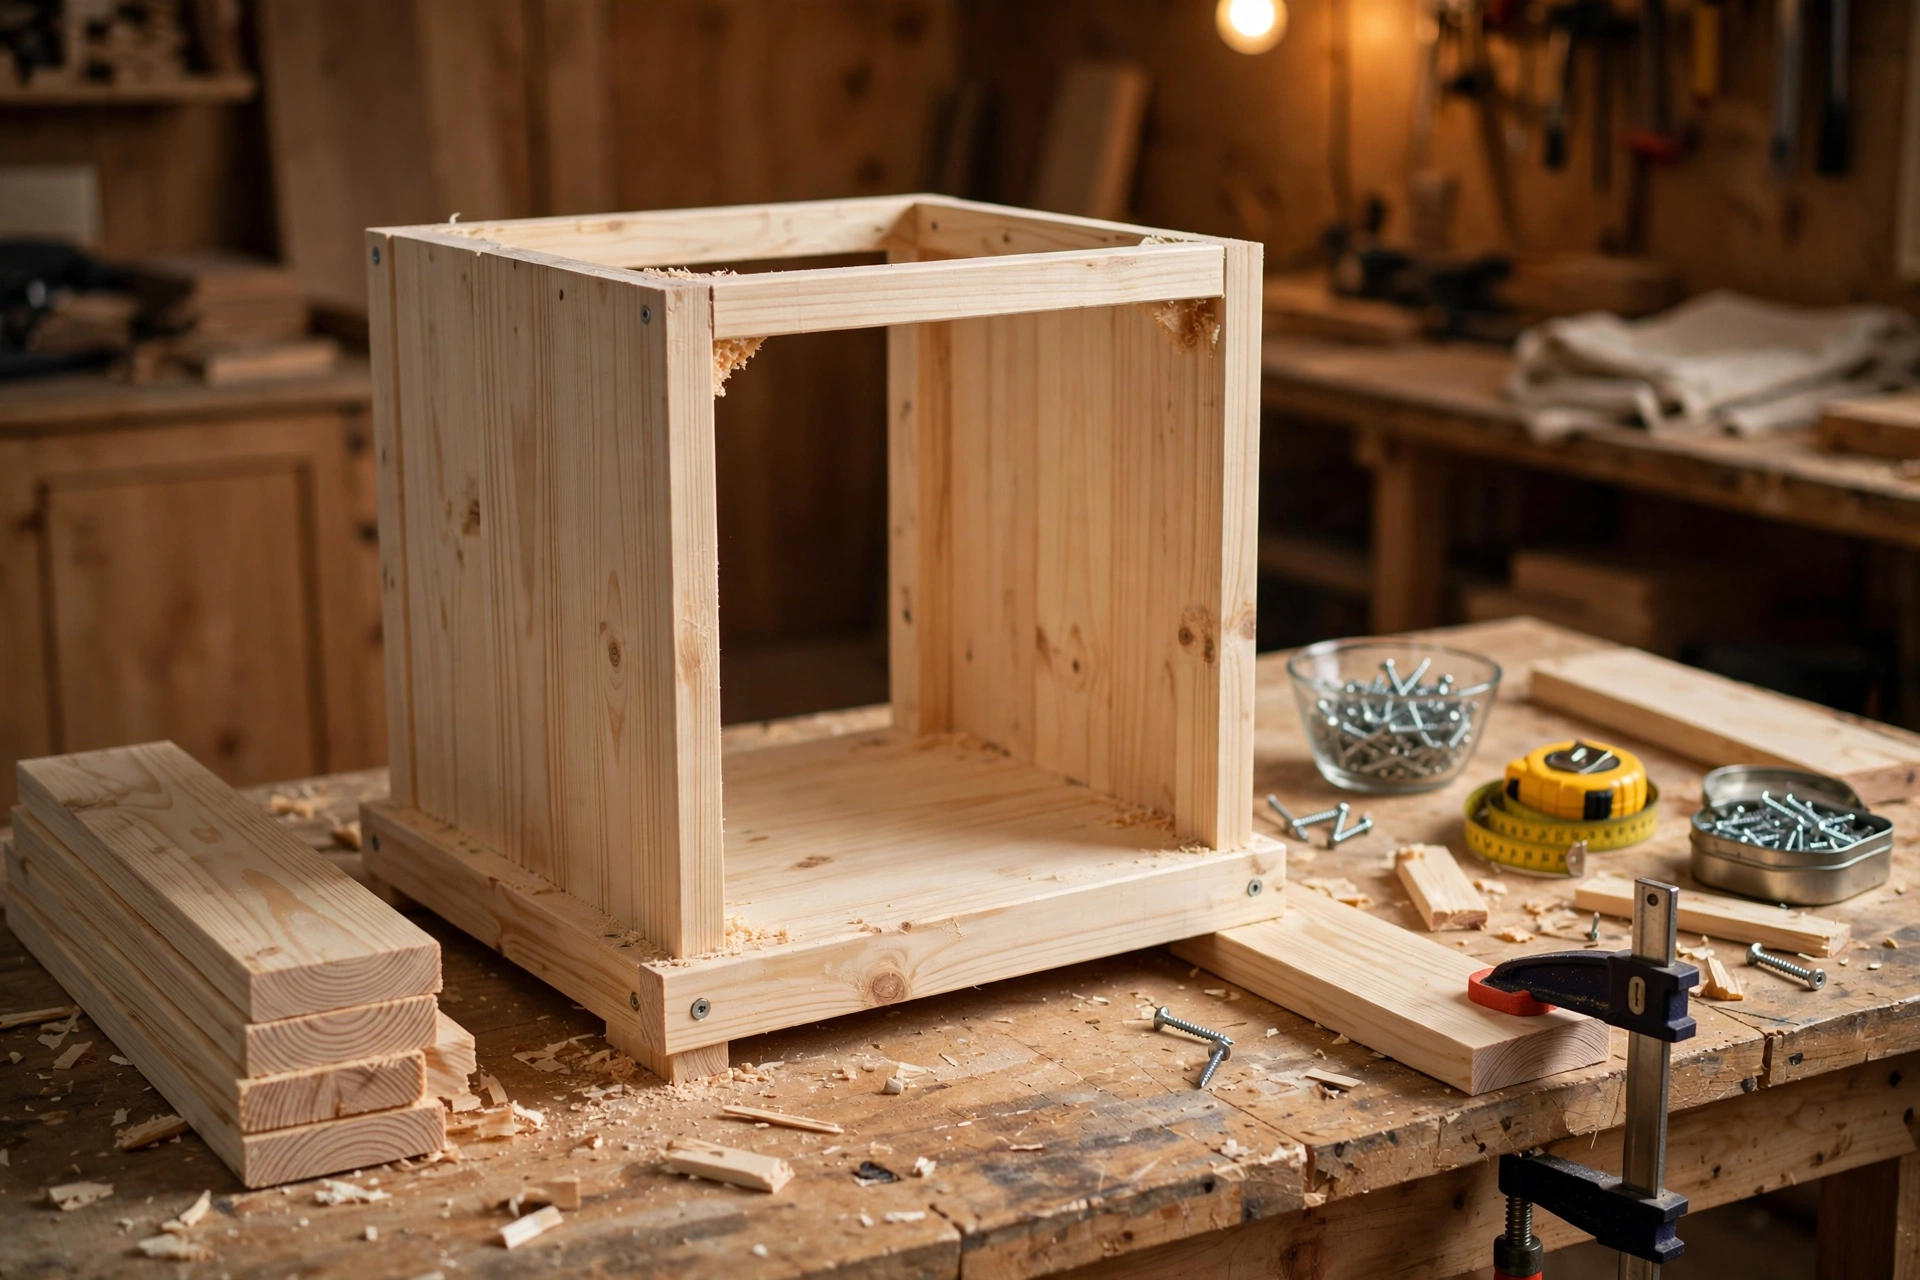
A nightstand is one of the best first furniture projects you can tackle. It is small enough to finish in a weekend, useful every single night, and forgiving enough that a beginner can get a beautiful result without a workshop full of expensive tools. When you learn how to build a wooden nightstand for beginners, you are not just making a place to put your phone and a glass of water. You are learning the core skills behind almost every piece of furniture: measuring accurately, cutting square, joining parts so they stay square, and finishing wood so it looks and feels good for years.
Store-bought nightstands often cost far more than the wood inside them, and many are made from particleboard wrapped in a thin printed veneer that chips the first time it gets bumped. A solid pine nightstand that you build yourself is sturdier, heavier, and far easier to repair. If it gets scratched, you can sand the spot and touch up the finish. If your bedroom changes, you can restain it.
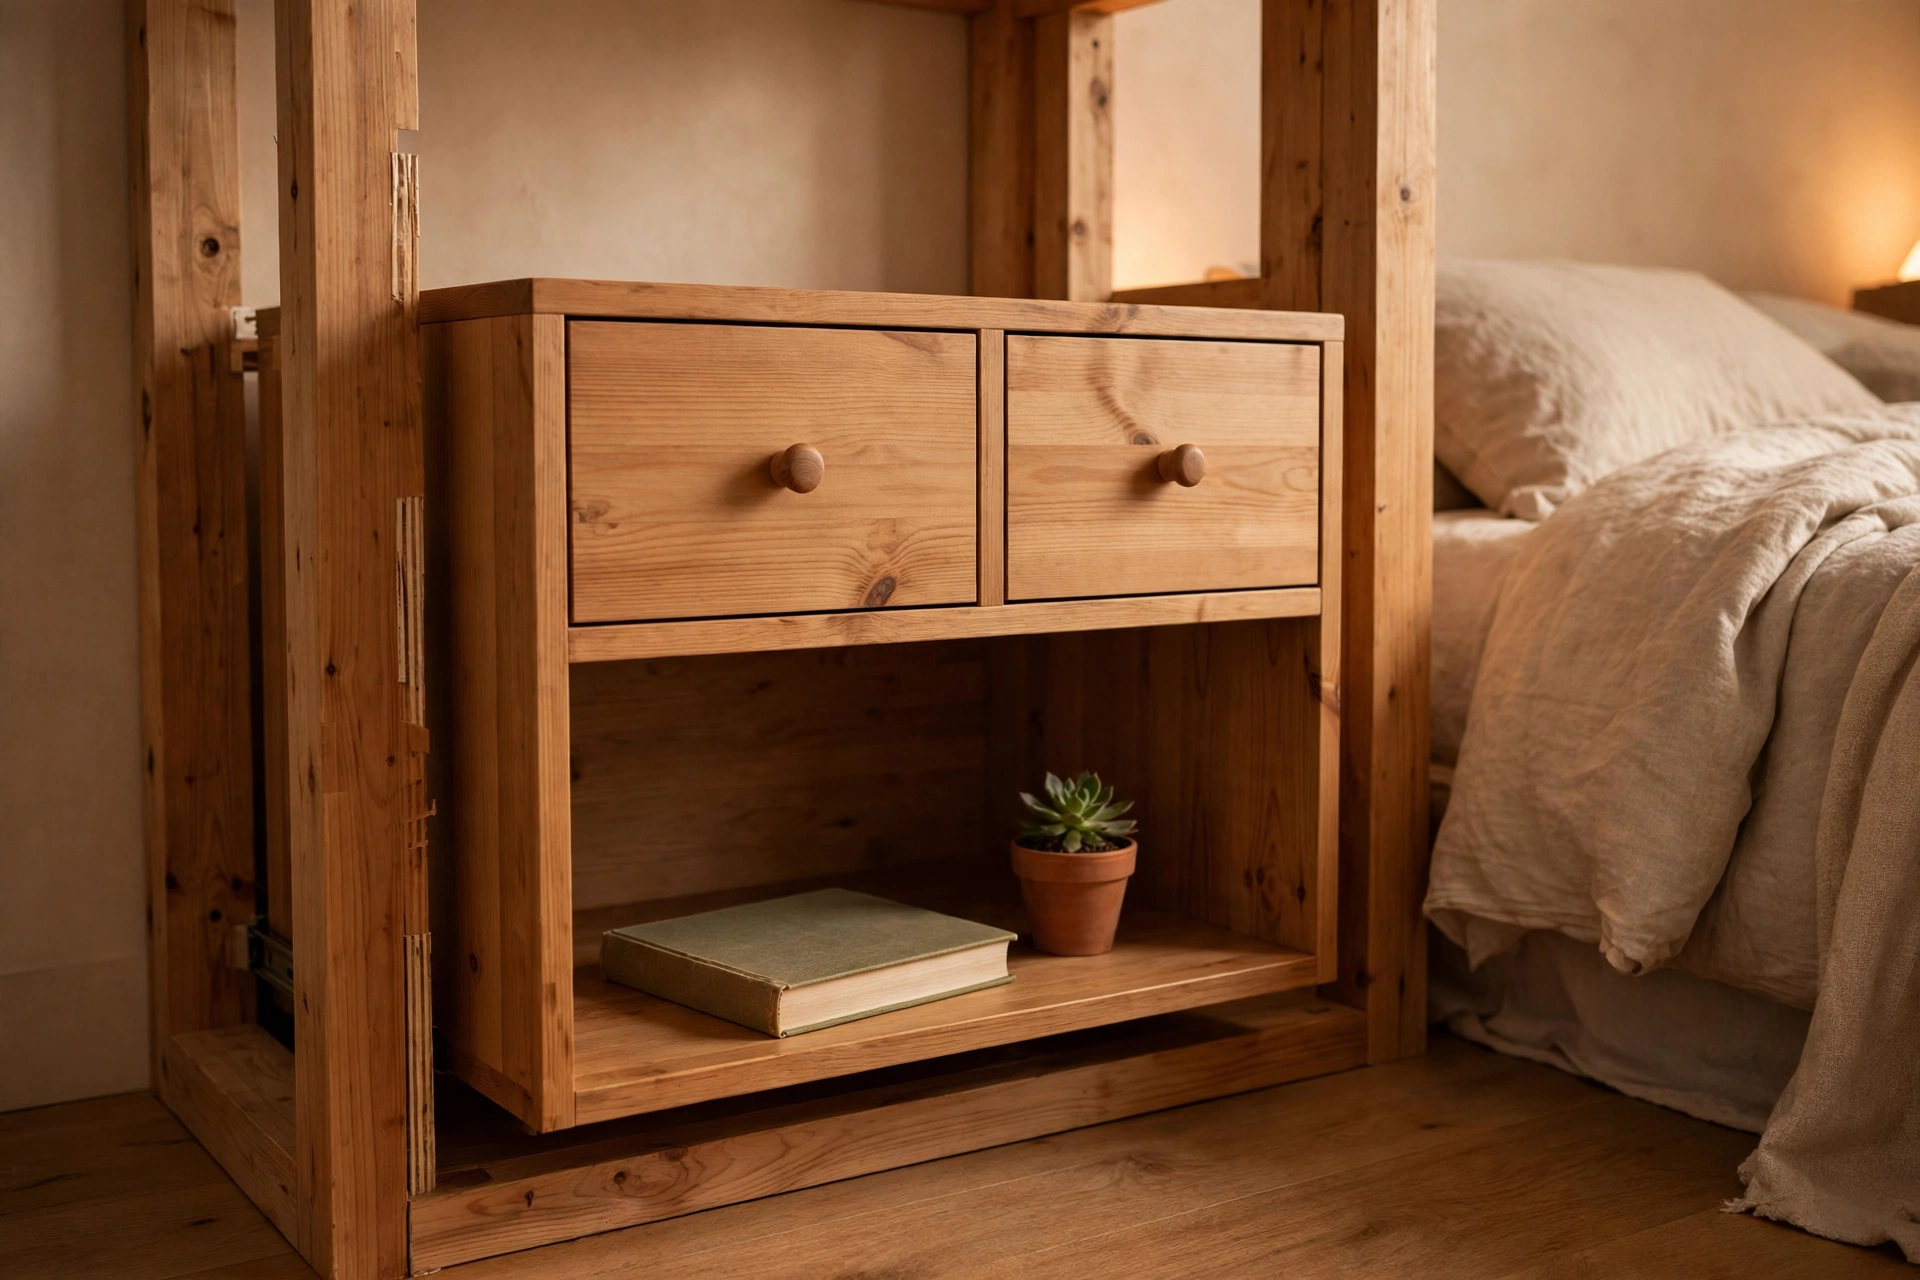
This guide keeps the design deliberately simple. There is no drawer to fit, no drawer slide to align, and no complicated joinery. Instead, you get a sturdy top, four solid legs, aprons that lock the frame together, and an open lower shelf that is genuinely useful for books, a basket, or a charging station. It is the confidence builder that leads to a simple workbench for beginners, a bookshelf, a coffee table, and eventually a bed frame.
Before you start, remember the two rules that matter most: measure twice and cut once, especially on the legs, because four legs of different lengths are the number one cause of a wobbly nightstand; and check for square at every stage. A frame that is square when you glue it will stay square.
Why Build Your Own Wooden Nightstand?
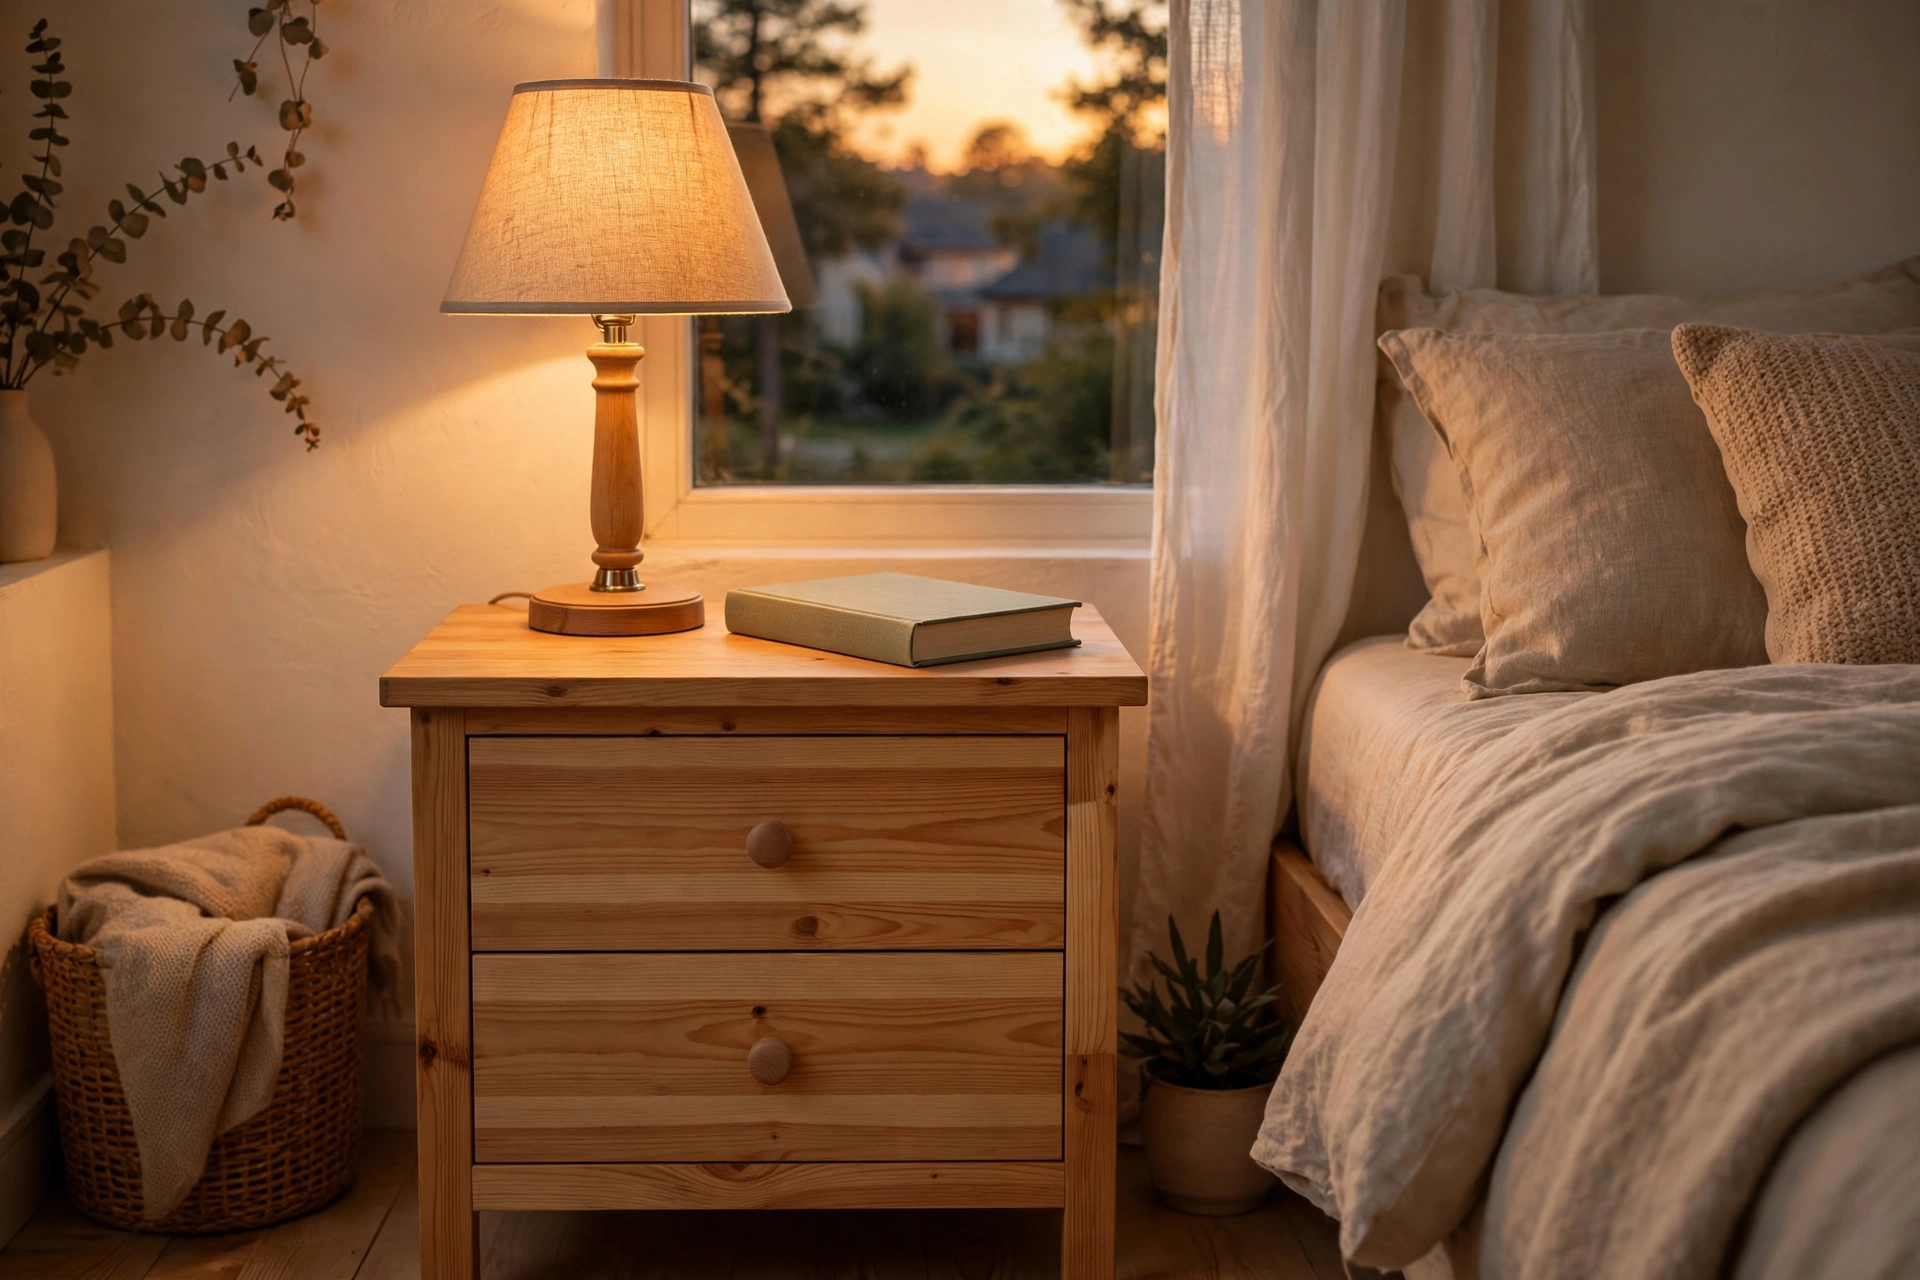
A nightstand is small, practical, and achievable in a weekend, which makes it the ideal first furniture build. You will reach for your lamp, your book, and your charger on a table you made with your own hands, and every time you do, you will remember that you built it. For many beginners, a nightstand is the project that turns woodworking from something they watch online into something they actually do.
Getting the Size Right: Nightstand Height vs. Bed Height
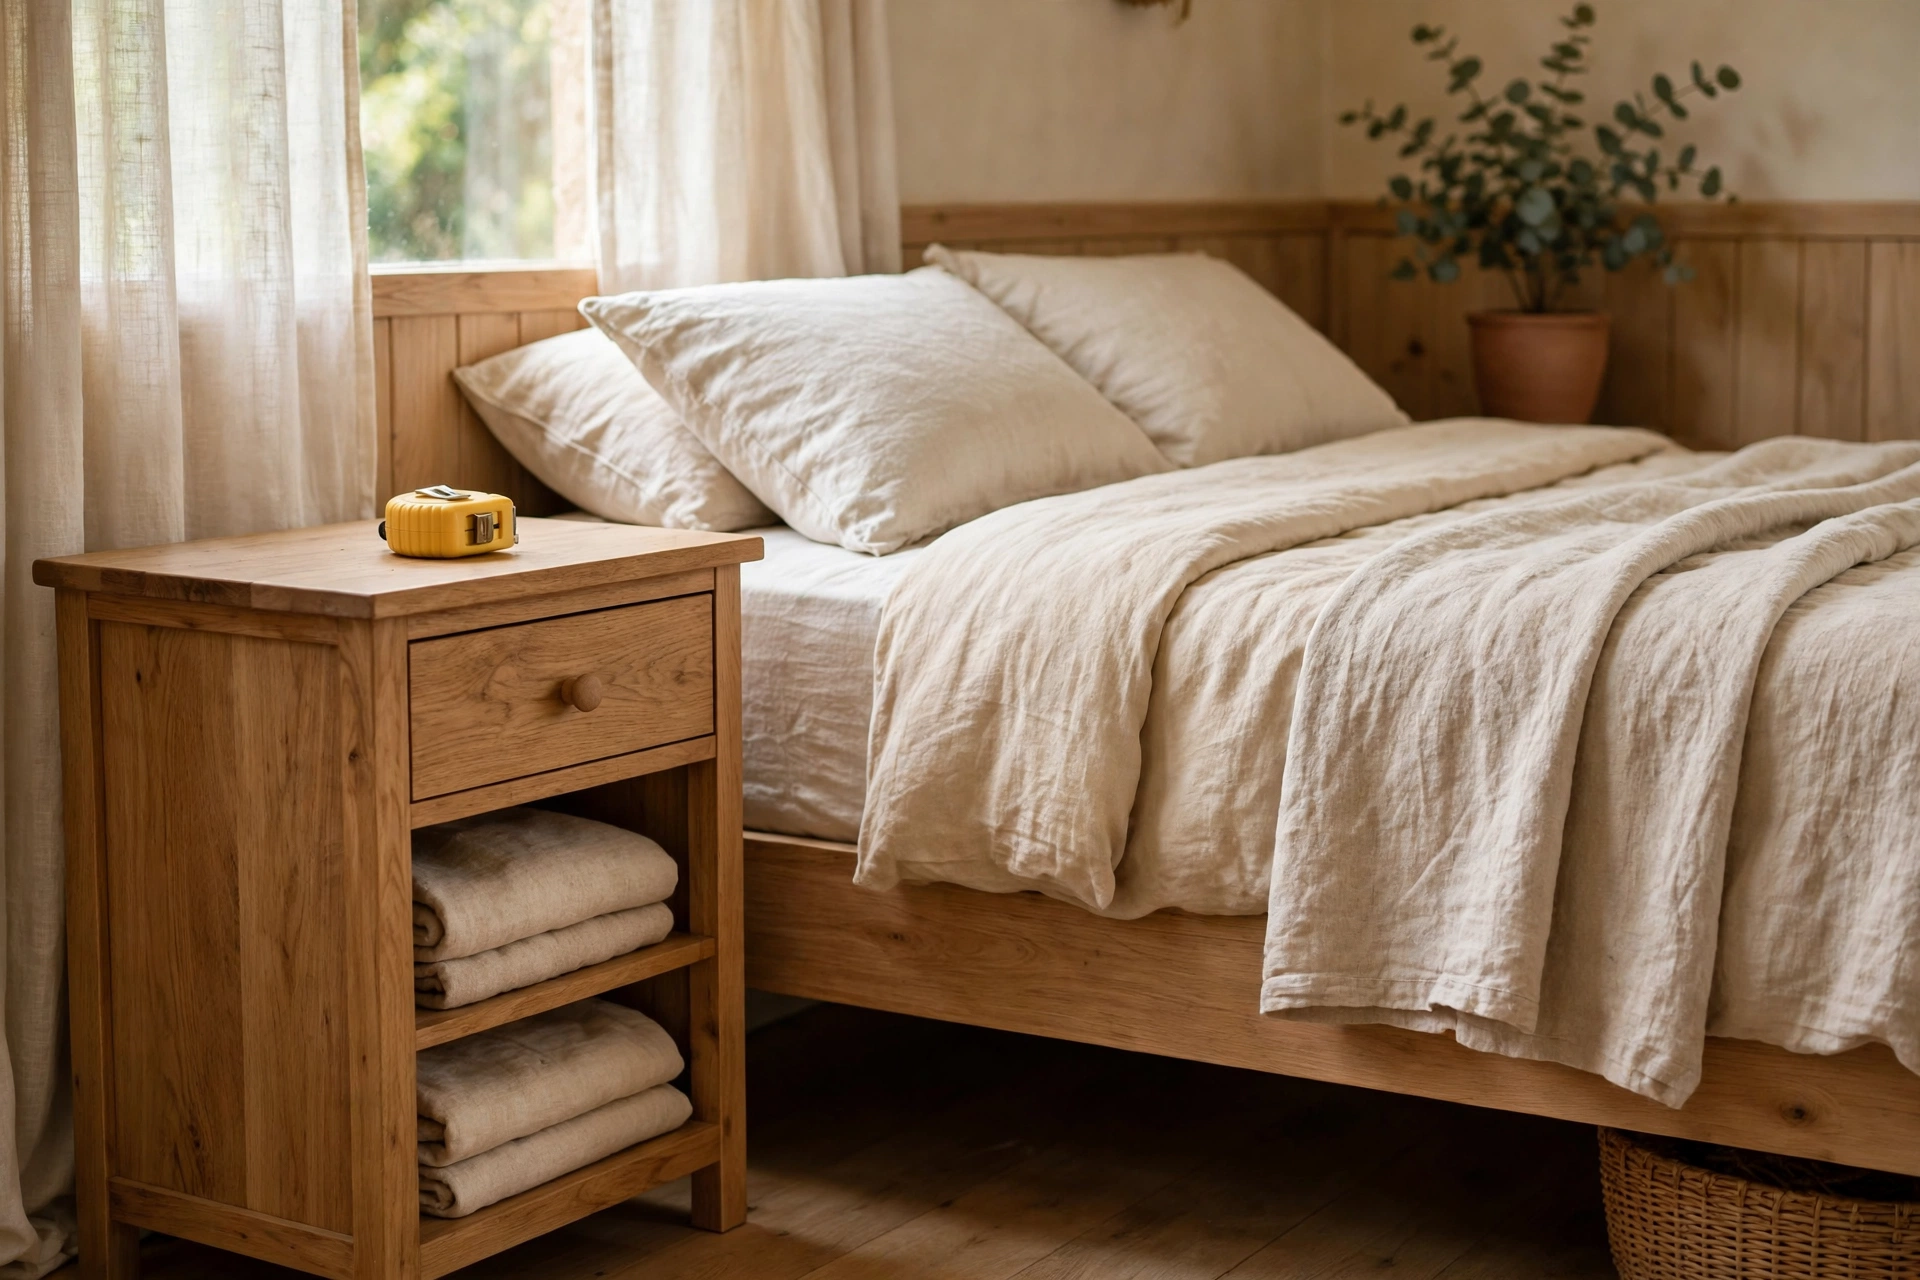
The single most common sizing mistake beginners make is building a nightstand that is too tall or too short for their bed. The ideal nightstand top is level with the top of your mattress, or up to about two inches above or below it. Mattress thickness varies enormously, so grab a tape measure, measure from the floor to the top of your mattress, and write that number down. That number is your target nightstand height.
The design in this guide finishes at 24 inches tall, which suits most standard beds. If your mattress top measures 22 inches, shorten the legs by two inches. If it measures 27 inches, lengthen the legs by three inches. Everything else in the cut list stays exactly the same, because the height is controlled entirely by the leg length.
Bed-Height Sizing Table
| Mattress top height (from floor) | Ideal nightstand height | Leg length for this design* | Notes |
|---|---|---|---|
| 20–22 inches | 20–23 inches | 19.25–22.25 inches | Low platform beds; shorten legs to match |
| 23–25 inches | 23–25 inches | 22.25–24.25 inches | Most standard beds; build as listed at 24 inches |
| 26–28 inches | 26–28 inches | 25.25–27.25 inches | Tall box-spring beds; lengthen legs to match |
| 29–31 inches | 29–30 inches | 28.25–29.25 inches | Very tall beds; consider a deeper shelf for stability |
*Leg length = finished height minus the 3/4-inch top. Always cut all four legs from the same setup so they match exactly.
Width and depth matter too. This nightstand is 18 inches wide and 16 inches deep: wide enough for a lamp, a book, and a phone, but narrow enough to fit beside a bed in a small room. If your room is very tight, narrow it to 16 inches wide by shortening the front and back aprons and the top by two inches.
Tools You Need (and What You Can Skip)
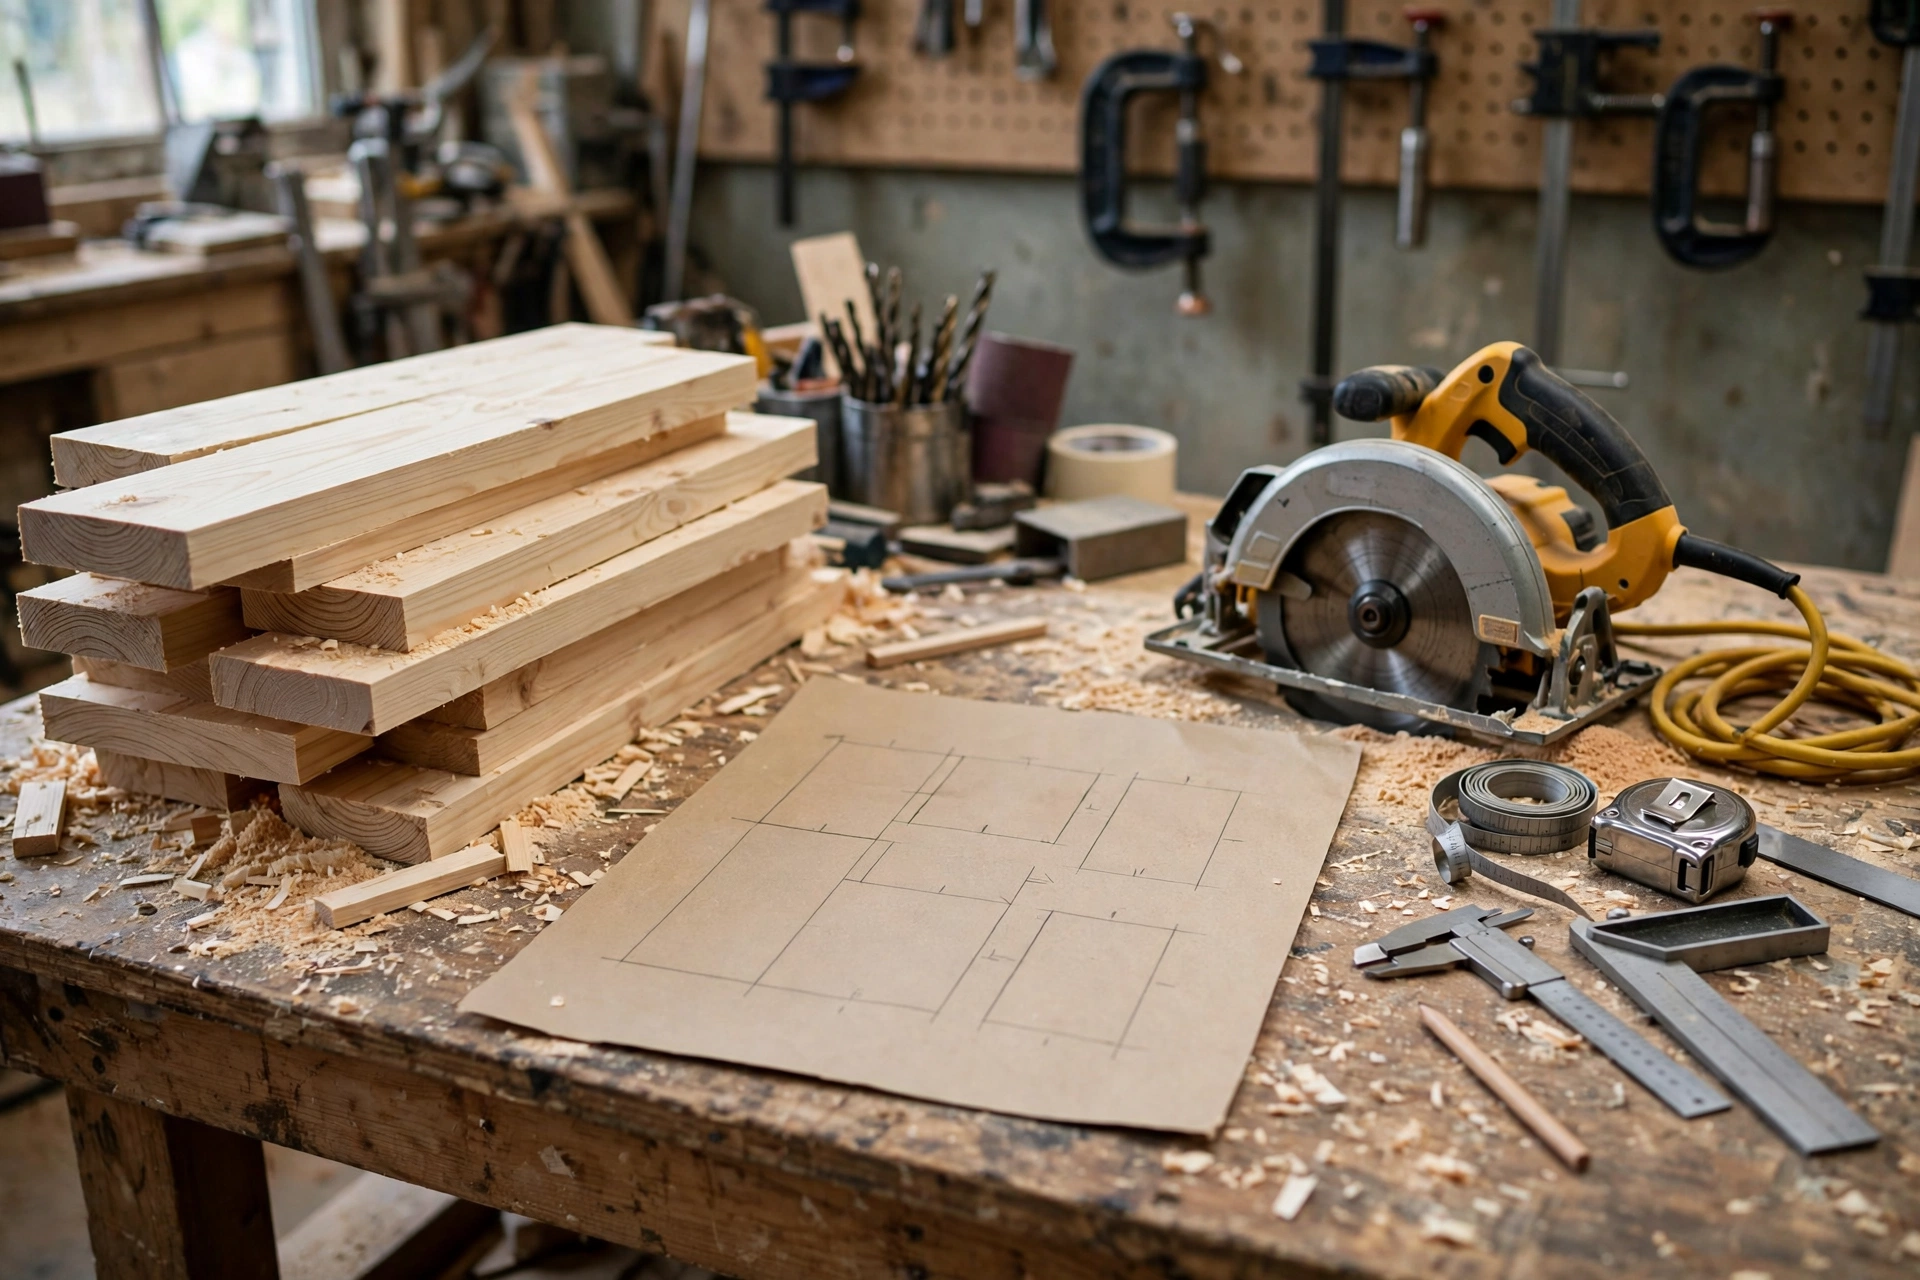
You do not need a professional workshop. If you already own a circular saw and a drill, you are most of the way there. If you are still building your tool collection, this project is a good excuse to buy a few basics that you will use on every future build, and our guide to the best wood for beginner woodworking projects will help you choose materials with the same beginner-friendly mindset.
- Tape measure and pencil — for marking every cut.
- Speed square — for marking square cut lines and checking that your frame is square during glue-up.
- Circular saw with a straight-edge guide, or a mitre saw — for cutting boards to length.
- Drill/driver — for drilling pilot holes and driving screws. Driving screws without pilot holes in pine near the ends will split the wood.
- Orbital sander or sanding block with 80, 120, and 220-grit sandpaper.
- Two to four clamps — for holding joints together while glue dries.
- Wood glue, safety glasses, and hearing protection.
Helpful but optional tools include a pocket-hole jig, which makes very strong, hidden joints, and a router with a round-over bit for softening the edges of the top. Neither is required. Always clamp your workpiece before cutting, never hold a board with your free hand near the saw blade, and work slowly — beginners get hurt when they rush, not when they take their time.
Materials and the Exact Cut List
For this nightstand, pine is the ideal beginner wood. It is affordable, widely available, easy to cut and sand, and it takes stain and paint beautifully. Look for boards that are straight, with as few large knots as possible, especially for the top. Sight down each board in the store: if it bends, twists, or cups visibly, put it back and pick another.
You will need 1×4 boards, a wider board or glued panel for the top and shelf, 1-1/4-inch and 2-inch wood screws, wood glue, wood filler, and your chosen finish. Many home centres sell pine project panels in 18-inch widths, which are perfect for the top and shelf and save you from gluing up a panel yourself.
Exact Cut List
| Qty | Part | Finished size (inches) | Material | Notes |
|---|---|---|---|---|
| 1 | Top | 18 wide x 16 deep x 3/4 thick | Pine panel or glued 1x boards | Overhangs the frame by 1/2 inch on the front and sides |
| 1 | Lower shelf | 15 wide x 13 deep x 3/4 thick | Pine panel | Fits inside the legs, resting on shelf cleats |
| 4 | Legs | 1-1/2 x 1-1/2 x 23-1/4 long | 2×2 pine (actual 1-1/2 inch square) | Cut all four together; adjust length for bed height |
| 2 | Front and back aprons | 15 long x 3-1/2 wide x 3/4 thick | 1×4 pine | Fit between the legs on the front and back |
| 2 | Side aprons | 13 long x 3-1/2 wide x 3/4 thick | 1×4 pine | Fit between the legs on the sides |
| 2 | Shelf cleats | 13 long x 1-1/2 wide x 3/4 thick | 1×2 pine or ripped 1×4 | Screwed to the inside of the side aprons |
| 1 | Shelf front trim (optional) | 15 long x 1-1/2 wide x 3/4 thick | 1×2 pine | Gives the shelf a finished front edge |
| 1 | Back panel (optional) | 15 wide x 18 tall x 1/4 thick | Thin plywood | Stiffens the frame; paint or stain to match |
Before you cut, label every piece with a pencil as you cut it: “top”, “leg”, “front apron”, and so on. When you have a pile of similar-looking pine pieces on your bench, labels prevent the classic beginner mistake of gluing the wrong piece in the wrong place.
Step-by-Step Build
Step 1: Cut All Parts to Length
Cut the legs, aprons, and cleats to the lengths in the cut list. Cut the top and shelf last, after the frame is assembled, so you can measure the real frame and trim the top to fit perfectly if your frame is a fraction of an inch off. Sand the cut ends lightly with 120-grit paper to remove splinters and saw marks.
Step 2: Build the Two Side Frames
Lay two legs flat on your bench, parallel to each other, with a side apron between them near the top. The apron should sit flush with the inside faces of the legs and about 3/4 inch below the top of the legs, so the top will sit flat on the legs and aprons together. Apply glue to the ends of the apron, clamp it in place, check for square, then drill two pilot holes through each leg into each apron end and drive 2-inch screws. Repeat for the second side frame.
Step 3: Join the Sides with the Front and Back Aprons
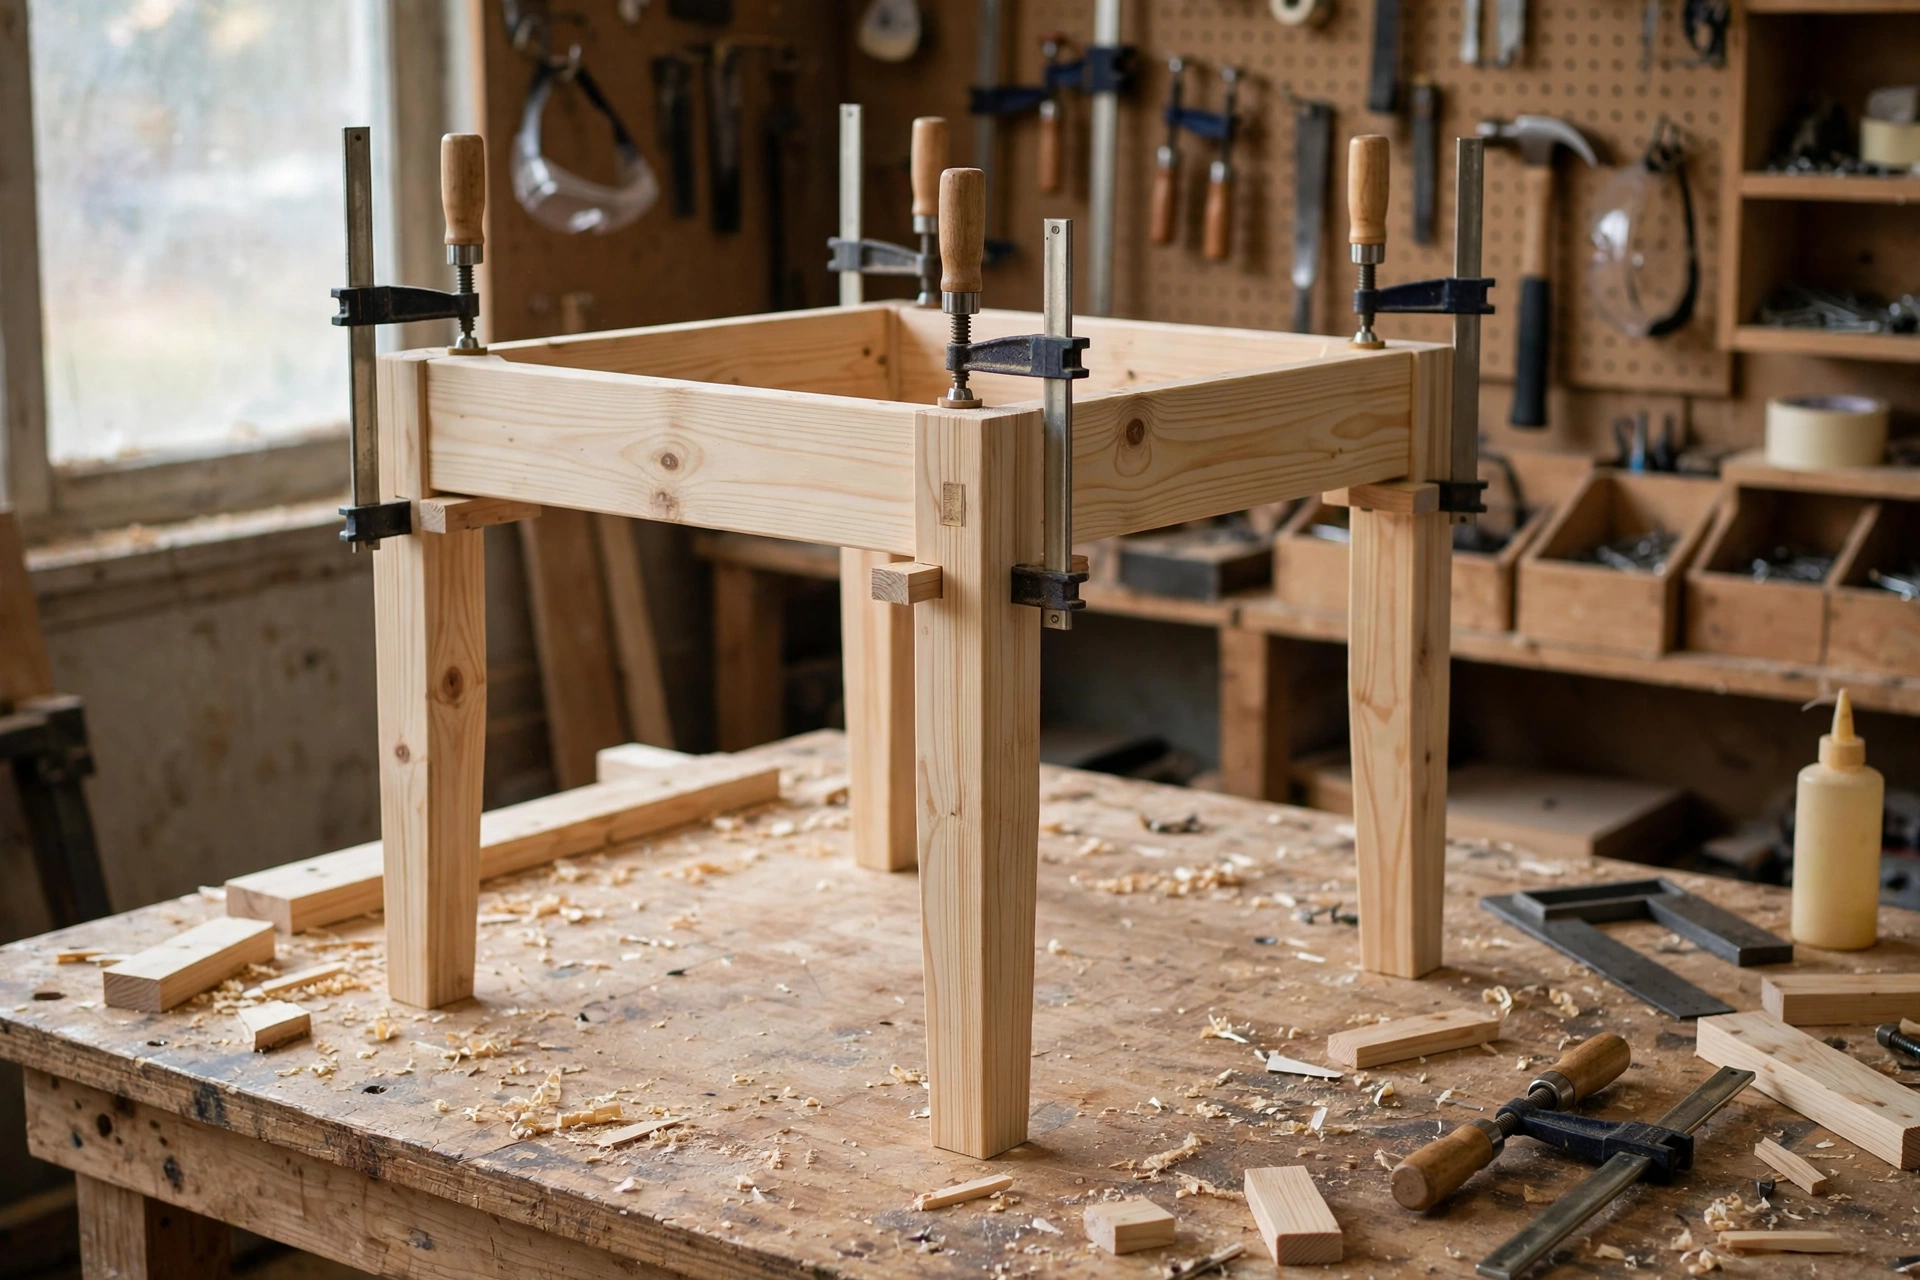
Stand the two side frames upright and connect them with the front and back aprons, using the same glue, clamp, pilot-hole, and screw method. Work on a flat surface and check for square by measuring diagonally across the frame: both diagonal measurements should be equal. If they are not, gently push the longer diagonal’s corners together until they match, then tighten the clamps. Let the glue dry for at least an hour before you move the frame.
Step 4: Fit the Shelf Cleats and Lower Shelf
Mark a line on the inside of each side apron about six inches up from the bottom of the legs. Screw the two shelf cleats along those lines, checking with a level that they are at the same height on both sides. Then slide the shelf panel in so it rests on the cleats, and screw it down through the cleats from below, or glue it in place. Add the optional front trim to the front edge of the shelf for a cleaner look.
Step 5: Attach the Top
Place the top panel upside down on your bench, centre the frame upside down on top of it, and check that the overhang is even: about half an inch on the front and on each side, and flush or nearly flush at the back so the nightstand can sit close to the wall. Attach the top with screws driven up through the aprons into the underside of the top. Screwing from underneath keeps the top surface clean, with no screw heads to fill. Do not glue the top to the frame along its full length: wood moves slightly with changes in humidity, and screws or brackets allow that movement without cracking.
Step 6: Add the Optional Back Panel
If you want extra stiffness, cut a thin plywood back panel to fit inside the frame and screw or pin it to the back aprons and legs. This single step makes a noticeable difference to how solid the nightstand feels when you push it sideways, and it stops small items from falling out the back of the open shelf.
Step 7: Fill, Sand, and Check for Wobble
Fill any visible screw holes on the outside faces with wood filler, let it dry, and sand it flush. Then sand the whole nightstand, starting with 80-grit on rough spots, then 120-grit everywhere, and finally 220-grit. Always sand with the grain, never across it. Wipe away all dust, then set the nightstand on a flat floor and press each corner: it should sit solidly with no rocking. If it rocks slightly, sand a tiny amount off the bottom of the longest leg, checking often, until it sits flat.
Drawer, Shelf, and Storage Options
The drawer-free design in this guide is intentional, but it is not your only option. An open shelf is the easiest storage option: it costs nothing extra, it cannot jam, and it suits books, baskets, and a charging station perfectly. A small woven basket on the shelf hides clutter and adds warmth to a bedroom. The downside is dust and visibility, so it suits people who use a basket to contain the mess.
A single drawer is the classic nightstand upgrade. It hides small items such as chargers and a notebook, and it gives the front of the nightstand a more traditional look. The catch is fitting: a drawer needs a drawer box, slides or wooden runners, and a drawer front that sits flush with the frame. That is entirely doable as a second project, but for a first nightstand it adds several steps where a small measuring error shows up as a drawer that sticks or sags. If you want a drawer later, build this frame first, use it for a few months, and then add a drawer box sized to the real opening you measure from your finished frame.
A third option is a hybrid: keep the open shelf and add a small raised lip on the shelf to stop books sliding off, or add a cable hole in the back corner of the top for a charger cable, drilled with a spade bit before finishing.
Sanding and Finishing for a Professional Look
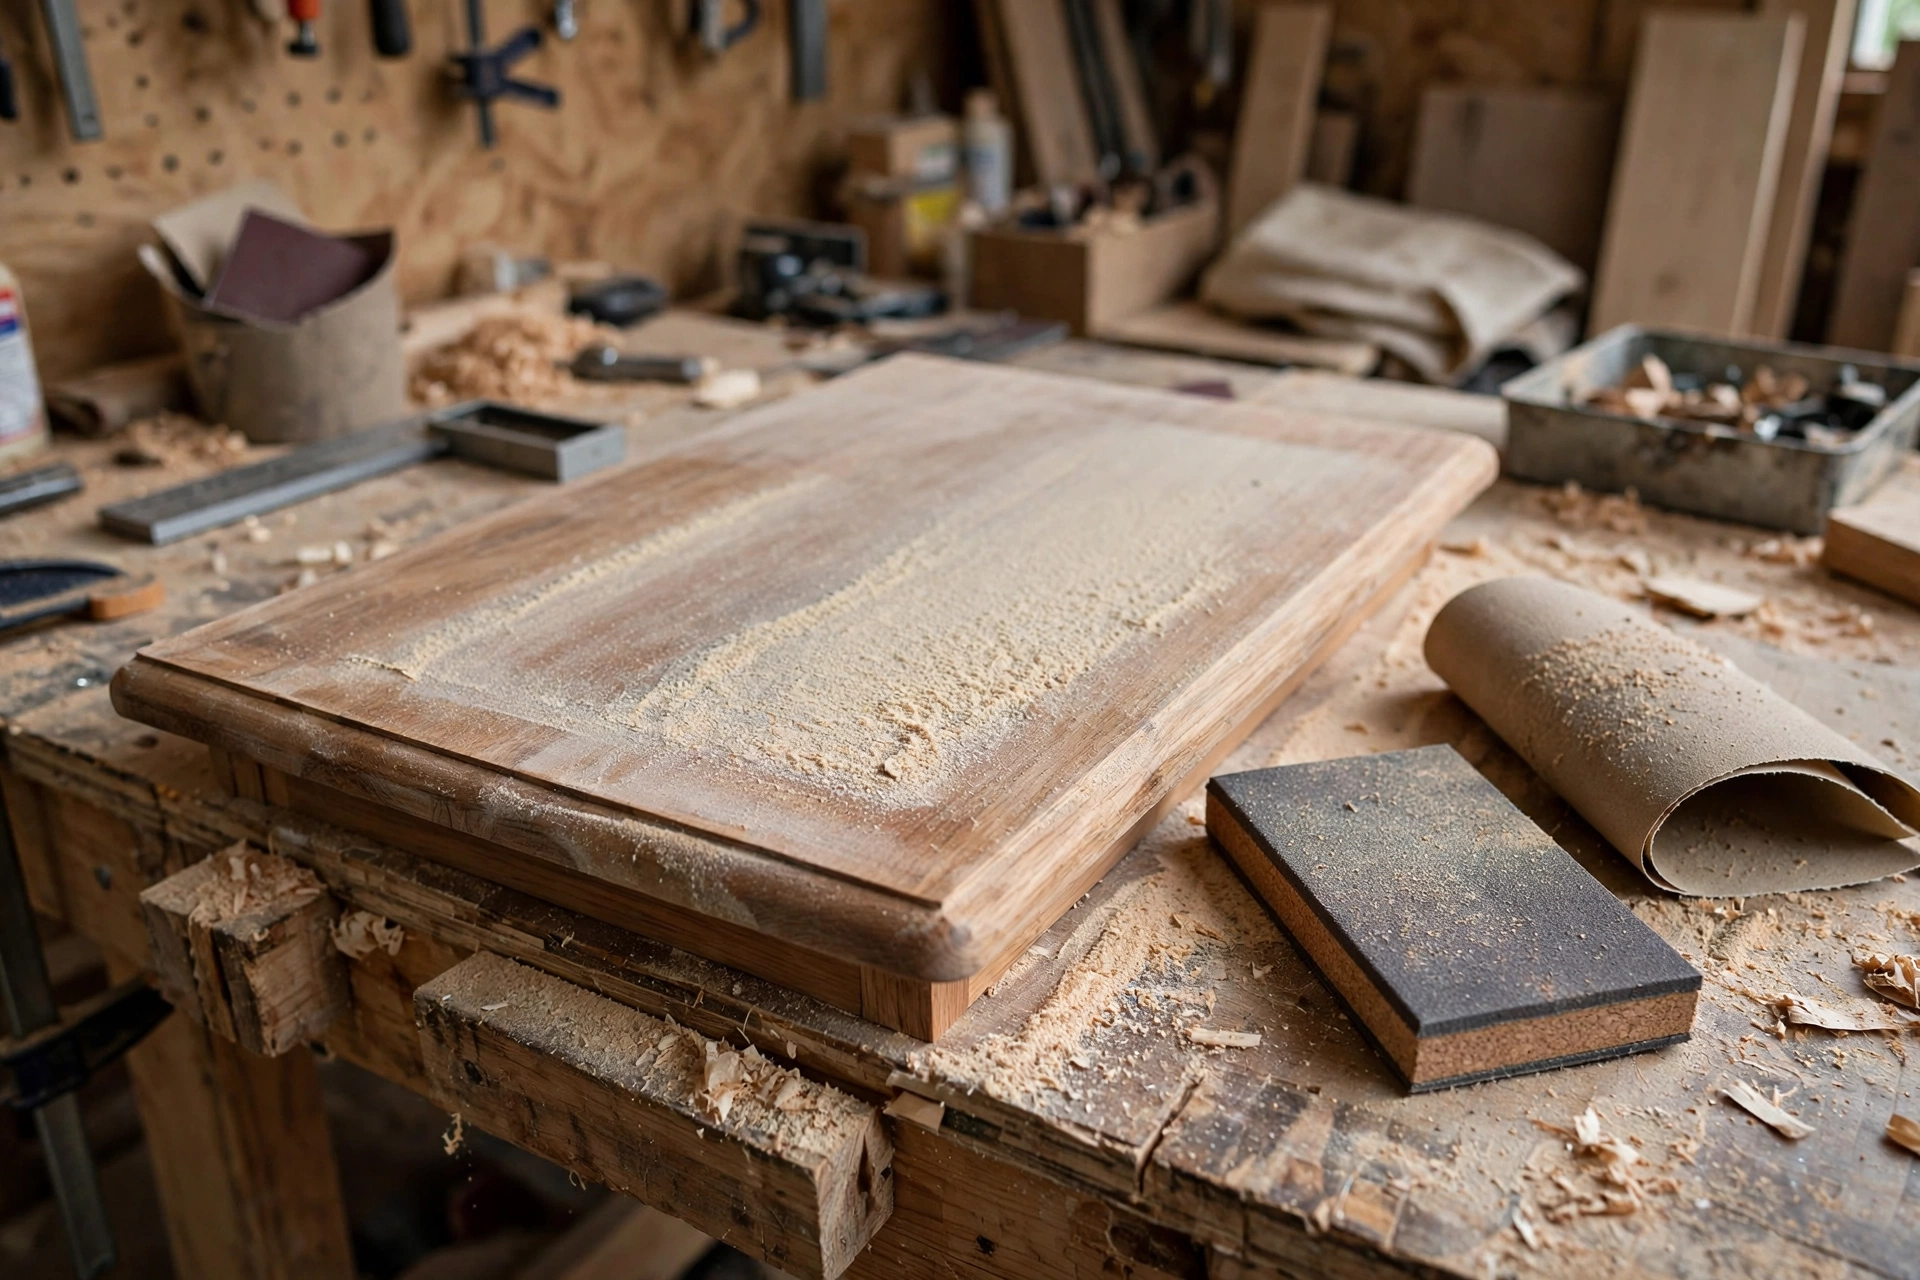
Finishing is where a beginner project either looks handmade in the best sense or looks unfinished. The good news is that a good finish is mostly about preparation and patience, not expensive products. Our full guide to how to sand and finish wood for beginners covers this in more depth, but the essentials are simple: sand in stages and do not skip grits, wipe the piece with a damp cloth to raise the grain, let it dry, and give it one very light pass with 220-grit again.
For a natural pine look, a clear wipe-on polyurethane or a hardwax oil is ideal. Apply thin coats, let each coat dry fully, and sand very lightly with 320-grit between coats. Two to three coats on the top and two coats elsewhere give a durable, water-resistant surface. If you prefer a painted nightstand, prime first, sand lightly, then apply two coats of furniture paint in thin layers.
If you want to stain, test your stain on a scrap piece of the same pine first. Pine is notorious for blotchy stain, so a pre-stain wood conditioner dramatically reduces blotchiness and is worth every penny. Never rush drying times: a topcoat applied over wet stain will stay tacky and may never harden properly.
Common Beginner Mistakes (and How to Avoid Them)
The most common mistake is legs of different lengths. Cut all four legs in one setup, without moving your saw stop or guide between cuts. The second most common mistake is skipping pilot holes: pine splits easily near the ends, so drill a pilot hole slightly smaller than the screw shaft for every screw. The third mistake is gluing up out of square: always measure both diagonals of a rectangular frame and adjust until they match before the glue sets.
The fourth mistake is over-tightening screws, which strips the hole in soft pine. Drive screws until they are snug, then stop. The fifth mistake is finishing in a dusty room or on a humid day: dust settles into wet finish, and humidity slows drying and can cloud a topcoat. The sixth mistake is measuring the nightstand to the bed frame instead of to the top of the mattress — always measure to the mattress top.
How Much Does It Cost?
Even buying all new materials, this project usually costs a fraction of a comparable solid-wood nightstand from a furniture store, and you keep the tools for your next project.
Estimated Materials Cost
| Item | Approximate cost (USD) | Notes |
|---|---|---|
| Pine boards and panel (top, shelf, legs, aprons) | $35–$55 | Prices vary by region; straight boards are worth a small premium |
| Wood screws (1-1/4 inch and 2 inch) | $5–$8 | Buy a small box; leftovers serve future projects |
| Wood glue | $4–$6 | One bottle lasts many projects |
| Sandpaper (80, 120, 220 grit) | $5–$8 | Buy a multipack for sanding and finishing |
| Wood filler | $4–$6 | Only a small amount is needed |
| Finish (wipe-on polyurethane, oil, or paint + primer) | $12–$20 | Choose one finish route, not all three |
| Optional back panel (thin plywood) | $5–$10 | Adds stiffness; skip it to save money |
| Estimated total | $70–$113 | Excluding tools you already own |
A comparable solid pine nightstand in a store often sells for $150 to $300. If you build a pair of nightstands, one for each side of the bed, the second one is faster and cheaper per unit because you already know the steps and can cut both sets of parts together.
Caring for Your Finished Nightstand
Use a coaster under drinks, wipe spills promptly with a damp cloth and dry the surface afterwards, and dust with a soft, dry cloth rather than a furniture polish spray. Avoid dragging heavy objects across the top. Every year or so, check the screws under the top and on the shelf cleats and snug any that have loosened slightly with seasonal wood movement. If the finish on the top starts to look dull after years of use, a light sanding and one fresh coat of the same finish will restore it almost to new.
If this project has given you the woodworking bug, a great next step is a matching wooden desk organizer for beginners, which uses the same measuring, cutting, and gluing skills on a smaller scale, or exploring more easy woodworking projects for beginners that sell if you are thinking about turning your new skills into a small side income.
Frequently Asked Questions
How long does it take to build a wooden nightstand for beginners?
Most beginners finish this nightstand in one weekend: a few hours for cutting and assembly on Saturday, and a few hours for sanding and the first finish coat on Sunday, with drying time in between. If you add a second or third finish coat, allow an extra day for drying. Do not rush the glue and finish drying times, as they determine how strong and smooth the final piece feels.
What is the best wood for a beginner nightstand?
Pine is the best choice for a first nightstand because it is affordable, easy to cut and sand, and widely available. Poplar is another good option if you plan to paint the nightstand, as it has a smoother, more uniform surface. Hardwoods such as oak and walnut look beautiful but cost more and are harder to cut and sand, so save them for your second or third project.
How tall should a nightstand be?
A nightstand should be level with the top of your mattress, or within about two inches above or below it. Measure from the floor to the top of your mattress and use that number as your target height. For most standard beds this means a nightstand about 24 inches tall, but always measure your own bed rather than assuming a standard size.
Do I need a drawer in a nightstand?
No, a drawer is optional. An open shelf, as in this design, gives you useful storage for books and a basket without the fitting challenges of a drawer. A drawer is a great upgrade for a second build, once you are comfortable with measuring and fitting parts precisely, but it is not required for a beautiful and practical nightstand.
Can I build this nightstand without a pocket-hole jig?
Yes. This entire design uses glue and screws driven through pilot holes, with no pocket holes required. A pocket-hole jig makes strong hidden joints and is a useful future purchase, but it is not needed here. Just drill pilot holes, drive screws snugly without over-tightening, and check for square at every stage.
How do I stop my nightstand from wobbling?
Wobble is almost always caused by legs of different lengths or a frame glued up out of square. Cut all four legs in one saw setup, measure both diagonals of the frame and adjust until they are equal, and test the finished piece on a flat floor. If it still rocks slightly, sand a tiny amount off the bottom of the longest leg, checking often, until it sits flat.
Should I paint or stain my pine nightstand?
Both work well. Stain with a pre-stain conditioner shows off pine’s warm grain and suits rustic and traditional bedrooms. Paint gives a clean, modern look, hides small imperfections, and makes it easy to match an existing bedroom set exactly. Whichever you choose, apply thin coats, let each coat dry fully, and sand lightly between coats for a smooth, professional result.
Final Thoughts
Building a wooden nightstand is a perfect first furniture project because it teaches you everything that matters — measuring, cutting square, joining a frame, fitting a shelf, and finishing — in a piece you will use every day. Start with straight pine boards, follow the cut list exactly, check for square as you glue, and take your time with sanding and finishing. The result will be a sturdy, wobble-free nightstand at exactly the right height for your bed, built for a fraction of the price of a store-bought equivalent.
Build one, live with it for a while, and then build its matching partner for the other side of the bed. By the time the second one is finished, you will not feel like a beginner anymore — and your bedroom will show it.
Recommended Products for This Project
As an Amazon Associate, I earn from qualifying purchases.

DEWALT 20V MAX Drill/Driver Kit DCD771C2
Compact drill and driver for pilot holes, screws, and everyday furniture assembly.

DEWALT Random Orbit Sander DWE6423, 5-Inch
Smooth, swirl-free sanding for furniture parts before finishing.
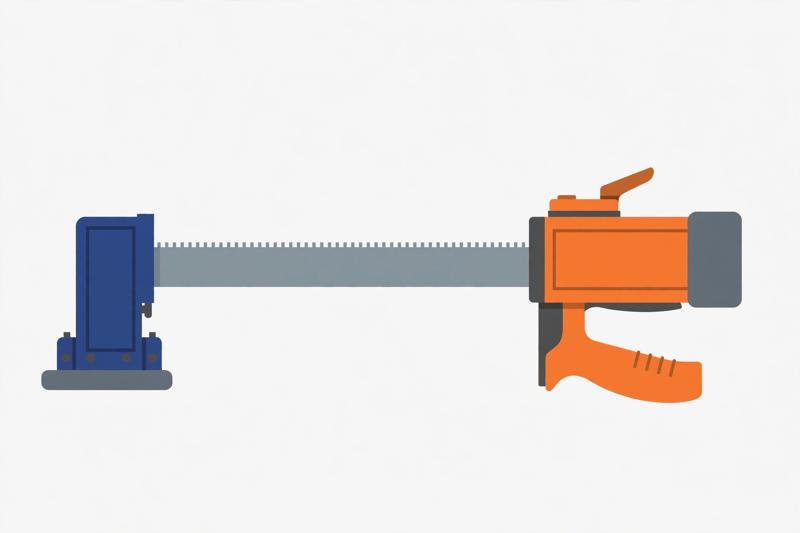
IRWIN QUICK-GRIP One-Handed Bar Clamp, Heavy-Duty, 12-Inch (1964712)
Strong one-handed clamping that holds glue-ups square while they cure.

Titebond III Ultimate Wood Glue 1413 (8 oz)
Water-resistant wood glue for strong joints indoors and out.
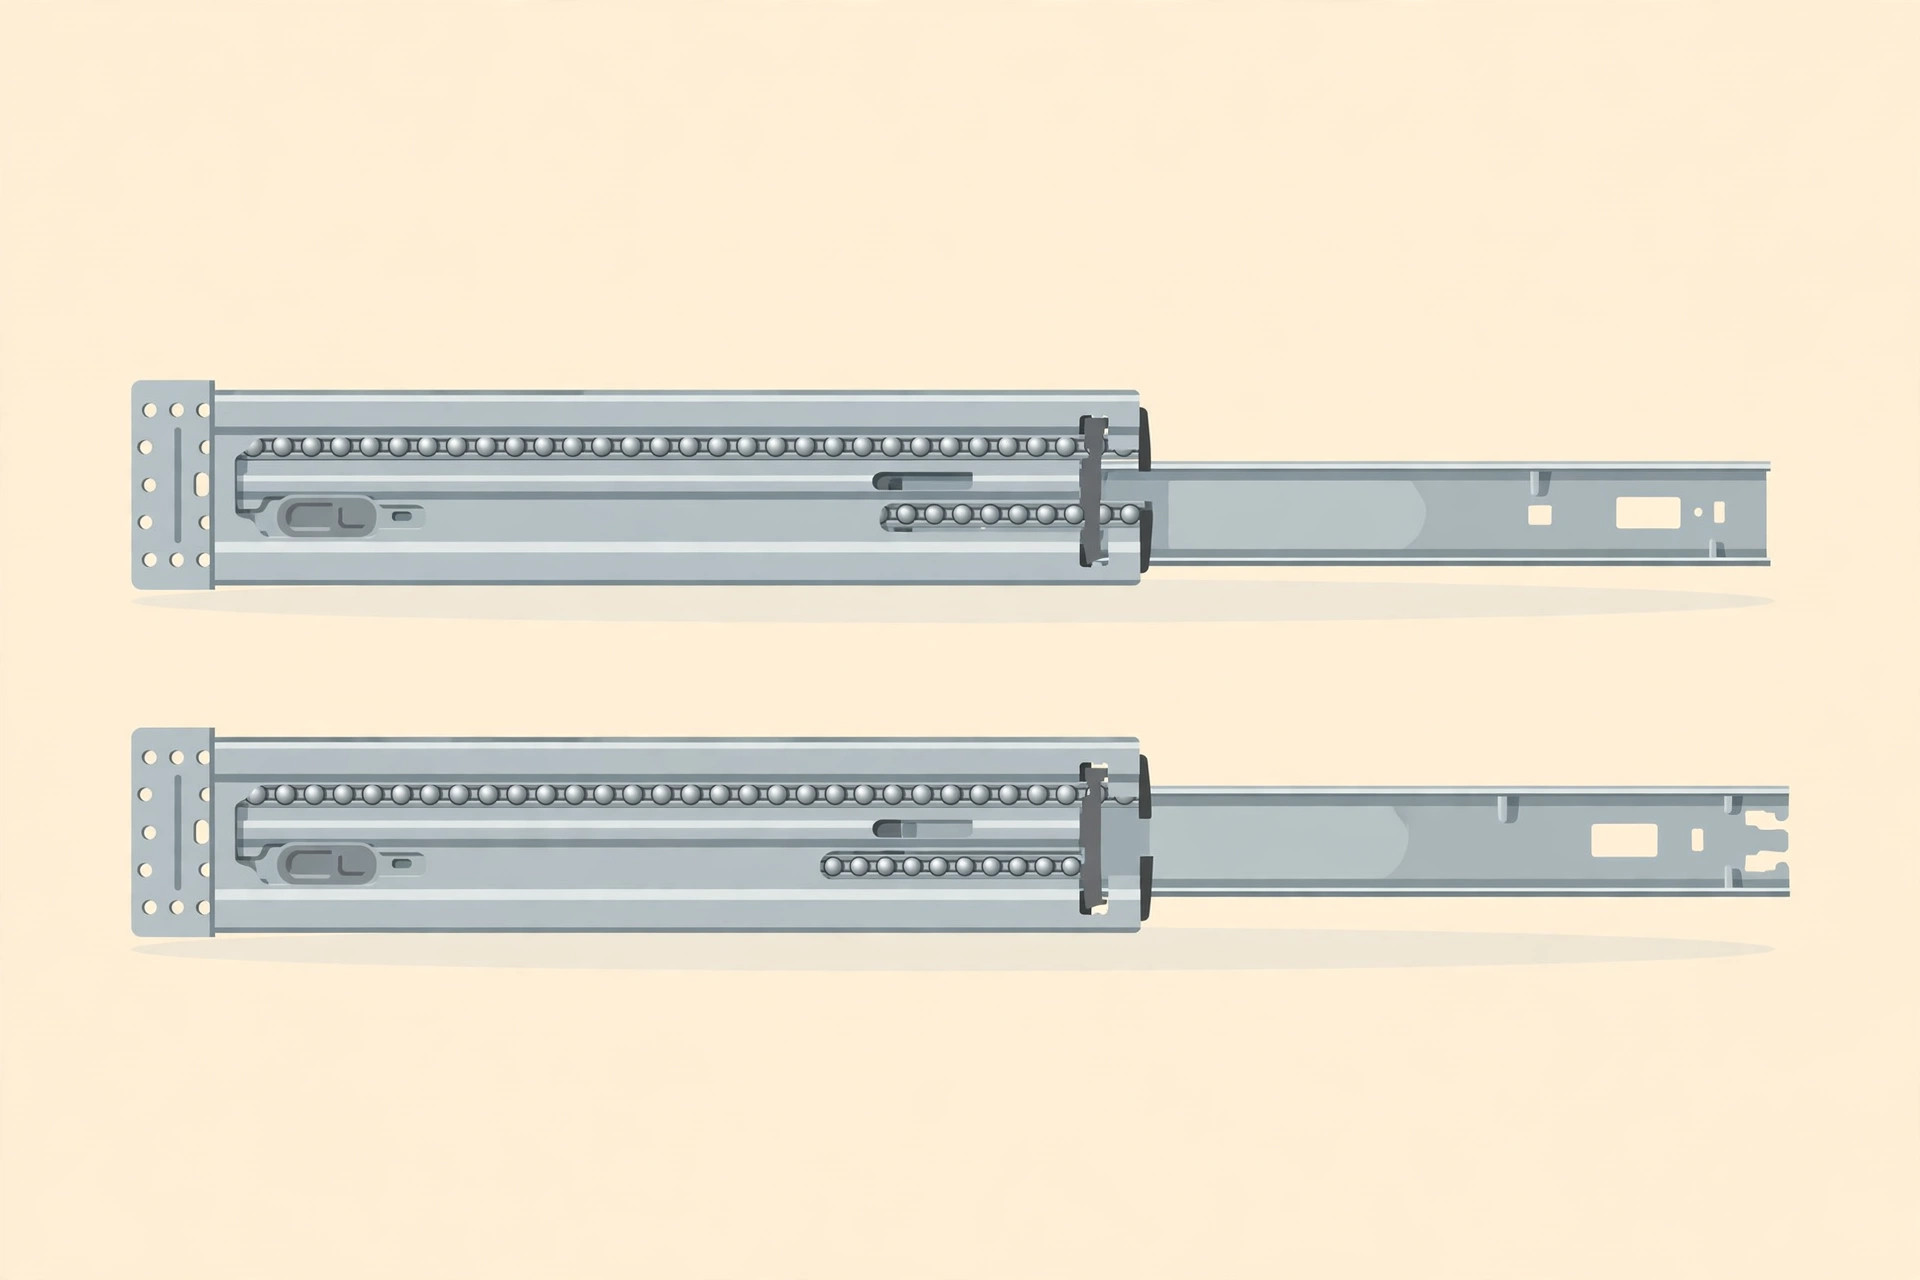
VALISY Soft Close Drawer Slides 14 Inch, 1 Pair, 100 lb
Soft-close, full-extension slides for a smooth, quiet nightstand drawer.



Pingback: How to Build a Wooden Bed Frame for Beginners