
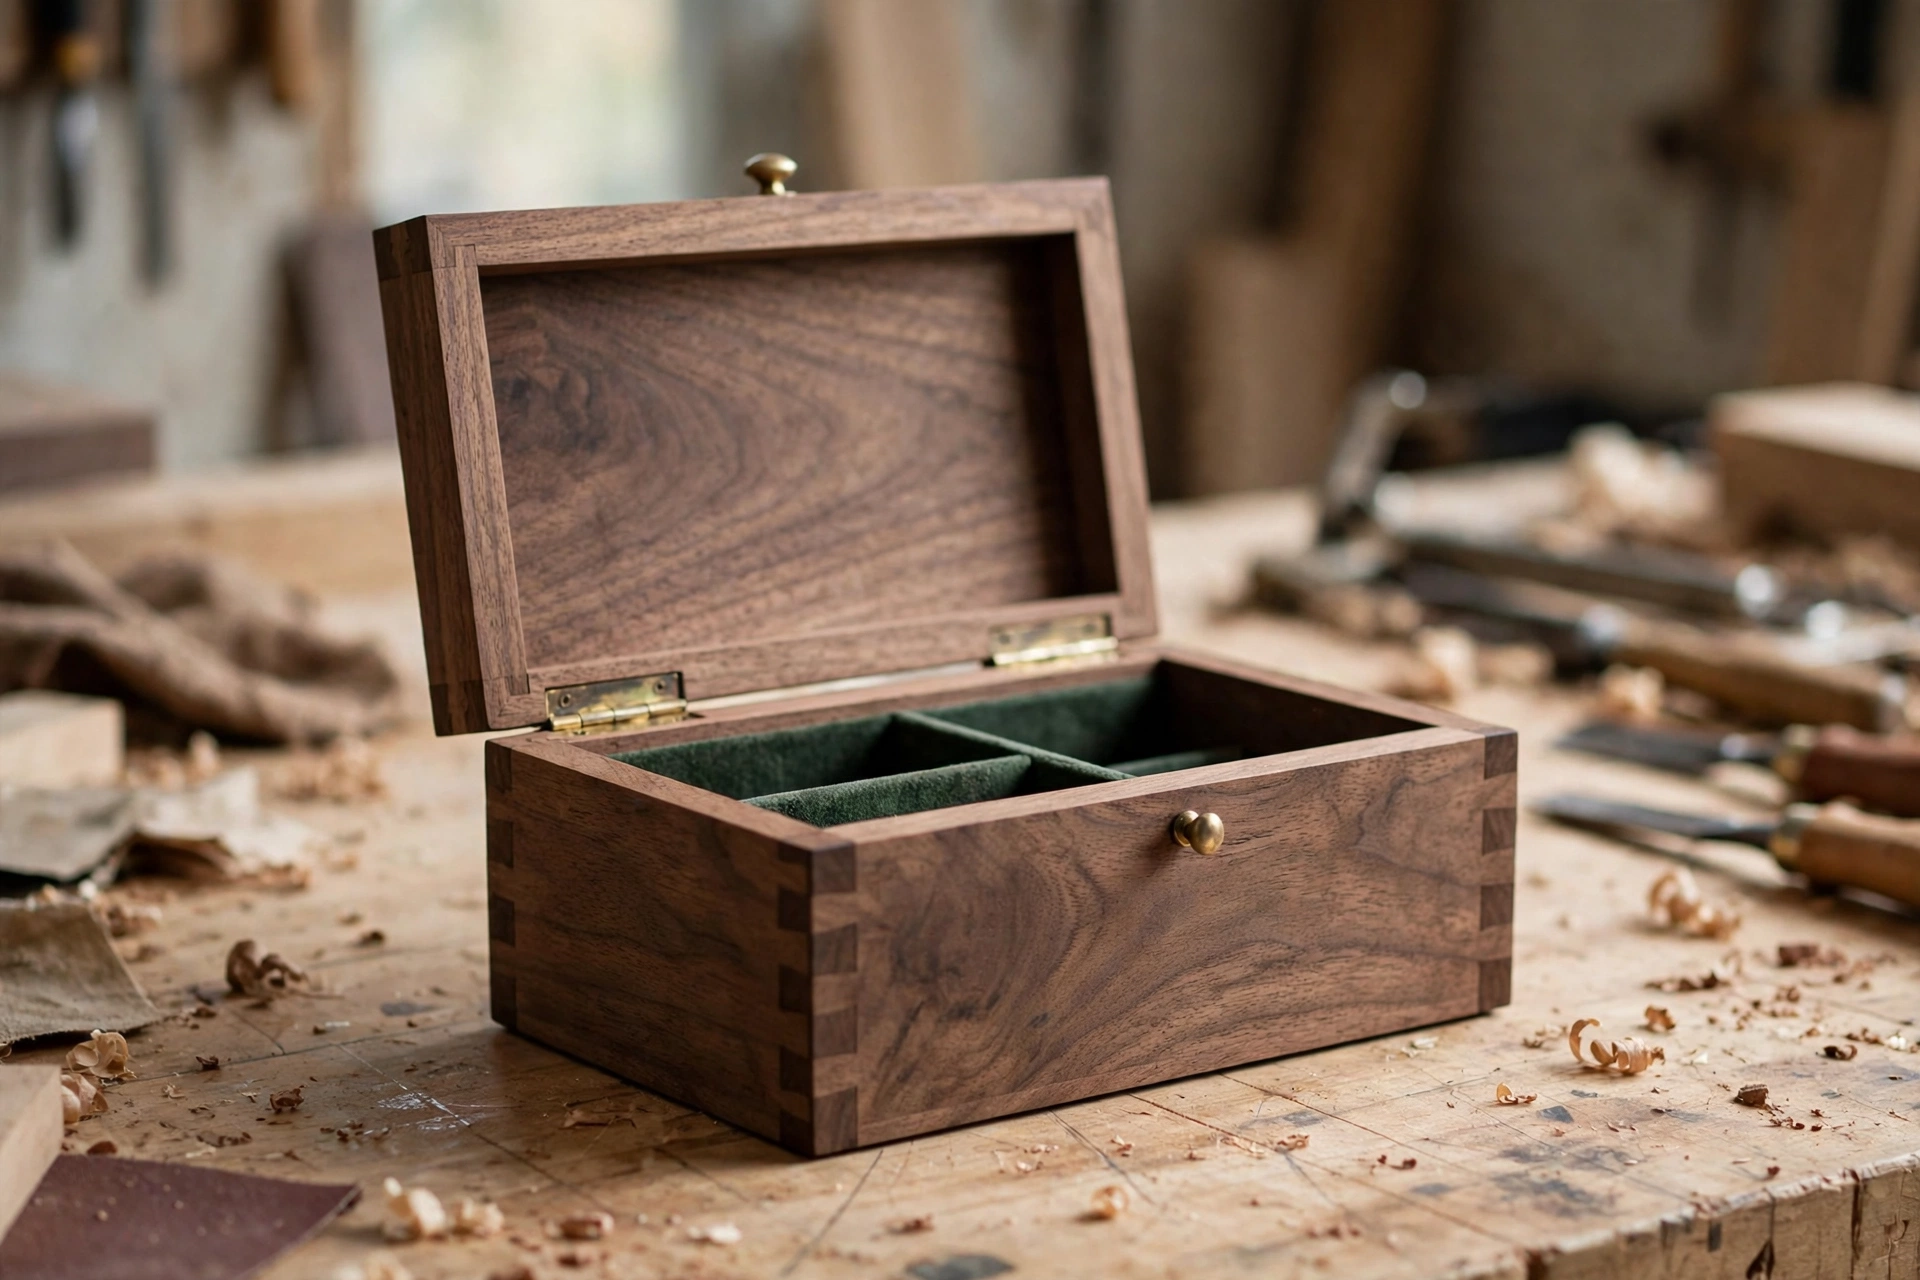
There is something special about a box you build with your own hands. It is small enough to finish in a weekend, useful enough to use every day, and personal enough to give as a gift that no shop-bought box can match. If you have ever wondered how to make a wooden jewelry box for beginners, this guide walks you through the whole project from the first board to the final coat of finish, with an exact cut list, simple joints you can actually cut on your first try, and honest advice about the mistakes most beginners make.
A jewelry box is one of the best first woodworking projects you can choose. It teaches you the core skills of the craft — measuring, cutting square, gluing up a box, fitting a lid, installing small hardware, and finishing — without demanding a workshop full of expensive tools or a large sheet of timber. The parts are small, so mistakes are cheap to fix, and the finished piece looks far more impressive than the effort it takes. If you can cut a straight line and follow a plan, you can build this box.
In this guide, you will build a classic lidded jewelry box measuring about 10 inches long, 7 inches wide, and 3.5 inches tall. It has a lift-out tray feel without the complexity of a real tray, a velvet-lined bottom, a small divider for rings and earrings, and solid brass hinges that open and close smoothly. You can scale the design up or down once you understand the method, and you can swap woods, linings, and finishes to make every box your own. Along the way, you will also learn why each step matters, so your second box will be even better than your first.
Why a Jewelry Box Is a Great First Small Project
Beginner projects work best when they are small, forgiving, and genuinely useful. A jewelry box ticks all three boxes. Because the pieces are short, you can work with offcuts and small boards that cost very little, and you can practise a cut several times without wasting a whole plank. Because the box is a closed shape, small gaps are easy to hide with careful sanding and a good finish. And because the finished box is something people actually want — for rings, watches, earrings, cufflinks, or keepsakes — you will finish the project with something to be proud of, not another practice piece gathering dust in the garage.
A jewelry box also introduces you to box-making, which is a foundation skill in woodworking. Once you can build a square, solid box with a well-fitting lid, you can apply the same thinking to keepsake boxes, desk organisers, small chests, and display cases. It is also a perfect gift project: handmade boxes are popular sellers at craft fairs and online, and they are one of the most rewarding easy woodworking projects for beginners that sell. If you later decide to sell your work, a jewelry box is a smart place to start, because buyers understand its value at a glance.
Another advantage is time. Unlike a table or a bookshelf, a jewelry box does not take over your workshop for weeks. Most beginners finish the cutting and glue-up on Saturday and the sanding, hinges, lining, and finishing on Sunday. That quick win matters. Woodworking is much easier to stick with when your early projects actually get finished, and a finished box on your dresser is a daily reminder of what you can make.
Choosing the Right Wood for Your Jewelry Box
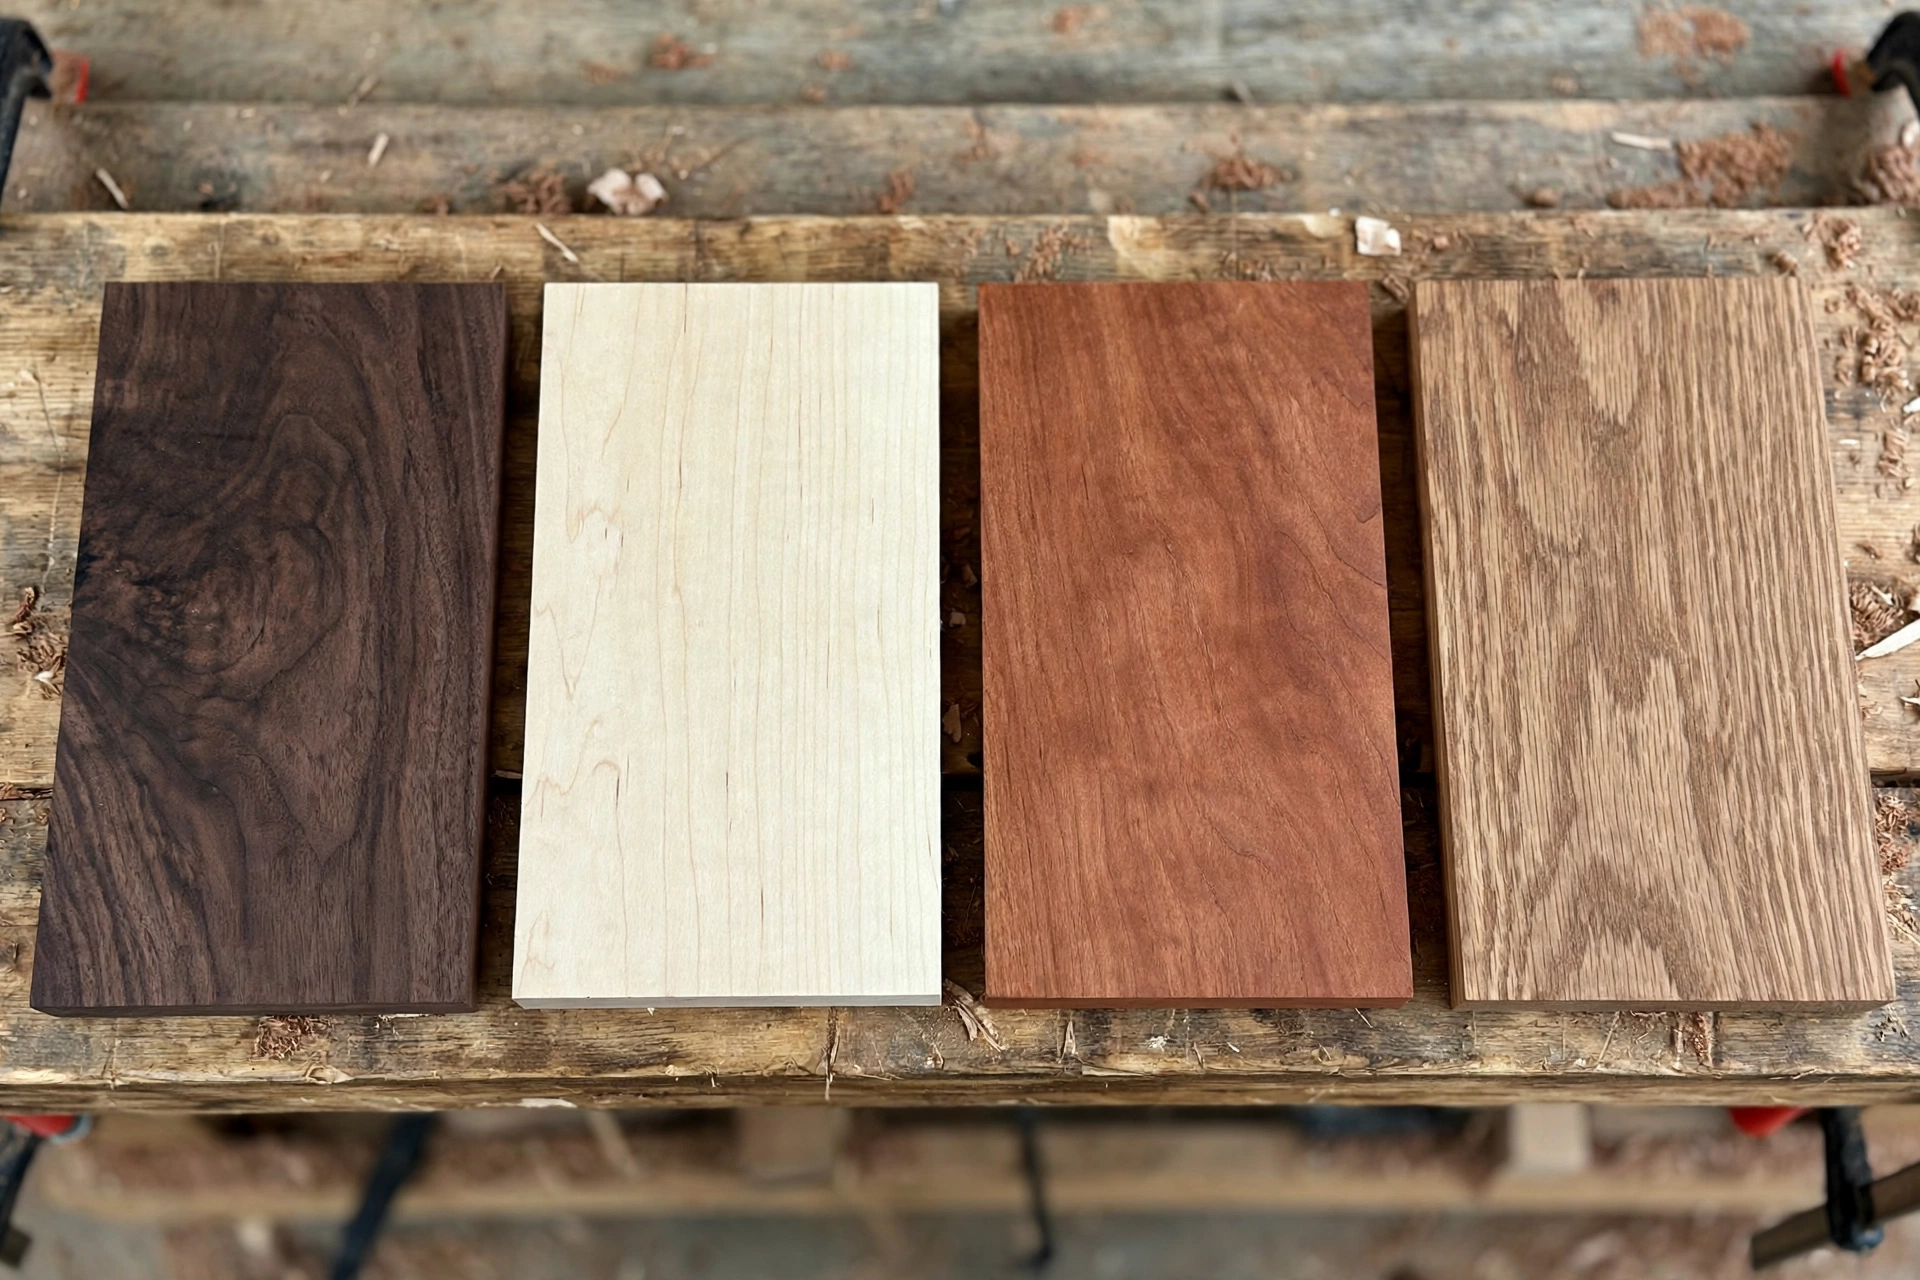
Wood choice changes everything about a jewelry box: how it looks, how easy it is to cut and sand, and how much it costs. For a first box, choose a hardwood that is stable, easy to work, and beautiful without stain. Walnut is the classic choice — dark, rich, and elegant — but maple, cherry, and oak all make lovely boxes, and each one teaches you something different about working with real wood.
Walnut is forgiving to sand, takes a finish beautifully, and looks expensive even in a simple design. Cherry starts out a warm pinkish-brown and deepens to a rich reddish-brown over time, which makes it a wonderful gift wood. Maple is pale, clean, and modern, and it shows off crisp joinery better than any dark wood, although it can be harder to stain evenly, so a clear finish is usually the better choice. Oak is strong and affordable, but its open grain needs a little more filling and sanding if you want a glass-smooth surface. For a first project, any of these will work; pick the one you like looking at, because you will be staring at it all weekend.
Thickness matters too. Use boards about 1/2 inch (12–13 mm) thick for the sides and lid, and 1/4 inch (6 mm) plywood or solid wood for the bottom. Thinner sides look delicate but are harder to join cleanly, while thicker sides look chunky and waste wood on a small box. If you are buying from a lumber yard, ask for boards already planed to 1/2 inch, or buy a slightly thicker board and plane it down. Avoid warped or cupped boards: lay each board on a flat surface and check that it does not rock. A flat board is the secret to a square box.
Before you buy, it is worth reading a proper guide to timber selection, because the wood you choose for a small box is different from the wood you would choose for a cutting board or a shelf. This guide to the best wood for beginner woodworking projects explains hardness, grain, and workability in plain language and will help you pick with confidence. For this project, a single board about 6 inches wide and 4 feet long is usually enough for the whole box, including the lid, which keeps the cost low.
Wood Comparison for a Beginner Jewelry Box
| Wood | Look | Ease of working | Cost | Best for |
|---|---|---|---|---|
| Walnut | Dark chocolate brown, rich grain | Easy to cut and sand | Medium–high | Elegant gift boxes |
| Cherry | Warm reddish-brown, darkens with age | Easy, sands very smooth | Medium | Keepsake and anniversary gifts |
| Maple | Pale cream, clean and modern | Medium, harder than walnut | Medium | Modern boxes, crisp joinery |
| Oak | Golden brown, strong open grain | Medium, needs grain filling | Low–medium | Rustic, sturdy everyday boxes |
| Pine | Pale, soft, knotty | Very easy, dents easily | Low | Practice boxes and first attempts |
If you are on a tight budget, make your first box from pine or poplar as a practice run, then build the gift version in walnut or cherry once you know the steps. The skills are identical, and the practice box will still look good with a nice finish. Many experienced woodworkers still keep a "prototype first" habit for exactly this reason.
Tools and Materials You Will Need
You do not need a professional workshop for this project. A basic set of hand and power tools will do, and several steps can be done entirely with hand tools if you prefer a quieter build. The list below covers everything used in this guide, with hand-tool alternatives where they make sense.
Essential tools: a table saw or circular saw with a straight guide, a miter saw or a miter box and hand saw, a router or a table saw dado setup for the rabbets (or a chisel and patience), a drill and small drill bits, a screwdriver, two to four spring clamps or bar clamps, a combination square, a marking gauge or pencil, sandpaper in 120, 180, and 220 grit, and a tape measure. A random orbital sander speeds up sanding enormously, but hand sanding works fine on a box this small.
Materials: one hardwood board (1/2 inch thick, about 6 inches wide, 4 feet long), one piece of 1/4 inch plywood or solid wood for the bottom, wood glue, two small solid brass butt hinges (about 1 inch), a small box latch or magnetic catch, tiny brass screws to match the hinges, velvet or felt for lining, spray adhesive or craft glue for the lining, a thin divider strip, and your chosen finish (see the finishing section). A small brass stay or lid support chain is optional but stops the lid falling backwards.
Safety first: wear safety glasses whenever you cut or sand, use hearing protection with power saws, keep your fingers well away from blades, and never rush a cut on a small piece. Small parts are the most dangerous parts in woodworking because your hands end up close to the blade. Use push sticks, hold-downs, and clamps wherever you can, and cut small pieces from a longer board before trimming them to final length. A jewelry box is a relaxing project; keep it that way by working slowly and deliberately.
Exact Cut List
Measure twice, cut once — and then check your measurements against this list before you switch the saw on. All parts below are cut from 1/2 inch thick hardwood unless stated otherwise. The finished outside size is 10 inches long, 7 inches wide, and 3 inches tall for the box body, plus a 1/2 inch thick lid, giving an overall height of about 3.5 inches.
Cut List for a Wooden Jewelry Box
| Part | Quantity | Dimensions (length × width × thickness) | Notes |
|---|---|---|---|
| Front and back | 2 | 10 in × 3 in × 1/2 in | Long sides of the box |
| Left and right ends | 2 | 6 in × 3 in × 1/2 in | Short sides, fit between front and back |
| Bottom panel | 1 | 9 in × 6 in × 1/4 in | Plywood or solid wood, sits in a rabbet |
| Lid top | 1 | 10 in × 7 in × 1/2 in | Overhangs the body slightly, or flush if preferred |
| Lid frame front/back | 2 | 10 in × 1/2 in × 1/2 in | Optional lip under the lid edge |
| Divider | 1 | 6 in × 2 in × 1/4 in | Sits across the box, glued or loose |
| Velvet lining | 1 | 9 in × 6 in | Cut slightly oversize, trim after gluing |
A note on the dimensions: the end pieces are 6 inches long because they fit between the front and back pieces, not outside them. If you cut all four sides to the full outside length, your box will end up too long and the joints will not close. This "inside measurement" habit — measuring the space a part must fill, not just the outside size — is one of the most useful habits in box-making, and it applies to every small project, from a wooden cutting board for beginners to a set of wooden bookends for beginners.
Label every piece with a pencil as you cut it: "front", "back", "left", "right", "lid", "bottom". It sounds unnecessary on a small project, but once the pieces are sanded they all look alike, and a mislabelled side is the most common cause of a box that will not sit square.
Step-by-Step Build
Step 1: Mark and Cut the Sides
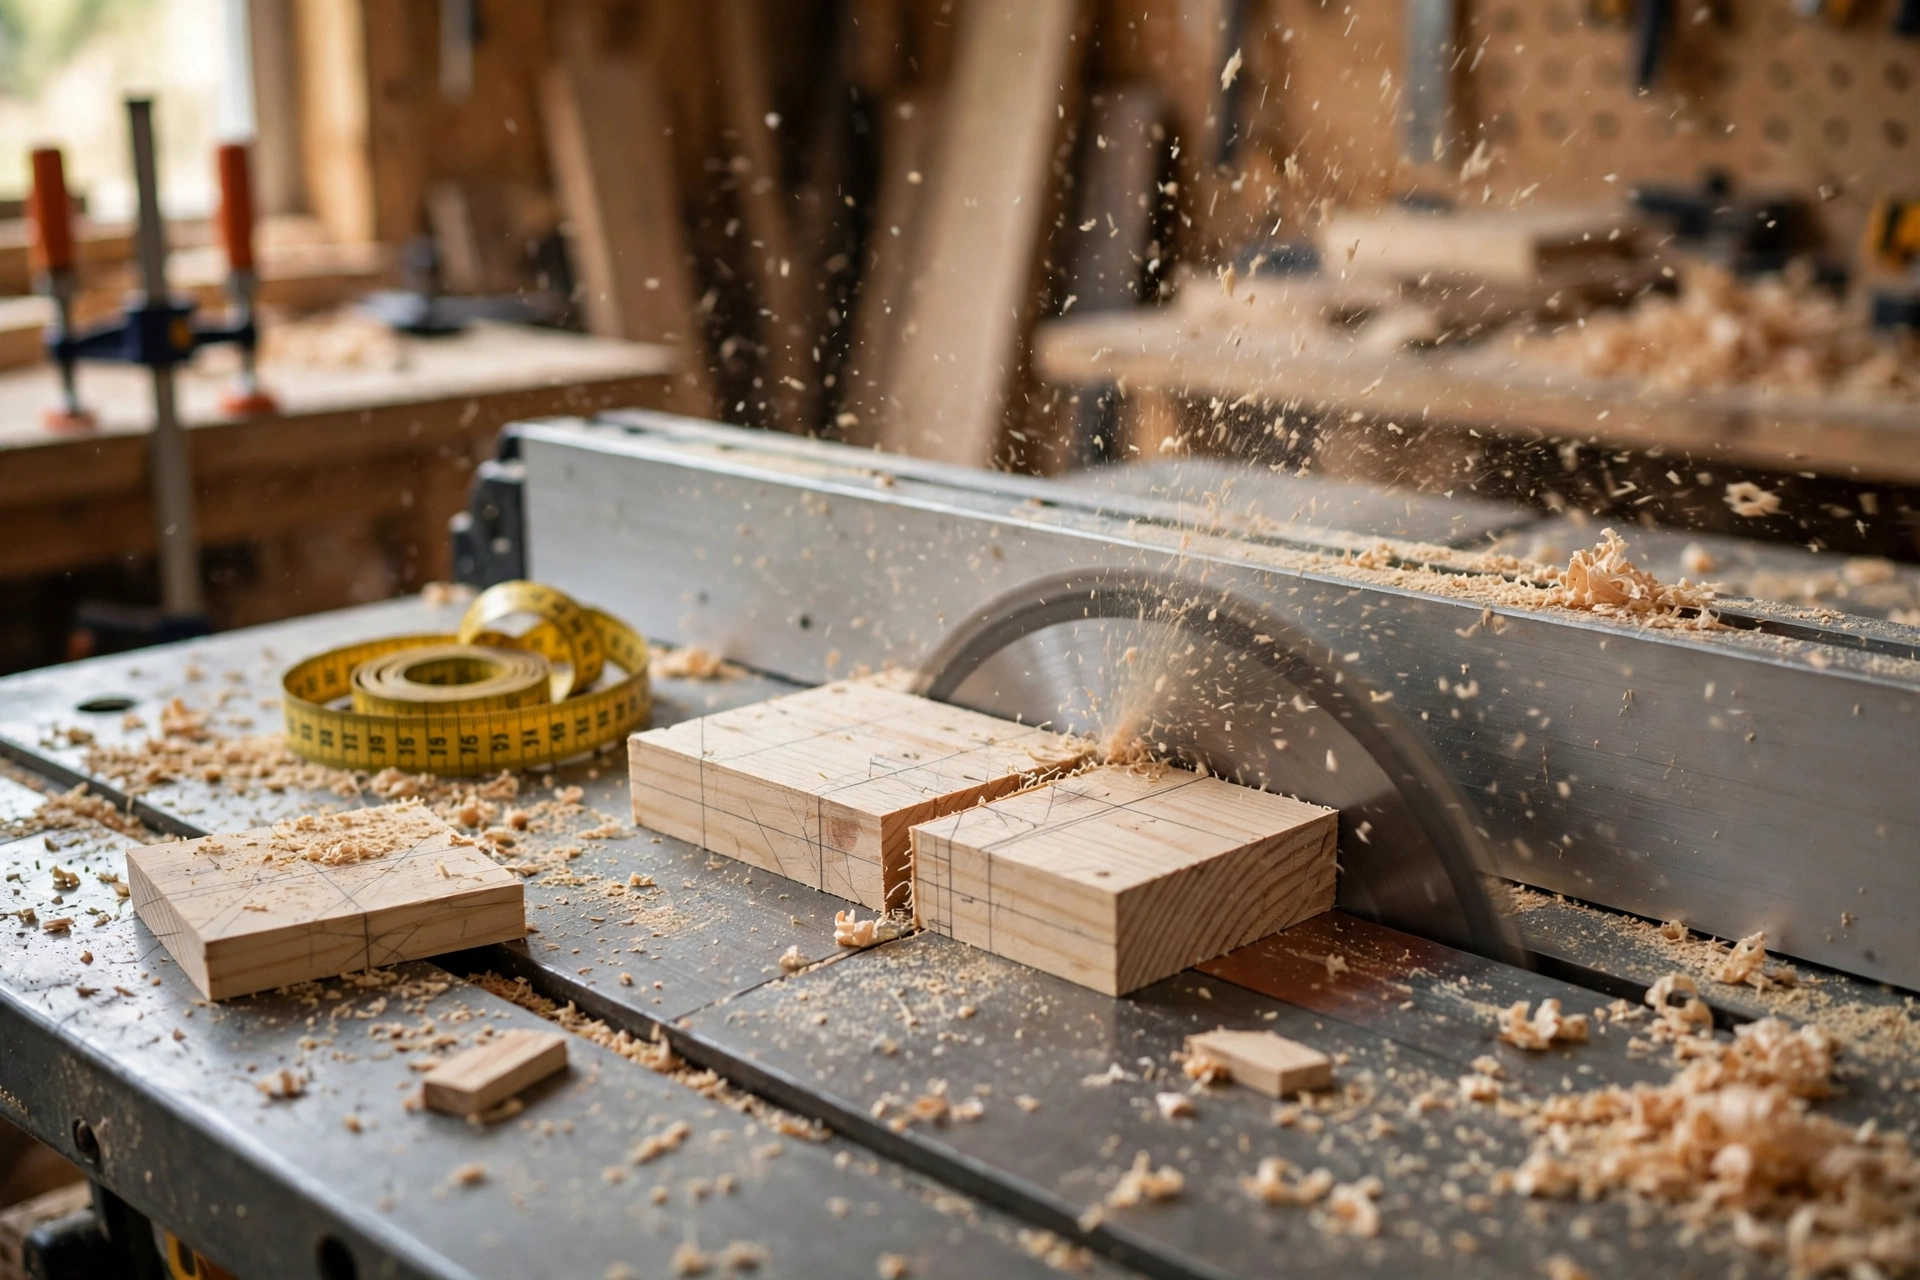
Start by crosscutting your board into the four side pieces, keeping the grain running horizontally around the box so the grain flows continuously from one side to the next. This is called grain matching, and it is a small detail that makes a box look professionally made: when the grain wraps around the corners, the box reads as one piece of wood rather than four random offcuts. Cut the pieces slightly long, then trim them to exact length with a stop block so both matching pieces are identical.
Check each cut with a combination square. A side that is even one degree out of square will show up as a gap at the corner, and gaps are much harder to fix after glue-up than before it. If a cut is slightly off, trim it with a hand plane or sand it square on a flat surface with sandpaper stuck to a board. Take your time here: square cuts are the foundation of everything that follows.
Step 2: Cut the Rabbet Joints
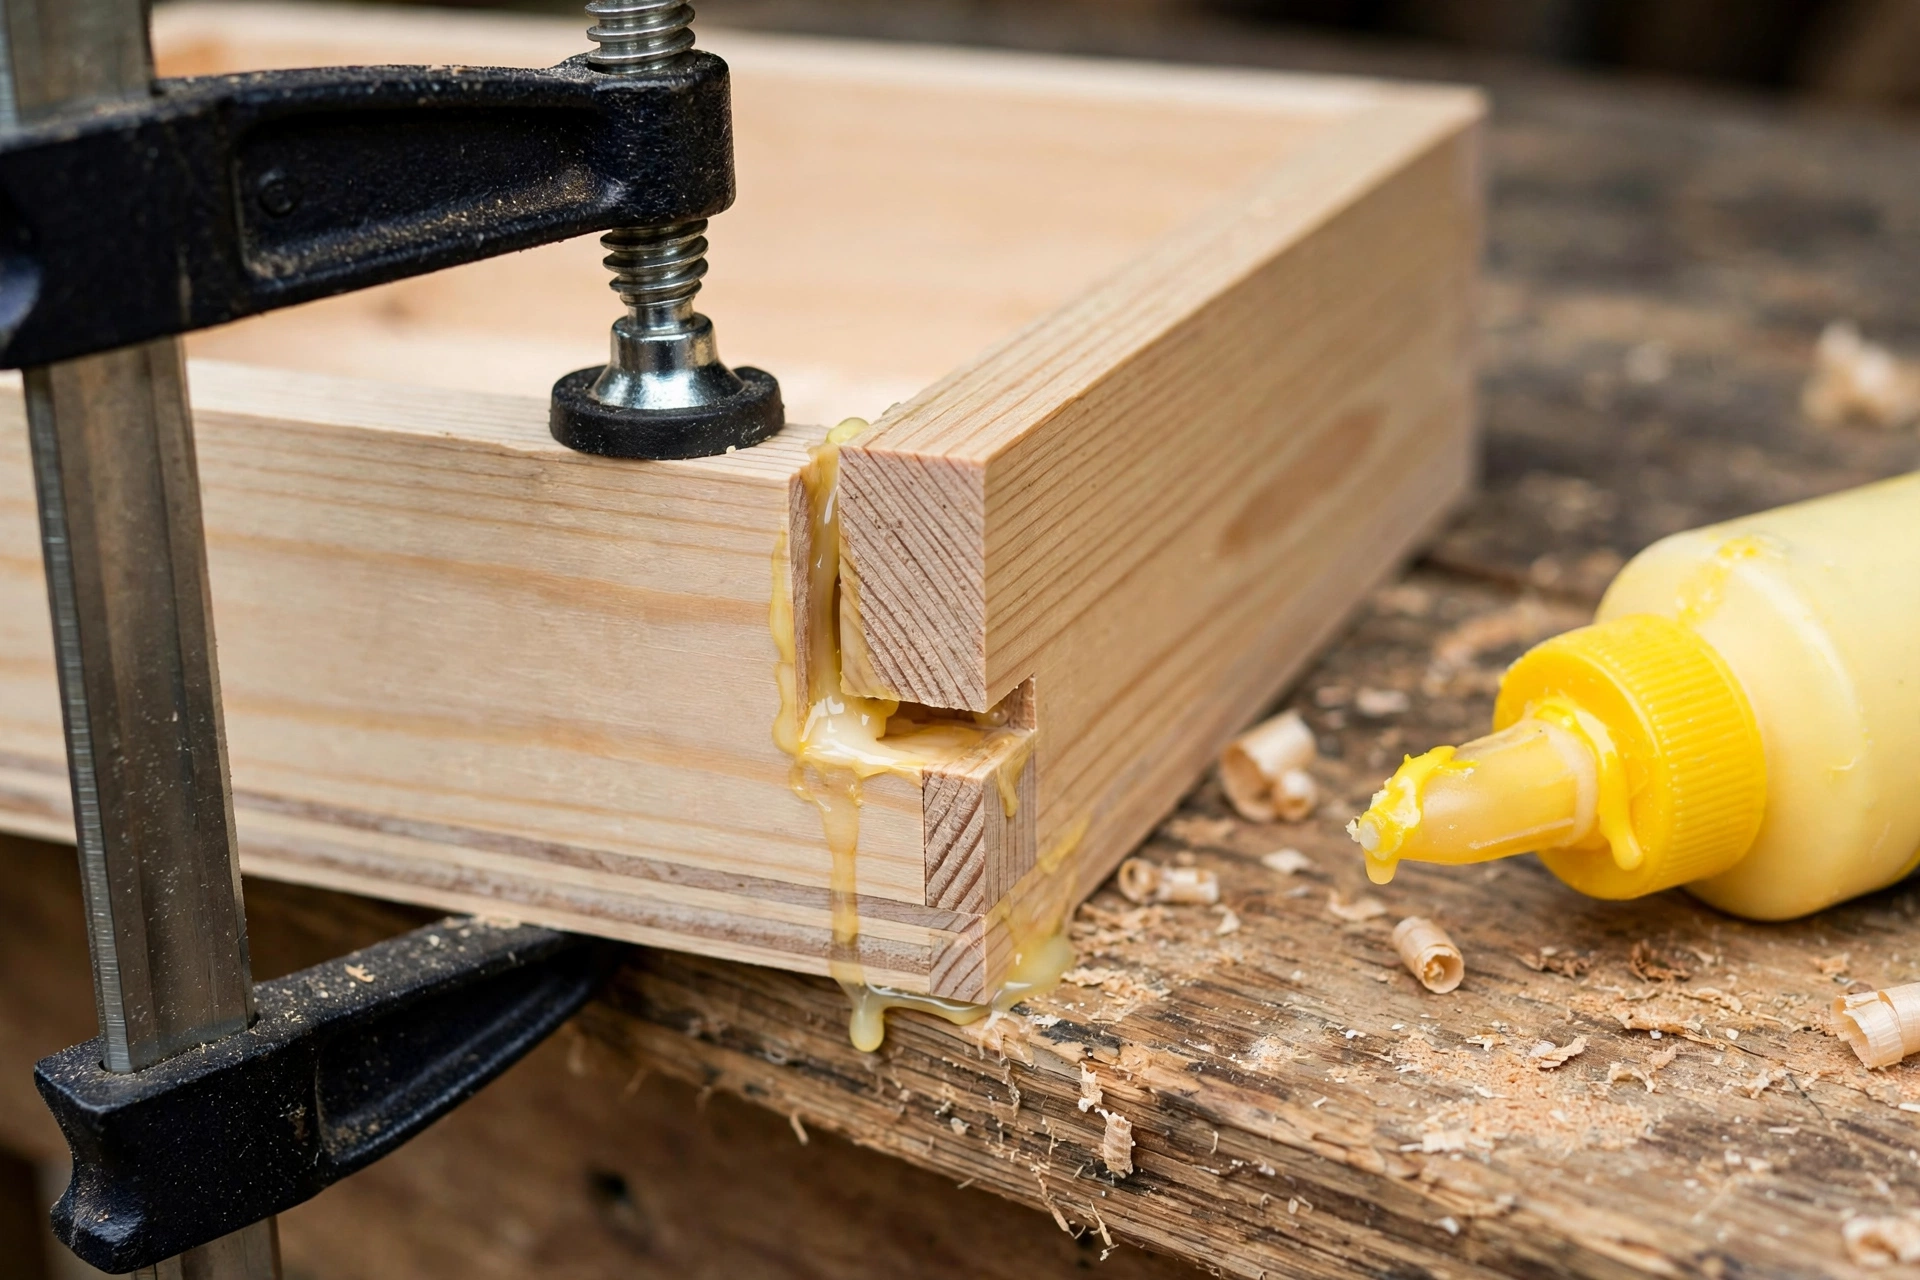
A rabbet joint is a step cut into the end of one board that the neighbouring board sits into. It is stronger than a simple butt joint because it doubles the glue surface, and it is far easier for a beginner than a dovetail or a finger joint. You can cut rabbets with a router and a straight bit, with a dado blade on a table saw, or with a saw and chisel if you are working by hand.
For this box, cut a rabbet 1/4 inch deep and 1/2 inch wide on each end of the front and back pieces, so the end pieces sit neatly into the step. Cut the same rabbet along the bottom inside edge of all four sides to hold the bottom panel: a groove 1/4 inch deep, 1/4 inch wide, set 1/4 inch up from the bottom edge. Test the fit dry, without glue, before you commit. The end pieces should slide in snugly with light hand pressure, not fall in loosely and not need hammering. A joint that is too tight will split when glue swells the wood; a joint that is too loose will be weak and gappy.
Dry-fit the whole box, including the bottom panel, and check it for square by measuring both diagonals across the top. If the two diagonal measurements match, the box is square. If they differ, gently push the longer diagonal's corners together until they match, then mark the orientation of each piece so you can repeat the same arrangement during glue-up.
Step 3: Glue Up the Box
Apply a thin, even layer of wood glue to the rabbet surfaces, not a thick puddle. Too much glue squeezes out and stains the wood under a clear finish, while too little leaves a starved, weak joint. Assemble the four sides around the bottom panel, check for square again, and clamp lightly. Check for square a second time after clamping, because clamps can pull a box out of square, and wipe away squeeze-out with a slightly damp cloth before it dries.
Leave the box clamped for at least an hour, and ideally overnight, before you remove the clamps. Do not be tempted to sand or fit the lid while the glue is still soft: a box that moves during glue-up will never sit flat. While you wait, cut the lid and the divider so they are ready for the next stage.
Step 4: Make and Fit the Lid
The lid is a single flat panel, cut to the same outside size as the box body, with an optional thin lip underneath that locates it on the box and stops it sliding sideways. For a first box, a flat lid is the right choice: it is simple, it looks clean, and it avoids the extra joinery of a framed or raised-panel lid. Sand the lid's top face now, while you can work on it flat, and round over the top edges very slightly with 180-grit sandpaper so the lid feels soft in the hand rather than sharp.
Fit the lid by placing it on the box and checking the overhang on all four sides. A tiny, even overhang of about 1/16 inch looks deliberate and hides small differences in the box size; a lid that is flush on one side and overhanging on the other looks like a mistake. Trim the lid to suit, mark which edge is the back (the hinge side) with a pencil, and keep that orientation for the hinge step.
Step 5: Sand Everything Smooth
Sanding is where a good box becomes a great box, and it is the step beginners most often rush. Work through the grits in order: 120 to remove saw marks and level the joints, 180 to smooth the surface, and 220 for a final silky feel. Sand with the grain, never across it, and sand the inside of the box as carefully as the outside — fingers will feel every rough patch inside a jewelry box. For a deeper guide to getting a flawless surface, read this step-by-step tutorial on how to sand and finish wood for beginners.
After your final grit, wipe the box with a slightly damp cloth or a tack cloth to raise and remove dust, let it dry, and give it one last light pass with 220-grit paper. This "water popping" trick raises tiny wood fibres that would otherwise rise under the finish and feel rough. Vacuum the inside corners and the rabbets, because dust trapped in a joint will show through a clear coat. Sand the lid separately, and sand the bottom panel lightly so it sits flat.
Step 6: Install the Hinges and Latch
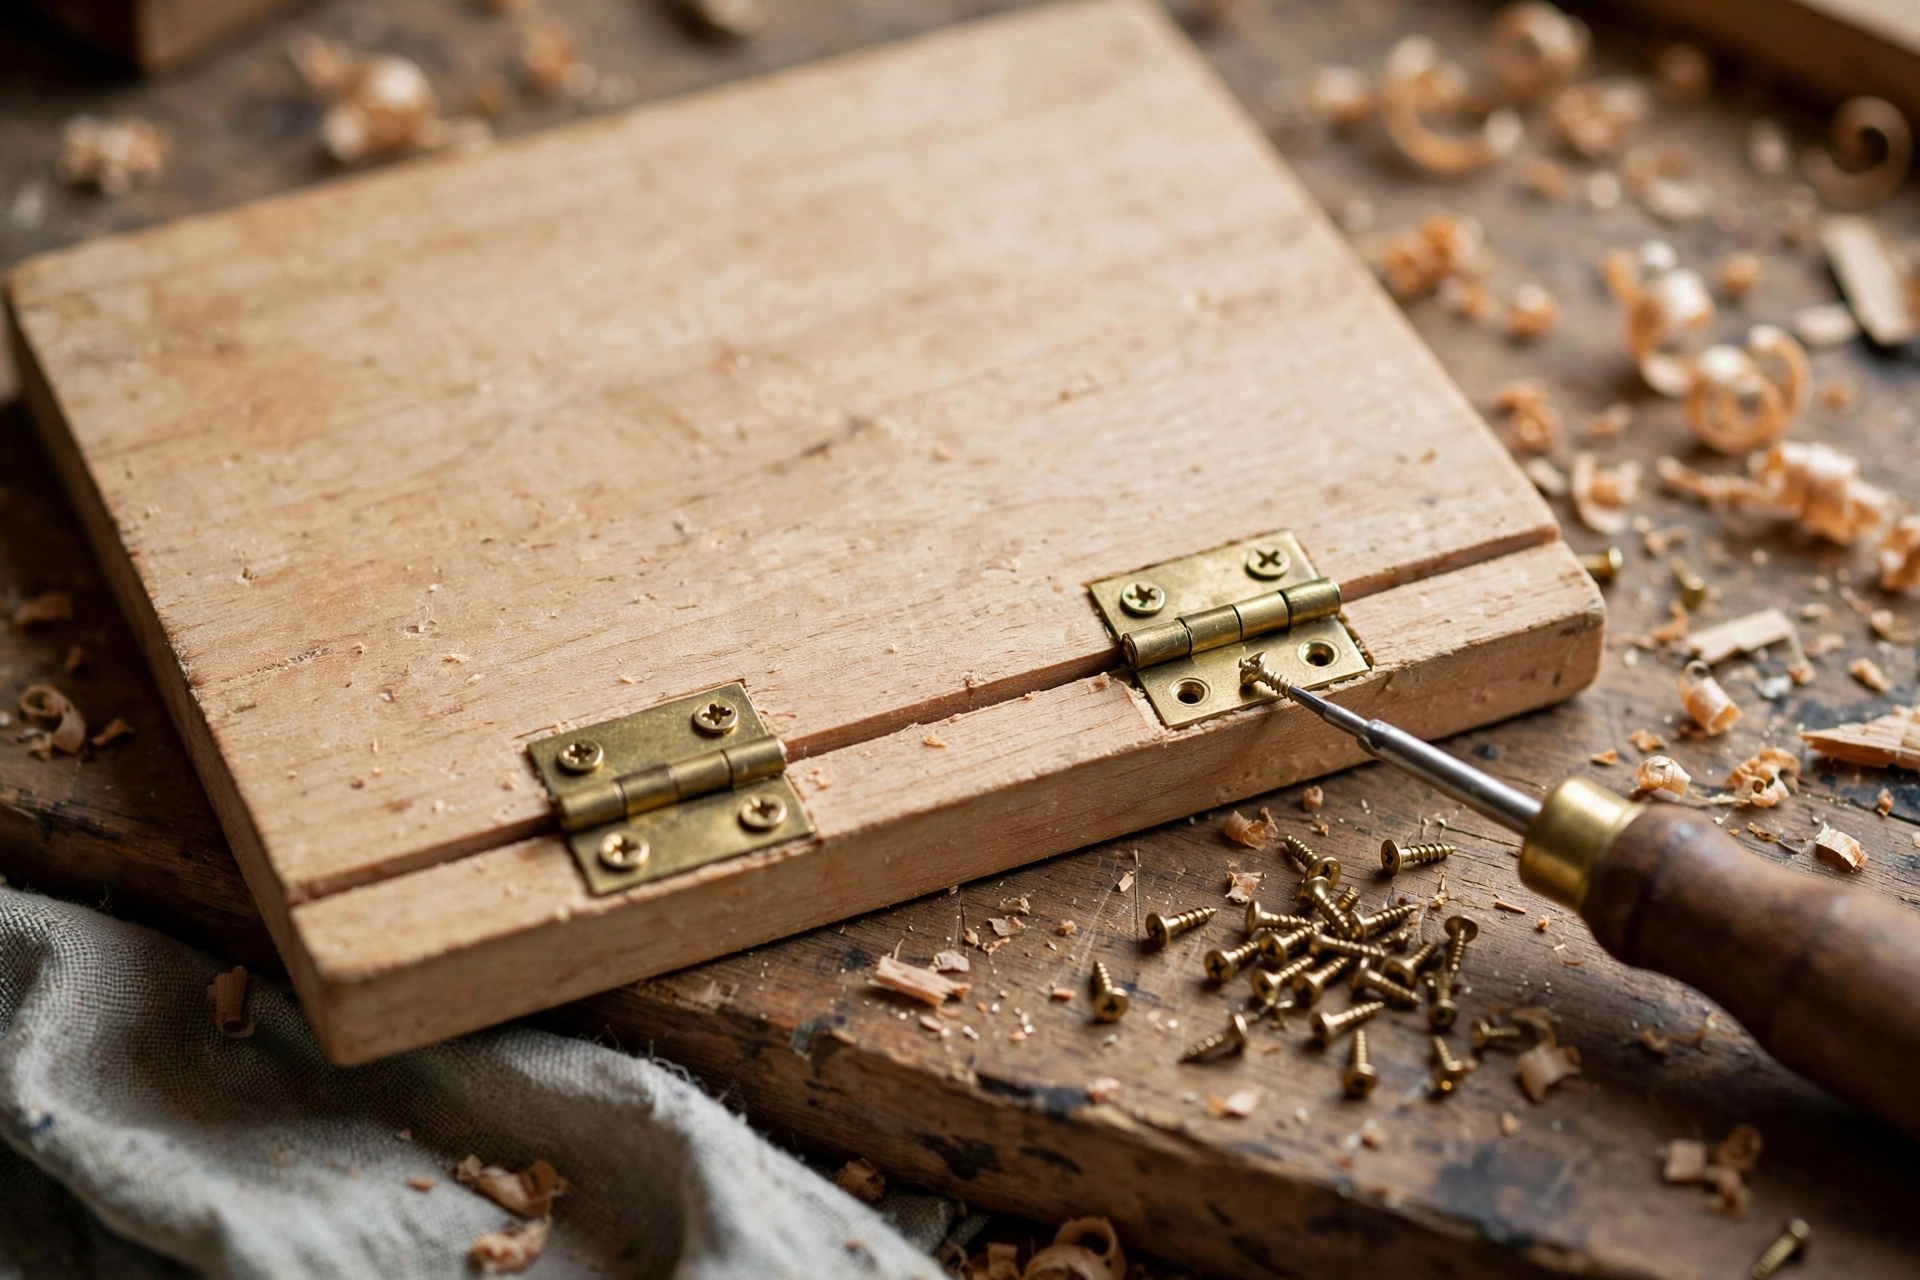
Small brass hinges make a jewelry box feel like a quality piece, but they are fiddly, so take this step slowly. Mark the hinge positions on the back edge: typically two hinges, each about 2 inches in from the ends. Mark the outline of each hinge leaf on the box and on the lid, then cut a shallow mortise — a recess exactly the depth of the hinge leaf — with a sharp chisel. The hinge leaf should sit flush with the surface, not proud of it, or the lid will not close properly.
Drill pilot holes for the screws with a very small bit (a 1/16 inch bit is a good starting point) before driving any screw. Brass screws are soft and snap easily, and a screw driven without a pilot hole can split a 1/2 inch side in seconds. Drive the screws by hand with a screwdriver, not a power driver, and stop as soon as the screw is snug. Fit the hinges to the lid first, then offer the lid up to the box, mark the box-side screw positions, and fit those. Test the lid: it should open smoothly and close with a satisfying, even gap all round. If the lid binds on one side, loosen the screws slightly, adjust the hinge position by a hair, and retighten.
Add the latch or magnetic catch at the front centre. A small magnetic catch is the most forgiving choice for a beginner because it needs no precise alignment, while a traditional box latch looks more classic but demands careful marking. Whichever you choose, fit it after the hinges, because the hinge position decides exactly where the lid lands.
Step 7: Line the Box and Add a Divider
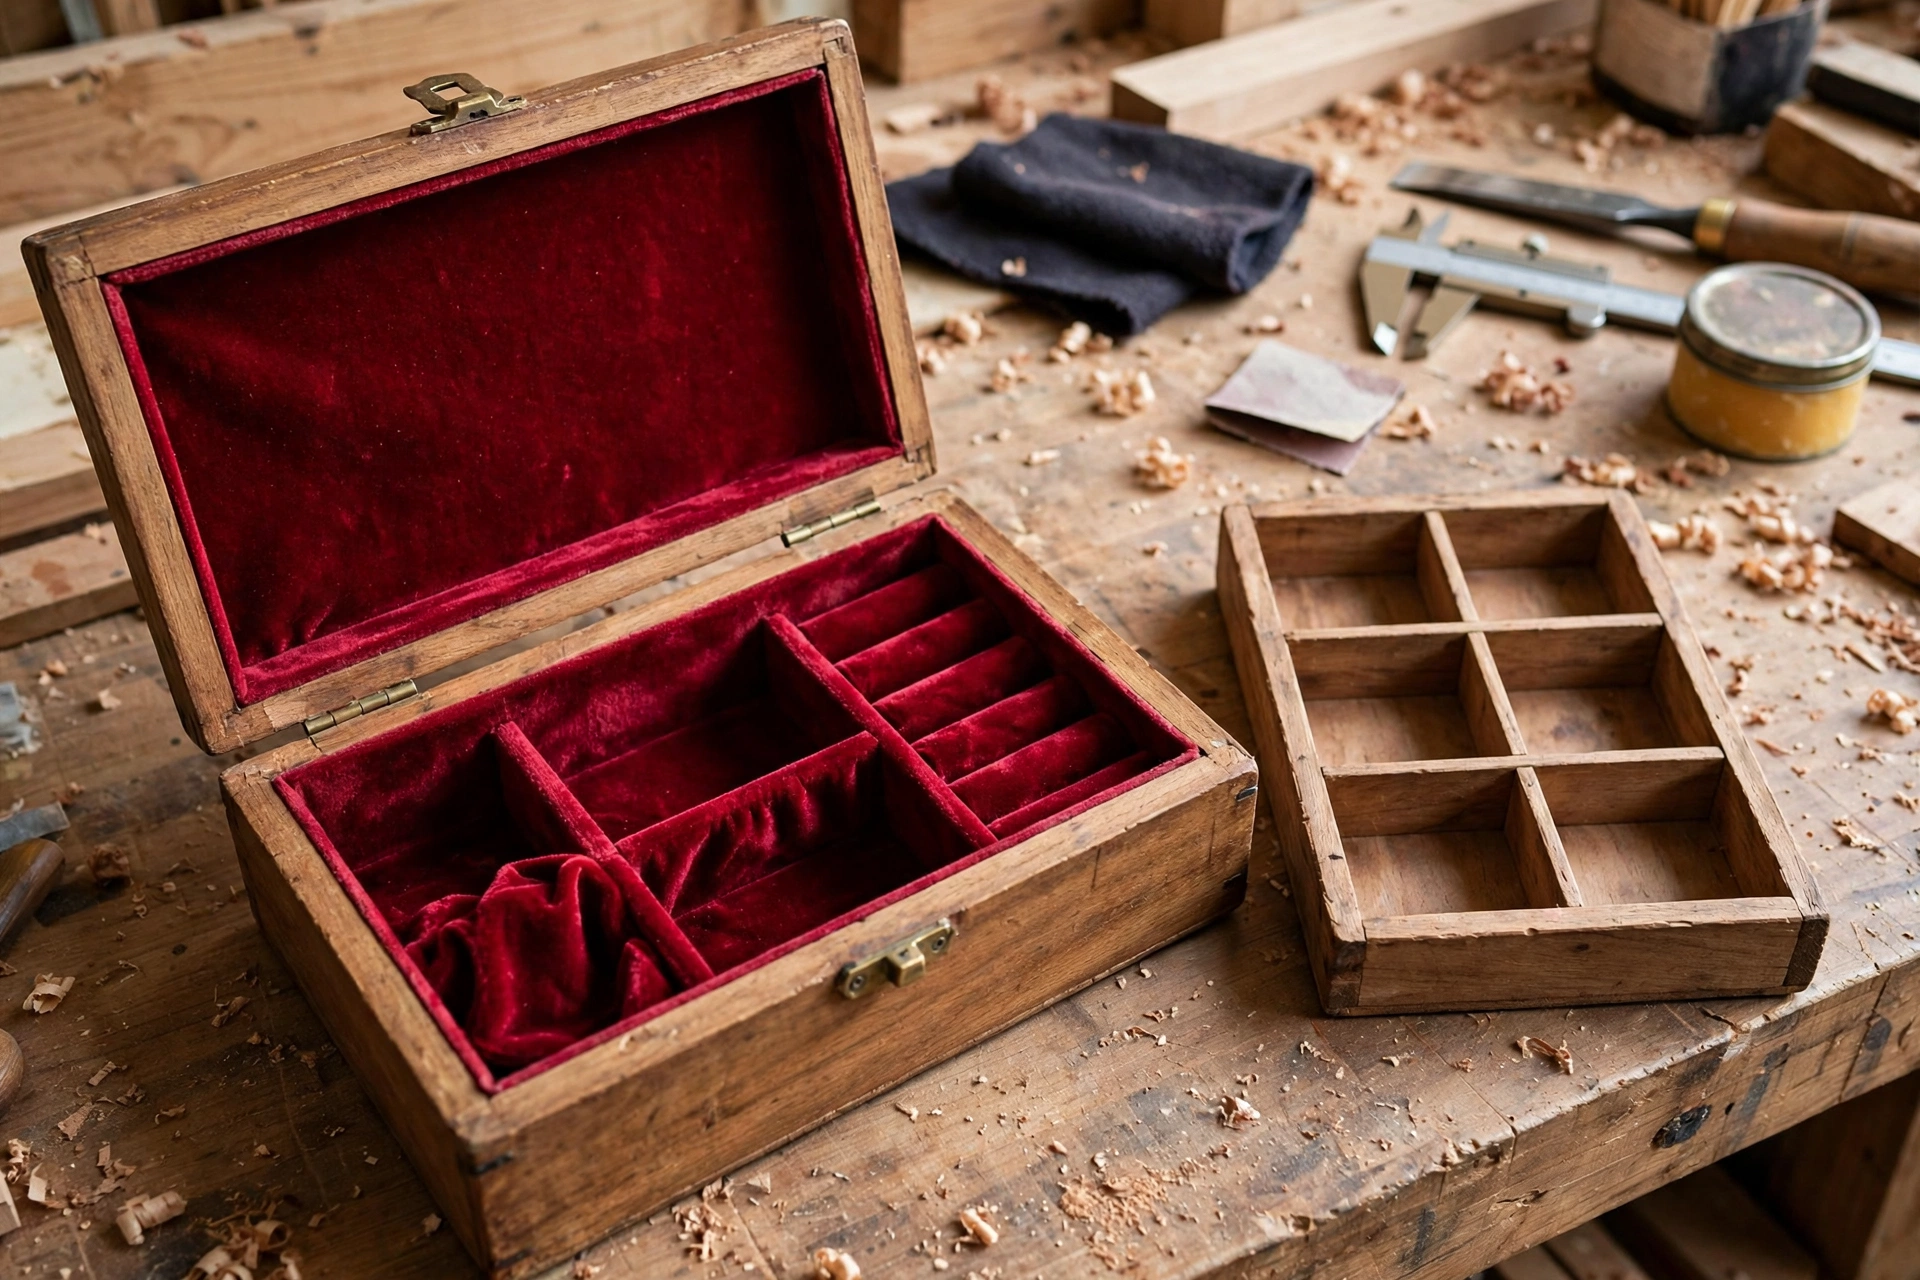
Lining turns a wooden box into a jewelry box. Velvet and felt are the traditional choices: velvet looks luxurious and grips rings gently, while felt is cheaper, easier to cut, and available in many colours. Cut the lining slightly oversize, spray the bottom panel and the inside walls lightly with spray adhesive (or brush on a thin layer of craft glue), and press the lining in smoothly, working from the centre outwards to avoid bubbles and wrinkles. Trim the excess with a sharp craft knife once the glue has set.
Add a divider across the box to create a small compartment for rings or earrings. A simple divider is a strip of wood, 1/4 inch thick, cut to fit snugly across the inside width and about 2 inches tall, wrapped in matching velvet or left as bare wood. You can glue it in place for a permanent layout, or leave it loose so the owner can rearrange the box. A loose divider is often the better choice for a gift, because it lets the recipient decide how they want to use the space. Some makers also add a small ring roll — a velvet-covered tube — which is simply a dowel wrapped in velvet and tucked into one compartment.
Finishing Your Jewelry Box
Finishing protects the wood and brings out its colour and grain, and it is the step that most changes how your box looks. For a jewelry box, you want a finish that is smooth, hard-wearing, and safe for items that will sit against it for months. The three finishes below all work well; pick based on the look you want and the time you have.
Finish Comparison for a Jewelry Box
| Finish | Look | Durability | Drying time | Beginner friendliness |
|---|---|---|---|---|
| Danish oil / tung oil | Warm, natural, matte-satin | Good, easy to repair | 24–72 hours between coats | Very easy, wipe-on |
| Wipe-on polyurethane | Clear, satin or gloss, protective | Excellent, water-resistant | 4–8 hours between coats | Easy, forgiving |
| Shellac (French polish style) | Warm glow, traditional | Moderate, marks with water | 1–2 hours between coats | Medium, needs practice |
For a first box, Danish oil or wipe-on polyurethane is the safest choice. Apply thin coats with a lint-free cloth, let each coat dry fully, and rub lightly with 320-grit paper or fine steel wool between coats. Two to three coats of oil, or three coats of wipe-on poly, will give a beautiful, durable result. Do not flood the surface: thick coats drip, pool in corners, and take forever to cure. Thin coats, patiently applied, always look better.
Finish the inside of the lid and the outside of the box, but do not finish over the velvet lining — finish the wood first, let it cure fully (at least 24 hours, ideally several days for oil), and only then glue the lining in. Finish fumes trapped under velvet can smell for weeks and can tarnish silver jewellery, so give the box time to cure before you put anything precious inside it. If you can still smell the finish, it is not ready yet.
Common Mistakes Beginners Make (and How to Avoid Them)
Even a simple box has a few traps. The most common is cutting sides to the wrong length by forgetting that end pieces fit between the front and back, which leaves a box that is too long or too short. Always work from the cut list, and dry-fit before gluing. The second is gluing up out of square: measure both diagonals, and keep a square handy during glue-up. The third is over-sanding the corners, which rounds them and opens up the joints — sand flat, with a block, and let the paper do the work.
Hinge mistakes come next. Screws driven without pilot holes snap or split the wood, and hinges fitted proud of the surface stop the lid closing. Mortise carefully, drill pilots, and drive screws by hand. Finish mistakes are also common: thick coats, dusty coats, and finishing before the glue is dry all show up in the final piece. Sand between coats, work in a clean space, and be patient. Finally, do not skip the lining. An unlined box looks unfinished and lets jewellery rattle and scratch; a lined box feels like a real jewelry box the moment you open it.
Costs: What a Beginner Jewelry Box Really Costs
A first jewelry box is an affordable project. A small hardwood board costs roughly $10–$25 depending on the species, hinges and a latch cost $5–$10, velvet or felt costs $3–$8, and glue, sandpaper, and finish from your existing supplies add a few dollars more. All told, most beginners build this box for $20–$45 in materials, which makes it one of the best-value gift projects in woodworking. A walnut box with brass hardware sits at the higher end of that range, while a pine practice box can come in under $15.
If you plan to sell boxes, price them for your time as well as your materials. A handmade hardwood jewelry box with brass hinges and a velvet lining typically sells for $50–$150 depending on size, wood, and finish, and buyers at craft fairs respond well to boxes they can open, touch, and imagine on their own dresser. Keep your first few boxes for gifts and practice, then price confidently once your joints and finishes are consistent.
Gift and Variation Ideas
Once you have built one box, the design is easy to personalise. Engrave initials or a date on the lid with a wood-burning pen or a small router inlay. Add a contrasting wood strip — a thin line of maple in a walnut lid, for example — for a jewellery-box detail that looks far more advanced than it is. Build a two-tier version with a lift-out tray for a more ambitious second project, or make a matching set of three boxes in different sizes for a dressing table. A box made for a specific person, in their favourite wood and colour of lining, is a gift people keep for decades.
You can also adapt the box for other uses: a keepsake box for letters and photos, a watch box with a slightly taller lid, a small treasure box for a child (with a simpler latch and a fun lining colour), or a presentation box for a handmade gift like a pen or a knife. The method stays the same; only the size, the lining, and the hardware change.
Frequently Asked Questions
How long does it take to make a wooden jewelry box for beginners? Most beginners finish this box in one weekend: a few hours for cutting and glue-up on day one, and a few hours for sanding, hinges, lining, and the first finish coat on day two. Finishing coats add drying time, so allow three to four days in total before the box is fully cured and ready to use.
What is the best wood for a first jewelry box? Walnut is the classic choice because it is easy to work, sands beautifully, and looks elegant with a clear finish. Cherry and maple are also excellent, and pine or poplar make a cheap, forgiving practice box. Choose a flat, stable board over a fancy grain pattern for your first attempt.
Do I need a router to make a jewelry box? No. A router makes rabbets faster, but you can cut them with a table saw, a dado blade, or a hand saw and chisel. Many beginners build their first box entirely with a circular saw, a miter box, and a chisel, and the joints are just as strong.
How do I stop the lid from closing unevenly? Fit the hinges carefully: mortise them flush, drill pilot holes, and drive the screws by hand. Test the lid after fitting, and adjust one hinge by a fraction of an inch if the lid binds. A tiny, even gap all round the lid is normal and looks intentional.
What should I line a wooden jewelry box with? Velvet is the traditional luxury choice, and felt is a cheaper, easier alternative that comes in many colours. Glue the lining in after the finish has fully cured, cut it slightly oversize, and trim it with a sharp knife for a clean edge.
Can I sell wooden jewelry boxes I make? Yes. Handmade jewelry boxes are popular at craft fairs and online, and they are a strong beginner seller because buyers can see the quality immediately. Price for materials plus your time, photograph the box open and closed, and mention the wood, the lining, and the hardware in your listing.
How do I keep a wooden jewelry box looking good? Dust it with a soft cloth, keep it out of direct sunlight and damp rooms, and refresh an oil finish once a year with a thin wipe-on coat. Store silver jewellery in anti-tarnish pouches inside the box if tarnishing is a concern, and avoid placing the box near radiators or windows.
Final Thoughts
Learning how to make a wooden jewelry box for beginners is really about learning to build a small box well: square cuts, snug joints, a lid that fits, hardware that works, and a finish you are proud of. Take your time with each step, dry-fit before you glue, and do not rush the sanding or the finish. Your first box does not need to be perfect — it needs to be finished, used, and learned from. Build it, give it or keep it, and then build another one. By the third box, you will be amazed at how far your skills have come, and you will have a small collection of beautiful, useful pieces to show for it. Happy building, and enjoy every minute at the bench.
Recommended Products for This Project
As an Amazon Associate, I earn from qualifying purchases.

Titebond III Ultimate Wood Glue 1413 (8 oz)
Water-resistant wood glue for strong joints indoors and out.
IRWIN QUICK-GRIP Mini Bar Clamp 4-Pack, 6-Inch (1964758)
Small clamps sized for delicate parts and tight spaces.
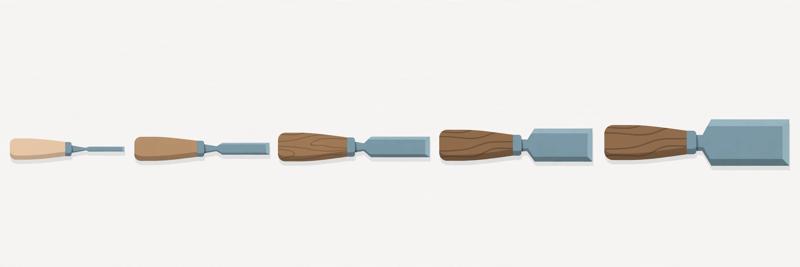
Amazon Basics 8-Piece Wood Chisel Set with Honing Guide and Sharpening Stone
Eight chisels plus a honing guide and sharpening stone for clean joinery.
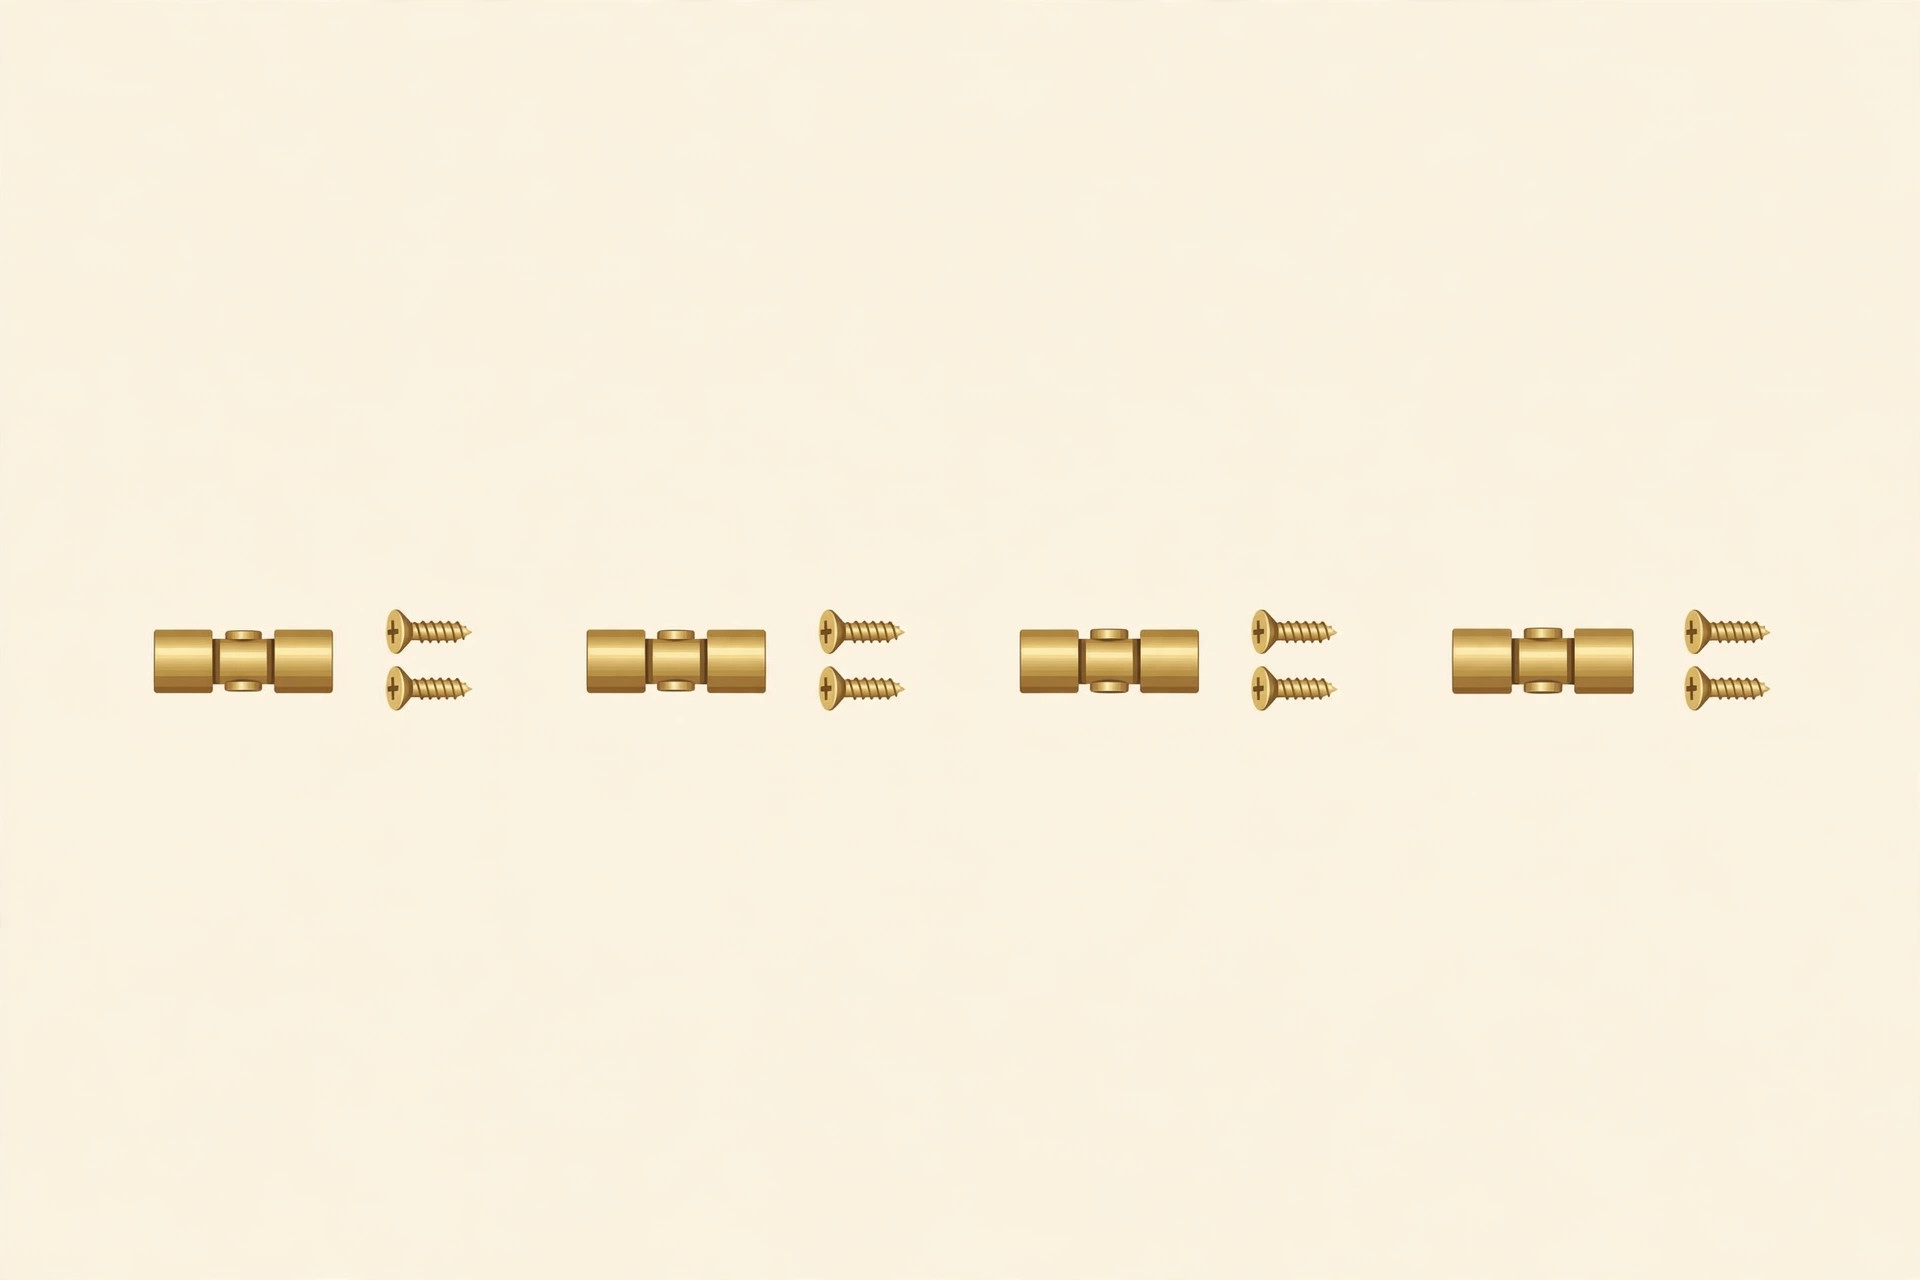
HOJLKLD 8-Pack 8mm Hidden Brass Barrel Hinges for Jewelry Box
Concealed brass barrel hinges that stay invisible on a small jewelry box lid.

DEWALT Concealer Safety Goggles DPG82-11C
Sealed eye protection against dust and flying chips while you cut and sand.


