
Floating shelves look like they defy physics. A thick slab of wood juts straight out of the wall — no brackets, no corbels, no visible means of support — holding books, plants, and picture frames like magic. The good news for beginners is that the magic is just good engineering, and it is well within reach of a first-time builder. If you can measure, drill a straight hole, and drive a screw into a wall stud, you can learn how to build floating shelves for beginners in a single weekend.
This guide covers everything: the three mounting methods (hidden rod brackets, French cleats, and torsion-box frames), the full tools and materials list with a cut list, and a step-by-step build from marking the wall to sliding the finished shelf into place. You will also learn how much weight floating shelves can actually hold, which wall anchors work, what the project costs, and the mistakes that cause sagging or crooked shelves. Floating shelves are also one of the easy woodworking projects for beginners that sell best at craft markets, so the skills here can pay for themselves.
What Are Floating Shelves, and How Do They Stay Up?
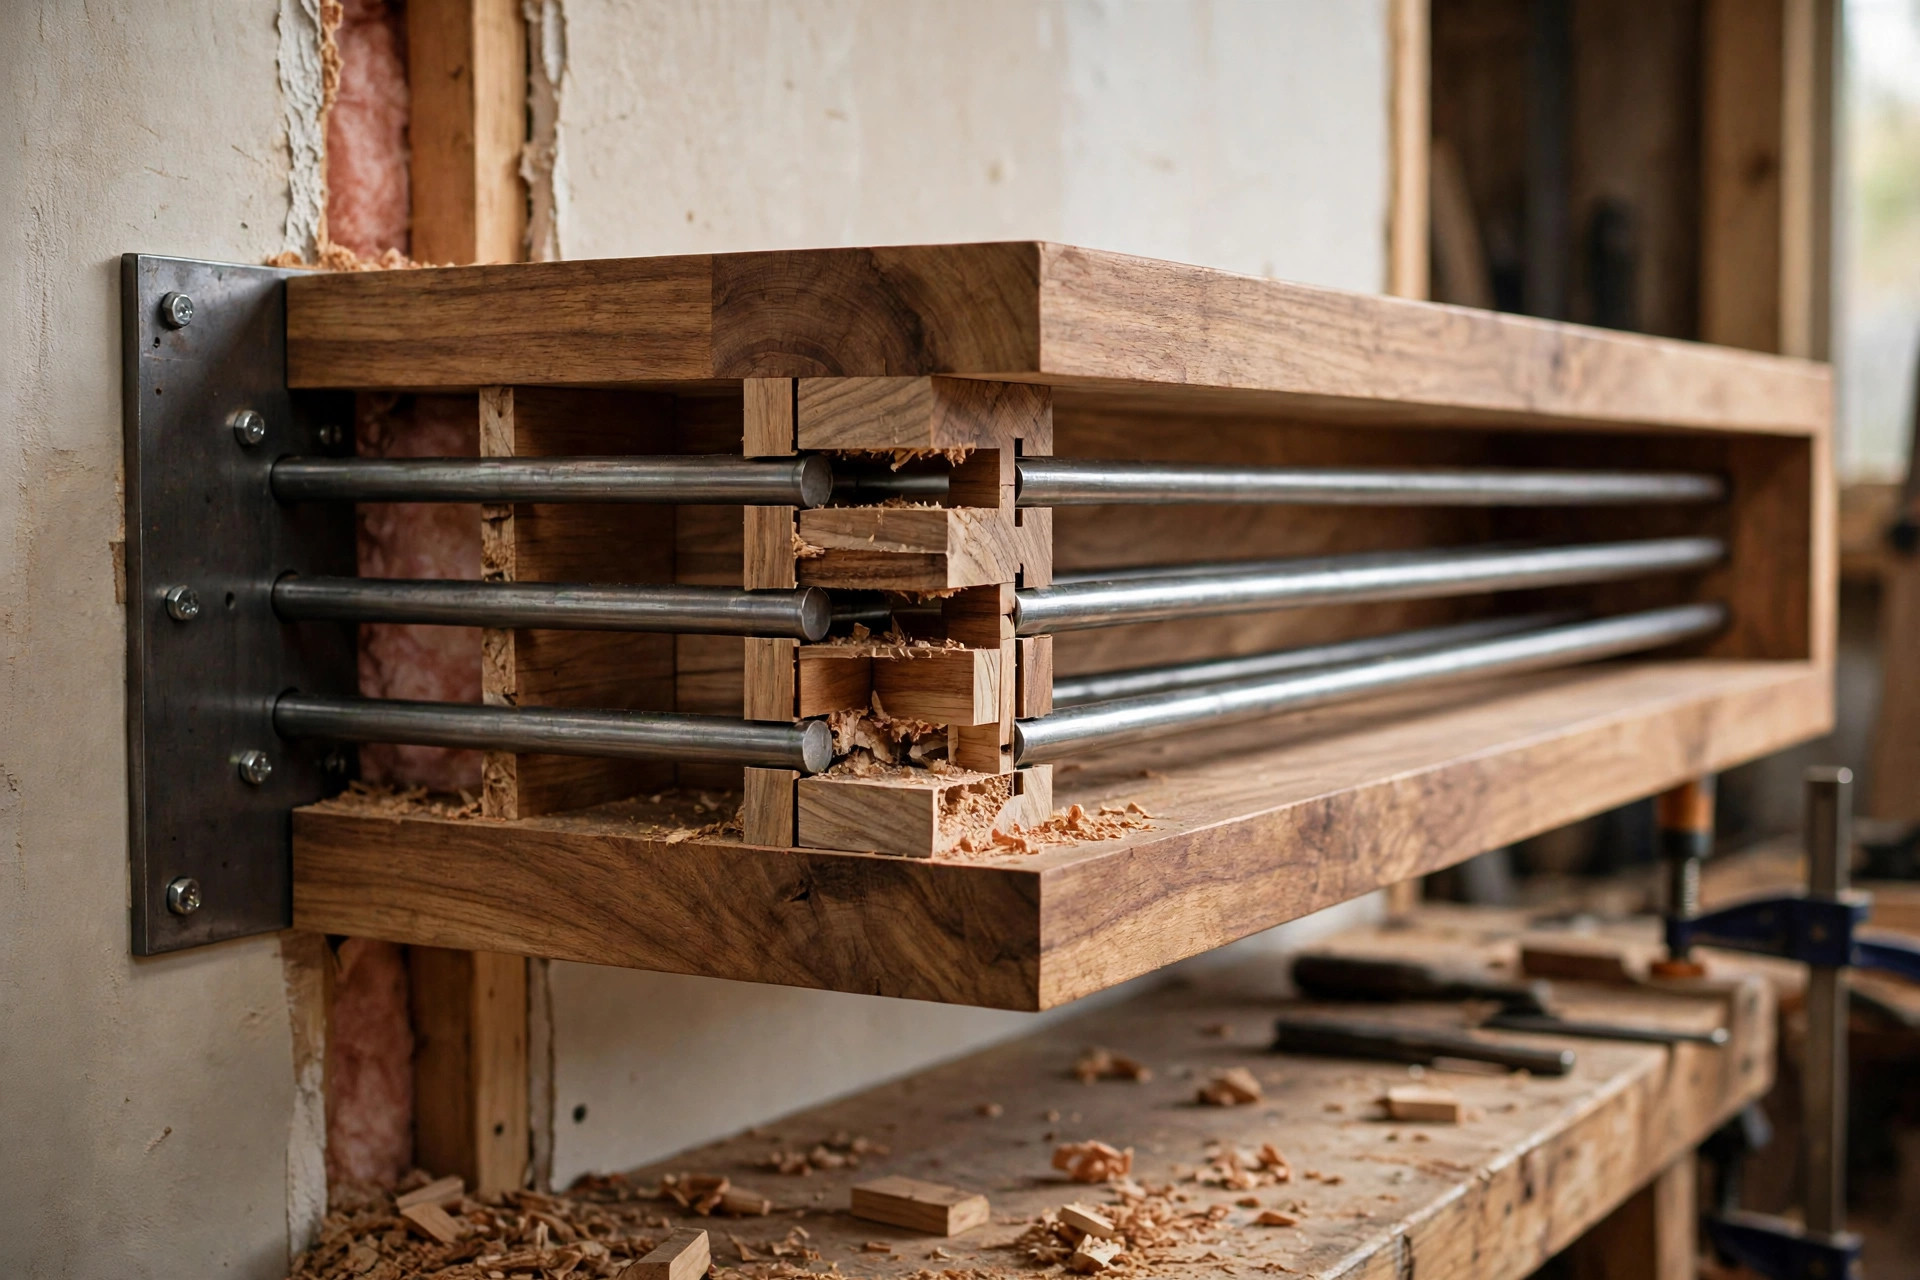
A floating shelf is simply a shelf whose support hardware is concealed — either buried inside the shelf itself or hidden behind it. There is no trick beyond leverage. Steel rods or a beveled wood strip anchor deep into the wall (ideally into the studs), and the shelf slides over or hangs onto that hidden support. Because the rods extend several inches into the shelf, the weight of the shelf and its contents presses down on the rods, and the rods transfer that load back into the wall framing.
The most common beginner method uses a hidden rod bracket: a flat steel plate that screws to the wall with long screws driven into the studs, with four to six steel rods welded to the plate sticking straight out. You drill matching deep holes into the back edge of your shelf board, apply a little glue if you like, and slide the shelf onto the rods. From the front, all you see is wood.
The key insight for beginners is that almost all the strength comes from the wall connection, not the shelf board. A beautiful hardwood shelf mounted with drywall anchors will fail; a plain pine board lag-screwed into three studs will hold a row of hardcovers. Get the mounting right and the rest is straightforward woodworking.
The 3 Mounting Methods for Beginners, Compared
There are three proven ways to mount a floating shelf. Each has a different difficulty level, cost, and weight capacity. Here is how they compare for a typical beginner build mounted into wall studs:
| Method | Difficulty | Typical Max Load* | Hardware Cost | Best For |
|---|---|---|---|---|
| Hidden rod (blind) brackets | Easy | 20–35 lbs per 36″ shelf | $12–$25 per shelf | Solid wood boards 1.5″+ thick |
| French cleat | Easy–Medium | 25–40 lbs per 36″ shelf | $5–$10 (shop-made) | Heavy items, easy leveling, painted shelves |
| Torsion-box / hollow frame | Medium | 15–25 lbs per 48″ shelf | $10–$20 per shelf | Long, lightweight, extra-wide shelves |
*Loads assume the bracket is screwed into wall studs and weight is evenly distributed across the shelf. Drywall-only mounting cuts these numbers dramatically — see the weight section below.
Method 1: Hidden Rod Brackets (Recommended for Beginners)
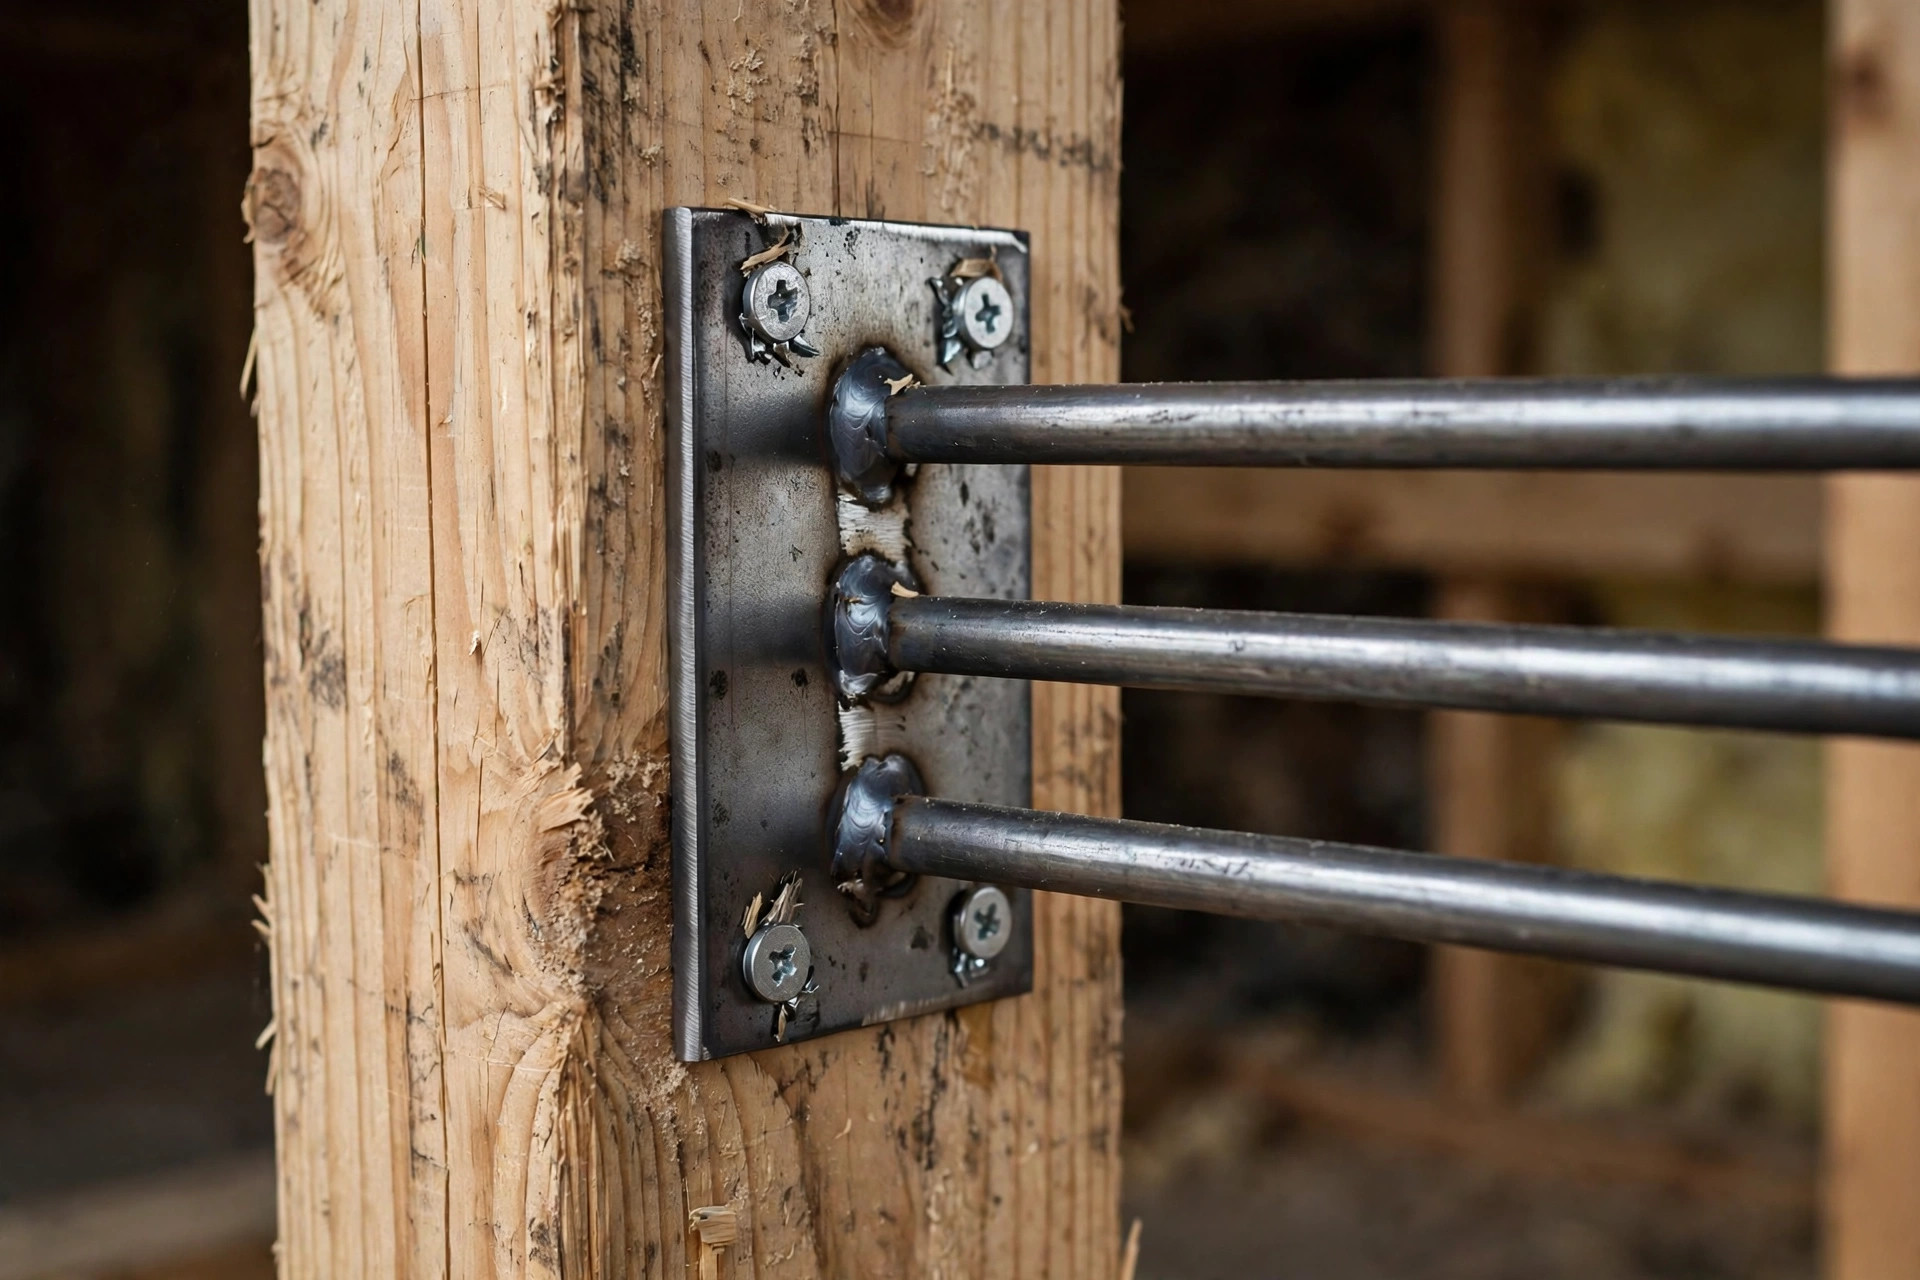
This is the method this guide follows step by step. You buy a ready-made bracket — a steel plate with welded rods — screw the plate into the studs, drill holes in the back of your shelf, and slide it on. There is no joinery to cut and no angles to calculate. The only skill that matters is drilling the rod holes straight and deep, which a simple drill guide or a careful hand can manage. Most brackets include small set screws underneath that let you fine-tune the level after the shelf is on, which forgives minor imperfections.
Choose a bracket with rods sized for your shelf depth: for a 9- to 10-inch-deep shelf, look for rods at least 5 inches long. The plate should be wide enough to catch at least two studs (studs are typically 16 inches apart), so a 36-inch shelf with a full-width plate will usually hit two or three studs.
Method 2: French Cleat
A French cleat is two strips of wood with matching 45-degree bevels — one screwed to the wall (bevel facing up and out), one screwed to the back of the shelf (bevel facing down and in). The shelf drops onto the wall strip and gravity locks the bevels together. It is extremely strong, self-leveling along its length, and easy to remove later. The trade-off is a small visible gap behind the shelf and the need to cut an accurate 45-degree bevel, which requires a table saw or a circular saw with a straightedge guide. It is an excellent choice for painted shelves or shop shelving where the back gap does not matter.
Method 3: Torsion-Box / Hollow Frame Style
For very long or deep shelves, a solid slab gets heavy and expensive. A torsion-box shelf is a hollow frame — thin plywood top and bottom glued over a grid of internal ribs — that looks like a thick solid shelf but weighs a fraction as much. You hang it on a French cleat or a pair of hidden rods. Building the box involves more measuring, gluing, and clamping, so save this method for your second or third shelf project, when you want a 4- or 5-foot mantel-style shelf without the weight of solid timber.
Tools You’ll Need
You probably own half of this list already, and the rest is the same basic kit used across dozens of easy woodworking projects. Nothing here is exotic:
- Tape measure and sharp pencil
- Stud finder (a magnetic one works and costs a few dollars)
- Level — 24 inches minimum; 48 inches is ideal for marking long level lines
- Drill/driver with a full bit set
- 1/2-inch drill bit (spade bit or Forstner bit) for the rod holes, plus a drill guide jig or drill press if you have one
- Miter saw or circular saw for cutting boards to length (many lumberyards will make the cuts for you)
- Random orbit sander with 80, 120, and 220-grit discs
- Clamps — helpful but optional for this build
- Painter’s tape for laying out placement on the wall
Materials and Cut List
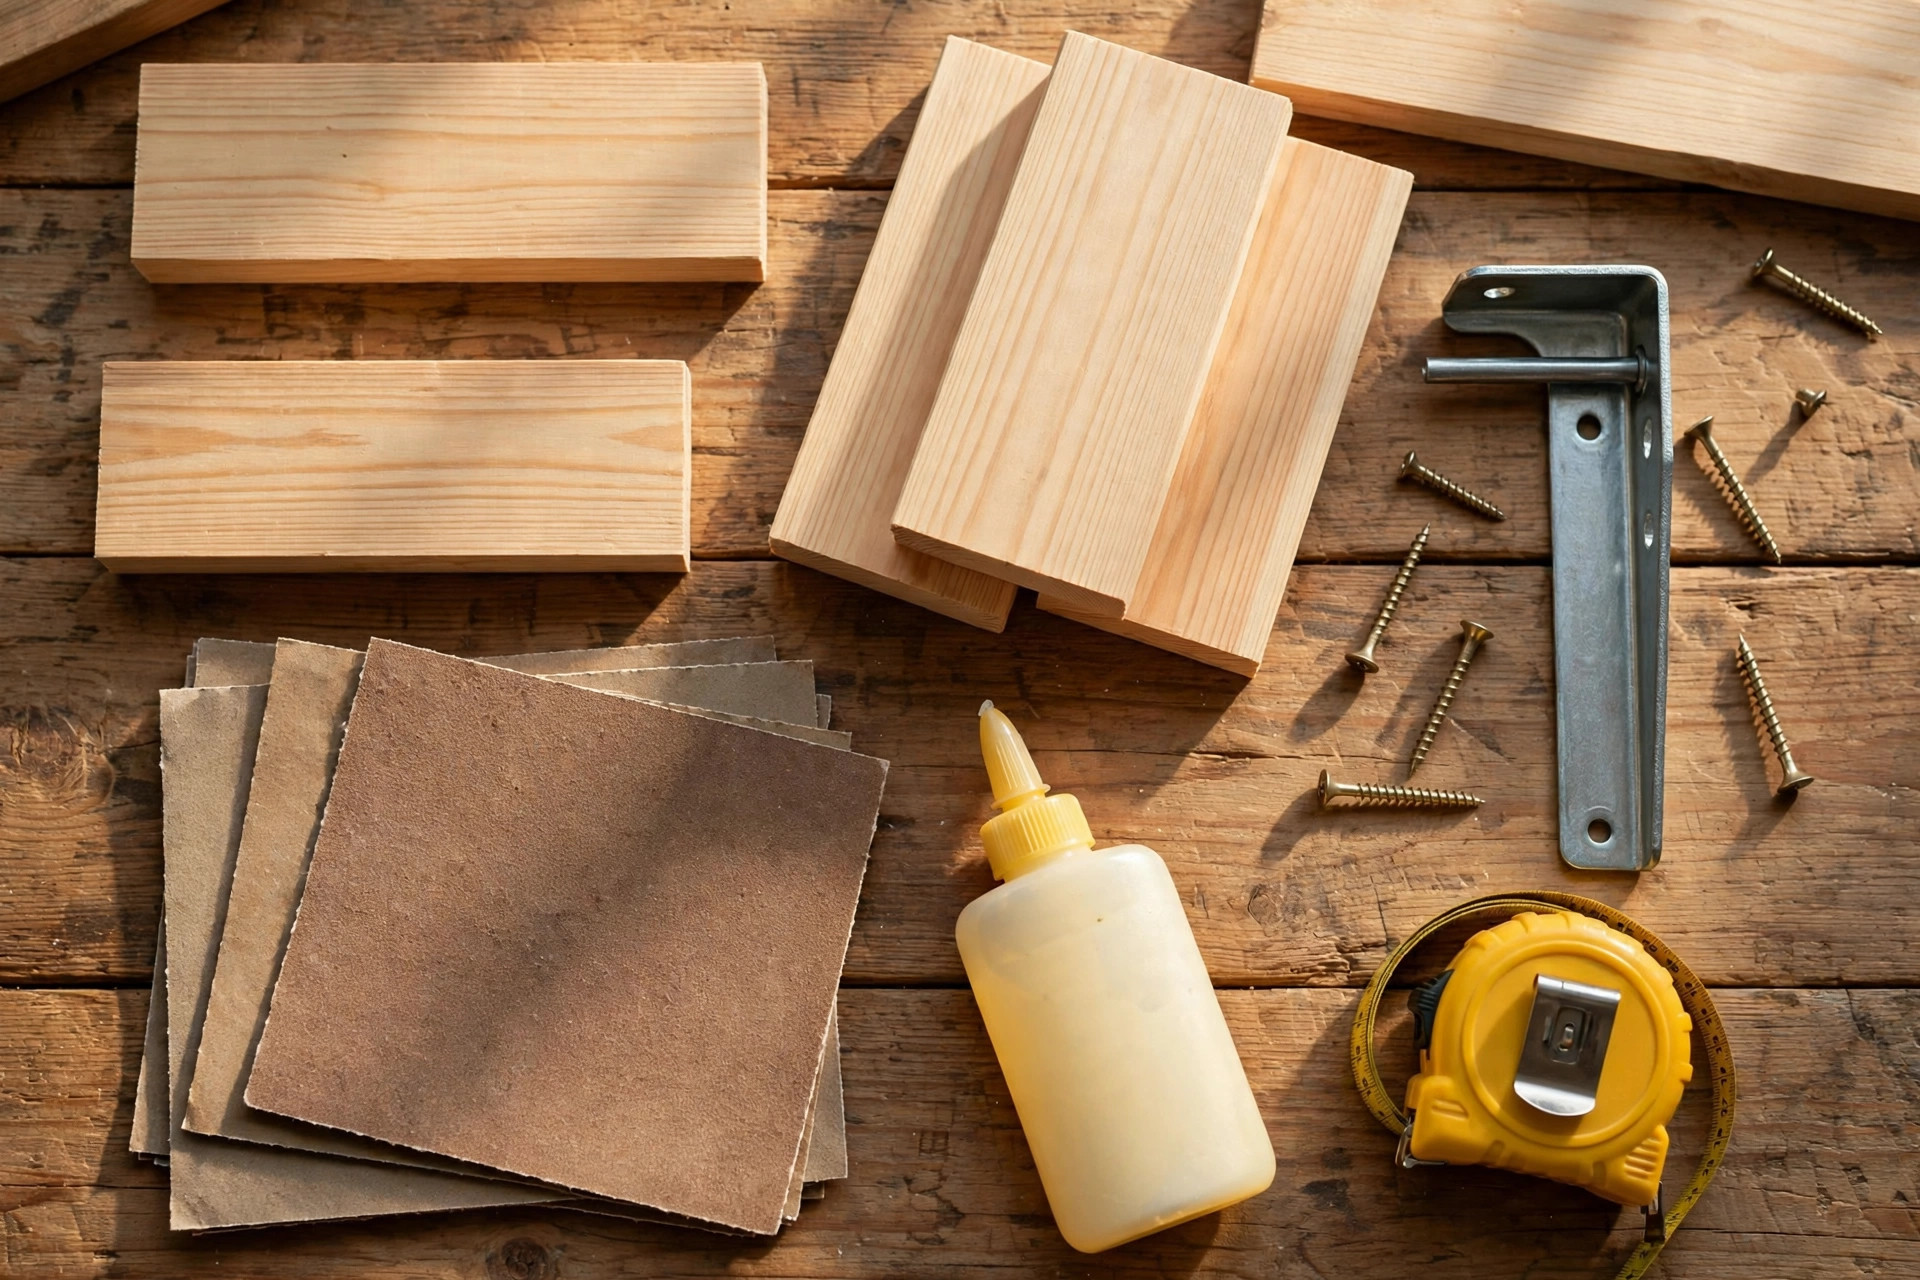
This cut list builds two 36-inch floating shelves, each 9-1/4 inches deep and 1-1/2 inches thick — a classic size for living rooms, bedrooms, and home offices. Buying a 2×10 board gives you the full 1-1/2-inch thickness with no laminating required.
| Part | Size | Qty | Notes |
|---|---|---|---|
| 2×10 pine board (actual 1.5″ × 9.25″) | 36″ long | 2 | Shelf boards; upgrade to oak or walnut for a premium look |
| Hidden rod bracket, 5-rod | For 9–10″ deep shelves | 2 | One per shelf; rods 5″+ long |
| Structural screws or lag screws | 1/4″ × 3″ | 12 | For fastening bracket plates into studs |
| Wood glue | — | 1 small bottle | Optional; secures shelf to rods |
| Sandpaper | 80 / 120 / 220 grit | 1 pack each | For the full sanding sequence |
| Wipe-on polyurethane or hardwax oil | — | 1 can | Finish of choice |
| Painter’s tape | 1″ wide | 1 roll | Wall layout and marking |
If you prefer thinner shelves, a 1×10 board (actual 3/4-inch thick) works with shorter-rod brackets, but the chunky 1-1/2-inch look is more forgiving to drill and reads as more “custom built.” Hardwood boards cost more but take stain beautifully — pine is the budget-friendly beginner choice and looks great with a clear finish.
Step 1: Plan Your Placement and Mark the Wall
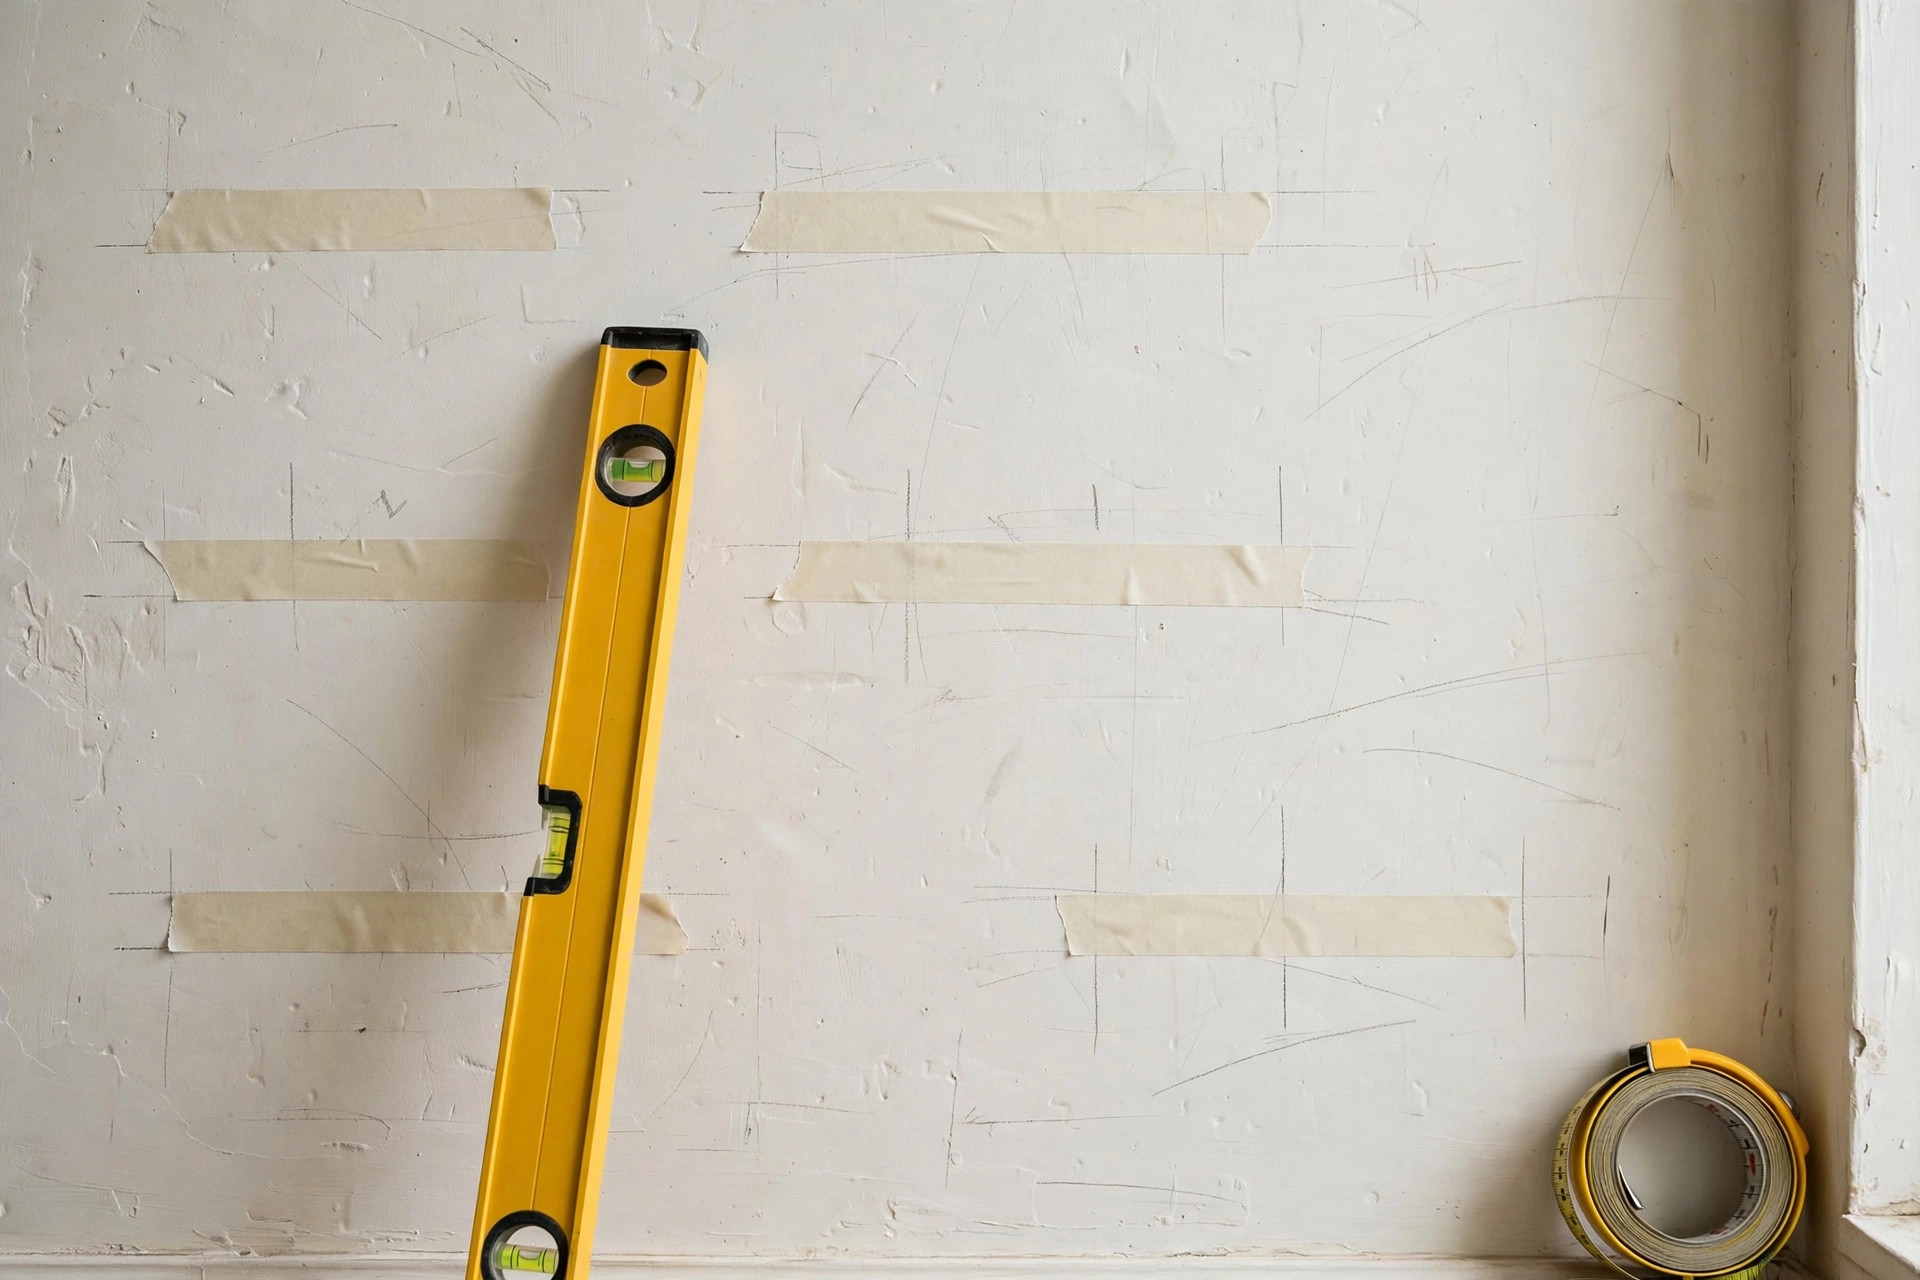
Resist the urge to start drilling. Ten minutes of planning prevents the two most common beginner failures: a shelf that misses the studs and a shelf that is not level.
- Tape it out first. Stick painter’s tape on the wall in the exact outline of each shelf — length and height. Step back and look. Check sight lines from the doorway, clearance above furniture (12–18 inches above a desk or console is typical), and spacing between multiple shelves (12–18 inches apart vertically gives books and decor breathing room).
- Find every stud. Run your stud finder across the taped area and mark each stud center with a small pencil mark plus a strip of tape. Standard framing puts studs 16 inches apart, so a 36-inch shelf should cross at least two studs, often three. If your ideal placement lands between studs, shift the shelf a few inches — hitting studs matters more than perfect symmetry.
- Draw your level line. Hold your level (or a long straightedge with a level on top) at the bottom edge of where the shelf will sit and draw a light, level pencil line across the full shelf length. This line is your reference for everything that follows. Double-check it: an error here becomes a visibly crooked shelf.
Step 2: Cut and Sand the Shelf Boards
Cut your boards to final length — a miter saw gives the cleanest crosscuts, but a circular saw with a speed square as a guide works fine. If the lumberyard cut them for you, verify the lengths match before you leave the store.
Sand in sequence: 80 grit to remove mill marks and even out the faces, 120 grit to erase the 80-grit scratches, then 220 grit for a smooth, finish-ready surface. Always sand with the grain, and ease the sharp edges and corners with a few passes of 120 grit — slightly softened edges look more professional and are less likely to splinter. Wipe the boards down with a tack cloth or a damp rag and let them dry completely before moving on.
Step 3: Drill the Rod Holes Straight
Mark, drill, and test-fit
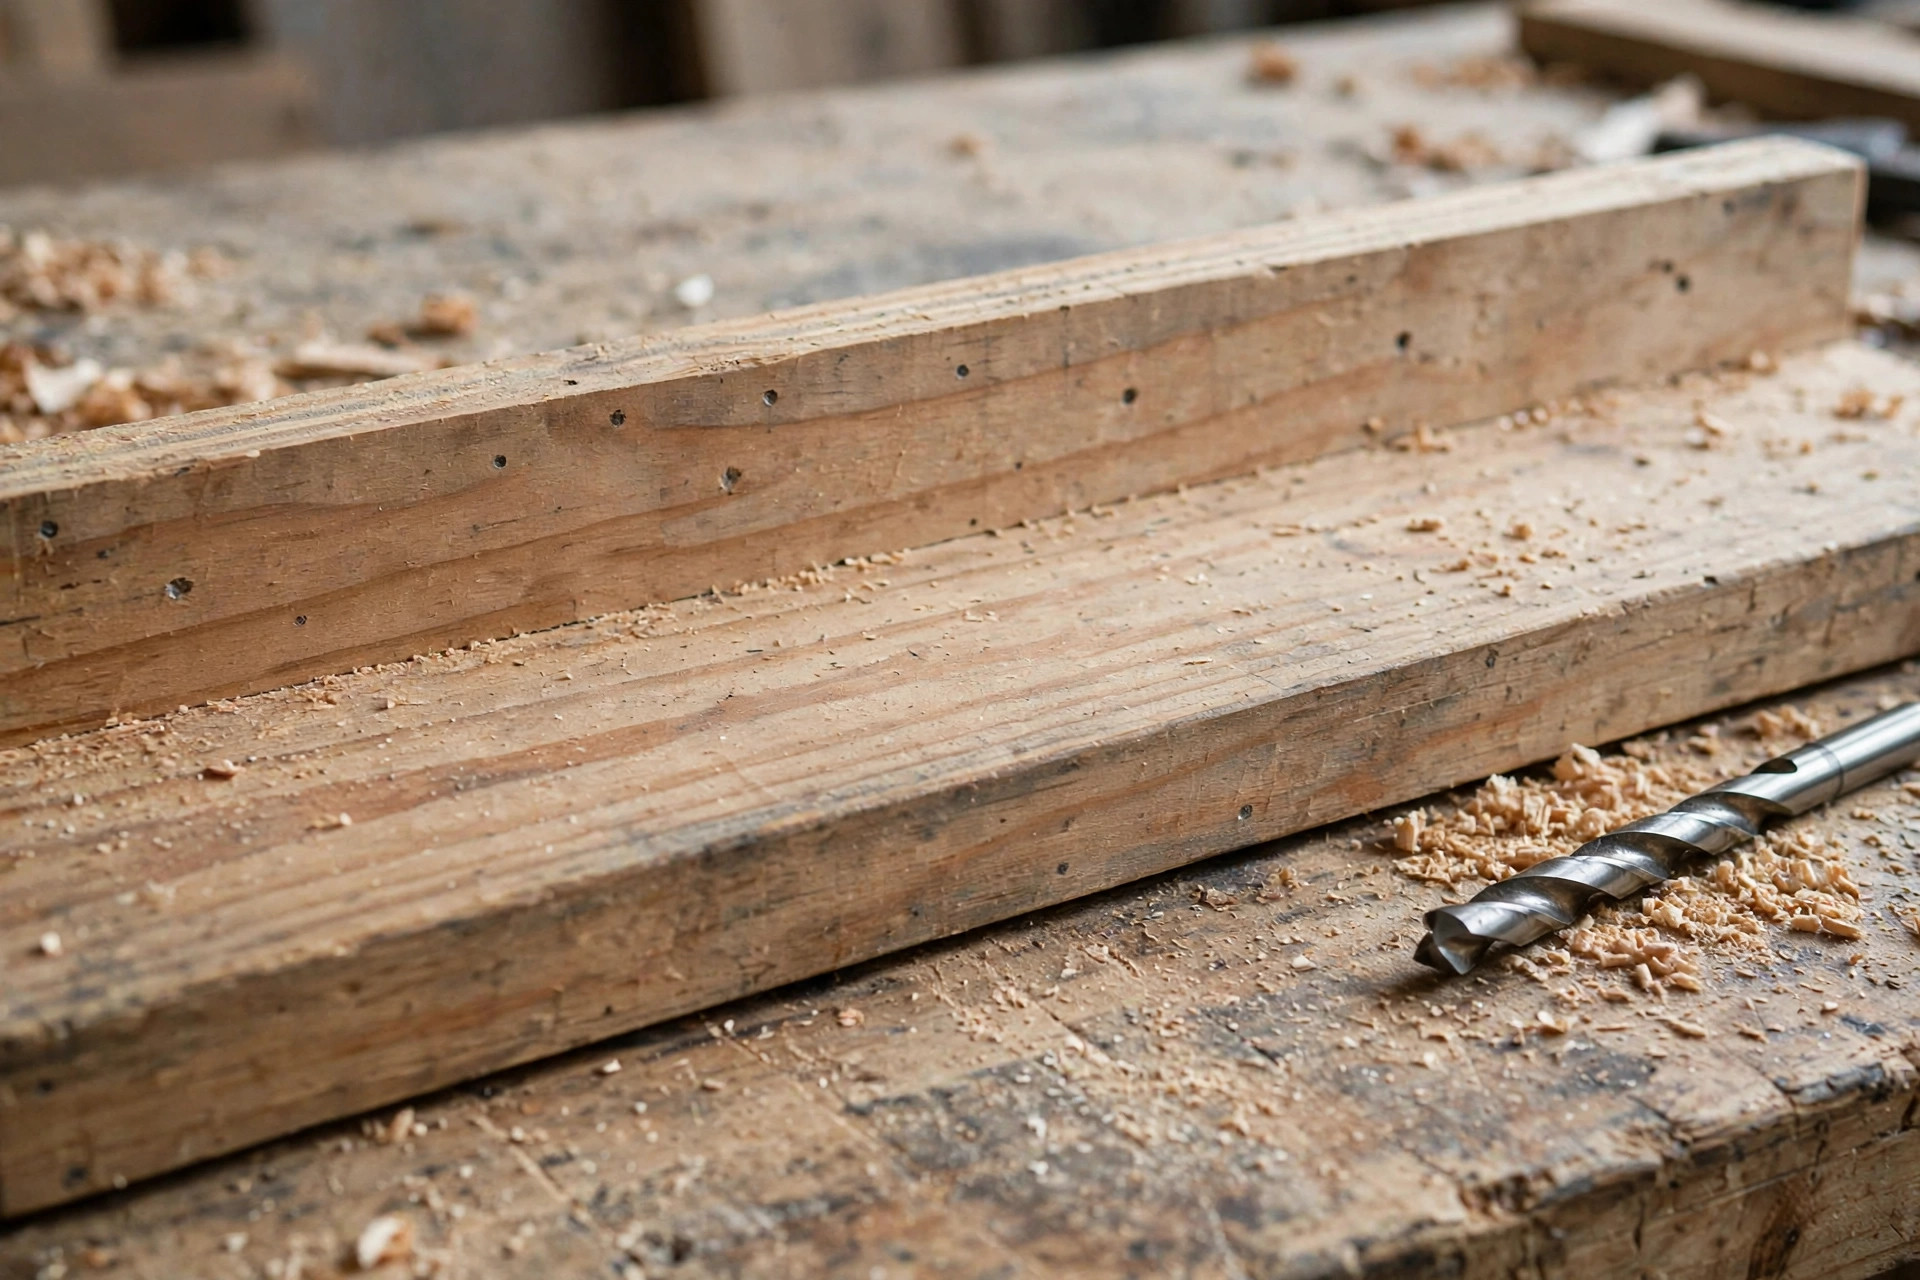
This is the single most skill-dependent step, so slow down here.
- Transfer the rod positions. Hold the bracket plate against the back edge of the shelf board (or measure the rod spacing on the bracket) and mark each rod center on the board’s back edge with a pencil. Mark the drilling depth on your bit with a piece of tape — for 5-inch rods, drill about 4-1/2 inches deep so the shelf seats fully without bottoming out.
- Drill perpendicular. The holes must go straight into the board, parallel to its faces. A drill press makes this trivial; a portable drill guide jig is the next best thing. Freehand, brace the board upright in a vise or against a square corner, start the hole with a brad-point or Forstner bit so it does not wander, and check your angle from two sides as you go. Drill in short pecks, backing out to clear chips so the bit does not overheat or drift.
- Test-fit before finishing. Slide the shelf onto the bracket rods while everything is still unfinished. It should slide on with firm hand pressure — snug, not forced. If a hole is tight, ream it slightly with the drill bit. If a hole wandered badly, you can plug it with a glued dowel and re-drill. Discovering this now, rather than after finishing, saves the project.
Building the French cleat version instead? Rip a 45-degree bevel along one edge of a 3- to 4-inch-wide strip for the wall and a matching strip for the shelf back, then screw the shelf strip to the back of the board with the bevel facing down and inward. The shelf then hooks over the wall strip.
Step 4: Apply the Finish Before You Mount
Always finish the shelves before they go on the wall. You get full coverage on every face and edge, no drips on your paint, and you can lay the boards flat so the finish levels out smoothly.
For pine, a clear wipe-on polyurethane or hardwax oil keeps the process beginner-proof: wipe on a thin coat, let it cure, scuff lightly with 220 grit or a fine sanding pad, wipe off the dust, and repeat for two to three coats. If you want color, apply stain first, let it dry fully, then topcoat. Let the final coat cure for the time stated on the can — usually 24 hours — before handling the shelves for mounting. Rushing this step leaves fingerprints and dents in soft finish.
Step 5: Mount the Bracket Into the Studs
- Hold the bracket plate against the wall with its top edge on your level pencil line.
- Mark the screw holes that land on stud centers. You want a screw in every stud the plate crosses — never rely on one stud plus drywall anchors for a loaded shelf.
- Pre-drill pilot holes slightly smaller than your screw shanks; this prevents splitting the stud and makes driving 3-inch screws far easier.
- Drive the structural screws or lag screws with your drill/driver or a socket wrench. Check the plate with your level after the first screw and after the last — tighten in a way that does not pull the plate off level.
- Give the mounted bracket a firm tug. It should feel like part of the wall. Any flex here becomes sag later.
Step 6: Slide the Shelf On, Level, and Lock It
Slide the finished shelf onto the rods with steady pressure. Check level in both directions: side to side along the front edge, and front to back. Most hidden-rod brackets have small set screws on the underside of the plate — tightening them lifts the front edge in fine increments, which is how you dial out the last degree of tilt. If your bracket lacks set screws, a thin shim between the plate and the wall at the bottom screw does the same job.
Stand back and sight along the shelf from the side. A perfectly level shelf and one that is a quarter-bubble off look identical from across the room — do not chase perfection past what the eye can see. Once you are happy, a dab of wood glue on the rods before the final slide makes the shelf permanent; skip the glue if you think you may want to remove the shelf later.
How Much Weight Can Floating Shelves Hold?
This is the question every beginner asks, and the honest answer is: it depends almost entirely on the wall connection.
- Into wood studs with hidden rod brackets: a 36-inch shelf screwed into two or three studs typically holds 20–35 pounds of evenly distributed weight — a row of books, framed photos, and a small plant. A French cleat in the same situation manages about the same or slightly more.
- Keep heavy items near the wall. A floating shelf is a lever: weight at the front edge multiplies the pull-out force on the top screws. Books pushed toward the back are far safer than a heavy vase at the front lip.
- Drywall anchors alone: 5–10 pounds of light decor at most, and only with quality toggle bolts — never with simple plastic expansion anchors. If it would hurt or break something valuable falling, it needs studs.
- Longer shelves hold less per foot. A 48-inch shelf on the same bracket flexes more in the middle; keep loads lighter and consider a third bracket or a center support for spans over 42 inches.
When in doubt, load the shelf gradually and check for any downward creep at the front edge over the first week. A shelf that stays put for seven days under load is a shelf you can trust.
Which Walls Work — and Which Anchors to Use
- Drywall over wood studs: the ideal case. This guide assumes it. Always drive bracket screws into the studs, not just the drywall.
- Plaster and lath: workable, but find the studs (a strong magnet helps locate the nails) and pre-drill carefully — plaster cracks if you force screws. Expect some patching around the bracket.
- Concrete, brick, or block: skip wood screws entirely and use sleeve anchors or wedge anchors rated for the load, drilling with a hammer drill and masonry bit. The bracket mounts the same way once the anchors are set.
- Metal studs or hollow drywall with no stud access: light decor only. Use snap-toggle bolts through the drywall and keep total load under about 10 pounds per shelf. For anything heavier, open the wall and add wood blocking between studs — a bigger job, but the only safe route.
Styling and Spacing Tips
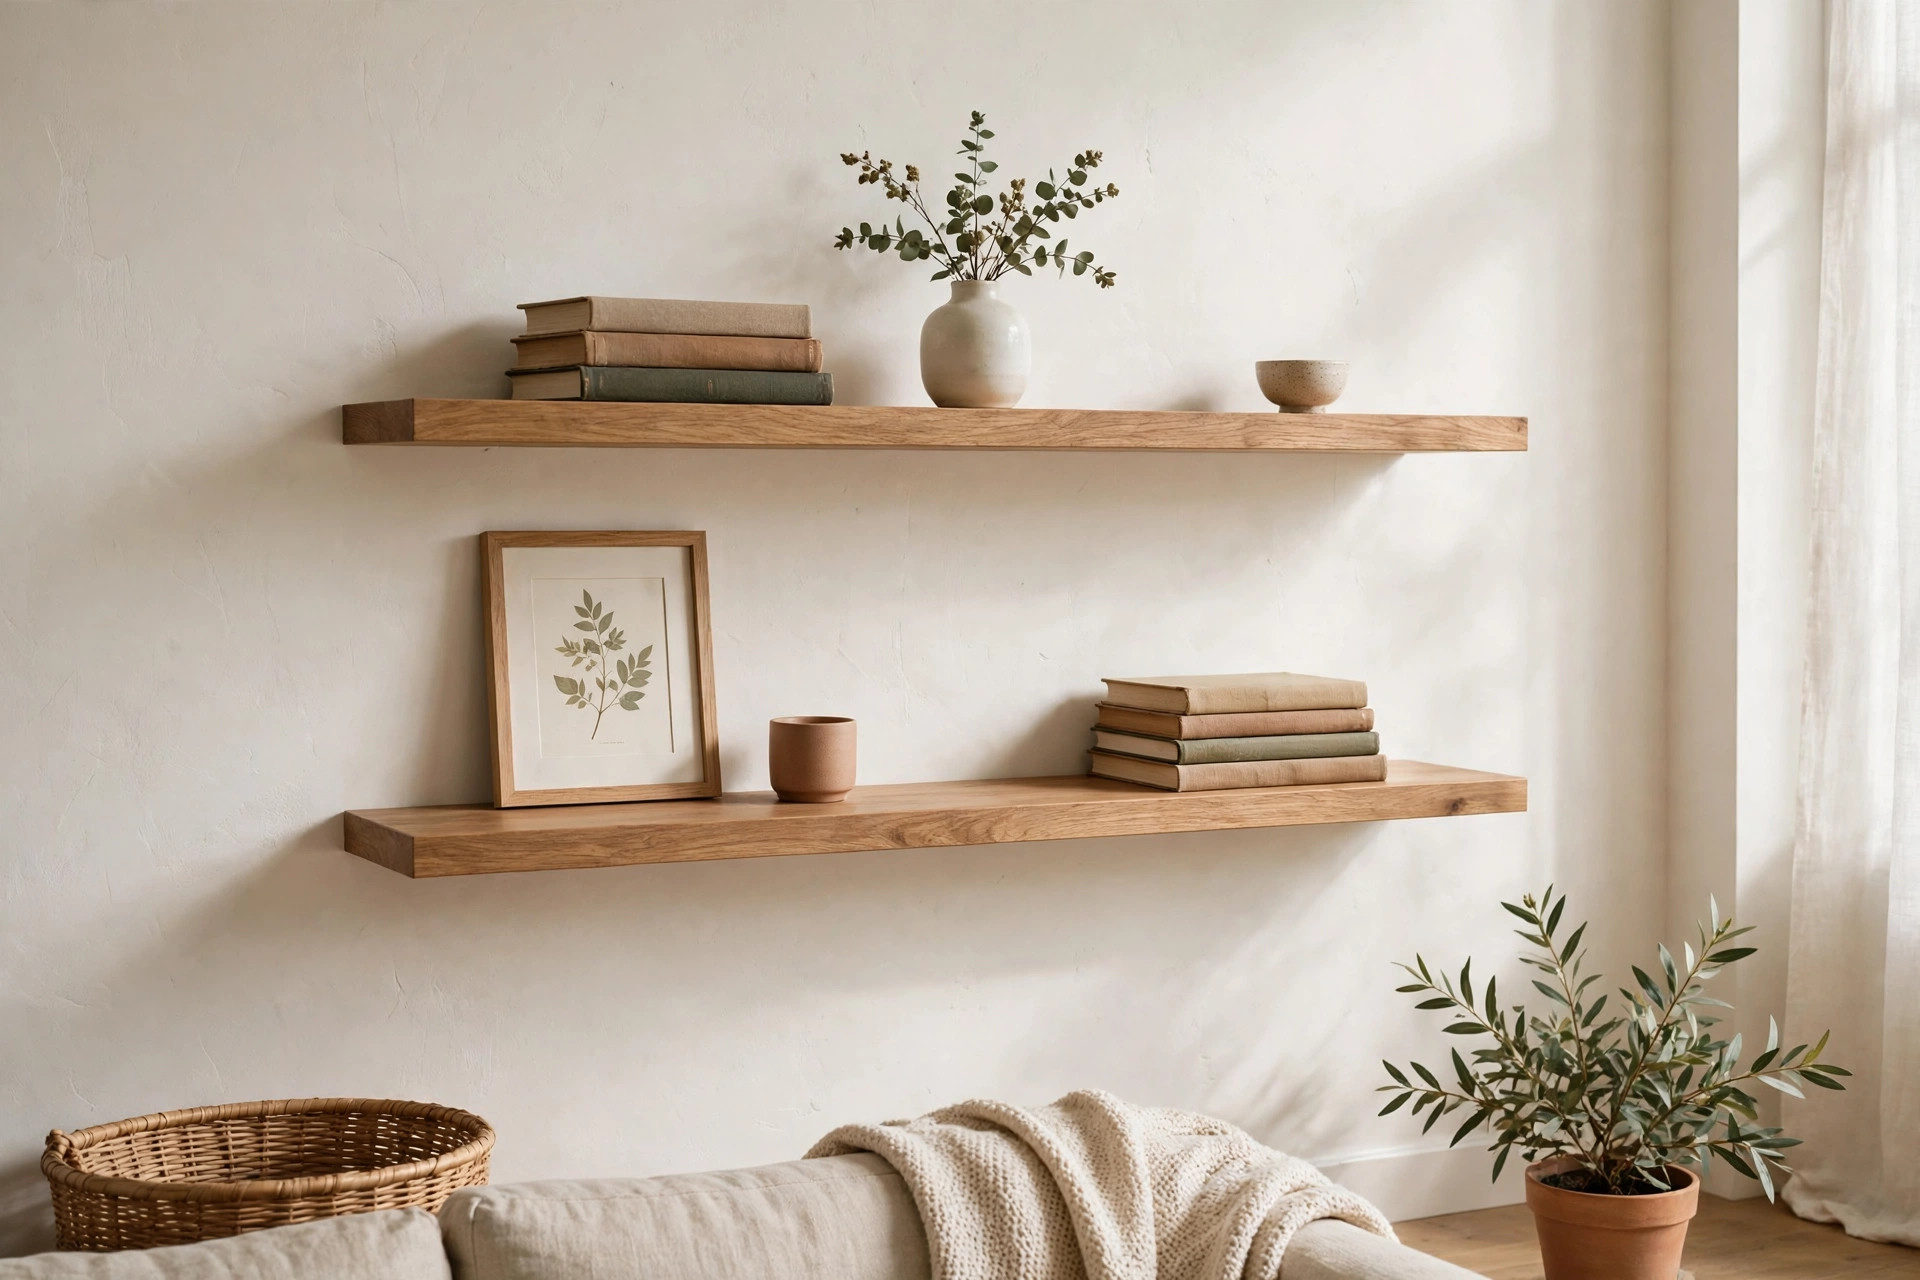
A well-built shelf still needs good styling to look intentional rather than cluttered:
- Spacing: 12–18 inches of vertical space between shelves fits most books and decor. In kitchens, measure your tallest items first — stand mixers and tall vases dictate the gap.
- Depth: 8–10 inches deep suits books and general decor; go 10–12 inches for kitchens and bathrooms where items are bulkier.
- The rule of thirds: group items in odd numbers, vary heights, and leave about a third of each shelf empty. Negative space is what makes shelves look styled instead of stuffed.
- Anchor with something large: one bigger item per shelf — a stack of art books, a large frame, a trailing plant — gives the eye a resting place.
- Hide the practical stuff: attractive baskets or boxes on a lower shelf swallow remotes, chargers, and clutter while keeping the display shelves clean.
What Does It Cost to Build Floating Shelves?
One of the best arguments for building instead of buying is the price. A comparable solid-wood floating shelf at a home store runs $40–$90 each. Building your own:
| Expense | Typical Cost |
|---|---|
| 2×10 pine board (makes 2 shelves) | $14–$22 |
| Hidden rod brackets (2) | $24–$50 |
| Structural screws | $6–$9 |
| Sandpaper + finish (shared across projects) | $8–$12 |
| Total for 2 shelves | ~$52–$93 ($26–$47 per shelf) |
Build with construction-grade pine and shop-made French cleats instead of store-bought brackets, and the per-shelf cost drops under $20. And if you batch several sets at once, floating shelves become genuinely profitable — they are consistently among the easy woodworking projects for beginners that sell at the best margins, since buyers pay for the thick, solid-wood look that is expensive at retail.
7 Beginner Mistakes to Avoid
- Missing the studs. Screws in drywall alone will hold for a week and fail on a bad day. Every bracket screw that carries load must bite into solid framing.
- Drilling rod holes at an angle. Even a few degrees of drift means the shelf will not slide on or will sit crooked. Use a drill guide and check your angle from two sides.
- Finishing after mounting. Stain drips on walls, missed edges, and dust nibs in the finish — finish flat on the bench, then mount.
- Setting the bracket “close enough” to level. A bracket that is off by two degrees becomes a shelf front edge sitting half an inch low. Level the plate, not just the shelf.
- Overloading past the rating. Books are deceptively heavy — a full 36-inch shelf of hardcovers can top 30 pounds by itself. Distribute weight and respect the limits above.
- Making the shelf too deep for the bracket. Rods should reach at least halfway into the shelf depth. Short rods in a deep shelf create a diving-board effect.
- Skipping the between-coats sanding. Finish looks dramatically better with a quick 220-grit scuff between coats. It takes five minutes and is the difference between amateur and professional results.
One more note: if you are building with children, save wall mounting for the adults. For a simpler first build to enjoy together, these wood projects for kids are a better starting point — then come back to floating shelves once everyone is comfortable with the tools.
FAQ: Building Floating Shelves for Beginners
Do floating shelves have to go into studs?
For anything heavier than light decor, yes. Studs provide the pull-out resistance that keeps a loaded shelf from levering off the wall. Drywall-only anchors are fine for a 5-pound decorative shelf with toggle bolts, but books, dishes, or plants belong on studs.
How thick should a floating shelf be?
1-1/2 inches is the sweet spot for beginners: thick enough to drill deep rod holes and to look substantial on the wall, while still affordable in pine. Thinner 3/4-inch shelves work but need shorter-rod brackets and hold less weight.
Can I build floating shelves without a drill press?
Absolutely. A portable drill guide jig (under $30) keeps holes perpendicular with a hand drill, and careful freehand drilling with frequent angle checks works too. The drill press is a luxury, not a requirement.
How do I find studs if I don’t have a stud finder?
Knock along the wall and listen for the solid thunk versus the hollow sound, then confirm with a thin finish nail in an inconspicuous spot — or use a strong magnet to find the drywall screws fastening the drywall to the studs. Outlets and light switches are usually mounted to the side of a stud, which gives you a starting reference.
Why is my floating shelf sagging in the front?
Almost always one of three causes: the bracket is not screwed into studs, the rod holes were drilled at a downward angle, or the shelf is overloaded at the front edge. Check the mount first — nine times out of ten, that is the fix.
How far apart should floating shelves be spaced?
12–18 inches apart vertically for general decor and books. Measure your tallest intended item and add 2–3 inches of clearance. Horizontally, a few inches of gap between shelf runs looks deliberate; butted-together runs read as one long shelf.
Can floating shelves hold books?
Yes — books are the classic floating-shelf load. A 36-inch shelf mounted into two or three studs with hidden rod brackets comfortably holds a row of books (20–30 pounds). Push books toward the wall rather than the front edge, and spread very heavy art books across the shelf instead of stacking them all in one spot.
Your Turn to Build
You now know more than enough to learn how to build floating shelves for beginners: pick the hidden-rod method, anchor into studs, drill straight holes, finish before mounting, and respect the weight limits. Your first shelf might take a full Saturday; your third will take an afternoon. And once wall mounting feels routine, a whole workshop of projects opens up — browse these easy woodworking projects for your next build, from workbenches to storage pieces that use the same core skills. Measure twice, drill straight, and enjoy the moment the shelf slides on and just… floats.



Pingback: 25 Easy Woodworking Projects for Beginners That Sell Fast