
Ask any experienced woodworker what separates an amateur project from a professional one, and you will hear the same answer almost every time: it is not the cuts, the joints, or the design. It is the finish. A project that is sanded and finished well looks like it came from a store. A project that is sanded badly looks homemade in the worst way, no matter how carefully you measured and cut it.
The good news is that sanding and finishing are skills, not talents. They follow a clear sequence of steps, and once you understand the logic behind each step, you can get genuinely beautiful results on your very first project. This guide on how to sand and finish wood for beginners walks you through everything in order: which sandpaper grits to use and why, whether to sand by hand or with an orbital sander, how to remove dust, how to deal with blotchy pine, which finish to choose, how to apply stain without streaks, and the safety rules that actually matter. Follow it once, and finishing will stop being the scary part of woodworking.
If you are still deciding what to build first, the finish you choose should match the project. Some of the easy woodworking projects for beginners that sell on that list — cutting boards, shelves, small boxes — are perfect first candidates for practicing these techniques, because the finish is what makes buyers notice them.
Why Sanding Matters More Than You Think
Sanding does three jobs at once, and beginners often only think about the first one. First, it makes the surface smooth and pleasant to touch, removing mill marks, dried glue spots, splinters, and the rough feel left by the saw blade. Second, it prepares the wood to absorb stain and finish evenly. Wood fibers that are crushed or uneven will soak up stain in patches, which is one of the biggest reasons beginner finishes look blotchy. Third, sanding creates a mechanical bond for the finish. A finish does not just sit on top of the wood; the tiny scratches left by fine sandpaper give it something to grip, which is why a properly sanded surface holds up for years while a glossy-but-unprepared surface peels.
There is also a fourth reason that nobody talks about: sanding is forgiving. It erases the small mistakes that are unavoidable when you are learning — pencil marks, a slightly uneven edge, a glue squeeze-out you missed. Build the habit of sanding every project well, and your craftsmanship will look better than your cutting skills for the first year. That is completely normal, and it is why finishing is the highest-leverage skill a beginner can learn.
Sandpaper Grits Explained: The Progression That Makes or Breaks Your Finish
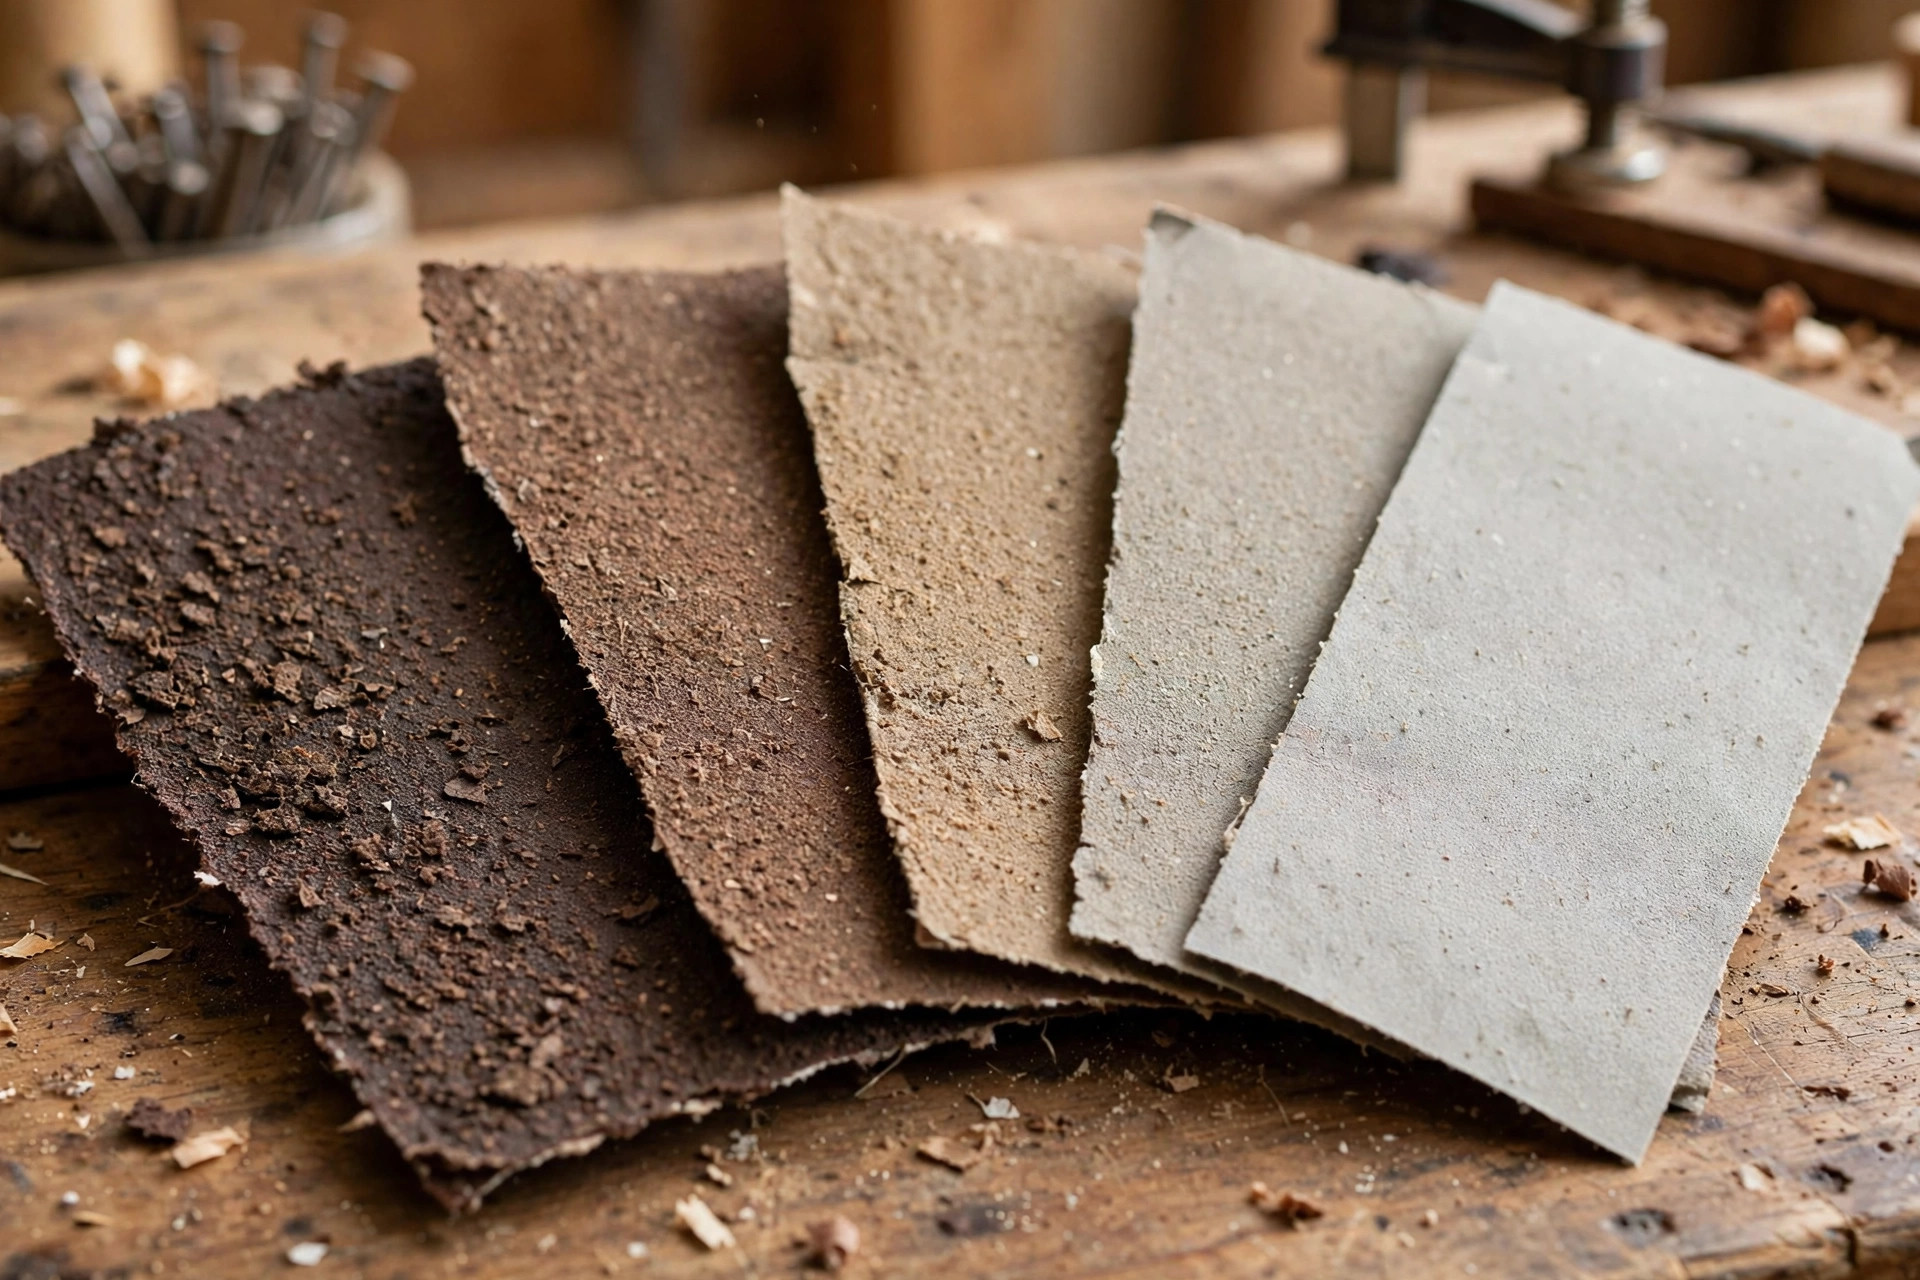
Sandpaper grit numbers run in the opposite direction of what you might expect: a low number means coarse, aggressive paper, and a high number means fine, gentle paper. The single most important rule of the whole process is this — you work from coarse to fine, never jumping more than one “step” at a time. Each grit’s job is to remove the scratches left by the previous grit. If you jump from 80 to 220, the 220 paper is too fine to erase the deep 80-grit scratches, and you will end up with a surface that looks smooth until the finish goes on and reveals every scratch you left behind.
Here is the grit guide to keep near your workbench:
| Grit | Purpose | When to Use |
|---|---|---|
| 60–80 | Heavy material removal | Rough lumber, stripping old finish, leveling uneven boards or thick glue spots |
| 100–120 | General smoothing | After rough sanding; or as your starting grit on pre-surfaced boards from the store |
| 150–180 | Refining the surface | Middle step that erases 120-grit scratches; final prep before oil finishes |
| 220 | Final sanding | The last grit before stain, oil, or clear finish on most projects |
| 320–400 | Between coats | Light scuffing between finish coats; also the final sand before painting |
When to Start at 80 vs 120 Grit
Start at 80 grit when the wood needs real work: rough-sawn lumber straight from the lumberyard, a board with visible saw marks or a wavy surface, thick dried glue, or an old finish you are removing. The 80 grit does the heavy lifting fast, and the following grits clean up after it.
Start at 120 grit when the board is already reasonably flat — that means most boards bought from a home center, pre-cut project boards, and plywood. Going coarser than necessary just wastes time, because you then have to spend extra passes erasing scratches you did not need to make. When in doubt, start at 120. You can always go coarser if the 120 is not removing material, but you cannot undo scratches you already carved into the wood.
Why You Should Never Skip More Than One Grit
Think of sandpaper grits as a staircase. Each step is small enough that the next grit can erase the scratches of the one before. Skip two steps — say 80 straight to 180 — and the 180 paper will polish the tops of the deep 80-grit scratches without reaching the bottoms. Under a finish, especially a stain, those hidden scratches show up as dark lines and uneven patches. The classic beginner sequence on rough stock is 80 → 120 → 150 → 220, and on pre-surfaced boards it is simply 120 → 150 → 220. Three or four quick passes beat one long fight every time.
Final Grit: What to Stop At for Stain, Paint, and Oil
This is where many tutorials contradict each other, so here is the straight answer. For stain, stop at 150–220. Stain needs the wood’s pores open enough to accept color; sanding past 220 can burnish the surface so smooth that stain barely takes, leaving a washed-out, uneven color. Most beginners get the best stain results stopping at 180 or 220.
For paint, 180–220 is plenty. Paint is thick and hides fine texture, so obsessing over ultra-fine grits before painting is wasted effort. What matters for paint is that the surface is flat and clean.
For clear finishes and oils, 220 is the standard final grit. Some woodworkers go to 320 on tabletops for a glass-smooth feel, but for your first projects, 220 is the right place to stop. Remember: the finish itself, sanded between coats, is what builds the final smoothness.
Hand Sanding vs Orbital Sanders: What a Beginner Actually Needs
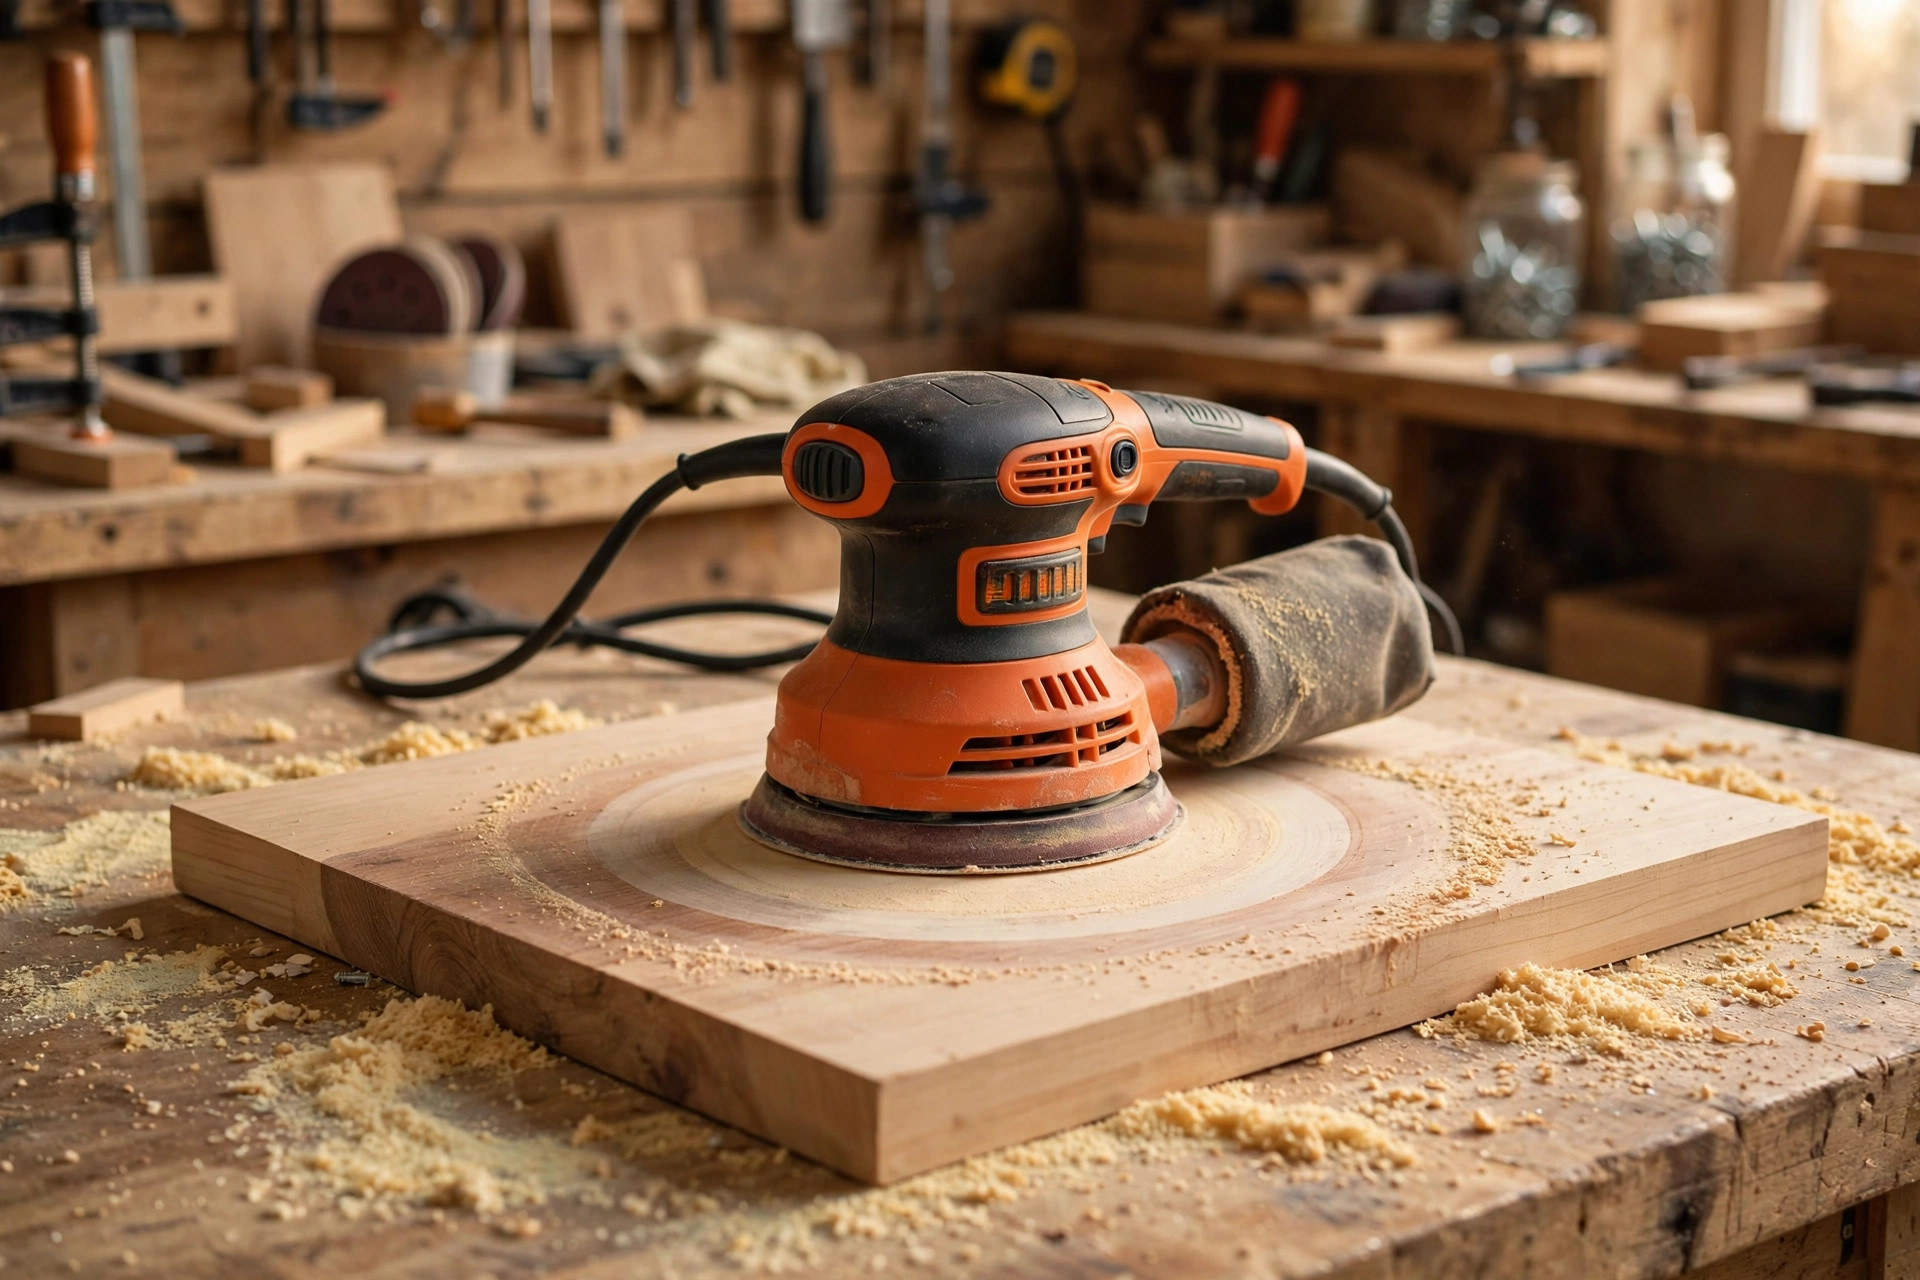
You do not need expensive power tools to sand well. A sanding block — literally a flat block of wood or rubber wrapped with sandpaper — plus a pack of sandpaper will produce a finish equal to any machine. Hand sanding is quiet, cheap, dust-free-ish, and it teaches you to feel the surface, which is a skill that pays off forever. For small projects like boxes, picture frames, and cutting boards, hand sanding is often faster than getting a machine out.
That said, a random orbital sander is the first power tool most woodworkers buy for a reason: it removes material fast and its circular motion rarely leaves visible scratch patterns. If you are sanding a tabletop, a set of shelves, or anything bigger than a breadboard, an orbital sander saves real time. You do not need a big one — a standard 5-inch random orbital sander with hook-and-loop discs is the beginner sweet spot, and a pack of discs in 80, 120, 150, and 220 grits covers everything in the table above.
Two cautions if you go the power route. First, keep the sander flat and moving; pressing down hard or tipping it on edge digs grooves that are harder to fix than the scratches you started with. Second, a power sander is not a shortcut past the grit progression — you still step through 120 → 150 → 220, changing discs each time. The machine only changes how fast each step goes.
Sanding Technique: The Details That Make the Difference
Always Sand With the Grain
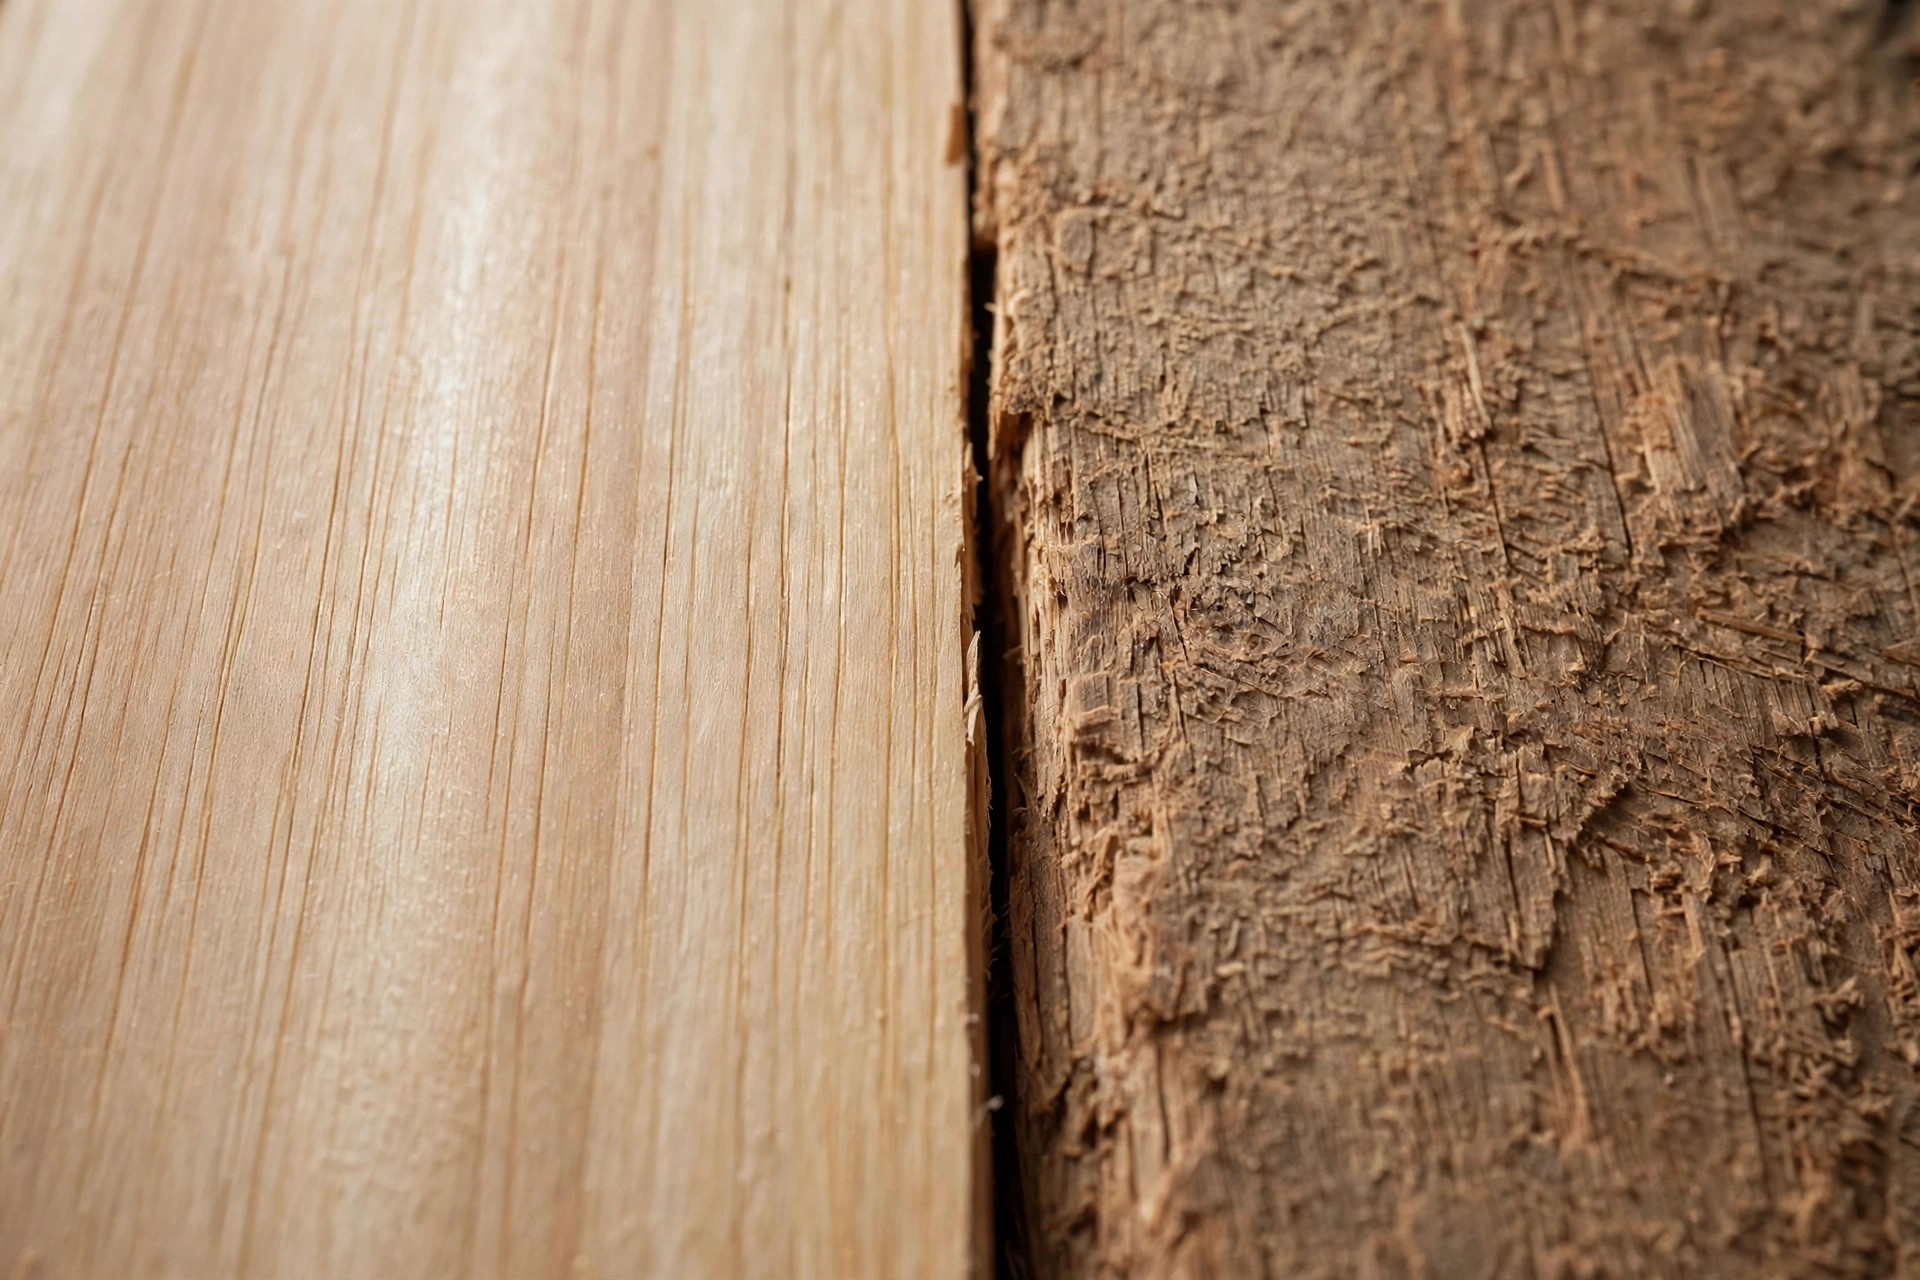
“With the grain” means sanding in the same direction the wood fibers run — the long direction of the board, following the visible grain lines. Sanding across the grain carves tiny scratches that cross the fibers, and those scratches catch stain differently than the surrounding wood, showing up as dark lines in the finished piece. This matters more than almost anything else: even one careless pass across the grain with 120 grit can leave marks that survive the rest of your progression. On corners and edges, follow the longest dimension and ease up on pressure so you do not round the edges over.
Use Even, Light Pressure and Let the Paper Work
Beginners press too hard, especially with a power sander. Heavy pressure does not sand faster — it gouges, heats the paper so the abrasive clogs early, and wears out discs three times faster. Use the weight of the sander or your hand and move steadily, overlapping each pass by about half. When the paper stops cutting and starts gliding, the disc is worn out; swap it. Sandpaper is cheap. Stuck-on scratches from dead paper are not.
Check Your Work the Right Way
Run your fingertips lightly across the surface between grits. Your fingers detect imperfections your eyes miss. Even better, wipe the surface with a damp cloth or mineral spirits — this “raises” the grain slightly and darkens the wood temporarily so scratches, dents, and missed glue spots reveal themselves. Mark any flaws with a light pencil circle, fix them at the current grit, then move on. Catching a scratch at 120 takes thirty seconds. Catching it after the finish is applied takes a full re-sand.
Dust Removal: The Step Beginners Skip
You can sand perfectly and still ruin a finish if you skip dust removal. Sawdust left on the surface mixes into the stain or finish and creates a gritty, bumpy texture — the classic “orange peel” feel. After your final grit, vacuum the surface with a brush attachment or blow it off, then wipe it down with a tack cloth. A tack cloth is a sticky cheesecloth-style rag that picks up the fine dust vacuums leave behind; it costs very little and is one of the highest-value purchases in this whole process. One caution: tack cloths can leave a residue that reacts with some water-based finishes, so check your finish’s label. A clean microfiber cloth dampened with mineral spirits is a safe universal alternative for the final wipe.
Blotch-Prone Wood: Use a Pre-Stain Conditioner
If your project uses pine, fir, birch, maple, or cherry — the most common woods beginners buy — you need to know about blotching. These woods absorb stain unevenly because their grain density varies, so a straight stain application leaves dark, splotchy patches that look like spilled ink. The fix is simple and cheap: a pre-stain wood conditioner. Brush or wipe the conditioner onto the bare wood, wait the time the can says (usually 5–15 minutes), and apply your stain while the conditioner is still working — within about two hours. The conditioner partially seals the wood so the stain goes on evenly. It will not make pine look like walnut, but it will make pine look like good pine instead of a mess. If you are finishing one of the easy woodworking projects that commonly uses pine boards from the home center, do not skip this step.
Wood Finish Types Compared: Which One Should You Choose?
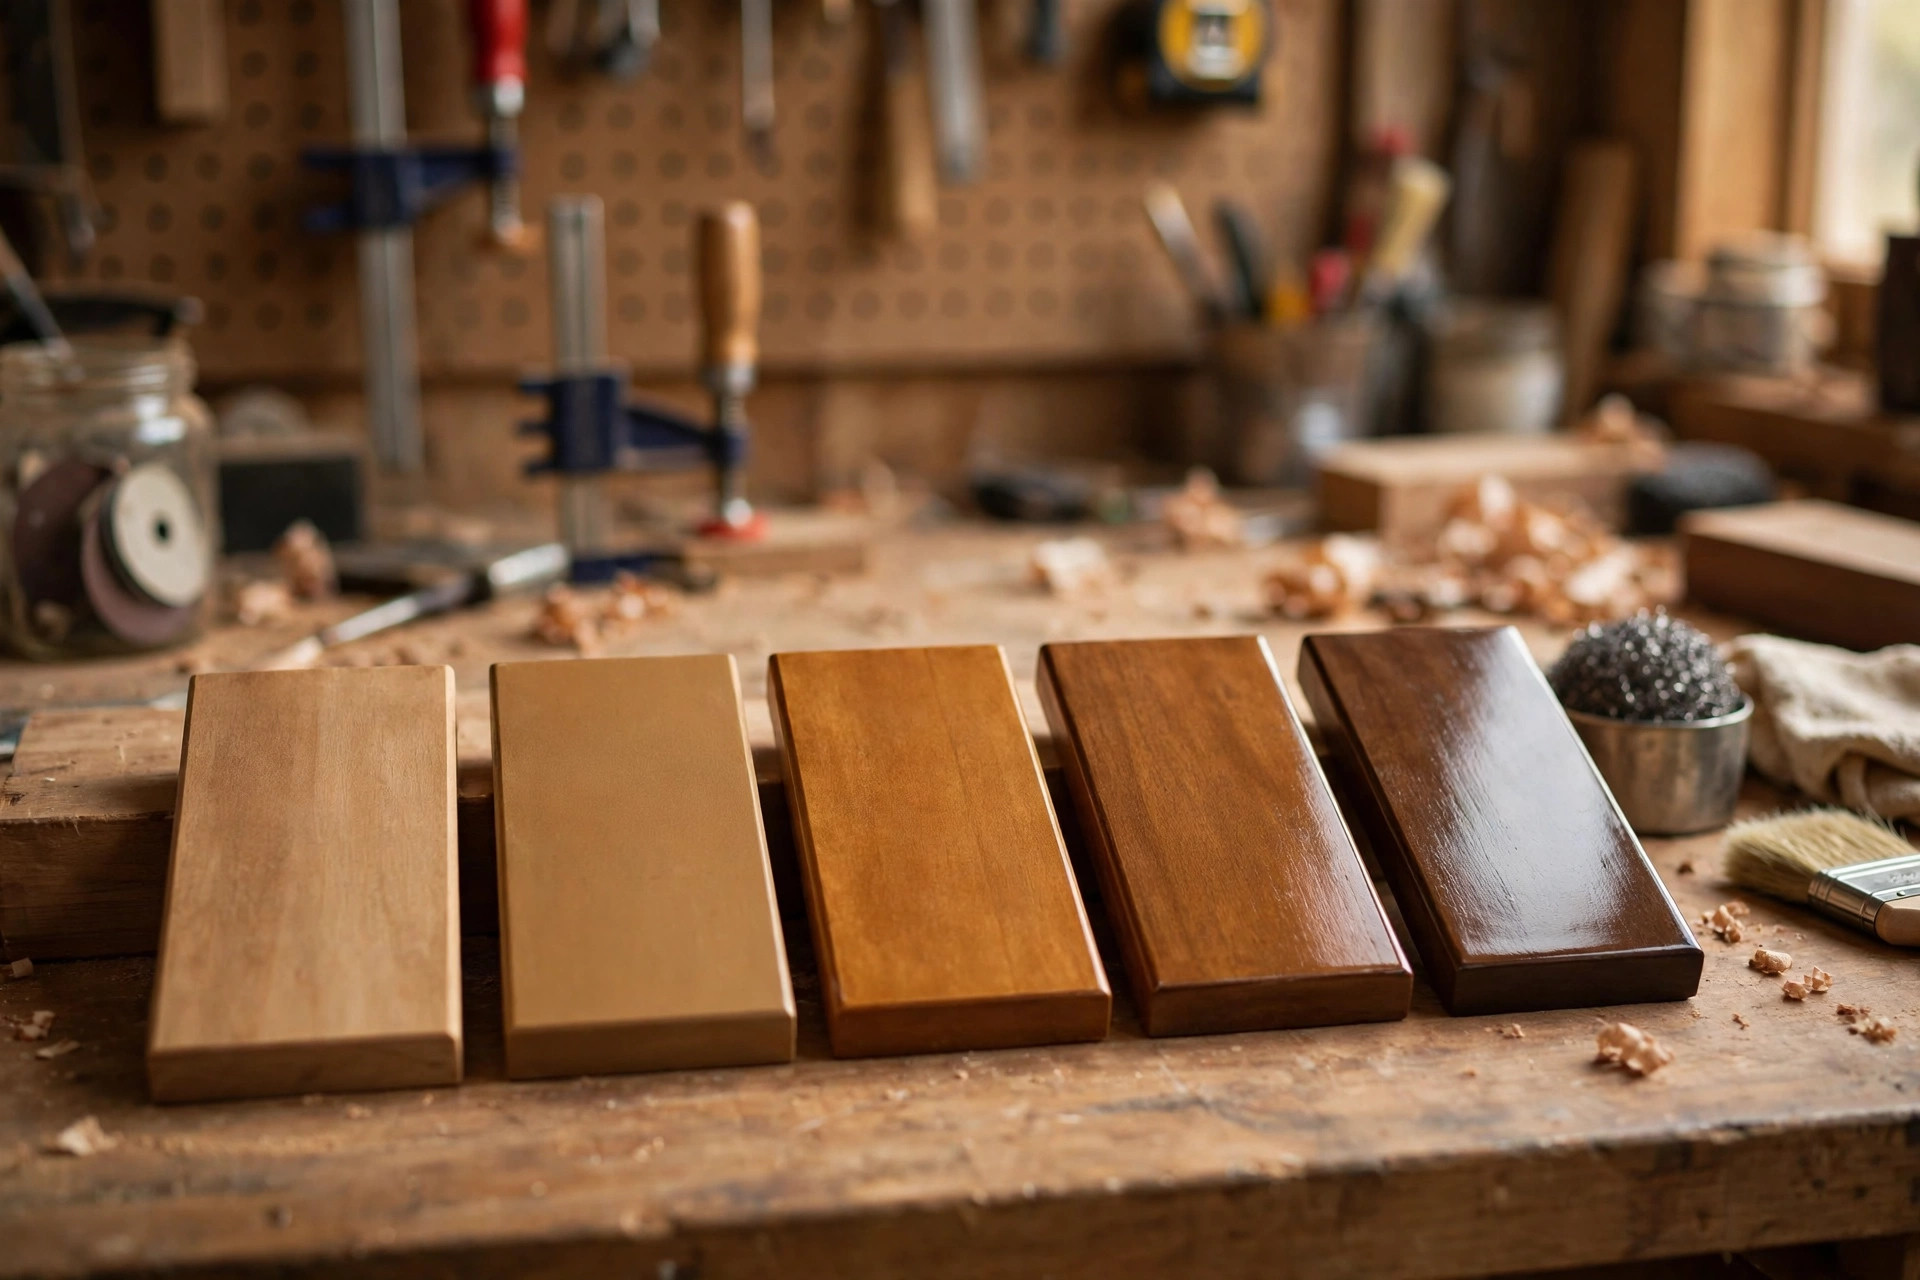
A “finish” does two things: it changes how the wood looks (color, sheen) and it protects it (against moisture, scratches, stains). Finishes fall into two families. Penetrating finishes (oils, waxes) soak into the wood and harden there — they feel natural and are easy to repair, but they protect less. Film finishes (polyurethane, shellac, lacquer, paint) build a protective layer on top — they protect more, but they take more care to apply well. Here is how the beginner-friendly options compare:
| Finish | Best For | Dry Time (approx.) | Coats Needed | Beginner-Friendliness |
|---|---|---|---|---|
| Danish oil / tung oil | Natural look, cutting boards, turnings, anything handled daily | 4–6 hours between coats | 2–3 | Easy — wipe on, wipe off |
| Wipe-on polyurethane | Tables, shelves, general furniture | 4–6 hours between coats | 3–4 | Very easy — forgiving to apply |
| Water-based polyurethane | Light woods you want to keep pale, fast projects, indoor furniture | About 2 hours between coats | 3–4 | Easy — fast drying, low odor |
| Shellac | Quick seal coat, warm amber color, barrier coat under other finishes | 30–60 minutes | 1–2 | Easy — dries fast, forgiving |
| Paste wax | Low-wear items, or as a top coat over another finish | About 30 minutes | 1–2 | Very easy — buff it on |
| Paint | Kid projects, bold colors, hiding imperfect wood | Per can instructions | 2 | Easy — covers all sins |
A few notes to help you pick. Wipe-on polyurethane is the safest default for a first furniture finish. It goes on with a rag, self-levels well, and does not show brush marks the way brush-on poly can. Water-based poly stays crystal clear — oil-based finishes add an amber tint that looks warm on oak and walnut but turns pale maple and pine slightly yellow, which you may or may not want. Shellac is the fastest option and it sticks to almost anything, which makes it a great first coat (“seal coat”) under polyurethane. Oils look and feel the most natural but offer the least protection, so reserve them for items that will not see spills. And paint is a perfectly legitimate finish — on wood projects for kids, bright painted finishes are usually the right choice because they are durable, washable, and fun.
Whatever you choose, test it first. Find a scrap piece of the same wood, sand it the same way, and apply the full sequence — conditioner if needed, stain if wanted, and the finish. What a finish looks like on the can’s label and what it looks like on your pine board are two different things, and a ten-minute test saves a ten-hour re-do.
Step-by-Step: How to Stain Wood for Beginners
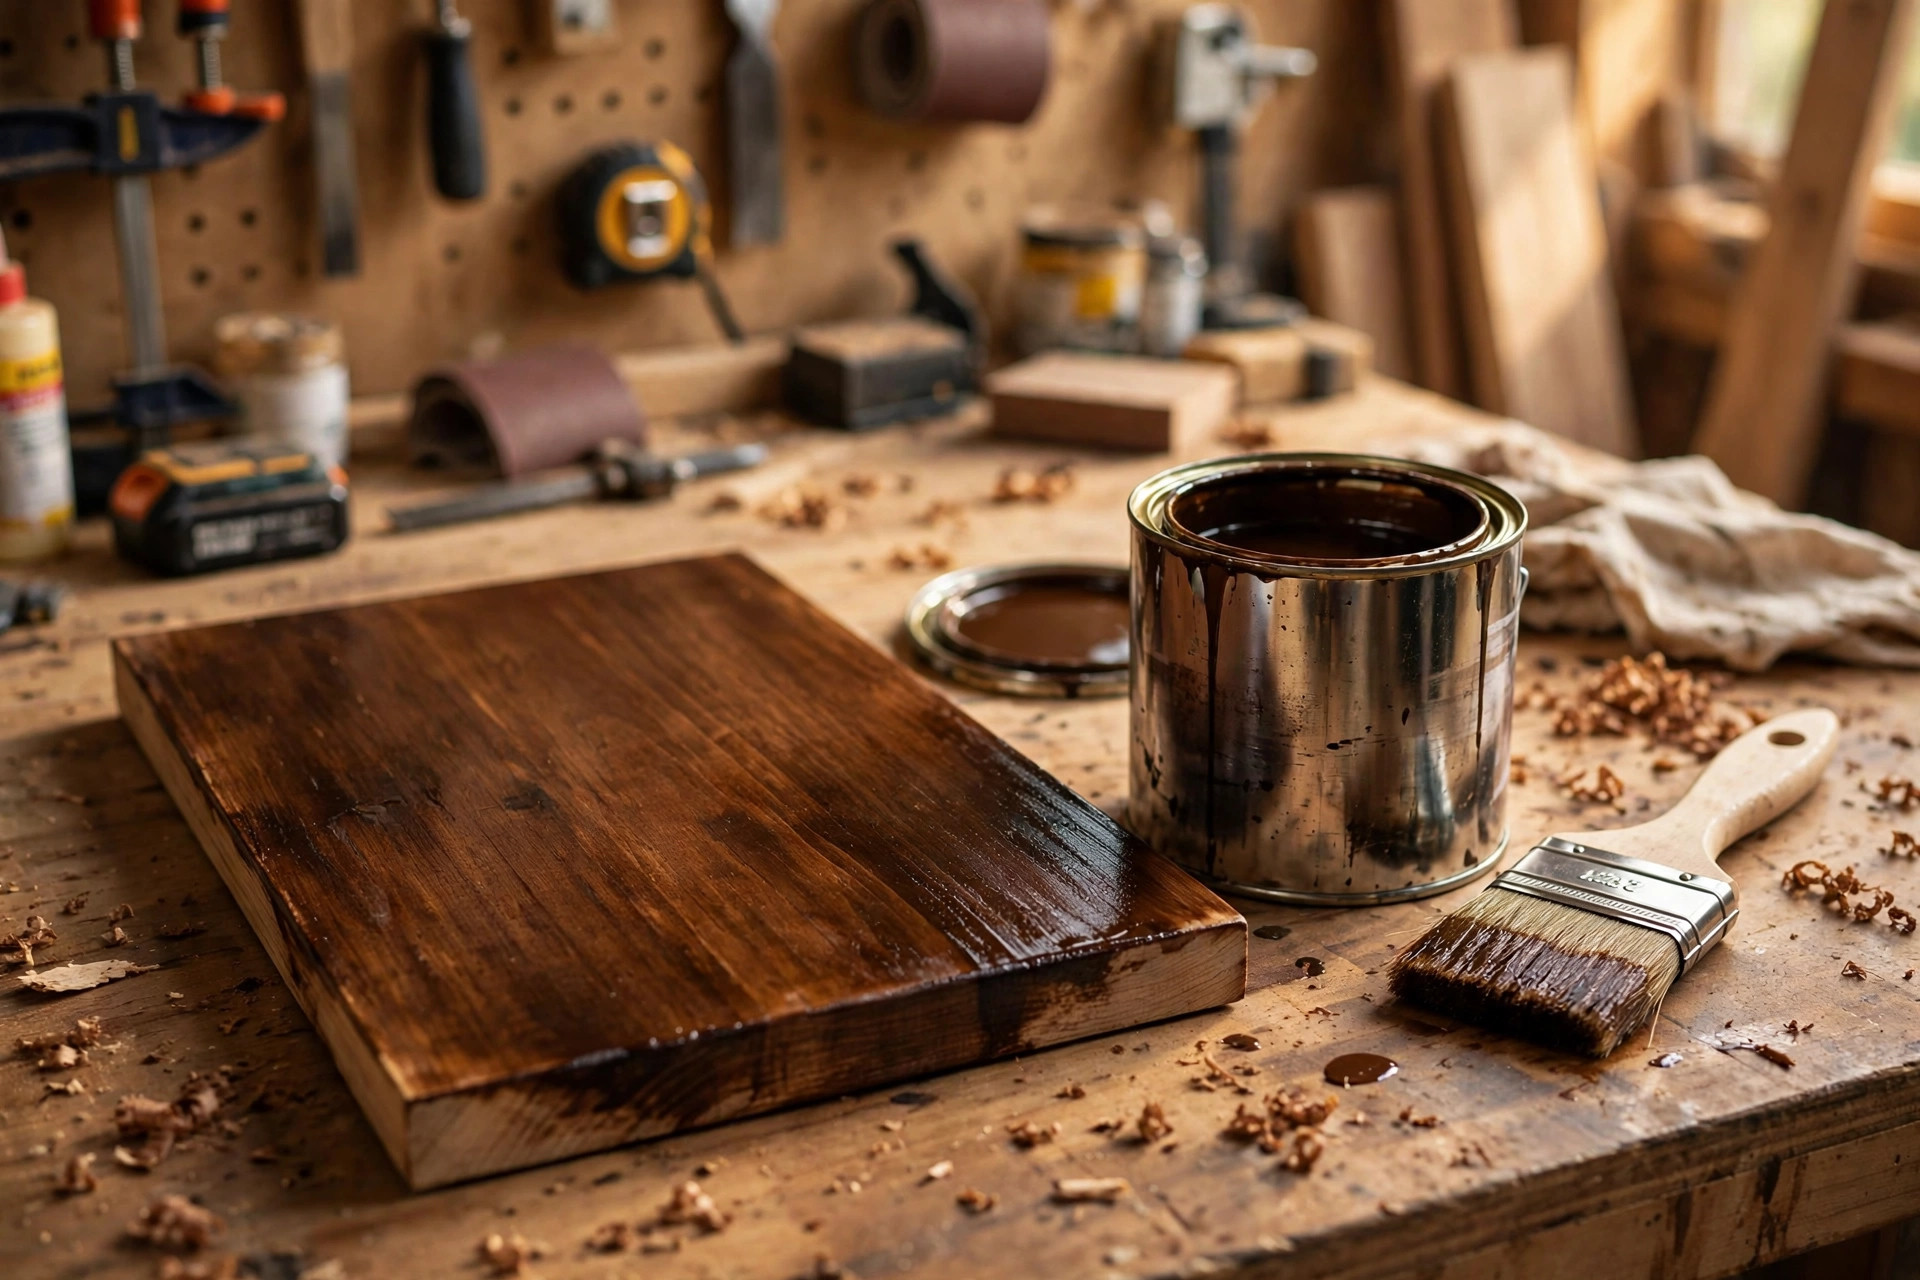
Stain adds color without hiding the grain, but it shows every sanding mistake, so treat this as the exam after your sanding homework. Here is the full sequence:
1. Do your final sanding. Sand through your grit progression (120 → 150 → 220 on pre-surfaced boards), remove all dust, and do the damp-cloth check described above. Once stain goes on, there is no cheap way back.
2. Apply pre-stain conditioner if needed. On pine, fir, birch, maple, or cherry, brush on conditioner, wait 5–15 minutes per the can, and proceed while it is still active.
3. Stir the stain — never shake it. Shaking creates bubbles that transfer to the wood. Stir gently and stir again every few minutes while you work, because the pigments settle to the bottom of the can.
4. Apply generously, in the direction of the grain. Use a foam brush, a natural-bristle brush, or a clean rag. Work one manageable section at a time — a full tabletop is too much at once for a beginner, so work in boards or halves. Keep a wet edge so you do not get lap marks where wet stain meets stain that has started to dry.
5. Wipe off the excess after 5–15 minutes. This is the step beginners mess up. Stain that sits on the surface longer than the can recommends gets sticky, blotchy, and may never fully dry. Use a clean, lint-free rag and wipe with the grain, turning the rag to a clean section often. The color you see right after wiping is close to the final color. Want it darker? Apply a second coat after the first is dry, not by leaving the first coat on longer.
6. Let it dry completely before the finish. Stain usually needs 8–24 hours depending on the product and humidity — check the can. Stain that feels dry to the touch can still be wet underneath, and applying a finish over wet stain causes peeling and clouding. When in doubt, wait longer. Patience here is the whole game.
Sanding Between Coats
Between coats of film finishes (polyurethane, shellac, water-based poly), do a light scuff-sand with 320-grit paper. You are not removing material — you are knocking down dust nibs and tiny bubbles and giving the next coat a surface to grip. A few light passes are enough; you should see a dull haze on the finish, not bare wood. If you sand through to bare wood anywhere, that spot needs its own touch-up before the next coat. Wipe off the sanding dust with a tack cloth or damp rag, let it dry, then apply the next coat.
How many coats? For wipe-on polyurethane, plan on three to four thin coats rather than one or two thick ones. Thin coats dry faster, level better, and are far more forgiving. The last coat is the one you see, so take your time on it: fresh applicator, dust-free room if you can manage it, and no touching until it is fully cured.
Finish Safety: Oily Rags Can Start Fires
This section is short because the rule is simple, but it is the most important safety note in this entire guide. Rags soaked with linseed oil, tung oil, danish oil, oil-based stain, or oil-based polyurethane can spontaneously combust. As the oil cures, it produces heat, and a crumpled rag traps that heat until it ignites — sometimes hours after you finished working. This is a real, documented cause of workshop fires.
Handle oily rags like this: never toss them in the trash or leave them in a pile. After use, lay each rag flat outdoors on a non-flammable surface (concrete, a metal tray) until it is completely dry and stiff — usually 24 hours. Only then is it safe to throw away. Alternatively, submerge used rags fully in a metal can filled with water and seal it. One flat rag on the driveway is safe; five crumpled rags in a trash can are not. Water-based finishes do not carry this risk, which is one more reason beginners often start with them.
Beyond rags: work in a ventilated space, wear a dust mask when sanding (fine wood dust is a genuine lung irritant, and some woods are sensitizers), and keep finishes away from open flames. None of this is complicated — it just has to become habit.
7 Common Sanding and Finishing Mistakes Beginners Make
- Skipping grits. Going 80 straight to 220 leaves hidden scratches that appear under stain. Step through every grit.
- Sanding across the grain. One careless cross-grain pass leaves marks that survive the whole progression. Always follow the grain direction.
- Skipping the conditioner on pine. Blotchy pine is the number one “my stain looks terrible” complaint, and conditioner prevents it.
- Applying stain too thick or leaving it on too long. Wipe off the excess on schedule. Darker color comes from a second coat, not a longer soak.
- Not removing dust between steps. Dust in the finish creates a rough, gritty surface. Vacuum, tack cloth, and a final wipe every time.
- Rushing the drying time. Tacky stain under fresh polyurethane causes peeling and cloudy patches. Wait the full time on the can — then a little more.
- Sanding too fine before staining. Polishing to 320+ before stain burnishes the pores shut and the color comes out washed out. Stop at 150–220 for stain.
If you have already made one of these mistakes, the fix is almost always the same: let everything dry, sand back to bare wood at the affected area with 120 grit, re-run the progression, and redo the finish. It feels like a disaster and takes about an hour. Finishing is forgiving if you let it dry first.
Put It All Together on Your First Project
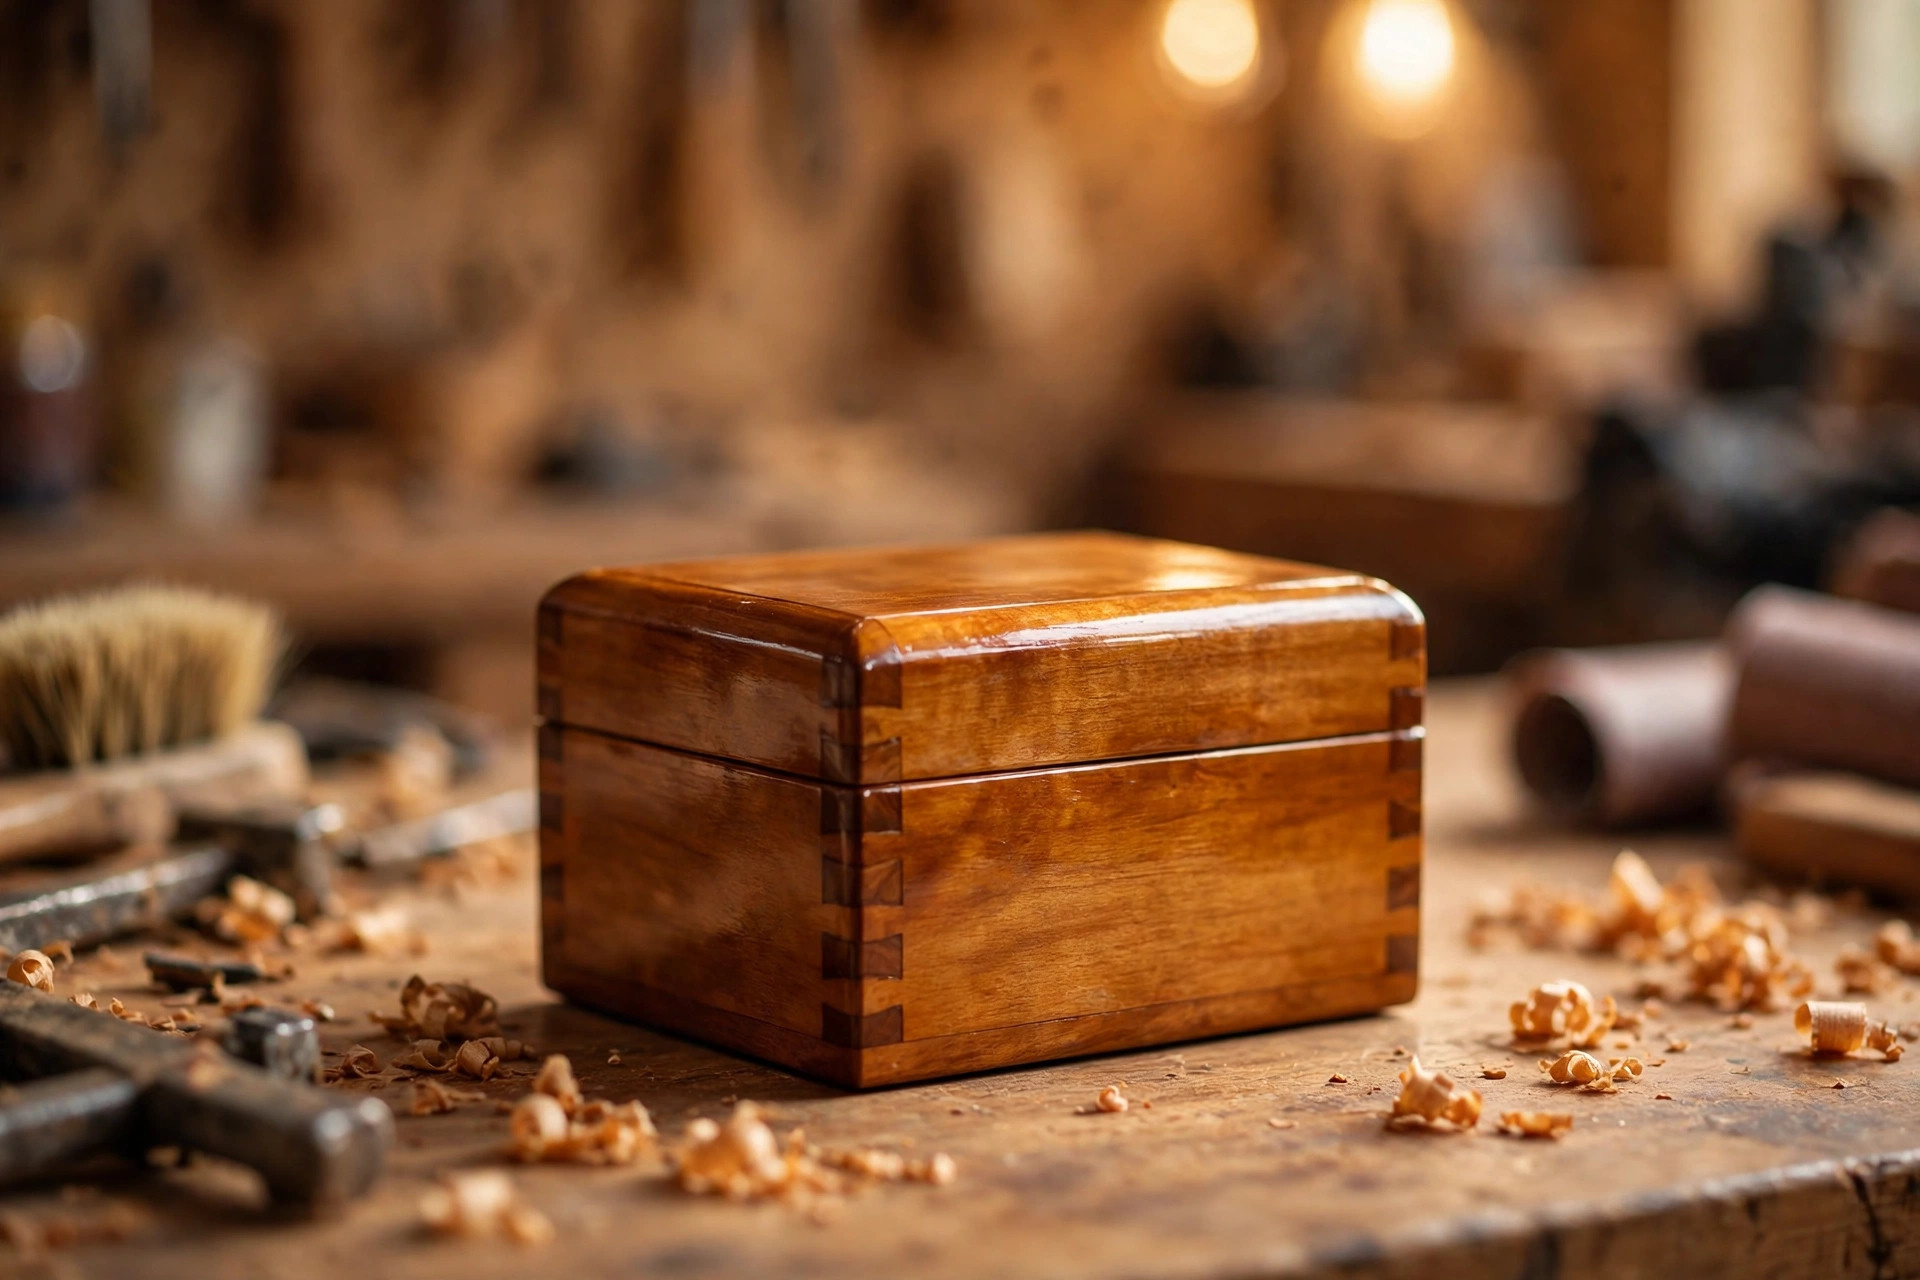
Here is the complete workflow in one place, from bare board to finished piece:
- Choose your final grit based on the finish (150–220 for stain, 220 for clear finish).
- Sand through the full grit progression, always with the grain, light pressure.
- Check with the damp-cloth test, fix flaws, then remove all dust.
- Test your full finish schedule on a scrap of the same wood.
- Apply conditioner (if blotch-prone wood), then stain if desired, wiping excess on time.
- Let the stain dry fully.
- Apply the finish in thin coats, scuff-sanding with 320 grit and de-dusting between coats.
- Let the final coat cure — then admire your work.
For a first project to practice on, pick something small and useful. A simple cutting board or a small shelf from the easy woodworking projects for beginners that sell list gives you real surfaces to sand and finish without a huge time commitment, and the finish is what turns it into something you would be proud to gift or sell. And if you are building with kids, grab a project from the wood projects for kids collection and let them help with the hand sanding — it is the safest, most satisfying job for small helpers.
Frequently Asked Questions
What grit sandpaper should a beginner start with?
Start at 120 grit for pre-surfaced boards from the store, or 80 grit for rough lumber that needs real leveling. Then step up through 150 and finish at 220. Never skip more than one grit in the sequence.
Do I really need to sand between coats of polyurethane?
Yes — a light scuff with 320-grit paper between coats removes dust nibs and gives the next coat something to grip. It takes two minutes and is the difference between a smooth finish and a bumpy one.
Why does my wood stain look blotchy?
Almost always because the wood is blotch-prone (pine, fir, birch, maple, cherry) and no pre-stain conditioner was used. Uneven sanding and leaving stain on too long are the other two common causes.
How many coats of polyurethane do beginners need?
Three to four thin coats of wipe-on polyurethane is the reliable standard. Thin coats level better and dry faster than one thick coat, so resist the urge to lay it on heavy.
Can I use water-based polyurethane over oil-based stain?
Yes, once the oil-based stain is fully dry and cured — give it a full 24–72 hours. For extra insurance on the first coat, a thin coat of shellac between the stain and the water-based poly acts as a universal bonding layer.
How do I get rid of dust nibs in my final coat?
Let the finish cure fully, then rub the surface lightly with 400-grit paper or 0000 steel wool, wipe clean, and buff with a soft cloth. For a final sheen boost, paste wax over the cured finish works well on low-wear pieces.
Is it safe to sand indoors?
You can, with a dust mask and a shop vacuum hooked to your sander if possible. Fine wood dust irritates lungs and settles on everything, so a garage or outdoor setup is better when you have the choice.
Final Thoughts
Sanding and finishing feel slow the first time because every step is new. The second time, you will notice how much faster the grit progression goes. By the third project, it becomes the relaxing part of the build — the quiet work where a rough board turns into something beautiful under your hands. Master this one skill and every project you build, from the simplest shelf to the easy woodworking projects for beginners that sell in your shop, will look like it was made by someone with years of experience. Start with one board, one grit at a time, and trust the process.



Pingback: 25 Easy Woodworking Projects for Beginners That Sell Fast