
A hand plane is the tool that turns rough, uneven lumber into flat, silky boards — and for many woodworkers it becomes the most satisfying tool in the shop. But walk into any discussion of the best hand plane for beginners and you will drown in opinions: block plane or jack plane, Stanley numbers, bevel-up versus bevel-down, premium versus budget. This guide cuts through the noise. We will answer the one question that matters first — which plane should you buy first — then walk you through anatomy, setup, sharpening, and planing technique so your first plane actually works the way the videos promise.
Here is the short version for the impatient: a low-angle block plane is the easiest first plane to learn on, and a No. 5 jack plane is the most useful long-term investment for building furniture. If you can only buy one, buy the block plane first, learn to sharpen and tune on it, and add the jack plane as your second purchase. Everything below explains why — and how to get shavings curling off your board within an hour of opening the box.
The Short Answer: Which Hand Plane Should a Beginner Buy First?
Search intent first, because that is what you are here for. You want a plane that is affordable, forgiving, easy to set up, and useful on real projects — not a museum piece. Three candidates dominate the conversation:
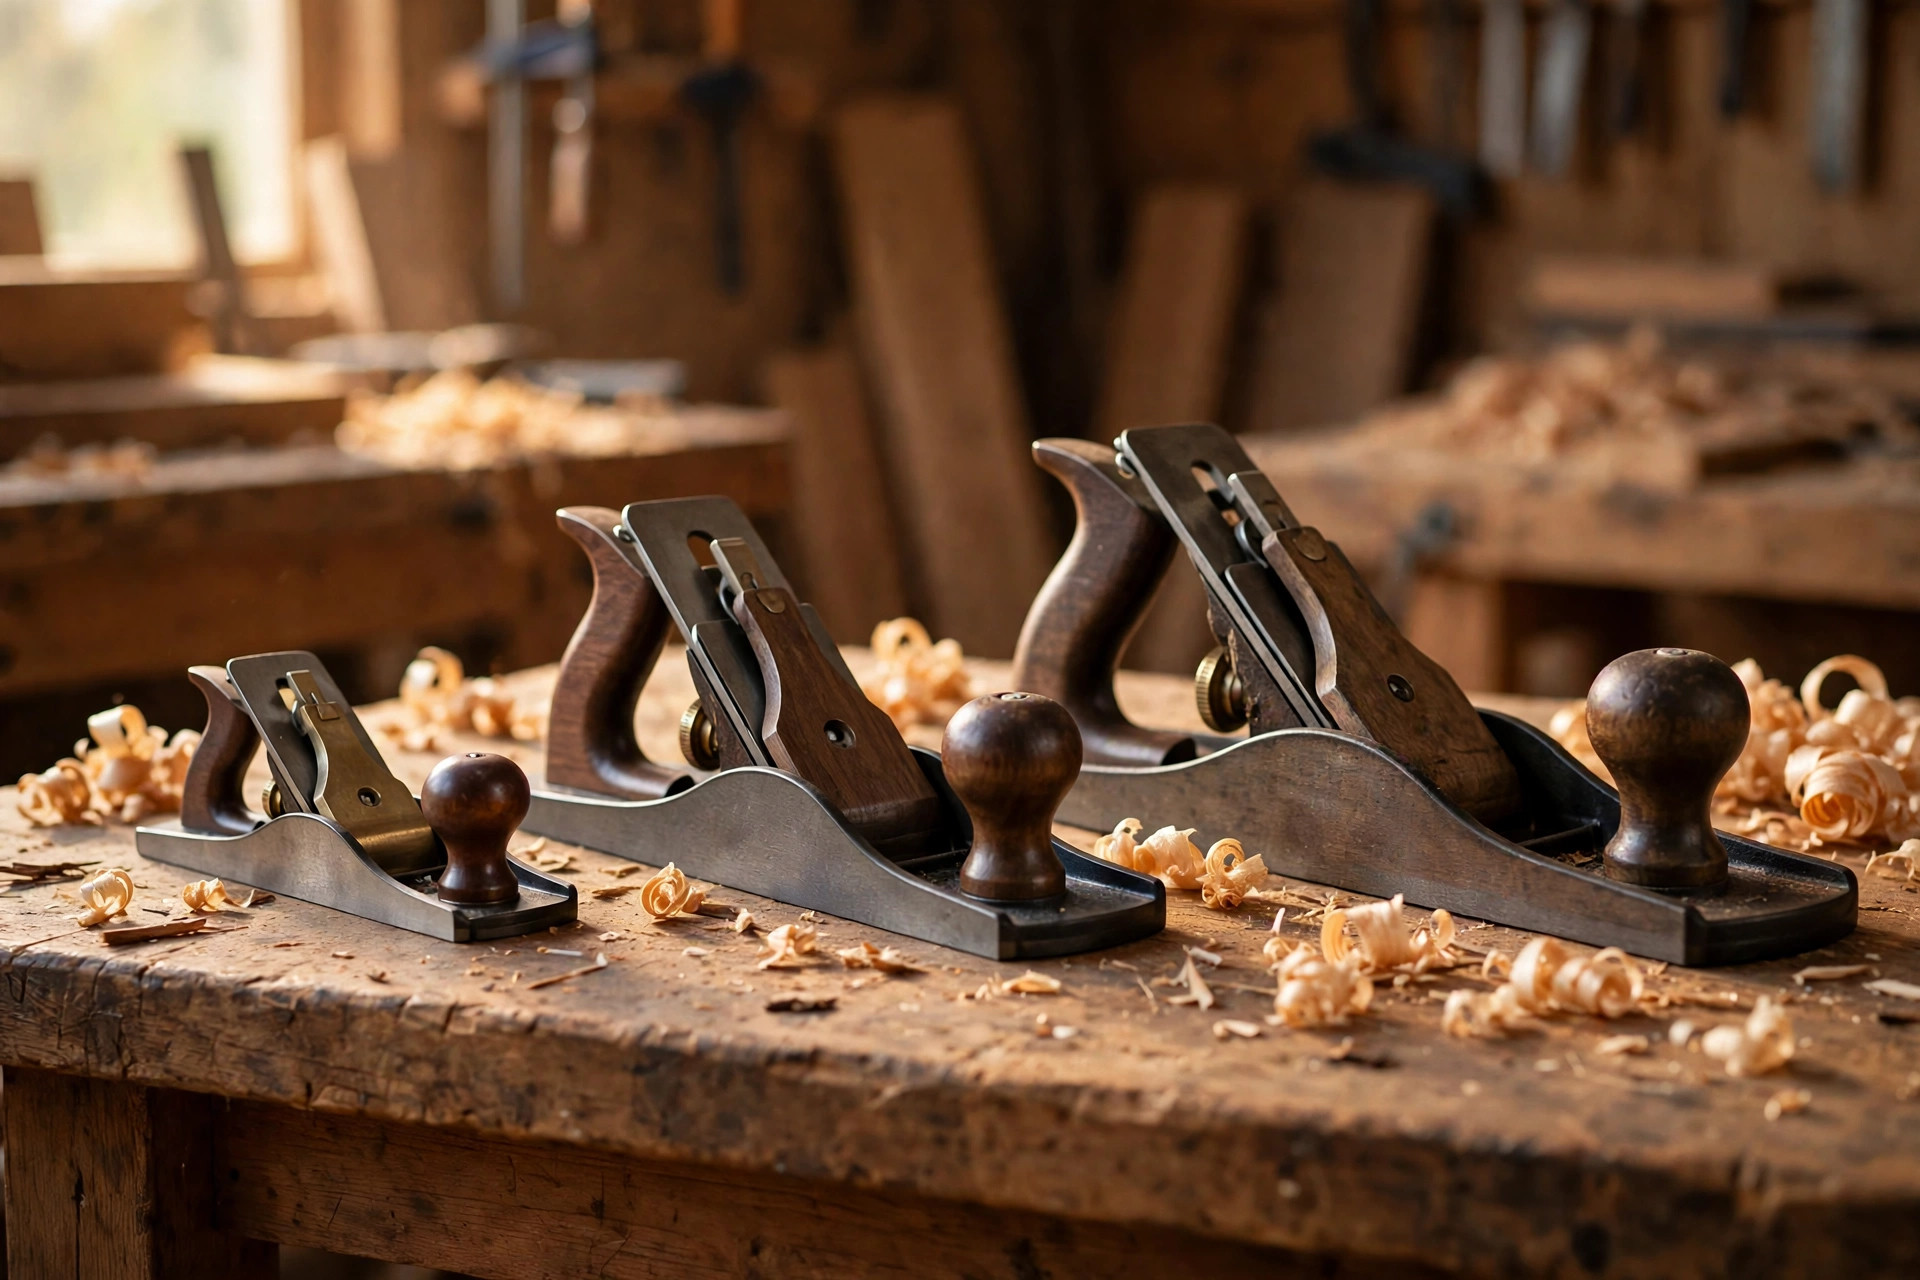
- A low-angle block plane (about 6 inches long, 1⅜-inch wide iron). Easiest to hold, easiest to set up, excellent on end grain, and cheap enough that a beginner’s mistakes cost little. This is our pick for your first plane.
- A No. 5 jack plane (14 inches long, 2-inch wide iron). The classic all-rounder: flattens boards, shoots edges for glue-ups, and smooths wide surfaces. Slightly more setup than a block plane, but the single most versatile bench plane you will ever own. Buy this second.
- A No. 4 smoothing plane (9–10 inches long, 2-inch wide iron). Wonderful for final smoothing on flat faces, but finicky about setup and less forgiving on twisted or rough boards. A great third plane, not a great first one.
Why the block plane wins for beginners: it is a bevel-up design with a simple, visible mechanism. You can see the iron, see the shaving coming through the mouth, and feel what every adjustment does. The low-angle bed (typically 12 degrees) with a standard 25-degree iron bevel gives an effective cutting angle of 37 degrees, which slices end grain and softwoods beautifully. It also fits in one hand, so you can chamfer edges, trim tenon cheeks, and clean up beginner projects that sell without dragging out a full-size bench plane. When you graduate to a jack plane, every skill you learned transfers directly.
Hand Plane Types Explained: The Stanley Numbering System
Hand planes were standardized more than a century ago by Stanley, and the numbering system stuck. A lower number means a shorter plane; a higher number means a longer one. Length matters because a longer sole bridges dips and bumps, flattening a board, while a shorter sole follows the wood’s contours and smooths small areas.
| No. | Name | Length | Main job for a beginner |
|---|---|---|---|
| — | Block plane | ~6 in | One-handed trimming, end grain, chamfers, easing edges |
| 3 | Smoothing plane | 9 in | Final smoothing on small panels (narrower iron) |
| 4 / 4½ | Smoothing plane | 9–10 in | Final smoothing on flat faces |
| 5 / 5½ | Jack plane | 14–15 in | Flattening boards, edge-jointing, rough dimensioning |
| 6 | Fore plane | 18 in | Straightening long boards before the jointer |
| 7 / 8 | Jointer plane | 22–24 in | Trueing long edges dead straight for glue-ups |
For your first year you need, at most, the first three rows of that table: a block plane, a jack plane, and (later) a smoother. Everything longer than a No. 5 is a specialty tool for long boards, and a beginner rarely owns boards long enough to justify it. When you hear woodworkers argue about a No. 7 versus a No. 8, you are hearing a debate you can safely ignore for now.
One more distinction beginners should know: bevel-up versus bevel-down. In a bevel-up plane (most block planes and some jacks), the iron sits bevel-up on a low bed, and you change the cutting angle by swapping irons with different bevel angles. In a bevel-down plane (classic Stanley Bailey bench planes), the iron sits bevel-down on a 45-degree frog, and the chipbreaker sits on top of the iron. Bevel-up is simpler to understand and adjust, which is one more reason it wins for a first plane.
Block Plane vs Jack Plane vs Smoother: Head-to-Head
So you know which to buy first, but how do they actually differ in the hand? The table below compares the three planes a beginner is most likely to consider, on the factors that actually matter in the shop.
| Feature | Block plane | No. 5 Jack plane | No. 4 Smoother |
|---|---|---|---|
| Length | ~6 in | 14 in | 9–10 in |
| Typical price (new, decent quality) | $35–$120 | $120–$300 | $110–$280 |
| Setup difficulty for a beginner | Very easy | Moderate | Moderate–hard |
| Best beginner job | Trimming, end grain, chamfers | Flattening and edge-jointing | Final smoothing |
| Grain tearout risk | Low | Medium | High if set aggressively |
| Weight | ~1.5 lb | ~5 lb | ~3.5 lb |
| Forgiveness of bad technique | High | Medium | Low |
| Lifetime usefulness | Always in the shop | The workhorse | Essential for fine finishing |
The pattern is clear: the block plane is the learner, the jack is the workhorse, and the smoother is the finisher. Notice the price column too: a beginner can buy a genuinely good block plane for under $100, while a decent jack plane costs roughly twice that. That price gap is another reason to start small and learn cheap.
The Anatomy of a Hand Plane (Know the Parts)
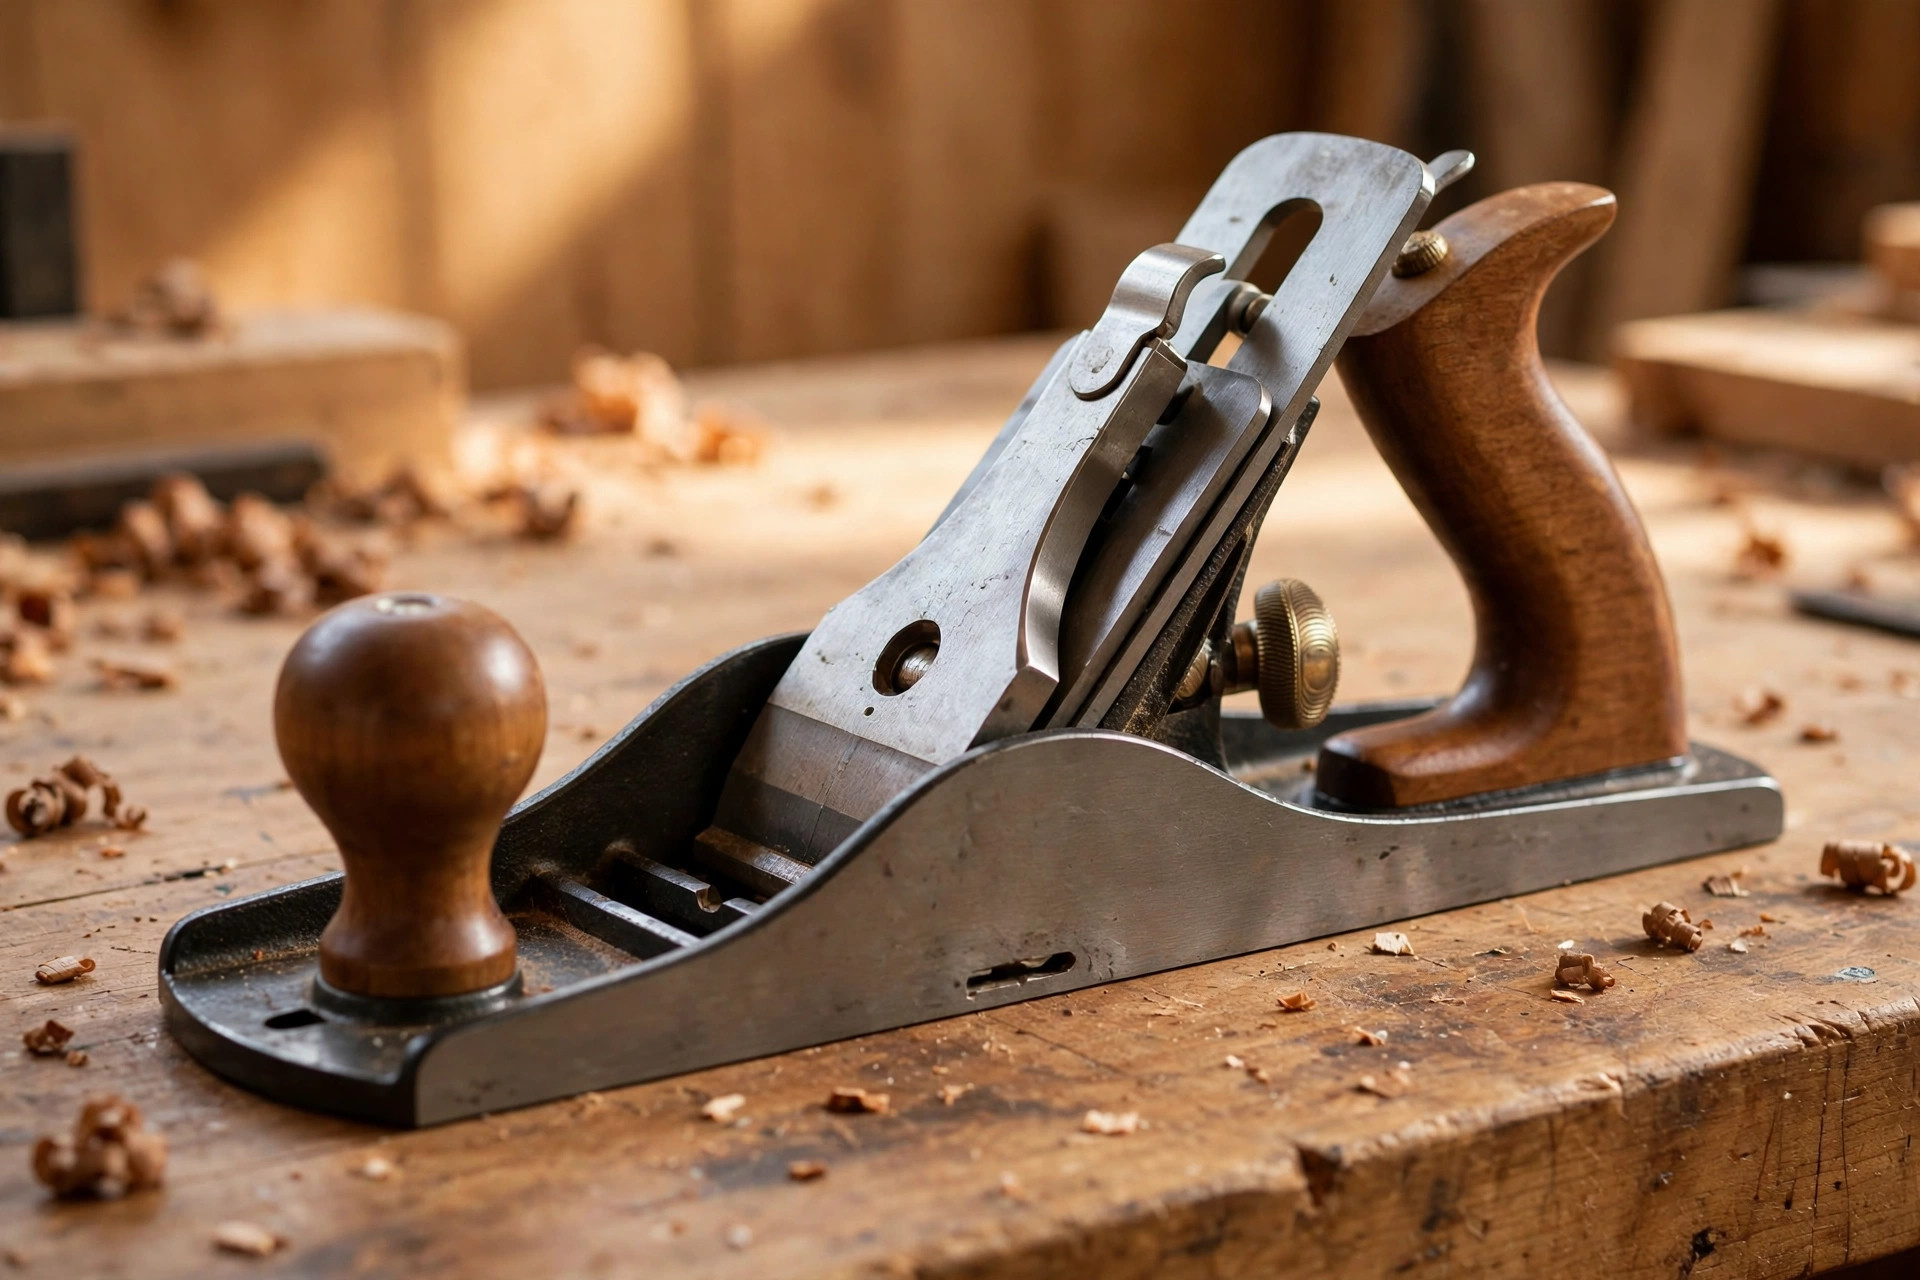
You cannot tune a tool you cannot name. Before you touch an adjustment wheel, learn these nine parts — every setup step below refers to them.
- Sole — The flat bottom that rides on the wood. A truly flat sole is the foundation of accurate work; a convex or twisted sole will rock and leave uneven surfaces.
- Mouth — The opening in the sole where the iron protrudes and shavings escape. A tight mouth (about 1/32 inch, or under 1 mm, ahead of the iron) supports the wood fibers and reduces tearout. You adjust it by moving the frog forward or back on bench planes, or by sliding the toe piece on block planes.
- Iron (blade) — The cutting edge itself, usually 25 degrees primary bevel on a bevel-down plane, 25 degrees on a bevel-up plane with a low bed. Width varies: 1⅜ inches on a block plane, 2 inches on a No. 4 or No. 5.
- Chipbreaker (cap iron) — On bevel-down planes, a second piece of steel screwed to the iron that curls and breaks the shaving, preventing tearout. Set it very close to the edge — about 1/32 inch — for difficult grain.
- Frog — The angled casting the iron rests on in a bevel-down plane. Its angle (usually 45 degrees) sets the cutting angle, and its position adjusts the mouth opening.
- Lever cap — The clamp that holds the iron (and chipbreaker) firmly against the frog. It should snap down with firm finger pressure — if it takes a mallet, it is too tight.
- Depth adjustment wheel — The knurled wheel at the back of most bench planes that advances or retracts the iron in tiny increments. A quarter turn typically moves the iron about 0.002–0.003 inches — that is how fine your control is.
- Lateral adjustment lever — The small lever behind the iron that tilts it side to side, letting you center the cutting edge so it takes an even shaving across its full width. Skip this step and one corner digs in.
- Tote and knob — The rear handle (tote) and front knob you grip. On a block plane there is no tote — you palm the body or use the finger rest. Comfort matters more than looks: a handle that fits your hand prevents fatigue and gives you control.
Recommended Beginner Planes (and Honest Prices)
“Best hand plane for beginners” is meaningless without price tags, so here are the specific models we would actually buy at three budgets. Prices are typical US retail for new tools as of 2026; vintage prices vary wildly.
| Plane | Tier | Typical price | Why it is good for a beginner |
|---|---|---|---|
| Stanley Sweetheart 60½ low-angle block plane | Budget-mid | ~$70 | Excellent value; flat sole, thick iron, easy to tune; the default beginner block plane |
| IRWIN/Record style block plane | Budget | ~$35–$50 | Cheapest usable block plane; needs more tuning but works once flattened |
| WoodRiver low-angle block plane | Mid | ~$100–$120 | Very flat out of the box; great fit and finish for the price |
| Stanley Bailey No. 5 jack plane | Budget-mid | ~$120–$160 | The classic jack; widely available, parts everywhere, good after a tune-up |
| WoodRiver No. 5 jack plane | Mid | ~$200–$240 | Thicker iron, flatter sole than the Stanley; less tuning needed |
| Lie-Nielsen No. 62 low-angle jack | Premium | ~$325+ | Buy-once tool; superb machining, works almost immediately; overkill for a first plane but never regretted |
| Stanley Bailey No. 4 smoother | Budget-mid | ~$110–$150 | The standard smoother; buy it third, after you own the block and jack |
Total realistic startup: a block plane plus a basic sharpening setup (a combination waterstone or diamond plate plus a honing guide) lands around $70–$130, and that combination handles nearly every beginner task. Add the jack plane later for another $120–$240. You do not need the premium tier to get good results — you need a sharp iron and a flat sole, both of which cost time, not money.
A word on vintage planes: a 1960s-or-older Stanley Bailey in good condition can be a superb buy for $30–$60, but only if you can inspect it. Check that the sole is flat, the mouth is not cracked, the iron has plenty of length left, and the japanning (black coating) is mostly intact. Rust is fine; pitting on the sole or a cracked casting is not. For a first plane, though, buying new removes the guesswork.
How to Set Up and Tune a Hand Plane, Step by Step
A plane straight from the store — even a good one — is rarely ready to work. Budget 30–45 minutes for this one-time tune-up and you will transform a frustrating tool into a joy. Work through the steps in order; each one builds on the last.
Step 1: Flatten the sole (10 minutes, first time only)
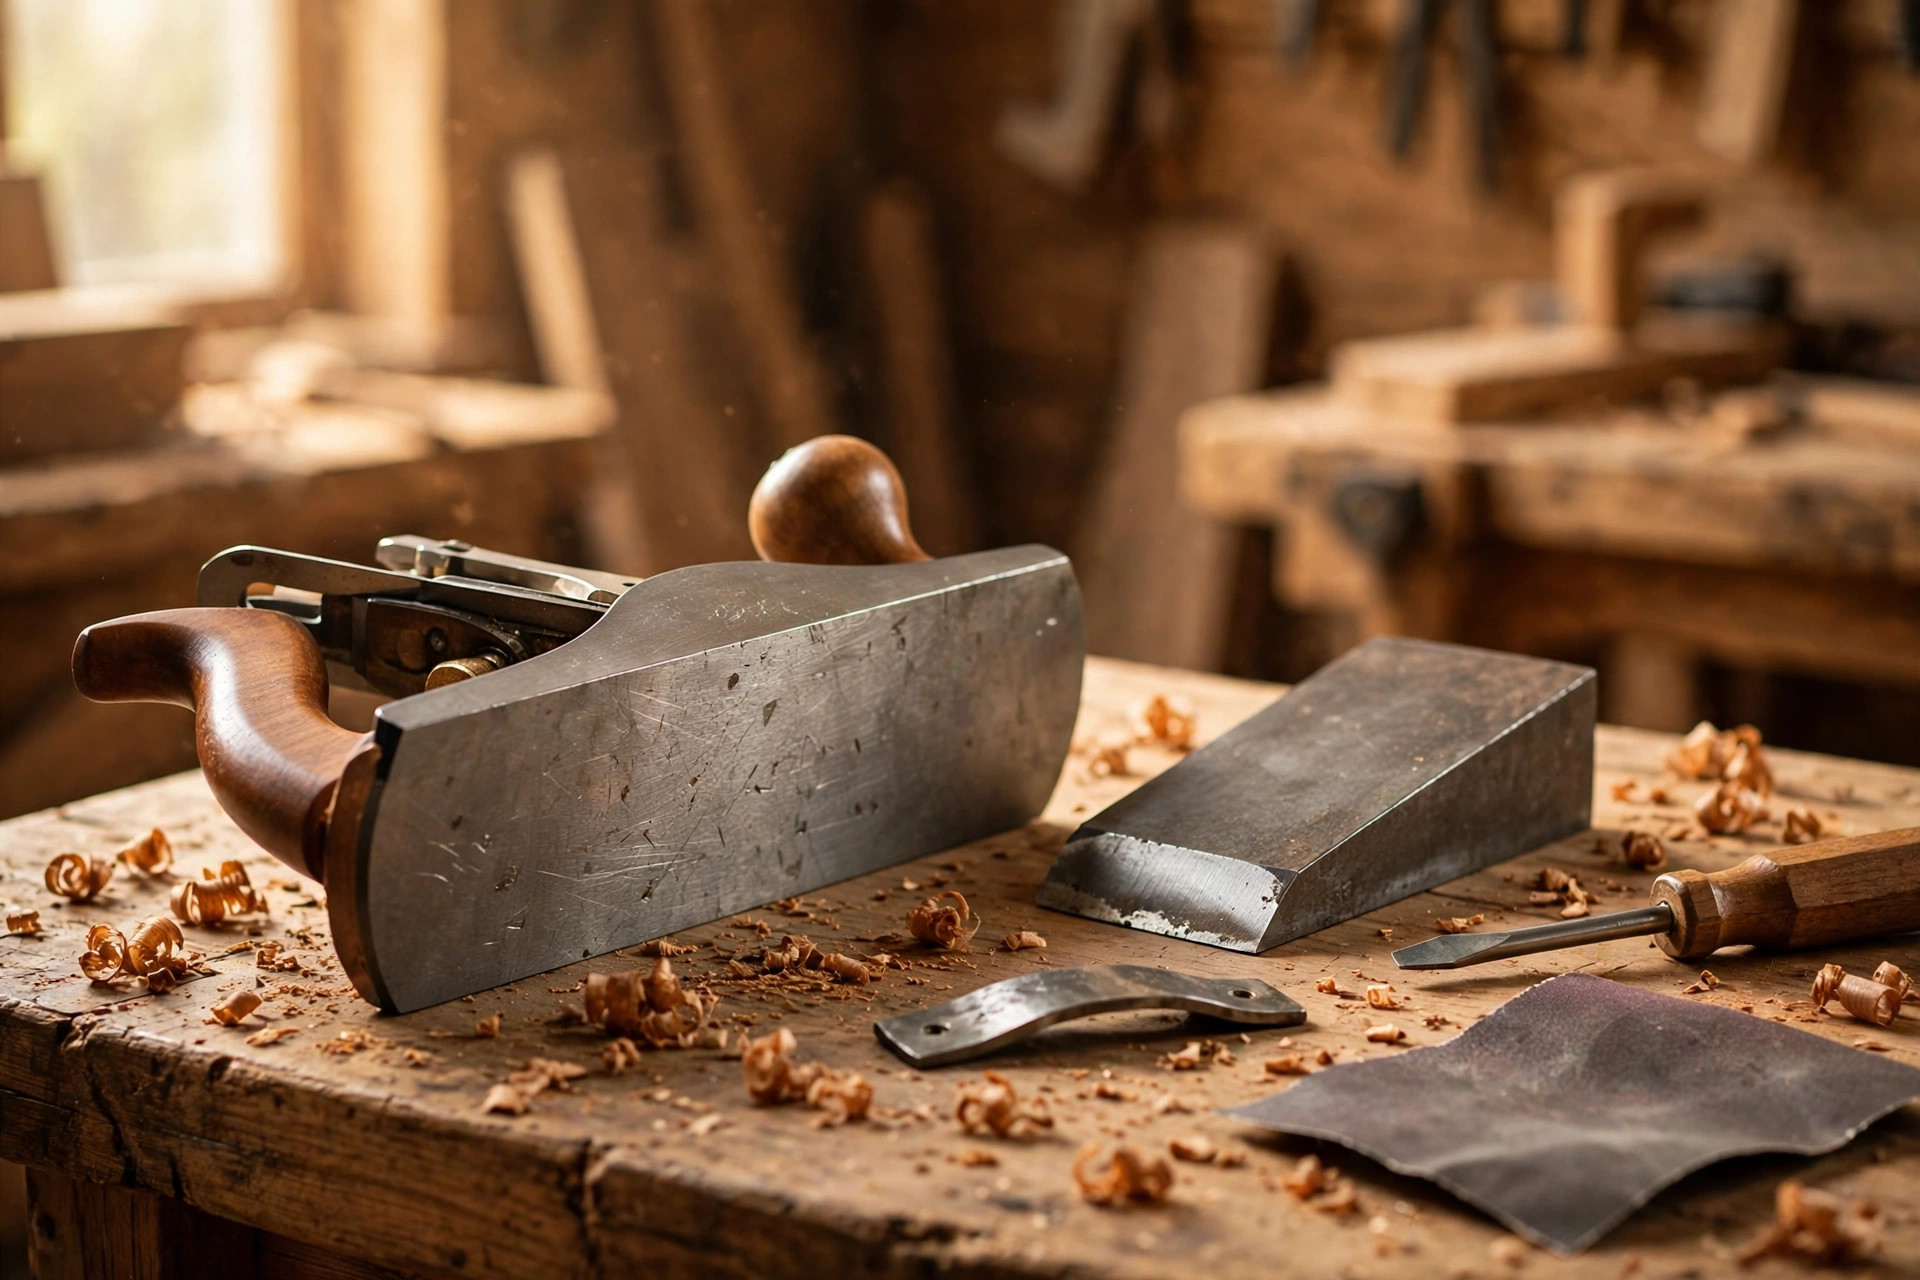
Stick a sheet of 120-grit sandpaper to a flat surface — a piece of float glass, a granite tile, or your table saw top — and rub the sole back and forth until the scratch pattern is even across the whole surface. Pay attention to the areas in front of and behind the mouth: those are the reference surfaces that matter. A sole that is flat everywhere except the mouth area will still rock. Once the pattern is even, step up to 220 grit for a final pass.
Step 2: Check and flatten the iron’s back
Remove the iron and inspect the back (the flat side). It must be flat right at the cutting edge — the last half inch matters most. Rub it on the same sandpaper or a whetstone until it is uniformly polished near the edge. A flat back is what lets you hone a truly sharp edge, and it is the same skill you use when flattening a chisel back.
Step 3: Set the chipbreaker (bevel-down bench planes)
On a bevel-down plane, screw the chipbreaker to the iron so its leading edge sits about 1/32 inch behind the cutting edge for general work, closer for difficult grain. A gap here lets shavings jam; a chipbreaker set too far back does nothing at all. Block planes have no chipbreaker, so skip this step on your first plane.
Step 4: Seat the iron assembly and set the mouth
Drop the iron (and chipbreaker) onto the frog, press it firmly down, and snap the lever cap closed. On a block plane, set the mouth opening by sliding the toe piece: start with a gap roughly the thickness of a thin shaving, about 0.005–0.010 inch. Too wide a mouth lets fibers lift and tear; too tight and shavings jam.
Step 5: Set the depth — take it slow
With the plane upside down, sight along the sole and advance the iron with the depth wheel until the edge just peeks out — a hair’s breadth. Then flip it over and take a test shaving on scrap. Advance in tiny increments: a quarter turn at a time, testing after each. Beginners almost always set the iron too deep; a plane that takes a full-width, translucent shaving is set right, while one that chatters or stalls is set too deep.
Step 6: Center the iron laterally
Look at the shaving: if it is thicker on one side, nudge the lateral adjustment lever toward the thin side until the shaving is even across the width. This single adjustment fixes most ‘my plane cuts on one corner’ complaints. Check it again after every sharpening, since removing and reinstalling the iron shifts it.
Step 7: Test on scrap
Plane a piece of softwood scrap with the grain, then a piece of hardwood, then an end-grain offcut. You should get continuous, thin, unbroken shavings that curl rather than crumble. If you do, you are done — and you now know more about your plane than most owners ever will.
Sharpening the Iron: The Same Skills as Chisel Sharpening
Here is the crossover every beginner should hear: a plane iron is a wide chisel. The honing process is identical — flatten the back, hone the bevel at a consistent angle (25 degrees primary, 30 degrees micro-bevel is a common choice), and finish until the edge shaves arm hair or slices paper cleanly. If you have already learned how to sharpen chisels for beginners, you already know 90 percent of plane-iron sharpening.
The differences are small but worth noting:
- Width: A 2-inch iron takes longer to hone than a chisel, and it is easier to rock it and round the edge. Use a honing guide until your hands learn the angle.
- Camber: Jack plane irons are often honed with a slight curve (camber) across the edge so the corners do not dig in when flattening. For a beginner’s block plane, a straight edge is fine.
- Bevel-up irons: On a bevel-up plane, the bevel angle plus the bed angle equals the cutting angle, so a 25-degree bevel on a 12-degree bed cuts at 37 degrees. Swap to a 38-degree bevel iron and you get a 50-degree cutting angle for difficult grain — no new plane required.
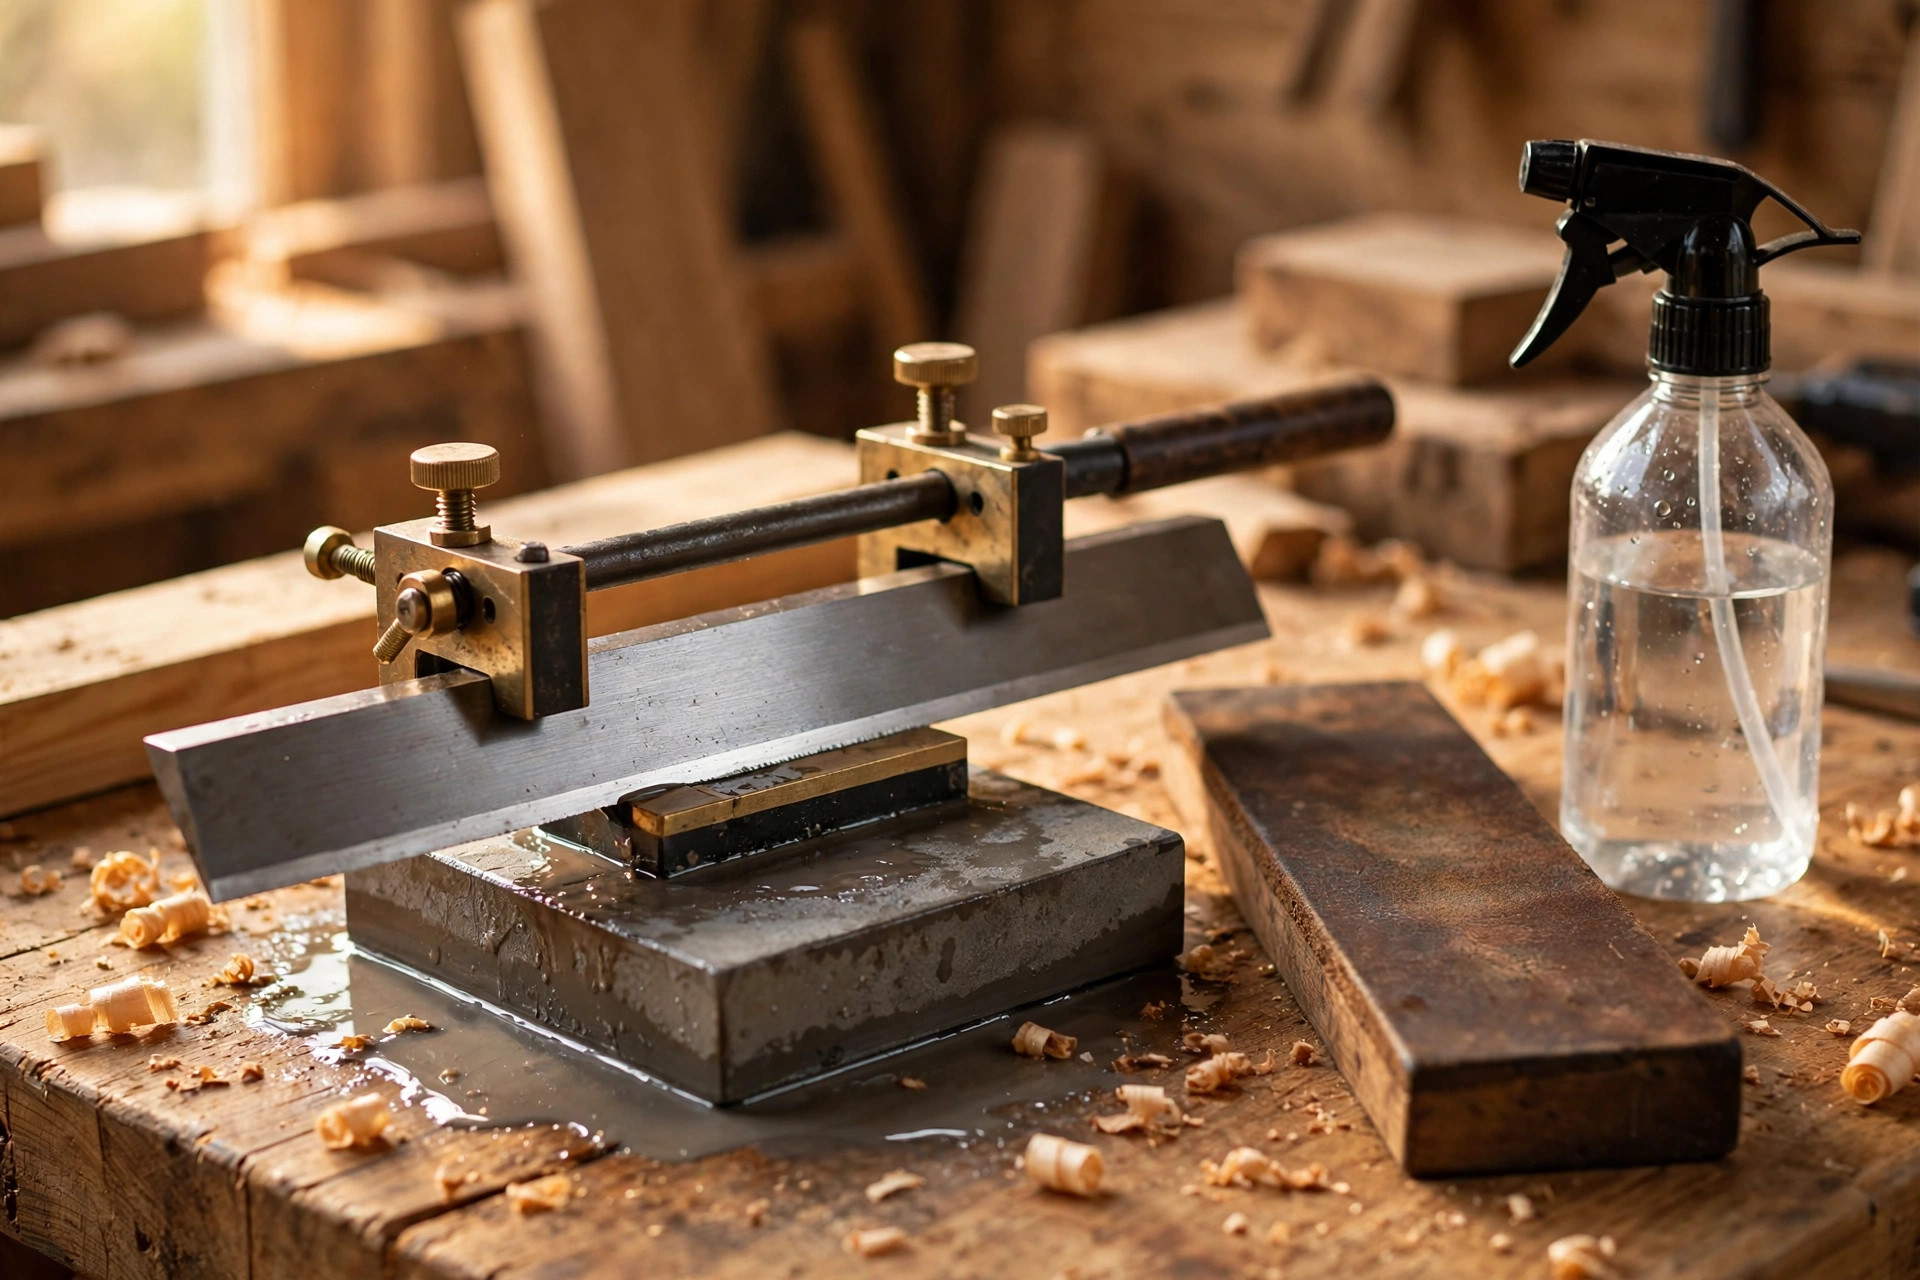
Sharpening frequency matters more with planes than with chisels, because a plane iron dulls gradually and you compensate by pressing harder — which causes tearout and fatigue. Hone the iron the moment shavings start to crumble or the plane needs real force to push. For most beginners that means a quick touch-up every hour or two of planing, not a full re-grind. A sharp iron is not a luxury; it is the difference between a plane that works and one that fights you.
Planing Technique: Grain Direction, Shaving Thickness, Stance
A tuned, sharp plane still needs a decent operator. Technique is mostly about reading the grain and controlling the cut — two skills you build in a single practice session.
Read the grain first. Run your hand along the board: one direction feels smooth, the other catches. Plane in the smooth direction — with the grain — so the iron slices fibers down instead of lifting them. If the grain changes direction mid-board (common with figured wood), plane from both ends toward the middle, or take a lighter cut and skew the plane.
Start the cut correctly. Press down firmly on the front of the plane (the toe) at the start of the stroke, then shift pressure to the rear handle (the tote) as you exit the board. Pressing only on the back at the start rounds the leading edge; pressing only on the front at the end rounds the trailing edge. Even pressure through the middle, extra toe pressure at entry, extra heel pressure at exit.
Skew the plane for hard work. Angle the plane 20–30 degrees to the direction of travel when flattening rough stock or planing difficult grain. Skewing effectively lowers the cutting angle and slices the fibers instead of chopping them, which reduces tearout and effort. Keep the plane’s sole flat on the board while skewing — tilting it sideways digs a corner in.
Shaving thickness is your dial. For rough flattening, take a thicker shaving — about 0.005–0.010 inch — and work diagonally across the board. For final smoothing, dial back to 0.001–0.003 inch: the shaving should be translucent and unbroken. If you cannot read newsprint through it, you are still in roughing territory, not finishing.
Secure the board. A board that rocks or slides teaches you nothing except frustration. Use a bench hook, a planing stop, or a simple cleat clamped to the bench. Your hands should guide the plane, not fight to hold the board still.
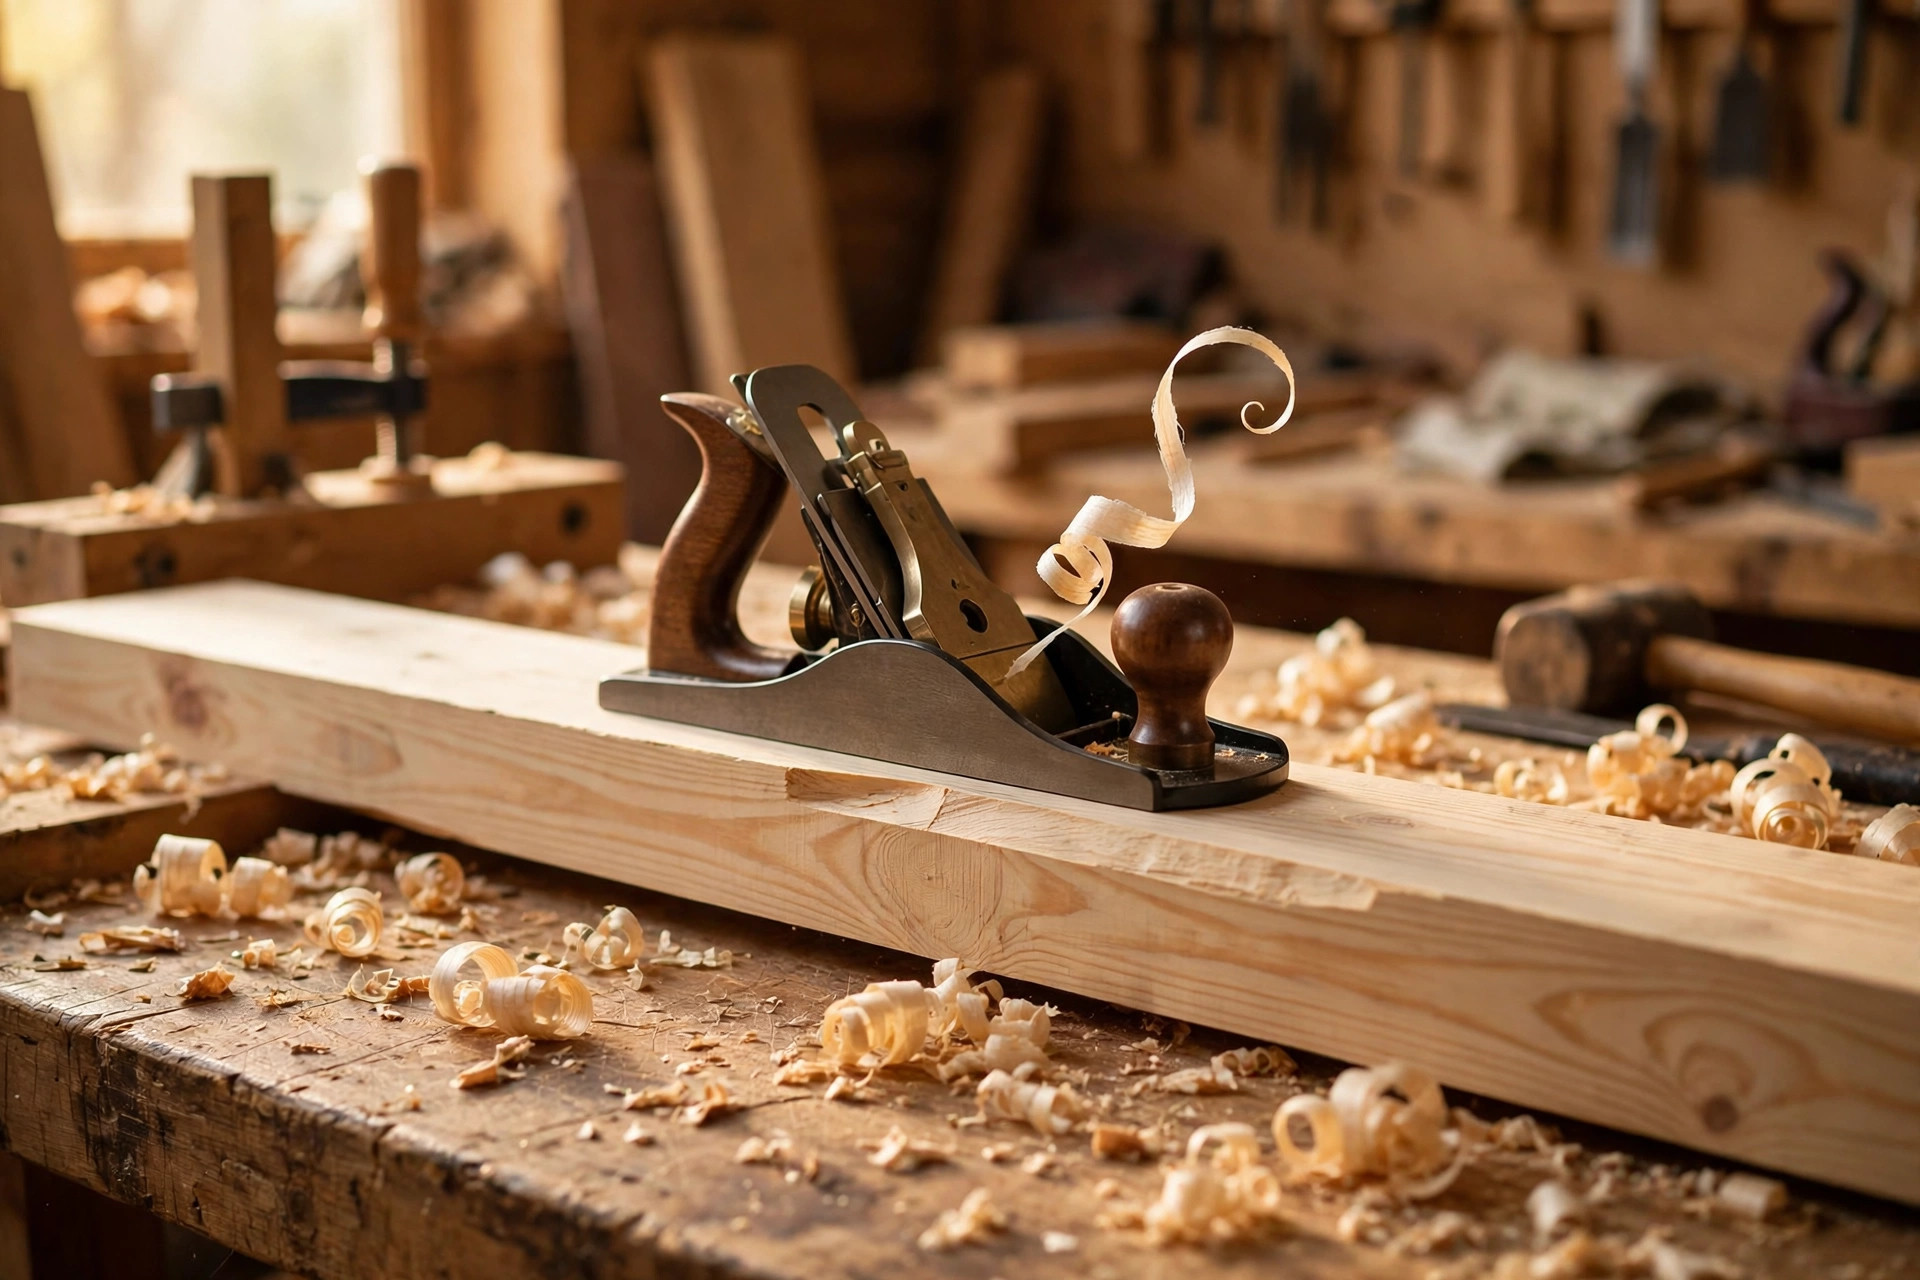
Hand Plane vs Sander: Which Should a Beginner Reach For?
Every beginner eventually asks: if I own a random-orbit sander, do I even need a plane? For some jobs, no. For others, the plane is simply better. Here is the honest breakdown:
- Flattening and trueing: Plane wins. A sander follows the board’s bumps; a plane’s long sole bridges them and actually flattens.
- Edge jointing for glue-ups: Plane wins, and it is not close. A planed edge glues stronger and cleaner than a sanded one, which is why furniture makers joint by hand even when they own power jointers.
- Removing tool marks and mill marks: Plane wins on speed. One or two passes erase saw marks that take minutes of sanding.
- Final surface before finish: Tie, with a nuance. A planed surface takes finish beautifully and needs no sanding at all on many projects, but if you are painting, sanding is faster and the surface quality does not matter. For a clear finish, plane first and follow with a proper sanding and finishing routine only where the surface needs it.
- Speed on rough stock: Sander wins for heavy material removal on very rough lumber — but a jack plane with a cambered iron is surprisingly close, and it does not fill your shop with dust.
- Dust and noise: Plane wins by a mile. Shavings fall to the floor; they do not fill the air, your lungs, or your sander’s dust bag.
The workflow most beginners settle on: plane first, sand second (and only where needed). Plane to flatten, true, and smooth, then sand lightly with 180–220 grit only if the finish demands it. You will sand less, breathe less dust, and get flatter panels.
Common Mistakes Beginners Make (and How to Fix Them)
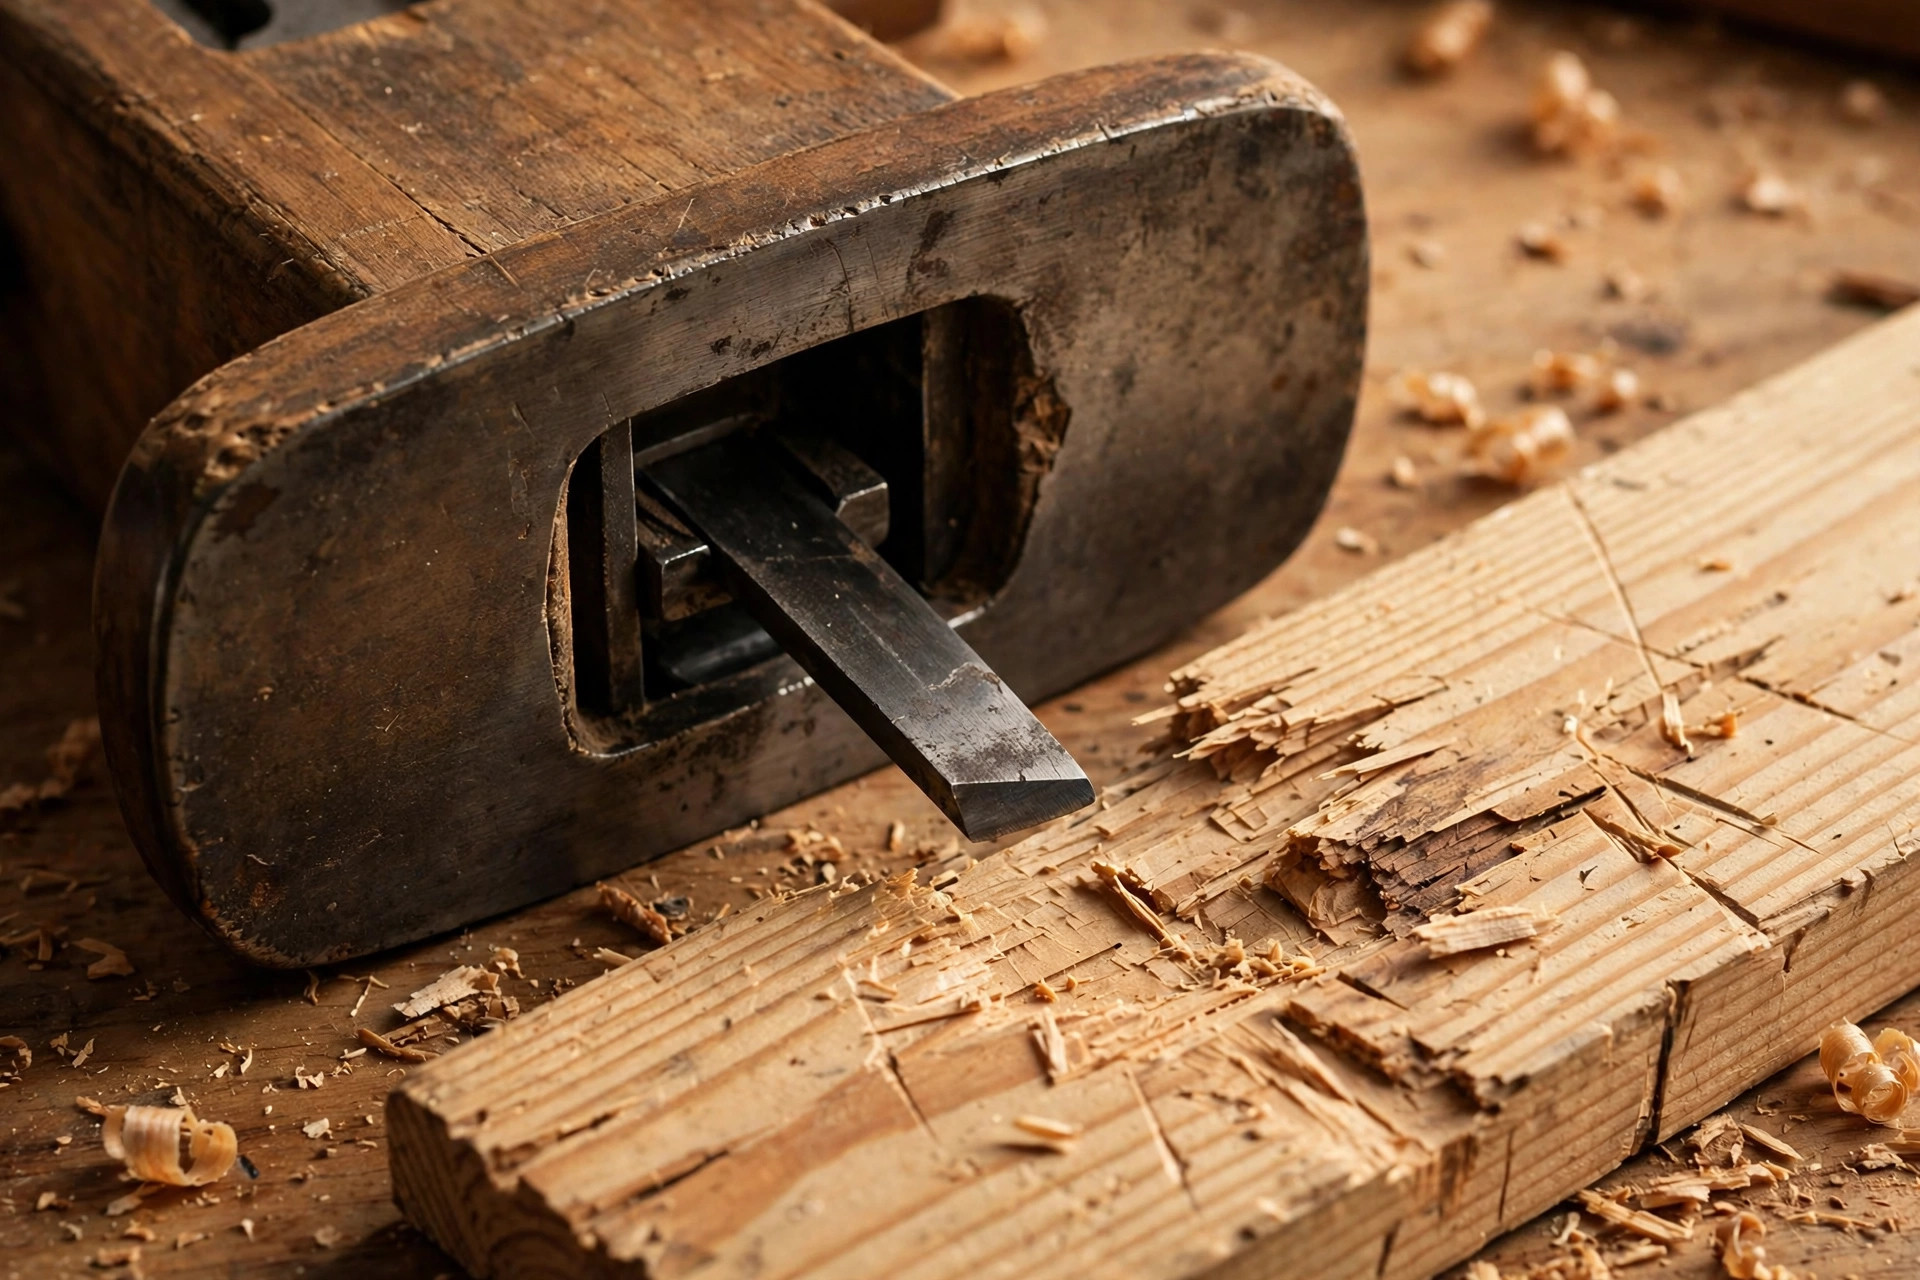
Cranking the iron too deep. The number-one beginner error. If the plane chatters, stalls, or tears chunks out, retract the iron until you get a thin, continuous shaving. Depth is adjusted in fractions of a thousandth of an inch, not in visible steps.
Skipping the tune-up. A plane that was never flattened or sharpened will frustrate anyone, including experienced woodworkers. The 30-minute tune-up in this guide is not optional — it is the difference between a tool and a paperweight.
Planing against the grain. If the surface tears no matter what you adjust, you are probably planing the wrong way. Flip the board end for end and try again; the difference is usually dramatic.
Neglecting the lateral adjustment. A shaving that is thick on one side and thin on the other means the iron is tilted. A nudge of the lateral lever fixes it in seconds.
Using a dull iron. If you are pressing hard, sweating, and getting dust instead of shavings, stop and sharpen. A dull iron causes more tearout, more frustration, and more bad habits than any other single factor.
Buying the smoother first. It is tempting — smoothers look like the ‘finishing’ tool — but a smoother on rough or twisted stock is a recipe for frustration. Start with the block plane, add the jack, and buy the smoother when your boards are already flat.
Planing on an unstable board. If the board rocks, the plane cannot flatten it — it just follows the rock. Secure the work first, every time.
Choosing the wrong wood to practice on. Start on straight-grained softwood like pine or poplar, not figured hardwood. Learn the feel of a good shaving on easy wood before you fight grain. For project ideas once you are comfortable, see our guide to the best wood for beginner woodworking projects.
Frequently Asked Questions
What is the best hand plane for a complete beginner? A low-angle block plane. It is cheap, easy to set up, forgiving of bad technique, and useful forever — even after you own a full set of bench planes.
Should a beginner buy a block plane or a jack plane first? Buy the block plane first if you can only buy one, and add a No. 5 jack plane second. The block plane teaches you sharpening and setup cheaply; the jack plane then becomes your workhorse for flattening and edge-jointing.
How much should a beginner spend on their first hand plane? Around $35–$120 for a usable block plane, plus $30–$60 for a basic sharpening setup. You can make excellent work at that budget; spending more buys convenience and fit-and-finish, not capability.
Can I use a hand plane instead of a sander? For flattening, edge-jointing, and final smoothing, yes — a plane is often better. For heavy stock removal on rough lumber or for painted projects, a sander is faster. Most beginners end up using both: plane first, sand lightly second.
Why is my hand plane tearing out the grain? Usually one of four causes: a dull iron, an iron set too deep, planing against the grain, or a mouth set too wide. Sharpen first, retract the iron, check the grain direction, and tighten the mouth — in that order.
How often do I need to sharpen a plane iron? Touch up the edge every hour or two of planing, or whenever shavings start to crumble and the plane needs real force. A full re-grind is rarely needed; a quick hone on a fine stone keeps the edge working.
Do I need a honing guide to sharpen a plane iron? Not forever, but it helps enormously at first. A guide holds the bevel angle steady while your hands learn the motion. Once you can hold the angle freehand, you can drop the guide — or keep it, since many experienced woodworkers do.
Your First Plane Session: A Simple Plan
Do not try to learn everything in this article in one sitting. Instead, run this one-hour session and let the skills sink in:
- Tune the plane (20 minutes): Flatten the sole, flatten the iron’s back, set the chipbreaker (if any), and set the mouth. Work slowly; this is the foundation.
- Sharpen the iron (15 minutes): Hone the bevel and polish the back until the edge shaves arm hair or slices paper.
- Practice on pine (20 minutes): Take shavings with the grain, then across it, then on end grain. Feel the difference a sharp iron makes versus a dull one.
- Make something small (5 minutes of planing): Chamfer the edges of a small board, or flatten one face of a scrap. A finished piece — even a tiny one — proves the skill. Try a simple beginner project next.
That single hour teaches you more than a week of reading. Once you have felt a plane take a full-width, translucent shaving off a board you flattened yourself, you will understand why hand planes have survived a century of power tools — and why the block plane on your bench will probably outlive every power tool you own.


