
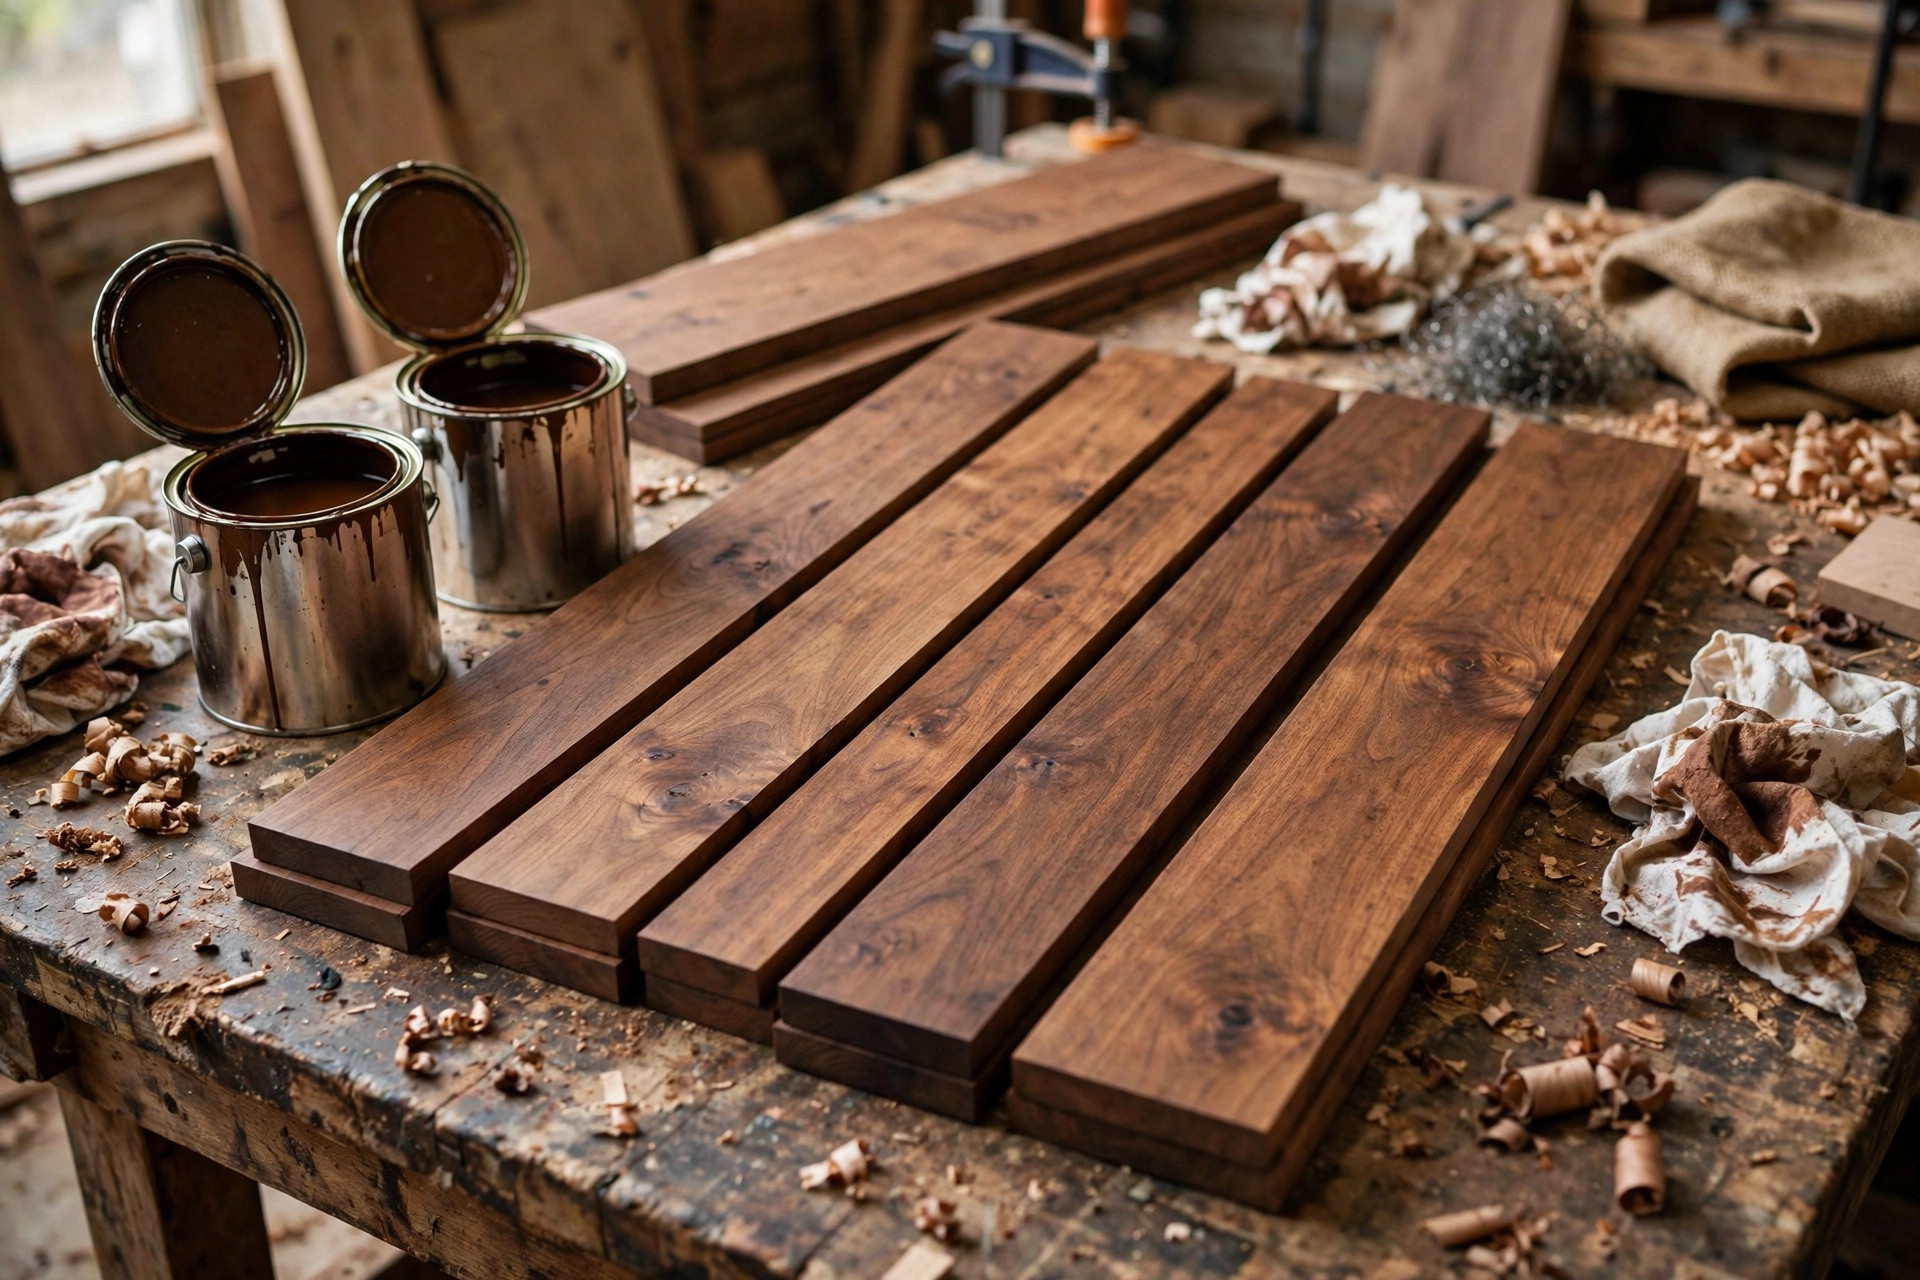
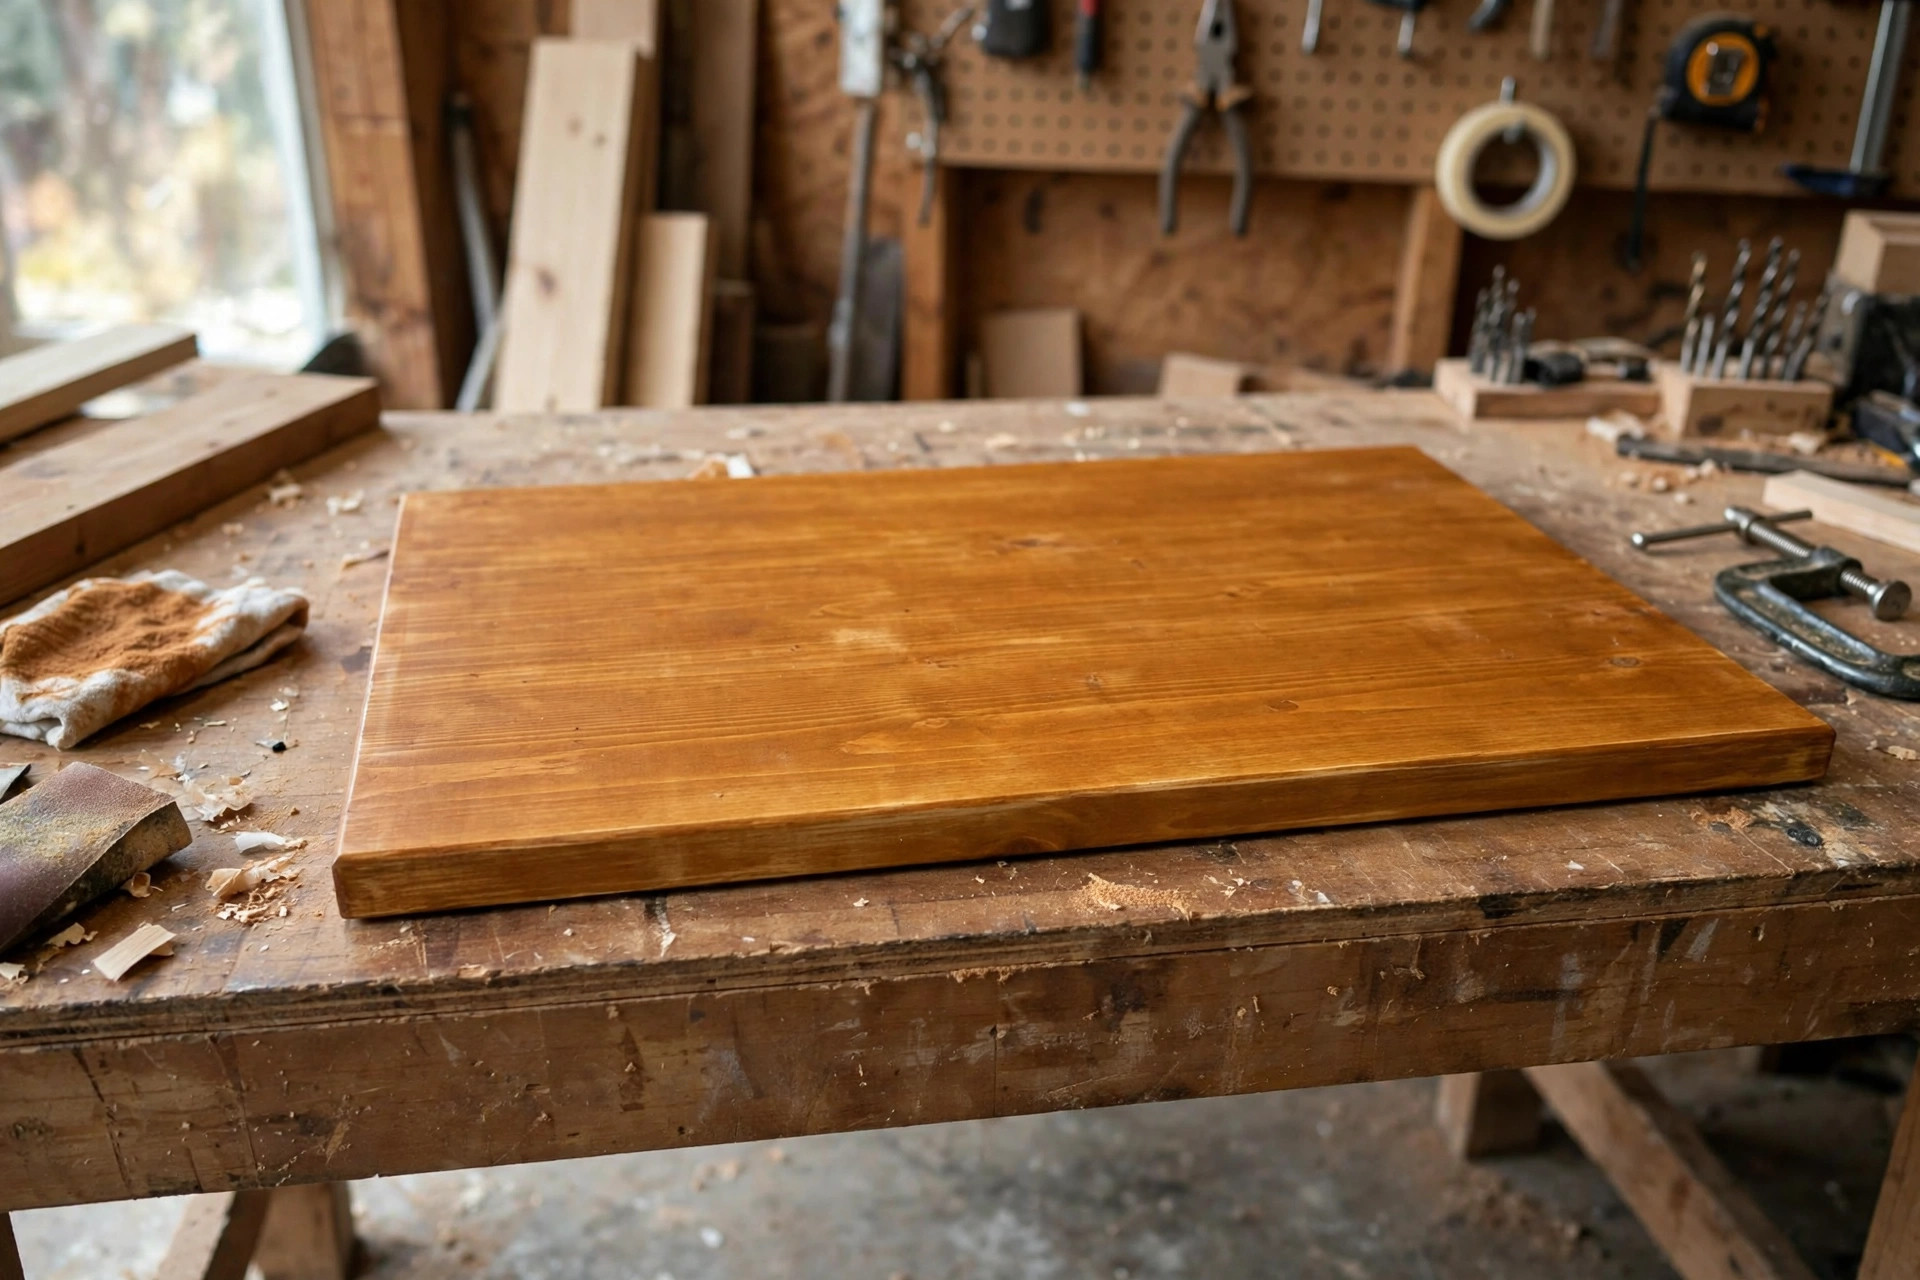
You built the shelf. You sanded it smooth. Then you opened a can of stain, brushed it on, and watched your beautiful pine turn blotchy, orange, or far darker than the label promised. If that sounds familiar, you are not alone — staining is where more beginner projects go wrong than cutting or joining. The good news is that staining is not a talent. It is a sequence: pick the right stain type for your wood, test the colour on scrap first, prepare the surface properly, apply thinly, wipe off the excess, and let it dry fully before you add a topcoat.
This guide answers the question behind the search for the best wood stain for beginners woodworking in plain language. It compares oil-based, water-based, gel, and stain-and-poly products honestly, explains which one a first-timer should actually buy, and warns you about the woods that blotch — pine and maple above all. It then walks you through a step-by-step application method, realistic drying times, what a first project should cost, and the mistakes that ruin otherwise good work. By the end, you will know exactly which can to buy for your next shelf, table, or crate, and how to use it without fear.
Here is the short answer. For most first-timers, a gel stain or a good oil-based wiping stain is the easiest route to an even colour, especially on pine. Gel stain sits more on the surface and is forgiving on blotch-prone wood, while oil-based stain gives a rich, warm colour and a long working time that lets you fix mistakes before it sets. Water-based stain is the best choice if you need low odour, fast drying, and easy water cleanup, but it raises the grain and can dry patchy if you work slowly. Stain-and-poly in one can sounds convenient, but it is the hardest product for a beginner to apply evenly, and it is best avoided for your first few projects. If you only buy one can, buy a gel stain in a mid-brown tone, plus a can of clear polyurethane for the topcoat, and test both on scrap wood from the same board before you touch your project.
Before you stain anything, it also helps to understand the steps that come before and after staining. Good sanding is half of a good stain job, so read our guide to how to sand and finish wood for beginners before you open a can. And if you are still choosing your first projects, the pillar guide to easy woodworking projects for beginners that sell is full of shelves, crates, and small tables that are ideal first staining projects, because buyers notice a smooth, even finish far more than they notice fancy joinery.
Stain Types Compared: Oil-Based, Water-Based, Gel, and Stain-and-Poly
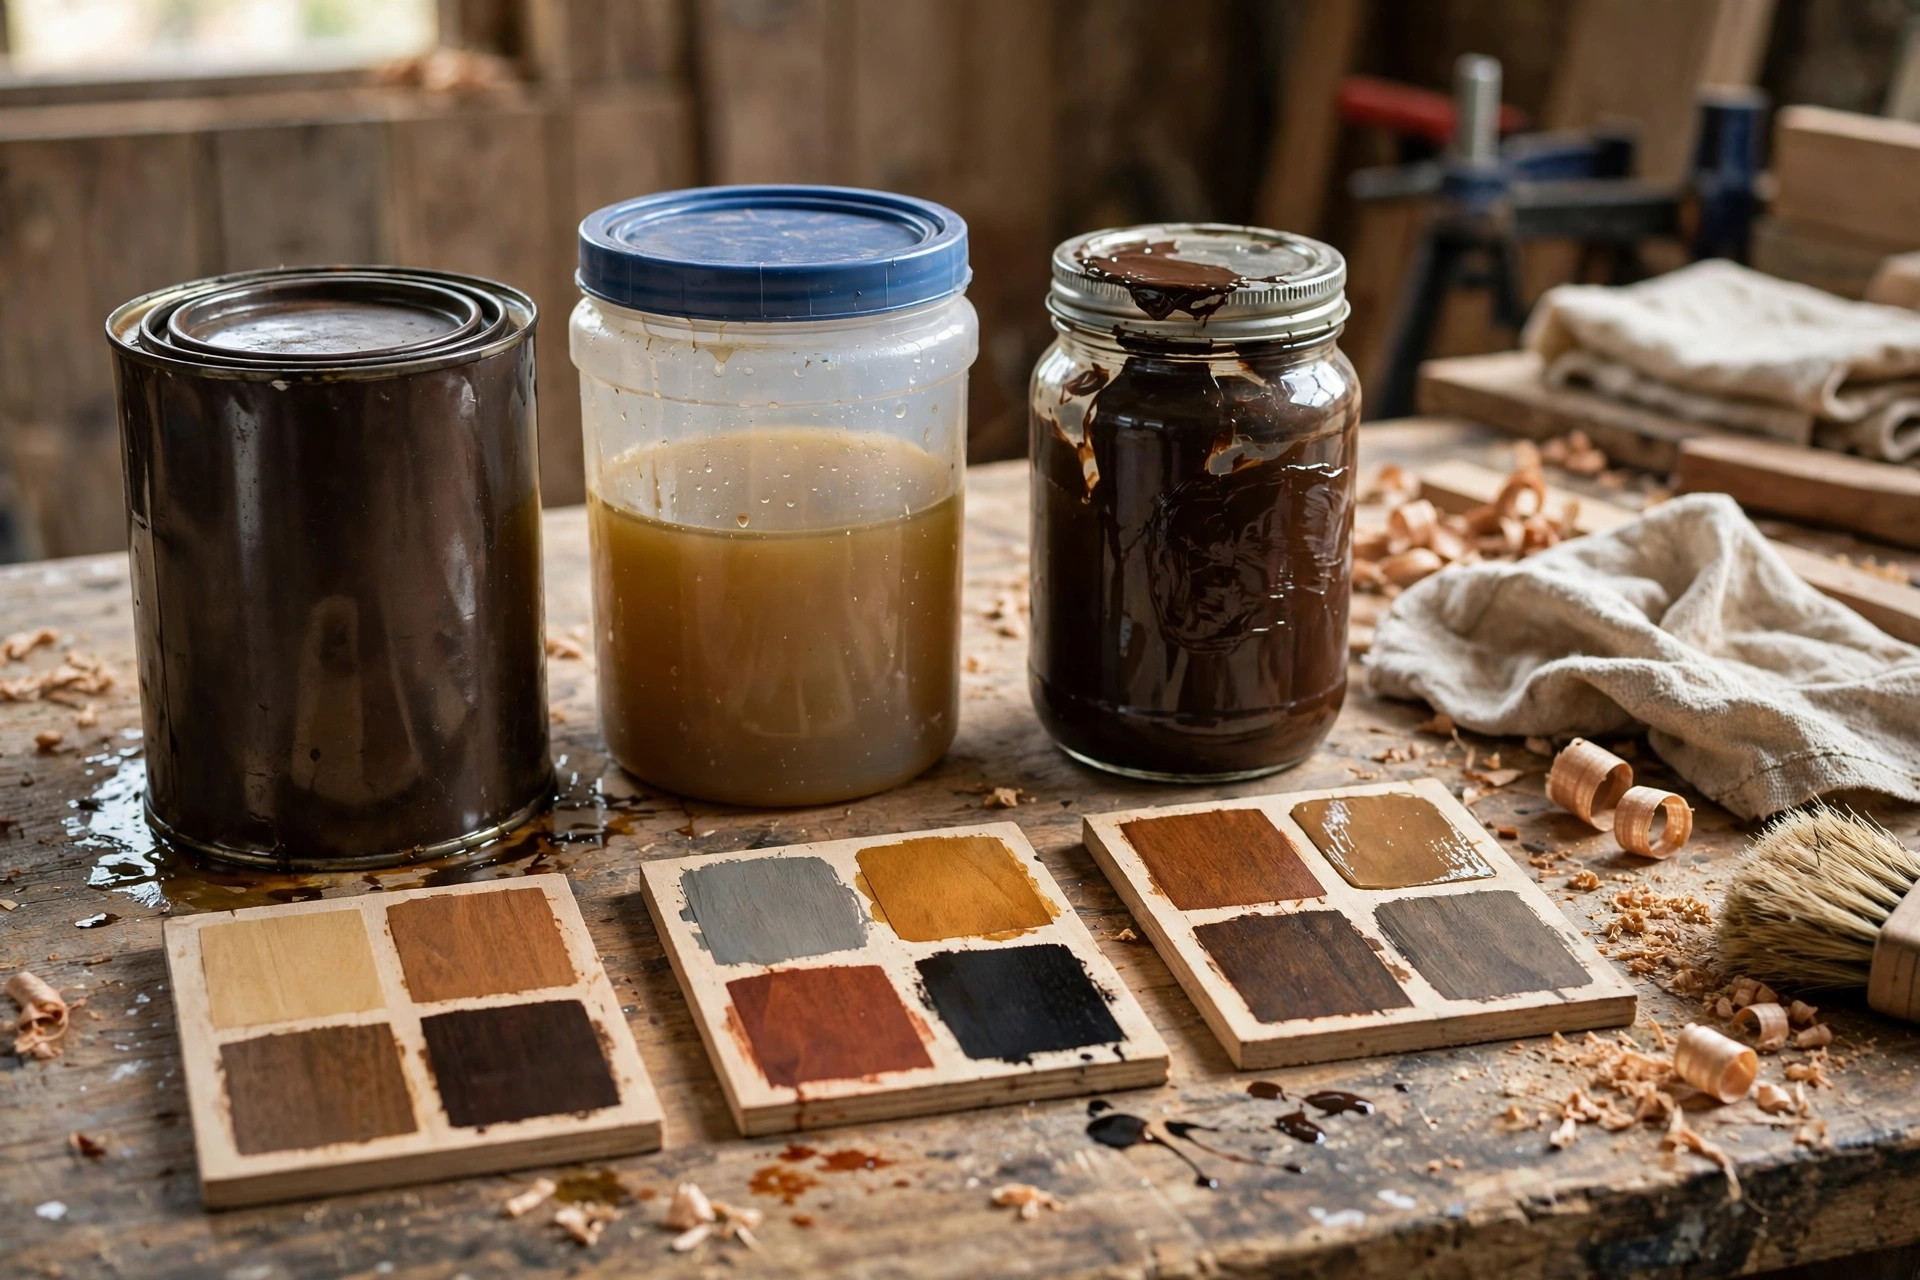
Stain is not paint. Paint hides the wood; stain colours it while letting the grain show through. All stains contain colourant suspended in a carrier, but the carrier changes everything about how the stain behaves, smells, dries, and forgives mistakes. Understanding the four main types is the single most useful thing a beginner can learn before shopping.
Oil-based stain is the traditional choice. It uses mineral spirits or a similar solvent as its carrier, so it penetrates deeply into the wood, gives a warm and rich colour, and stays workable for a long time — often 10 to 15 minutes or more per section — which means you can wipe, blend, and correct uneven patches before it sets. Its downsides are real, though: it smells strongly, needs good ventilation, takes 8 hours or more to dry between coats, and brushes and rags must be cleaned with mineral spirits. It also darkens slightly as it ages, which suits traditional furniture but can surprise a beginner who wanted a pale, modern look.
Water-based stain uses water as its carrier. It dries fast, often in 1 to 2 hours, smells far less, cleans up with soap and water, and keeps pale colours pale because it does not add the amber warmth of oil. That speed is also its trap for beginners. Water-based stain can dry at the edges while you are still working the middle of a board, leaving lap marks where wet stain met dry stain. It also raises the wood grain, so the surface feels rough after the first coat and needs a light sanding before the topcoat. Work in small sections, keep a wet edge, and never go back over a section that has started to dry.
Gel stain is thick, almost like pudding, and it does not soak deeply into the wood. Instead, it sits largely on the surface, which makes it wonderfully forgiving on blotch-prone woods such as pine, because the colour goes on evenly instead of soaking unevenly into soft and hard grain. You apply it with a cloth or a foam brush, wipe off the excess, and build colour with a second coat if you want it darker. Gel stain is slower to dry than water-based stain but faster than many oil stains, and it is excellent for vertical surfaces and for staining over an existing finish when you want to change colour without stripping. Its main limitation is that it can look slightly less deep and natural than a penetrating oil stain on open-grained hardwoods such as oak, where penetration shows off the grain beautifully.
Stain-and-poly, also sold as stain-and-polyurethane in one, combines colour and a protective topcoat in a single can. It promises one step instead of two, but for a beginner it is usually a false economy. Because you cannot wipe off the excess the way you can with a true stain, any brush mark, drip, or uneven patch becomes part of the finish. You also cannot easily adjust the colour after the first coat, and repairs are harder because sanding through the colour damages the topcoat at the same time. Experienced finishers can get good results with it on simple, flat pieces, but a first-timer will almost always get a better result by staining first and adding a separate clear topcoat afterwards.
| Stain type | Working time | Drying time (recoat) | Odour / cleanup | Best for a beginner | Main drawback |
|---|---|---|---|---|---|
| Oil-based stain | Long (10–15 min per section) | 8+ hours | Strong; mineral spirits | Rich colour on oak, walnut, poplar; patient first-timers | Strong smell, slow drying |
| Water-based stain | Short (dries fast) | 1–2 hours | Low; soap and water | Indoor projects, pale colours, low-odour needs | Lap marks, raised grain |
| Gel stain | Medium | 4–6 hours | Moderate; mineral spirits | Pine and blotch-prone wood; first-timers | Less depth on open-grained oak |
| Stain-and-poly (one step) | Short; cannot wipe off excess | Varies; follow the can | Varies | Rarely recommended for a first project | Brush marks and uneven colour locked in |
If you are choosing between just two cans in the shop, remember this rule of thumb. Choose gel stain for pine, maple, and any first project where an even colour matters more than anything else. Choose oil-based stain for oak, walnut, and hardwoods where you want the deepest, richest grain. Choose water-based stain when you are working indoors with little ventilation, you need the project finished the same day, or you want a pale, grey, or whitewashed look that oil would warm up too much. Leave stain-and-poly on the shelf until you have stained three or four projects successfully with separate stain and topcoat.
Pine, Maple, and the Blotch Problem Every Beginner Must Know
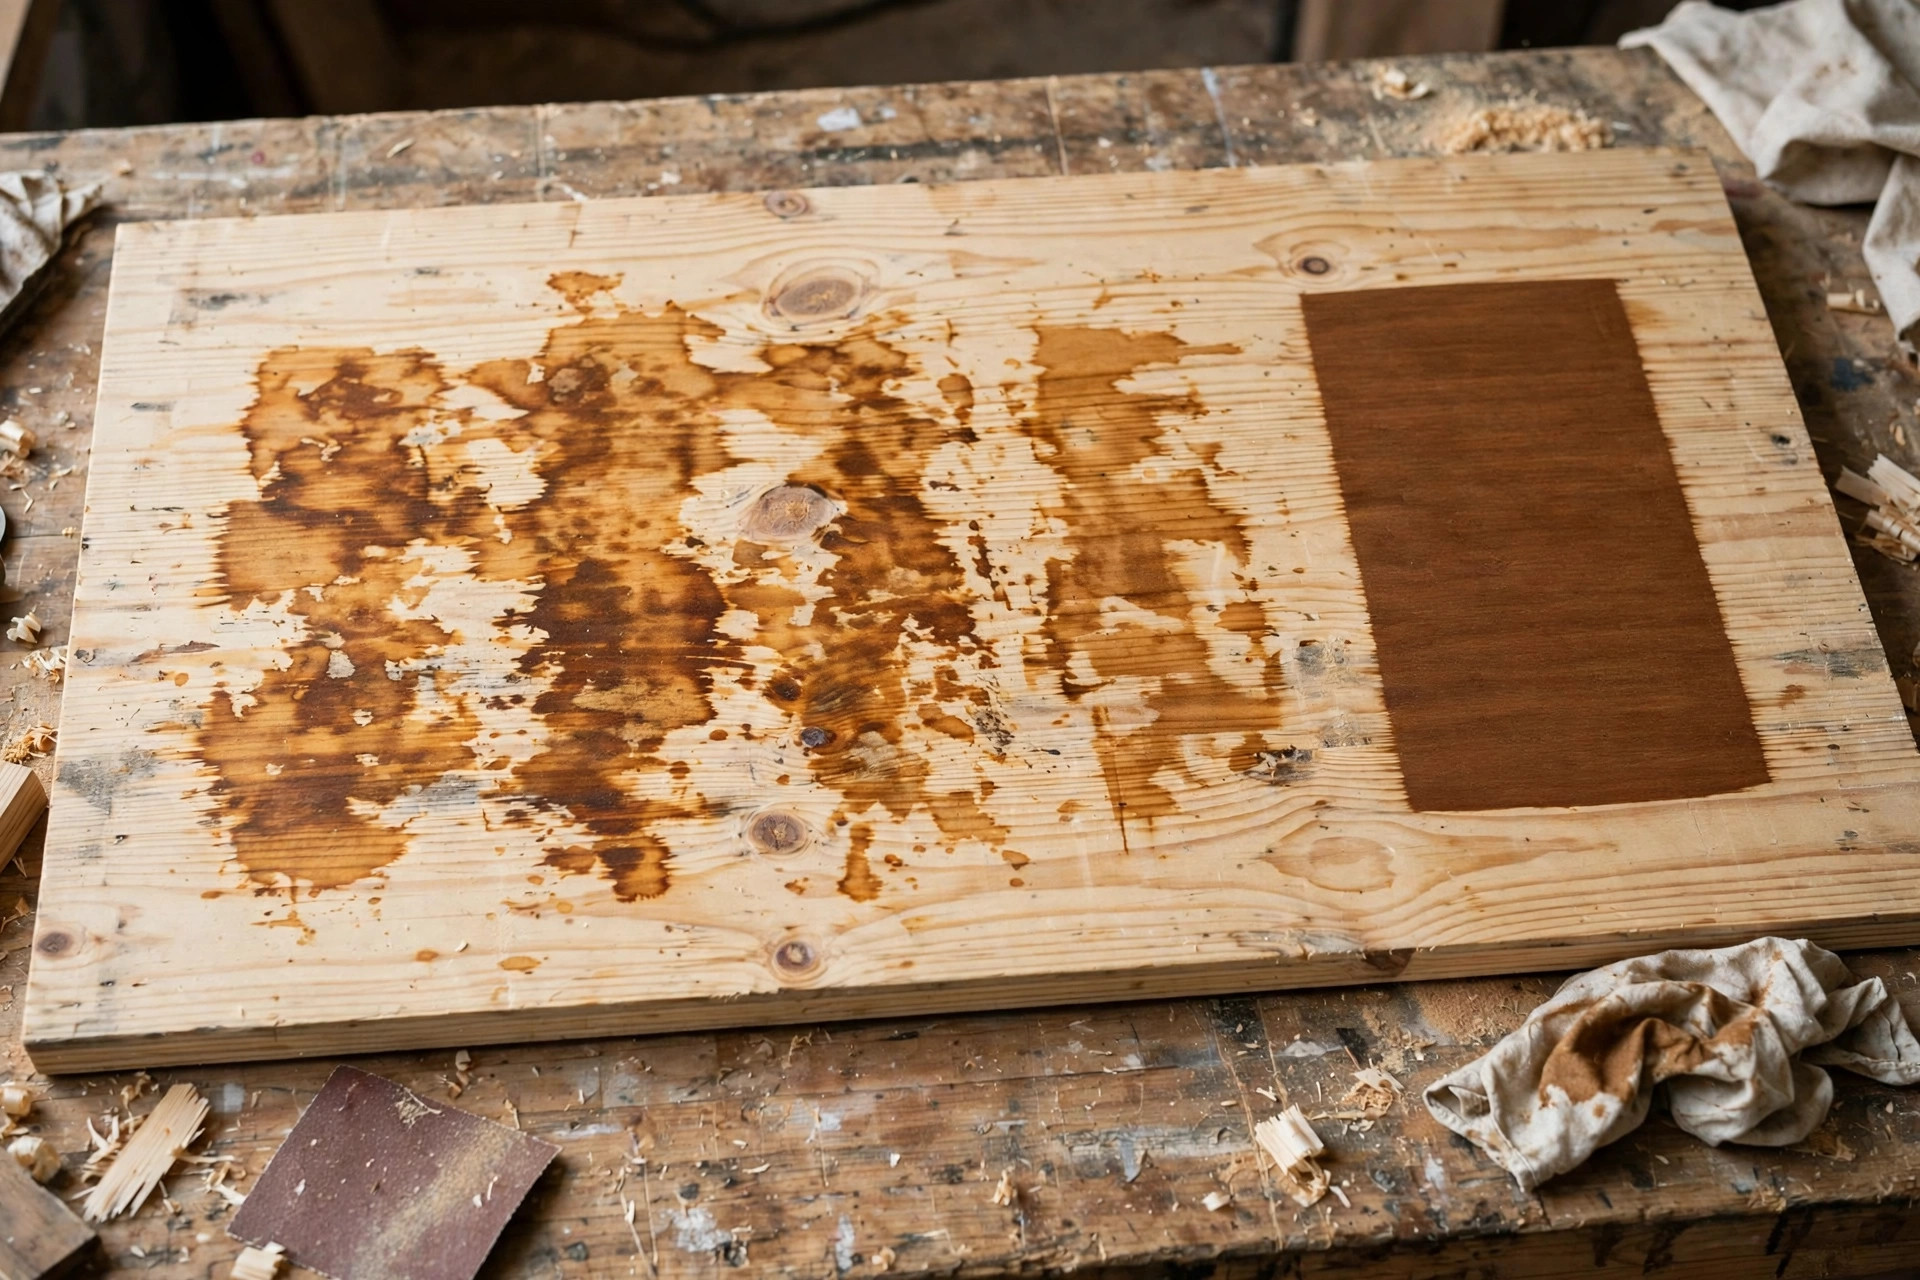
Pine is the most common beginner wood, and it is also the most likely to blotch. Blotch happens because pine has soft earlywood and harder latewood in the same board, and stain soaks into the soft parts far faster than the hard parts. The result is a patchy, cloudy finish with dark spots and pale streaks, even when you applied the stain perfectly evenly. Maple and birch behave the same way, though usually less dramatically than pine. Cherry can blotch too, and it also darkens with sunlight over time, so a cherry project stained today may look noticeably different in six months.
This does not mean you should avoid pine. Pine is affordable, easy to cut, easy to sand, and widely available, which is why it appears in so many beginner projects and in our guide to the best wood for beginner woodworking projects. It means you must treat pine differently. There are three reliable defences against blotch, and using even one of them transforms the result. The first is a pre-stain wood conditioner, a thin sealer that partly fills the soft grain so the stain soaks in more evenly. Apply it, let it dry for the time the can specifies (usually 15 minutes to 2 hours, depending on the product), and stain within the window printed on the can — if you wait too long, the conditioner seals too much and the stain barely colours the wood at all.
The second defence is gel stain itself, which sits on the surface and largely sidesteps the uneven absorption problem. Many beginners get their first truly even pine finish simply by switching from a liquid oil stain to a gel stain, with no conditioner at all. The third defence is sanding discipline: sand pine to 150-grit or 180-grit and stop there. Sanding finer, to 220-grit or beyond, can actually make blotch worse on pine, because it burnishes the surface unevenly and seals some areas more than others. It also makes the wood absorb less stain overall, giving a paler, washed-out colour. For most hardwoods, 180-grit to 220-grit is fine, but for pine, 150-grit to 180-grit is the sweet spot, and you should always sand with the grain, never across it.
One more pine warning: knots. Pine knots soak up stain differently from the surrounding wood and often turn almost black, which can look rustic and charming on a farmhouse shelf but distracting on a clean modern table. If you want a knot to blend in, seal it first with a dab of shellac or a knot-sealing primer before you apply conditioner and stain. If you like the rustic look, leave the knots alone and let them be a feature. Either choice is fine, but it should be a choice, not a surprise.
Test Boards First: Never Stain Your Project Without a Trial
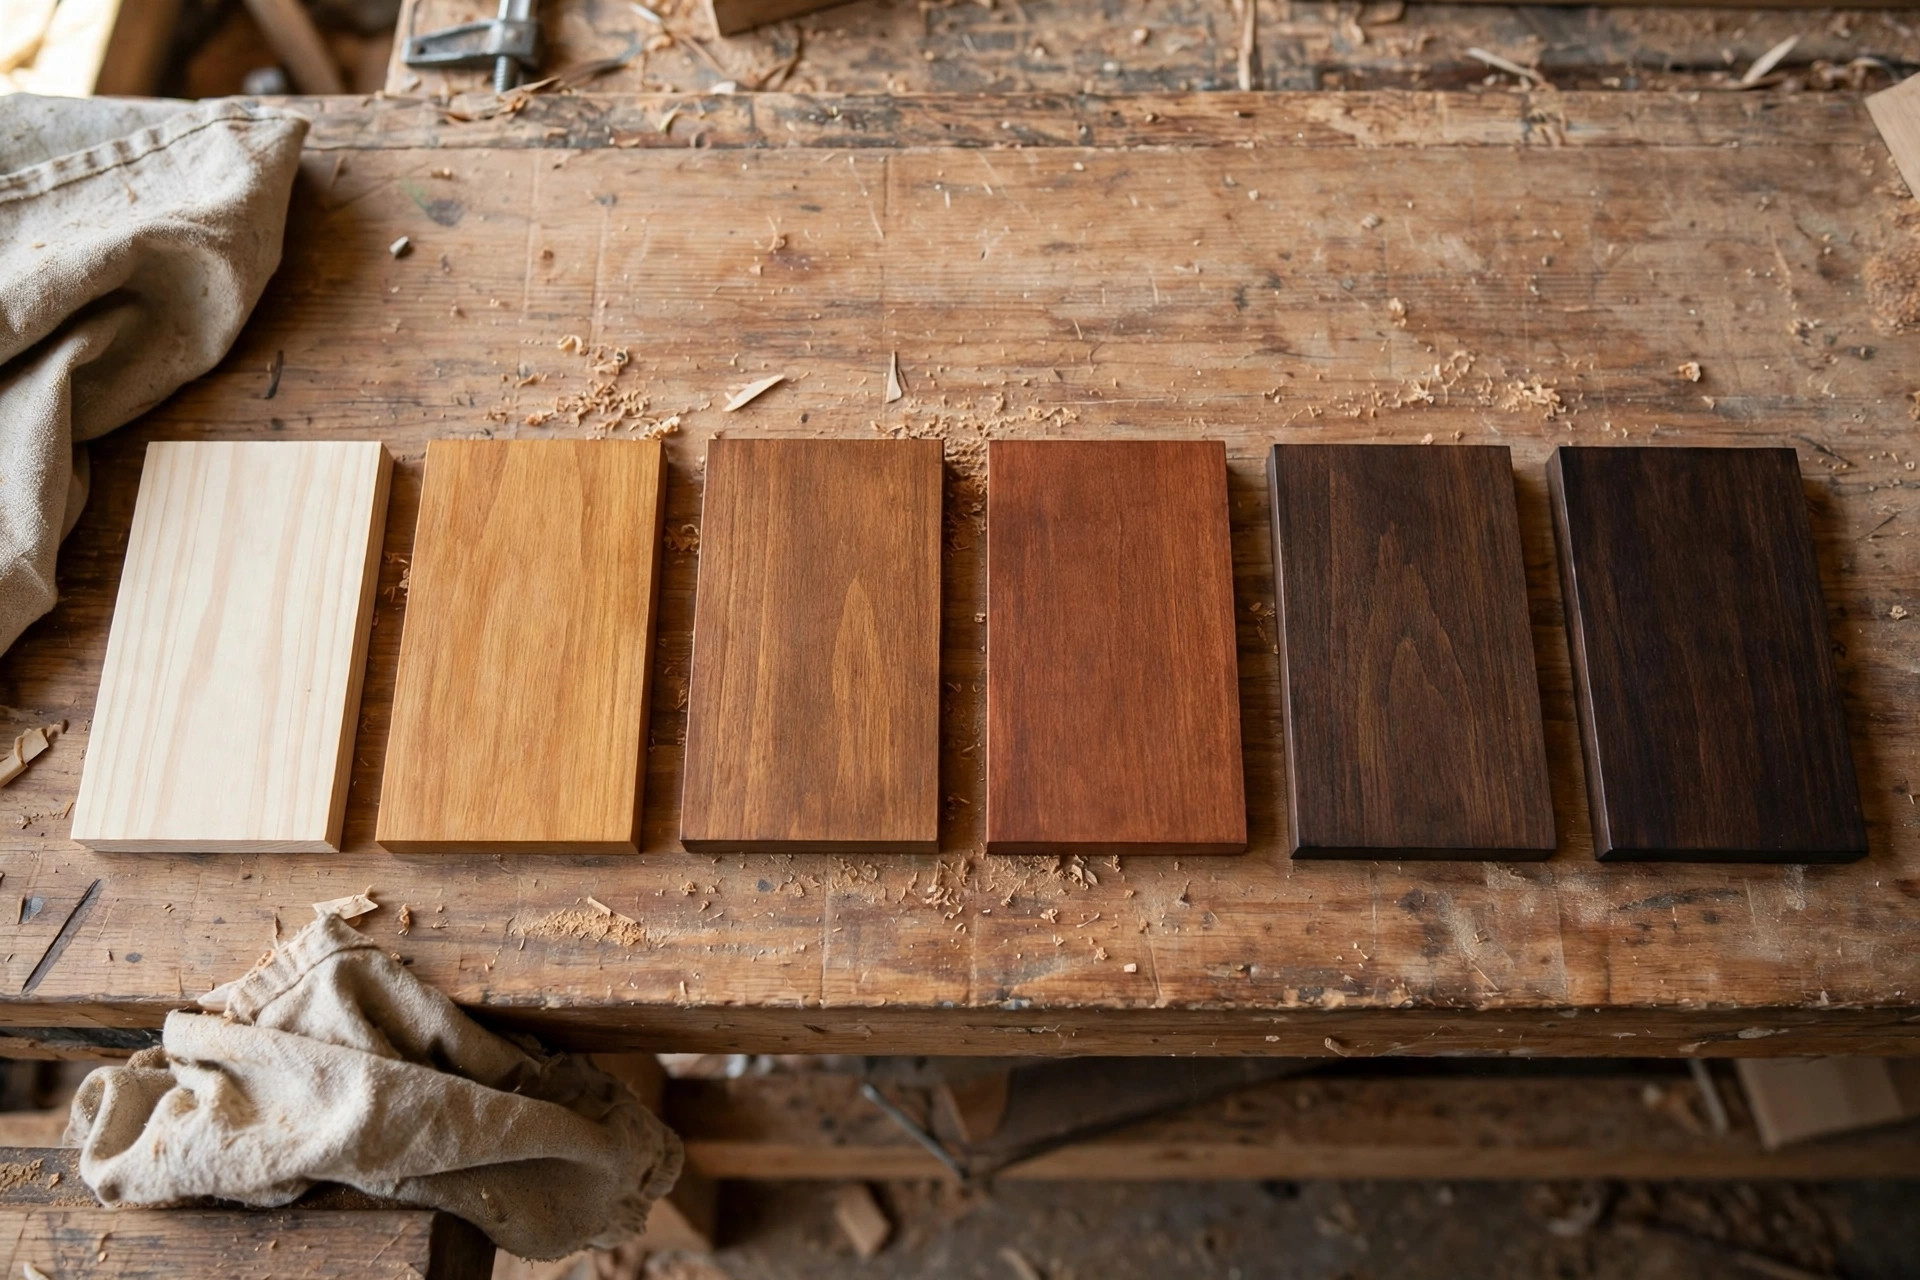
The single habit that separates confident finishers from nervous ones is the test board. A stain colour on a can label, on a shop display board, or on a phone screen is never the colour you will get on your wood, because every species, every board, and every sanding grit changes the result. A test board removes the guesswork. Cut three or four offcuts from the same board as your project, or from the same species sanded to the same grit, and treat them exactly as you will treat the project: same conditioner if you are using one, same number of coats, same wiping method, and the same topcoat on at least one of them, because a topcoat deepens and warms the colour noticeably.
Label each test board with the stain name, the number of coats, and whether you used conditioner. Then compare them in the light where the finished project will live, not just under workshop lights. A warm walnut that looks perfect under a garage fluorescent tube can look almost black in a dim hallway, and a pale oak stain that looks washed out in the workshop can look beautifully light and Scandinavian in a bright living room. Let the test boards dry fully before you judge them, because wet stain always looks darker than dry stain, and a topcoat changes the colour again. This patience is the whole point: a test board costs you ten minutes and a scrap of wood, while re-sanding a stained project costs you an evening and your enthusiasm.
For colour choice, beginners do best with mid-tones. Very dark stains, such as ebony or dark walnut, show every sanding scratch, every drip, and every uneven patch, because dark colour exaggerates contrast. Very pale stains show blotch just as clearly on pine, because the pale colour makes the dark blotches stand out. A medium oak, golden oak, provincial, or classic walnut tone is forgiving, looks good on almost every wood, and matches most homes. You can always go darker with a second coat on your test board; you cannot easily go lighter once the first coat is on your project. When in doubt, choose the lighter of the two shades you are considering, test both, and let the dried test boards decide.
Step by Step: How to Apply Stain Like a Confident Beginner
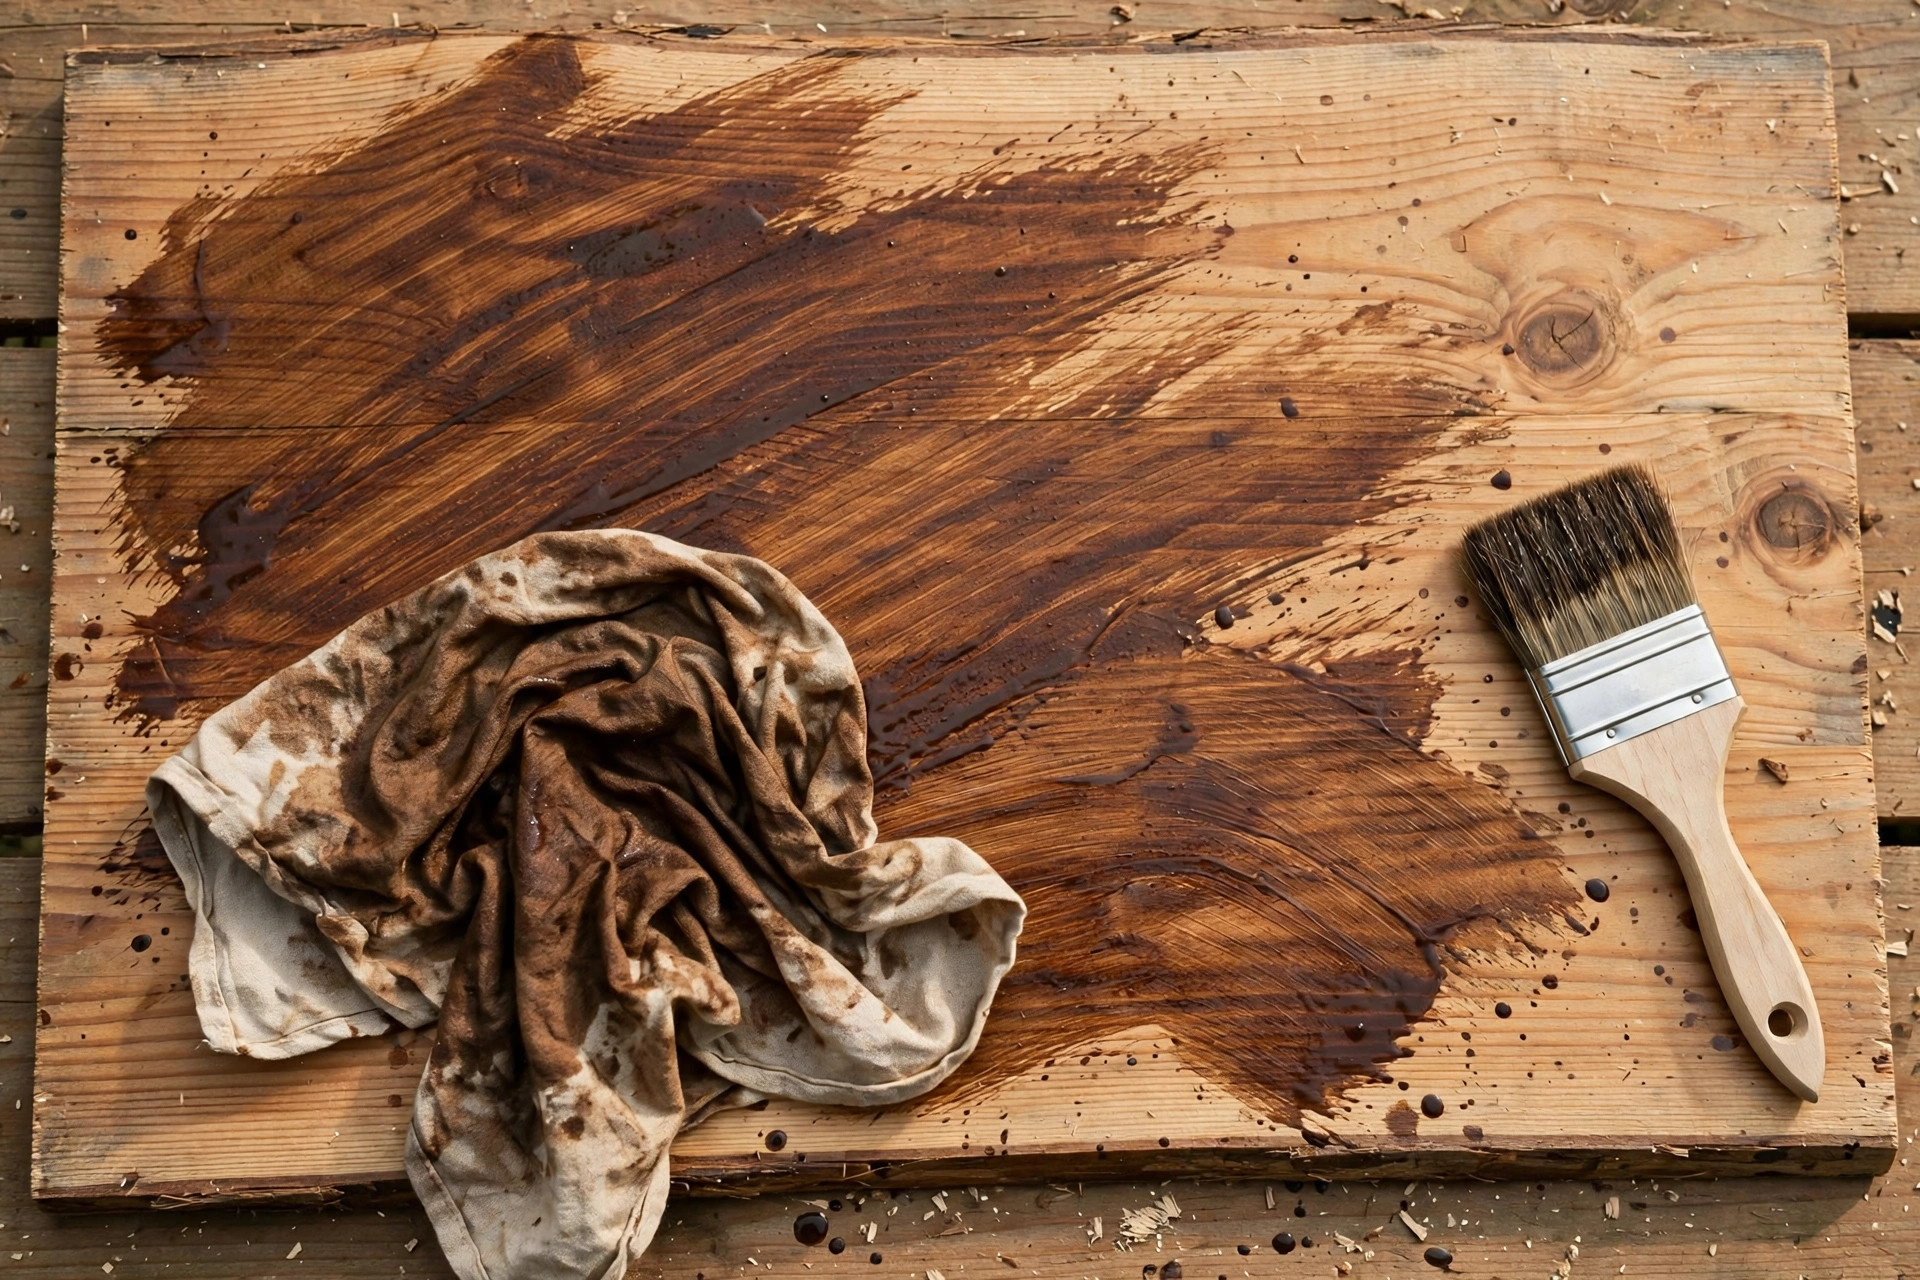
With the right stain chosen and a test board approved, the application itself is straightforward. Work in a well-ventilated space, away from open flames if you are using oil-based products, and wear gloves and a dust mask. Stain is messy, and oil-soaked rags are a genuine fire hazard: never leave them crumpled in a pile. Lay used rags flat outdoors to dry, or soak them in water in a sealed metal container, until you can dispose of them safely. This rule sounds dramatic, but spontaneous combustion of oil rags is a real workshop fire cause, and it is entirely preventable.
- Sand and clean the wood. Sand with the grain, working through the grits — 80-grit to remove saw marks, then 120-grit, then 150-grit or 180-grit for pine — and finish with a final pass at your finishing grit. Vacuum the dust, then wipe the surface with a tack cloth or a cloth lightly dampened with mineral spirits (for oil stain) or water (for water-based stain). Any dust left on the surface becomes a dark speck under the stain.
- Apply conditioner if you are using it. On pine, maple, or birch, brush or wipe on pre-stain conditioner evenly, covering every surface that will be stained, including edges and end grain. End grain soaks up far more stain than face grain and turns almost black if left untreated, so give end grain an extra coat of conditioner, or seal it lightly with thinned shellac. Let the conditioner dry for the time on the can, and stain within its stated window.
- Stir, never shake. Stir the stain thoroughly with a stick, scraping the bottom of the can, because colourant settles. Shaking creates bubbles that end up as bumps in the finish. Stir again every ten minutes while you work, since stain settles quickly.
- Apply a thin, even coat. Work one section at a time — one shelf board, one tabletop, one side of a crate — rather than trying to stain a whole project at once. For liquid stain, brush or wipe it on generously with the grain, keeping the section wet. For gel stain, wipe it on with a cloth or foam brush in a thin, even layer, again with the grain. Do not flood the surface, and do not leave puddles in corners or joints.
- Wait, then wipe off the excess. Let the stain sit for the time the can recommends, usually 5 to 15 minutes, then wipe off all the excess with a clean, lint-free cloth, wiping with the grain. This wiping step is what controls the final colour: wipe sooner for a lighter colour, leave it longer for a darker one, and wipe thoroughly so no sticky residue remains. A second coat, applied after the first has dried fully, deepens the colour further, but it is not a substitute for wiping properly the first time.
- Check your work in good light. Look along the surface at a low angle for drips, puddles, and missed spots, especially on edges, undersides, and inside corners. Fix a drip now, while the stain is workable, rather than after the topcoat locks it in. Let the piece dry fully before you sand or topcoat it.
If you are sanding a project before staining, the right tool makes the whole job easier and more even. A random orbital sander gives a flat, swirl-free surface far faster than hand sanding alone, and our guide to the best random orbital sander for beginners explains which models suit a first workshop and which discs to use for each grit. Whatever sander you use, remember that the last pass should always be by hand, lightly, with the grain, to remove any faint swirl marks before the stain goes on.
Drying Times, Second Coats, and the Topcoat That Protects Your Work
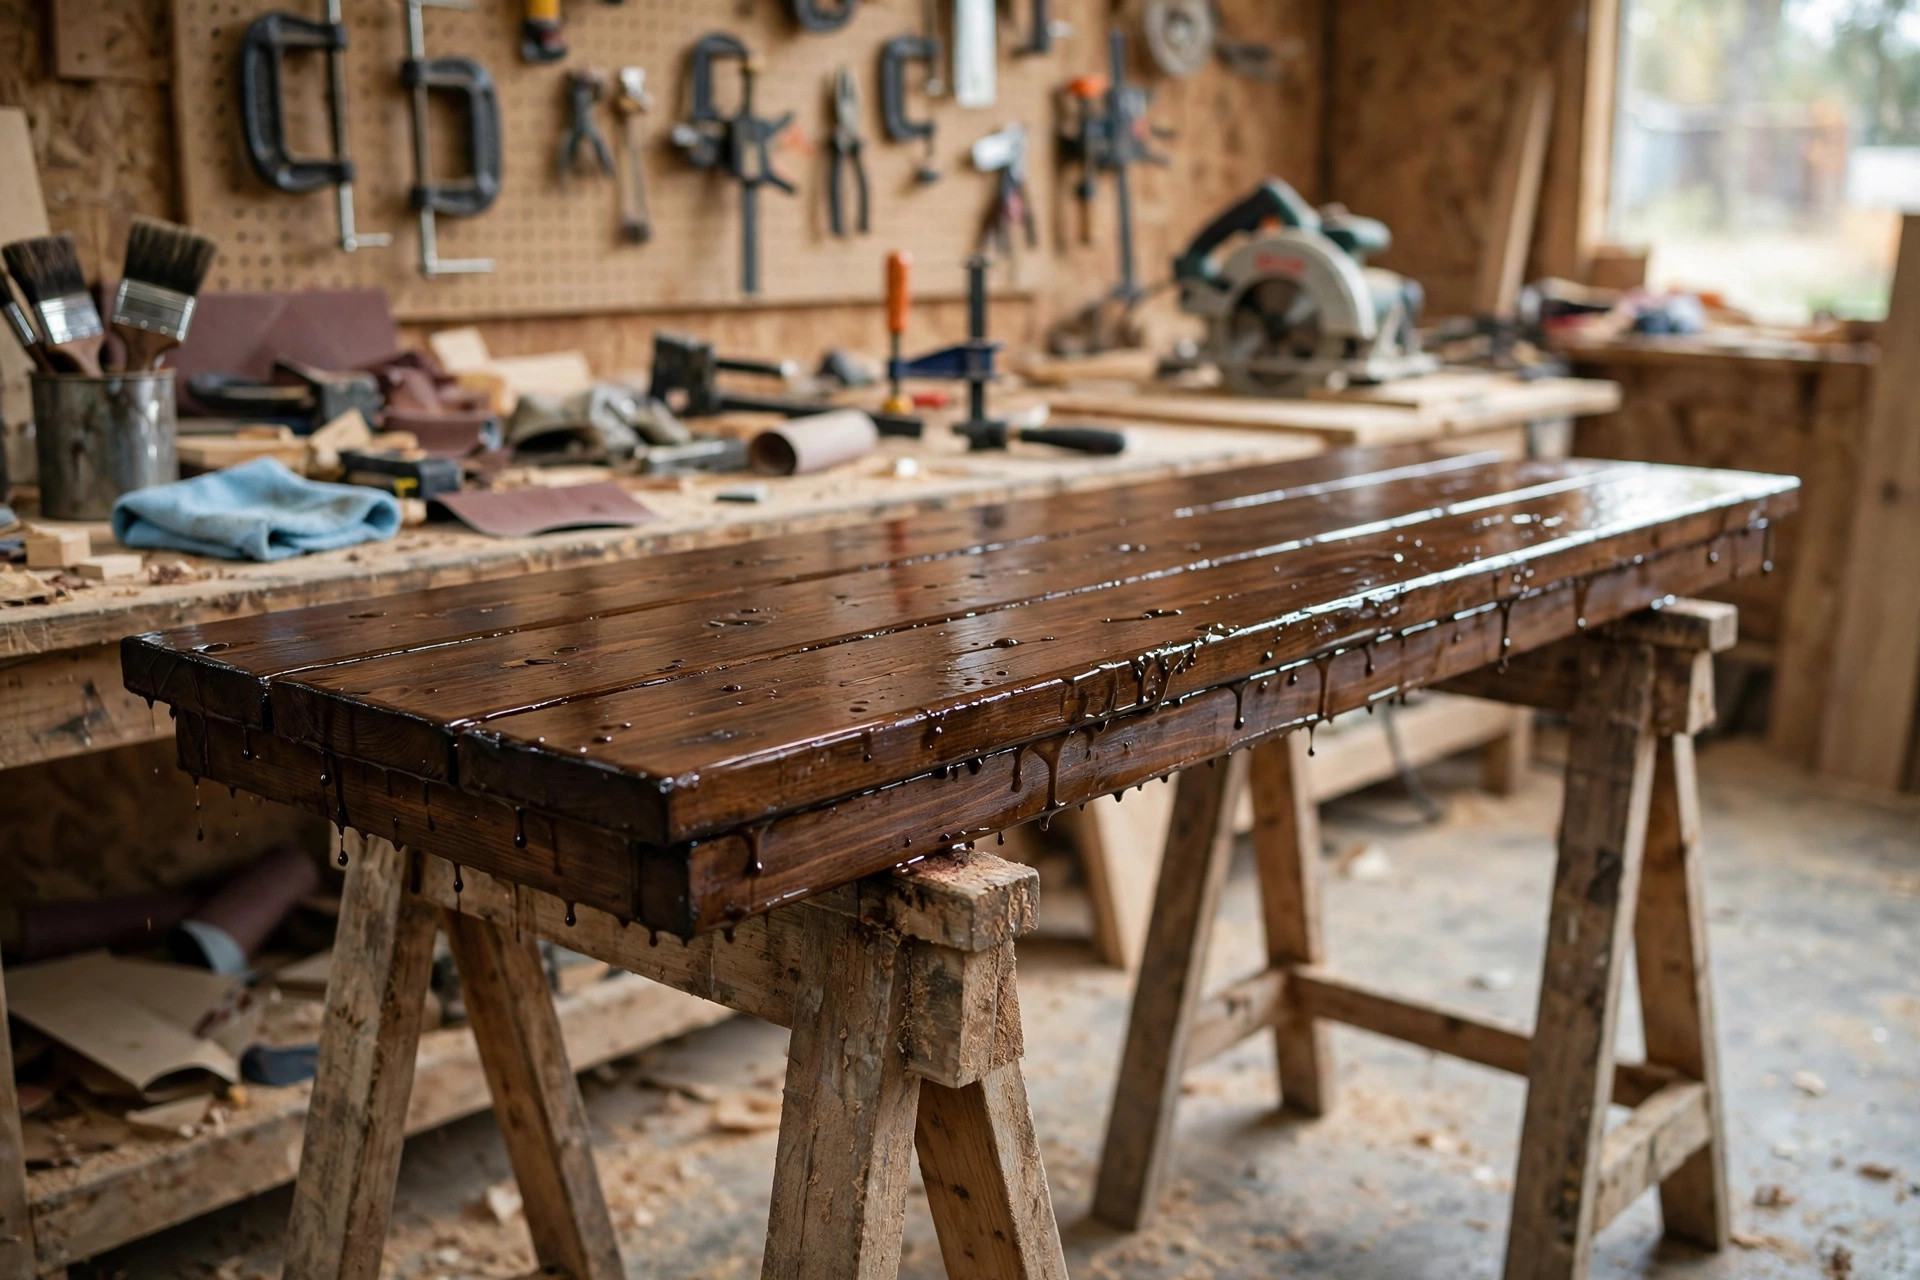
Drying time is where beginners most often rush, and rushing ruins finishes. Stain must be fully dry before you apply a topcoat, or the topcoat can lift, streak, or trap solvents under the surface, leaving a cloudy or tacky finish that never quite hardens. As a rough guide, water-based stain is usually ready for a topcoat in 2 to 4 hours, gel stain in 6 to 8 hours, and oil-based stain in 8 to 12 hours or overnight. Cold, damp, or poorly ventilated conditions lengthen every one of those times, so in winter or in a closed garage, allow extra time and check that the surface feels completely dry and no longer cool or tacky to the touch before you proceed.
A second coat of stain is optional, not automatic. Apply it only if your test board showed that one coat was too light, and only after the first coat is fully dry. Sand very lightly between stain coats with 220-grit paper, just enough to remove any raised grain or dust nibs, and wipe the dust away before the second coat. Do not sand aggressively between stain coats, or you will sand the colour itself off in patches. Two thin coats, properly wiped, always look better than one thick, sticky coat left unwiped.
The topcoat is what turns a coloured board into a usable shelf or table. For most beginner projects, a clear water-based or oil-based polyurethane is the simplest protective finish. Water-based poly dries fast, stays clear without yellowing, and cleans up with water, but it can slightly raise the grain on the first coat, so sand lightly with 220-grit between coats. Oil-based poly gives a warmer, amber tone and is very durable, but it smells strongly and dries slowly. Apply two to three thin coats of poly, sanding lightly with 220-grit between coats and wiping away the dust each time, and let the final coat cure fully — usually 24 hours before light use and up to a week before heavy use — before you place objects on the surface. A shelf that feels dry is not necessarily cured, and a heavy book placed too soon can leave a permanent mark in a soft finish.
| Product | Typical recoat / topcoat wait | Full cure before heavy use | Cleanup | Beginner notes |
|---|---|---|---|---|
| Water-based stain | 1–2 hours to recoat; 2–4 hours before topcoat | Topcoat cure governs | Soap and water | Fast, but watch for lap marks and raised grain |
| Oil-based stain | 8+ hours before recoat or topcoat | Topcoat cure governs | Mineral spirits | Rich colour; needs ventilation and patience |
| Gel stain | 4–6 hours before recoat or topcoat | Topcoat cure governs | Mineral spirits | Very forgiving on pine; wipe thinly |
| Water-based polyurethane (topcoat) | 2–4 hours between coats | 24 hours light use; 3–7 days full cure | Soap and water | Clear, low odour; sand lightly between coats |
| Oil-based polyurethane (topcoat) | 8–12 hours between coats | 24 hours light use; up to 7 days full cure | Mineral spirits | Warm amber tone; very durable |
Costs, Common Mistakes, and Your First Finished Project
Staining is one of the cheapest skills in woodworking to learn, which is another reason it is such a good first finishing skill. A quart of stain typically costs about the same as a couple of takeaway coffees in many shops, and it covers a surprising area — roughly 100 to 150 square feet per quart for a penetrating stain, though gel stain covers less because it sits on the surface. A can of pre-stain conditioner, a can of clear polyurethane, a pack of lint-free cloths, a decent brush or foam applicator, and sandpaper in 80-grit, 120-grit, 150-grit, and 220-grit are the whole kit for a first project, and most of it lasts for several projects after the first. Buy small cans for your first project rather than gallons: stain settles, thickens, and goes off once opened, and a fresh quart always performs better than a half-used gallon from two years ago.
The mistakes below are the ones that appear again and again in beginner workshops, and every one of them is avoidable. Skipping the test board is the most expensive mistake, because it turns a whole project into the test. Skipping conditioner on pine is the second most common, and it is the direct cause of most “why is my pine blotchy?” questions. Sanding across the grain, or skipping grits, leaves scratches that stain makes darker and more visible, not less. Applying stain in direct sunlight or in a very hot workshop makes it dry before you can wipe it evenly. Forgetting end grain leaves dark, almost black board ends that draw the eye on every shelf. And adding a topcoat before the stain is fully dry traps solvents and ruins a finish that was otherwise perfect. If a finish goes wrong, do not panic and do not add more product on top of the problem. Let it dry fully, sand it back lightly, and start the staining step again — wood is forgiving if you give it time.
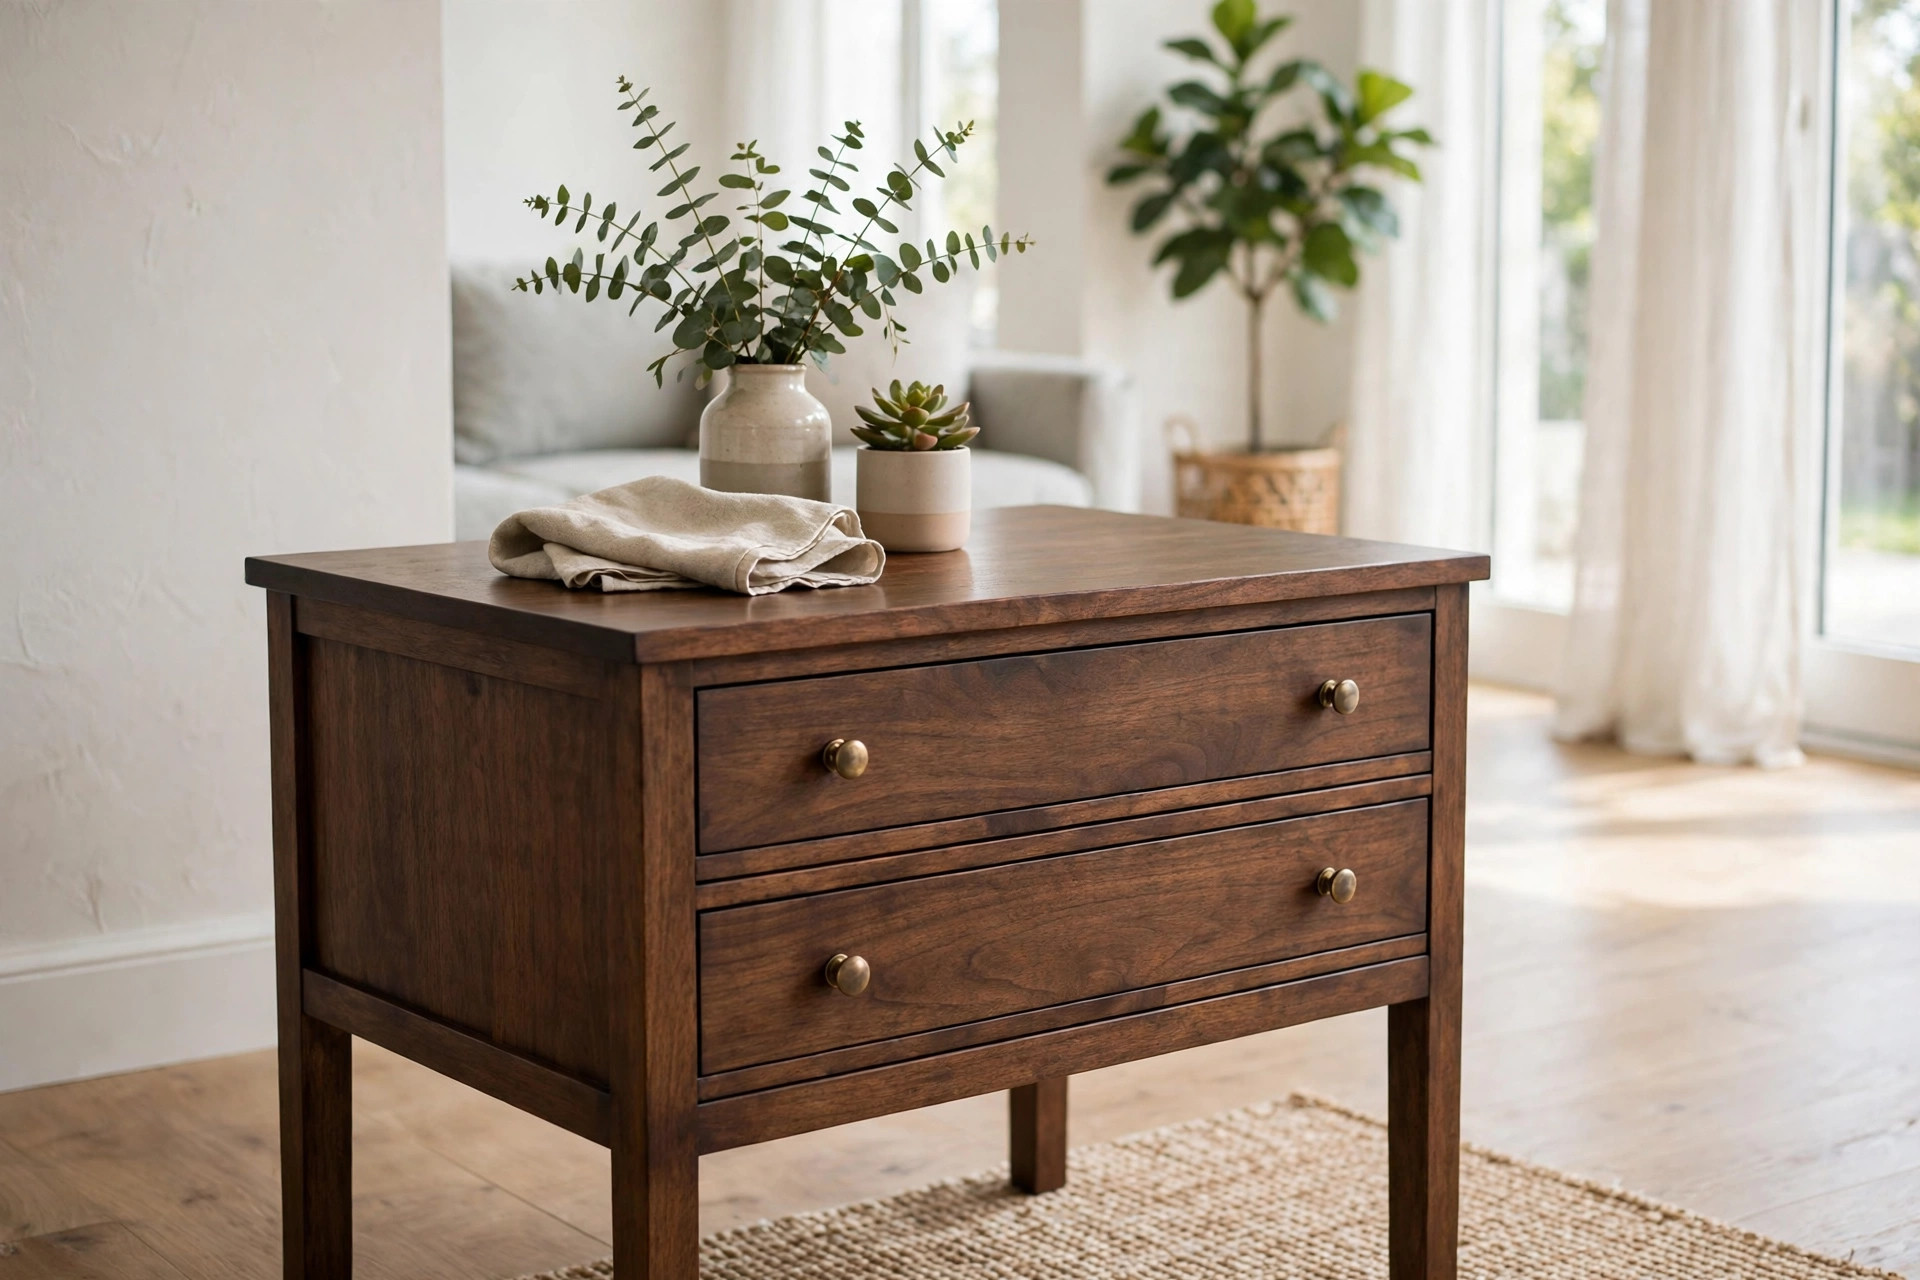
For your first stained project, choose something simple, flat, and useful: a wall shelf, a small side table, a crate, or a serving tray. These projects appear often in the pillar guide to easy woodworking projects for beginners that sell precisely because they are achievable in a weekend and they show off a good finish. Sand it well, condition it if it is pine, test your colour, stain thinly, wipe thoroughly, let it dry, and add two thin topcoats. When you set the finished piece in a bright room and the colour is even, the grain is visible, and the surface feels smooth to the touch, you will have learned the skill that makes every future project look professional, whether you go on to build furniture, gifts, or pieces to sell.
Frequently Asked Questions
What is the best wood stain for beginners woodworking?
For most first-timers, a gel stain is the easiest and most forgiving choice, especially on pine, because it sits on the surface and colours evenly. A good oil-based wiping stain is a close second for hardwoods such as oak, where its deep penetration shows off the grain beautifully.
Should a beginner use oil-based or water-based stain?
Choose oil-based stain if you want a rich, warm colour and a long working time, and you can ventilate the space and wait overnight for drying. Choose water-based stain if you need low odour, fast drying, and easy cleanup, or you want a pale colour that oil would warm up too much.
Why does my pine stain look blotchy?
Pine absorbs stain unevenly because its soft earlywood soaks up far more colour than its harder latewood. Use a pre-stain conditioner, switch to gel stain, and sand pine only to 150-grit or 180-grit. Always test on scrap from the same board before staining the project.
Do I need a topcoat after staining?
Yes, for almost every project that will be touched, used, or cleaned. Stain colours the wood but provides very little protection on its own. Two to three thin coats of clear polyurethane protect the colour, resist spills and scratches, and give the smooth, finished feel buyers and family members notice.
How long does wood stain take to dry?
Water-based stain usually dries in 1 to 2 hours, gel stain in 4 to 6 hours, and oil-based stain in 8 hours or more, with longer times in cold or damp conditions. Wait until the surface feels completely dry and not tacky, then allow the full time on the can before adding a topcoat.
Can I stain over an existing finish?
Gel stain is the best option for staining over an existing finish, because it sits on the surface rather than needing to soak into bare wood. Clean and lightly sand the old finish first so the gel has something to grip, test on a hidden area, and add a clear topcoat afterwards to protect the new colour.
Final Verdict
The best wood stain for beginners woodworking is not the most expensive can on the shelf, and it is not the one with the prettiest label. It is the stain that matches your wood, your workspace, and your patience: gel stain for blotch-prone pine and first projects where even colour matters most, oil-based stain for rich hardwood grain, and water-based stain for fast, low-odour indoor work. Pair whichever type you choose with a test board, a conditioner on softwoods, thin application, thorough wiping, full drying time, and a separate clear topcoat, and your first stained project will look like the work of someone who has done it for years. Pick a mid-brown tone, practise on scrap, and stain something simple this weekend — the confidence you gain from one even, beautiful finish will carry into every project you build next.


