
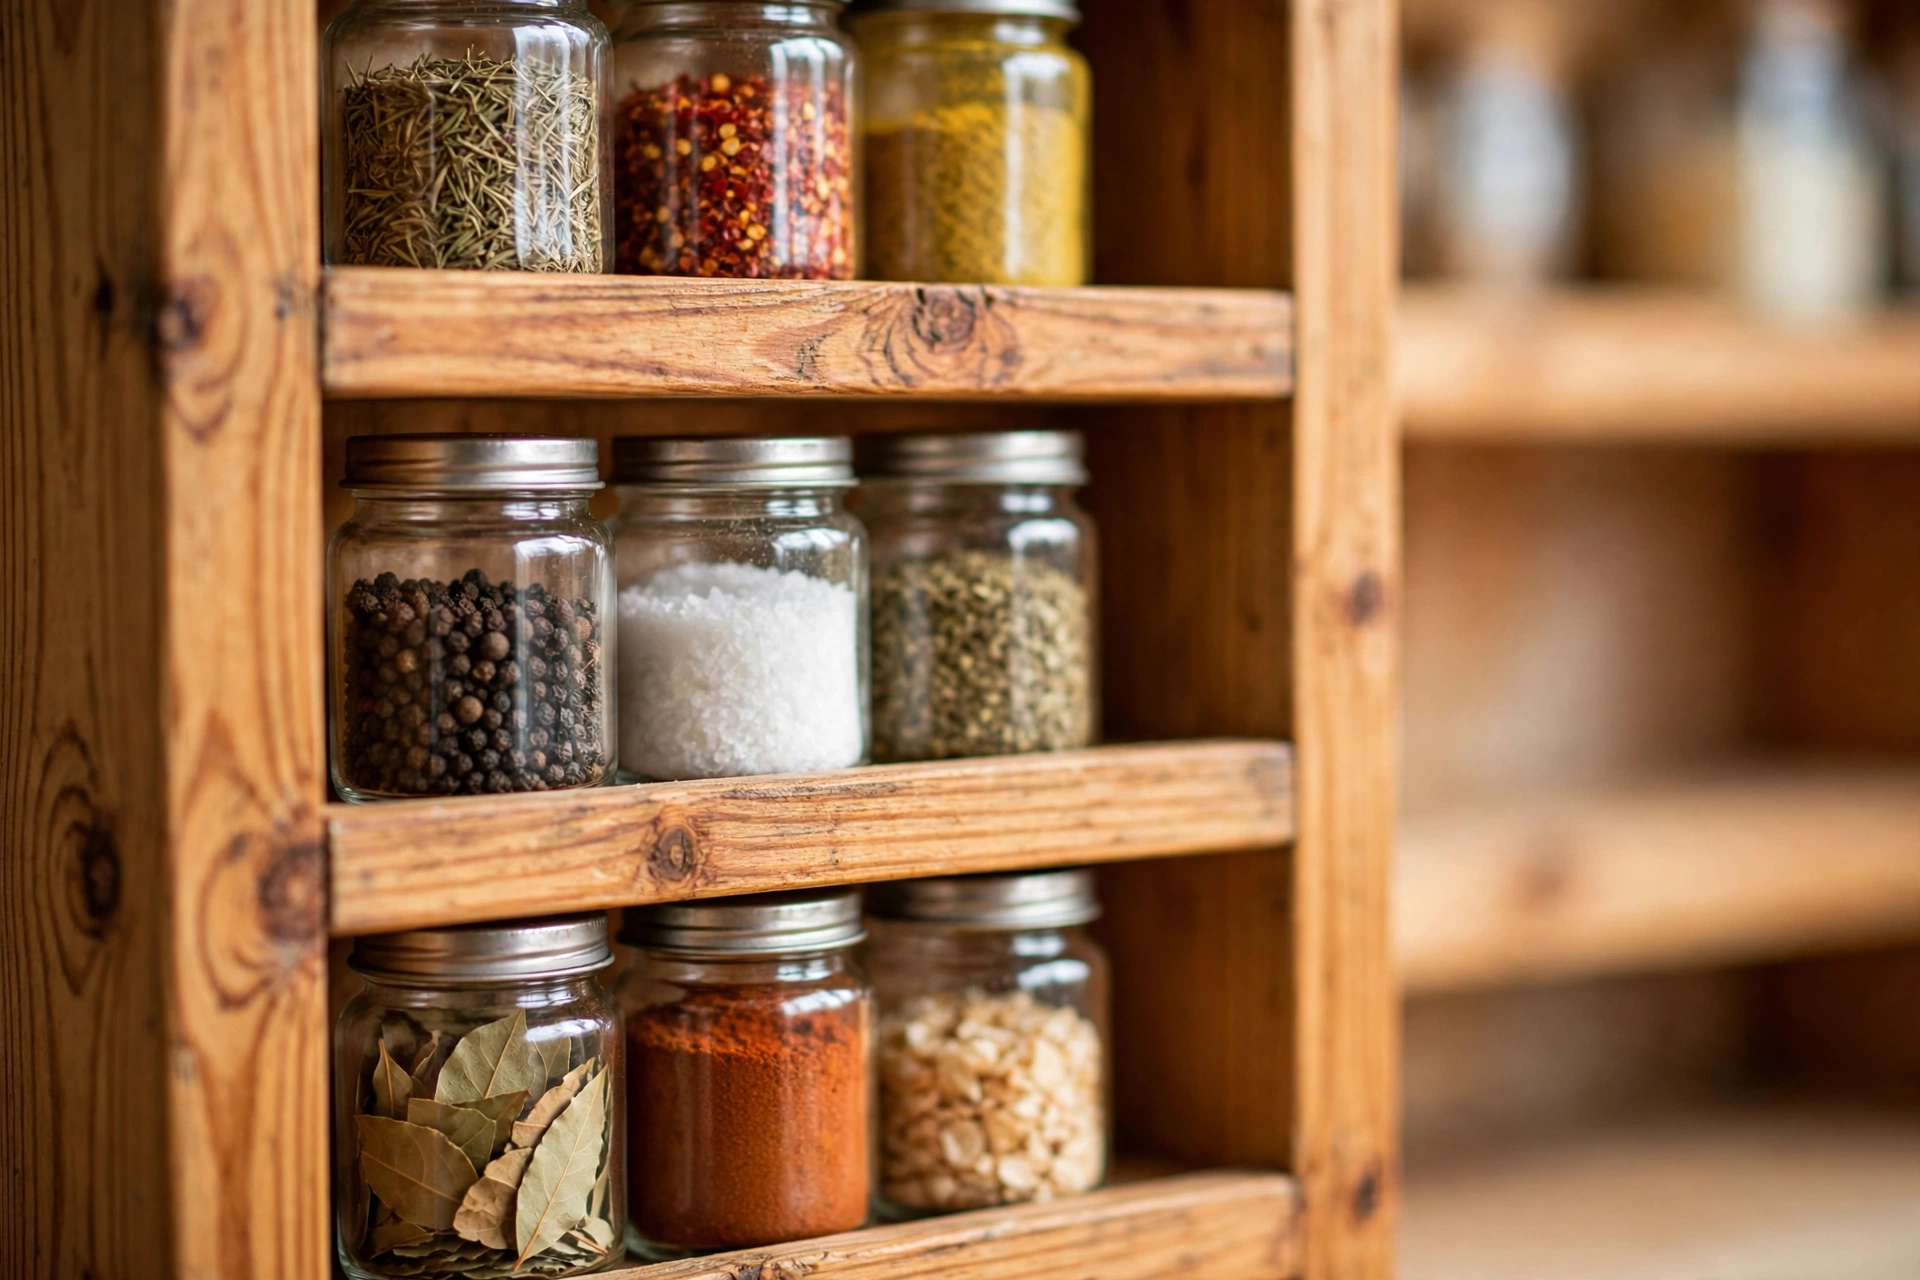
If your spice jars live in a jumbled drawer or a crowded cabinet shelf, you already know the daily frustration: you reach for the paprika and knock over three other jars, or you buy a second jar of cumin because the first one was hiding at the back. Learning how to build a wooden spice rack for beginners solves that problem in a single weekend afternoon, and it gives you a genuinely useful piece of woodworking to show for your effort.
This project is one of the best first builds for a new woodworker. It uses just one kind of board, a handful of screws, and cuts that are all straight. There are no angles to calculate, no joints to master, and no expensive tools required. The rack in this guide is 24 inches wide and about 24 inches tall, with three shelves that hold up to 18 standard spice jars. It mounts directly to your wall studs, so it stays rock solid even when it is fully loaded.
What makes this design different from most store-bought racks is that it is sized around your actual jars. Spice jars are not all the same height. A short 4-ounce jar might stand 4 inches tall, while a tall 8-ounce jar can reach 5 and a half inches. If the shelves are spaced for the wrong jar, you either waste space or your tallest jars will not fit at all. In this guide, you will measure your own jars first, then use the shelf-spacing table below to set your shelves at exactly the right heights. That one step is the difference between a rack that looks good and a rack that actually works.
Why a Wall-Mounted Wooden Spice Rack Is Worth Building
A wall-mounted rack frees up an entire cabinet shelf or drawer, which is a real win in a small kitchen. It also puts every label at eye level, so you can find what you need while you are cooking instead of stopping to dig. Wood is a better material for this job than wire or plastic for a few practical reasons. A wooden shelf will not bend under the weight of full glass jars, it will not rattle every time you grab a jar, and the front lip on each shelf keeps jars from sliding off when you pull one out.
Cost is another reason to build rather than buy. A decent wall-mounted wooden rack from a kitchen store typically costs between 40 and 80 dollars, and it still might not fit your jars. The rack in this guide costs roughly 30 to 45 dollars in materials, including the stain or paint, and it is built to your exact measurements. If you already own a drill and some sandpaper, the cost drops even further.
For a beginner, this project teaches the core skills of woodworking in a low-risk way: measuring and marking, making straight cuts, drilling pilot holes, driving screws without splitting the wood, sanding to a smooth finish, and applying a finish that protects the wood. Once you have built this rack, you will have the confidence to tackle bigger wall projects, such as floating shelves for your kitchen or living room. It also sits comfortably alongside other simple starter builds in our collection of easy woodworking projects for beginners that sell, if you ever want to make a second rack as a gift or to sell.
Tools and Materials You Will Need
You do not need a workshop full of tools for this project. A circular saw or a miter saw makes the cuts faster, but a simple handsaw works perfectly well because every cut is a straight crosscut. A drill is the one power tool you should not skip, since you will need it both for assembly and for mounting the rack on the wall. If you are still choosing one, our guide to the best drill for woodworking beginners covers what to look for without overspending.
Tools:
- Tape measure and pencil
- Saw (circular saw, miter saw, or handsaw)
- Drill with drill bits and a Phillips or square drive bit
- Stud finder and a small spirit level (a 12-inch level is plenty)
- 120-grit and 220-grit sandpaper, plus a sanding block
- Wood glue and two spring clamps or bar clamps
- Paintbrush or foam brush, and a clean rag for stain
- Safety glasses and a dust mask
Materials:
- One 8-foot 1×4 pine board (actual size 3/4 inch thick by 3 and 1/2 inches wide)
- One 6-foot 1×2 pine board for the shelf lips and the wall cleat
- 1 and 1/4-inch wood screws (about 24)
- 2 and 1/2-inch wood screws (4, for mounting to studs)
- Wood glue
- Wood filler (optional, for hiding screw heads)
- Stain or paint, plus a clear topcoat if you choose stain
- Wall anchors (only if you cannot hit two studs, see the mounting section)
Pine is the right choice for a first rack. It is cheap, widely available, light enough to hang easily, and it takes stain and paint well. Avoid pressure-treated lumber for anything that will live in a kitchen, and skip very knotty boards if you can, since knots near a screw hole can cause splitting.
Project Cost Estimate
| Item | Estimated Cost |
|---|---|
| 8-foot 1×4 pine board | $8–$12 |
| 6-foot 1×2 pine board | $4–$6 |
| Wood screws (1 1/4-inch and 2 1/2-inch) | $4–$6 |
| Wood glue | $4–$5 |
| Sandpaper (120-grit and 220-grit) | $4–$5 |
| Stain or paint plus topcoat | $7–$10 |
| Total (excluding tools and jars) | $31–$44 |
If you already have glue, screws, and sandpaper left over from another project, this rack can easily come in under 25 dollars. Jars are not included in the estimate because most people already own them; if you are buying matching jars, a set of 12 to 18 glass jars typically adds another 15 to 25 dollars.
Step 1: Measure Your Jars Before You Cut Anything
This is the most important step in the whole project, and it takes about five minutes. Do not skip it. Gather the jars you actually plan to store on the rack, including your tallest one, and measure each type from the bottom of the jar to the top of its lid. Write down the tallest measurement. Then add 1 inch of clearance above that height: this gap is what lets you lift a jar up and out of the shelf without scraping the shelf above it, and it leaves room for the front lip rail.
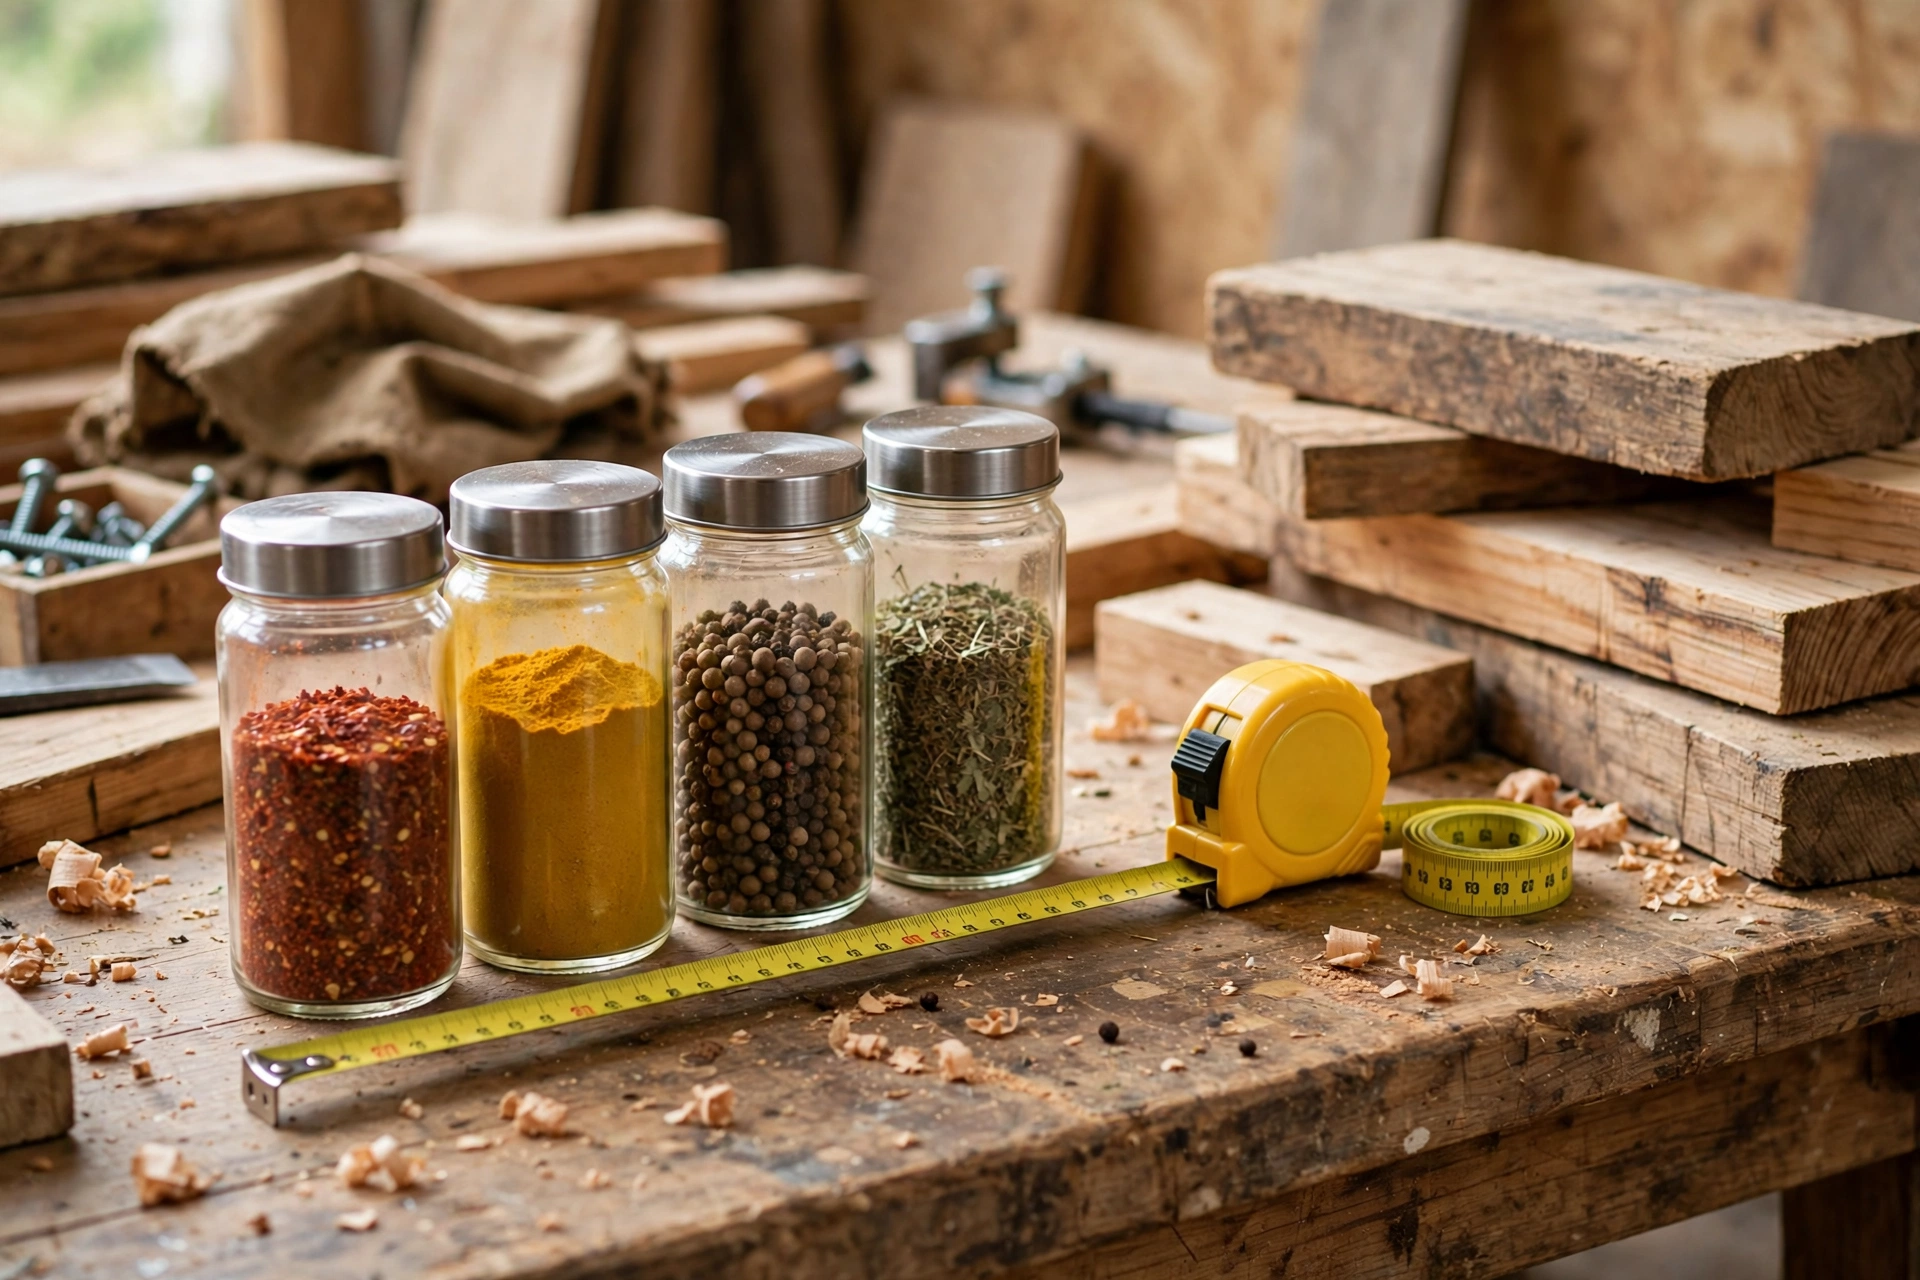
For example, if your tallest jar measures 4 and 1/2 inches, your shelf spacing should be 5 and 1/2 inches. If your tallest jar is 5 and 1/2 inches, you need 6 and 1/2 inches of spacing. Most kitchens fall into one of the rows in the table below. If your jars are mixed heights, size the rack for your tallest jar and let the shorter jars share the same shelf spacing; it looks tidier than having uneven shelves, and you can always put short jars on the top shelf.
Also measure the diameter of your widest jar. Standard spice jars are about 2 inches across, which means a 22 and 1/2-inch shelf comfortably fits six jars with a little breathing room between them. If your jars are wider than 2 and 1/2 inches, plan on five jars per shelf instead, or widen the rack to 30 inches by adjusting the shelf length in the cut list.
Shelf-Spacing Table by Jar Height
| Your tallest jar height | Recommended shelf spacing | What this fits |
|---|---|---|
| 4 inches (standard 4 oz jar) | 5 inches | Short jars with easy lift-out clearance |
| 4 1/2 inches (standard 6 oz jar) | 5 1/2 inches | Most common spice jars |
| 5 inches (tall 6 oz jar) | 6 inches | Tall jars and small bottles |
| 5 1/2 inches (tall 8 oz jar) | 6 1/2 inches | Tall jars, bouillon and herb bottles |
| 6 inches (large jar or bottle) | 7 inches | Oversized jars and oil bottles |
For the rack in this guide, we assume a tallest jar of 4 and 1/2 inches and a shelf spacing of 5 and 1/2 inches. If your jars are taller, simply add the difference to the side board length and keep everything else the same. The design is forgiving: one inch more or less on the side boards changes nothing about how the rack is assembled.
Step 2: Cut List
All cuts are straight crosscuts at 90 degrees, which is why this is such a friendly beginner project. Measure twice, mark with a pencil and a square if you have one, and cut slowly. A rough cut can be sanded smooth, but a cut that is too short cannot be stretched, so always cut a hair long and trim down if needed.
| Part | Quantity | Material | Length |
|---|---|---|---|
| Side boards | 2 | 1×4 pine | 24 inches |
| Shelves | 3 | 1×4 pine | 22 1/2 inches |
| Front lip rails | 3 | 1×2 pine | 22 1/2 inches |
| Top board | 1 | 1×4 pine | 24 inches |
| Wall cleat | 1 | 1×2 pine | 22 1/2 inches |
The math behind the cut list is simple. The two side boards set the overall height of the rack at 24 inches. The shelves sit between the sides, so their length is the overall width (24 inches) minus the thickness of both side boards (3/4 inch each), giving 22 and 1/2 inches. The front lip rails match the shelf length, and the wall cleat runs across the back at the top so the rack can be screwed firmly into two studs.
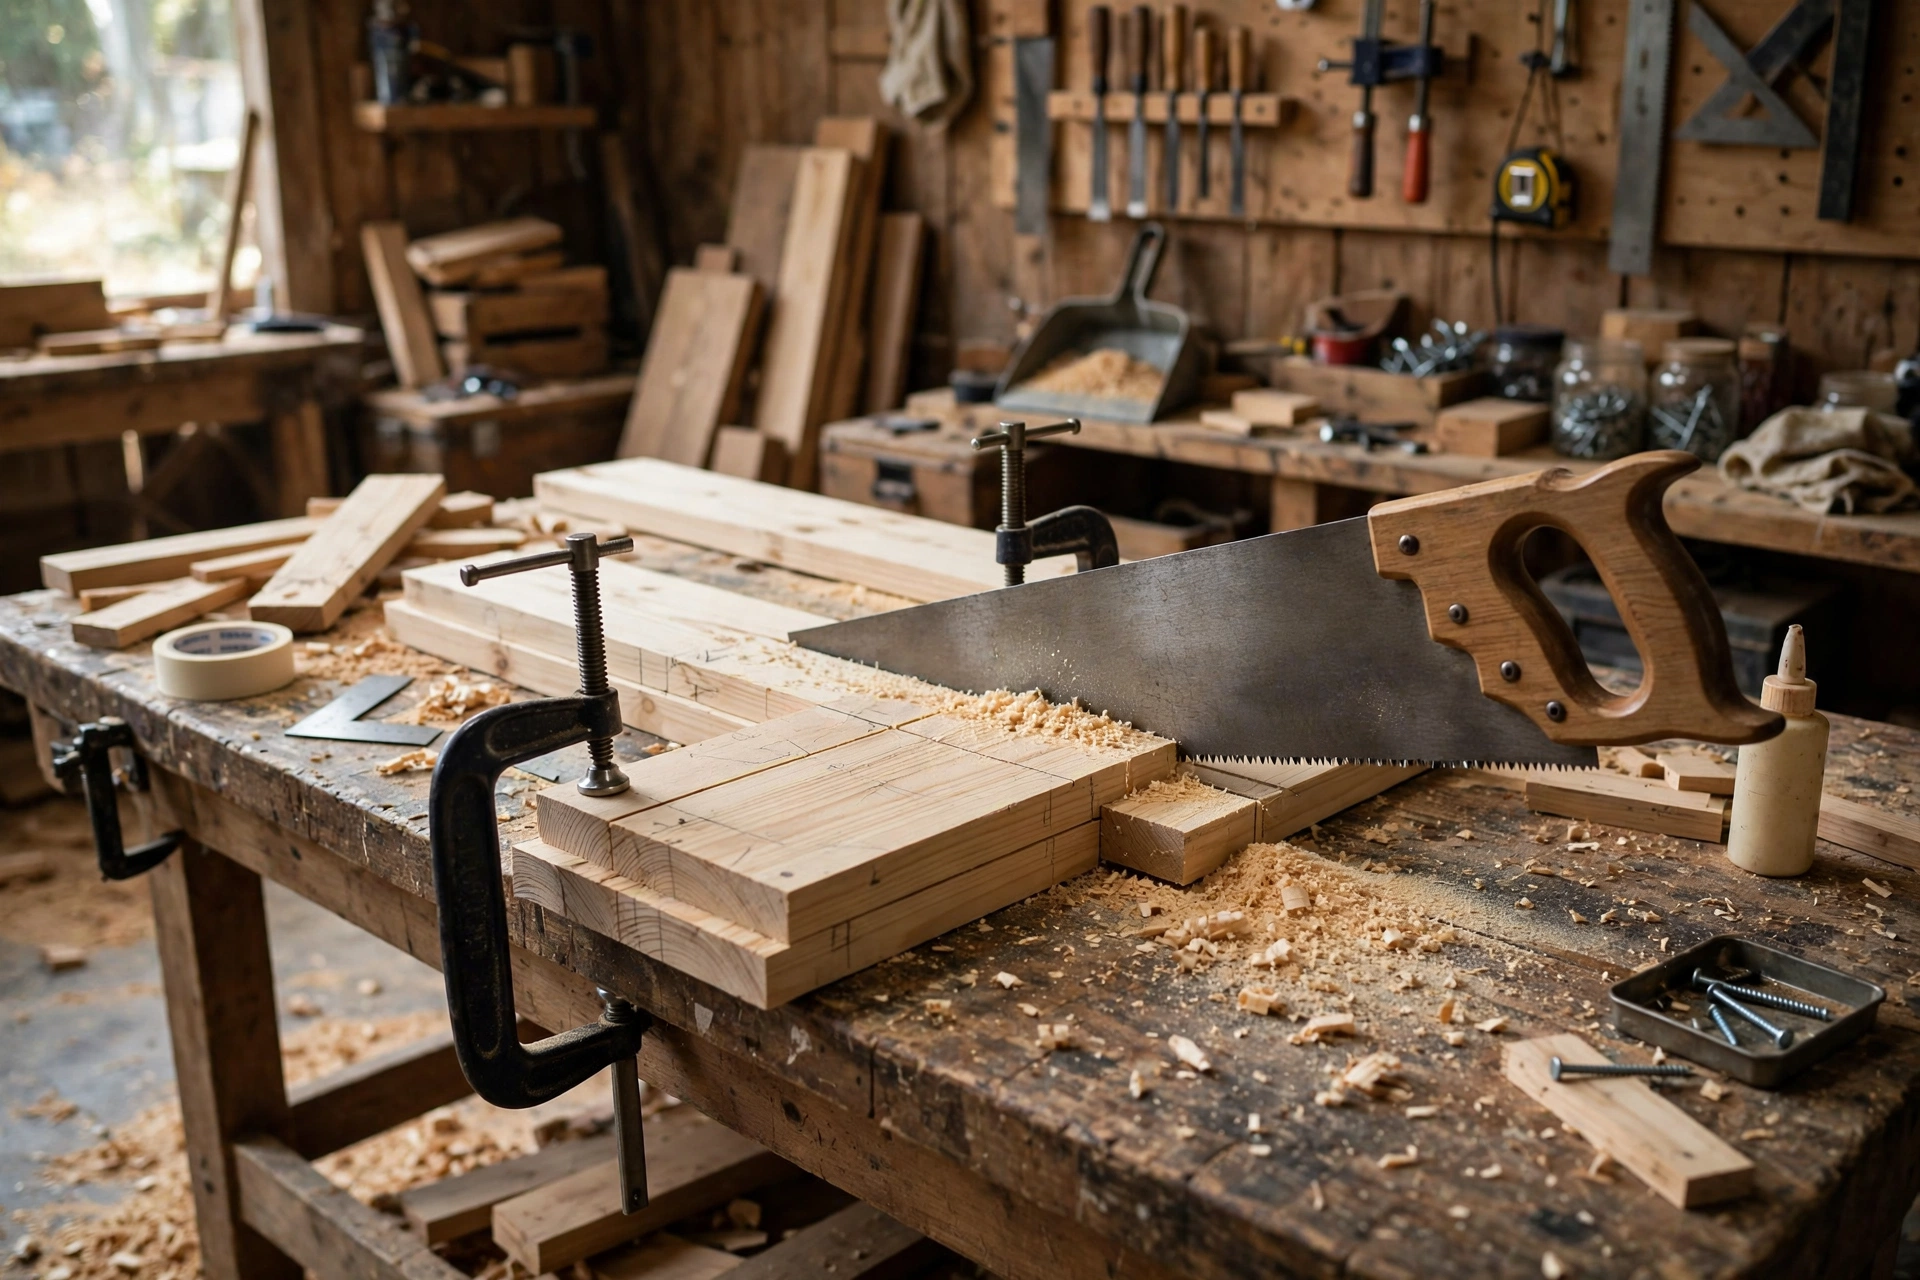
If you are buying lumber, one 8-foot 1×4 board gives you the two 24-inch sides (48 inches), three 22 and 1/2-inch shelves (67 and 1/2 inches), and the 24-inch top board, which totals 139 and 1/2 inches out of 96 inches per board, so you actually need two 8-foot boards or one 8-foot board plus a shorter offcut. To keep it simple, buy two 8-foot 1×4 boards, or one 8-foot board and one 4-foot board. That leaves you spare material for a mistake, which every beginner appreciates. The 1×2 board is used for the three lip rails and the wall cleat, which total 90 inches, so one 8-foot 1×2 board covers it with room to spare.
Step 3: Sand Every Board Before Assembly
Sanding is much easier before the rack is assembled, because you can lay each board flat and sand every face and edge without working around corners. Start with 120-grit sandpaper to remove saw marks and rough spots, sanding along the grain, never across it. Then switch to 220-grit for a smooth finish that feels silky to the touch. Pay extra attention to the front edges of the shelves and the lip rails, since those are the parts your hands will touch every day.
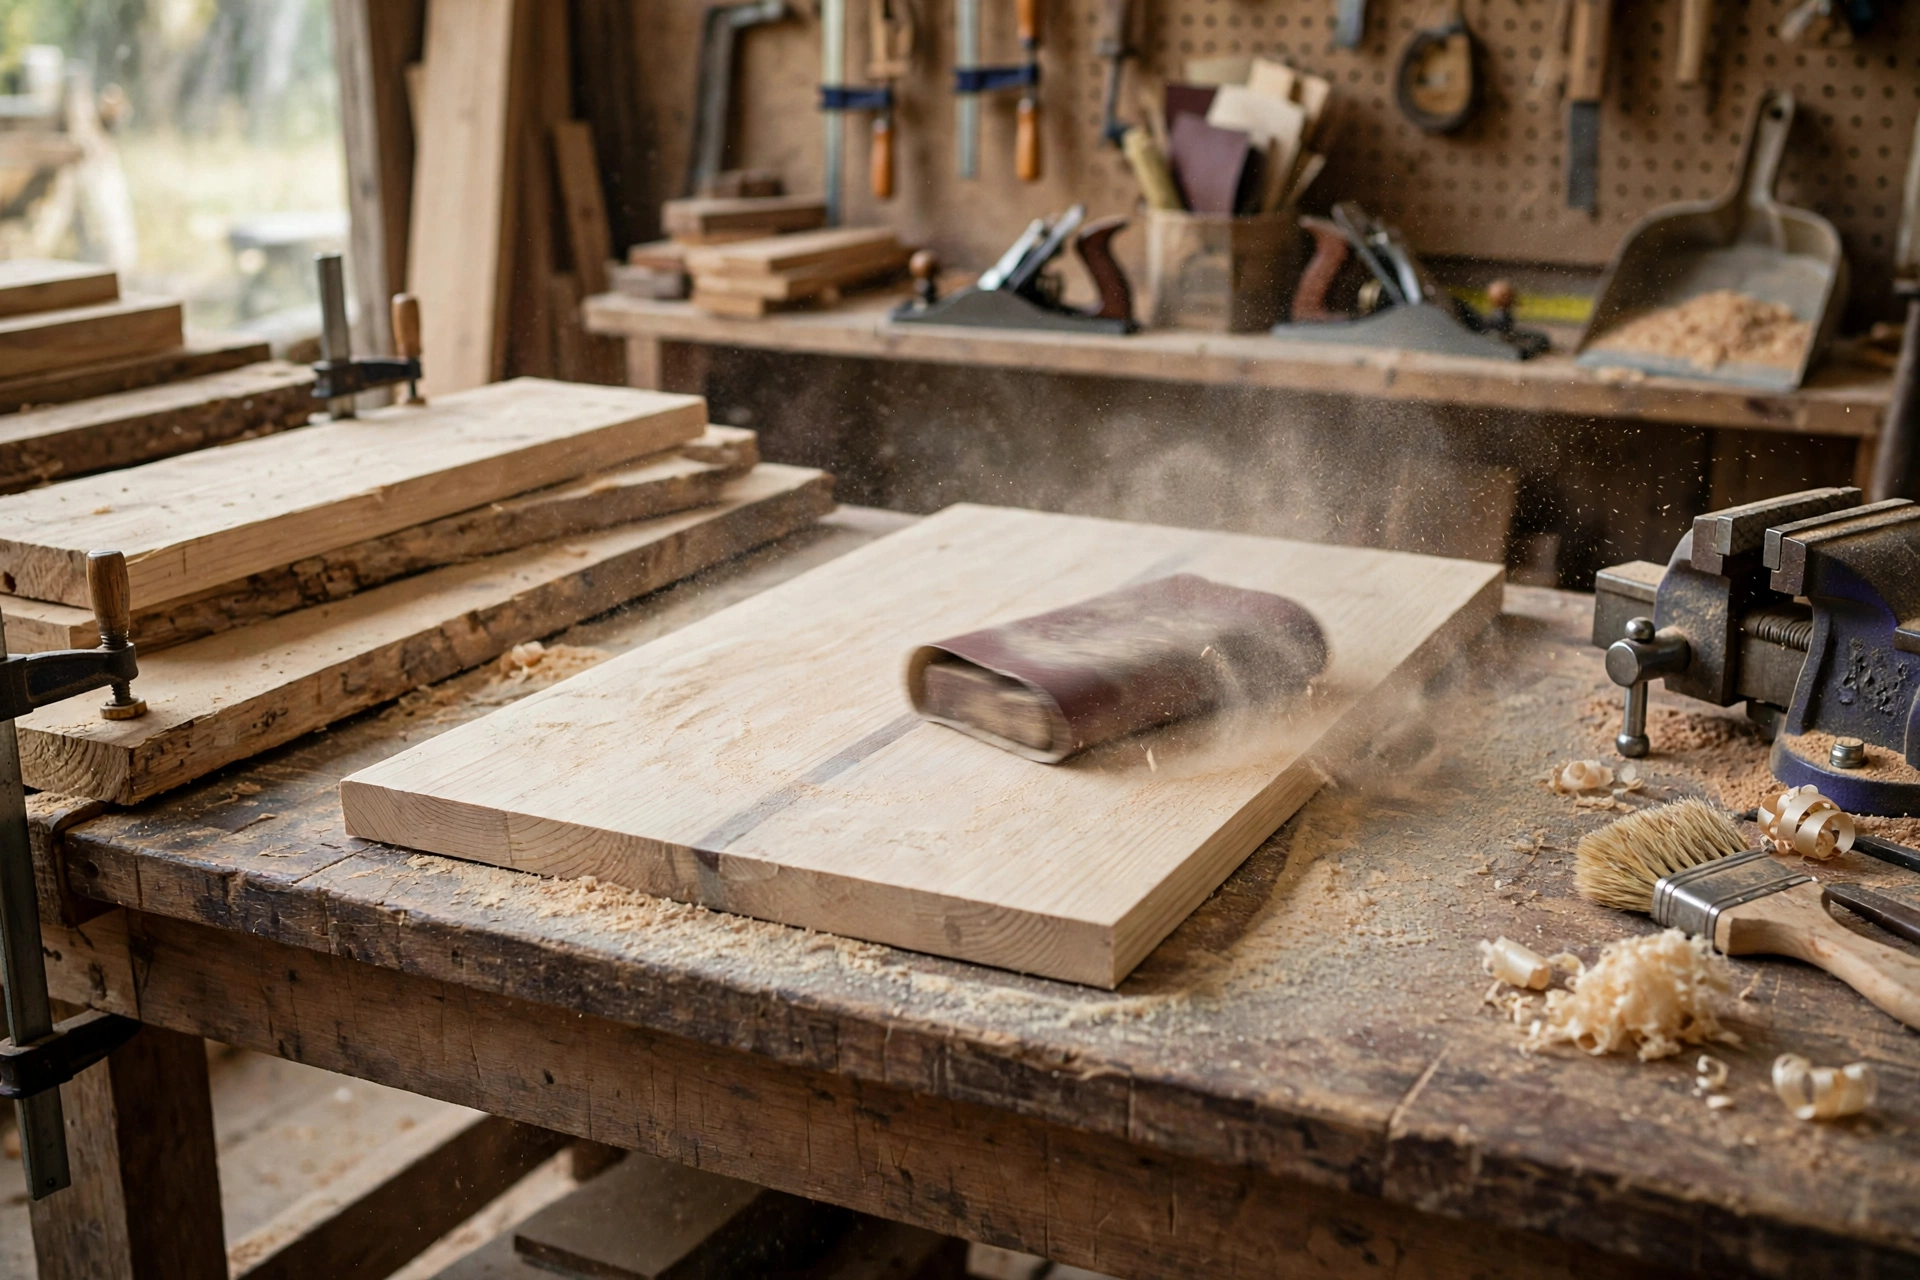
Round over the sharp edges slightly with a few passes of sandpaper. This is not just about comfort; a slightly eased edge also takes stain more evenly and is less likely to chip. Wipe each board with a slightly damp cloth or a tack cloth afterwards to remove the dust, and let the boards dry fully before you move on. For a deeper walkthrough of grits, technique, and finishes, see our guide on how to sand and finish wood for beginners.
A common beginner mistake is to sand after assembly and skip the inside faces. Once the rack is screwed together, the inside corners are hard to reach, and rough wood inside the rack will catch dust and feel unfinished every time you reach for a jar. Ten minutes of sanding now saves you a frustrating half hour later.
Step 4: Assemble the Rack Frame
Lay the two side boards flat on your workbench, parallel to each other, with their inside faces up. Mark the shelf positions on the inside face of each side board using your chosen shelf spacing from the table above. For our 5 and 1/2-inch spacing, the first shelf sits with its bottom edge 3 inches above the bottom of the side boards (leaving a small kick space at the bottom), the second shelf 5 and 1/2 inches above the first, and the third shelf 5 and 1/2 inches above the second. The top board caps the frame.
Work one shelf at a time. Apply a thin bead of wood glue to the end of the shelf, press it between the side boards at your mark, and clamp it in place. Drill two pilot holes through each side board into the end of the shelf, then drive 1 and 1/4-inch screws through them. Pilot holes are the single best habit a beginner can learn: they prevent the pine from splitting, they keep the screw driving straight, and they make the joint far stronger. Repeat for all three shelves, then add the top board the same way.
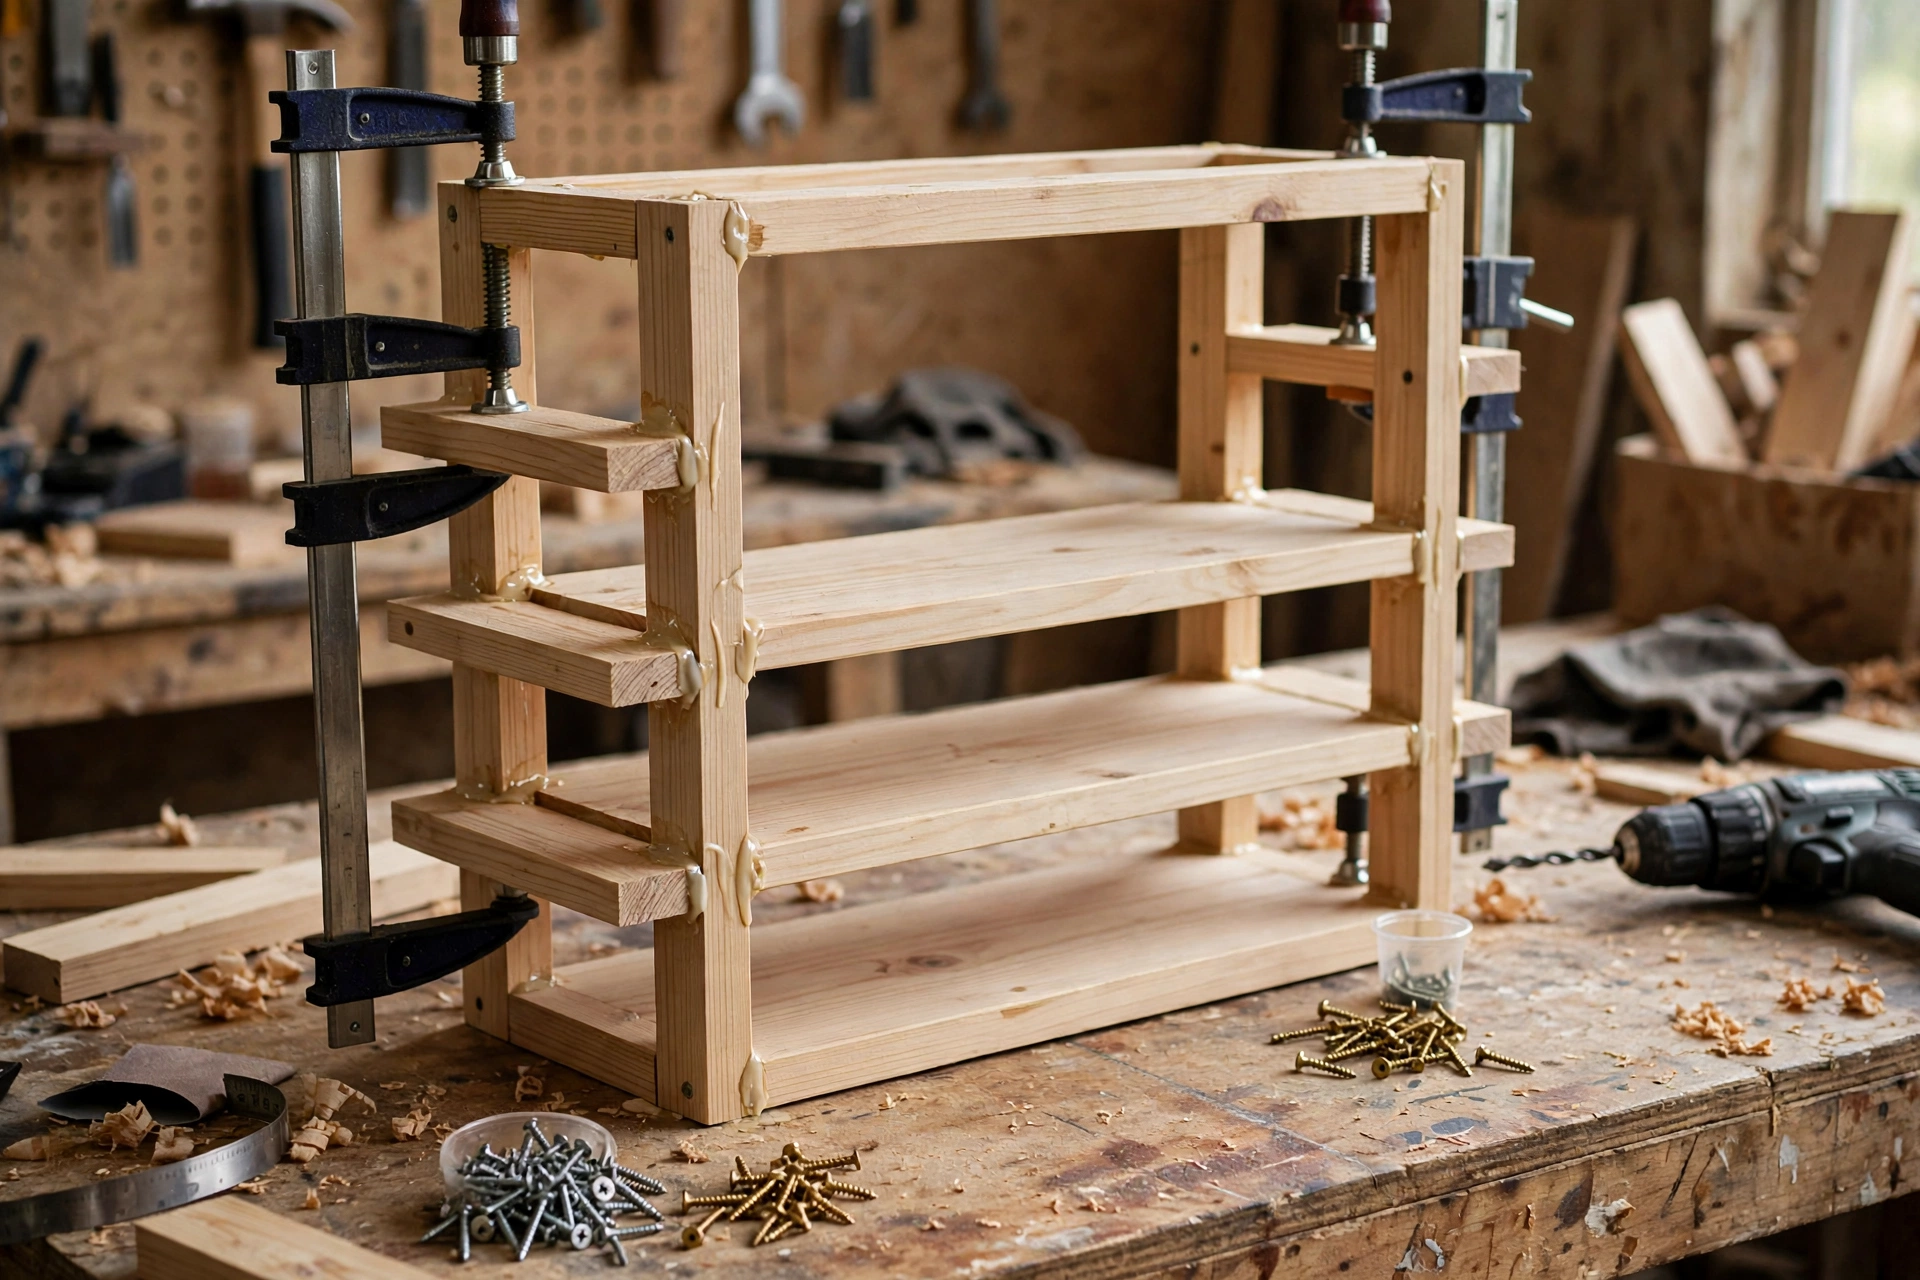
Next, attach the front lip rails. Each lip rail is a 1×2 board fixed to the front edge of a shelf, standing on its narrow edge so it rises about 1 and 1/2 inches above the shelf surface. This lip is what stops jars from sliding forward when you bump the rack or pull a jar out. Glue and screw each lip rail from the side boards into its ends, using the same pilot-hole method. Finally, screw the wall cleat horizontally across the back of the frame near the top, flush with the back faces of the side boards. This cleat is what your wall screws will go through.
Check the frame for square before the glue dries by measuring diagonally from corner to corner; the two diagonal measurements should match within an eighth of an inch. If they do not, gently push the frame into square and let the glue set. Fill any visible screw holes on the outside faces with wood filler, let it dry, and sand it flush with 220-grit sandpaper.
Step 5: Stain or Paint the Finish
A finish does two jobs: it makes the rack look like a finished piece of furniture, and it protects the pine from kitchen moisture, steam, and the occasional splash. You have two good options, and the right one depends on your kitchen.
Stain shows off the wood grain and gives a warm, natural look that suits most kitchens. Apply it with a rag or foam brush, working along the grain, and wipe off the excess after a few minutes. One coat is often enough for pine, but a second coat deepens the color. Pine can absorb stain unevenly and look blotchy, so if you want a very even color, apply a pre-stain wood conditioner first and let it dry according to the label. After the stain dries completely, brush on two thin coats of clear polyurethane topcoat, sanding lightly with 220-grit between coats, to protect the finish from steam and handling.
Paint is the better choice if your kitchen has painted cabinets and you want the rack to blend in, or if you want a bold accent color. Use a primer first, then two coats of a durable semi-gloss or satin latex paint, which wipes clean easily. Paint hides the grain, which also means it hides any small imperfections in your boards, a forgiving feature for a first project.
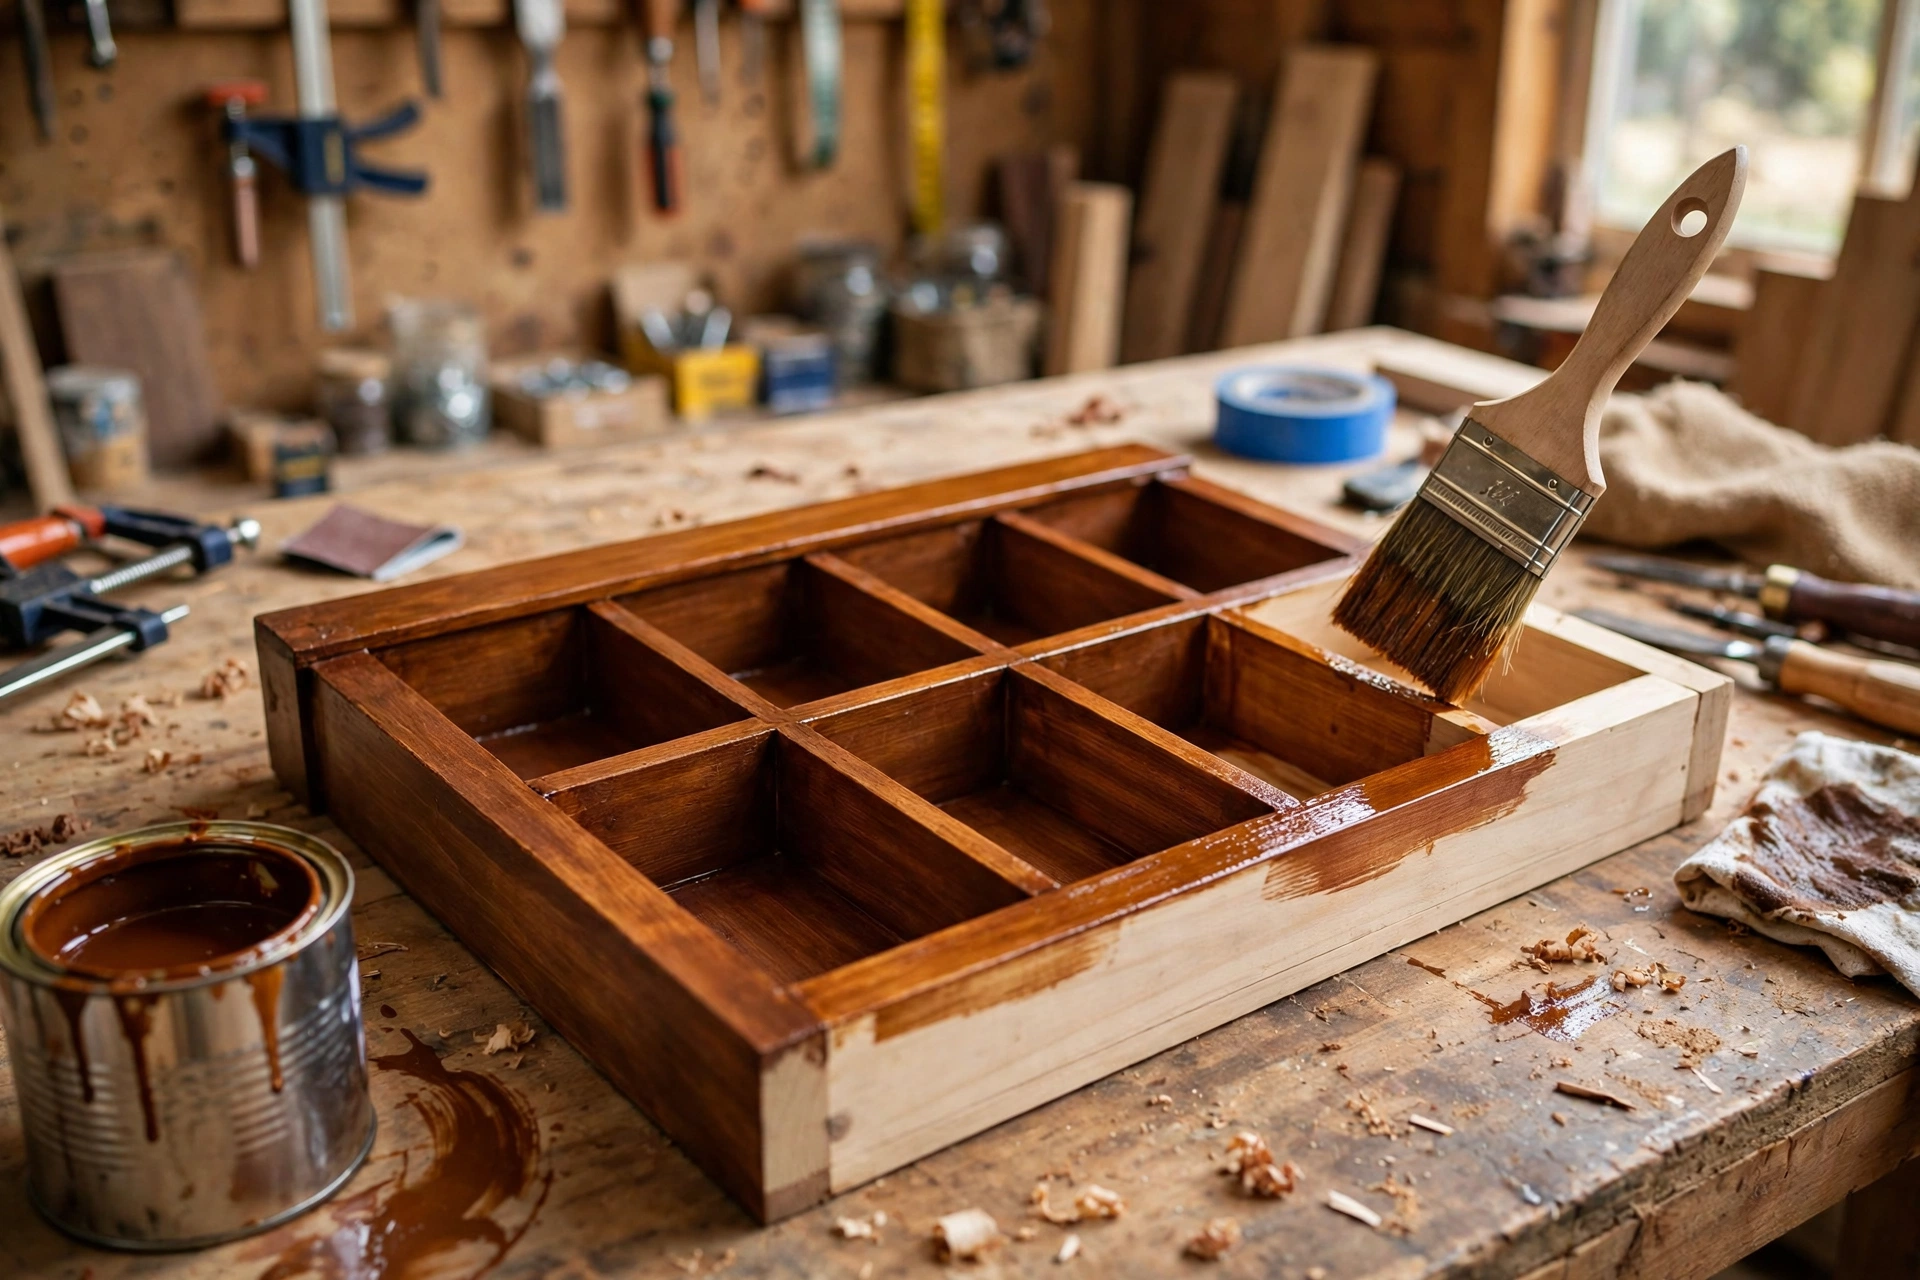
Whichever finish you choose, finish the rack before you mount it, and finish all sides, including the back. The back sits against the wall and traps a little moisture, so an unfinished back can warp over time. If you are choosing a stain color and want help comparing options, our guide to the best wood stain for beginners breaks down tones and brands that work well on pine. Allow the final coat to cure fully, ideally overnight, before you hang the rack and load it with jars.
Step 6: Mount the Rack on Wall Studs
A fully loaded spice rack is heavier than it looks. Eighteen glass jars can weigh 15 to 20 pounds, plus the weight of the wood itself, so mounting into drywall alone is not enough. You need to screw into at least two wall studs, which are the vertical wooden framing members behind your drywall, usually spaced 16 inches apart.
Start by finding the studs in your chosen spot with a stud finder, and mark their centers with a pencil. Hold the rack against the wall at the height you want, the top shelf should be reachable without a step stool, and use your spirit level to make sure it is level. Mark through the wall cleat onto the wall at two stud positions, then set the rack down and drill pilot holes at those marks.
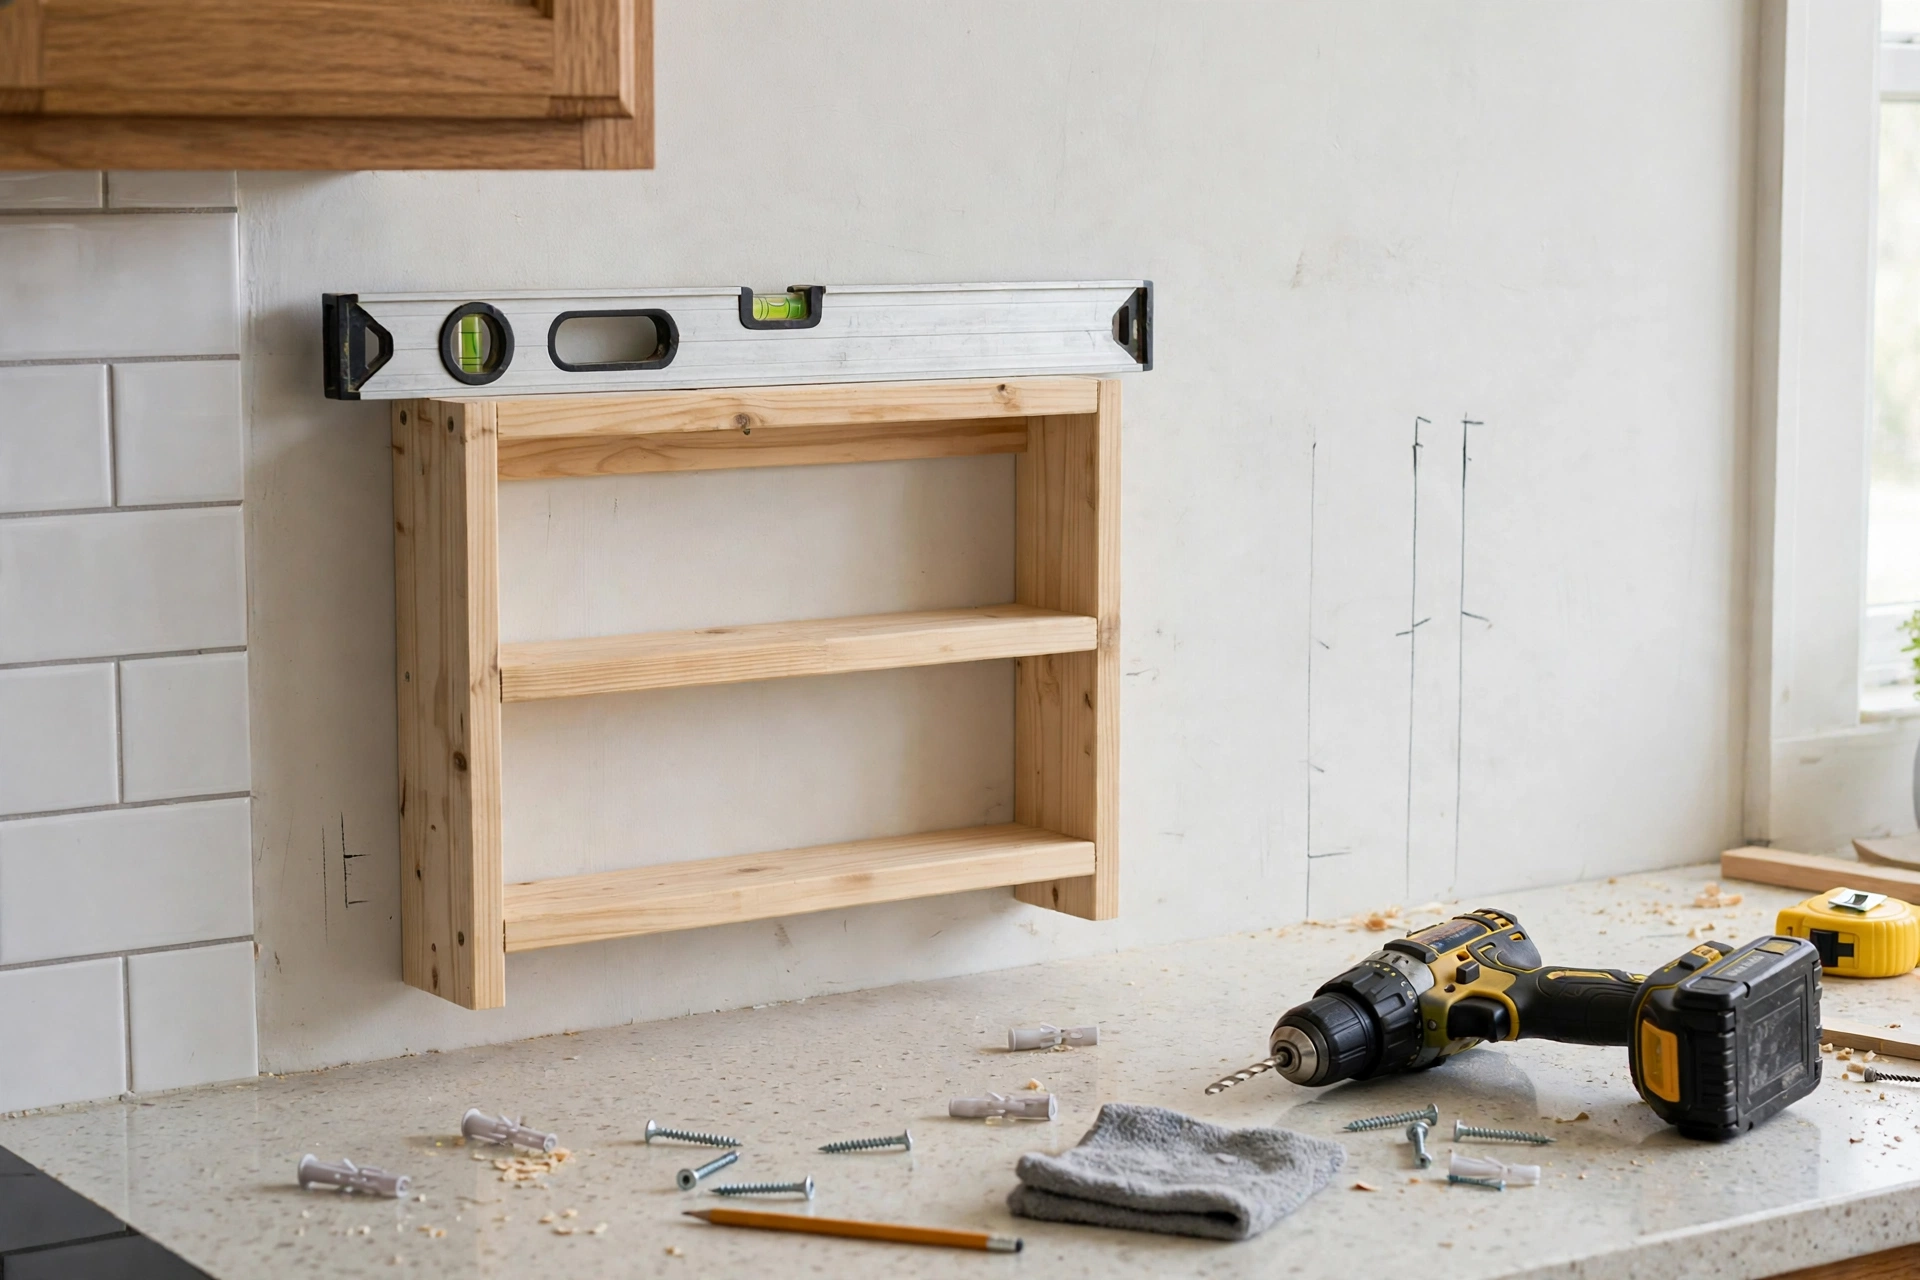
Drive 2 and 1/2-inch screws through the wall cleat into the studs, checking the level again as you tighten the second screw. If your rack position only lines up with one stud, use a heavy-duty wall anchor rated for at least 25 pounds for the other side, and keep the heaviest jars on the stud side. Never rely on adhesive strips for a loaded spice rack; they are not rated for this kind of sustained weight, and a falling rack means broken glass and spilled spices everywhere.
Once the rack is mounted, give it a firm tug to confirm it is solid, then load it one shelf at a time. Put your most-used spices on the middle shelf at eye level, tall jars where they fit best, and the least-used jars on the top shelf. Step back and check that no jar overhangs the front lip, and that you can lift each jar out cleanly without hitting the shelf above it.
Common Mistakes to Avoid
Spacing shelves by guesswork. The number one mistake is building the rack first and discovering your tallest jar does not fit. Measure first, then cut, every time.
Skipping pilot holes. Pine splits easily near the ends of boards. A pilot hole takes ten seconds and saves a board.
Mounting to drywall only. A rack that feels solid empty can rip out of the wall once it is loaded with glass jars. Always hit at least one stud, ideally two.
Leaving the back unfinished. Kitchens are humid. An unfinished back absorbs moisture and can warp the frame over months.
Making the rack too deep. A shelf deeper than about 4 inches looks generous but pushes jars to the back where you cannot see them. The 3 and 1/2-inch depth of a 1×4 board is ideal for spice jars.
Over-tightening screws. Driving a screw too hard crushes the pine and strips the hole. Stop when the screw head sits flush with the surface.
Variations to Try Next
Once you have built the basic rack, the same design adapts easily. A two-shelf version works well in a small kitchen or inside a pantry door, using the same cut list minus one shelf and one lip rail. A wider 30-inch version holds eight jars per shelf and suits a large spice collection. For a rustic look, use a darker stain and leave the wood filler visible for a handmade character, or add small labels to the front lip rails for a shop-style finish. You can also build a matching second rack for teas, oils, or small baking supplies, using exactly the same steps.
FAQ
How many spice jars does this wooden spice rack hold?
With a 24-inch width and three shelves, this rack holds up to 18 standard spice jars, six per shelf, assuming jars about 2 inches in diameter. If your jars are wider, plan on five per shelf, for a total of 15 jars. A 30-inch wide version holds 24 standard jars.
What wood is best for a beginner spice rack?
Pine is the best choice for a first rack because it is inexpensive, light, easy to cut and screw, and it accepts stain and paint well. Poplar is a good step up if you plan to paint, since it has a smoother surface, but it costs a little more. Avoid hardwoods like oak for a first project, as they are harder to drill and screw without experience.
How do I space the shelves for different jar heights?
Measure your tallest jar from base to lid, then add 1 inch of clearance for lifting jars in and out. That total is your shelf spacing. For example, a 4 and 1/2-inch jar needs 5 and 1/2 inches of spacing. Use the shelf-spacing table in this guide to match your jar height to the right spacing.
Can I build this spice rack without a power saw?
Yes. Every cut is a straight crosscut, so a handsaw works fine, it just takes a little longer. Clamp the board firmly, mark your cut line clearly, and saw slowly along the line. A miter box, which costs only a few dollars, helps keep handsaw cuts square.
How do I mount a spice rack if I cannot find two studs?
Mount into the one stud you can find with a 2 and 1/2-inch screw, and use a heavy-duty toggle bolt or wall anchor rated for at least 25 pounds on the other side. Keep the heaviest jars on the stud side, and test the rack with a firm tug before loading it fully. Avoid adhesive strips for a loaded rack.
Should I stain or paint my wooden spice rack?
Stain is best if you want to show off the wood grain and match natural wood cabinets. Paint is best if you want the rack to blend with painted cabinets or add a color accent, and it hides small imperfections more easily. Either way, seal the finish with a clear topcoat or use a durable semi-gloss paint so the rack stands up to kitchen steam and wiping.
How much does it cost to build a wooden spice rack?
Materials for this rack cost roughly 31 to 44 dollars, including pine boards, screws, glue, sandpaper, and stain or paint. If you already own basic tools, glue, and screws, the cost can drop below 25 dollars. Matching glass jars, if you need them, add roughly 15 to 25 dollars for a set of 12 to 18.
Final Thoughts
Building your own spice rack is a small project with an outsized payoff: a tidier kitchen, spices you can actually find, and the quiet satisfaction of using something you made with your own hands every single day. Take your time with the measuring step, drill your pilot holes, and mount the rack into studs, and you will end up with a sturdy, good-looking rack that lasts for years. When you are ready for your next build, the skills you practiced here, measuring, cutting, sanding, and finishing, transfer directly to shelves, small cabinets, and storage projects all over your home.
Recommended Products for This Project

Titebond III Ultimate Wood Glue 1413 (8 oz)
Strong, waterproof joints for a rack that stays solid when fully loaded.
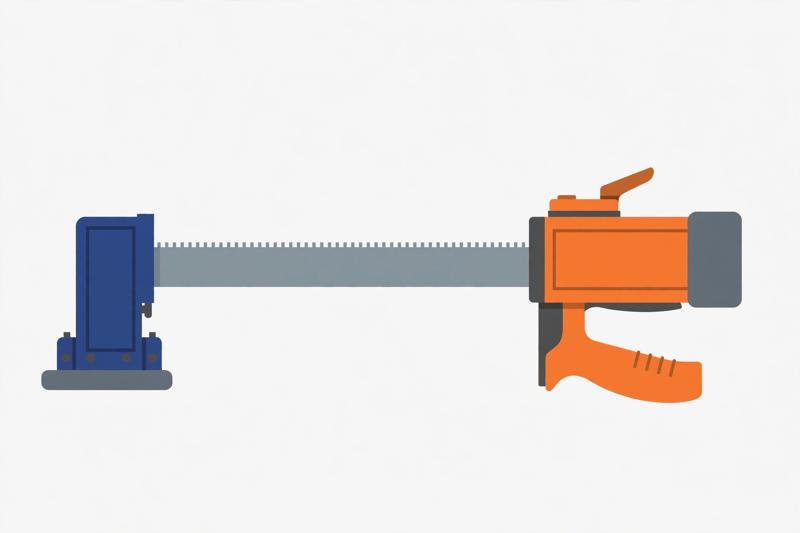
IRWIN QUICK-GRIP 12-inch Heavy-Duty Bar Clamp
Firm hold for gluing and assembling the rack frame square.

DEWALT Concealer Safety Goggles DPG82-11C
Protect your eyes from dust and chips while cutting and sanding.

DEX FIT Cru553 Level 5 Cut Resistant Gloves, Size L
Cut-resistant grip and protection for safer handling in the workshop.

3M 8511 N95 Respirator, 10-pack
Filter dust while sanding and finishing the rack.
As an Amazon Associate, I earn from qualifying purchases.



Pingback: How to Build a Wooden Toilet Paper Holder