
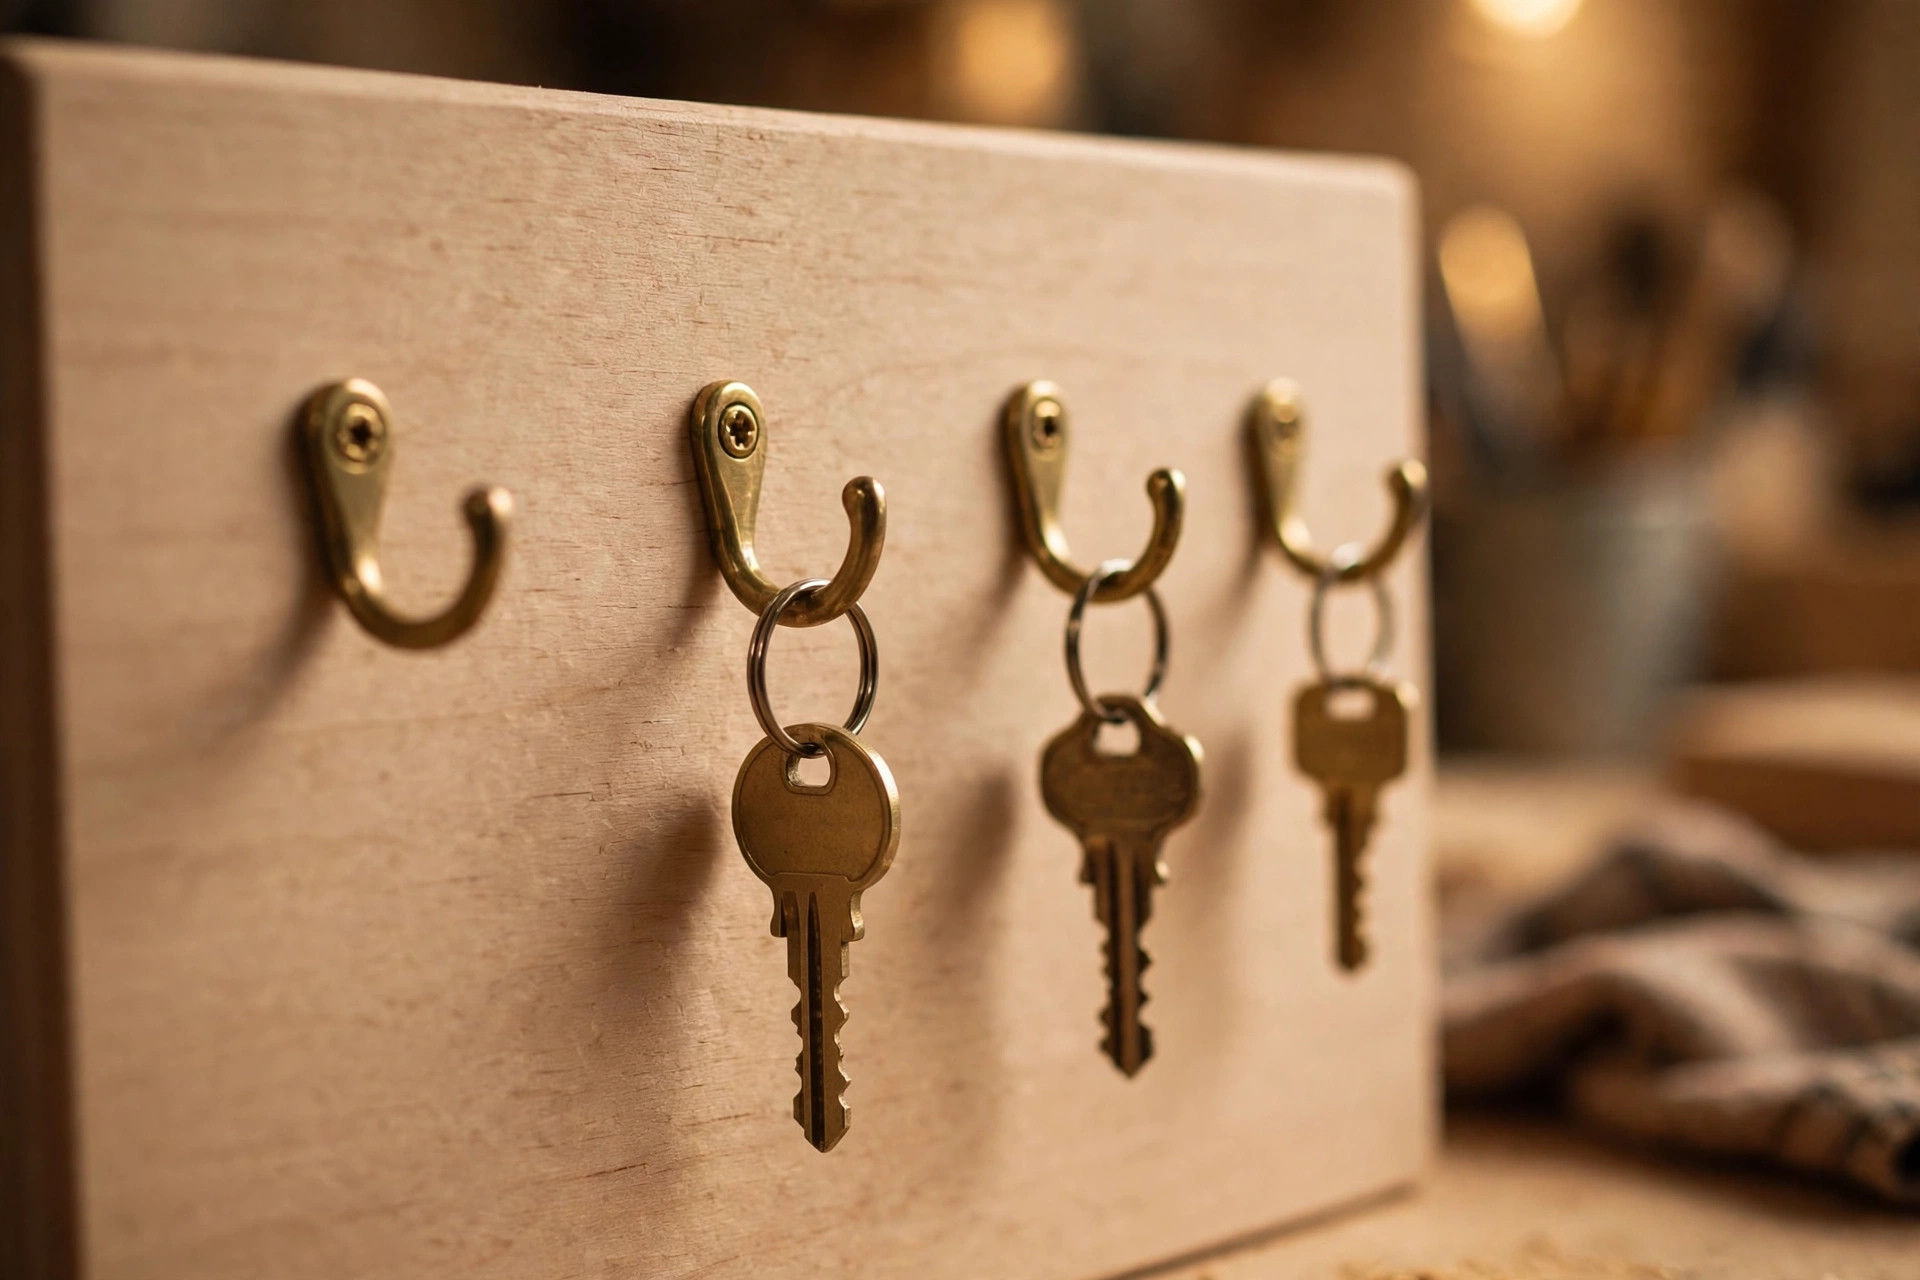
If you have ever stood in the doorway patting your pockets and wondering where your keys went, this project is for you. Learning how to build a wooden key holder for beginners is one of the fastest, most satisfying first woodworking projects you can take on. In a single afternoon, with one board, a handful of hooks, and a few basic tools, you can make a handsome entryway organizer that holds your keys, your mail, and your phone — and you will use it every single day.
This guide walks you through the whole build from start to finish: choosing the wood, cutting the parts, spacing the hooks so keys never tangle, adding a small tray for mail and a phone, finishing the wood so it looks store-bought, and mounting it to the wall so solidly that it will never pull loose. Every measurement is given in inches, every step is written for someone who has never built anything before, and the mistakes that trip up first-time builders are flagged before you can make them.
What You Will Build
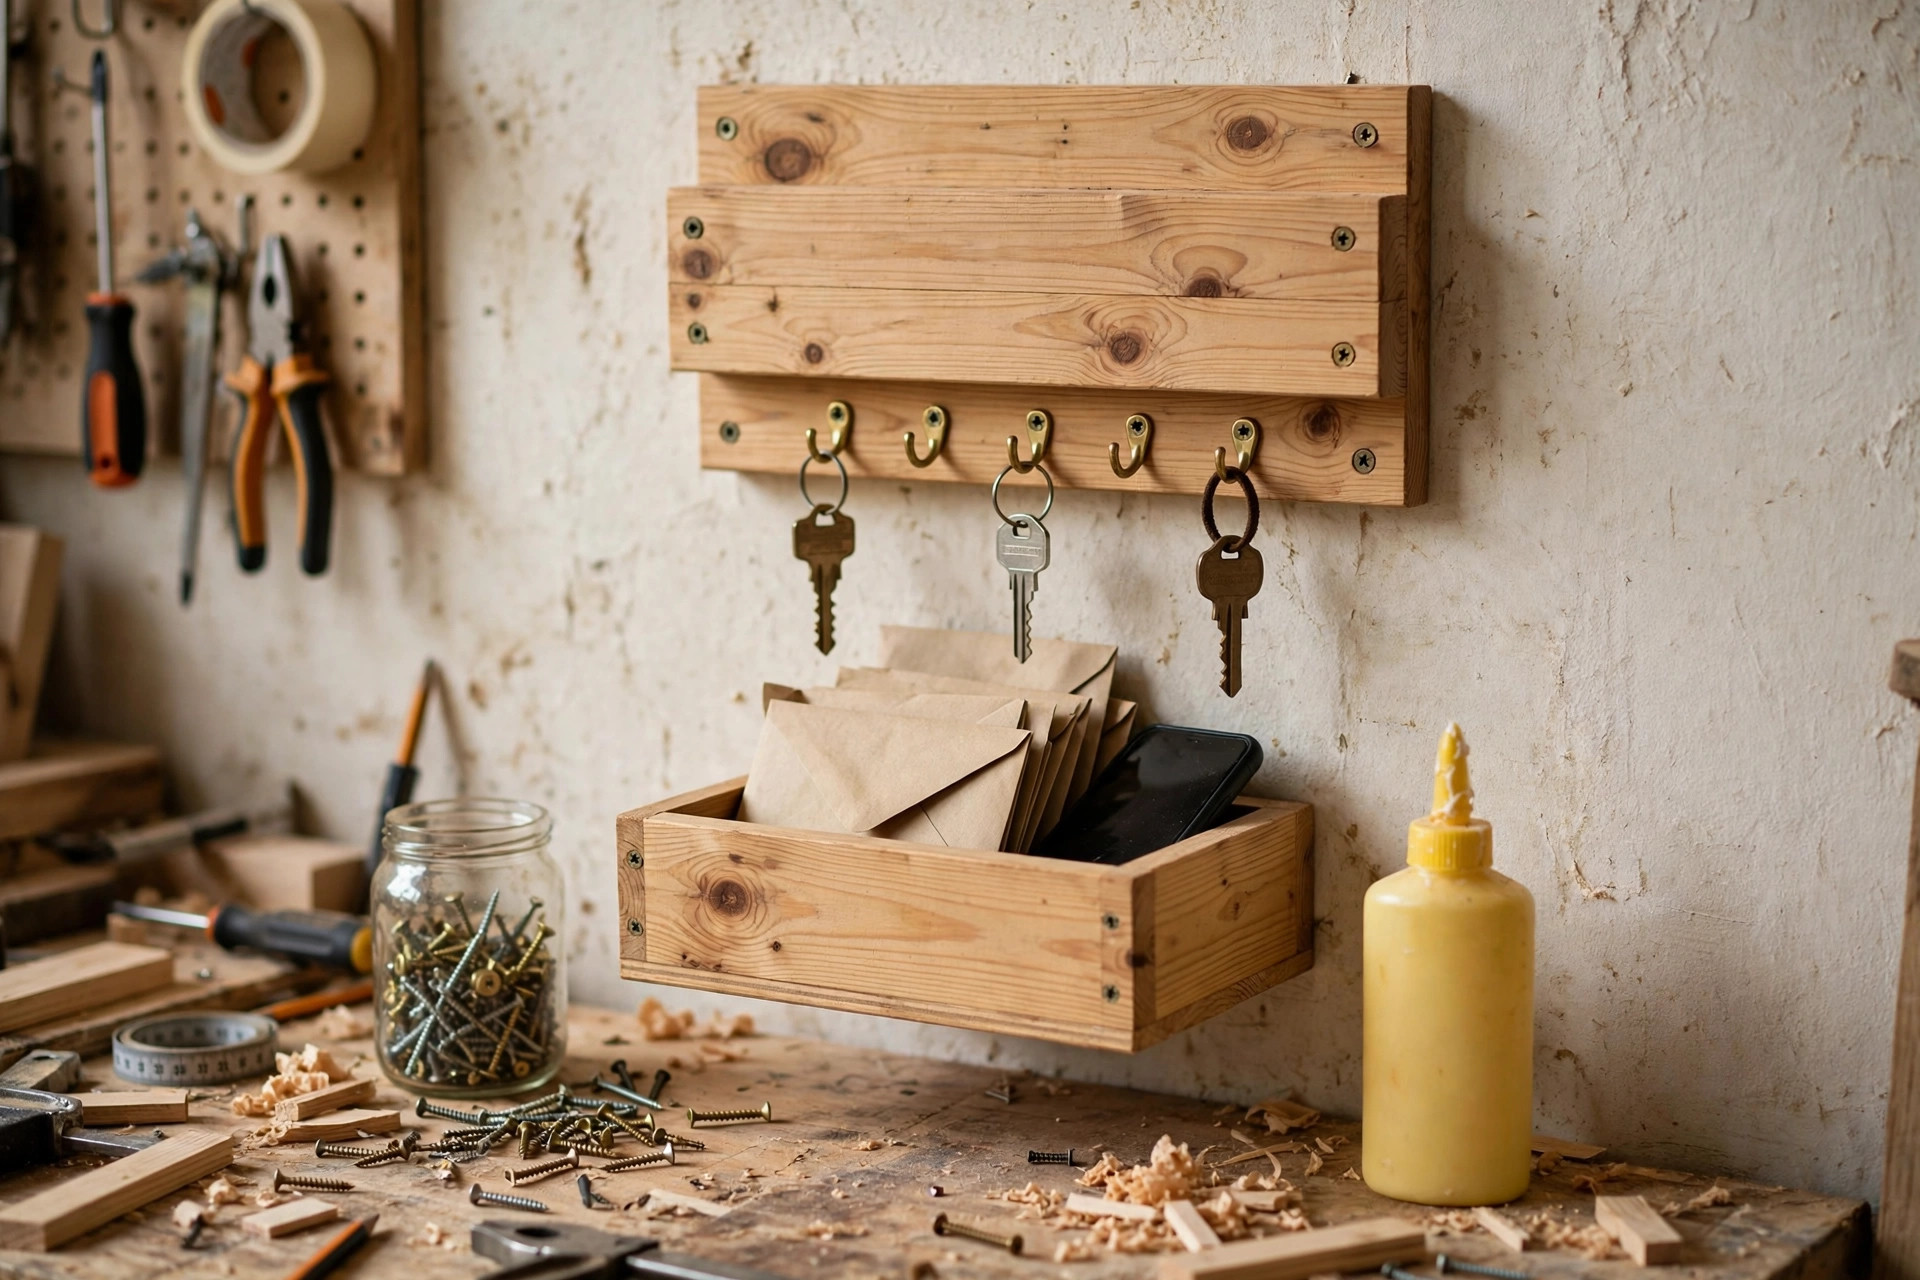
The design is deliberately simple and practical. A horizontal back board, 24 inches wide and 6 inches tall, carries five sturdy hooks along its lower edge. Below it, a shallow open tray, also 24 inches wide, catches the mail, holds a phone while you take off your shoes, and gives sunglasses and a wallet a place to land. The whole unit mounts to the wall with two screws driven into wall studs, so it can carry a surprising amount of weight without wobbling or sagging.
Why 24 inches wide? It is wide enough for a family’s keys — five hooks, each with room to breathe — but narrow enough to fit beside almost any front door, in a hallway, or on the narrow wall next to a mudroom bench. If your household is smaller, the same plan works at 18 inches with four hooks; if you have a large family, stretch it to 30 inches with six hooks. The hook-spacing table later in this guide shows exactly where to mark the hooks for each width, so you never have to guess.
The tray is the feature that turns a simple key rack into a genuine entryway station. Without it, keys get hung up but everything else still ends up in a pile on the nearest table. With it, the mail has a home the moment you walk in, your phone has a spot while your hands are full, and the whole entryway stays tidy without any extra effort. A low front lip, just 1 inch tall, keeps envelopes from sliding off while still letting you grab them easily.
Tools and Materials
One of the best things about this project is how little it demands. You do not need a table saw, a router, or a workshop full of equipment. A handsaw or a circular saw, a drill, and some sandpaper will carry you through the entire build. If you already own a miter saw, it will make the cuts faster and squarer, but it is absolutely not required.
For the tools, you will need a tape measure, a pencil, a speed square or combination square, a saw, a drill with a small drill bit for pilot holes and a driver bit for screws, a sanding block with 120-grit and 220-grit sandpaper, a paintbrush or rag for the finish, a stud finder, and a level. Safety glasses are non-negotiable whenever you are cutting or drilling, and a dust mask is a good idea while sanding. If you are still choosing your first drill, our guide to the best drill for woodworking beginners explains what to look for without overspending. Before you start cutting anything, it is also worth reading our woodworking safety tips for beginners — five minutes there can save you a painful lesson later.
For materials, start with a single pine board, 1 x 6 inches in nominal size (which actually measures 3/4 inch thick by 5-1/2 inches wide) and at least 48 inches long. Pine is cheap, light, easy to cut and sand, and it takes stain beautifully. If you want a richer look, oak or walnut will work with exactly the same measurements, but they cost more and are harder to drill, so pine is the smarter first choice. You will also need five screw-in or screw-on metal hooks, a small box of 1-1/4 inch wood screws for the tray, two 2-1/2 inch wall screws for mounting, wood glue, wood filler, and your choice of stain or paint plus a clear topcoat. A full breakdown with approximate prices is in the cost table below.
Estimated Cost
| Item | Approximate cost |
|---|---|
| Pine board, 1 x 6 x 48 in | $8–$12 |
| 5 metal hooks (brass or black steel) | $6–$12 |
| Wood screws, 1-1/4 in (small box) | $4–$6 |
| 2 wall-mounting screws, 2-1/2 in | $2–$3 |
| Wood glue (if not already owned) | $4–$6 |
| Sandpaper, 120-grit and 220-grit | $4–$5 |
| Wood stain or paint + clear topcoat | $10–$16 |
| Wood filler (small tube) | $3–$5 |
| Estimated total | $41–$65 |
If you already own glue, sandpaper, and a finish from an earlier project, the out-of-pocket cost drops to roughly $20–$30 for the board, hooks, and screws. That is a fraction of what a comparable handmade key holder costs in a home-goods store, and yours will be sturdier and exactly the size you need.
Cut List
Measure twice, cut once — the old saying exists because a board cut too short cannot be uncut. Mark every piece with a pencil before you saw, and label each piece so you do not mix them up on the bench.
| Piece | Quantity | Dimensions (thickness x width x length) | Notes |
|---|---|---|---|
| Back board | 1 | 3/4 in x 5-1/2 in x 24 in | Main board; hooks mount here |
| Tray bottom | 1 | 3/4 in x 4 in x 24 in | Cut from a 1 x 4 board, or rip from the same 1 x 6 |
| Tray front lip | 1 | 3/4 in x 1-1/2 in x 24 in | Keeps mail and phone from sliding off |
| Tray side pieces | 2 | 3/4 in x 1-1/2 in x 4 in | Join the front lip to the back board |
| Mounting cleat (optional) | 1 | 3/4 in x 2 in x 20 in | Adds strength; hide it behind the tray |
A note on lumber sizes: a board sold as “1 x 6” is not actually 1 inch thick and 6 inches wide. After drying and surfacing at the mill, it measures 3/4 inch thick and 5-1/2 inches wide. This is standard for all dimensional lumber, and every measurement in this guide uses the actual size, so your parts will fit together exactly as described.
Step 1: Choose and Prepare Your Board
Start at the lumber rack, not the checkout. Sight down the length of each board like you are looking down a rifle barrel: reject any board that twists, bows, or cups noticeably. Run your hand along the faces and edges and pick the smoothest board with the fewest knots. A small, tight knot adds character and is fine; a large, loose knot near where a hook will go is a weak spot and should be avoided.
Once home, cut the back board to 24 inches. If you are using a handsaw, clamp the board firmly to a bench or sawhorse and let the saw do the work — pushing hard only makes the cut wander. If you are using a circular saw, a speed square clamped to the board makes a perfect straightedge guide. After cutting, check the ends with your square. Ends that are slightly out of square are easy to fix with a few passes of sandpaper on a flat block, and square ends make the tray joints look crisp later.
Step 2: Mark the Hook Positions
Good hook spacing is what separates a key holder that feels thoughtful from one where key rings clank together and tangle. The rule is simple: give each hook enough room for a full key ring plus a fob, and keep the outer hooks far enough from the ends that the wood will not split.
For the standard 24-inch board with five hooks, mark the first hook 3 inches from the left end and the last hook 3 inches from the right end, then space the remaining three evenly at 4-1/2 inch intervals. That gives positions at 3, 7-1/2, 12, 16-1/2, and 21 inches from the left end. Draw a light horizontal line 1-1/4 inches up from the bottom edge of the board, and mark each hook position on that line with a small cross. The hooks will sit low on the board, leaving the upper portion as a clean display area — and giving hanging keys plenty of clearance above the tray below.
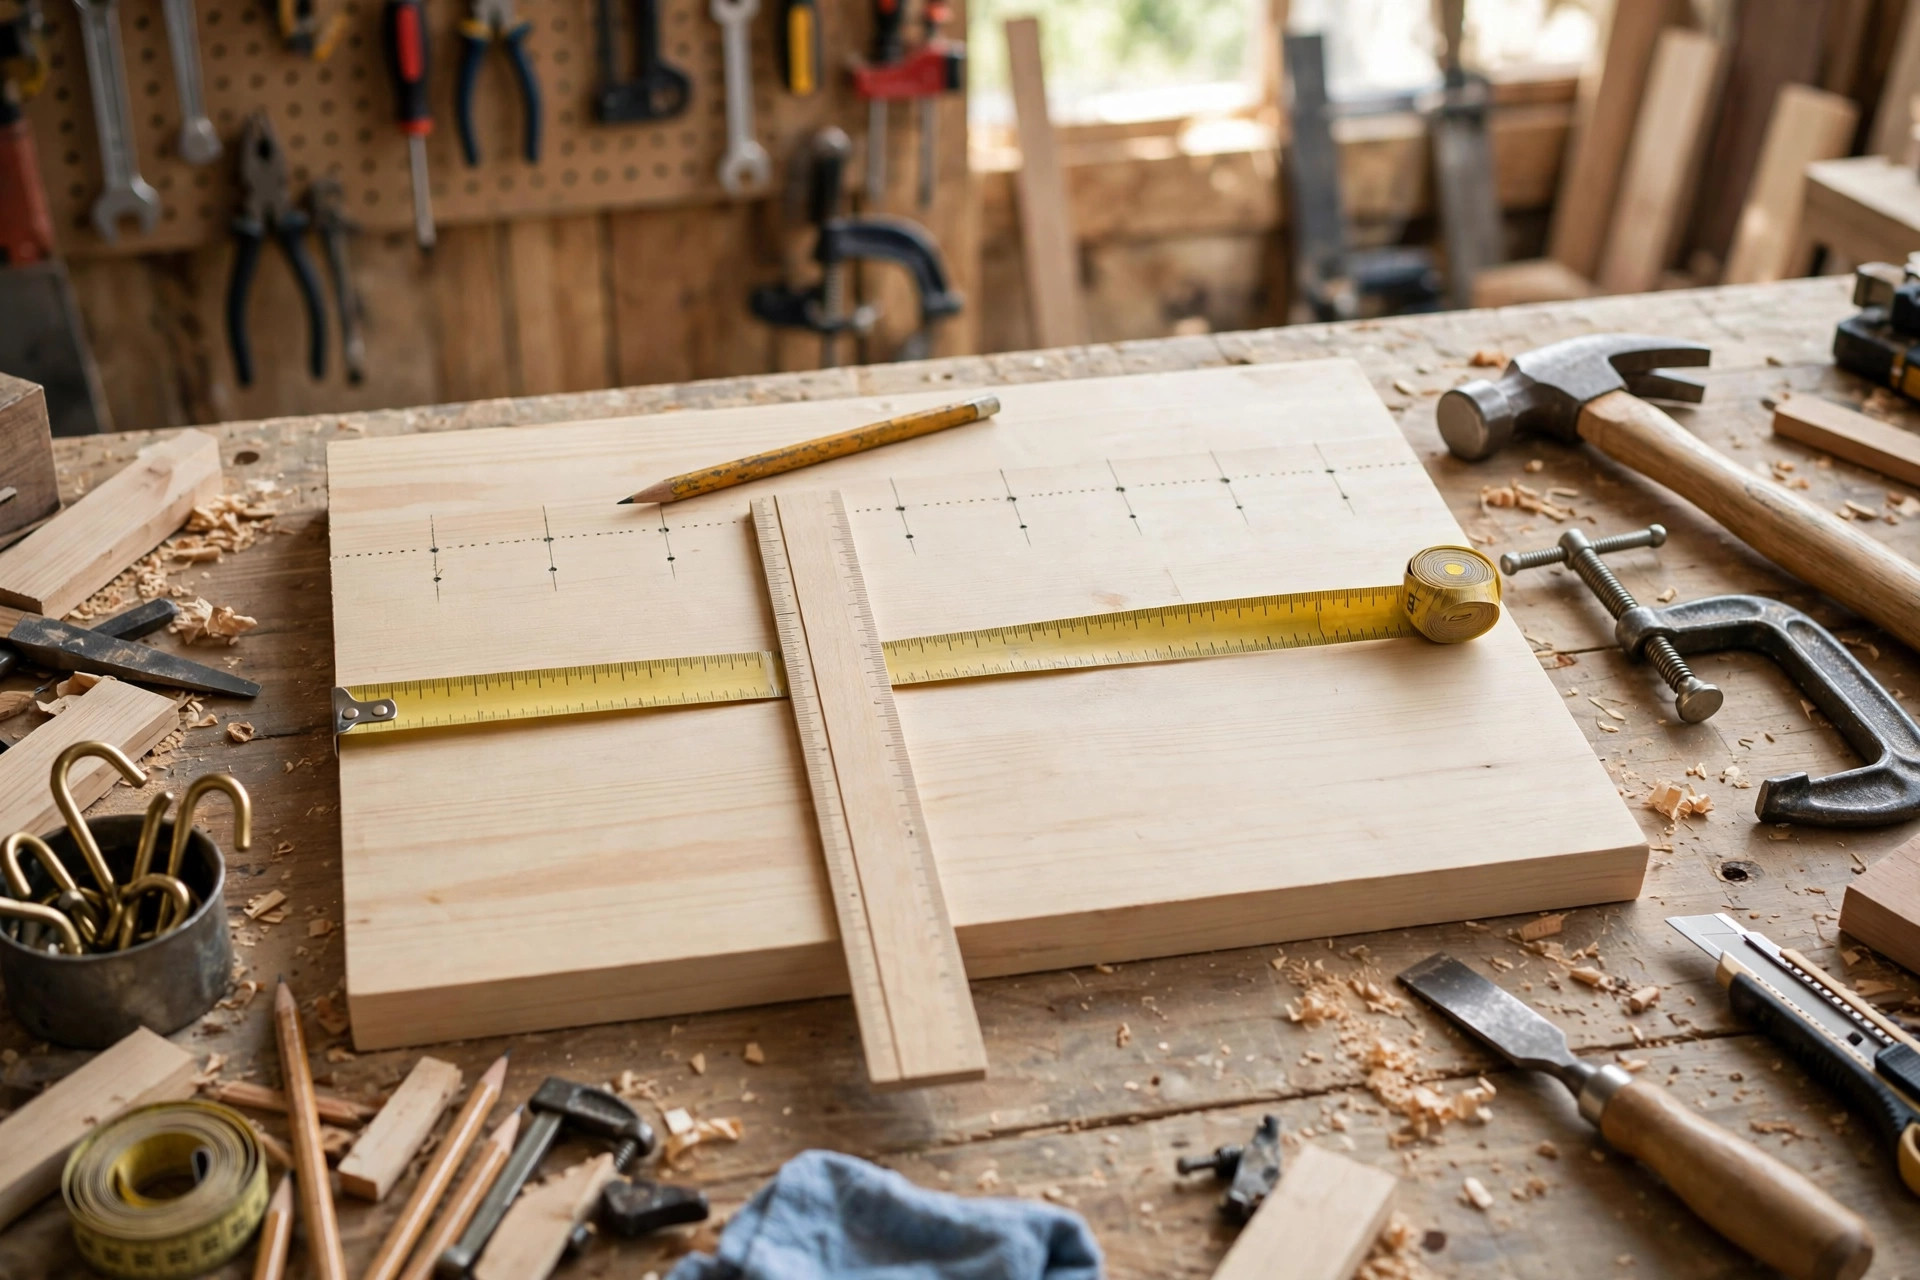
Hook Spacing and Stud Mounting Table
Wall studs in most homes are spaced 16 inches apart, centre to centre, and your mounting screws should land in studs wherever possible. This table combines both jobs — hook spacing for different board widths, and where the mounting screws go for each width.
| Board width | Number of hooks | Hook positions (inches from left end) | Mounting screw positions |
|---|---|---|---|
| 18 in | 4 | 3, 7, 11, 15 | 1 in and 17 in from left end (16 in apart, into studs) |
| 24 in | 5 | 3, 7-1/2, 12, 16-1/2, 21 | 4 in and 20 in from left end (16 in apart, into studs) |
| 30 in | 6 | 3, 7-4/5, 12-3/5, 17-2/5, 22-1/5, 27 | 3 in and 19 in from left end (16 in apart, into studs) |
The key insight is that the mounting screws are always 16 inches apart, matching the stud spacing, regardless of board width. You simply centre that 16-inch pair on the board: on a 24-inch board, screws at 4 and 20 inches leave 4 inches of margin on each side, which looks symmetrical and keeps the screws clear of the outer hooks. Use 4 and 20 inches for the 24-inch board, 1 and 17 inches for the 18-inch board, and 7 and 23 inches for the 30-inch board. Mark these mounting positions on the back of the board, not the front, so the pencil marks never show on the finished piece.
If your stud finder cannot find a stud where you need one — older homes and some apartment walls have irregular framing — use heavy-duty wall anchors rated for at least 20 pounds each. Anchors are a perfectly good fallback, but a screw driven into solid stud wood is always stronger, so check for studs first and move the holder a few inches left or right if needed to catch them.
Step 3: Drill Pilot Holes
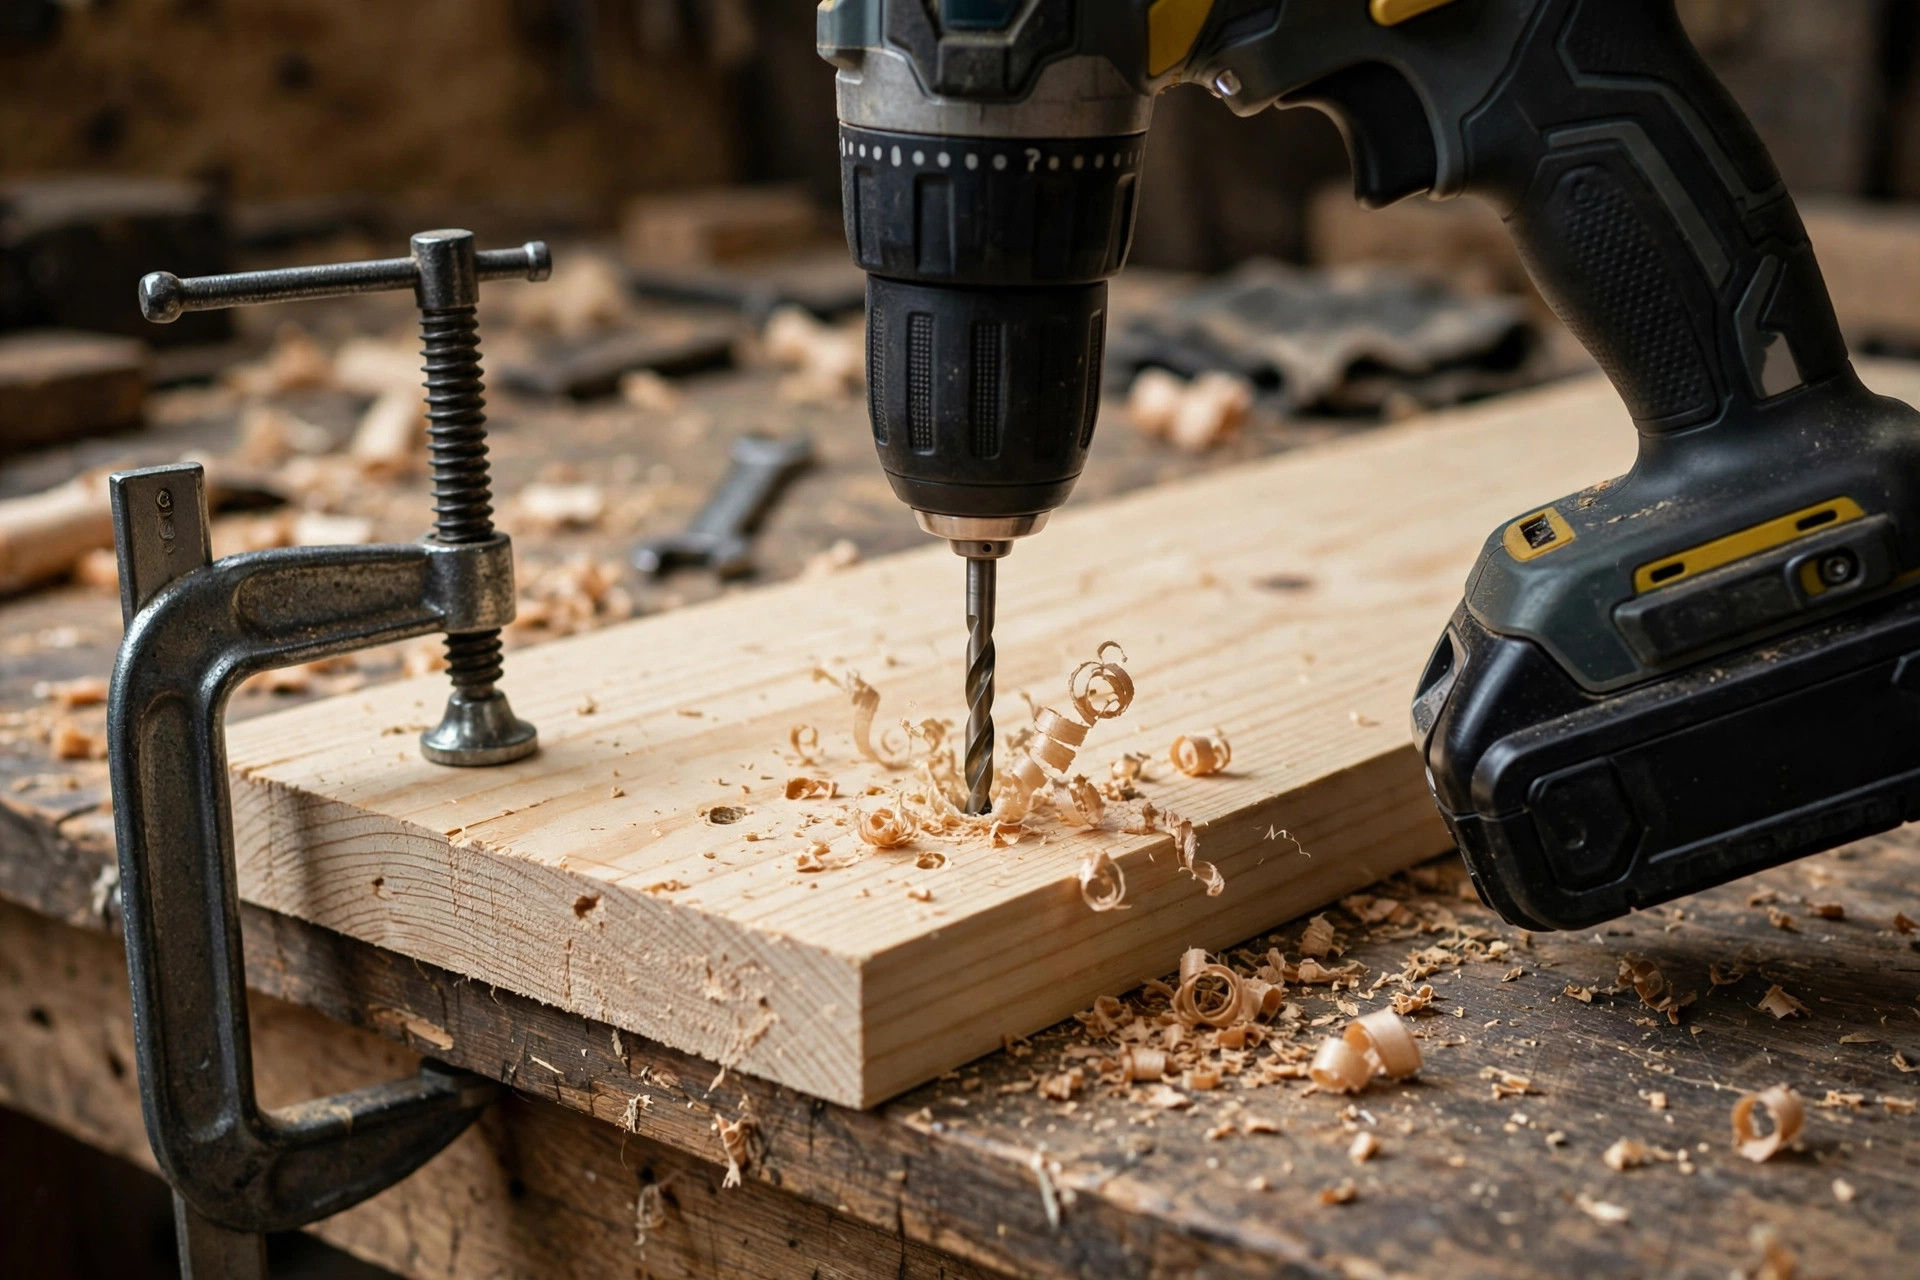
Pilot holes are the single most important habit for a beginner to learn, and this project is the perfect place to practise. A pilot hole is a small hole drilled before a screw goes in; it guides the screw, stops the wood from splitting, and keeps the screw from wandering off your mark. Skipping pilot holes is the number one reason beginner projects crack.
For screw-in hooks, drill a pilot hole about half the diameter of the hook’s threaded shaft, and about two-thirds as deep as the threaded part is long. For a typical hook, that means a 1/8-inch bit drilled about 1/2 inch deep. Hold the drill square to the board — a speed square held against the bit as a visual guide helps — and drill at a steady speed without forcing it. If you are still building confidence with a drill, the guide to the best drill for woodworking beginners covers grip, speed settings, and bit choice in plain language.
Drill the two mounting holes through the back board at the positions you marked on the back, using a bit slightly larger than your wall screws so the screws pass freely through the board and bite only into the wall. Then drill pilot holes for the tray screws at each end of the tray bottom and front lip. Finally, drill the five hook pilot holes on the front of the board along your marked line. Brush away the sawdust and check that every hole sits exactly on its cross mark before moving on.
Step 4: Sand the Board Smooth
Sanding is not glamorous, but it is what makes a handmade piece feel like a quality product instead of a rough plank. It also directly affects the finish: stain soaks unevenly into rough wood and shows every scratch, while a well-sanded board takes stain evenly and feels silky to the touch.
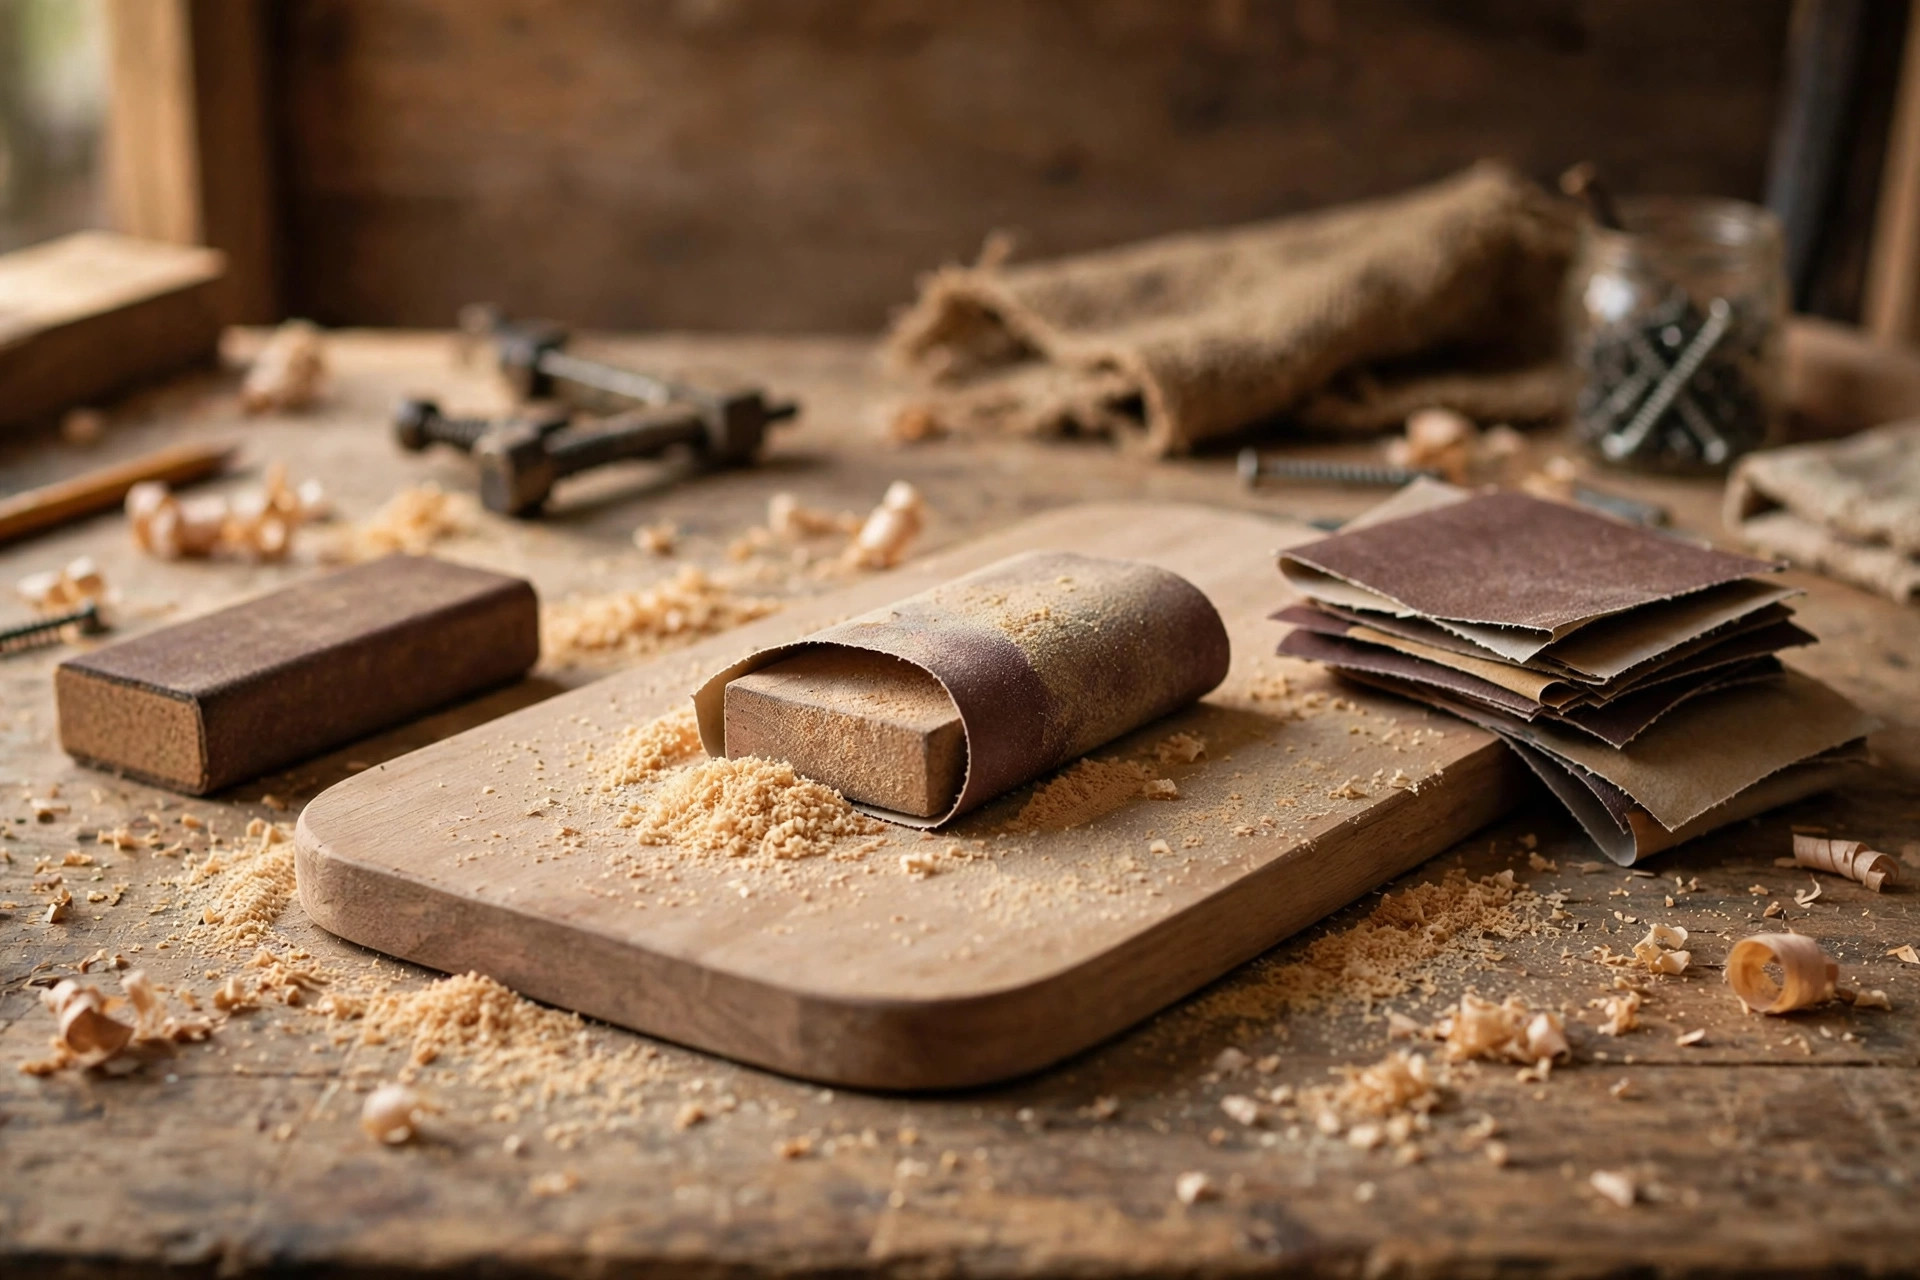
Start with 120-grit sandpaper on a sanding block and sand every face, edge, and end of the back board, always moving with the grain — never across it, which leaves scratches that stain will highlight. Pay special attention to the cut ends, which are rougher than the faces. Then repeat the whole board with 220-grit paper for a finer finish. Round the sharp edges slightly by giving each edge a few light passes; softly rounded edges feel better in the hand, look more finished, and are less likely to splinter. Wipe the board with a slightly damp cloth or a tack cloth to lift the dust, and let it dry fully. If you want a deeper explanation of which grit does what, our guide to the best sandpaper grit for beginners breaks it down step by step. The same sanding sequence applies to the tray pieces before assembly.
Step 5: Attach the Hooks
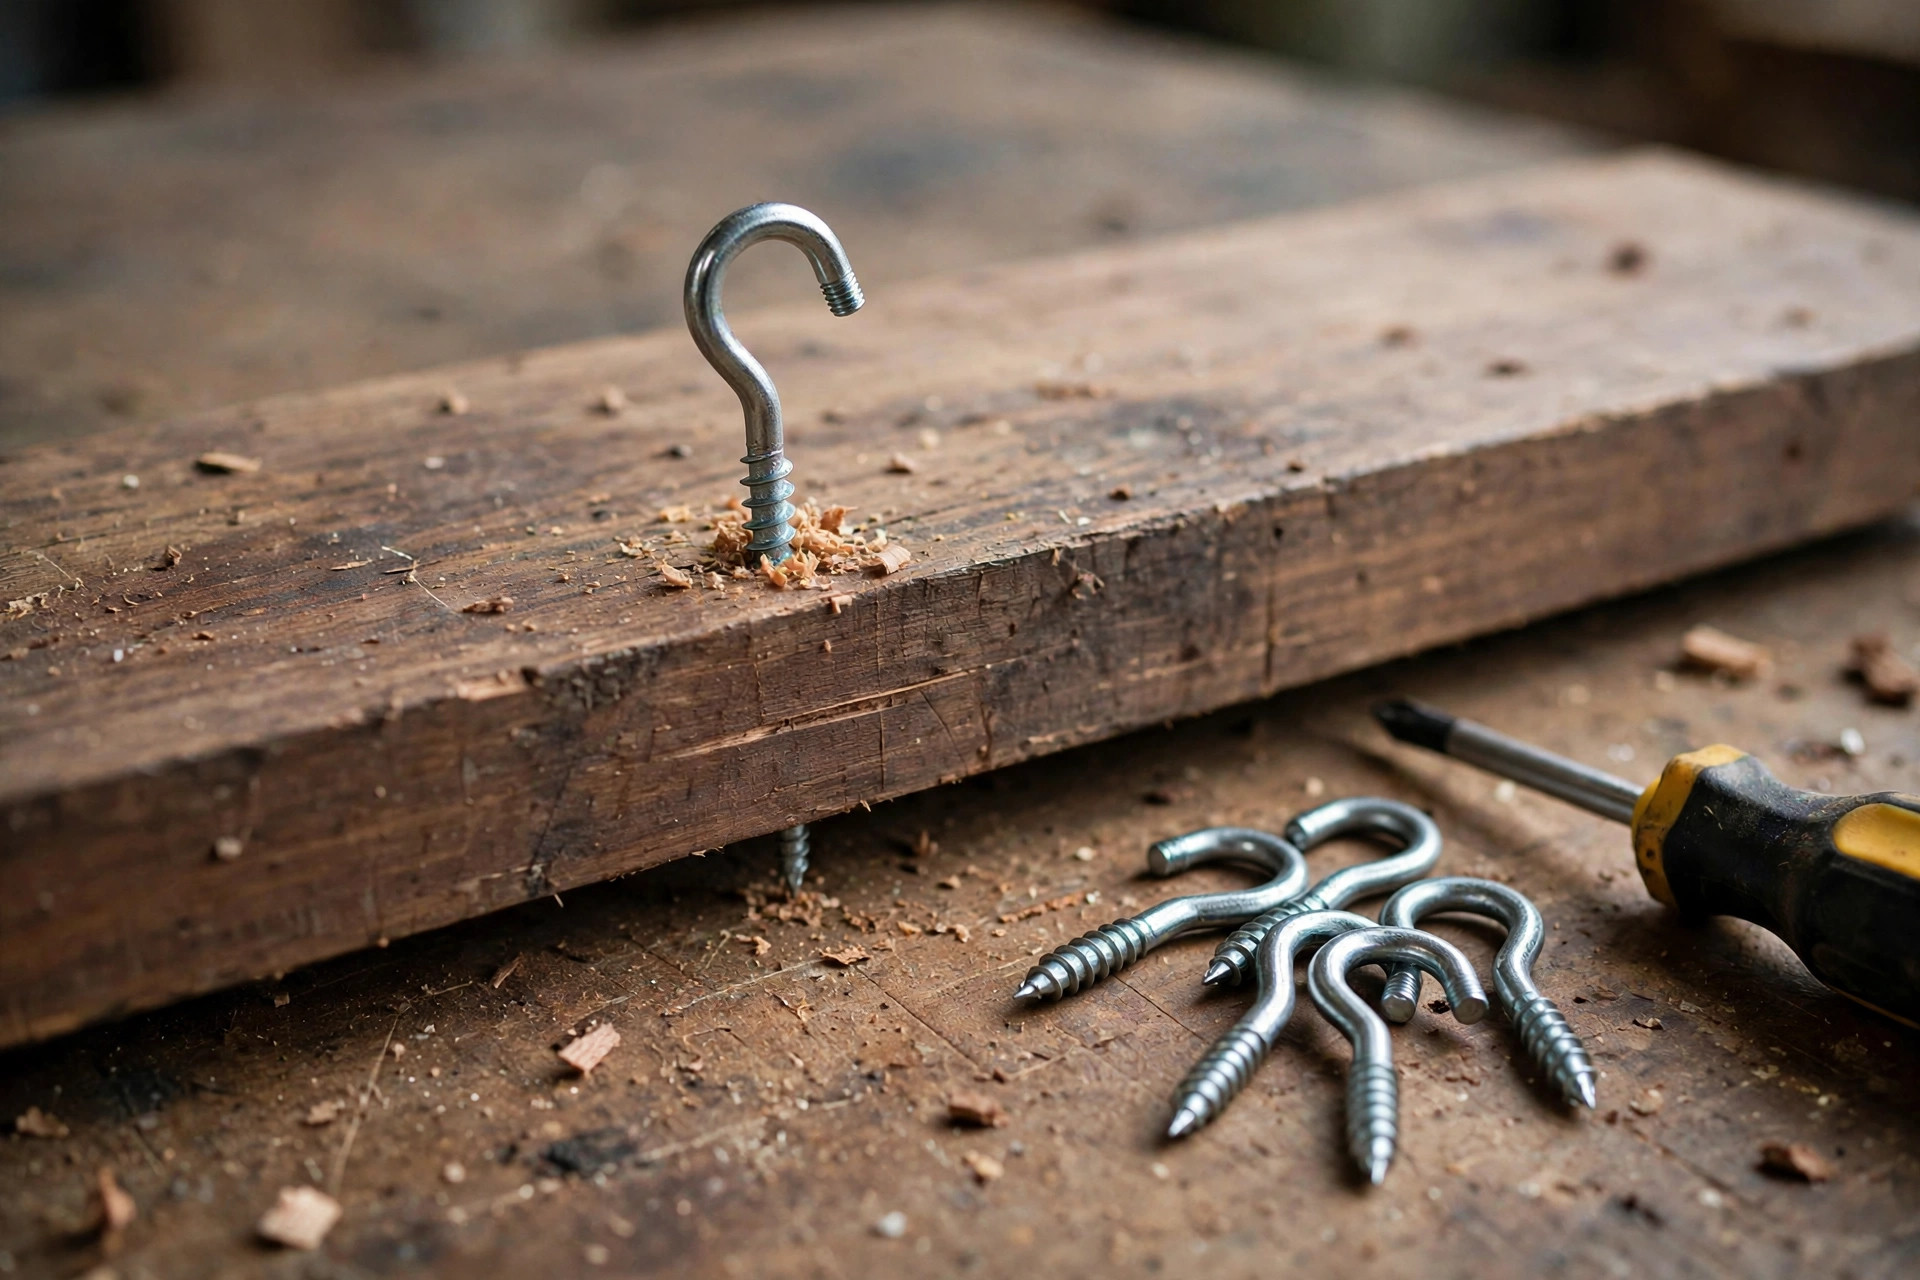
With the board sanded, it is time for the most satisfying step: screwing in the hooks. If you are using screw-in hooks, start each one by hand, turning slowly and keeping it straight. Once it bites, you can use pliers with a cloth wrapped around the hook to protect the finish, or a screwdriver shaft passed through the hook’s curve as a lever — the old workshop trick that gives you gentle, even turning force. Stop when the hook’s base sits snug against the board and the hook opening faces upward; a hook screwed one turn too far will point sideways and drop keys.
If you are using screw-on plate hooks instead, hold each plate on its mark, mark the screw holes with a pencil, drill small pilot holes, and drive the screws snugly without overtightening. Overtightening strips the hole, and a stripped hook hole is a frustrating fix, so drive the screw until it is firm and then stop. Test each hook by hanging your heaviest key ring on it and giving it a gentle tug. A well-seated hook should not wobble at all.
Step 6: Build and Mount the Tray
The tray is a simple open box: a bottom, a front lip, and two short side pieces that tie them to the back board. Spread a thin, even layer of wood glue on the mating edges, press the pieces together, and hold them with clamps or masking tape while you drive 1-1/4 inch screws through the bottom into the front lip and side pieces. Pre-drilling pilot holes for these screws is just as important here as it was for the hooks — tray pieces are small, and small pieces split easily.
Position the tray so its bottom sits about 3 inches below the hook line on the back board, leaving enough clearance for keys to hang freely above it without brushing the mail. Attach the tray assembly to the back board with glue and two screws driven from the back of the board into the tray bottom. If you cut the optional mounting cleat, glue and screw it horizontally behind the tray area; it thickens the board exactly where the mounting screws pass through, giving them more wood to grip.
Wipe away any glue squeeze-out immediately with a damp cloth. Dried glue is invisible on raw wood but shows up as a blotchy patch under stain, and it is one of the most common beginner finishing mistakes. Let the glue cure for at least an hour before handling the unit roughly, and overnight if you can wait.
Step 7: Finish and Stain
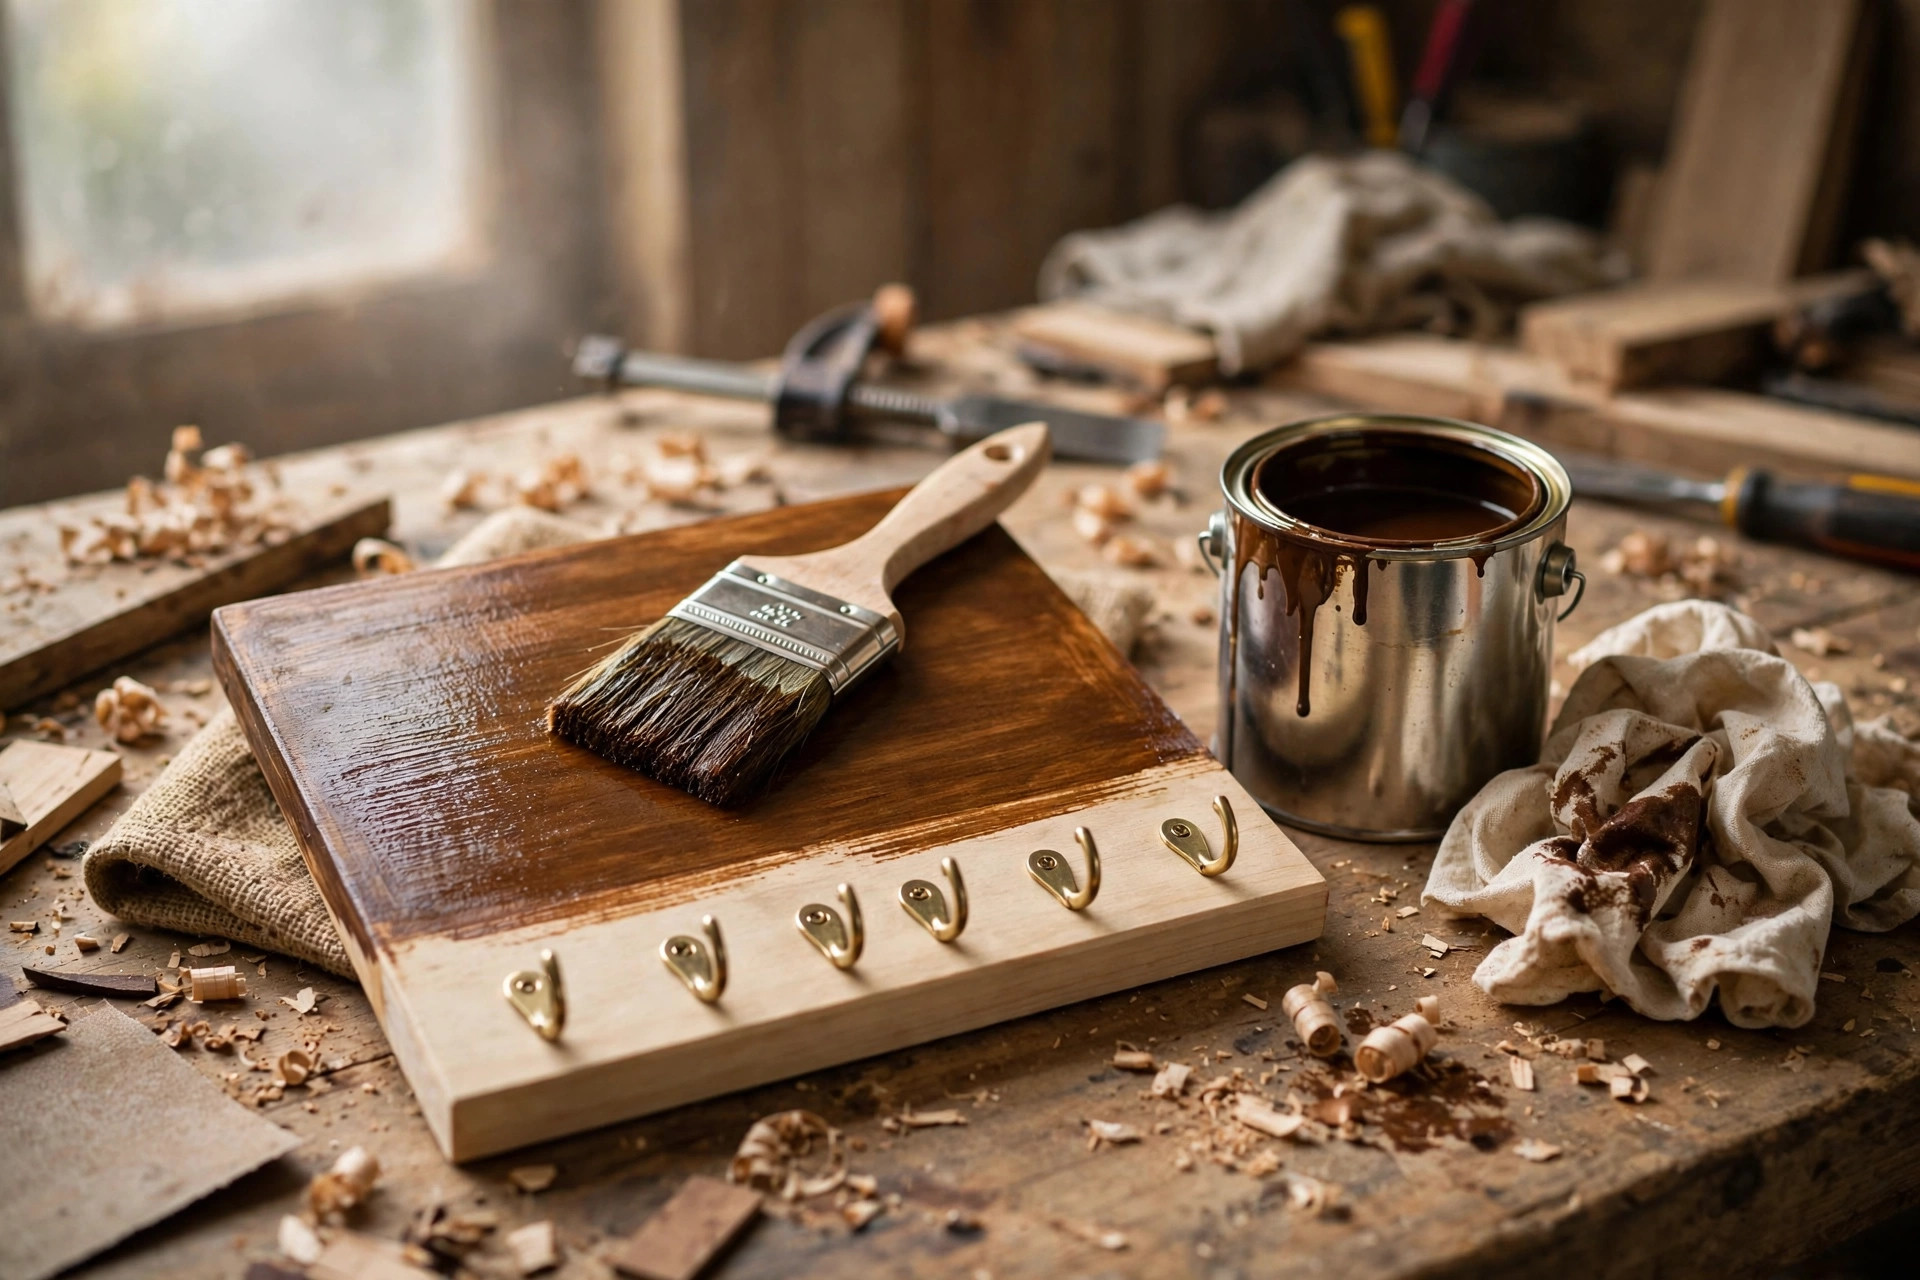
Finishing protects the wood from daily handling and gives your holder its final character. You have three good options. A stain plus clear topcoat shows off the wood grain and suits most entryways; a painted finish in white, black, or a colour matched to your door is the easiest to apply evenly and hides imperfect boards; and a simple oil finish, like Danish oil, is the most forgiving for a first-timer because it wipes on and never shows brush marks.
If you choose stain, brush or wipe it on with the grain, let it sit for the time the can recommends — usually 5 to 15 minutes — then wipe off the excess with a clean rag. One coat is often enough on pine, which drinks up stain quickly; a second coat deepens the colour. Let the stain dry completely, then apply two thin coats of clear polyurethane or wax, sanding very lightly with 220-grit paper between coats and wiping away the dust. Thin coats are the secret: thick coats drip, pool, and stay tacky. Finish the back of the board too, or at least seal it, so moisture changes affect both faces evenly and the board stays flat over time.
Step 8: Mount It on the Wall
Mounting is where all your careful work pays off — or, if rushed, where it ends up on the floor. Hold the finished holder against the wall at the height you want, and use a level to get it perfectly horizontal. The ideal height puts the hooks at comfortable hand level for the adults in the household: for most people, that means the board’s centre sits about 60 inches from the floor, which places the hooks at roughly 58 to 59 inches. If children will hang their own keys, consider mounting a second, smaller holder lower down rather than compromising the main holder’s height.
Mark the two mounting screw positions on the wall through the board’s mounting holes, then check those marks with a stud finder. Drill pilot holes into the studs, hold the board in place, and drive the 2-1/2 inch screws through the board and into the studs until snug. Do not overtighten — crushing the board’s back face into the wall can crack the finish on the front. Hang your keys, set the mail in the tray, and give the whole unit a firm shake. It should feel like part of the wall, not something hanging on it.
Common Mistakes Beginners Make
Even a simple project has traps, and knowing them in advance saves a rebuild. First, skipping pilot holes, which splits pine right along the grain — especially near the ends of the board. Second, spacing hooks too closely, so key rings overlap and you end up unhooking three sets of keys to get to one. The spacing table above exists precisely to prevent this. Third, mounting with only drywall anchors or, worse, a single screw in the middle; a loaded key holder sees constant tugging, and a single fixing point will loosen and tilt over time. Fourth, sanding across the grain, which leaves scratches that become glaringly obvious under stain. And fifth, applying the finish too thickly in one coat, which leads to drips and a sticky surface that never quite cures. Every one of these is avoidable, and every one is fixable if caught early — a split near a hook can be glued and clamped, and a blotchy finish can be sanded back and redone.
Variations to Try Next
Once the basic holder is on your wall, the design invites personal touches. A routed or painted groove along the top edge turns the board into a tiny shelf for a small plant or a framed photo. Chalkboard paint on the upper portion creates a message board for notes and reminders. Different hook styles — black wrought-iron hooks for a farmhouse look, brass hooks for a warmer tone, or wooden pegs instead of metal hooks for a softer, Scandi feel — change the whole character of the piece without changing a single measurement. If you enjoyed the framing-style joints in the tray, a wooden picture frame for beginners is a natural next project that builds on the same measuring, cutting, and finishing skills.
For a gift version, burn or paint a family name on the board before finishing, or add one extra hook and a small brass plate. Handmade entryway pieces make excellent housewarming gifts precisely because they are useful from day one, and because the maker can size them to the recipient’s wall.
Caring for Your Key Holder
Maintenance is minimal. Dust the board weekly with a dry cloth, wipe the tray out when the mail piles up, and check the hooks every few months — a hook that has worked slightly loose can be removed, given a dab of wood glue on its threads, and screwed back in for a permanent fix. If the finish dulls after a year or two of daily use, a light sanding with 220-grit paper and a fresh thin coat of topcoat will restore it in under half an hour. Keep the holder out of direct splash zones near an exterior door in wet climates; if your entryway gets damp, a polyurethane topcoat rather than wax is the better finish choice.
Why This Project Is Worth Your Afternoon
Beginner woodworking projects are sometimes dismissed as too simple to matter, but a wooden key holder earns its place. It solves a real daily annoyance, it teaches measuring, drilling, sanding, gluing, and finishing in a single build, and it produces something you will see and touch every time you leave or enter your home. It is also a project you can genuinely be proud to show visitors — and the skills it teaches transfer directly to larger builds, from shelves to benches. If you are looking for more first projects in the same spirit, our roundup of easy woodworking projects for beginners that sell is the place to browse next.
FAQ
How long does it take to build a wooden key holder for beginners?
Most beginners finish in two to three hours of active work, plus drying time for glue and finish. Cutting and assembly take about an hour, sanding and finishing take another hour, and mounting takes 15 minutes. If you let the finish cure overnight, plan the build across two days, but the hands-on time stays under three hours.
What is the best wood for a wooden key holder?
Pine is the best choice for a first key holder because it is inexpensive, light, easy to cut and drill, and takes stain well. Oak, poplar, and walnut all work with the same measurements if you want a harder, more premium-looking board, but they cost more and need sharper drill bits and a little more patience.
How far apart should key holder hooks be?
Space hooks 4 to 5 inches apart on centre for standard key rings, and 5 to 6 inches apart if you hang large fobs or several rings on one hook. On a 24-inch board, five hooks at 4-1/2 inch intervals with 3-inch end margins give every set of keys room without crowding.
How high should I mount a key holder on the wall?
Mount the board so the hooks sit at about 58 to 60 inches from the floor for adults, which is comfortable hand height for most people. In a household with children, keep the main holder at adult height and add a lower holder for children’s keys rather than mounting one holder too low for everyone.
Do I need to find a stud to mount a key holder?
You should mount into studs whenever possible, because a loaded key holder is pulled and tugged daily. Use two screws 16 inches apart into two studs for the strongest result. If no stud lines up, use heavy-duty wall anchors rated for at least 20 pounds each instead of standard picture hooks.
Can I build a wooden key holder without a power drill?
Yes, but it takes longer. You can drill pilot holes with a hand drill or bradawl, drive screw-in hooks by hand, and cut the board with a handsaw. A power drill simply makes pilot holes straighter and the whole job faster, which is why it is the one power tool most worth borrowing or buying for this project.
How do I stop the wood from splitting when I screw in hooks?
Always drill a pilot hole first, sized to about half the diameter of the hook’s threaded shaft, and keep hooks at least 2 to 3 inches from the ends of the board. Driving a hook into un-drilled pine, especially near an end, is the most common cause of splits in this project.
Final Thoughts
A wooden key holder is a small project with an outsized payoff: no more lost keys, a tidier entryway, and a handmade piece on your wall that you built yourself. Take your time with the measuring and the sanding, drill those pilot holes, and mount it into studs — and you will have an organizer that serves your household for years. When it is hanging by your door, loaded with keys and today’s mail, you will wonder why you did not build it sooner.
Recommended Products for This Project

Titebond III Ultimate Wood Glue 1413 (8 oz)
Strong, waterproof joints that hold up to daily use.

IRWIN QUICK-GRIP 8-piece Clamps Set (IRHT83220)
Hold boards steady while the glue sets for tight, square joints.

DEWALT Concealer Safety Goggles DPG82-11C
Protect your eyes from dust and chips while cutting and sanding.

DEX FIT Cru553 Level 5 Cut Resistant Gloves, Size L
Cut-resistant grip and protection for safer handling in the workshop.
3M PELTOR X4A Over-the-Head Earmuffs, NRR 27 dB
Reduce workshop noise while you saw, drill, and sand.
As an Amazon Associate, I earn from qualifying purchases.



Pingback: How to Build a Wooden Coffee Mug Rack for Beginners