
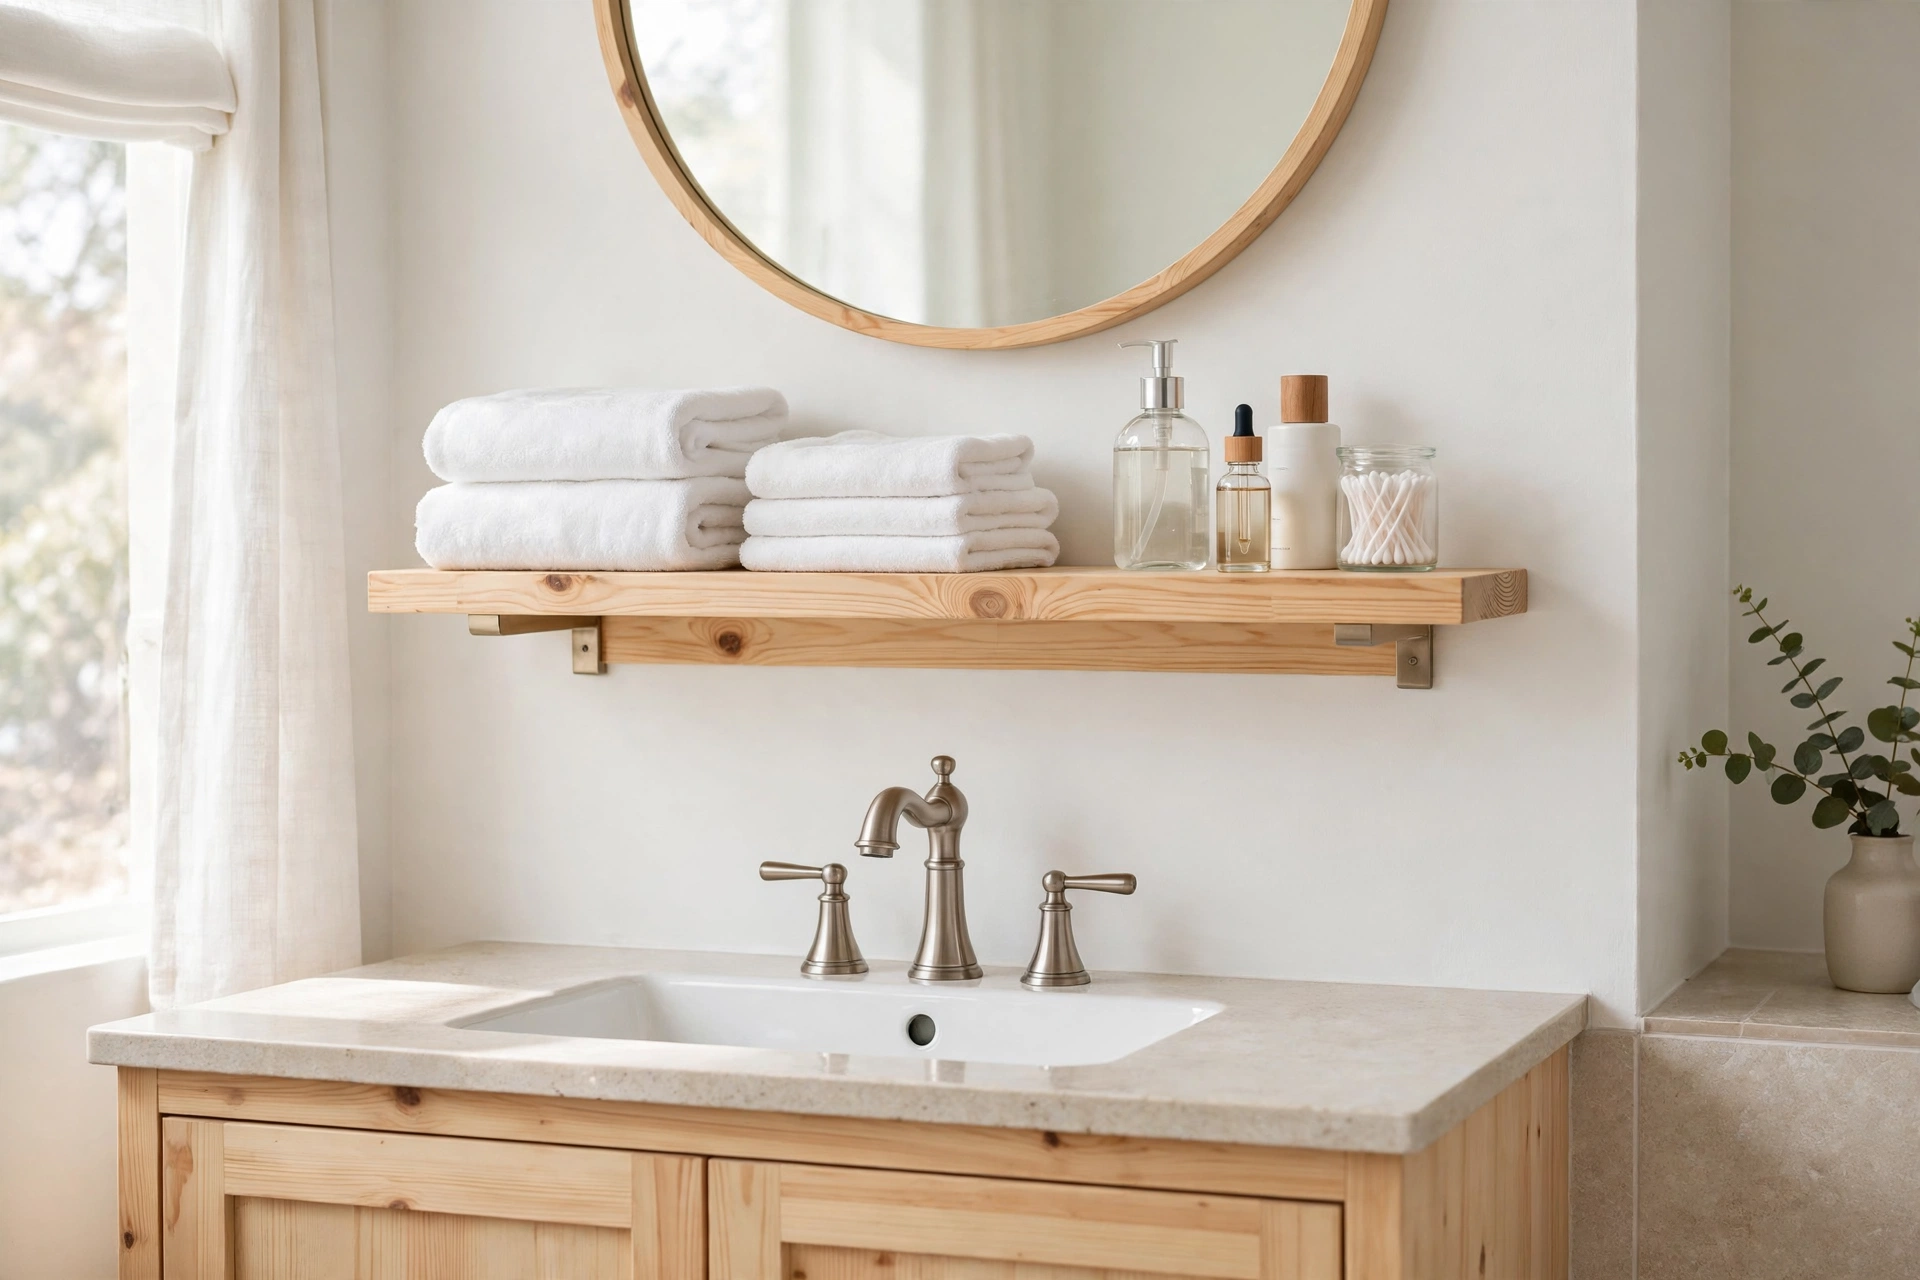
Why a Wooden Bathroom Shelf Is a Perfect First Project
A bathroom shelf is one of those small builds that changes how a room feels every single day. Towels stop living in a pile on the floor, shampoo bottles stop crowding the edge of the sink, and a bare wall suddenly looks finished. A simple wooden shelf — floating or box-style — gives you that storage in an afternoon, for a fraction of what a shop-bought one costs, and it teaches you the core skills every beginner woodworker needs: measuring, cutting straight, drilling pilot holes, finding studs, and finishing wood so it survives steam and splashes.
This guide walks you through the whole build for a measured beginner wooden bathroom shelf: a sturdy 60 cm (24 inch) floating shelf with hidden brackets, sized for towels and toiletries, plus a box-shelf variation if you want raised edges to stop bottles sliding off. You will learn how to find studs, when to use wall anchors instead, how far apart to space shelves, how much weight each mounting method safely holds, and how to seal the wood so bathroom moisture never ruins it. No dovetails, no router work, no expensive tools — just straight cuts, screws, glue, and careful measuring.
If you are brand new to woodworking, this project sits nicely alongside other beginner builds. Our guide to how to build floating shelves for beginners covers the same hidden-bracket technique in a living-room setting, and a simple bookshelf for beginners teaches the same measuring and screwing skills on a bigger scale. For a broader starting point, browse the pillar guide to easy woodworking projects for beginners that sell.
How to Build a Wooden Bathroom Shelf for Beginners: Sizing and Spacing
Before you buy a single board, decide exactly where the shelf will live and what it needs to hold. Size is the one thing you cannot easily fix later, so measure your wall twice and write the numbers down.
Where to Put It
The most useful spot is above the sink or toilet, where the wall is usually empty and the shelf is within easy reach. Above a sink, leave at least 45 cm (18 inches) of clear space between the countertop and the underside of the shelf, so you can use the tap and lean over the basin without bumping your head. Above a toilet, leave at least 60 cm (24 inches) above the tank lid, so the lid can be lifted off for maintenance. Never mount a shelf directly over a shower head or inside the splash zone of a shower — constant direct water will defeat even the best finish.
How Wide, How Deep, How High
A single shelf 60 cm (24 inches) wide suits most bathrooms. It holds two stacks of folded towels or four or five toiletry bottles without looking crowded, and it is short enough that two wall studs (usually spaced 40 cm / 16 inches apart) can support it. Wider shelves — 90 cm (36 inches) or more — look great over a double vanity, but they need a centre bracket or a stud at each end plus one in the middle, or they will sag under a load of towels.
Depth matters more than beginners expect. A shelf 15 cm (6 inches) deep holds bottles and folded hand towels. A shelf 20 cm (8 inches) deep holds rolled bath towels and is the best all-round choice for a bathroom. Go deeper than 25 cm (10 inches) and the shelf starts to jut out over the sink and bump elbows, and it collects dust on top.
Shelf Size and Spacing Guide
| Shelf Use | Width | Depth | Height Above Counter / Tank | Gap Between Two Shelves |
|---|---|---|---|---|
| Single shelf above a sink | 60 cm (24 in) | 15–20 cm (6–8 in) | 45–50 cm (18–20 in) above counter | — |
| Single shelf above a toilet | 60 cm (24 in) | 20 cm (8 in) | 60 cm (24 in) above tank lid | — |
| Double shelf above a vanity | 90 cm (36 in) | 20 cm (8 in) | 45 cm (18 in) above counter | 30–35 cm (12–14 in) |
| Small shelf in a cloakroom | 45 cm (18 in) | 15 cm (6 in) | 50 cm (20 in) above counter | — |
| Long shelf over a double vanity | 120 cm (48 in) | 20 cm (8 in) | 45 cm (18 in) above counter | 35 cm (14 in) |
A quick sanity check: measure the tallest bottle you plan to store — a tall shampoo bottle is usually about 25 cm (10 inches) — and add 5 cm (2 inches) of clearance above it. If you are fitting two shelves, the gap between them must clear that tallest bottle with room to lift it out. Measure your actual bottles, not a guess, and write the number on your cut list before you cut anything.
Choosing the Right Wood for a Bathroom
A bathroom is a damp room, and that changes the wood choice. Pine is still the best beginner option: cheap, easy to cut and screw, widely available, and it takes stain and sealer well. Buy kiln-dried pine and pick boards that are straight — sight down each board and reject any that are bowed, twisted, or cupped. For a bathroom shelf, avoid boards with large loose knots, because knots absorb moisture and can weep resin in warm, steamy air.
Poplar is a good step up if you plan to paint the shelf: it is harder than pine, has fewer knots, and paints beautifully. Cedar is naturally moisture-resistant and smells wonderful, but it is softer and more expensive, so save it for a second shelf once you know the technique. Whatever you choose, never use raw MDF in a bathroom — it swells and crumbles when it gets wet, even with paint on it. If you want a painted shelf on a budget, use moisture-resistant MDF (usually green-tinted) and seal every edge, or stick with solid pine.
The real secret to a bathroom shelf that lasts is not the species, it is the finish. Every face, edge, and end grain must be sealed, including the back edge that touches the wall, because steam finds every unsealed surface. The finishing section later in this guide covers the exact products and coats to use.
Tools and Materials You Will Need
You do not need a workshop full of machinery. This build is designed around tools most beginners already own or can borrow:
- Circular saw or mitre saw (a handsaw works, but it will take longer)
- Cordless drill/driver with drill bits, a countersink bit, and a spirit level
- Stud finder (magnetic or electronic) and a pencil
- Tape measure, speed square, and painter’s tape
- 120-grit, 180-grit, and 220-grit sandpaper, plus a sanding block
- Wood glue, clamps (at least two), and safety glasses
- Paintbrush or foam roller, or a clean cloth for oil finishes
Materials for the standard 60 cm floating shelf: one pine board 60 cm × 20 cm × 2.5 cm (24 × 8 × 1 inch) for the shelf itself, a hidden floating-shelf bracket kit rated for at least 15 kg (33 lb), screws and wall plugs or toggle bolts to suit your wall type, and a moisture-resistant finish. For the optional box-shelf version, add two short side pieces and a front lip from the same board, as shown in the cut list below.
The Exact Cut List
Every piece in this build comes from a single pine board, so there is very little waste. Cut the longest pieces first, then use the offcuts for the shorter parts. Label each piece with a pencil as you cut it — “shelf”, “lip”, “side” — because once the pieces are sanded, they all start to look alike.
| Part | Quantity | Dimensions (L × D × Thickness) | Notes |
|---|---|---|---|
| Shelf board (floating version) | 1 | 60 cm × 20 cm × 2.5 cm (24 × 8 × 1 in) | Main shelf; sand all edges round |
| Shelf board (box version) | 1 | 60 cm × 20 cm × 2.5 cm (24 × 8 × 1 in) | Same board, plus the pieces below |
| Front lip (box version only) | 1 | 60 cm × 5 cm × 1.8 cm (24 × 2 × 3/4 in) | Stops bottles sliding off the front |
| Side pieces (box version only) | 2 | 18.2 cm × 5 cm × 1.8 cm (7 1/8 × 2 × 3/4 in) | Fit between the front lip and the wall |
| Back cleat (optional, extra support) | 1 | 56 cm × 4 cm × 1.8 cm (22 × 1 1/2 × 3/4 in) | Screws to studs; shelf sits on it |
The side pieces are 18.2 cm long because they fit between the front lip and the wall: 20 cm total depth minus the 1.8 cm lip equals 18.2 cm. If you change the shelf width, only the shelf board and the front lip change — the side pieces stay the same. Work through the maths once, write the numbers on a piece of card, and keep it by the saw.
Step-by-Step Build
Step 1: Measure, Mark, and Find the Studs
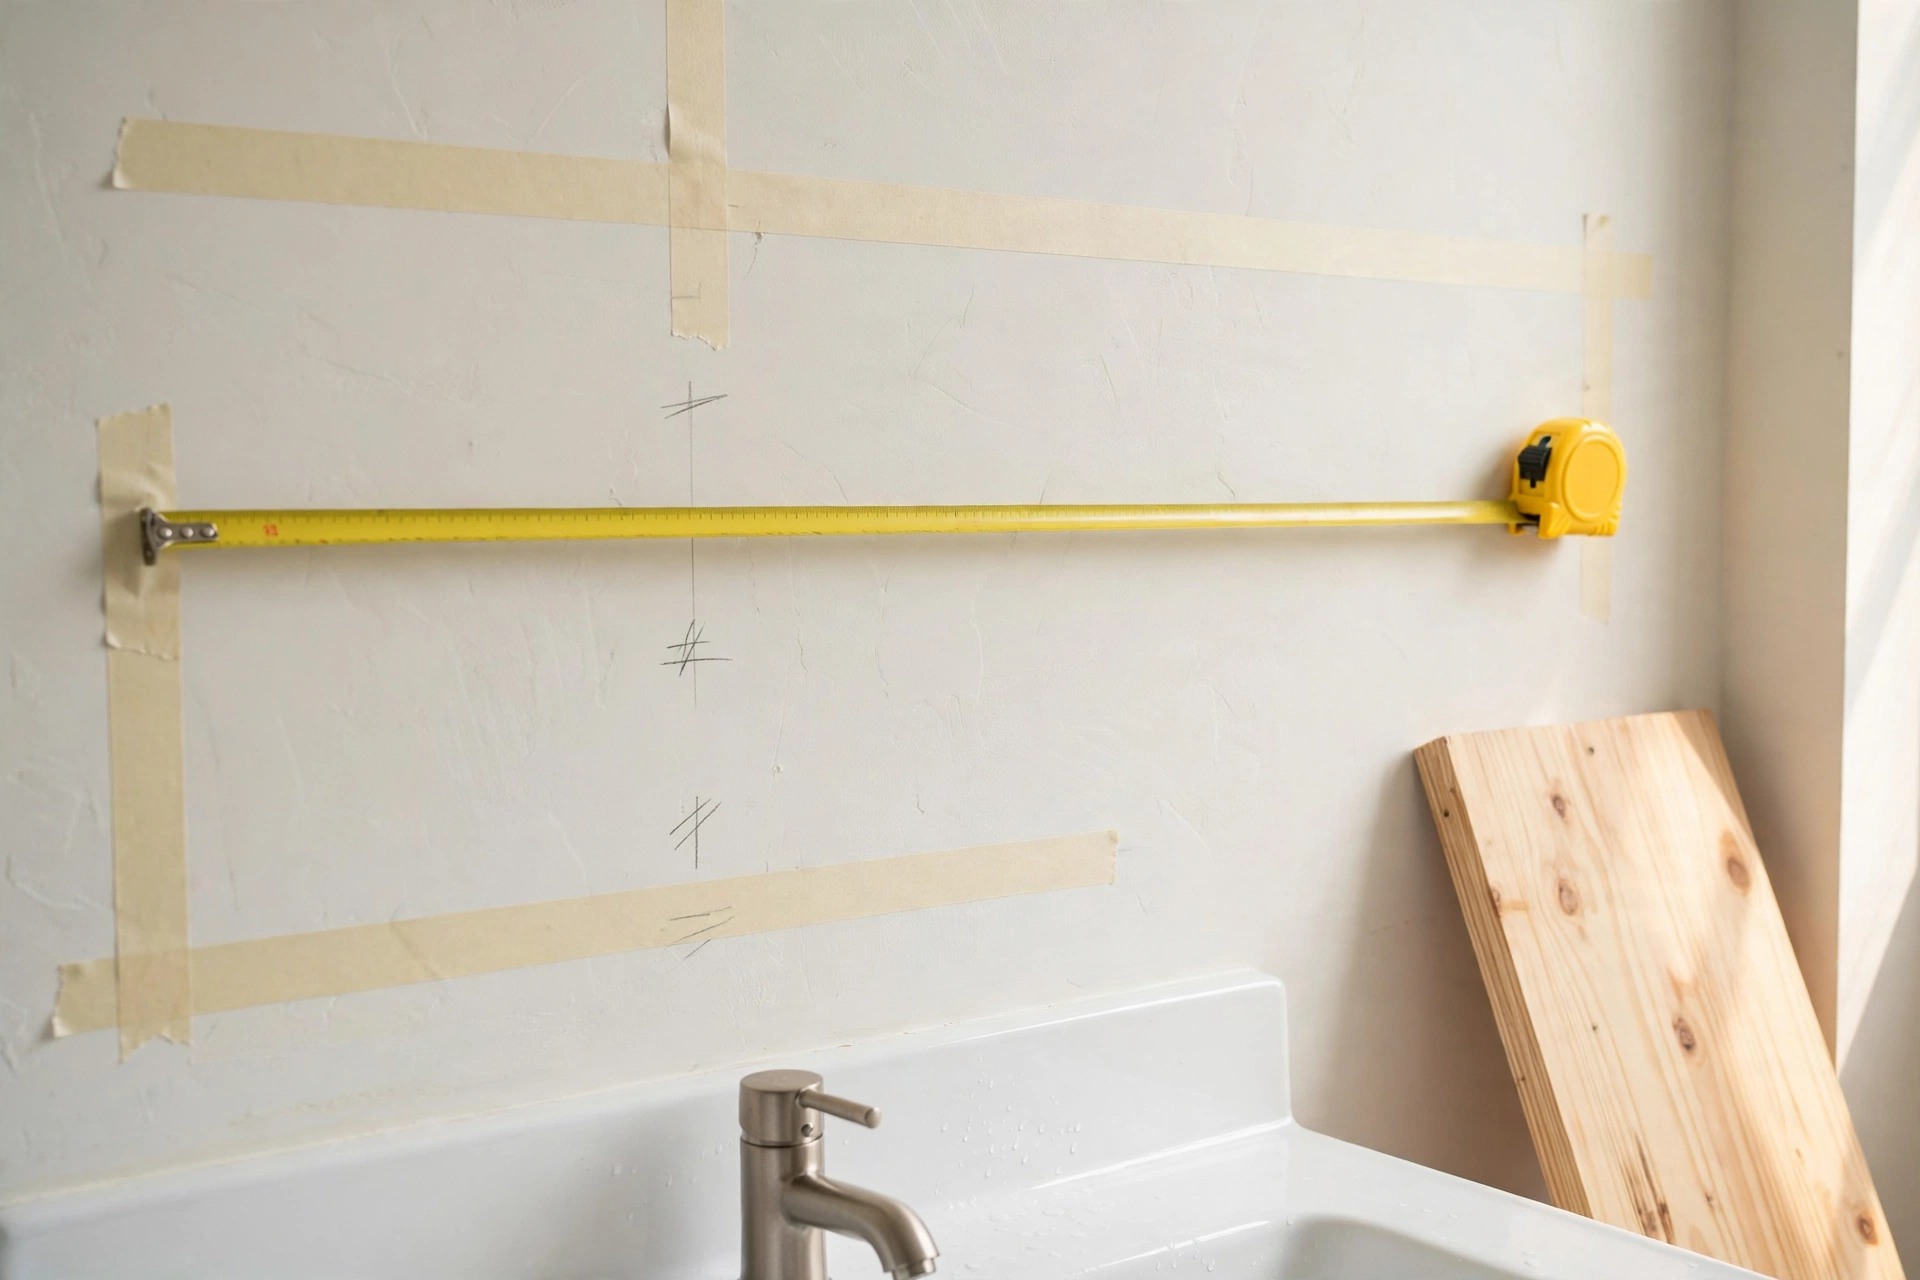
Hold the shelf board against the wall at your chosen height and mark its position lightly in pencil, with painter’s tape along the top edge so you can see the line clearly. Check the line with a spirit level — a shelf that is even 3 mm out of level over 60 cm is obvious once bottles start sliding to one end.
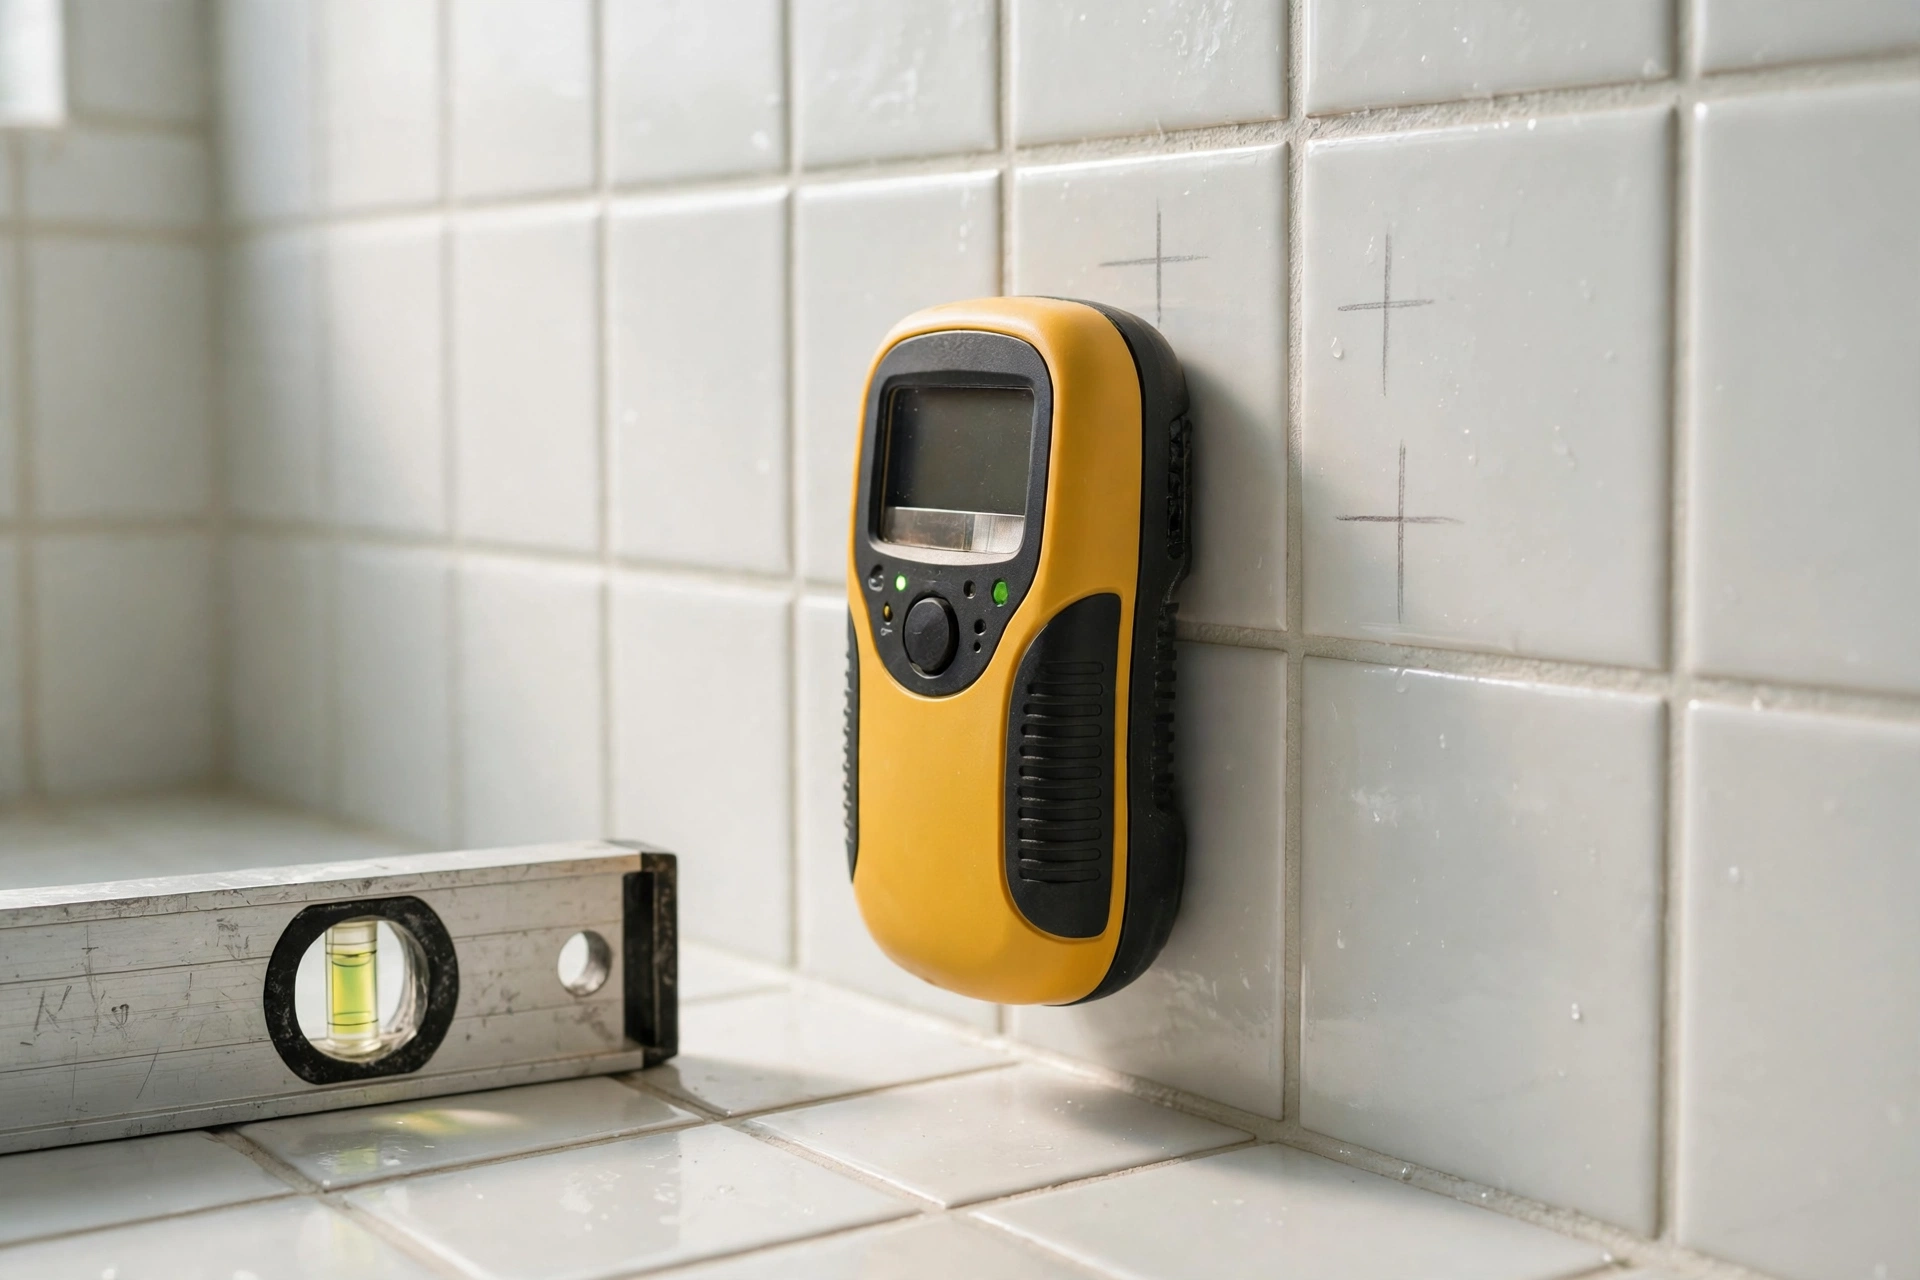
Now find the studs. Run a stud finder slowly across the wall inside the shelf’s span and mark each stud’s centre with a pencil cross, then confirm with a second pass. Studs in most homes are spaced 40 cm (16 inches) apart, so a 60 cm shelf should cross at least one stud, and ideally two. If your shelf span crosses no stud at all — common on narrow walls or where plumbing runs — do not worry: the mounting table below shows the right anchor for your wall type, but always prefer a stud whenever one is available, because a screw into solid timber holds far more than any anchor.
Mark the bracket positions on the wall before you drill anything. For a hidden-bracket kit, the rods usually sit about 10 cm (4 inches) in from each end of the shelf. Hold the bracket against the wall, level it, and mark every screw hole. Double-check the marks against the holes drilled in the back of the shelf board in Step 3 — a bracket hole that is 5 mm out means the shelf will not slide on.
Step 2: Cut the Boards
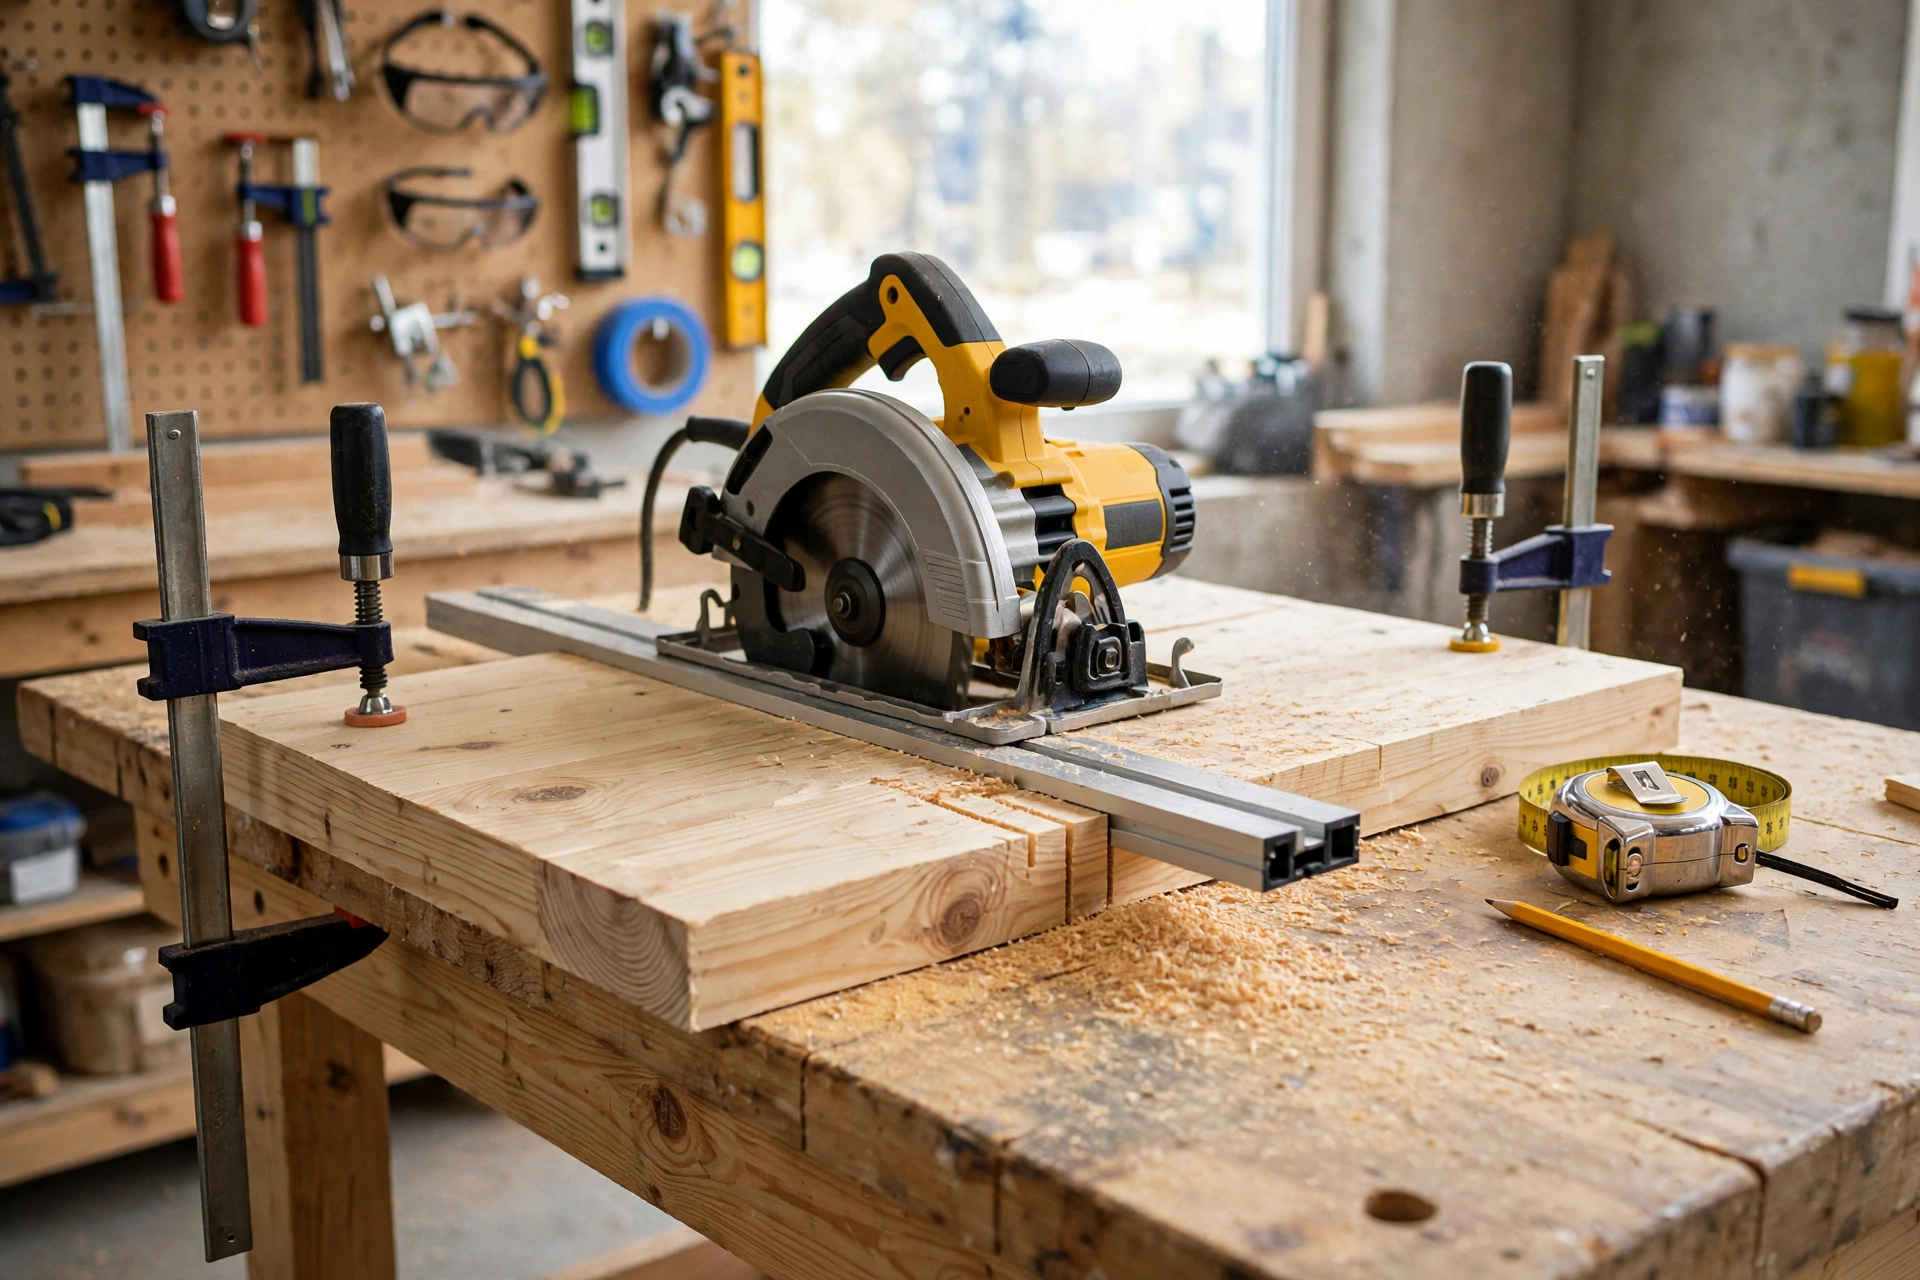
Clamp the pine board firmly to your workbench and cut the shelf board to 60 cm using a circular saw with a straight-edge guide or a mitre saw. A clean, square cut matters more here than in most projects, because the cut ends of a floating shelf are fully visible. Take your time, let the saw reach full speed before it touches the wood, and support the offcut so it does not splinter as the cut finishes.
If you are building the box version, cut the front lip and side pieces from the same board. Sand every piece before assembly: 120-grit to remove saw marks, then 180-grit, then a final pass with 220-grit, always sanding with the grain. Round over the front edge of the shelf slightly — a 2 mm round-over is enough — because a sharp front edge chips easily and feels uncomfortable when you reach for a towel. Wipe away the dust with a tack cloth or a slightly damp rag and let the wood dry completely before finishing.
Step 3: Assemble the Box Version (Optional) and Drill for the Brackets
For the floating version, there is no assembly: the shelf is a single board. For the box version, glue and screw the front lip to the front edge of the shelf board, and the two side pieces between the lip and the back edge, with pilot holes and countersunk screws from underneath so no screw heads show on top. Check the corners with a speed square and clamp the assembly for at least 30 minutes while the glue sets.
Next, drill the bracket holes in the back edge of the shelf board. Most hidden-bracket kits need two holes about 10 cm (4 inches) deep, drilled dead straight into the centre of the board’s back edge. Use a drill guide or a square clamped to the board as a visual reference — a hole drilled at an angle means the shelf will sit crooked on the rods. Test-fit the shelf on the bracket rods before you touch the wall: it should slide on snugly and sit level. If it is tight, sand the holes lightly; never force it.
Step 4: Mount the Brackets to the Wall
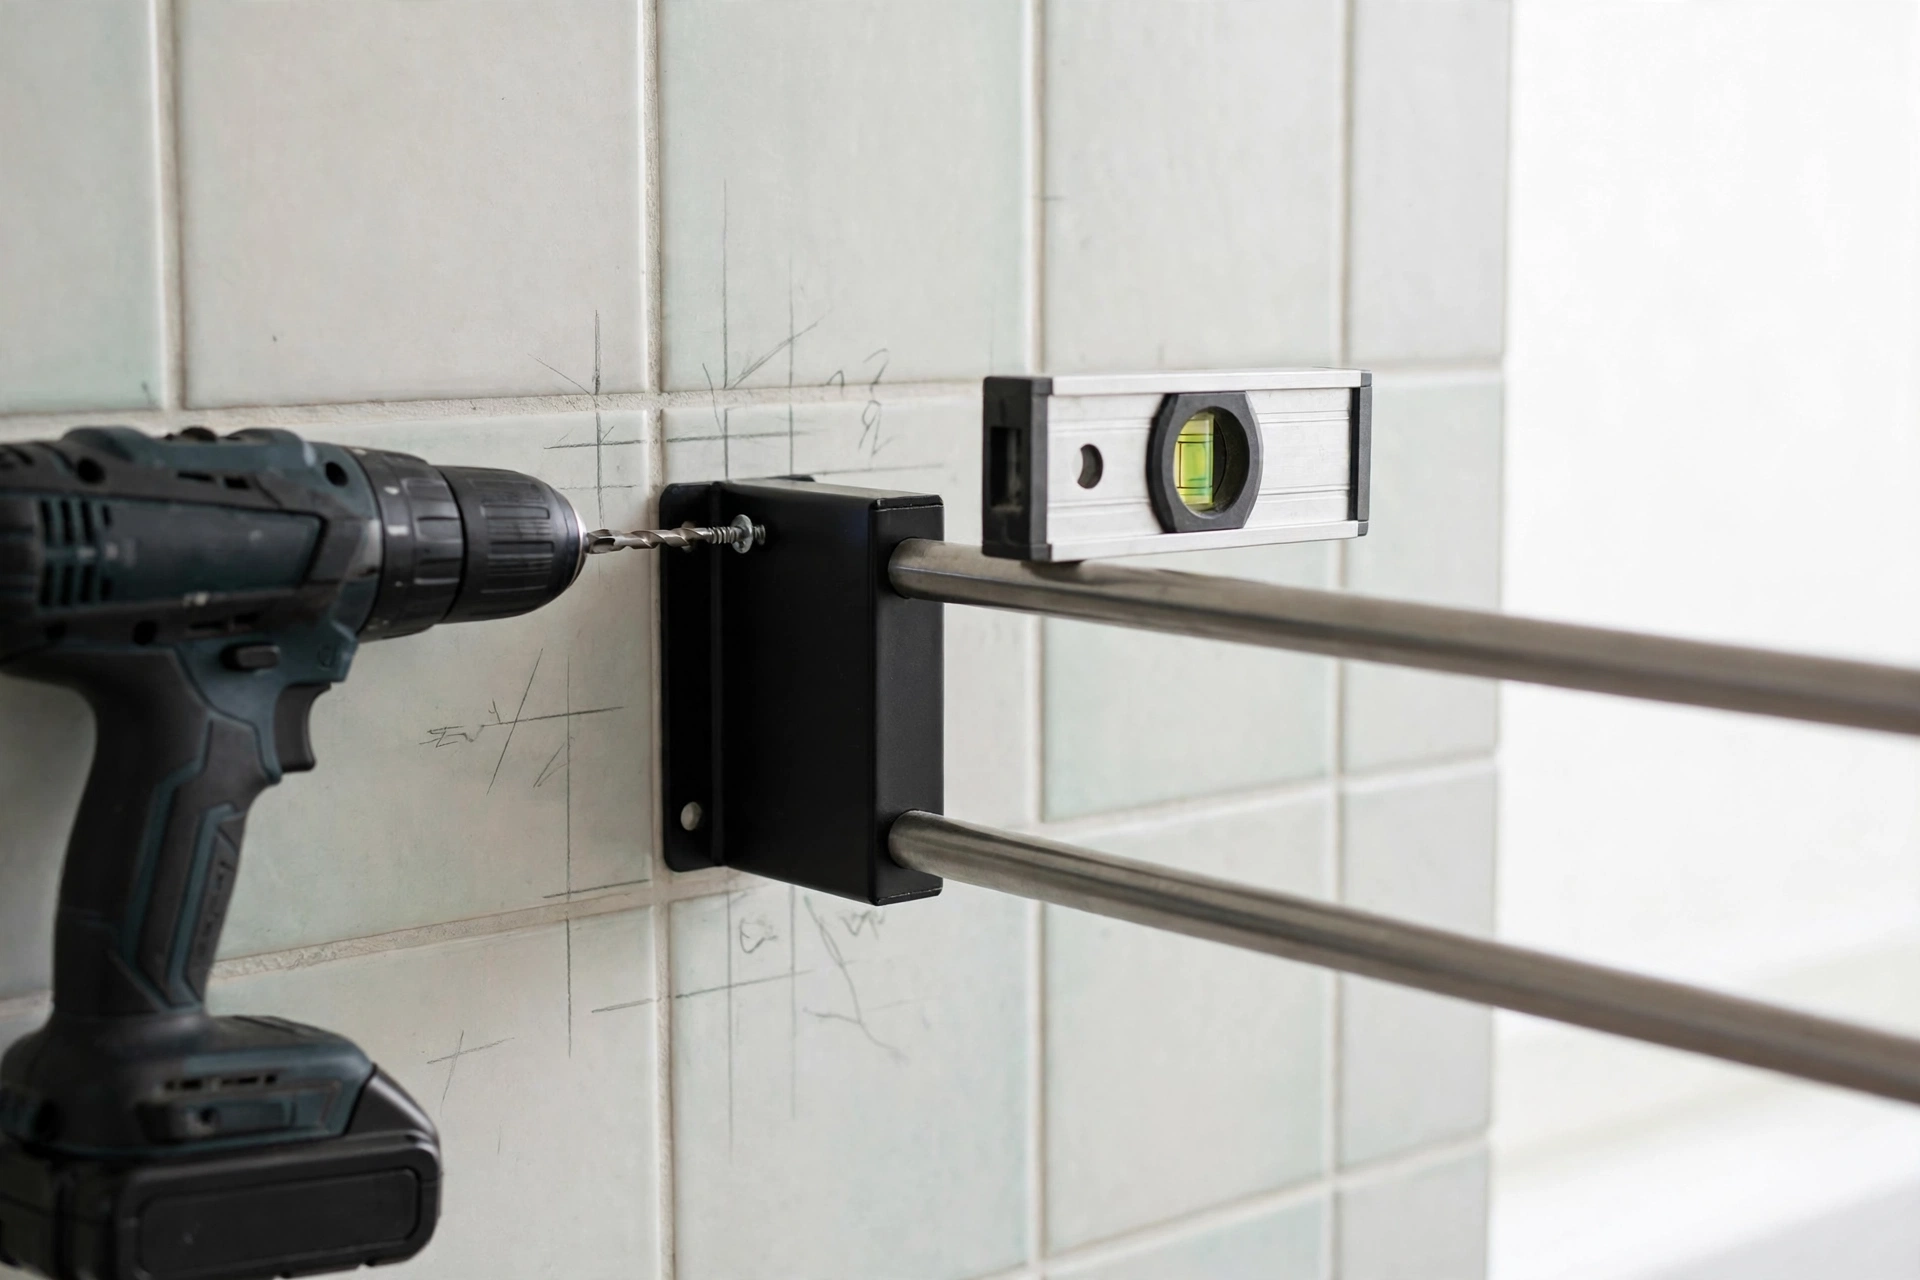
Drill the marked holes in the wall. Into a stud, drill a pilot hole slightly smaller than the screw and drive the screw straight in — no plug needed. Into plasterboard (drywall) with no stud behind it, use the anchor your wall needs from the table below. Into tile, drill through the tile with a carbide or diamond bit at low speed, without hammer action, and stop the moment you feel the bit break through the tile so you do not crack it; then fit the anchor behind it.
| Wall Type | Best Fixing | What It Holds (per fixing) | Notes |
|---|---|---|---|
| Timber stud | 50 mm (2 in) wood screw, no plug | 20–25 kg (44–55 lb) | Always the first choice |
| Plasterboard, light load | Self-drilling plasterboard anchor | 8–10 kg (18–22 lb) | Fine for toiletries only |
| Plasterboard, heavy load | Toggle bolt / spring toggle | 15–20 kg (33–44 lb) | Needs a 12 mm hole; best anchor option |
| Solid brick or block | 50 mm screw + brown wall plug | 20–30 kg (44–66 lb) | Drill with masonry bit, no hammer on tile |
| Ceramic tile over plasterboard | Diamond bit + toggle bolt | 15–20 kg (33–44 lb) | Drill tile slowly, no hammer action |
| Tile over solid wall | Diamond bit + wall plug | 20–30 kg (44–66 lb) | Seal the hole with silicone after fitting |
Fit the bracket to the wall with its screws or anchors, then check it with a spirit level in both directions before you tighten everything fully. A bracket that is level now means a shelf that is level later — and a bracket that is out by a few millimetres will be obvious every time you look at the shelf. Tighten the fixings firmly, but do not over-tighten a plasterboard anchor or you will crush the board behind it.
Step 5: Fit, Level, and Load the Shelf
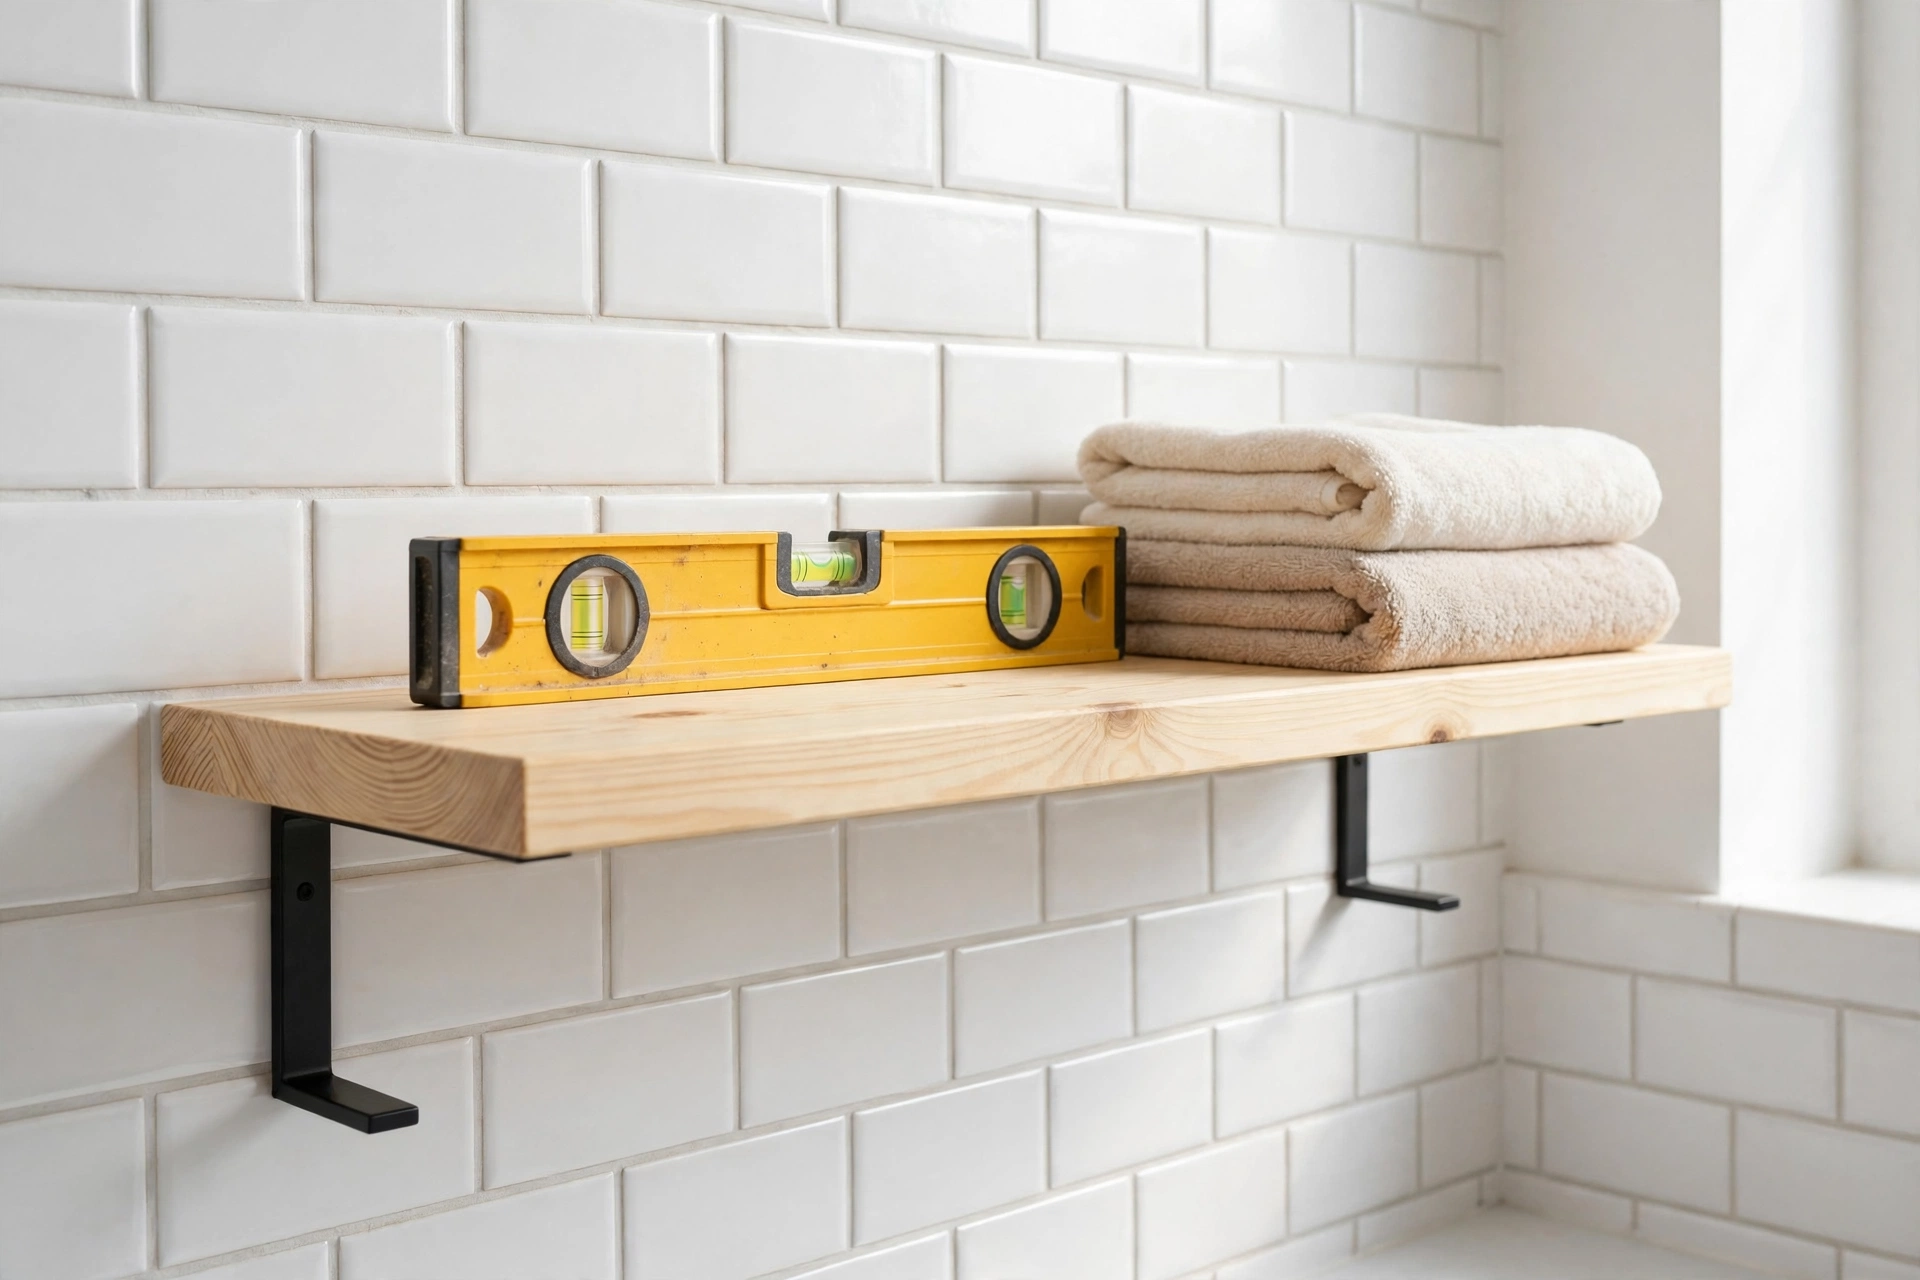
Slide the shelf onto the bracket rods and push it firmly back to the wall. Most hidden-bracket kits have small grub screws underneath that lock the shelf to the rods — tighten these now, but gently, because over-tightening can split the board from the inside. Place a spirit level on top of the shelf and check it front-to-back as well as side-to-side. If one side sits low, loosen the bracket screws slightly, pack a thin washer behind the low side, and retighten.
Before you load the shelf, test it: press down firmly on the front edge with both hands. It should feel completely solid, with no dip and no movement at the wall. If it moves, the bracket is not fixed into enough solid material — take the shelf off and add a second fixing into a stud or a toggle bolt before you trust it with anything breakable.
Load the shelf sensibly. Put the heaviest items — full shampoo bottles, folded bath towels — closest to the wall, and light items like cotton buds and small jars at the front edge. Weight at the front edge levers the bracket out of the wall, so the same shelf holds far more when the load sits against the wall than when it hangs off the front.
How Much Weight Can a Bathroom Shelf Hold?
The honest answer is: it depends on the fixing, not the wood. A 2.5 cm pine board will not break under any normal bathroom load — the bracket and the wall give way first. Use this table as a guide for the standard 60 cm shelf in this guide, with two fixings, and stay well under the limit.
| Mounting Method | Safe Working Load (60 cm shelf) | Good For |
|---|---|---|
| Two screws into studs | 20–25 kg (44–55 lb) | Towels, toiletries, plants, books |
| One stud + one toggle bolt | 15–20 kg (33–44 lb) | Towels and full toiletry bottles |
| Two toggle bolts, no stud | 12–15 kg (26–33 lb) | Hand towels and light toiletries |
| Two plasterboard anchors only | 6–8 kg (13–18 lb) | Light toiletries only — no towels |
| Adhesive strips / no-drill hooks | 1–2 kg (2–4 lb) | Not recommended for a wooden shelf |
As a rule of thumb, a stack of four folded bath towels weighs about 3–4 kg (7–9 lb), and five full toiletry bottles weigh about 2–3 kg (4–7 lb). A shelf mounted into two studs therefore holds a generous bathroom load with a wide safety margin, while a shelf held only by plasterboard anchors is already near its limit with a few towels on it. When in doubt, add a fixing or move the shelf to a stud — it takes ten minutes and it is the difference between a shelf that lasts years and one that falls down at 2 a.m.
Finishing: The Moisture-Resistant Seal That Makes It Last
Finishing is the step that decides whether your bathroom shelf looks good in a year or starts to blacken, swell, and peel. Our full guide to sanding and finishing wood for beginners covers the techniques in detail, but the bathroom essentials are simple.
First, sand the finished shelf through the grits — 120, then 180, then 220 — and always sand with the grain, never across it. Wipe the surface with a slightly damp cloth to raise the grain, let it dry, and give it one final light pass with 220-grit. This extra step is what makes a finish feel silky instead of rough.
For a bathroom, use three coats of water-based polyurethane, satin or semi-gloss, lightly sanded with 220-grit between coats. Polyurethane forms a hard, waterproof film that shrugs off steam and splashes, dries fast, and barely smells — ideal for a small room. A hardwax oil is a good alternative for a natural look, but it needs re-oiling every year or so in a steamy bathroom, while polyurethane lasts for years untouched. Whichever finish you choose, seal every surface: top, bottom, ends, and the back edge against the wall. The underside and end grain absorb moisture fastest, and they are the parts beginners most often forget.
Let the final coat cure for a full 24 hours before you mount and load the shelf. A finish that feels dry to the touch is not yet fully hard, and a damp towel left on a half-cured shelf will leave a mark that never comes out.
Common Mistakes to Avoid
- Skipping the stud finder. Screwing into plasterboard alone, without an anchor, is the most common reason bathroom shelves fall down. Find the stud or fit a proper anchor, every time.
- Mounting the shelf too low over the sink. Less than 45 cm (18 inches) above the counter means bumped heads and no room to use the tap properly.
- Using raw MDF or unsealed pine. Both swell and stain in steam. Seal every face, including the back edge and the underside.
- Drilling bracket holes at an angle. A crooked hole means a crooked shelf. Use a drill guide and test-fit before you mount the bracket.
- Overloading the front edge. Heavy items belong against the wall. Weight at the front levers the bracket out of the wall.
- Drilling tile with hammer action. It cracks tiles. Use a diamond bit, low speed, no hammer, and let the bit do the work.
- Rushing the finish. A finish that has not cured will mark the first time a damp towel touches it. Give it 24 hours.
- Forgetting the spirit level. A shelf that is 3 mm out over 60 cm is obvious once bottles slide to one end. Level the bracket, then level the shelf.
How Much Does It Cost?
Prices vary by region and timber merchant, but a wooden bathroom shelf is one of the cheapest useful builds you can make. A comparable shop-bought floating shelf costs £25–£60 ($30–$75), so the savings are real even after buying the bracket kit and finish.
- Pine board (60 cm shelf): £5–£10 / $6–$12 — the biggest single cost after the bracket
- Hidden floating-shelf bracket kit: £8–£15 / $10–$18 — buy one rated for at least 15 kg (33 lb)
- Screws, wall plugs, and toggle bolts: £4–£8 / $5–$10 — buy a mixed pack, you will reuse it
- Sandpaper, wood glue, and finish: £10–£15 / $12–$18 — one tin of polyurethane covers several projects
- Total: roughly £27–£48 / $33–$58 — about half the price of a comparable shop shelf, and you already own the tools for the next one
If you already own sandpaper, glue, and finish, you can realistically build this shelf for the price of the board and bracket kit alone. Check your offcut bin first: the front lip and side pieces of the box version are short pieces that often come free from earlier projects.
Frequently Asked Questions
How high should a bathroom shelf be above the sink?
Leave at least 45 cm (18 inches) between the countertop and the underside of the shelf, and 50 cm (20 inches) is more comfortable if you have the wall height. Measure the tallest bottle you use daily and add 5 cm (2 inches) of clearance above it. Above a toilet, leave at least 60 cm (24 inches) above the tank lid so the lid can be removed.
Can I put a wooden shelf in a bathroom?
Yes, as long as every surface is sealed with a moisture-resistant finish such as three coats of water-based polyurethane. Solid pine, poplar, or cedar all work well. Never use raw MDF in a bathroom — it swells when wet. Keep the shelf out of the direct shower splash zone and wipe up standing water rather than letting it pool.
How do I find studs in a bathroom wall?
Use an electronic stud finder and scan slowly across the wall, marking each stud centre with a pencil. Studs are usually 40 cm (16 inches) apart. Confirm by tapping — a stud sounds solid, while hollow plasterboard sounds empty — and be aware that bathroom walls often have pipes, so drill slowly and stop if you hit unexpected resistance. Never drill blindly where water pipes may run.
What is the best way to mount a shelf on a tiled bathroom wall?
Drill through the tile with a carbide or diamond bit at low speed and without hammer action, then fit a toggle bolt if there is plasterboard behind the tile, or a wall plug if the wall is solid. Put a small piece of painter’s tape over the drilling spot first — it stops the bit wandering and helps prevent chips. Seal around the fixing with a dab of silicone once it is fitted.
How much weight can a floating bathroom shelf hold?
Two screws into studs safely hold 20–25 kg (44–55 lb) on a 60 cm shelf — plenty for towels and toiletries. Two toggle bolts in plasterboard hold about 12–15 kg (26–33 lb). Plasterboard anchors alone hold only 6–8 kg (13–18 lb). Always load the heaviest items closest to the wall.
Do I need a bracket, or can I use a wooden cleat instead?
A wooden cleat — a strip of wood screwed to the wall that the shelf sits on — is a fine, cheap alternative and is actually stronger than many hidden brackets, because the screws go straight into studs along the whole length of the cleat. The trade-off is looks: a cleat is visible under the shelf, while a hidden bracket is invisible. For a rustic bathroom, a cleat looks intentional and attractive; for a clean modern look, use the hidden bracket.
Final Thoughts
A wooden bathroom shelf is a small build with an outsized payoff: it teaches you measuring, cutting, stud-finding, anchoring, and moisture-proof finishing, and it gives you storage you will use every morning. Start with the standard 60 cm floating shelf, mount it into studs wherever you can, and do not skip the three coats of polyurethane — that finish is what turns a weekend project into a permanent fixture.
When you are ready for your next build, try a wooden magazine holder for beginners for the same bathroom, or go bigger with the easy woodworking projects for beginners that sell pillar guide, which has a whole cluster of beginner-friendly ideas that build on exactly these skills.
Recommended Products for This Project
As an Amazon Associate, I earn from qualifying purchases.

DEWALT 20V MAX Drill/Driver Kit DCD771C2
Compact drill and driver for pilot holes, wall anchors, and mounting a bathroom shelf.
FIXLINK Deck Screws #8 x 2 Inch, 310-Pack
Rust-resistant coated screws that hold the shelf together and anchor it to the wall.
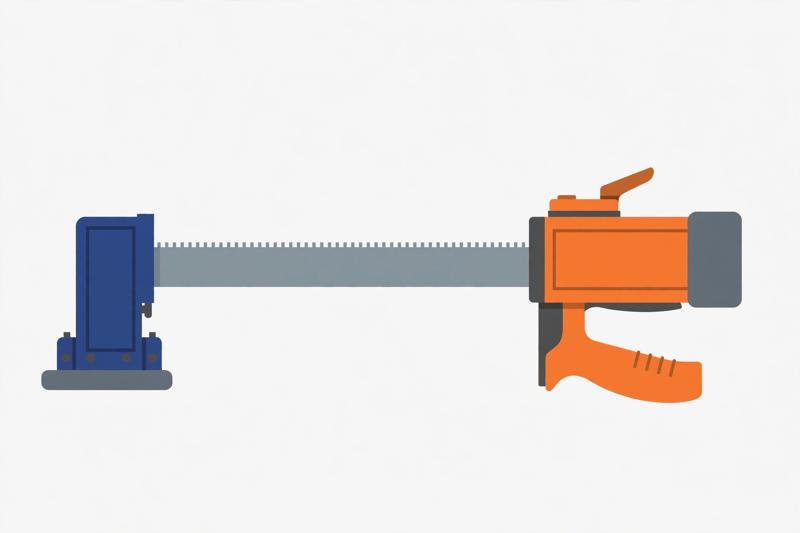
IRWIN QUICK-GRIP One-Handed Bar Clamp, Heavy-Duty, 12-Inch (1964712)
Strong one-handed clamping that holds shelf glue-ups square while they cure.

DEWALT Random Orbit Sander DWE6423, 5-Inch
Smooth, swirl-free sanding for shelf boards before finishing.
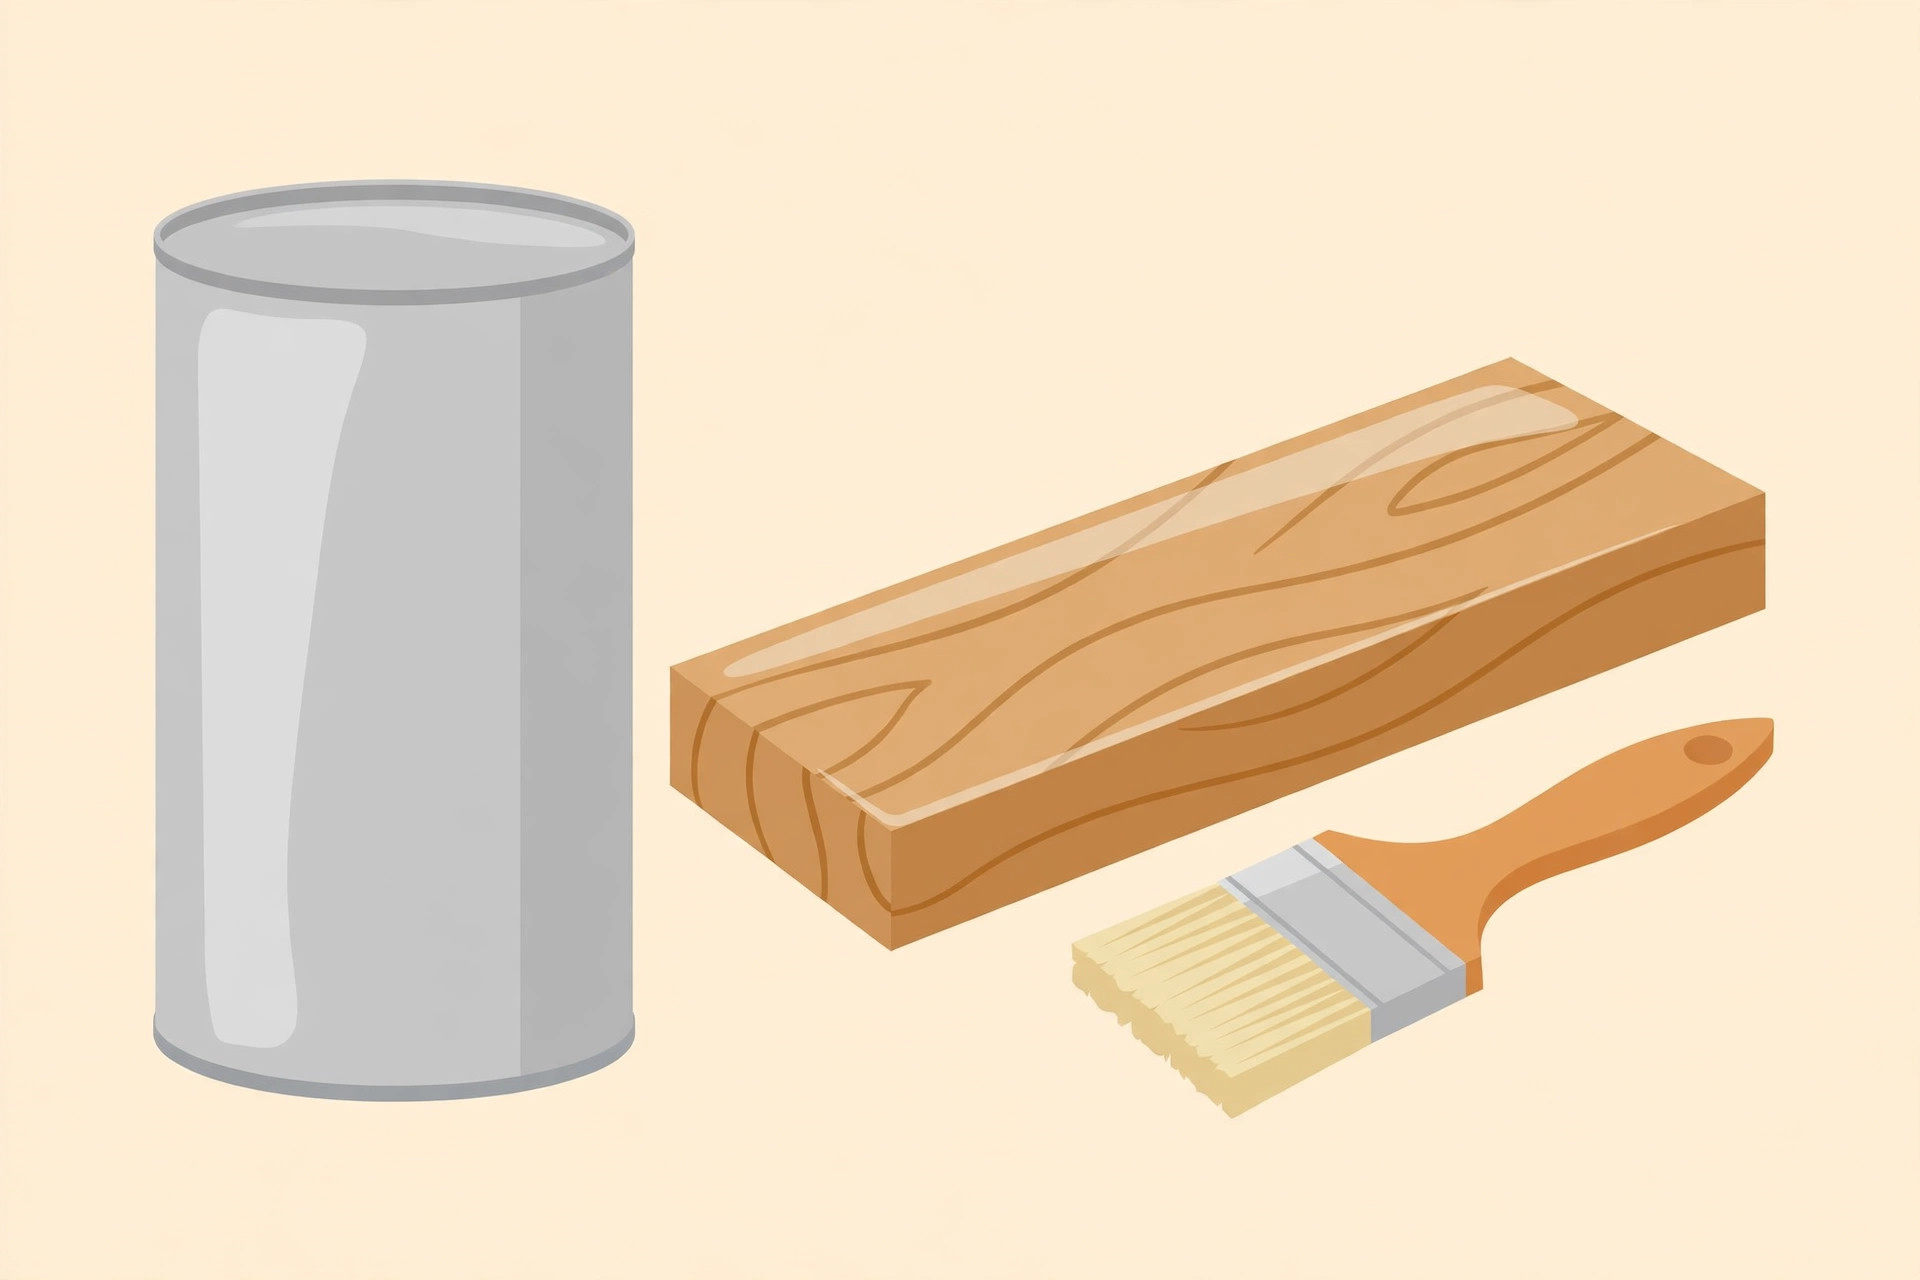
Minwax Water Based Helmsman Spar Urethane, Gallon, Gloss (710500000)
Clear moisture-resistant finish that protects bathroom wood from steam and splashes.


