
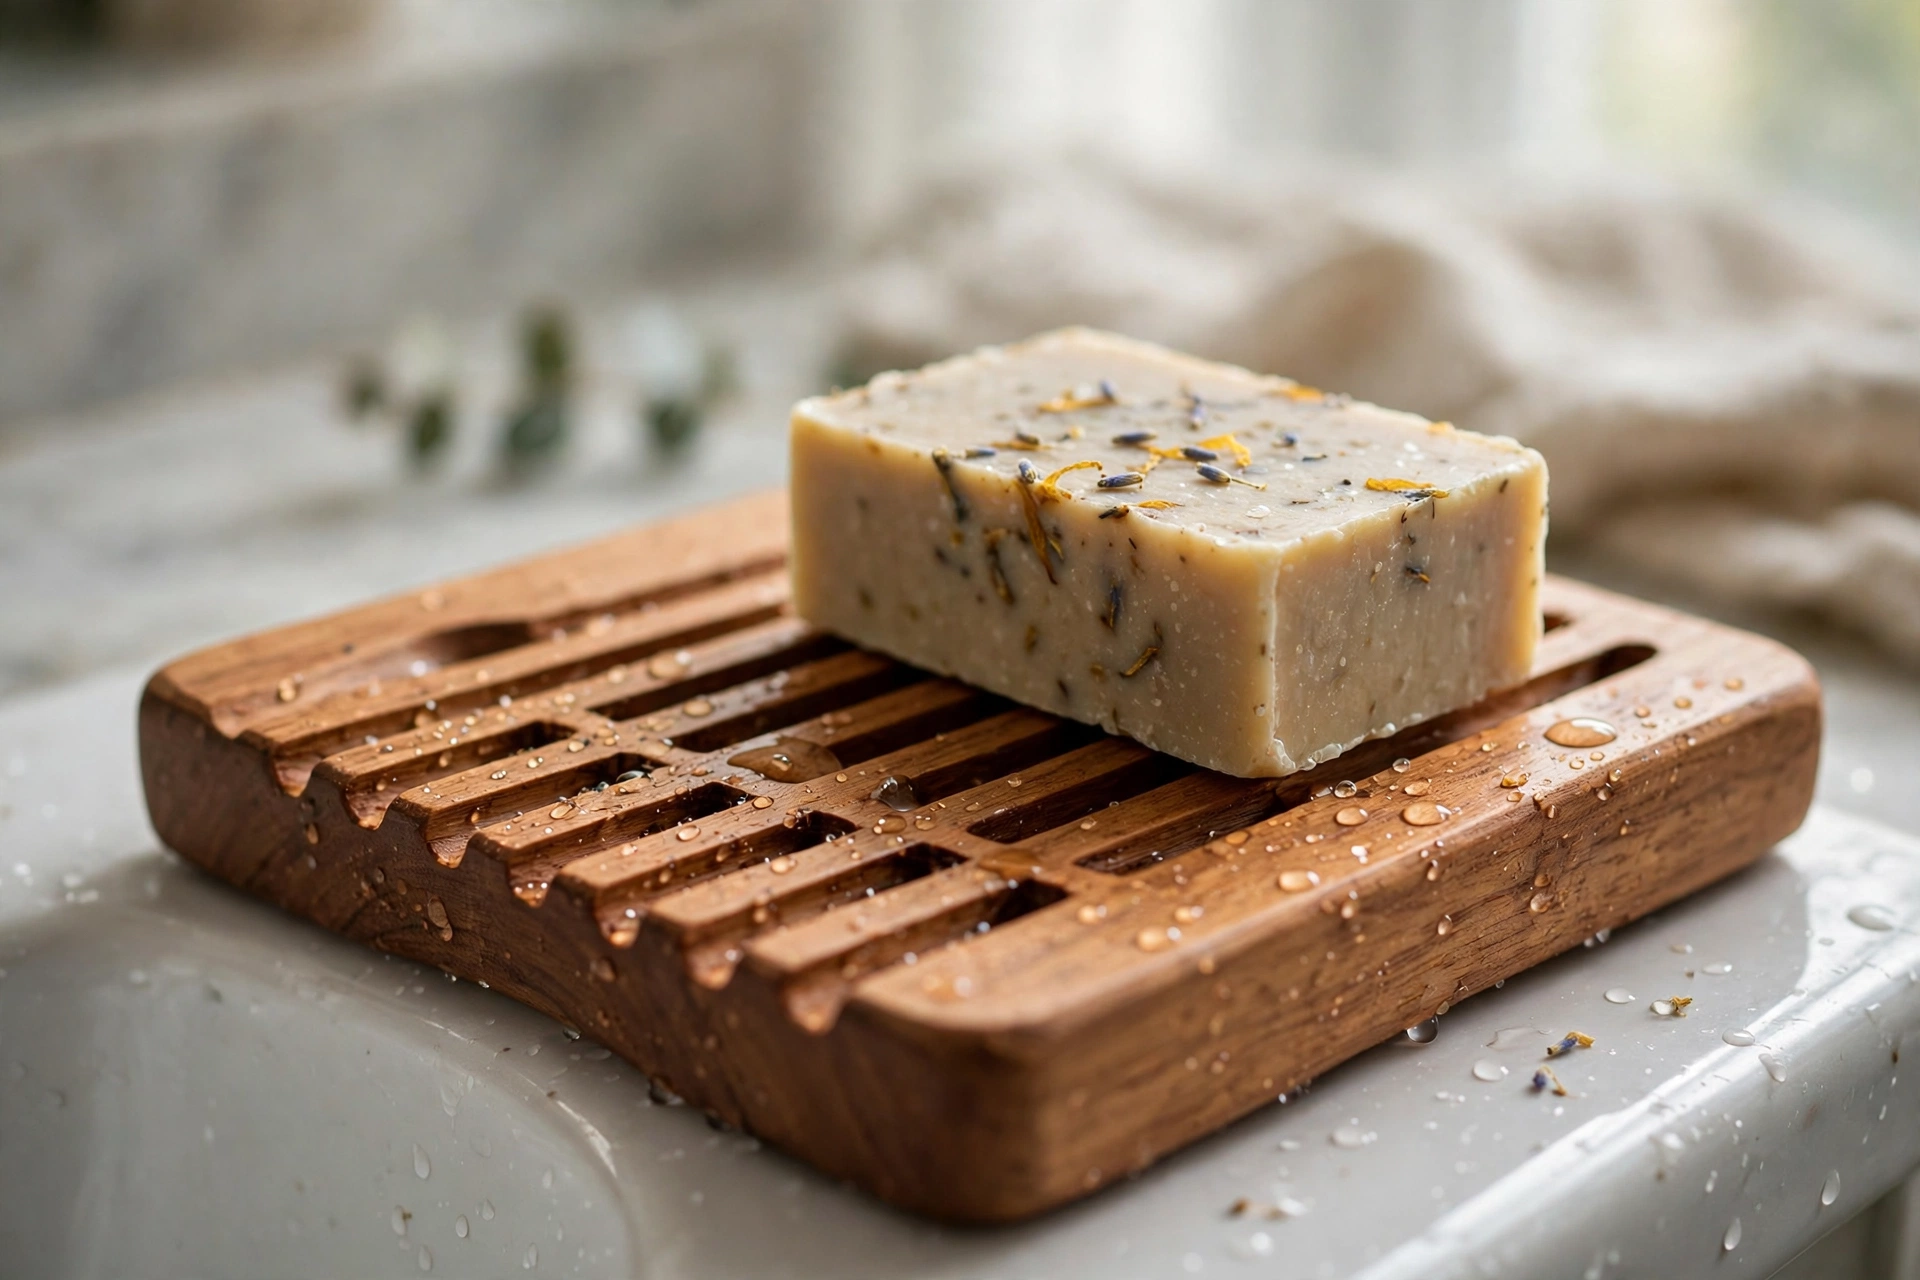
A bar of soap sitting in a puddle of water turns into a slimy, mushy mess within days — and that is exactly the problem a wooden soap dish solves. A well-made soap dish lifts the bar out of the water, lets it drain, and lets air circulate around it, so the soap stays firm, lasts much longer, and never sticks to the sink. It is also one of the kindest first projects a beginner woodworker can take on: one small block of wood, a handful of straight cuts, no joints to learn, and a finished object you will use every single day.
This guide shows you how to make a wooden soap dish for beginners in two versions. The first is a solid-block dish with drainage channels carved into the top — the classic, quickest build. The second is a slatted dish, made from thin strips with gaps between them, which drains even better and looks beautiful on a modern bathroom shelf. Both use the same basic skills, the same tools, and the same finish, so you can build either one in an afternoon, or build both and compare them.
You will also learn which woods survive constant wet use (and which ones rot within months), how to size the dish for a standard bar of soap, and how to finish it with a food-safe, waterproof oil so it can live happily beside a sink for years. If you are just starting out, this project sits perfectly alongside other small beginner builds — if you enjoyed making easy wooden coasters for beginners, a soap dish uses almost identical skills on a slightly bigger piece of wood. And if you want more ideas in the same spirit, the pillar guide to easy woodworking projects for beginners that sell is full of them.
Why a Wooden Soap Dish Is a Great First Project
A soap dish is the ideal beginner project for four reasons. First, it is small, so it is cheap — one offcut of hardwood is often enough, and many timber merchants will give you a suitable piece for a few pounds or dollars. Second, it needs no joints: there is no dovetail, no mortise and tenon, no glue-up to worry about. Third, it is forgiving: a soap dish that is 5 mm (about 1/4 inch) too long or too short still works perfectly. And fourth, mistakes are cheap and fast to fix — if a channel goes crooked, you simply sand it out and try again.
It also teaches you real skills that transfer directly to bigger projects. You will practise measuring and marking accurately, making clean straight cuts, carving shallow channels with a chisel or router, sanding through the grits, and applying a waterproof oil finish. Those are the same core skills behind a wooden cutting board for beginners, which is the natural next project once your soap dish is done — same wood, same finish, just a bigger board.
There is also a practical payoff most beginner projects do not offer: you will use this thing twice a day, every day. A soap dish that drains properly makes a standard bar of soap last noticeably longer, because the bar dries out between uses instead of dissolving in its own puddle. Over a year, that alone pays for the wood several times over.
How to Make a Wooden Soap Dish for Beginners: Sizing It Right
A soap dish only works if it fits the soap. Most standard bars of soap measure around 9–10 cm long (3.5–4 inches), 6 cm wide (2.4 inches), and 2.5–3 cm thick (about 1 inch). Your dish needs to be comfortably bigger than the bar in every direction, with a raised rim or a recessed top so the bar cannot slide off when it is wet and slippery.
The standard size in this guide is 13 cm long × 9 cm wide × 2.5 cm thick (about 5 × 3.5 × 1 inches). That fits a full-size bar with room to spare, and it is big enough to feel substantial on a sink without taking over the whole basin edge. If you use oversized handmade soap bars, scale up to the large size in the table below. For a guest bathroom or a travel soap dish, the small size is lighter and easier to carry.
| Dish Size | Length × Width | Thickness | Best For |
|---|---|---|---|
| Small (travel / guest) | 10 cm × 7 cm (4 × 2.75 in) | 2 cm (3/4 in) | Small or half-size bars, travel kits |
| Standard (this guide) | 13 cm × 9 cm (5 × 3.5 in) | 2.5 cm (1 in) | Full-size bars of soap |
| Large (handmade bars) | 15 cm × 10 cm (6 × 4 in) | 2.5 cm (1 in) | Oversized handmade or artisan soap |
| Double (two bars) | 20 cm × 10 cm (8 × 4 in) | 2.5 cm (1 in) | Two bars, or soap plus a shampoo bar |
A quick rule of thumb: measure your favourite bar of soap, then add 3 cm (about 1 1/4 inches) to the length and width. That gives the bar a comfortable border all round, leaves room for drainage channels, and keeps the dish from looking cramped. Always measure the soap before you cut — soap bars vary more than you would expect, and a dish that is 1 cm too short is a dish that never gets used.
Choosing the Best Wood for a Soap Dish
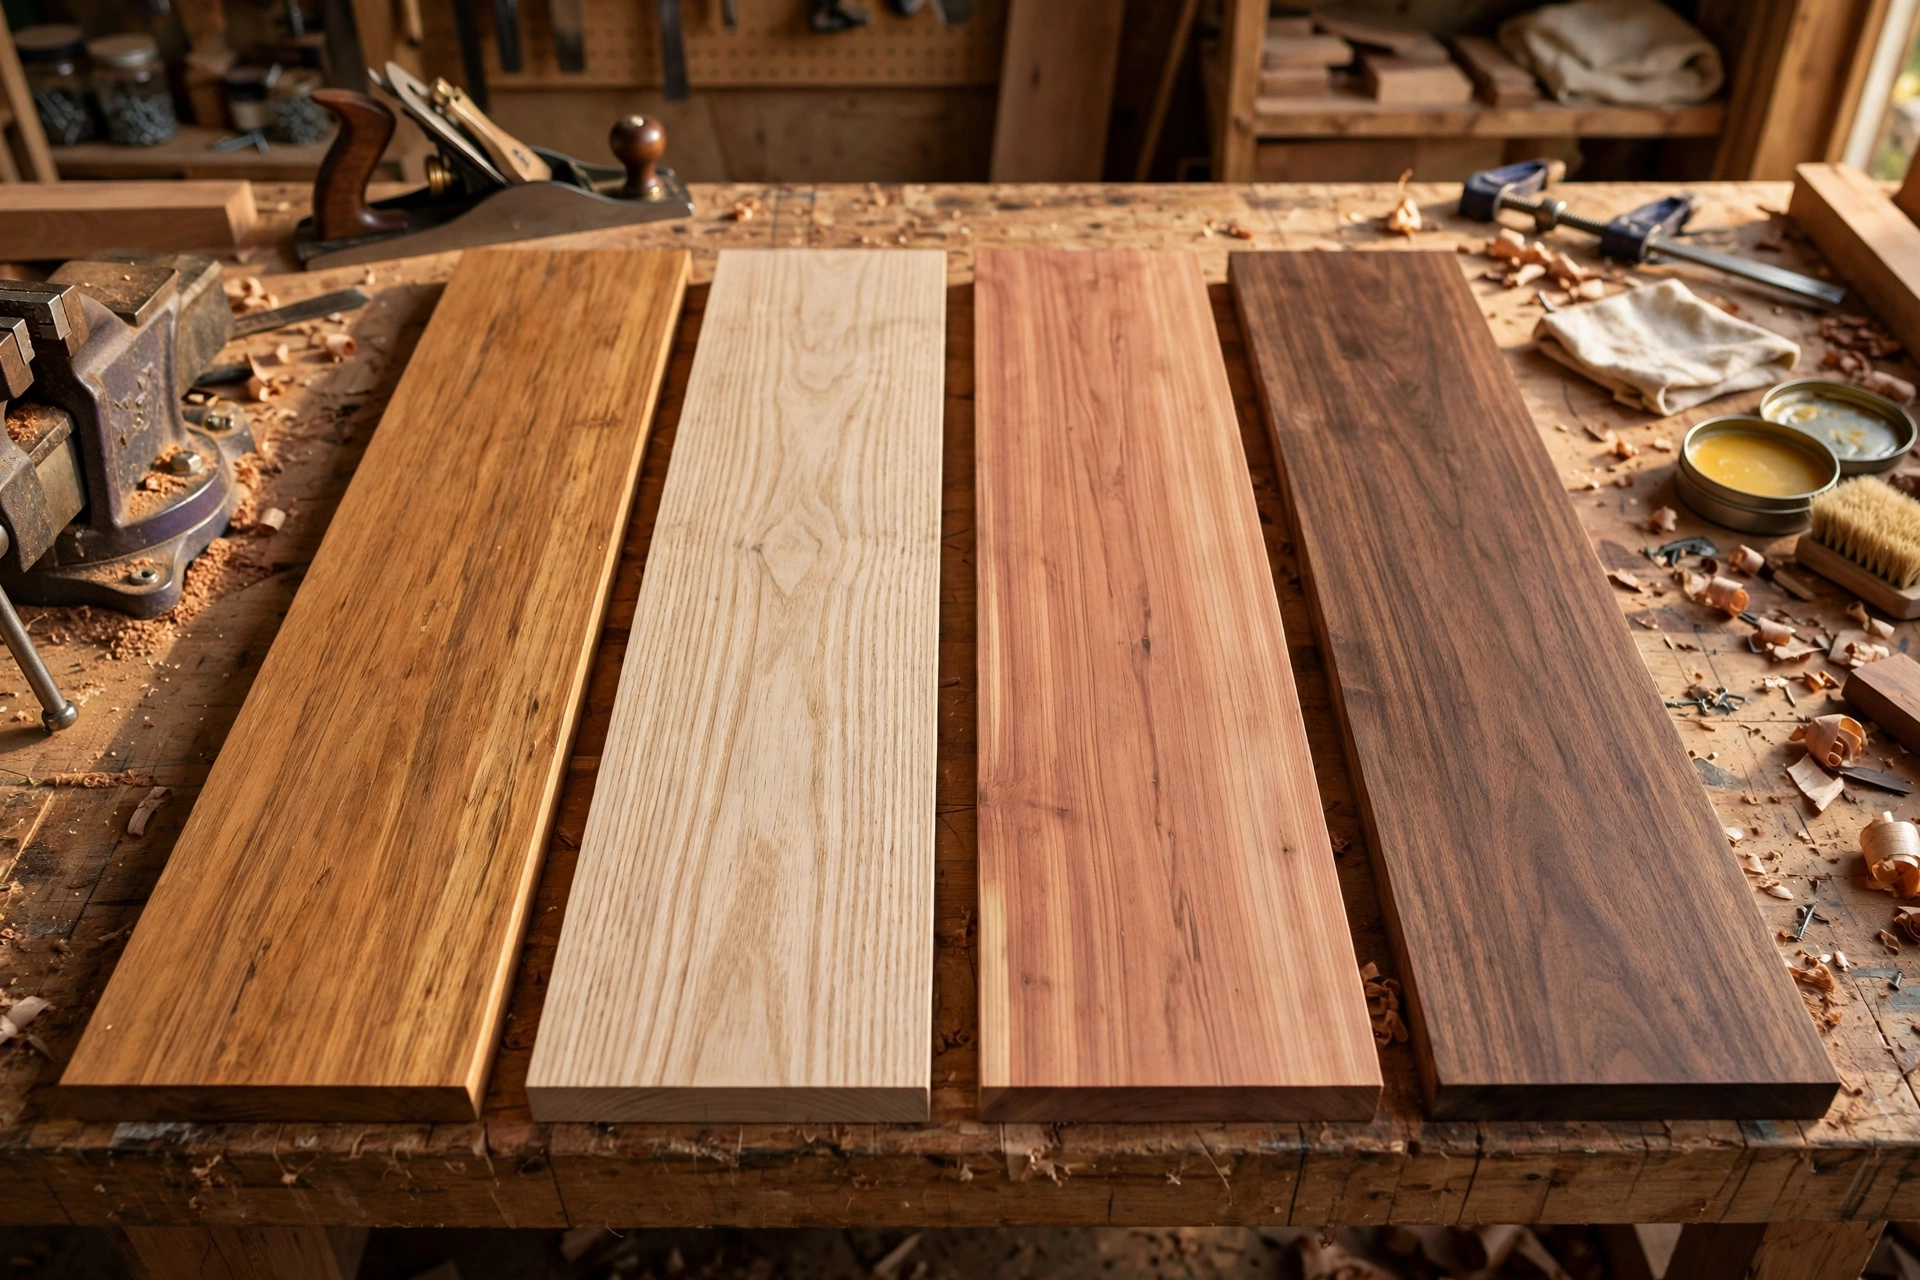
A soap dish lives in the wettest spot in the house, so wood choice matters more here than in almost any other beginner project. The wood must resist rot, handle constant wetting and drying, and not split when it gets soaked. That rules out most softwoods: pine and spruce soak up water, swell, crack, and grow mould in a bathroom within a few months.
The winners are dense, naturally oily hardwoods. Teak is the gold standard — it is the wood used for boat decks precisely because it shrugs off water — but it is expensive and hard to find in small pieces. White oak is an excellent and much cheaper alternative: its grain is closed, so water cannot wick deep into the wood. Cedar is naturally rot-resistant and smells wonderful, though it is softer and dents more easily. Walnut and maple also work well if they are sealed properly, and bamboo (technically a grass) is a popular eco-friendly choice that handles water surprisingly well.
| Wood Species | Water Resistance | Workability | Cost | Best For |
|---|---|---|---|---|
| Teak | Excellent — naturally oily | Medium; blunts tools faster | High | The longest-lasting soap dish |
| White oak | Very good — closed grain | Medium | Medium | Best all-round beginner choice |
| Cedar | Very good — natural oils | Easy; soft and light | Low–medium | Aromatic, lightweight dishes |
| Walnut | Good if well sealed | Easy; beautiful grain | Medium–high | A premium-looking gift dish |
| Hard maple | Good if well sealed | Medium; hard and dense | Medium | Smooth, pale, modern look |
| Bamboo | Good — dense fibres | Medium; splinters easily | Low | Eco-friendly, budget option |
| Pine / spruce | Poor — rots in wet use | Very easy | Very low | Avoid for soap dishes |
Whatever species you choose, buy a board at least 2.5 cm (1 inch) thick for the solid-block version, and check it for cracks and knots before you start — a knot in the middle of a drainage channel will crumble when you chisel it.
Tools and Materials You Will Need
This is a hand-tool-friendly project. You can build a soap dish with nothing more than a saw, a chisel, and sandpaper — no table saw, no router table, and no workshop full of machinery required.
- Handsaw, coping saw, or mitre saw for cutting the block to size
- Pencil, tape measure, and a combination square for marking
- Chisel (12 mm / 1/2 inch) and a mallet, or a router with a straight bit, for the drainage channels
- Drill with a 6–8 mm (1/4–5/16 inch) bit, for drainage holes if you choose them
- 120-grit, 180-grit, and 220-grit sandpaper, plus a sanding block
- Wood glue and two small clamps (slatted version only)
- Safety glasses and a dust mask
- Food-safe mineral oil, tung oil, or a hardwax oil for the finish, plus a clean lint-free cloth
Materials for one standard solid-block dish: a single hardwood block 13 cm × 9 cm × 2.5 cm (5 × 3.5 × 1 inches). For the slatted version, you need five slats 13 cm × 1.5 cm × 8 mm (5 × 5/8 × 5/16 inches) and two cross rails 9 cm × 2 cm × 8 mm (3.5 × 3/4 × 5/16 inches). One small bottle of mineral oil will finish a dozen soap dishes, so the per-dish cost is tiny.
The Cut List
Cut the longest pieces first, then use the offcuts for the smaller parts. Mark every piece with a pencil so you do not mix up the slats and the rails later.
- Solid-block dish (×1): 13 cm × 9 cm × 2.5 cm (5 × 3.5 × 1 in) — the whole dish from one block
- Slats, slatted version (×5): 13 cm × 1.5 cm × 8 mm (5 × 5/8 × 5/16 in) — leave a 4 mm (5/32 in) gap between slats
- Cross rails, slatted version (×2): 9 cm × 2 cm × 8 mm (3.5 × 3/4 × 5/16 in) — glued under the slats, near each end
- Optional feet (×4): 1.5 cm × 1.5 cm × 5 mm (5/8 × 5/8 × 3/16 in) — small pads glued to the base corners
Step-by-Step Build: The Solid-Block Dish with Drainage Channels
Step 1: Cut the Block to Size
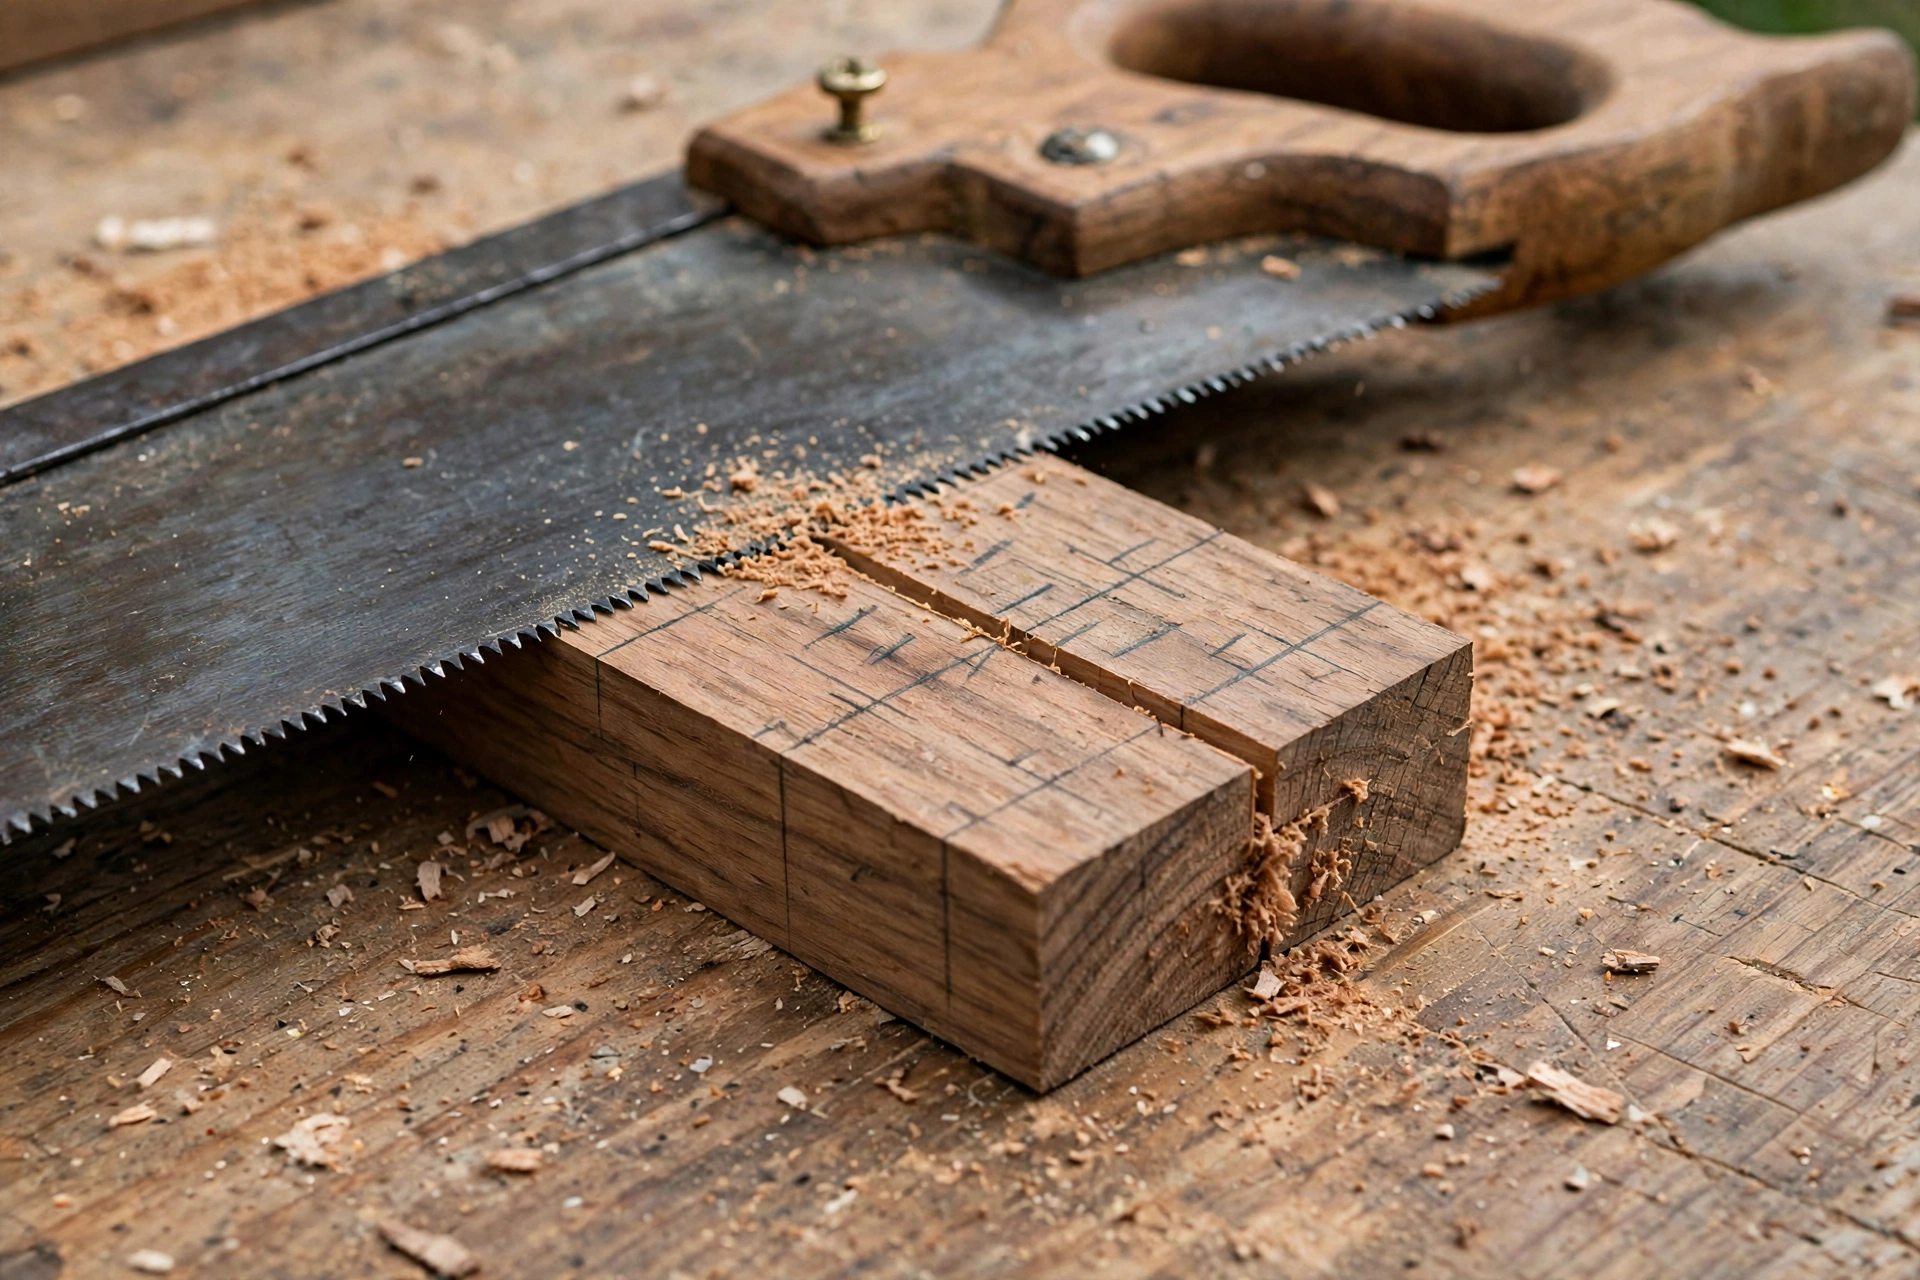
Mark your block at 13 cm × 9 cm (5 × 3.5 inches) with a pencil and a square, and cut it with a mitre saw or a handsaw. A mitre saw gives the cleanest, squarest cut, but a sharp handsaw and a steady hand work fine — just cut slightly outside the line and sand back to it. Check the corners with a square: if the block is out of square now, the channels will look crooked later.
Step 2: Mark and Cut the Drainage Channels
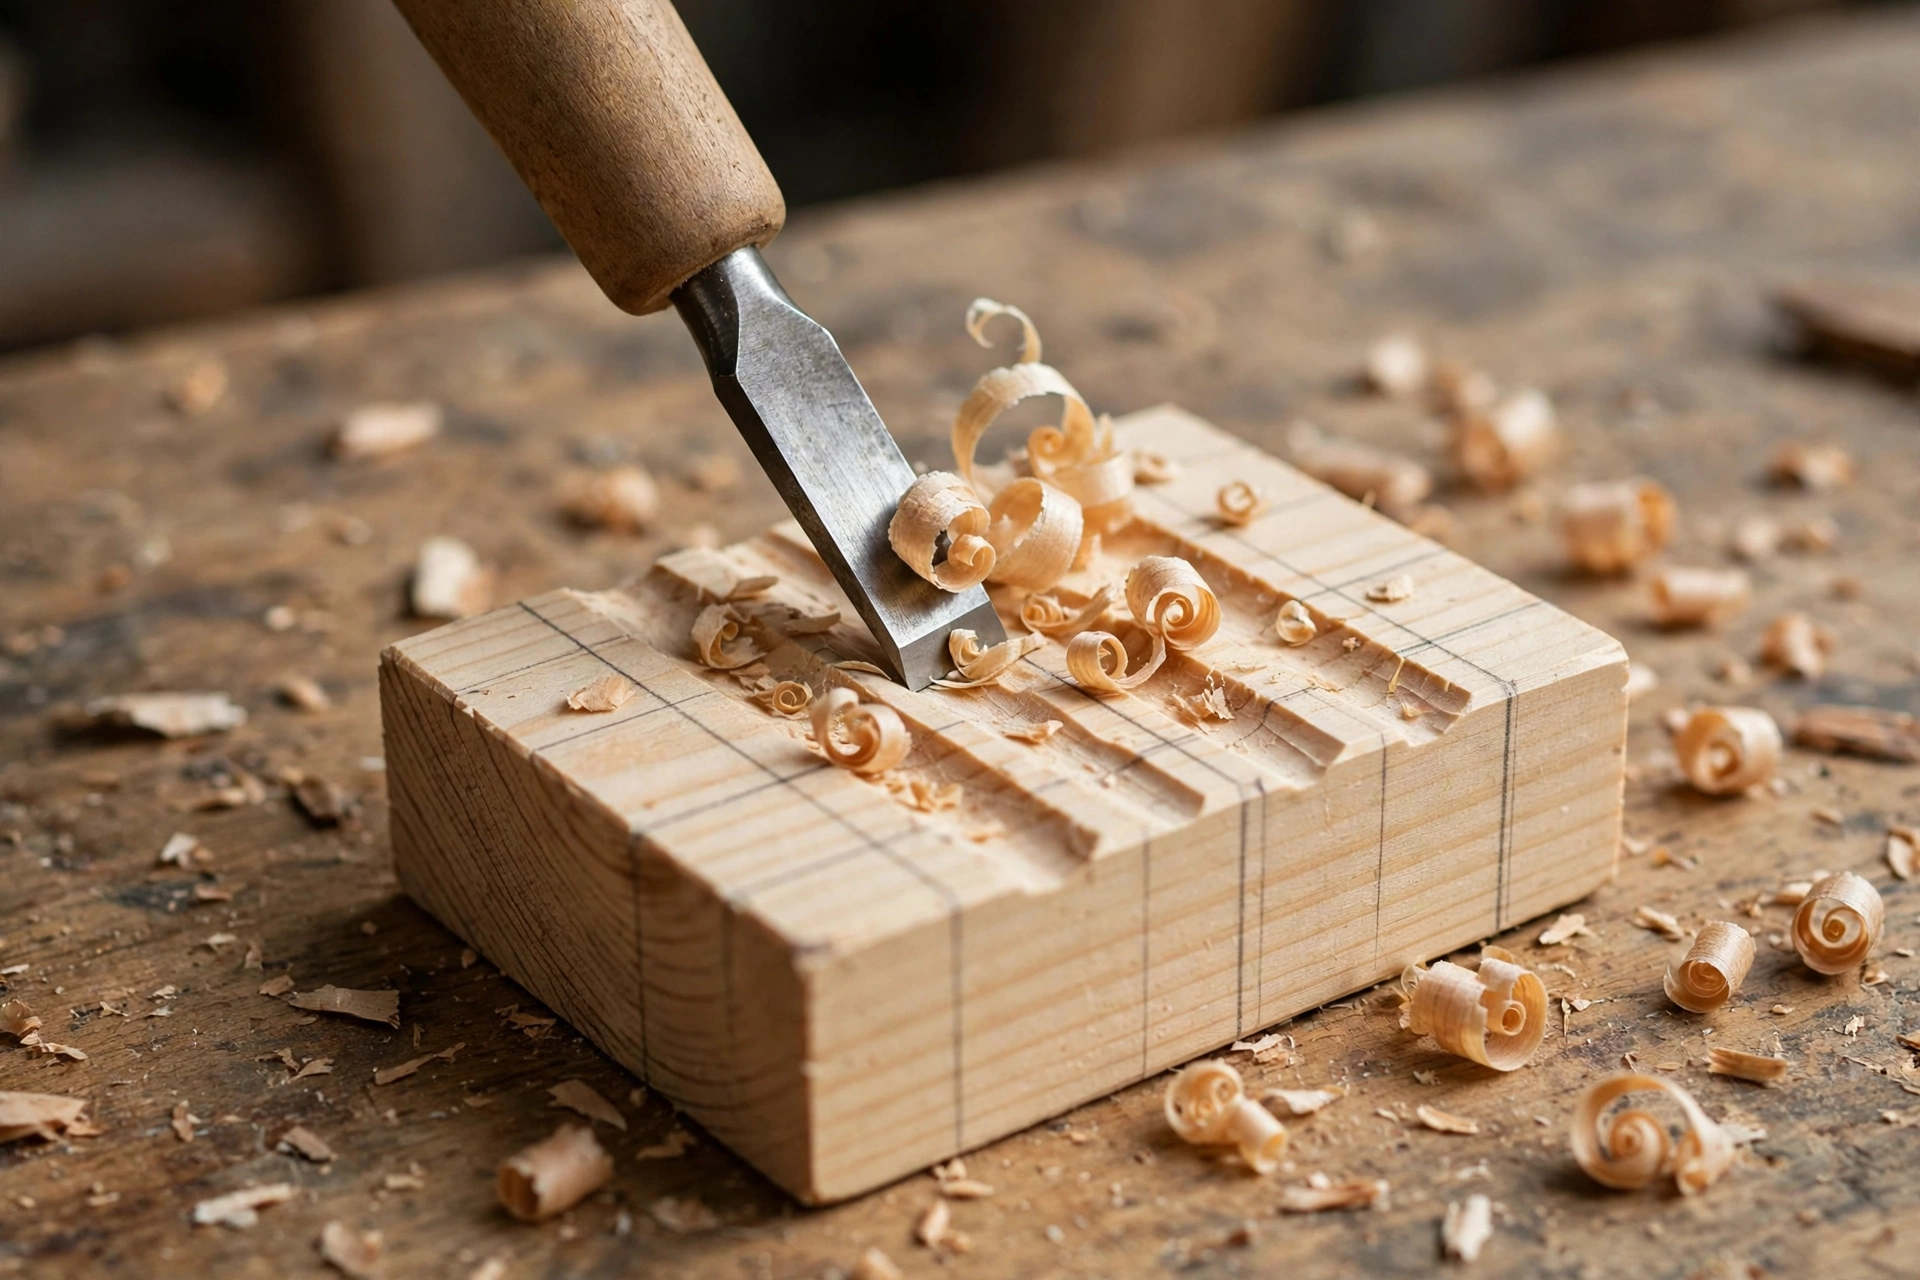
Drainage is the whole point of a soap dish, so do not skip this step. The channels are shallow grooves cut across the top of the block that carry water away from the soap and off the edge of the dish. Mark three or four parallel lines across the width of the block, spaced about 2 cm (3/4 inch) apart, running the short way across the dish.
The easiest beginner method is a chisel: score along each line with a marking knife or a craft knife first, then pare out a shallow V-shaped groove about 3 mm (1/8 inch) deep with the chisel, working with the grain. Take thin shavings, not big chunks — the groove only needs to be deep enough for water to flow, and a deep groove weakens the dish. If you own a router, a 6 mm (1/4 inch) straight bit set to a 3 mm depth does the same job in seconds, and it gives beautifully even channels. A third option is a drill: bore a row of shallow 6 mm holes through the block at the bottom of each channel, which lets water drip straight through the dish onto the sink — excellent drainage, and surprisingly quick.
Step 3: Round the Edges and Shape the Rim
A soap dish with sharp square edges feels harsh in the hand and chips easily when it is knocked against a ceramic sink. Round over all four top edges with 120-grit sandpaper wrapped around a sanding block, taking off about 2 mm (1/16 inch) so the edge feels smooth and comfortable. Round the bottom edges too, but leave the base flat so the dish sits steady.
If you want a raised rim — a small lip around the top edge that stops a wet bar from sliding off — you can create one by sanding the centre of the dish very slightly lower than the edges, or by gluing four thin strips around the top perimeter. For most beginners, the channels alone plus a well-rounded edge are enough: the bar sits in the shallow hollow and stays put.
Step 4: Build the Slatted Version (Optional Variation)
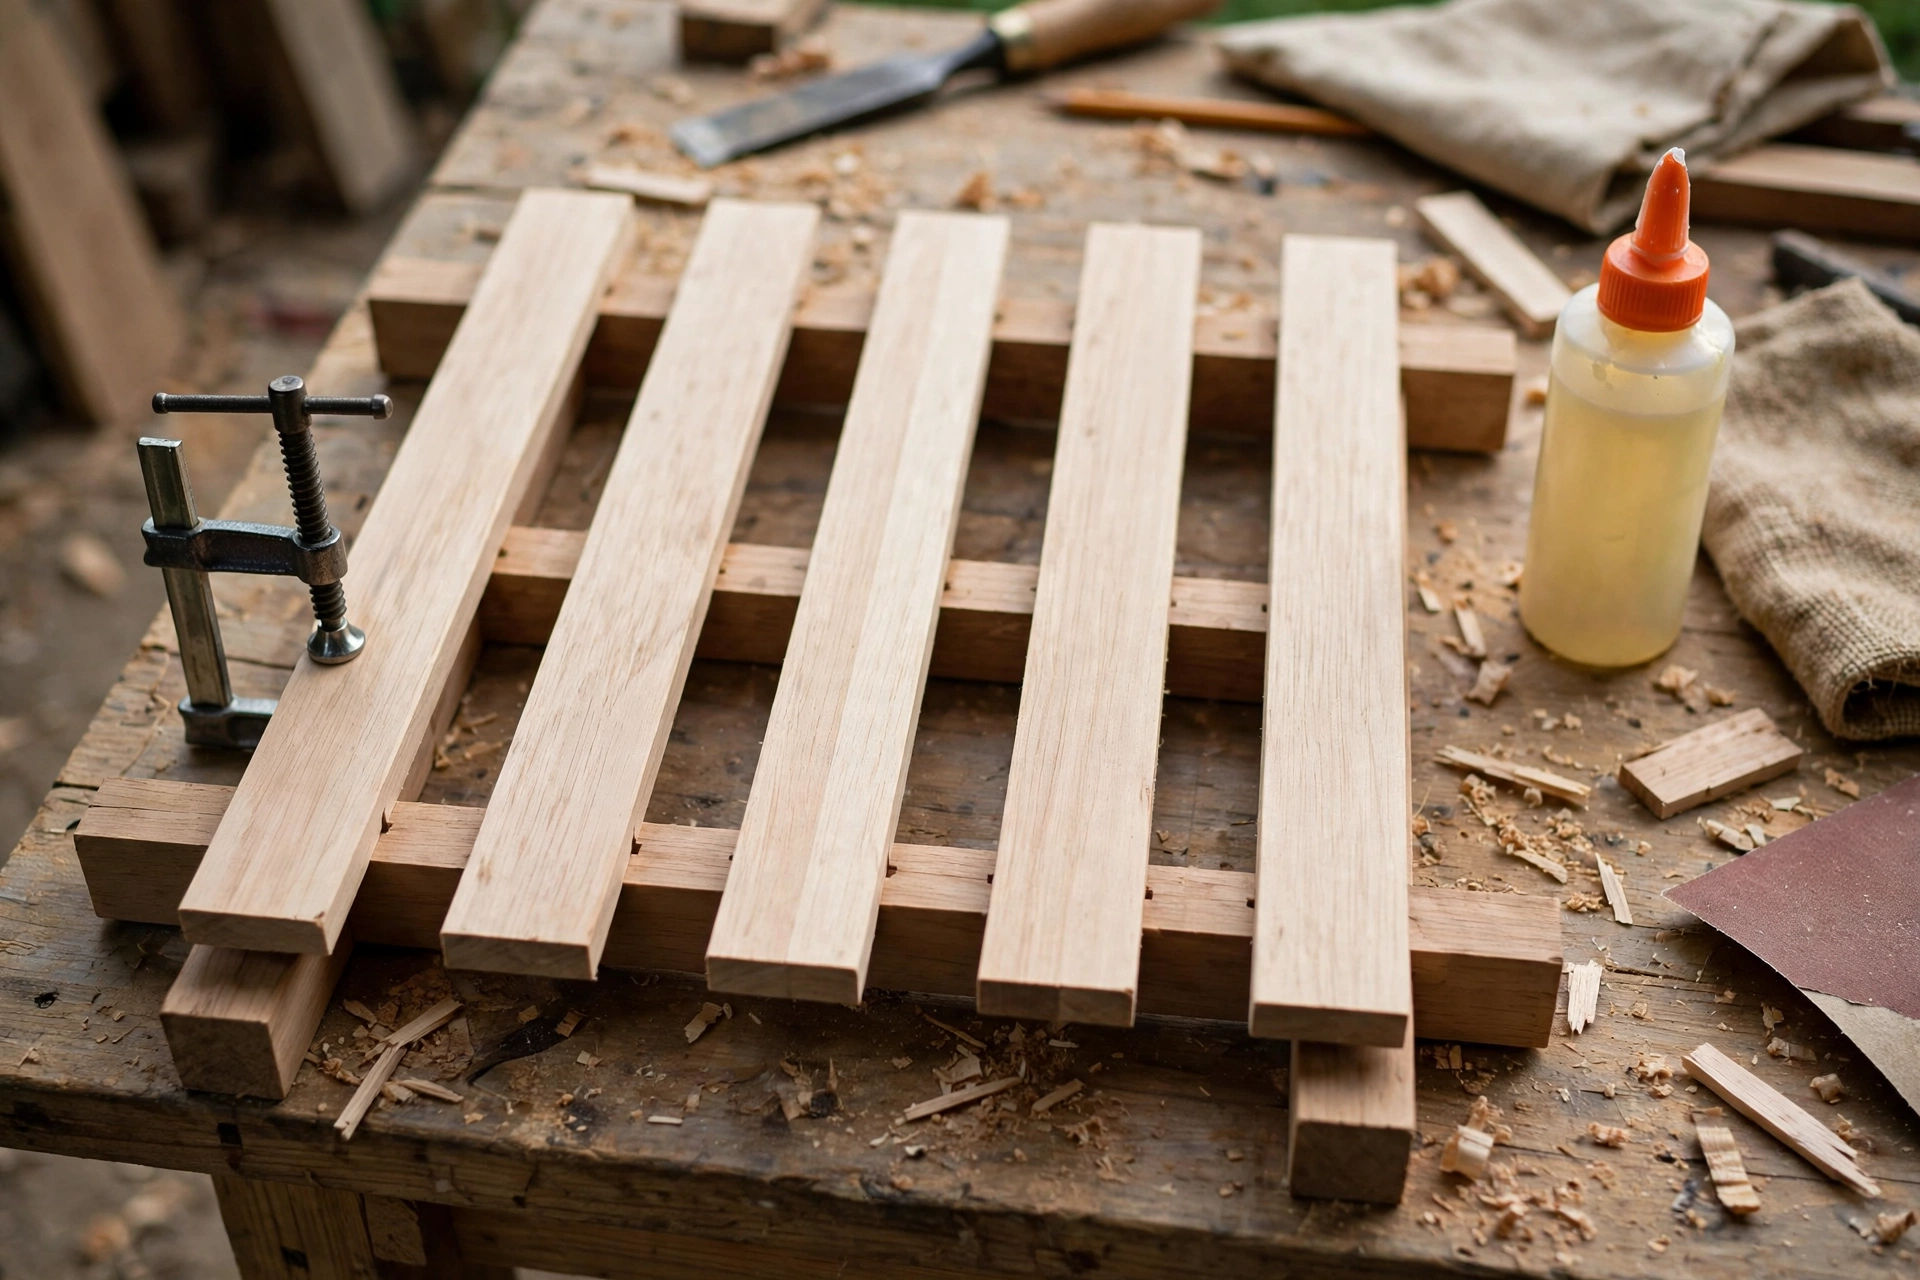
The slatted dish drains even better than the solid block, because water falls straight through the gaps between the slats and air reaches the underside of the soap. It is also the version that looks most impressive as a gift, even though it is barely more work.
Lay the five slats side by side with a 4 mm (5/32 inch) gap between them — a couple of coins or small offcuts make perfect spacers. Place the two cross rails underneath, one about 2 cm (3/4 inch) from each end, running across the slats. Apply a thin line of waterproof wood glue to each rail, press the slats onto them, and clamp the whole assembly flat. Leave it for at least an hour, then check that all five slats sit level — a wobbly slat is fixed by sanding the high one down before the glue fully cures. Once dry, sand the top face smooth and round the slat ends.
Drainage Design: Which Option Works Best?
Good drainage is what separates a soap dish that works from one that is just a pretty wooden tray. The bar must dry between uses, and that means water has to leave the dish and air has to reach the soap. Here is how the main options compare.
| Drainage Option | How It Works | Drainage | Difficulty | Best For |
|---|---|---|---|---|
| Carved channels | Shallow grooves carry water off the edge | Good | Easy | First-time builders |
| Channels + drilled holes | Water drips through holes in the channels | Excellent | Easy–medium | Maximum drying |
| Slatted top | Gaps between slats let water fall through | Excellent | Easy | Best airflow, gift dishes |
| Angled top | Dish surface slopes so water runs off | Good | Medium | A sculpted, modern look |
| Flat top, no drainage | Soap sits on a flat board | Poor | Very easy | Avoid — soap turns to mush |
Whichever design you choose, test it before you finish the dish: pour a spoonful of water on the top and watch where it goes. If it pools anywhere, deepen the channel or widen the gap at that spot. It is far easier to fix drainage now than after the oil has sealed the wood.
Sanding and Finishing
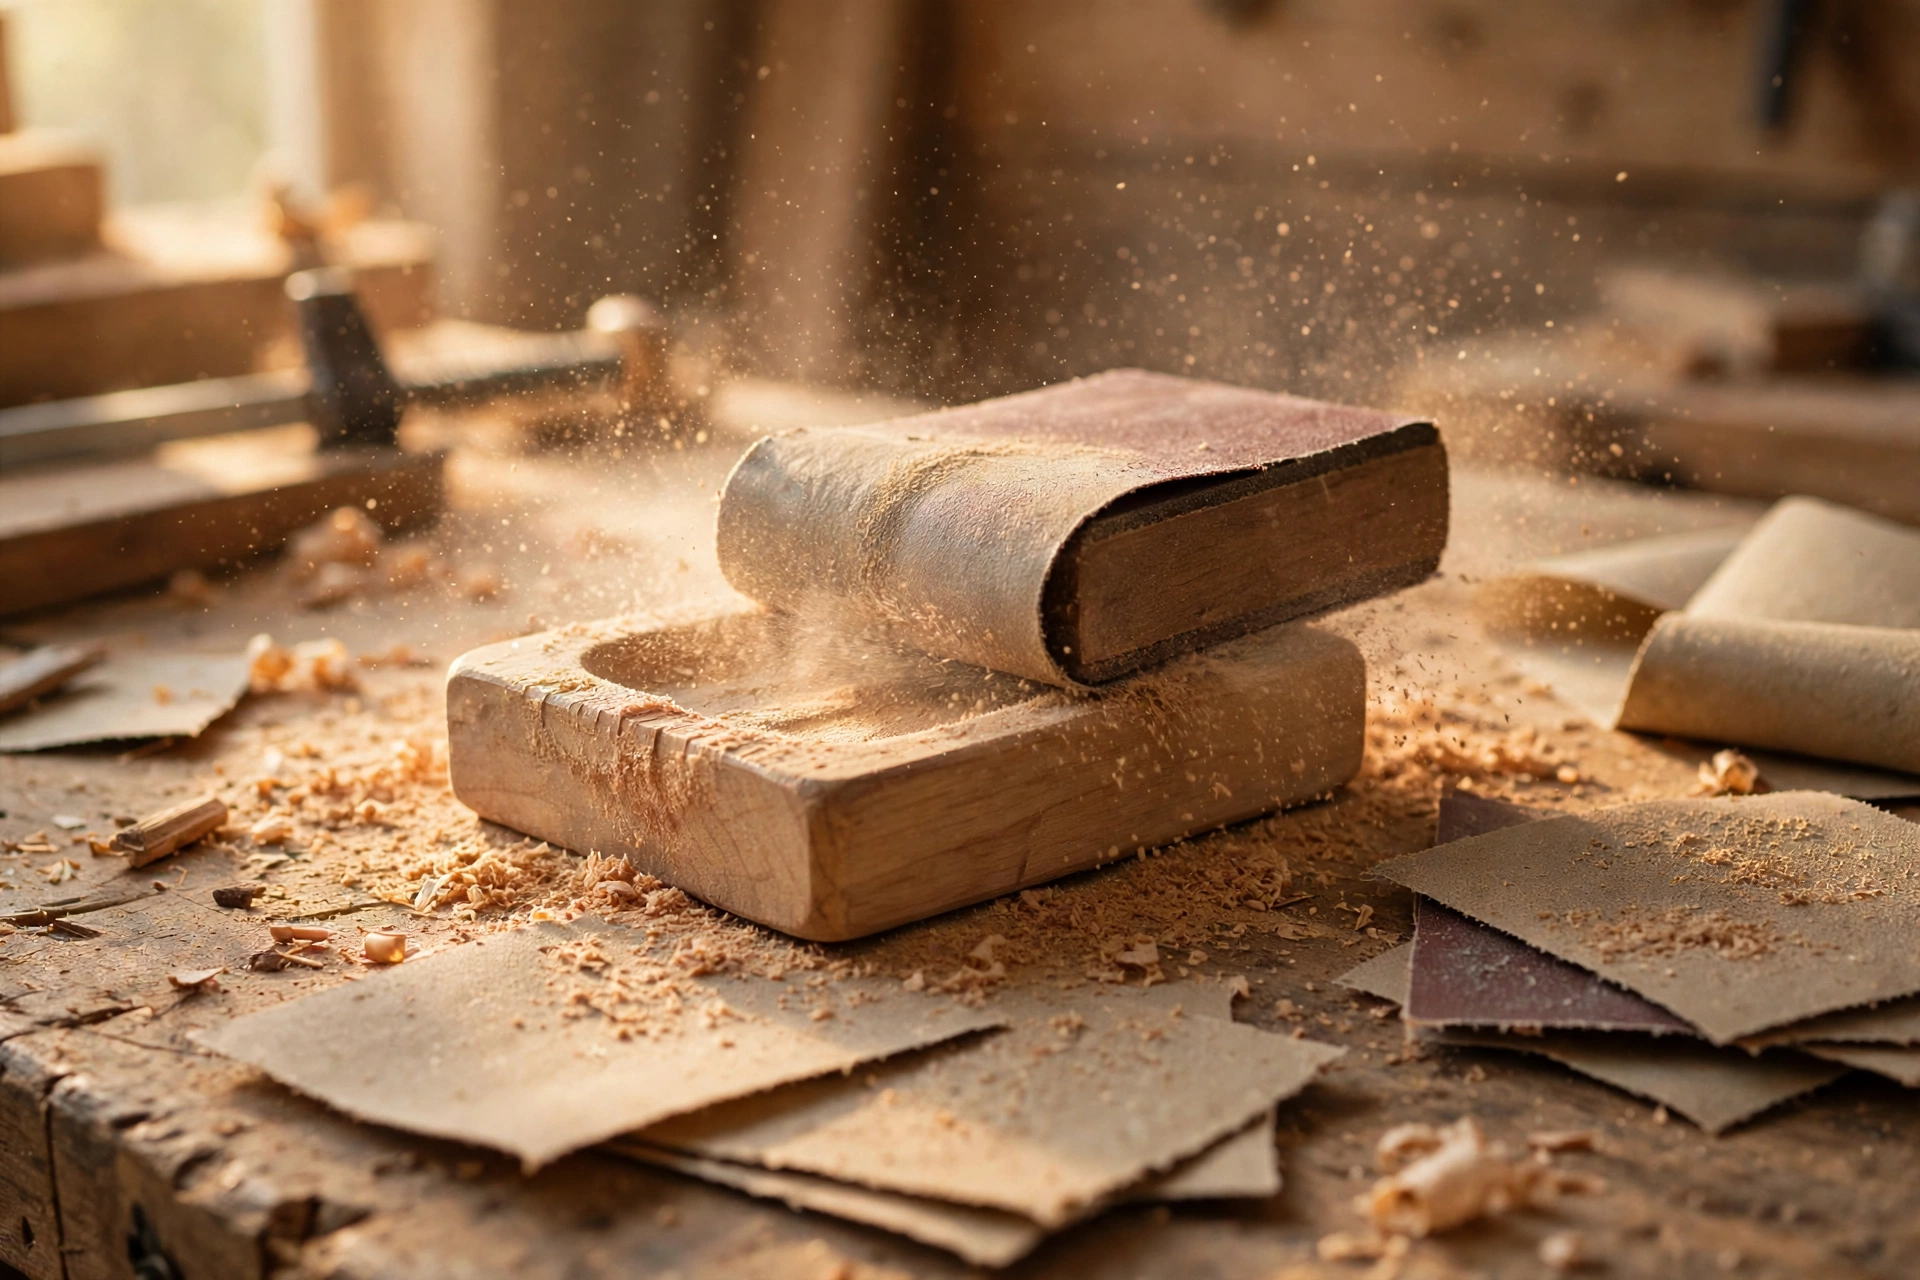
Sanding is where a soap dish goes from a rough block to something that feels like a shop-bought product. Work through the grits in order — 120, then 180, then 220 — and always sand with the grain. Pay special attention to the inside of the drainage channels: wrap a small piece of sandpaper around a pencil or a dowel to reach into them. Wipe the wood with a slightly damp cloth to raise the grain, let it dry for 20 minutes, and give it a final light pass with 220-grit. Our complete guide to sanding and finishing wood for beginners covers this process in full if you want a deeper dive.
Choosing a Food-Safe, Waterproof Finish
Because a soap dish touches your skin every day, the finish must be food-safe and it must resist constant water. Varnish and polyurethane look glossy, but they form a hard film that cracks and peels once water gets underneath it — and then the wood rots from inside the film. Penetrating oils are far better: they soak into the wood, repel water from within, and are easy to renew by rubbing on another coat.
| Finish | Food-Safe | Water Resistance | Look | Maintenance |
|---|---|---|---|---|
| Food-grade mineral oil | Yes | Good | Natural, matte | Reapply monthly |
| Pure tung oil | Yes (when cured) | Excellent | Warm, satin | Reapply every 2–3 months |
| Hardwax oil | Yes (most brands) | Excellent | Satin, durable | Reapply every 6 months |
| Beeswax + mineral oil blend | Yes | Good | Soft sheen | Reapply monthly |
| Polyurethane / varnish | No (not food-safe) | Good until it cracks | Glossy film | Hard to repair — avoid |
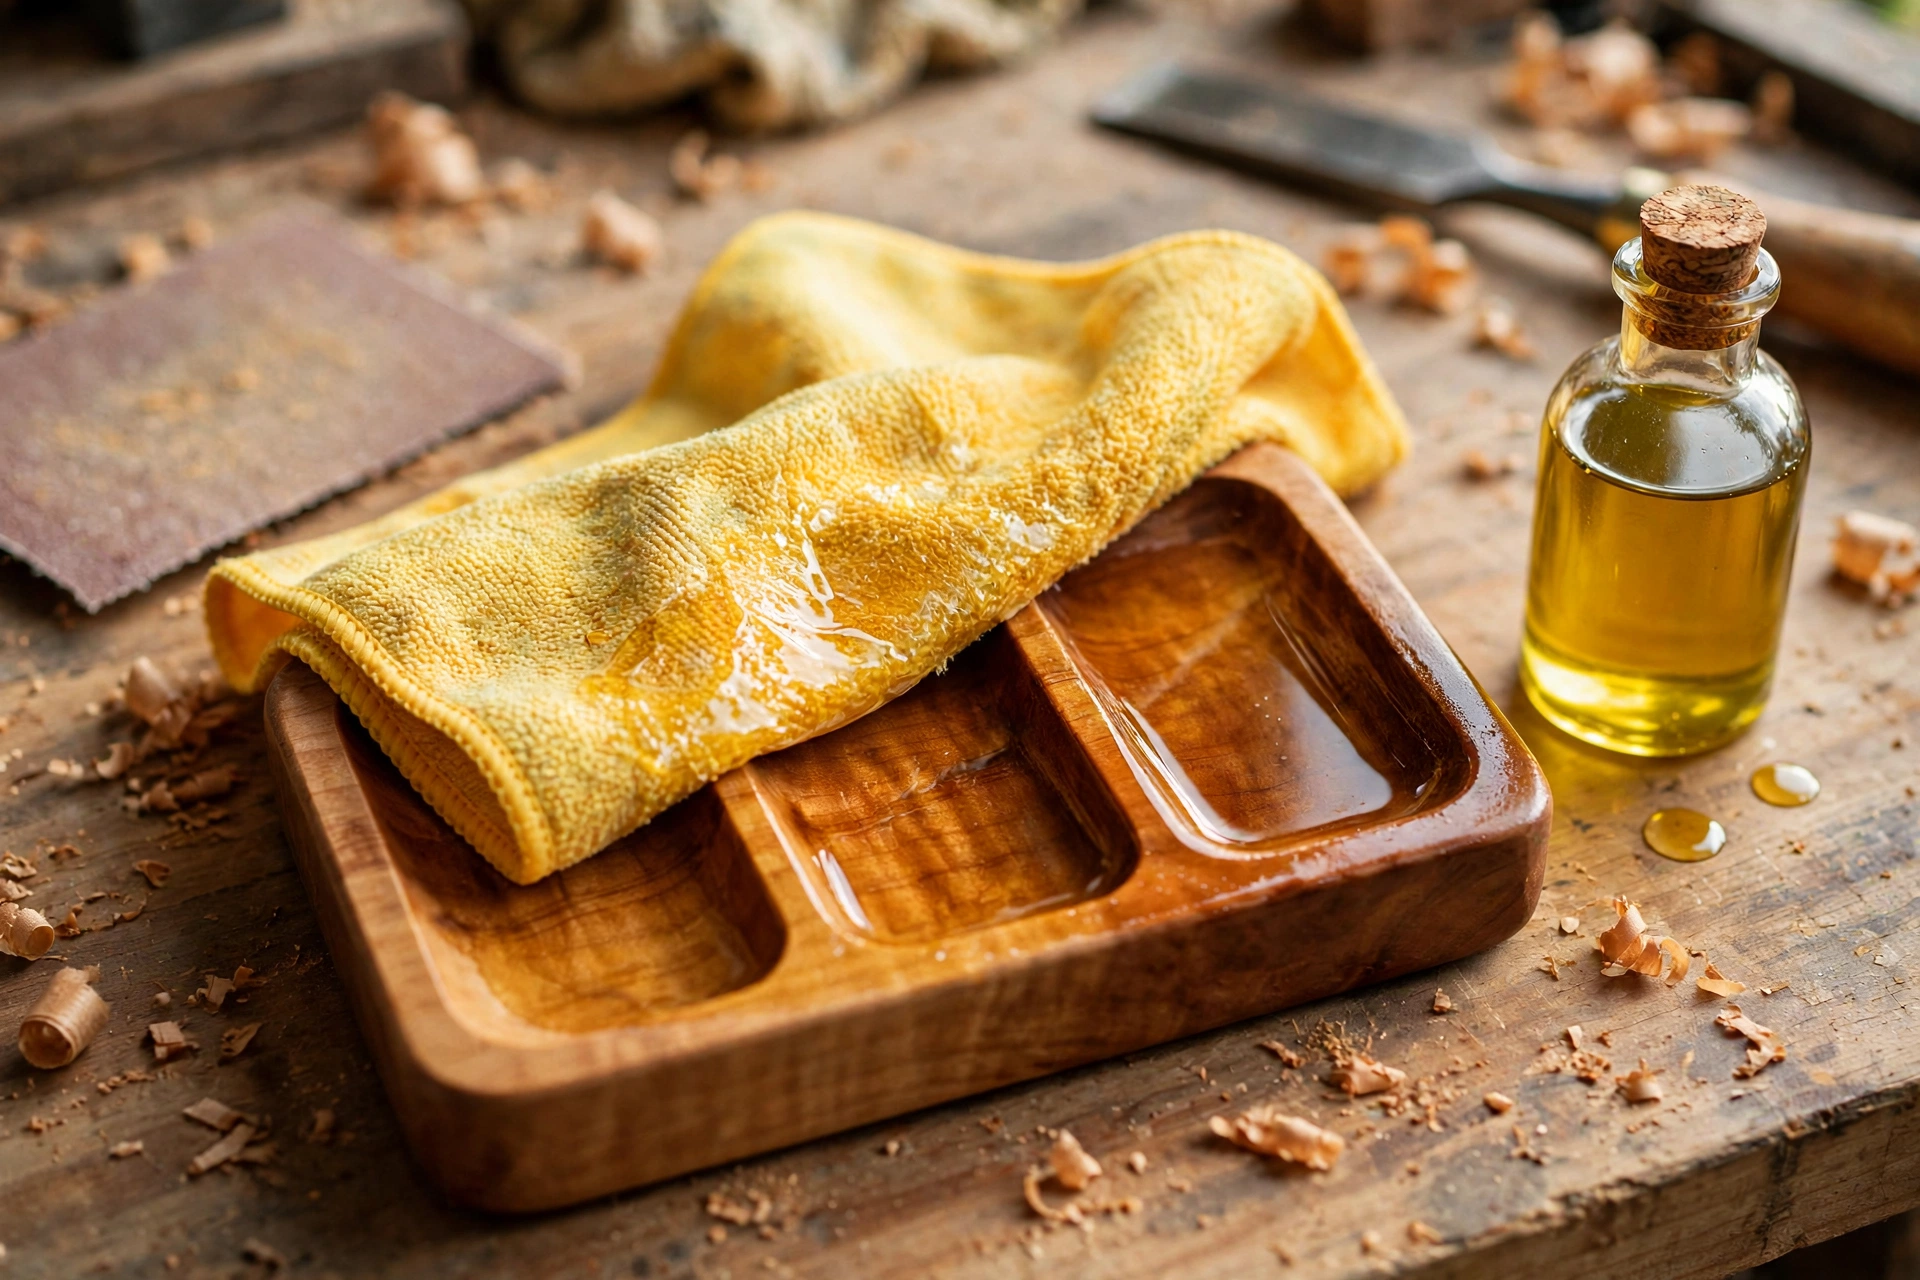
Apply the finish generously with a cloth, let it soak in for 20–30 minutes, then wipe off every trace of excess — a sticky, tacky dish means you left too much oil on the surface. Let the first coat cure overnight, then apply a second coat the same way. Two coats of tung oil or hardwax oil will keep a teak or white oak dish waterproof for months; mineral oil is cheaper but needs renewing more often.
Common Mistakes to Avoid
- Using pine or spruce. Softwoods soak up water, swell, crack, and grow mould in a bathroom. Use a dense hardwood like white oak, teak, or cedar.
- Skipping drainage. A flat-topped dish is just a puddle with a soap bar in it. Channels, holes, or slats are not optional — they are the whole point.
- Cutting the dish too small. Measure your soap first. A dish that is smaller than the bar is useless, and handmade bars are often bigger than shop-bought ones.
- Sanding across the grain. Cross-grain scratches show up badly once oil is applied, especially on the flat top of a dish. Always sand with the grain.
- Using varnish or polyurethane. Film finishes peel in constant wet use and are not food-safe. Use a penetrating oil instead.
- Leaving excess oil on the surface. Wipe it all off after 30 minutes, or the dish will stay sticky for days and attract dust.
- Forgetting the underside. The base of the dish sits in water too. Oil every face — top, sides, and bottom — or the dish will warp.
How Much Does It Cost?
A wooden soap dish is one of the cheapest woodworking projects there is, which makes it a great first gift project as well as a useful bathroom accessory. A shop-bought hardwood soap dish typically costs £8–£20 ($10–$25), so a handmade one saves money from the very first build — and it looks far better.
- Hardwood offcut (teak, white oak, or cedar): £3–£8 / $4–$10 — often free from a timber merchant’s offcut bin
- Sandpaper (120, 180, 220 grit): £2–£4 / $2–$5 — you probably already own it
- Wood glue (slatted version only): £2–£3 / $2–$4
- Food-grade mineral oil or tung oil: £5–£10 / $6–$12 per bottle — enough for a dozen dishes
- Total for one dish: roughly £5–£15 / $6–$20 if you buy the wood, and close to nothing if you use an offcut
Once you have the oil and sandpaper, each additional dish costs only the price of the wood. That is why soap dishes make such good handmade gifts: you can batch-build five or six in an afternoon from a single board, finish them all at once, and have a whole set of gifts ready for a fraction of shop prices. If you enjoy making small giftable items, a wooden spice rack for beginners is another excellent small project in the same spirit.
Frequently Asked Questions
How long does it take to make a wooden soap dish?
About one to two hours of hands-on work, plus overnight drying time for the oil finish. Cutting and shaping takes 30–45 minutes, sanding takes 20–30 minutes, and oiling takes a few minutes per coat with a 20-minute soak in between. A beginner can comfortably finish a solid-block dish in a single afternoon; the slatted version adds about 30 minutes for the glue-up and clamping.
What is the best wood for a wooden soap dish?
Teak is the best, because its natural oils make it almost waterproof, but white oak is the best all-round beginner choice — cheaper, easier to find, and its closed grain resists water very well. Cedar is another good option and smells lovely. Avoid pine and other softwoods: they absorb water, swell, and rot in a bathroom within a few months.
How do I stop my wooden soap dish from going mouldy?
Three things prevent mould: good drainage, a proper oil finish, and airflow. Cut drainage channels or build the slatted version so water never pools, oil every face of the dish including the underside, and re-oil monthly if you use mineral oil. Also, keep the dish out of a constant stream of water — on the edge of the sink, not directly under the tap — and let it dry out fully once a week if you can.
Is a wooden soap dish hygienic?
Yes, when it is made and maintained correctly. Hardwoods like oak and teak have natural antibacterial properties, and a dish that drains properly lets the soap dry between uses, which is exactly what stops bacteria growing. The key is the finish: a penetrating oil seals the wood against moisture, and re-oiling every month or two keeps that seal working. A soap dish that is left unfinished or never re-oiled will eventually absorb water and go soft, so maintenance is part of the deal.
Can I make a wooden soap dish without a router?
Absolutely. A router is the fastest way to cut drainage channels, but a sharp chisel does the same job with a little more patience — score the line with a knife first, then pare out a shallow groove in thin shavings. You can also skip channels entirely and build the slatted version, which needs no chisel or router work at all: just a saw, sandpaper, and glue.
How do I clean a wooden soap dish?
Rinse it under warm water and scrub it gently with a soft brush once a week to remove soap scum. Never soak it in water, and never put it in a dishwasher — prolonged soaking swells the wood and strips the oil finish. After cleaning, let it dry completely, then rub in a thin coat of mineral oil every month or so to keep it waterproof.
Final Thoughts
Learning how to make a wooden soap dish for beginners is the perfect first step into woodworking: one small block of wood, a few straight cuts, a bit of sanding, and a coat of oil — and you end up with something beautiful and useful that you will touch every single day. Start with the solid-block version and the carved drainage channels, use white oak or cedar, and finish it with tung oil. Once you have made one, try the slatted version as a gift — it is the same skills, just arranged differently.
When you are ready for your next build, the easy woodworking projects for beginners that sell pillar guide has a whole cluster of small, sellable projects that build on exactly these skills, and a wooden cutting board is the natural next step — bigger board, same wood, same finish, and just as useful in daily life.
Recommended Products for This Project
As an Amazon Associate, I earn from qualifying purchases.
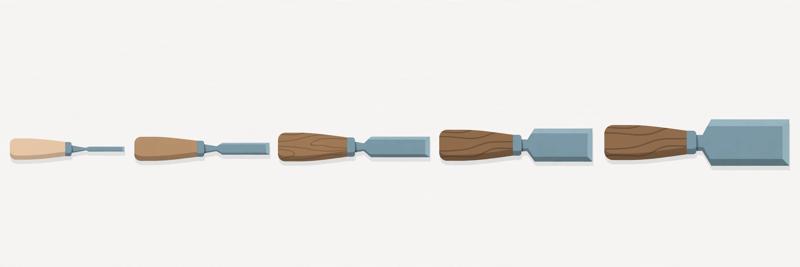
Amazon Basics 8-Piece Wood Chisel Set with Honing Guide and Sharpening Stone
Eight chisels plus a honing guide and sharpening stone for carving the dish recess and shaping the edges.
IRWIN QUICK-GRIP Mini Bar Clamp 4-Pack, 6-Inch (1964758)
Small clamps sized for delicate parts and tight spaces — ideal for gluing up a small soap dish.

Titebond III Ultimate Wood Glue 1413 (8 oz)
Water-resistant wood glue for strong joints that hold up in a wet bathroom.
3M Aluminum Oxide Sandpaper, Assorted Grits, 9-in x 11-in Sheets (9005NA)
Assorted 100/150/220-grit sheets for smoothing the dish to a soft, splinter-free finish.
Minwax Water Based Helmsman Spar Urethane, Gallon, Gloss (710500000)
Water-resistant spar urethane finish that stands up to daily splashes and soap.


