
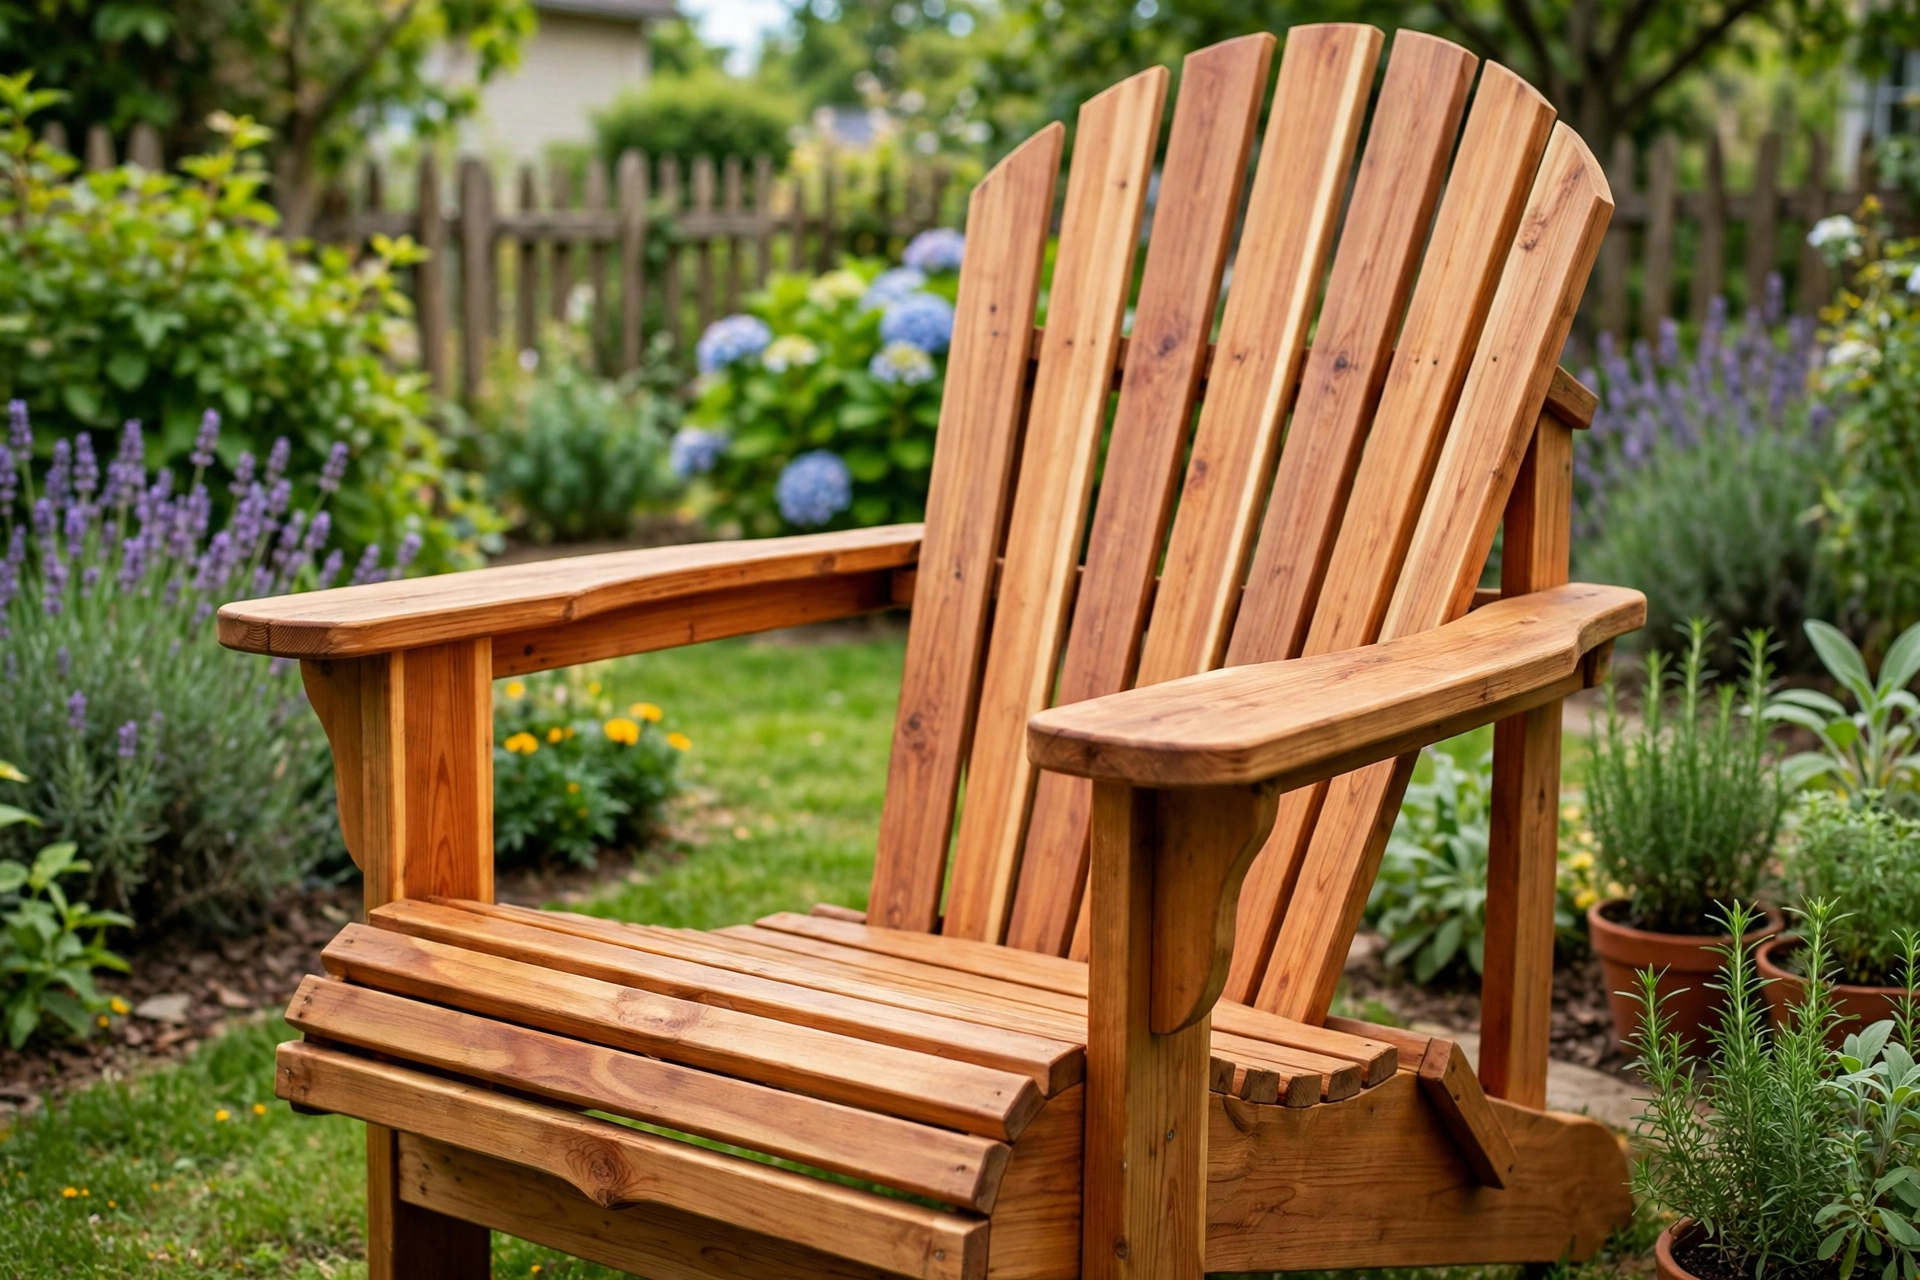
Few outdoor projects reward a beginner quite like an Adirondack chair. It looks impressive on a porch or lawn, it is genuinely comfortable to sit in, and — despite its sculpted curves and fanned back — it is built from straight cuts, a few simple angles, and screws. If you can measure accurately, run a jigsaw, and drive a screw without splitting a board, you can build this chair in a weekend.
This guide walks you through how to build a wooden Adirondack chair for beginners from the first board to the final coat of finish. You will get an exact cut list, a clear build order, tips for cutting smooth curves, and honest advice on wood choice, cost, and the mistakes that catch first-time builders out. There is no need for a table saw, a router table, or advanced joinery. A circular saw or a handsaw, a jigsaw, a drill, and a sander will do the job.
Before you start, set yourself up for a good result. Work on a flat surface, keep your parts labelled as you cut them, and dry-fit each section before you drive screws. Adirondack chairs are forgiving — small gaps disappear under a coat of finish — but a chair that is square and level at every stage will sit flat and feel solid for years.
Why an Adirondack Chair Is a Perfect Beginner Project
Adirondack chairs suit beginners for several reasons that other outdoor furniture does not share. First, the design is made almost entirely from flat boards. There are no turned legs, no mortise-and-tenon joints, and no bent lamination. Every piece is a board that has been cut to length, sometimes with a curve traced on one edge, and screwed to its neighbour.
Second, the chair hides small imperfections well. The slatted seat and back break the surface into narrow boards, so a slightly uneven edge is far less noticeable than it would be on a wide tabletop. The wide armrests and chunky legs also give the chair a sturdy, rustic character, which means a beginner’s build still looks intentional rather than rough.
Third, the project teaches the core skills of woodworking in one satisfying package. You will practise measuring and marking, crosscutting, cutting curves with a jigsaw, drilling pilot holes and countersinking, sanding, and applying an outdoor finish. Those are the same skills behind almost every easy woodworking project for beginners that sells, from garden benches to planters and side tables. If you have already built something simpler, such as a simple garden bench for beginners, you will find the Adirondack chair a natural next step — a little more shaping, but the same straightforward screwed construction.
Finally, an Adirondack chair is a project you will actually use. It is not a practice piece that ends up in the garage. Build one, sit in it with a cold drink, and you will immediately understand why this 1903 design — originally drawn up for a mountainside retreat in New York — has never gone out of style. Most beginners who finish one chair go straight on to build a matching second one, and then a side table to sit between them, like this wooden outdoor side table for beginners.
What makes this design comfortable?
The comfort of an Adirondack chair comes from three angles working together: a seat that slopes gently down towards the back, a back that reclines at roughly 25 to 30 degrees, and a seat height low enough that your feet rest flat on the ground. Do not be tempted to “improve” these angles on your first build. Follow the dimensions in the cut list below, keep the back supports at the same angle on both sides, and the chair will feel right the first time you sit in it.
Choosing Your Wood: Cedar vs Pine
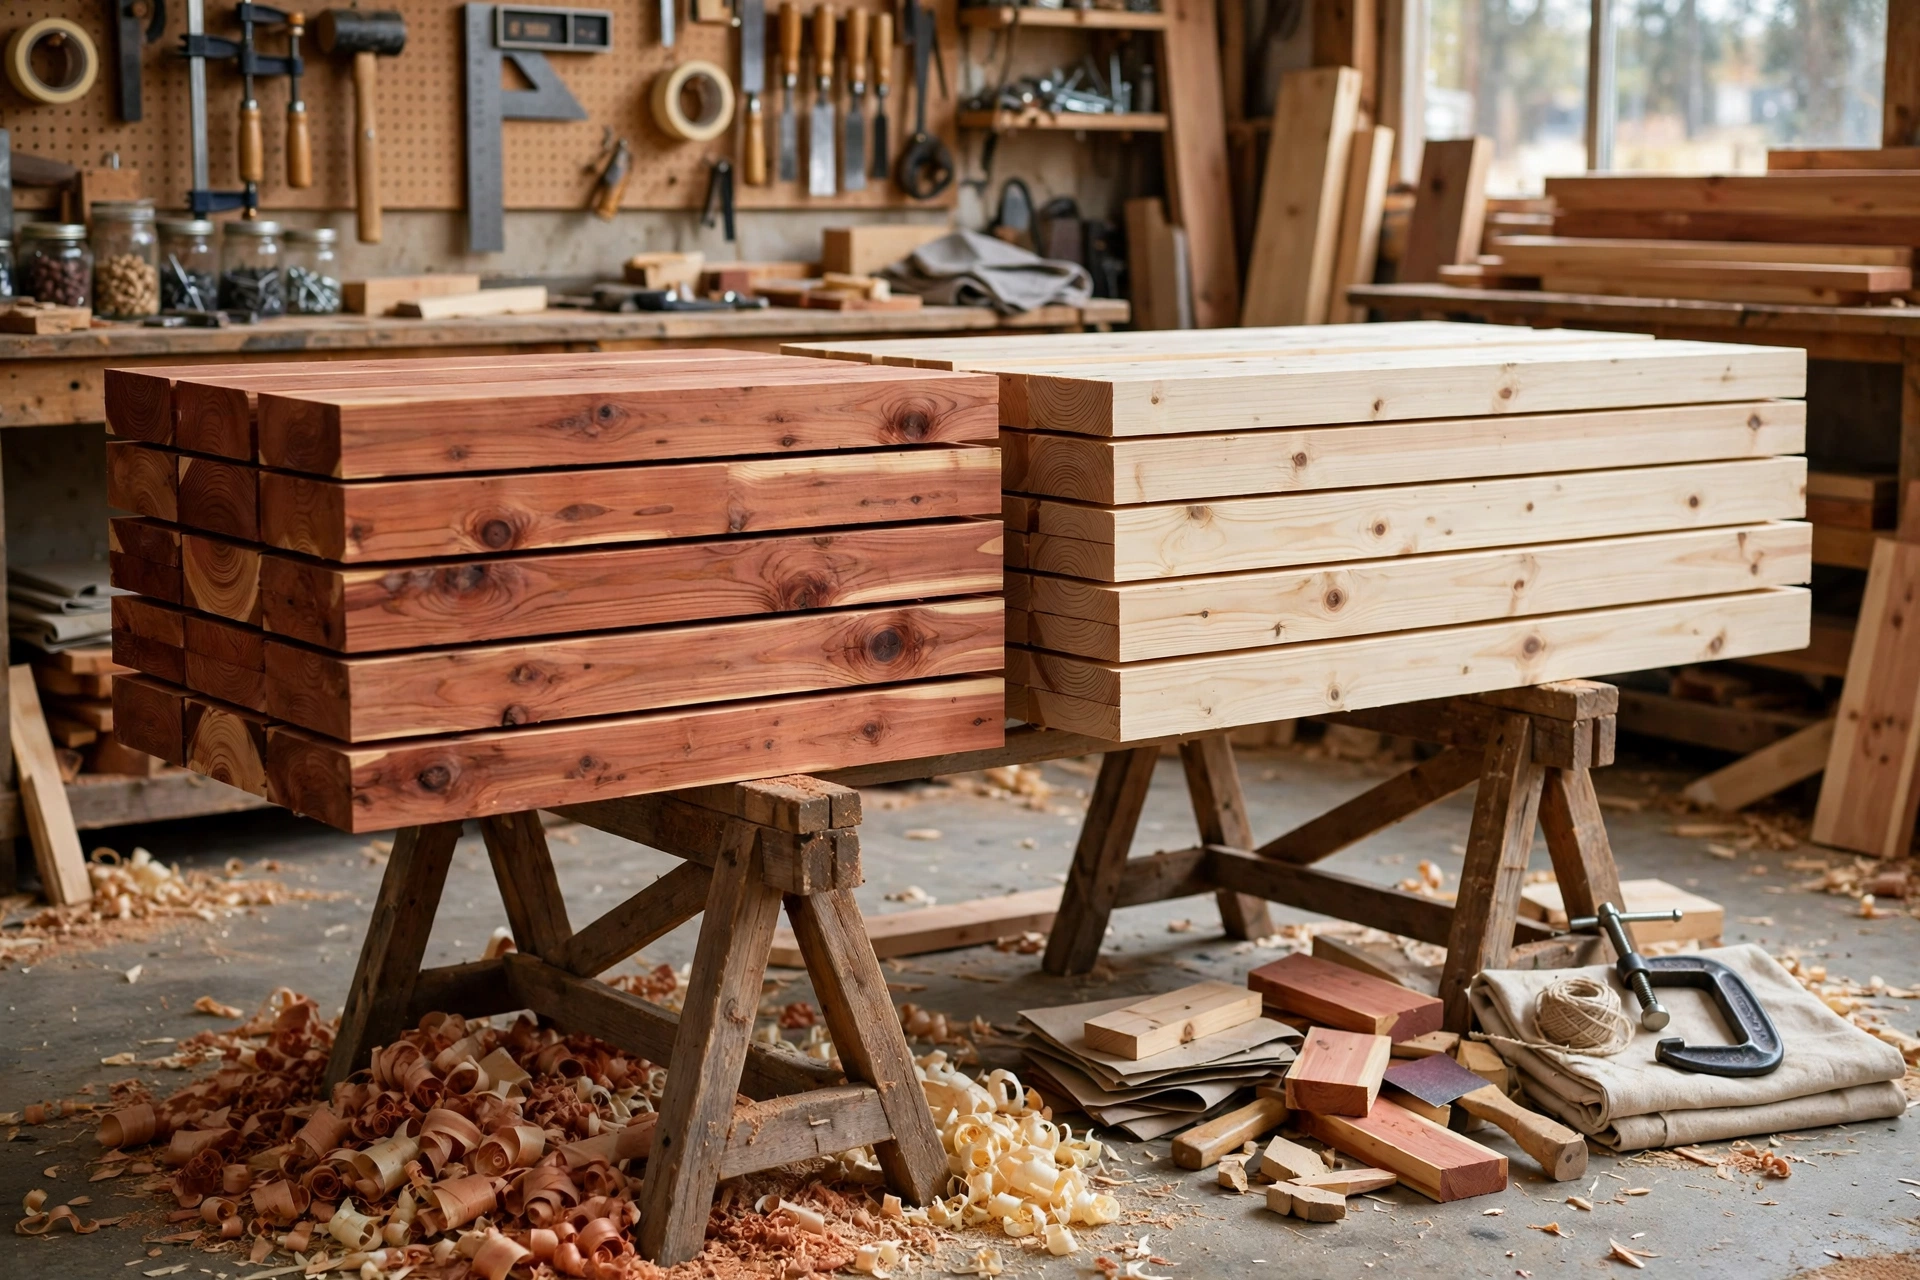
Wood choice is the single biggest decision in this project, because it affects cost, weight, durability, and how much maintenance the chair will need outdoors. For most beginners, the choice comes down to cedar or pine.
Cedar is the classic Adirondack wood, and for good reason. Western red cedar is naturally resistant to rot and insects, it is light to carry and easy to cut, and it weathers to an attractive silvery grey if left unfinished. It holds screws well and rarely splits when you drill pilot holes. Its main drawback is price: cedar typically costs two to three times as much as pine, and in some regions it can be hard to find in the wide boards this project needs.
Pine is the budget-friendly alternative. Pressure-treated pine is widely available, inexpensive, and very durable outdoors, but it is heavier, wetter when bought, and must be left to dry before finishing. Untreated pine is cheaper still, but it needs a thorough outdoor finish and regular recoating, or it will rot within a couple of seasons outdoors. If you choose pine, pick boards that are straight, dry, and free of large loose knots, especially for the arms and back supports, which carry the most stress.
Whichever wood you choose, avoid boards with major warping, twisting, or cracks through a screw location. Sight down each board before you buy it, the way you would check a plank for a fence. A board that looks bent in the shop will not straighten out in your chair. For more detail on matching species to a project, see our guide to the best wood for beginner woodworking projects.
| Wood | Outdoor durability | Cost | Weight | Maintenance | Best for |
|---|---|---|---|---|---|
| Western red cedar | Excellent, naturally rot-resistant | High | Light | Low; oil once a year or let it grey | A long-lasting chair you want to keep for a decade |
| Pressure-treated pine | Very good when dry and sealed | Low to medium | Heavy when wet | Medium; seal well and recoat every 1–2 years | A budget build or a first practice chair |
| Untreated pine | Fair; needs full finish protection | Low | Medium | High; recoat every year | A covered-porch chair, not full exposure |
| Cypress | Excellent, similar to cedar | High | Medium | Low | A premium alternative where cedar is scarce |
Tools and Materials You Will Need
You do not need a fully equipped workshop for this build. The essential tools are a tape measure, a pencil, a speed square or combination square, a saw for straight cuts (a circular saw with a guide or a mitre saw is ideal, but a handsaw works), a jigsaw with a clean-cutting blade, a drill/driver, a countersink bit, a random-orbit sander, and safety glasses and hearing protection. A pair of sawhorses and two clamps will make every step easier and safer.
For materials, buy the boards in the cut list below, plus a box of 65 mm (2.5 inch) exterior deck screws, a smaller number of 40 mm (1.5 inch) exterior screws for the slats, exterior wood glue, 80-grit and 120-grit sandpaper, and your chosen outdoor finish. Stainless steel or coated deck screws are worth the small extra cost: ordinary interior screws will rust and stain the wood within one wet season. Always drill pilot holes in cedar, especially near board ends, and countersink each screw so the head sits just below the surface.
The Exact Cut List
The cut list below is for one adult-sized chair, built from boards 20 mm (about 3/4 inch) thick unless noted. All lengths are finished lengths after cutting. Cut the two back supports and the two side stringers as mirrored pairs, and label every piece with a pencil as you cut it — “L leg”, “R leg”, and so on — so you do not mix up left and right during assembly.
| Part | Quantity | Size (thickness × width × length) | Notes |
|---|---|---|---|
| Back supports (legs, rear) | 2 | 20 × 140 × 1100 mm | Cut the top curve with a jigsaw; reclined angle |
| Front legs | 2 | 20 × 140 × 600 mm | Front of chair, vertical |
| Side stringers (seat supports) | 2 | 20 × 140 × 750 mm | Angled seat slope, one per side |
| Seat slats | 5 | 20 × 90 × 550 mm | Spaced about 10 mm apart |
| Back slats | 5 | 20 × 90 × 950 mm | Fanned: centre slat longest, outer slats trimmed at the top curve |
| Back top rail | 1 | 20 × 90 × 550 mm | Ties the back slats together at the top |
| Armrests | 2 | 20 × 180 × 750 mm | Wide boards; round the front with a jigsaw |
| Arm supports | 2 | 20 × 90 × 300 mm | Vertical blocks under the front of each arm |
| Front seat rail | 1 | 20 × 90 × 550 mm | Across the front, under the seat slats |
| Back seat rail | 1 | 20 × 90 × 550 mm | Across the back, under the seat slats |
| Leg braces | 2 | 20 × 90 × 550 mm | Cross braces between the legs, front and back |
If your boards come in imperial sizes, the nearest equivalents are 1 × 6 boards for the legs and supports and 1 × 4 boards for the slats, with the armrests cut from 1 × 8 boards. Do not stress over a millimetre here or there; what matters is that each pair of parts matches its partner exactly. Cut both pieces of a pair together, or cut one and use it as a template to mark the second.
Cutting Smooth Curves with a Jigsaw
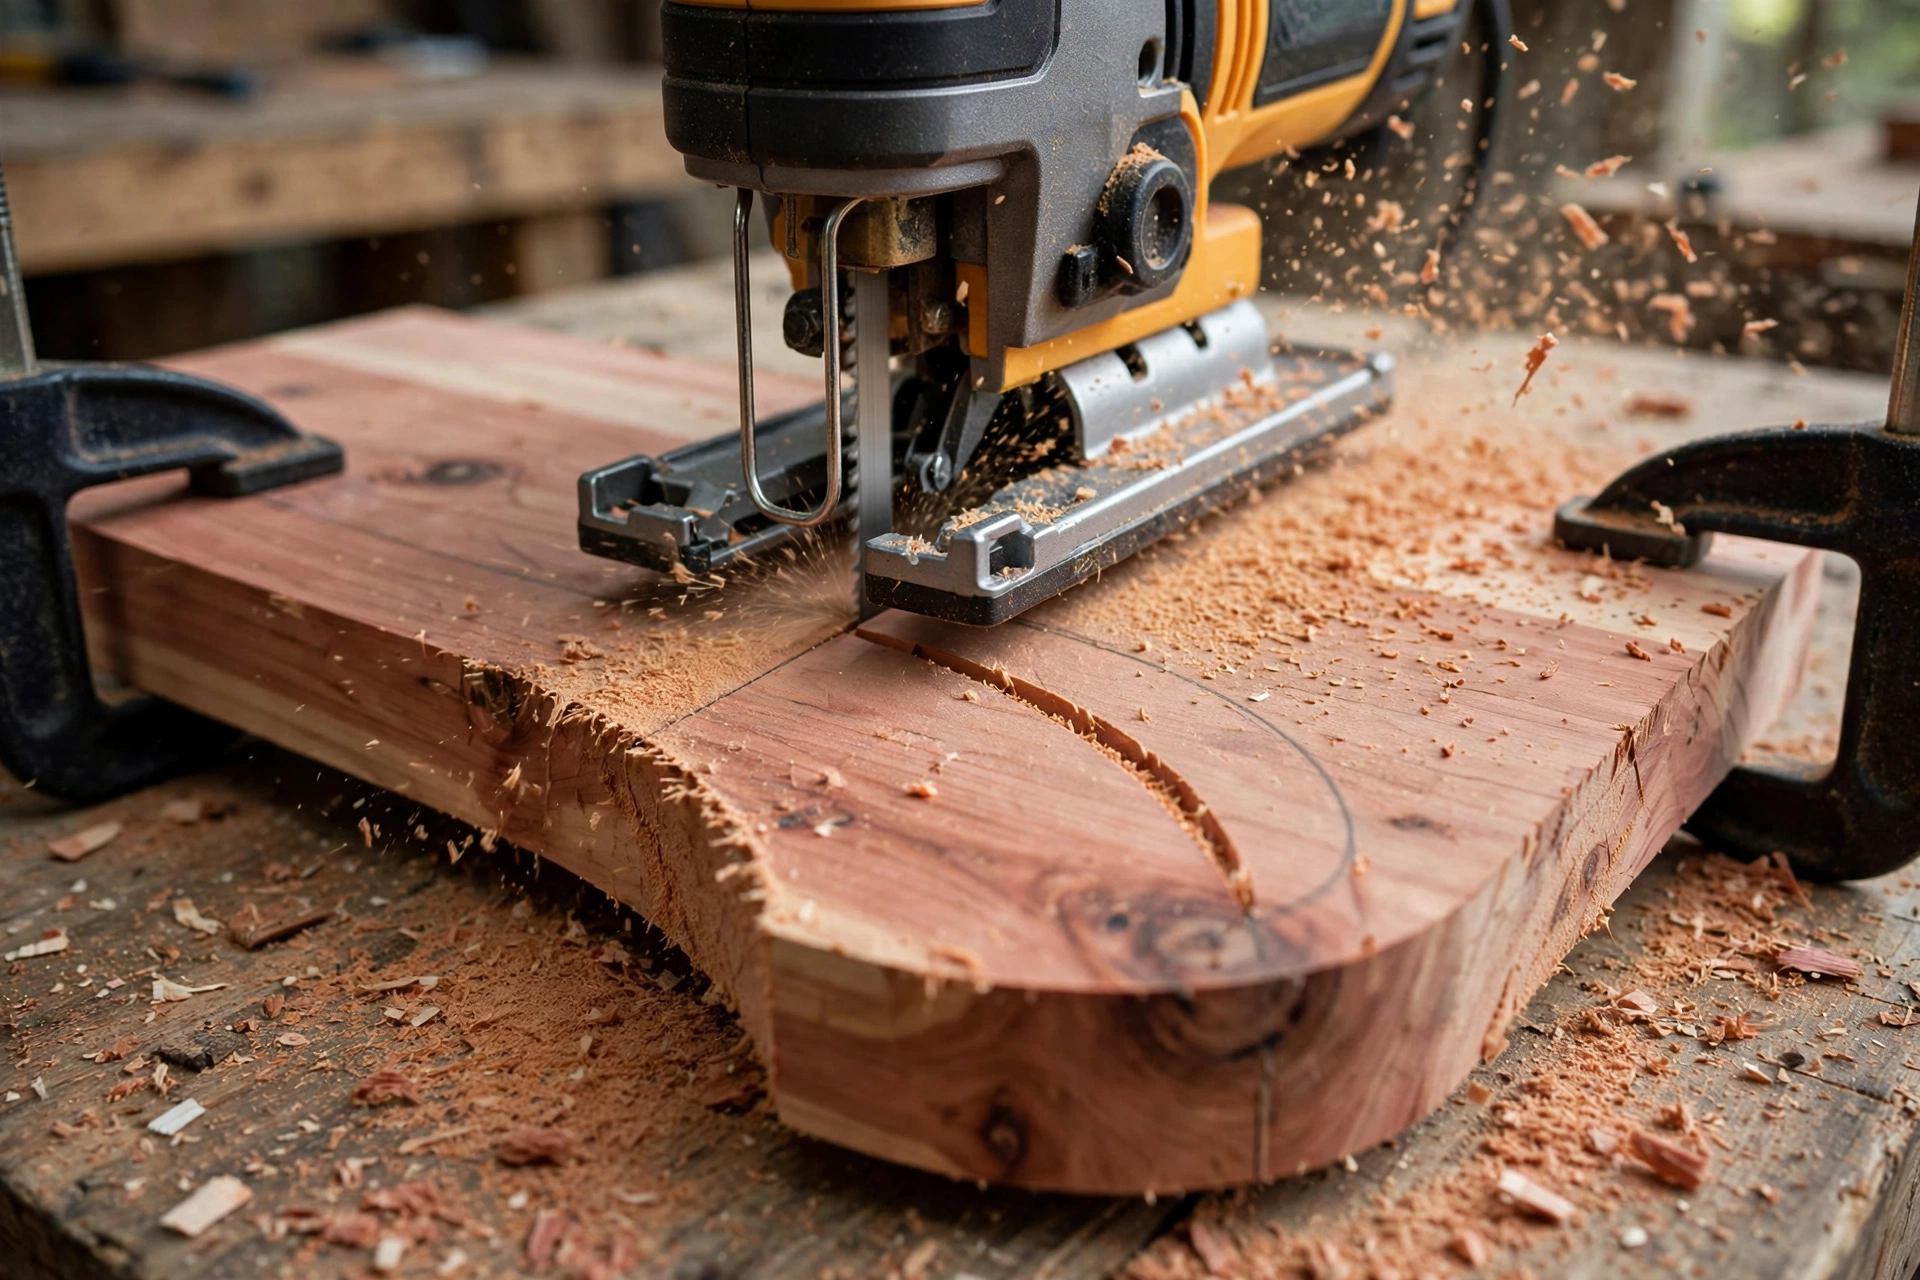
The curves are the part of this project that worries beginners most, and they are also the part that is most satisfying to get right. The good news is that an Adirondack chair does not need perfect, furniture-maker curves. It needs smooth, fair curves that look good from a normal viewing distance and feel comfortable under your arm.
Start by drawing your curve with a flexible guide rather than freehand. A thin strip of bendable wood, a length of garden hose, or even a large dinner plate can serve as a template for the rounded front of the armrest and the curved top of the back. Mark the curve with a pencil, then step back and check it looks even before you cut. For the back supports, mark one support, cut it, and use it as a template for the second so both sides match.
When you cut, use a sharp, fine-toothed jigsaw blade designed for clean cuts in wood, and let the saw do the work. Push forward slowly, keep the base plate flat on the board, and steer gently — forcing the blade around a tight turn is what causes wandering cuts and broken blades. Cut just outside your pencil line, then sand back to the line with 80-grit paper wrapped around a sanding block or a curved sanding sponge. Sanding to the line is the secret: it turns a slightly wobbly jigsaw cut into a smooth, professional-looking curve.
A few extra tips make a real difference. Support the board close to the cut so it does not vibrate, and keep the offcut from falling and tearing the last bit of the curve — a clamp or a helper holding the offcut solves this. If a curve comes out with a flat spot or a bump, do not try to fix it with the jigsaw; sand it out gradually and check the shape by eye from several angles. And always wear safety glasses: jigsaw cutting throws fine sawdust straight up.
Step 1: Build the Legs and Side Frames
Start assembly with the two side frames, because everything else hangs off them. Each side frame consists of a front leg, a rear back support, and a side stringer that runs between them at the seat slope. Lay one side flat on your workbench, position the stringer so the seat will slope gently downwards towards the back, and check the angle with your square and tape measure before you screw anything.
Glue and screw each joint with two exterior screws per joint, drilling pilot holes and countersinking first. The front leg stands vertically, while the rear support leans back at the recline angle — this lean is what gives the chair its relaxed sit, so measure it on both sides and make them match. Once the first side is complete, build the second as its mirror image, then stand the two sides up and connect them with the front seat rail, the back seat rail, and the leg braces. Check for square by measuring diagonally across the frame: if both diagonal measurements match, the frame is square. If they do not, gently push the frame into square before you tighten the last screws.
At this stage, the chair should stand on its own and sit flat on the ground without rocking. If it rocks, one leg is slightly long or the frame is out of square — trim the long leg a fraction at a time rather than forcing the frame. A chair that rocks now will rock forever, so fix it before you add the slats.
Step 2: Fit the Seat Slats
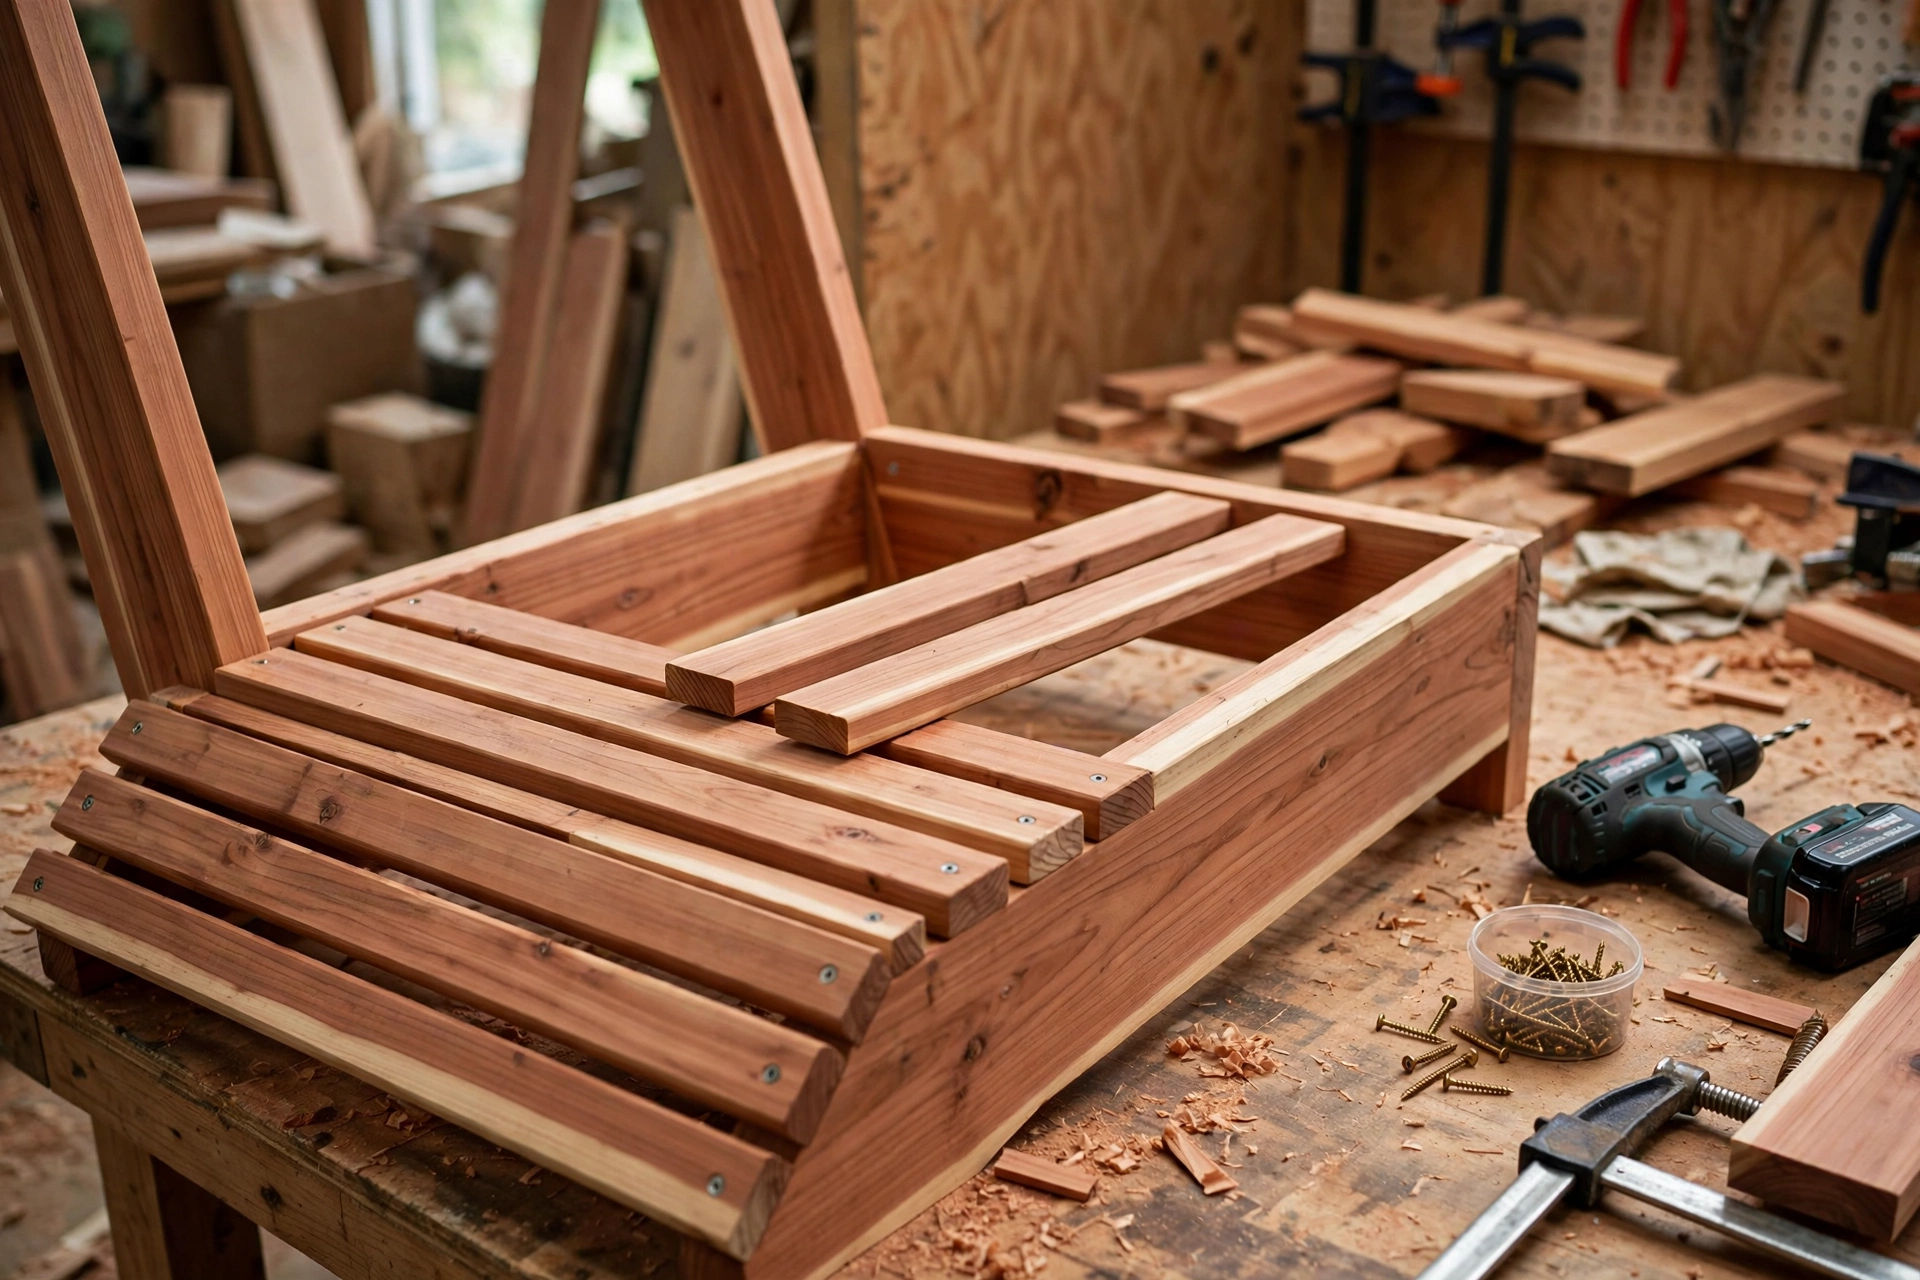
The seat is made of five slats running front to back, spaced about 10 mm apart so rainwater drains through instead of pooling. Start with the centre slat, then work outwards, using a small offcut as a spacer so every gap is the same width. Consistent gaps are one of those details that make a beginner build look like a professional one.
Screw each slat into the front and back seat rails with two screws per fixing, keeping the screws in a straight line along each slat. Pre-drilling is essential here: the slats are narrow, and a screw driven too close to the end without a pilot hole will split the board. Leave the front ends of the seat slats slightly overhanging the front rail, and trim or round them with the jigsaw and sander for a comfortable edge that does not catch the back of your knees.
Sit-test the frame at this point if you can do so safely — the seat alone will tell you whether the slope feels right. The front edge should be high enough that your thighs are supported, and the back should be low enough that you sink gently into the recline rather than perching on top of it.
Step 3: Attach the Back Slats
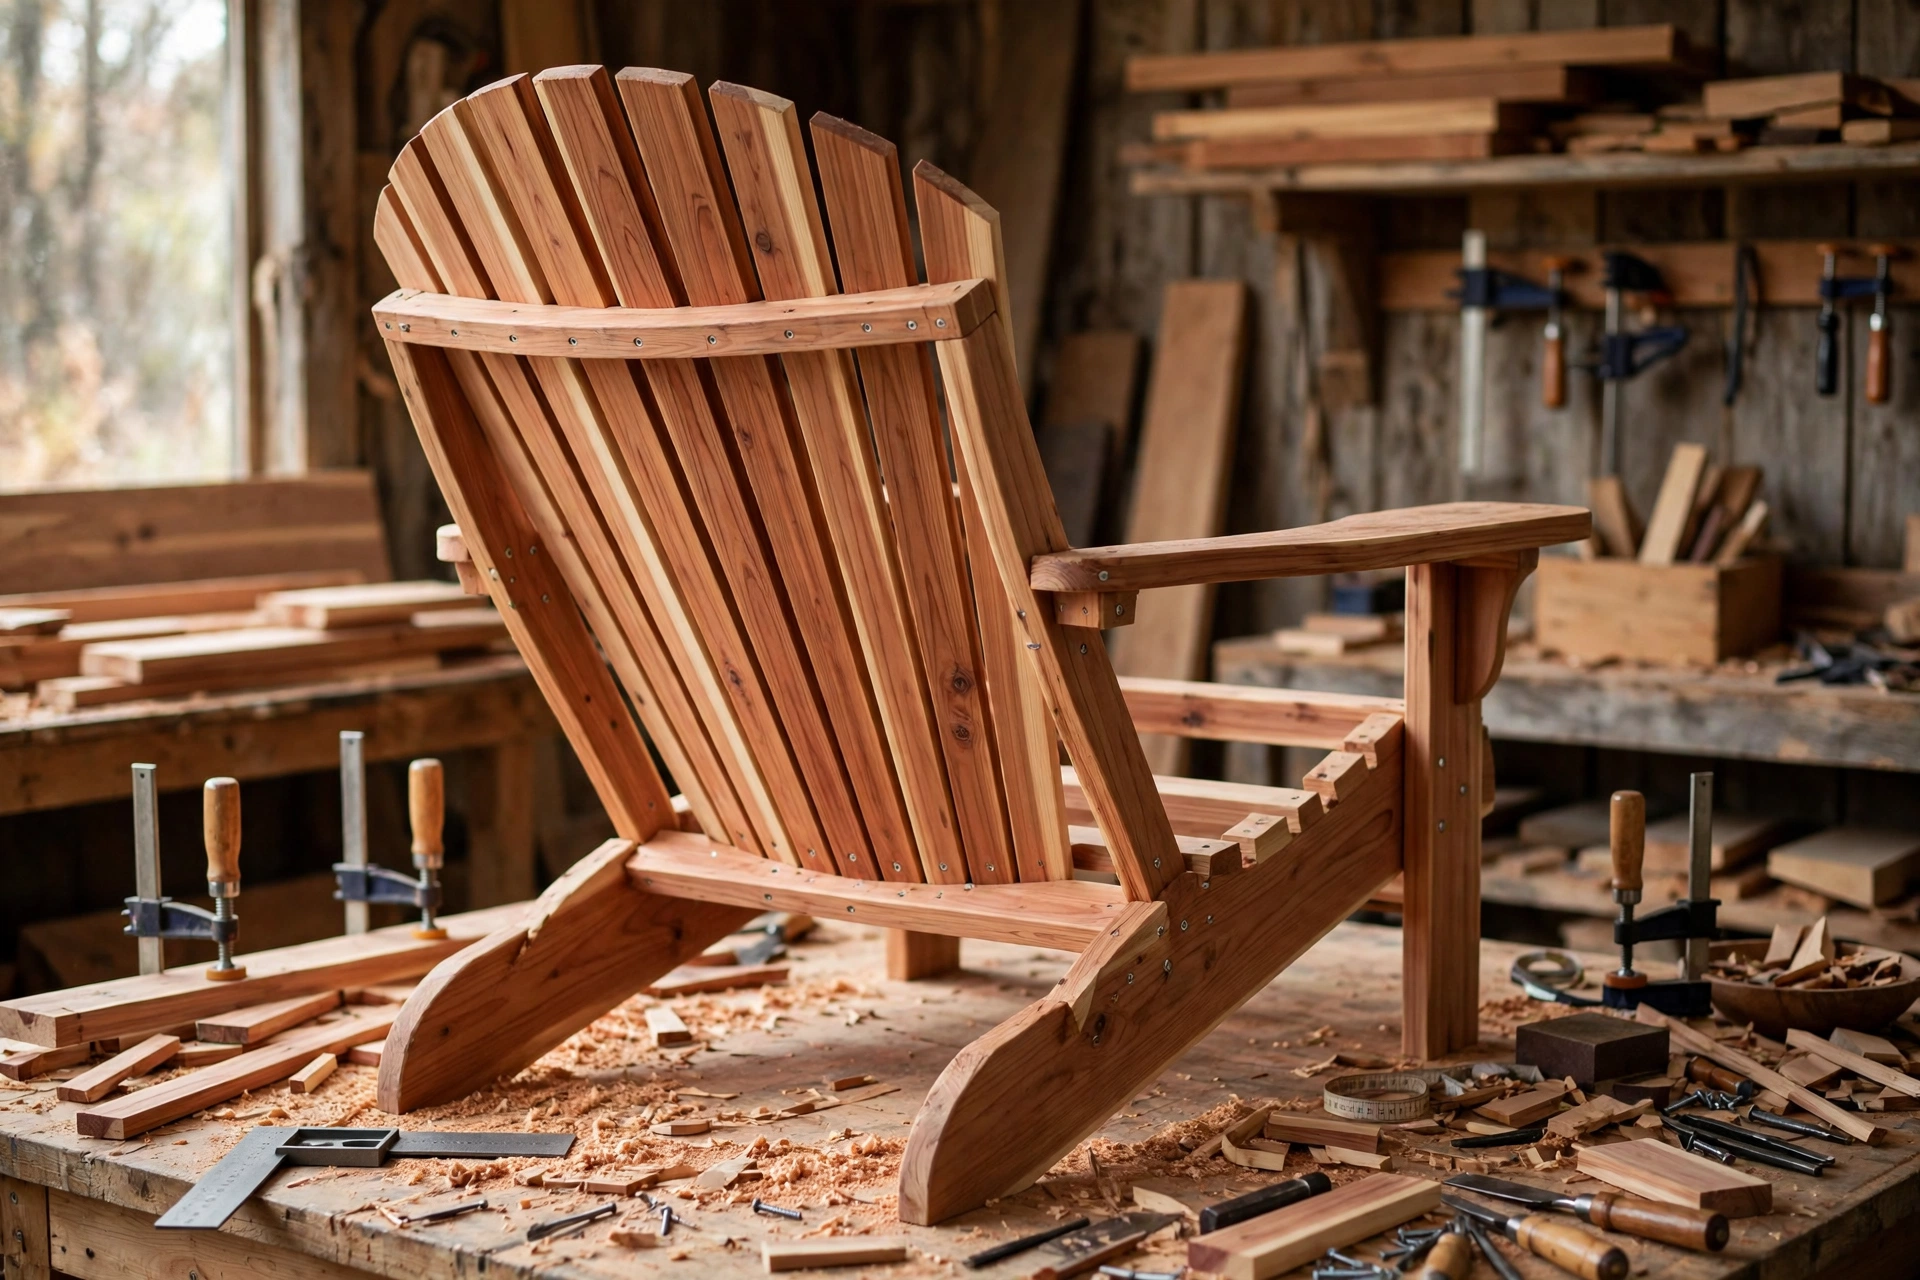
The back is the visual signature of the Adirondack chair: five vertical slats that fan out slightly, following the reclined angle of the back supports. Start with the centre slat, screwed to the back seat rail at the bottom and to the back top rail near the top. Then add the slats on either side, leaving a small, even gap between each one and letting each outer slat sit slightly wider than the one before it, which creates the fan shape.
The tops of the back slats are trimmed to a gentle curve once all five are in place. Mark the curve across the slat tops with a flexible guide, just as you did for the armrests, and cut it carefully with the jigsaw — or, if you prefer, cut each slat to length before fitting and round each top corner individually. Either method works; cutting after fitting guarantees the curve flows smoothly across all five slats, while cutting before fitting is easier to handle on the workbench.
Screw each back slat into the back supports with two screws per support, and check from the front that the slats are parallel and the gaps are even. Stand back and look at the chair from the side: the back should form one smooth, continuous reclined plane, not a series of steps. If one slat sits proud of its neighbours, loosen its screws, press it flush, and re-drive them.
Step 4: Add the Wide Armrests
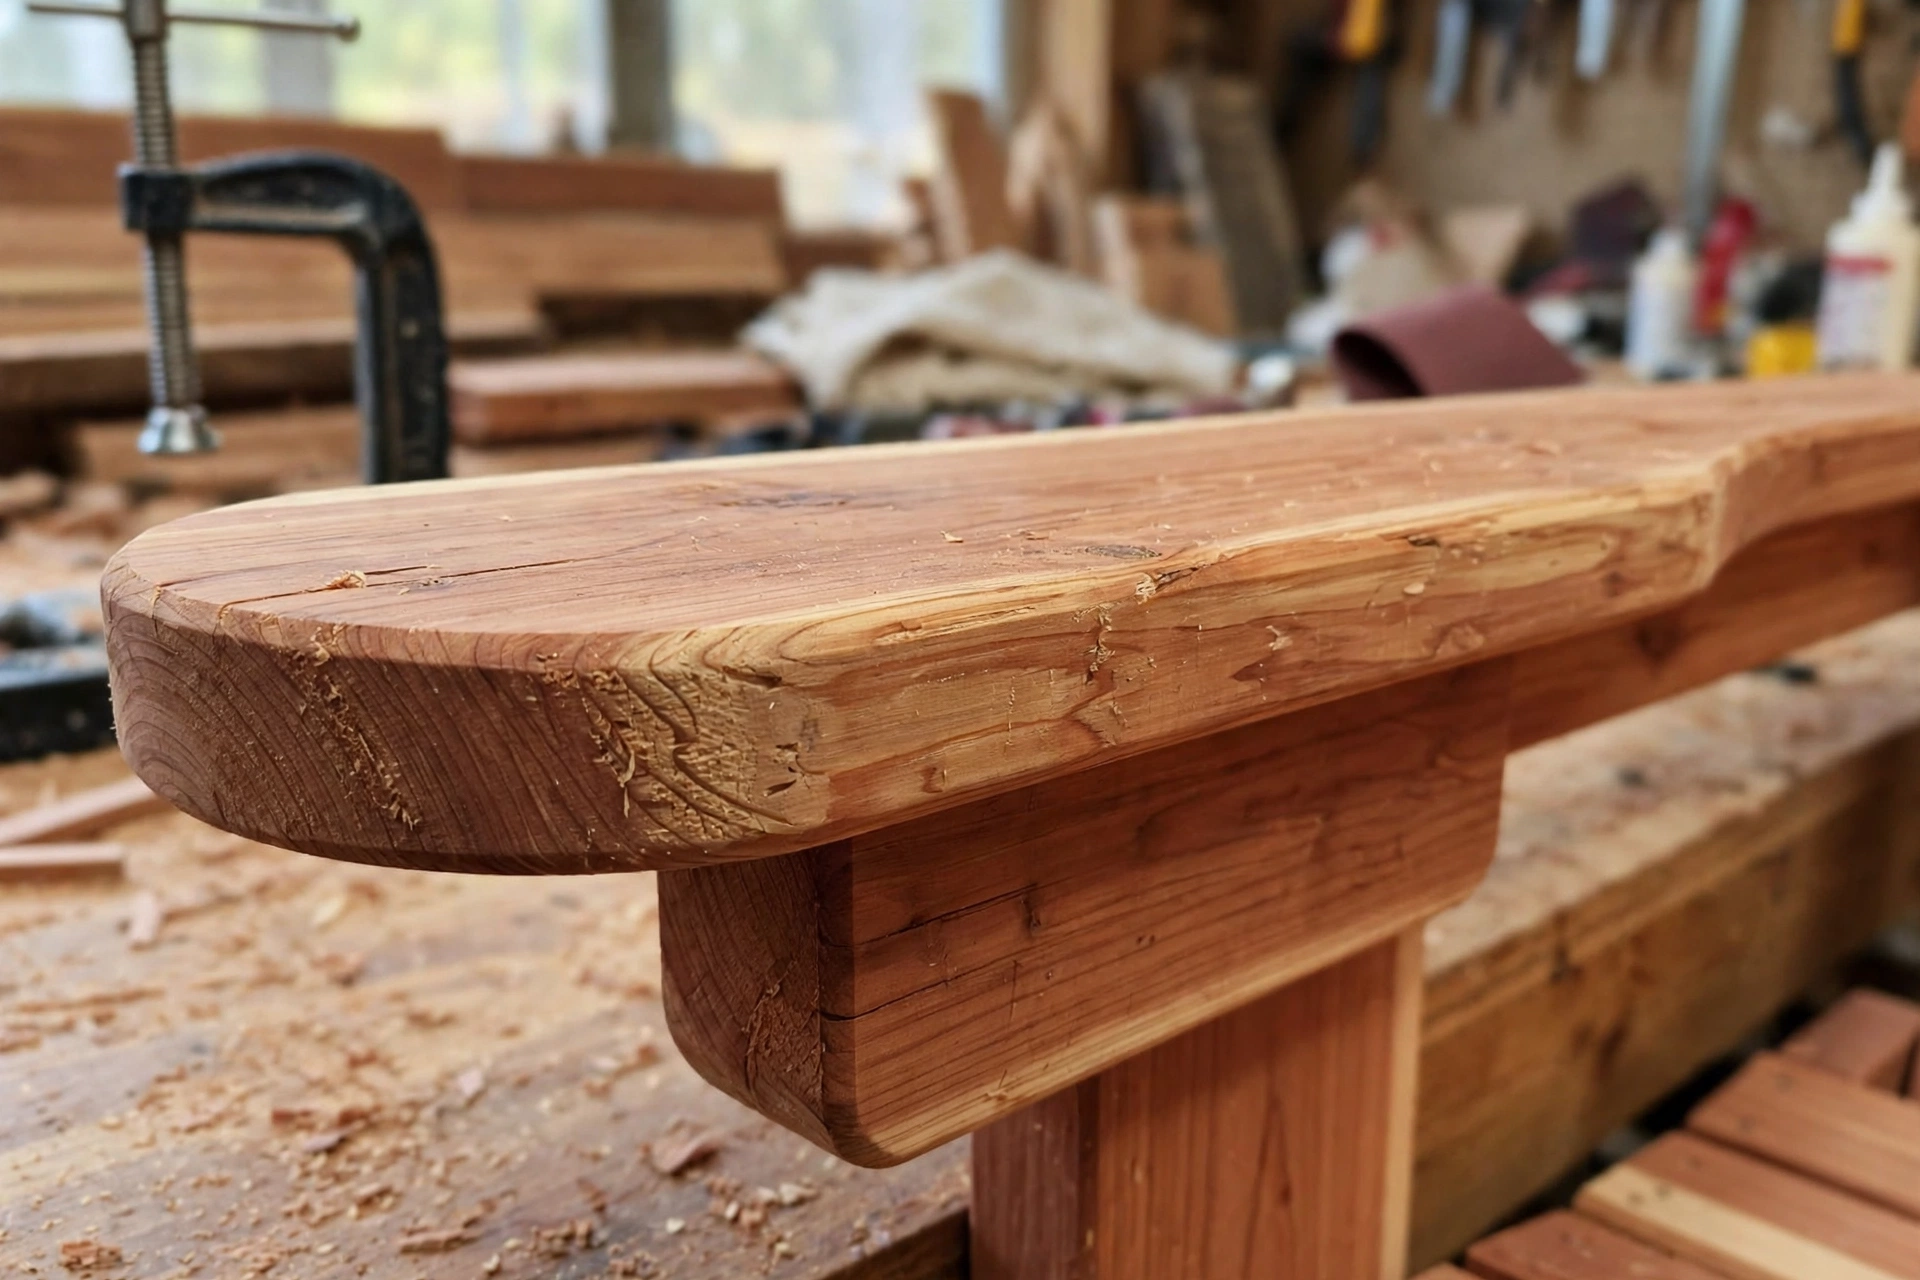
The wide, flat armrests are what make an Adirondack chair so relaxing — there is room for a book, a mug, and your elbows at the same time. Each armrest is a wide board with a rounded front end, supported at the front by a vertical arm support block and screwed to the back support at the rear.
Position each armrest so it sits level, or very slightly sloping down towards the front, and overhangs the front leg by about 50 mm. The rounded front end should face forward, with the curve sanded smooth so it is comfortable under your forearm. Screw the armrest down into the arm support and into the back support, again with pilot holes and countersunk screws. Check that both armrests are at the same height — a quick way to check is to lay a straight board across them and look for gaps.
Once the arms are on, the chair is structurally complete. Give it a thorough sanding at this stage, working through 80-grit and then 120-grit paper, and rounding over every exposed edge and corner. Sharp edges feel unpleasant and are the first places a finish wears off, so a few minutes with sandpaper here pays off for years. For a full walkthrough of sanding technique and finish application, see our guide on how to sand and finish wood for beginners.
Finishing Your Chair for the Outdoors
An outdoor chair lives a hard life: sun, rain, frost, and spilled drinks. The finish you choose decides how it looks in year three, not just on day one. There are three realistic options for a beginner, and each has a clear trade-off.
| Finish | Look | Recoat interval | Effort | Best for |
|---|---|---|---|---|
| Penetrating outdoor oil (e.g. teak or Danish oil for exterior use) | Warm, natural wood grain shows through | Every 12 months | Easy: wipe on, wipe off | Cedar chairs you want to keep looking like wood |
| Exterior spar varnish / marine varnish | Glossy, hard protective film | Every 2–3 years | Medium: brush coats, sand between coats | Pine chairs or chairs in harsh, wet climates |
| Exterior wood paint | Solid colour, hides grain | Every 3–5 years | Medium: prime first, two top coats | A painted statement chair, or hiding mixed wood tones |
| No finish (let cedar weather grey) | Silvery grey, rustic | None | None | A low-maintenance cedar chair where grey is welcome |
For a first chair in cedar, penetrating oil is the most forgiving choice. It cannot peel, it is easy to recoat, and it keeps the wood looking like wood. Apply it to all surfaces — including the underside and the ends of boards, where water soaks in fastest — and let each coat soak in before wiping off the excess. If you choose varnish, thin the first coat slightly so it soaks in, and sand lightly between coats for a smooth result. Whatever you choose, finish the chair before its first spell outdoors, and stand it on small feet or pads so the legs are not sitting in puddles.
Common Mistakes Beginners Make (and How to Avoid Them)
The most common mistake is skipping pilot holes. Cedar splits easily near board ends, and one split slat can mean cutting a replacement piece. Drill a pilot hole for every screw, and countersink so the screw head does not sit proud and catch clothing or skin.
The second mistake is mismatched sides. If the two side frames are not mirror images, the chair will twist, rock, or lean. Cut pairs together, label everything, and measure diagonals before you move on. The third mistake is rushing the curves — forcing the jigsaw, cutting inside the line, or skipping the sanding that smooths the shape. Slow down, cut outside the line, and sand to it.
Other pitfalls are easy to avoid once you know them: using interior screws outdoors, which rust and stain; finishing only the visible surfaces and leaving the underside bare, which lets moisture in from below; and building on an uneven surface, which makes a square chair look twisted. Finally, do not skip the sit-test. Sit in the chair before you finish it. If the seat feels too high, too flat, or too upright, it is far easier to adjust a support or trim a leg now than after three coats of varnish.
How Much Does It Cost to Build?
Cost depends mostly on your wood choice and on whether you already own the tools. A cedar chair typically costs between $90 and $160 in materials: roughly $70–$120 for the cedar boards, $10–$15 for exterior screws and glue, and $10–$25 for sandpaper and finish. A pressure-treated pine version usually comes in at $45–$80, which makes it an excellent first attempt if you are still building confidence.
Tool costs are separate, but most beginners already own a drill and a handsaw; a decent jigsaw is the one purchase this project really justifies, and it will serve you for years of future projects. If you plan to build a pair of chairs, buy all the wood at once: you will save a trip, you can pick matching boards, and the second chair always goes faster — many builders finish the second in half the time of the first.
Compare that with shop-bought Adirondack chairs, which commonly sell for $150–$400 each for cedar versions. Building your own saves money, but the real value is different: you get the exact wood and finish you want, a chair sized for your body, and the satisfaction of sitting in something you made. That is also why simple outdoor builds like this one are popular sellers at craft fairs and local markets.
Frequently Asked Questions
How long does it take to build a wooden Adirondack chair for beginners?
Most beginners finish one chair in a weekend: roughly 2–3 hours for cutting, 3–4 hours for assembly and sanding, and a few hours for finishing spread over two days to allow drying time. Your second chair will be noticeably faster because you already have the templates and the build order in mind.
Do I need a table saw to build an Adirondack chair?
No. Every cut in this project can be made with a circular saw or handsaw for the straight cuts and a jigsaw for the curves. A mitre saw makes crosscuts faster and more accurate, but it is a convenience, not a requirement.
What is the best wood for a beginner Adirondack chair?
Cedar is the best all-round choice for durability and ease of working, but pressure-treated pine is the best budget choice. Choose cedar if you want a chair that lasts a decade with minimal care, and pine if you want to practise the build at lower cost before committing to premium wood.
How do I stop my Adirondack chair from rotting?
Use exterior screws, drill pilot holes, finish all surfaces including the underside and board ends, and keep the chair off wet ground with small feet or a patio surface. Recoat oil finishes annually and varnish every two to three years, and store or cover the chair through the wettest months if you can.
Can I build an Adirondack chair without plans or templates?
You can, using the cut list and steps in this guide, but making a simple cardboard or plywood template for the back support curve and the armrest shape will save time and guarantee both sides match. Cut one piece, check it, and use it to mark its partner.
Should I paint or oil my Adirondack chair?
Oil is best if you want to see the wood grain and want easy recoating; paint is best if you want a bold colour or need to hide mixed wood tones. Varnish sits between the two, giving a harder protective film but requiring more preparation when it eventually needs recoating.
Can I leave a wooden Adirondack chair outside all year?
Cedar chairs can stay outside all year, especially if oiled, though they will last longer under cover in winter. Pine chairs benefit most from being stored or covered through winter. In either case, tip the chair slightly or cover it so water does not pool in the seat.
Your Finished Chair
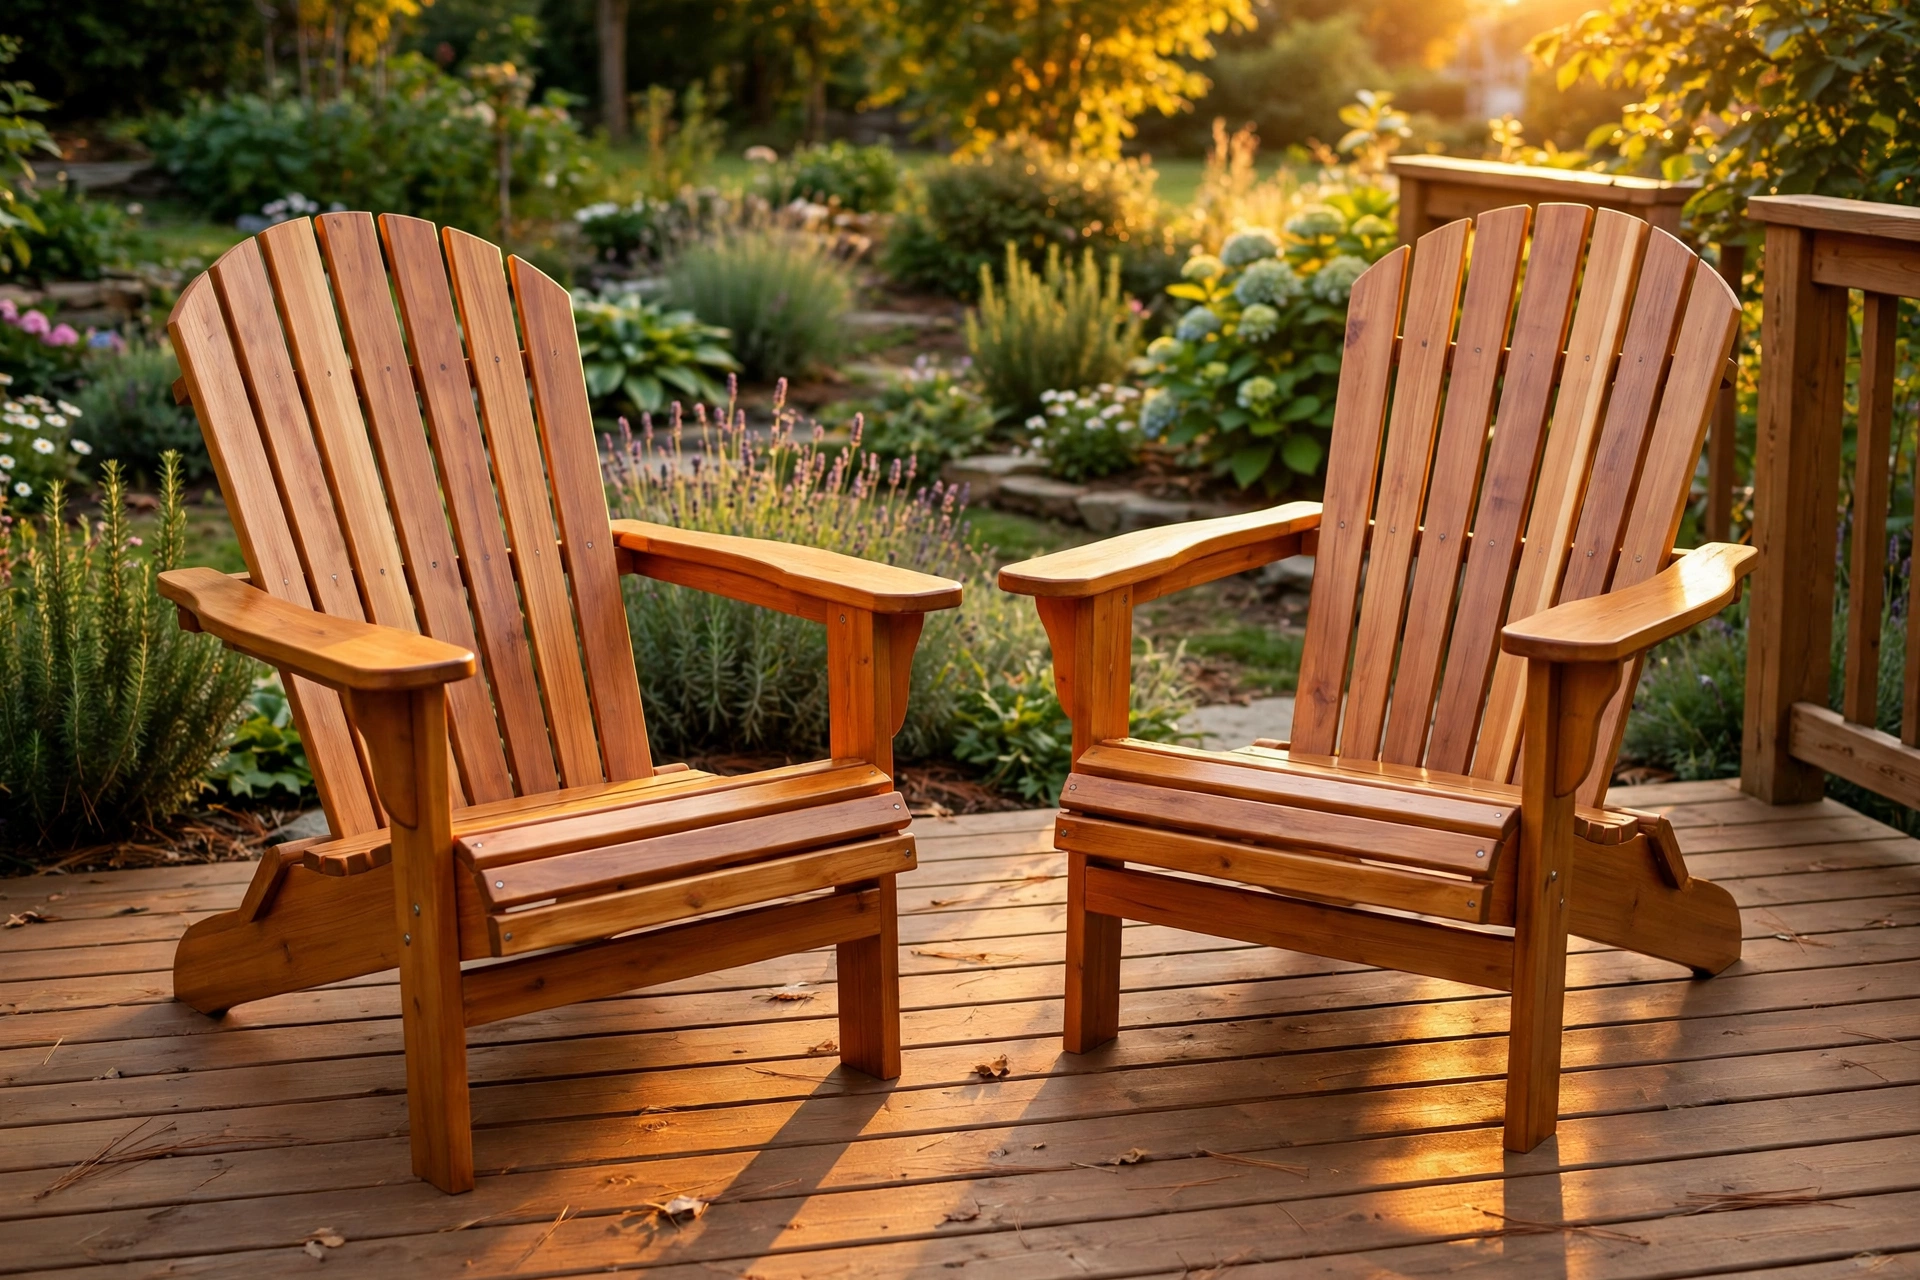
Stand back, brush off the sawdust, and sit down. A well-built Adirondack chair invites you to stay a while, and building one yourself makes that first sit-down genuinely memorable. If this is your first chair, consider building a matching second one while the measurements are fresh — and a small side table to go between them. Together, they turn a corner of a garden or porch into a place people actually gather.
Then keep the momentum going. The skills from this build — cutting curves, keeping pairs matched, spacing slats evenly, and finishing for the outdoors — transfer directly to benches, planters, and the rest of the beginner projects in our pillar guide to easy woodworking projects for beginners that sell. Happy building — and enjoy that first sit.
Recommended Products for This Project
As an Amazon Associate, I earn from qualifying purchases.
Bosch Top-Handle Jigsaw JS470E
Clean curved and straight cuts in wood with easy blade changes.
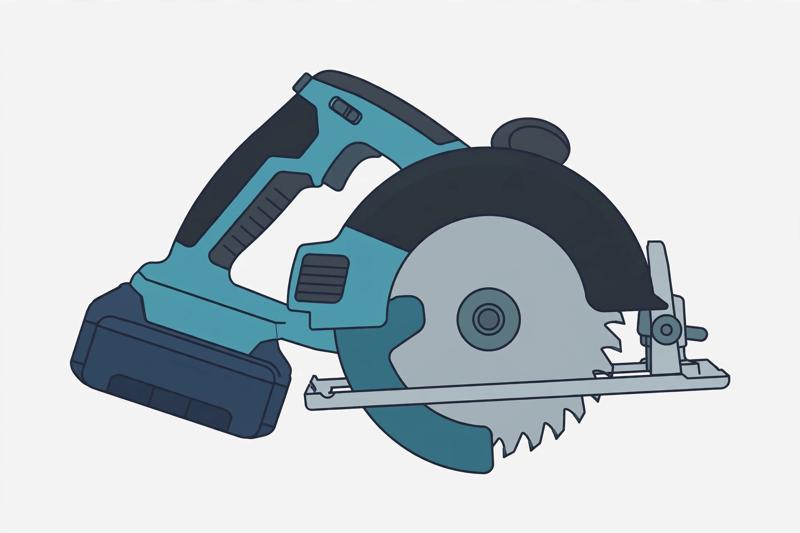
DEWALT 20V MAX Circular Saw DCS391B (Tool Only)
Cordless 20V power for straight, fast cuts in boards and plywood.

DEWALT Random Orbit Sander DWE6423, 5-Inch
Smooth, swirl-free sanding for furniture parts before finishing.

IRWIN QUICK-GRIP Clamps Set, 8-Piece (IRHT83220)
A versatile clamp assortment for everyday glue-ups.
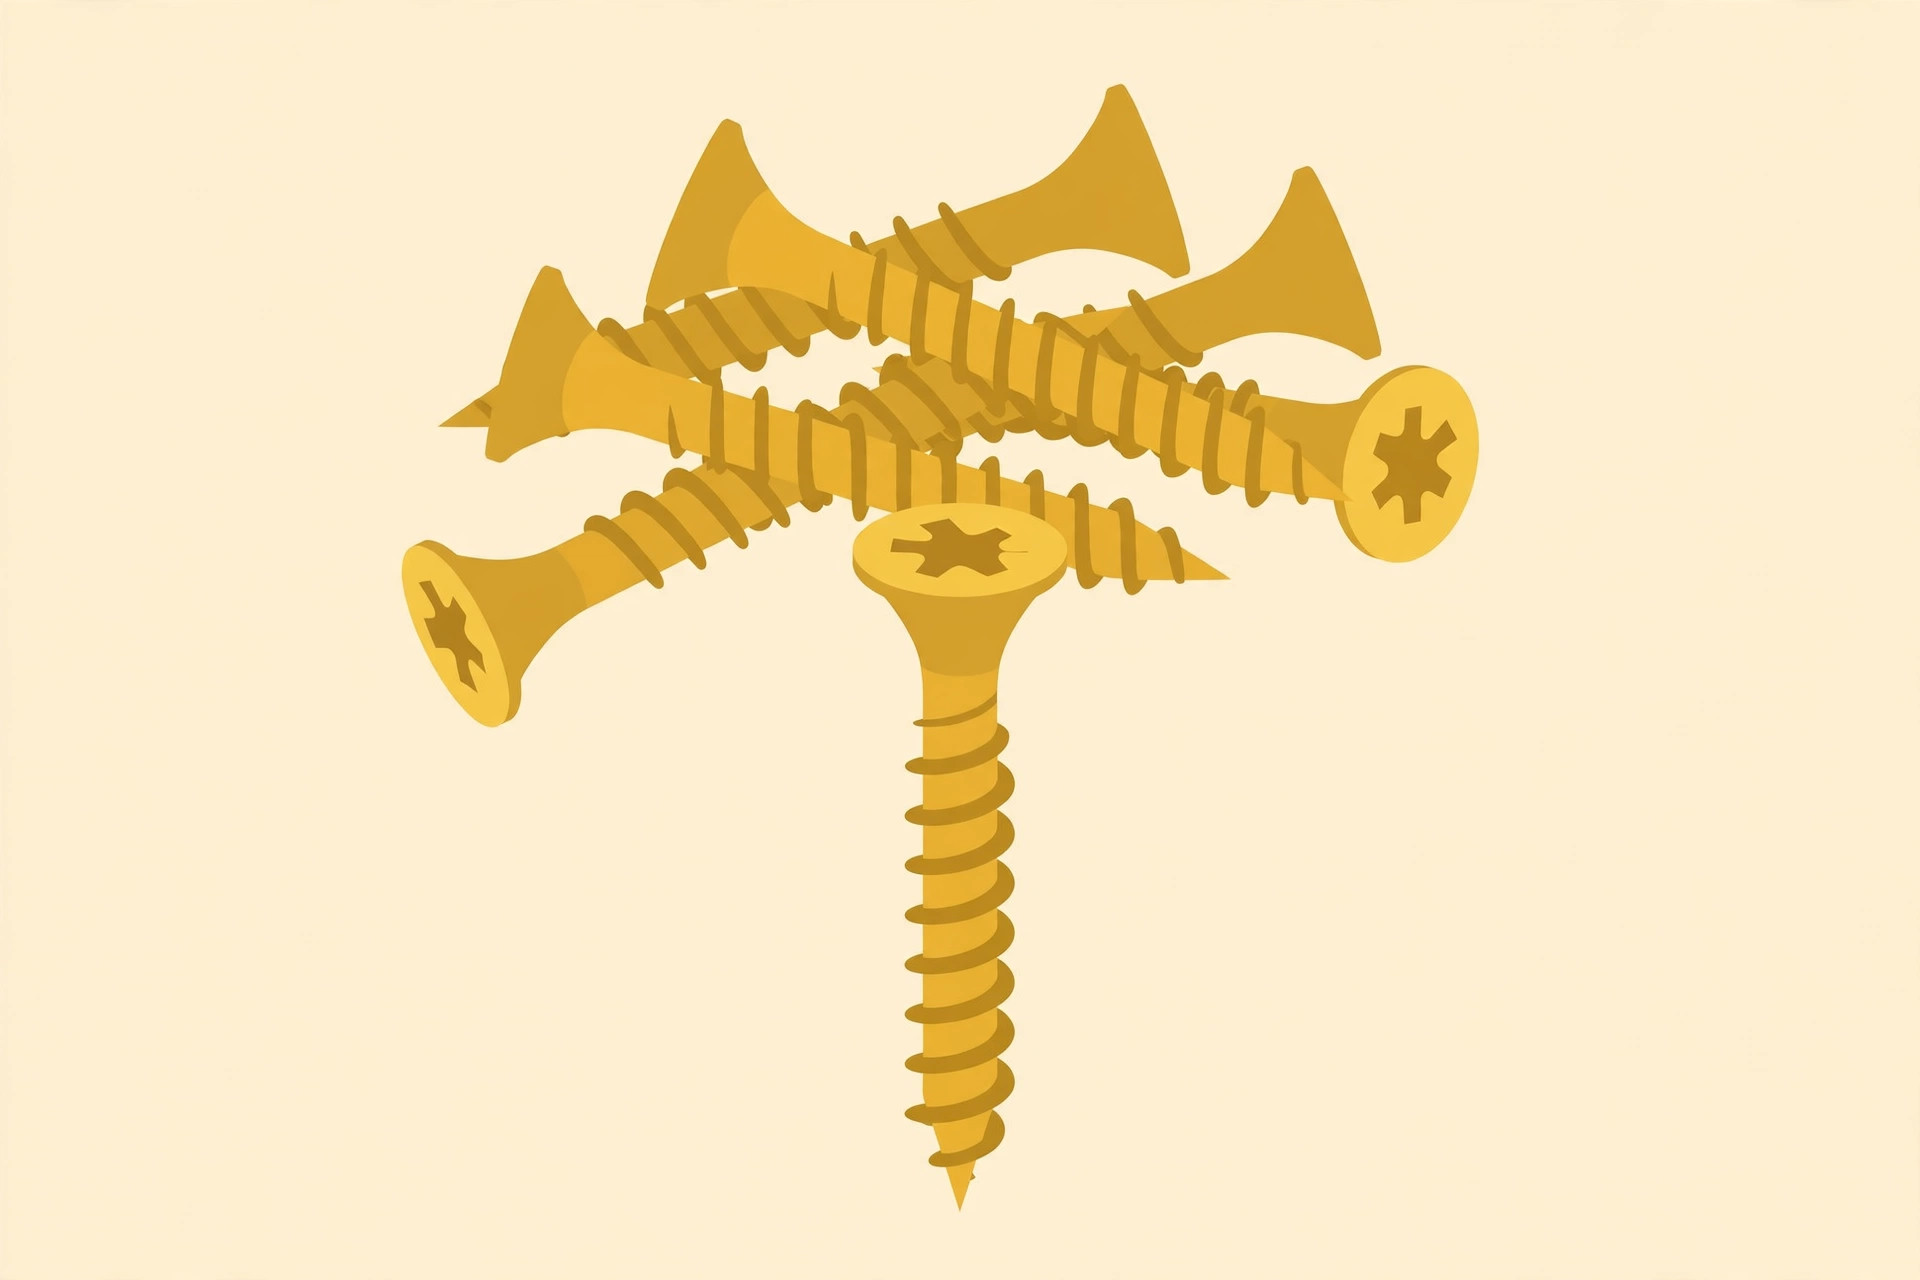
FIXLINK Deck Screws #8 x 2 Inch, 310-Pack
Rust-resistant coated screws that hold outdoor chair joints tight.


