
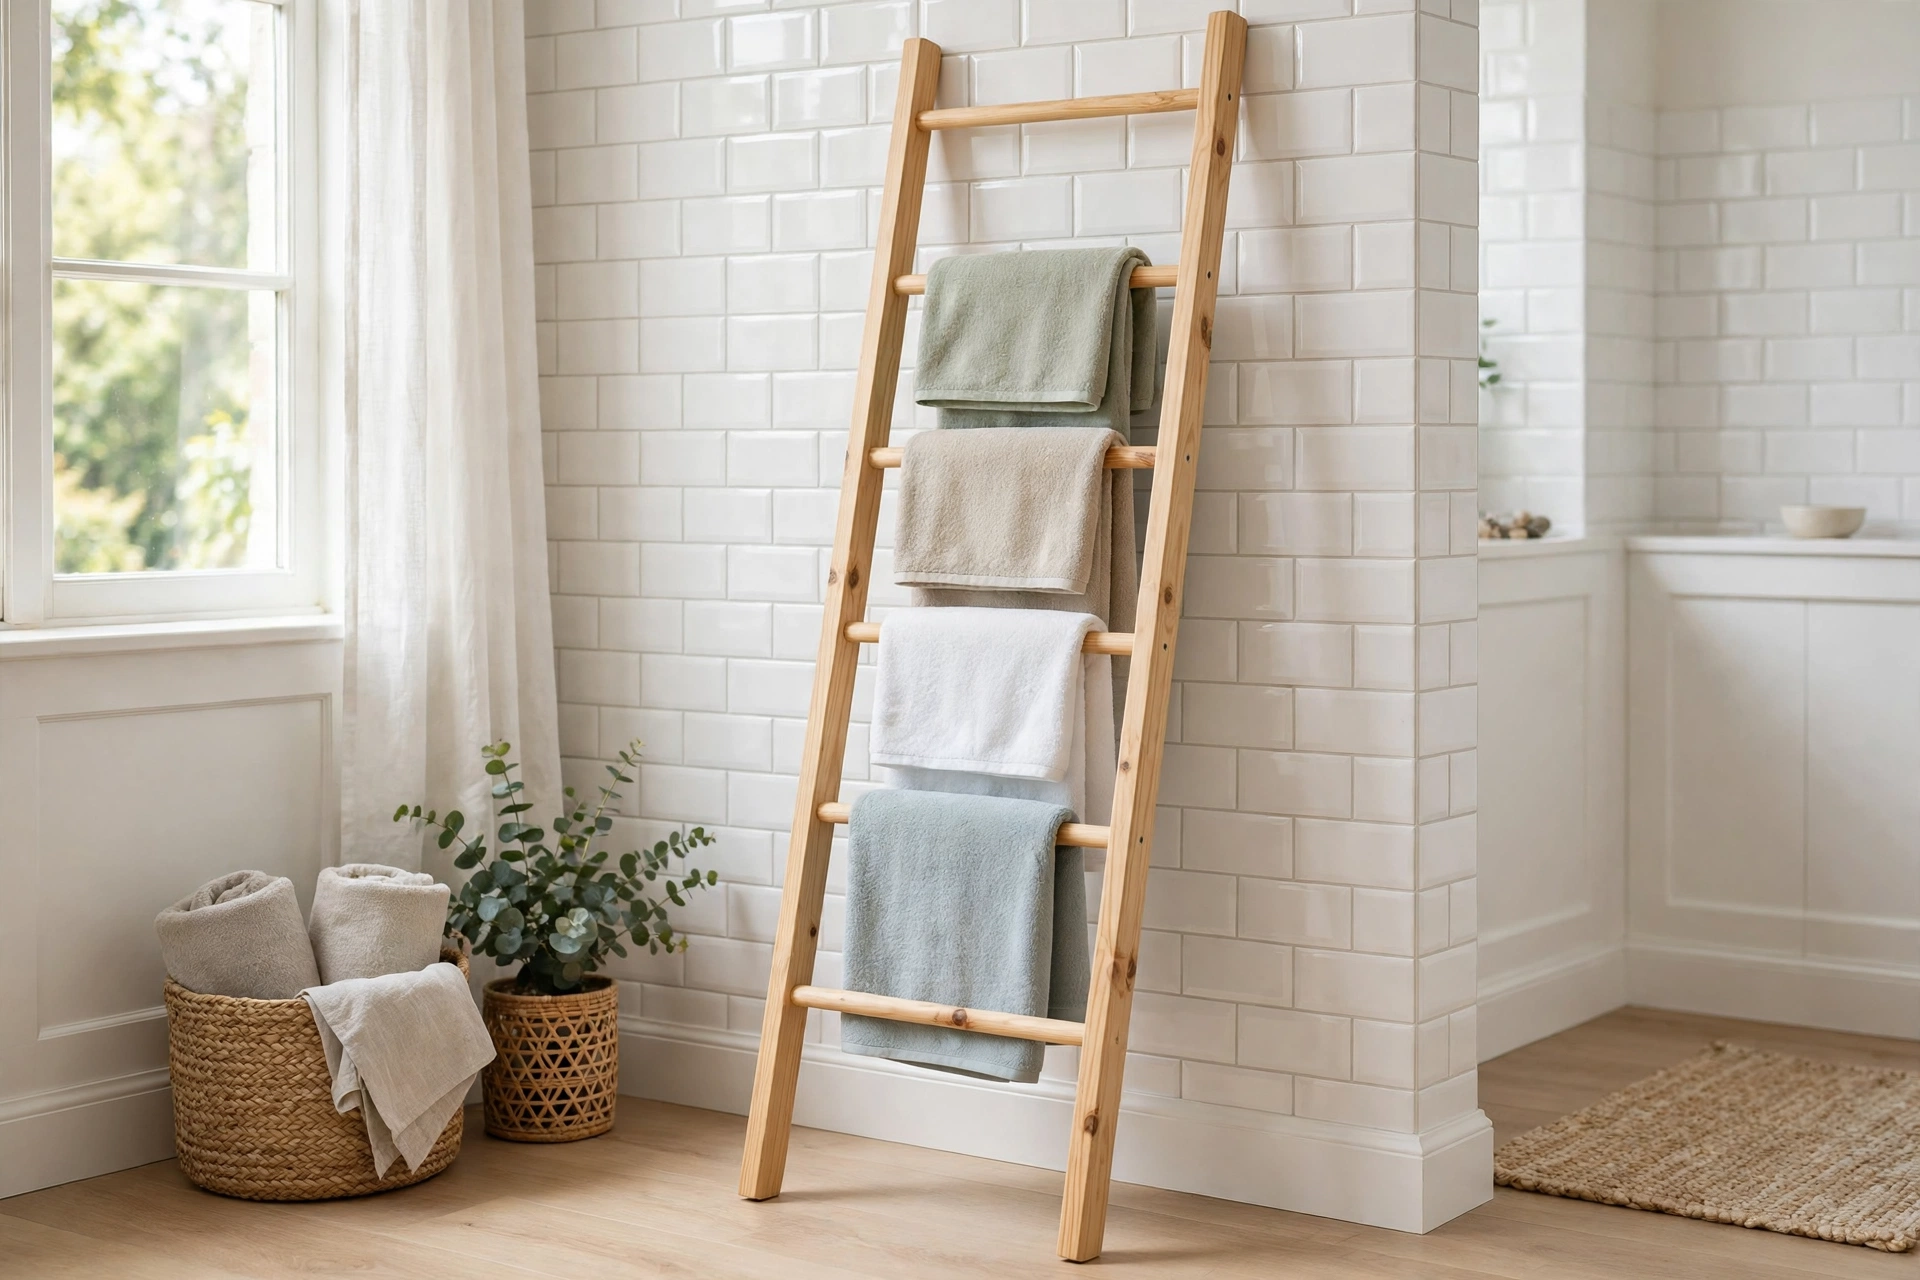
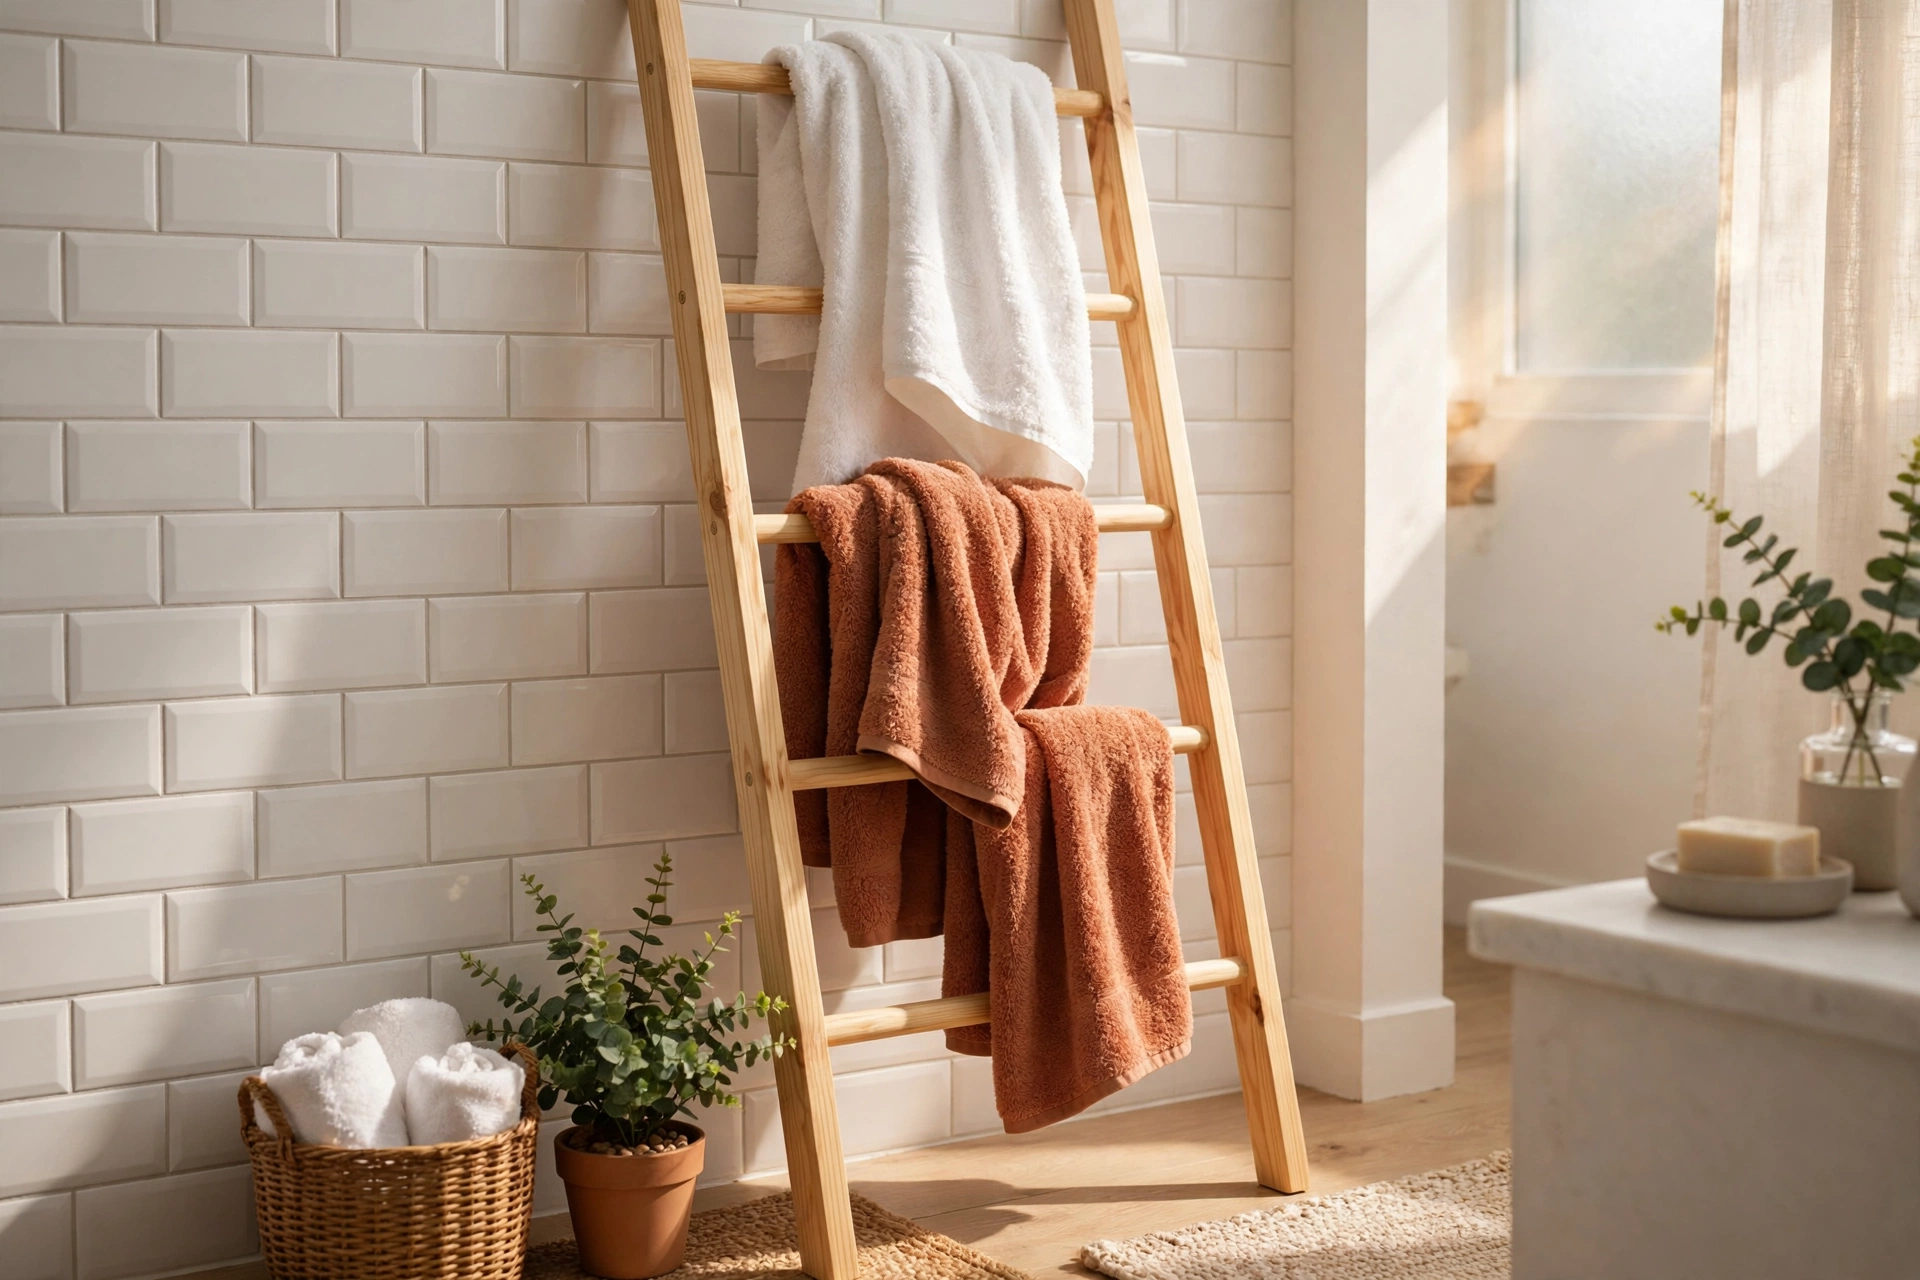
A wooden towel ladder is one of those rare projects that looks like it came from a home decor shop, costs very little to make, and teaches you real woodworking skills in a single afternoon. It leans against the bathroom wall, holds two or three towels at once, and takes up almost no floor space — which is exactly why it works so well in small bathrooms, guest bathrooms, and rental homes where you cannot drill into the tiles.
Why a Wooden Towel Ladder Is the Perfect Beginner Project
For a beginner, this project is wonderfully forgiving. There are only two long side rails and five round rungs to cut, the joints are simple glued dowel joints with no screws showing, and every cut is a straight crosscut. If you can measure accurately, drill a straight hole, and sand with the grain, you can build this ladder. A mistake on one rung costs you a few pence of dowel, not a whole project.
This guide shows you exactly how to build a wooden towel ladder for beginners, from choosing the size and the right wood to getting the lean angle right, spacing the rungs so towels hang without bunching, and sealing it with a moisture-resistant finish that survives daily steam and splashes. By the end of the weekend you will have a piece of bathroom furniture you use every single day.
If you are new to woodworking, this ladder pairs beautifully with other beginner builds in the same skill range. A set of floating shelves for beginners teaches the same measuring and drilling skills on a wall-mounted project, and a wooden storage bench for beginners uses a similar cut-list-and-assembly approach on a larger scale. For a broader starting point, browse the pillar guide to easy woodworking projects for beginners that sell.
How to Build a Wooden Towel Ladder for Beginners: Sizing It Right
Before you buy any wood, decide where the ladder will live and how many towels it needs to hold. Size is the one thing you cannot easily fix later, so measure your bathroom wall first.
How Tall and How Wide?
A towel ladder needs to be tall enough that the top rung sits above head height when it leans, so a folded towel draped over it hangs clear of the floor. For most bathrooms, a ladder 175 cm (69 inches) tall and 60 cm (24 inches) wide is the sweet spot: it holds two bath towels and a hand towel comfortably, and it fits neatly beside a vanity or a door without blocking anything.
Width matters more than most beginners expect. A standard bath towel is about 70 cm (28 inches) wide when unfolded, and about 35 cm (14 inches) wide when folded in half lengthways. A 60 cm (24 inch) wide ladder holds a folded bath towel with a little room to spare on each side, which is exactly what you want — towels that overhang the rails look messy and slide off. Go narrower than 50 cm (20 inches) and towels bunch up; go wider than 70 cm (28 inches) and the ladder starts to dominate a small bathroom.
The Size Guide
Use this table to pick your dimensions before cutting. The cut list later in this guide is based on the standard 5-rung size, but the same method scales up or down: the side rails set the height, the dowels set the width, and the rung count follows the height.
| Size | Overall Height | Width | Rungs | Best For |
|---|---|---|---|---|
| Small / cloakroom | 150 cm (59 in) | 50 cm (20 in) | 4 | Hand towels, guest bathroom, tight spaces |
| Standard (this guide) | 175 cm (69 in) | 60 cm (24 in) | 5 | 2 bath towels + 1 hand towel, family bathroom |
| Tall / family | 190 cm (75 in) | 65 cm (26 in) | 6 | 3 bath towels, large bathroom, drying laundry |
| Wide / double | 175 cm (69 in) | 75 cm (30 in) | 5 | Two towels side by side, shared bathroom |
A quick sanity check before you cut: stand a tape measure against the wall where the ladder will lean and mark 175 cm (69 inches) up the wall. Then check that the spot is clear of towel rings, light switches, and the door swing. The base of the ladder will sit about 45 cm (18 inches) out from the wall, so make sure it does not block a walkway or the toilet.
Choosing the Right Wood
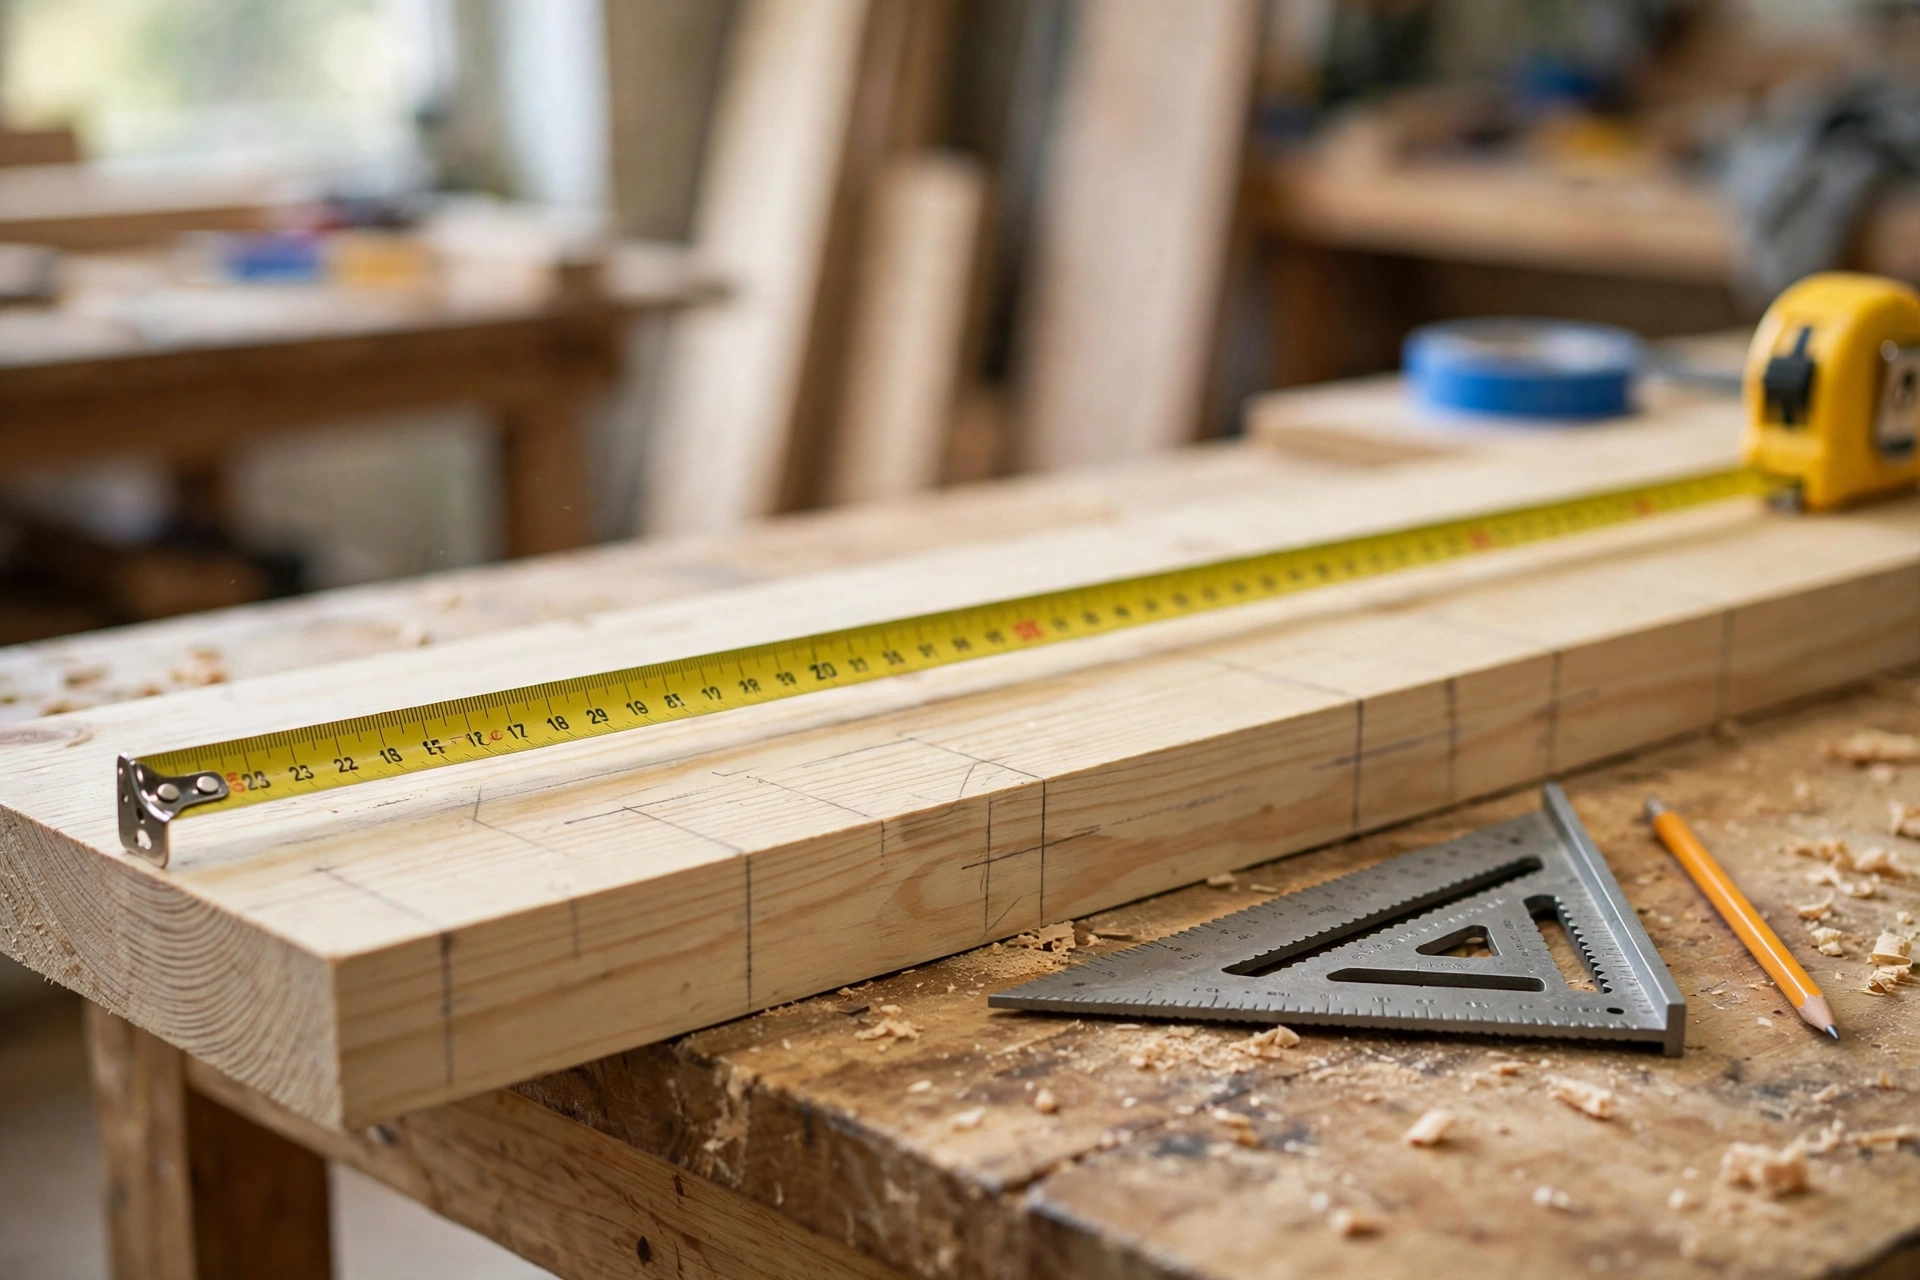
Pine is the best choice for a first towel ladder. It is cheap, light, easy to cut and drill, and it takes stain and oil finishes beautifully. Buy kiln-dried pine boards rather than green or construction lumber, which can warp as it dries — a warped side rail is the one defect that will make your ladder wobble.
For the rungs, use hardwood dowel rod rather than pine dowel if you can find it. A 25 mm (1 inch) beech or oak dowel is stiffer than pine, so it will not bow under the weight of a wet bath towel. Pine dowel works too, but keep the ladder width at 60 cm (24 inches) or less if you use it, because a long pine dowel sags in the middle over time.
If you want a premium, spa-like look, cedar is a lovely upgrade: it smells wonderful, resists moisture naturally, and looks great with a clear oil finish. It costs more than pine and is softer, so handle it gently while you work. Teak is the classic bathroom wood and practically waterproof, but it is expensive and hard on beginner tools, so save it for your second ladder. Whatever species you choose, sight down each board before you buy and reject any that are bowed, twisted, or cupped — straight rails are essential when two rails have to match each other exactly.
Tools and Materials You Will Need
You do not need a workshop full of machinery. This build is designed around the tools most beginners already own or can borrow:
- Mitre saw or circular saw with a straight-edge guide (a handsaw works too)
- Cordless drill/driver and a 25 mm (1 inch) Forstner bit or spade bit
- Tape measure, pencil, speed square, and a spirit level
- 120-grit and 220-grit sandpaper, plus a sanding block
- Wood glue, two clamps, and a rubber mallet
- Safety glasses and a dust mask
- Clean cloth and a brush for applying the finish
Materials for the standard 175 cm (69 inch) ladder: two pine side rails, five hardwood dowel rungs, wood glue, sandpaper, and a moisture-resistant finish. That is the whole shopping list — there are no screws, brackets, or wall fixings in this project, which is part of its charm. The dowels are glued into blind holes in the rails, so the finished ladder has clean, unbroken lines on both faces.
The Exact Cut List
Every piece in this ladder comes from two pine boards and one length of dowel rod. Cut the longest pieces first, then the rungs. Label each piece with a pencil as you cut it, and keep the two side rails together as a matched pair — they must be identical in length, or the ladder will lean crooked.
| Part | Quantity | Dimensions | Notes |
|---|---|---|---|
| Side rails | 2 | 175 cm × 6.5 cm × 2 cm (69 × 2.5 × 3/4 in) | Pine; cut the bottom ends at 15° later |
| Dowel rungs | 5 | 56 cm long × 25 mm diameter (22 × 1 in) | Hardwood dowel; fits 60 cm overall width |
| Rubber feet (optional) | 2 | To fit rail ends | Non-slip pads or caps for the feet |
| Felt wall pads (optional) | 2 | Small adhesive pads | Protect the wall where rails touch it |
Why are the rungs 56 cm (22 inches) long when the ladder is 60 cm (24 inches) wide? Each rung disappears 2 cm (3/4 inch) into a blind hole in each rail, so the visible span between the rails is 52 cm (20.5 inches) and the overall width stays at 60 cm. If you change the ladder width, change the rung length by the same amount and keep the 2 cm of dowel buried in each rail.

Step-by-Step Build
Step 1: Mark the Rung Positions
Lay the two side rails side by side on your workbench, edges flush, and clamp them together lightly. Marking both rails at the same time is the single best trick in this whole project — it guarantees the rung holes line up perfectly, which is what makes the ladder square and the rungs level.
Measure up from the bottom end of the rails and mark the centre of each rung hole. Use the spacing table below, which keeps the bottom rung high enough that a towel draped over it clears the floor, and the top rung low enough that you can reach it without stretching.
| Rung (from bottom) | Height from Floor End | Gap to Next Rung |
|---|---|---|
| Rung 1 | 35 cm (14 in) | 30 cm (12 in) |
| Rung 2 | 65 cm (26 in) | 30 cm (12 in) |
| Rung 3 | 95 cm (37 in) | 30 cm (12 in) |
| Rung 4 | 125 cm (49 in) | 30 cm (12 in) |
| Rung 5 | 155 cm (61 in) | 20 cm (8 in) to the top of the rails |
Why 30 cm (12 inches) between rungs? A bath towel folded in half is about 35 cm (14 inches) long when draped over a rung, so a 30 cm gap gives each towel room to hang without resting on the rung below, while still keeping the towels close enough that the ladder does not have to be enormous. Wider spacing wastes height; tighter spacing makes towels bunch and dry slowly. Mark each position with a pencil cross on the inside face of both rails, and double-check the marks with a tape measure before you drill — a hole in the wrong place cannot be moved.
Step 2: Drill the Rung Holes
This is the most important step in the build, so take your time. Fit a 25 mm (1 inch) Forstner bit in your drill — it cuts a clean, flat-bottomed hole, which is exactly what a dowel joint needs. A spade bit works too, but it tears the wood more and is harder to keep straight.
Set a depth stop on the bit (a strip of masking tape wrapped around the bit works well) so every hole is exactly 20 mm (3/4 inch) deep. Drill straight down into the inside face of each rail at every pencil mark, keeping the drill as square to the wood as you can. A drill press makes this effortless, but a hand drill with a steady grip and a speed square held against the bit as a visual guide works fine. Blow or brush the sawdust out of each hole and test-fit a short offcut of dowel — it should slide in snugly with a firm push, not rattle and not need a hammer.

Step 3: Cut the Dowels and Angle the Feet
Cut the five dowel rungs to 56 cm (22 inches) each, and sand the ends lightly so they slide into the holes without catching. If a dowel is a fraction too tight, sand the end rather than forcing it — a forced dowel can split the rail from the inside, and you will not see the crack until the glue dries.
Now cut the lean angle into the bottom of the rails. A towel ladder leans at about 75 degrees to the floor (15 degrees off the wall), and if the feet are cut square, only the back edge touches the floor and the ladder rocks. Mark a 15-degree angle on the bottom end of each rail with your speed square and cut along it, so the full face of the foot sits flat on the floor when the ladder leans. Do the same at the top of the rails if you like — a matching 15-degree cut there lets the rails sit flush against the wall instead of touching it on one edge.
Step 4: Glue Up the Ladder
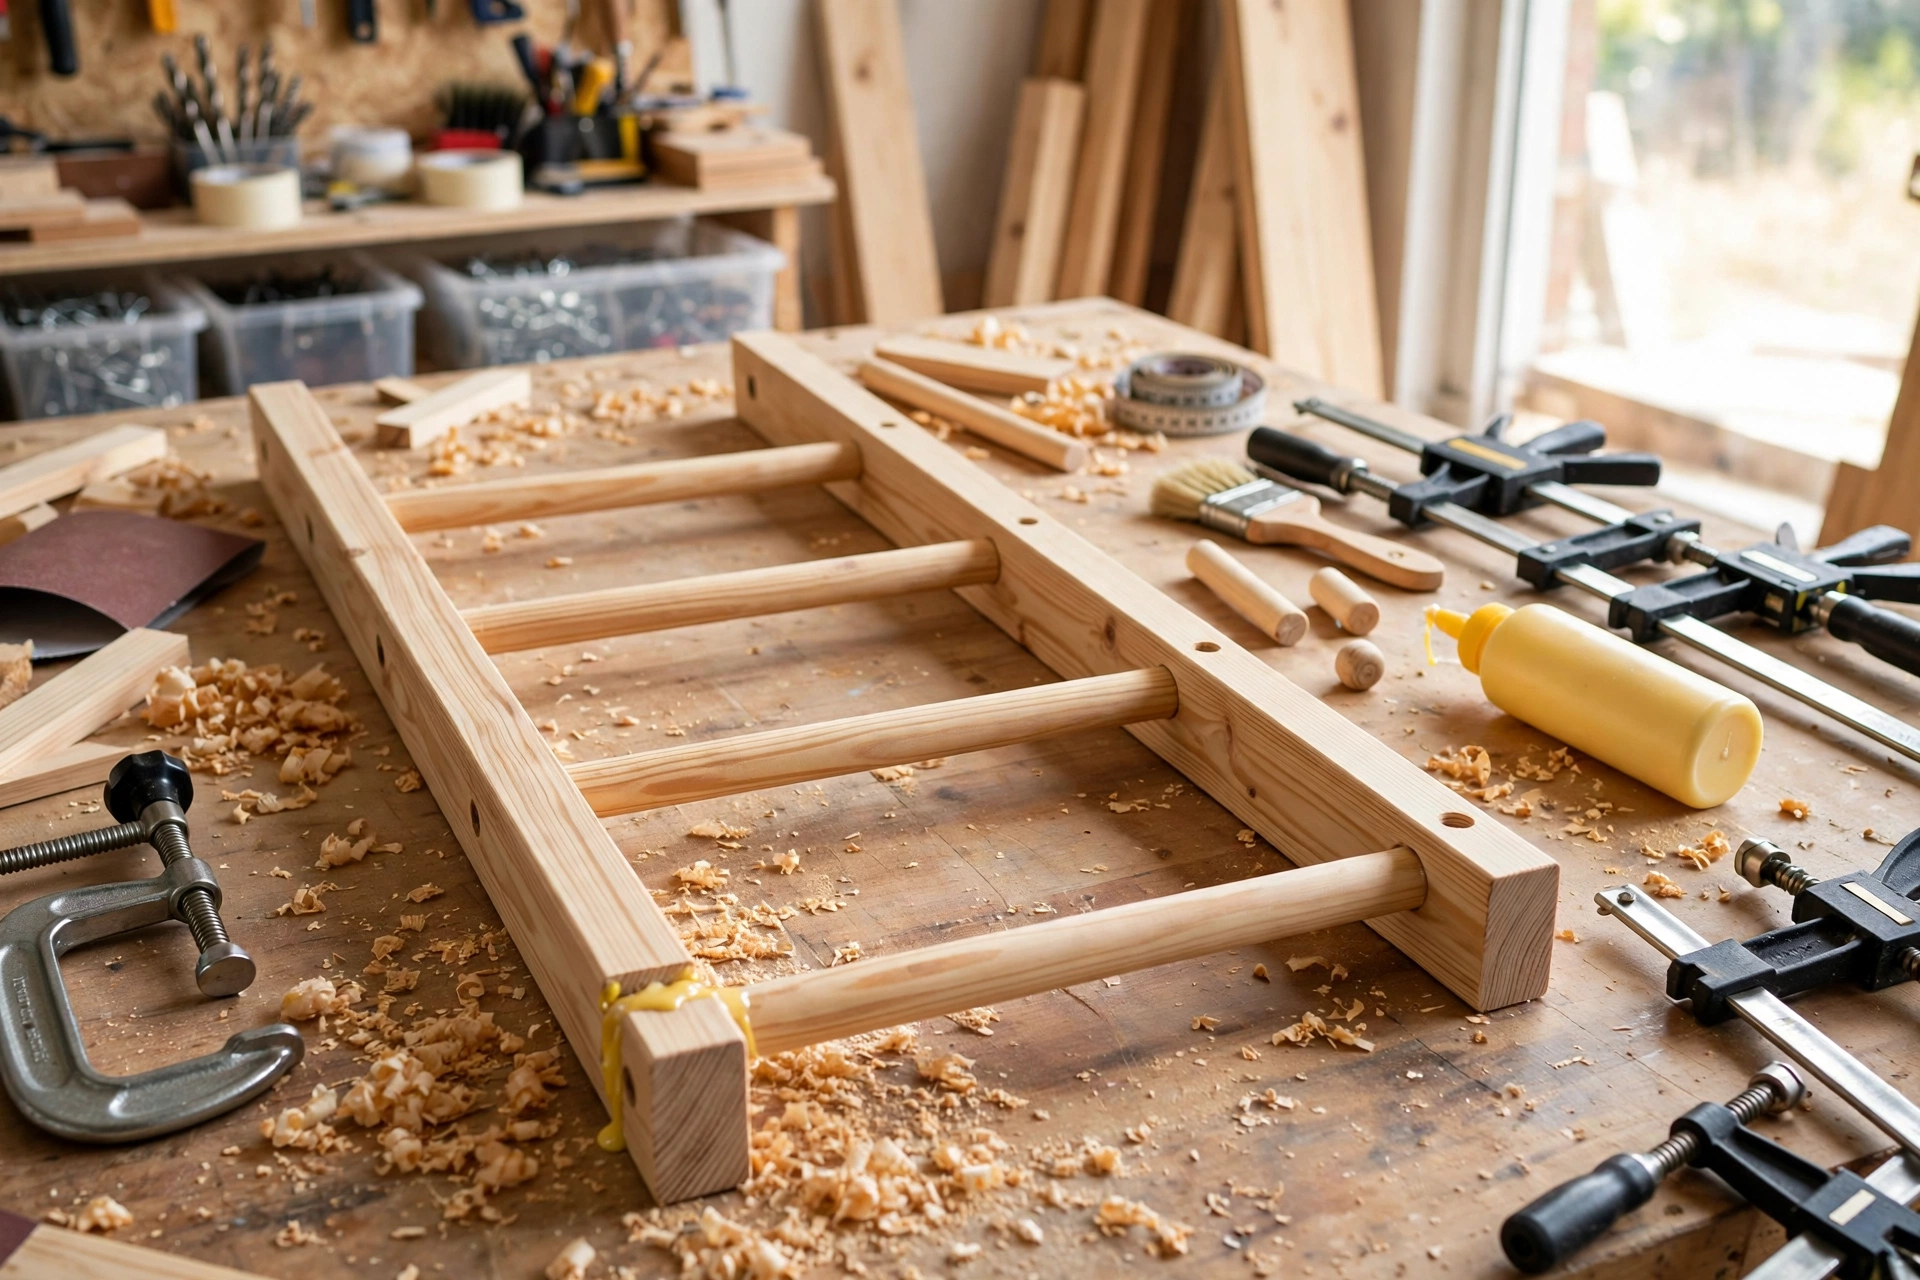
Dry-fit the whole ladder first, without glue: slide all five dowels into one rail, then offer up the second rail and tap it home gently with a rubber mallet. Check that the ladder is square by measuring diagonally from corner to corner — when both diagonals match, it is square. If a rung is stubborn, find out why before you reach for the glue; a dowel that is slightly too long or a hole full of sawdust is easy to fix now and impossible to fix later.
Once the dry fit is perfect, take it apart and glue it up. Brush a thin coat of wood glue inside each hole and on the ends of each dowel, slide the dowels into one rail, then fit the second rail and tap it home. Clamp the ladder flat on your workbench, check it is square again, and wipe away any glue squeeze-out with a damp cloth before it dries — dried glue shows up as a pale blotch under a clear finish. Leave the clamps on for at least an hour, and do not lean the ladder against a wall for a full 24 hours while the glue cures.
Step 5: Check the Lean Angle and Add Non-Slip Feet
Stand the ladder against the wall where it will live and check the lean. The top of the rails should sit about 45 cm (18 inches) out from the wall at the base — that is the 75-degree lean angle in practice, and you can check it with a tape measure from the wall to the feet. If the ladder feels like it might slide, it is leaning too steeply; pull the feet out a few centimetres. If it feels tippy or takes up too much floor, push the feet in.
Stick self-adhesive rubber feet or small rubber caps on the bottom of each rail so the ladder grips the floor and does not scratch tiles or wood flooring. A pair of small adhesive felt pads on the back of the rails where they touch the wall protects painted walls and stops the ladder marking the plaster. These two tiny additions cost almost nothing and make the difference between a ladder that stays put and one that slowly slides across the floor every time you grab a towel.
Finishing: Moisture-Resistant Protection for a Bathroom
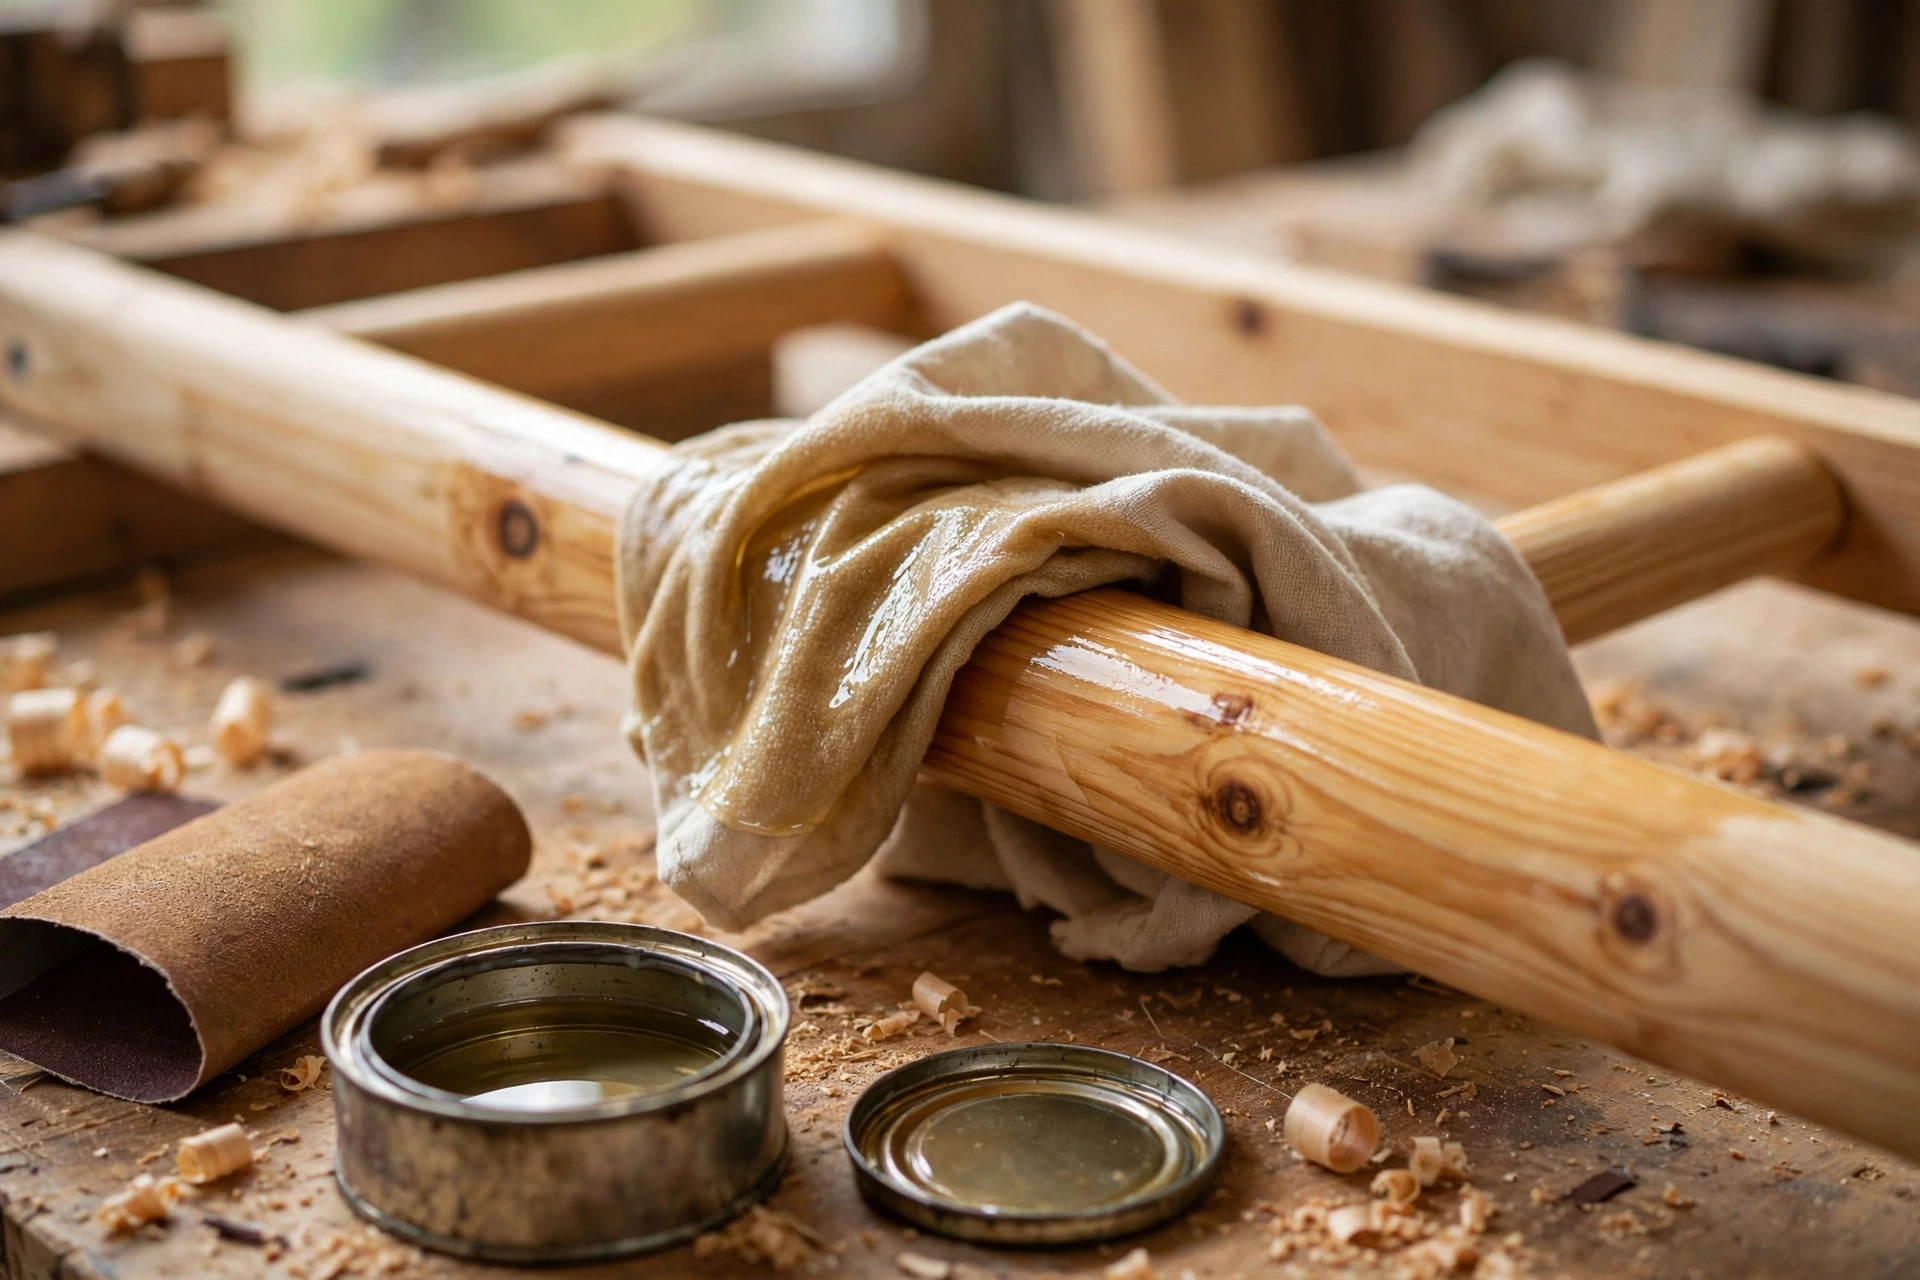
A towel ladder lives in the steamiest room in the house, so the finish is not decoration — it is the thing that keeps the ladder from going grey, swelling, and growing mildew. Our full guide to sanding and finishing wood for beginners covers the techniques in detail, but the essentials for a bathroom are simple: sand smooth, seal every surface including the ends, and choose a finish made for wet environments.
Sand the whole ladder with 120-grit, then 220-grit, always with the grain, and round over the edges of the rails slightly — sharp edges feel uncomfortable when you grab a towel and they chip easily. Wipe the ladder down with a slightly damp cloth to raise the grain, let it dry, and give it one final light pass with 220-grit. Pay special attention to the dowel rungs, which your hands touch every day.
| Finish | Moisture Resistance | Coats Needed | Best For |
|---|---|---|---|
| Spar urethane (water-based) | Excellent | 3 thin coats | Best all-round choice; dries fast, barely smells |
| Marine varnish | Excellent | 3 coats | Maximum protection; slightly amber tint |
| Hardwax oil | Good | 2 coats | Natural matte look; easy to patch-repair later |
| Teak or tung oil | Good | 3–4 coats | Warm, natural glow; needs re-oiling yearly |
| Bathroom paint (satin) | Excellent | Primer + 2 coats | Painted look; hides pine knots completely |
For most beginners, three thin coats of water-based spar urethane is the safest choice: it dries in a couple of hours, resists steam and splashes, and does not yellow the pine the way oil-based varnish does. Apply thin coats with a foam brush, sand very lightly with 220-grit between coats, and let the final coat cure for a full 24 hours before hanging damp towels on it. Whichever finish you choose, seal the end grain of the rails and the dowel ends generously — end grain drinks in moisture far faster than the faces, and it is where water damage starts.
Common Mistakes to Avoid
- Drilling the rung holes at different depths. Uneven holes make the rungs sit crooked and the ladder twist. Use a depth stop on the bit and drill every hole to exactly 20 mm (3/4 inch).
- Marking each rail separately. Even a 2 mm difference between rails makes the rungs slope. Clamp the rails together and mark them as a pair.
- Skipping the foot angle. Square-cut feet only touch the floor on one edge, so the ladder rocks and slides. Cut the 15-degree angle so the whole foot sits flat.
- Leaning the ladder too steeply. A ladder at 80 degrees or more slides down the wall; at less than 70 degrees it eats floor space. Aim for 75 degrees, with the feet about 45 cm (18 inches) from the wall.
- Using untreated pine in a bathroom. Bare pine absorbs steam, goes grey, and grows mildew within months. Seal every surface, including the inside of the rung holes, before the ladder goes in the bathroom.
- Forcing tight dowels. A dowel that needs a hammer to fit can split the rail from the inside. Sand the dowel end until it slides in with a firm push.
- Gluing before a dry fit. Once glue is in the holes, there is no second chance. Always assemble the ladder dry first and check it is square.
How Much Does It Cost?
A wooden towel ladder is one of the cheapest pieces of real furniture you can build. A similar ladder from a home decor shop typically costs £60–£150 (or $75–$180), so the savings are substantial even after buying the finish.
| Item | Estimated Cost | Notes |
|---|---|---|
| Pine boards for side rails | £12–£18 / $15–$22 | Two 180 cm boards, kiln-dried pine |
| Hardwood dowel rod (25 mm) | £8–£12 / $10–$15 | One 300 cm length covers all five rungs |
| Wood glue, sandpaper | £6–£10 / $8–$12 | You may already own these |
| Moisture-resistant finish | £10–£18 / $12–$22 | Spar urethane or hardwax oil; one tin covers several projects |
| Rubber feet + felt wall pads | £3–£5 / $4–$6 | Cheap insurance against slipping and wall marks |
| Total | £39–£63 / $49–$77 | Roughly half the price of a shop-bought ladder |
If you already own glue, sandpaper, and a tin of finish, you can realistically build this ladder for the price of the wood and dowel alone. Check your offcut bin before buying: the rails are long, but the dowel rungs are short pieces that often come free from earlier projects. And if you enjoy building simple furniture from a cut list, a simple garden bench for beginners is a great next project that uses the same measuring, cutting, and assembly skills outdoors.
Frequently Asked Questions
How long does it take to build a wooden towel ladder?
Most beginners finish in one afternoon: about two hours for measuring, cutting, drilling, and gluing, plus drying time for the finish. If you use a fast-drying water-based spar urethane, you can apply three coats in a single day and hang the ladder the next morning. Allow the glue a full 24 hours to cure before you lean the ladder against the wall and load it with towels.
What angle should a wooden towel ladder lean at?
Aim for about 75 degrees from the floor, which is 15 degrees off the wall. In practice, that means the feet sit about 45 cm (18 inches) out from the wall for a 175 cm (69 inch) ladder. This angle is stable, keeps towels clear of the wall, and does not eat up floor space. Steeper than 80 degrees and the ladder can slide; shallower than 70 degrees and it sticks too far into the room.
How far apart should the rungs be on a towel ladder?
Space the rungs 30 cm (12 inches) apart, centre to centre. A bath towel folded in half is about 35 cm (14 inches) long when draped over a rung, so 30 cm spacing lets each towel hang freely without resting on the rung below. Put the bottom rung 35 cm (14 inches) up from the floor so the towel clears the skirting board and the floor.
What is the best wood for a bathroom towel ladder?
Pine is the best choice for beginners — cheap, light, and easy to work — as long as you seal it properly with a moisture-resistant finish. Use hardwood dowel (beech or oak) for the rungs because it is stiffer than pine and will not bow under a wet towel. Cedar is a lovely upgrade: it resists moisture naturally and smells wonderful, but it costs more.
Will a wooden towel ladder damage my bathroom wall or floor?
Not if you fit the two cheap extras in this guide: self-adhesive rubber feet on the bottom of the rails stop the ladder sliding and protect the floor, and small felt pads on the back of the rails where they touch the wall protect paint and plaster. Check the pads once a year and replace them if they wear thin.
Can I build a towel ladder without a drill press?
Yes. Every hole in this project is a straight hole drilled with a 25 mm (1 inch) Forstner bit in a hand drill. Keep the drill square to the rail, use a depth stop so every hole is 20 mm (3/4 inch) deep, and drill slowly — a Forstner bit cuts cleanly at low speed and tears the wood if you rush it.
How do I stop my towel ladder from sliding on a tiled floor?
Three things: cut the 15-degree angle on the feet so the full face of the rail sits on the floor, fit rubber feet or non-slip caps, and keep the lean angle at about 75 degrees. On very smooth tiles, a small strip of non-slip matting under each foot also works. If the ladder still slides, the lean is probably too steep — pull the feet a few centimetres further from the wall.
Final Thoughts
A wooden towel ladder is the ideal first furniture project: two rails, five dowels, one afternoon, and a piece of bathroom furniture you will use every single day. Get the three details right — matching rung holes marked on both rails at once, the 15-degree foot angle, and a proper moisture-resistant finish — and your ladder will look shop-bought and last for years in the steamiest room in the house.
When you are ready for your next build, the easy woodworking projects for beginners that sell pillar guide has a whole cluster of beginner-friendly ideas that build on exactly these skills — and if you enjoy working with dowel joints, a wooden storage bench is the natural next project.
Recommended Products for This Project
As an Amazon Associate, I earn from qualifying purchases.

DEWALT 20V MAX Drill/Driver Kit DCD771C2
Compact drill and driver for pilot holes, screws, and assembling ladder rails and rungs.

DEWALT Random Orbit Sander DWE6423, 5-Inch
Smooth, swirl-free sanding for ladder rails and rungs before finishing.
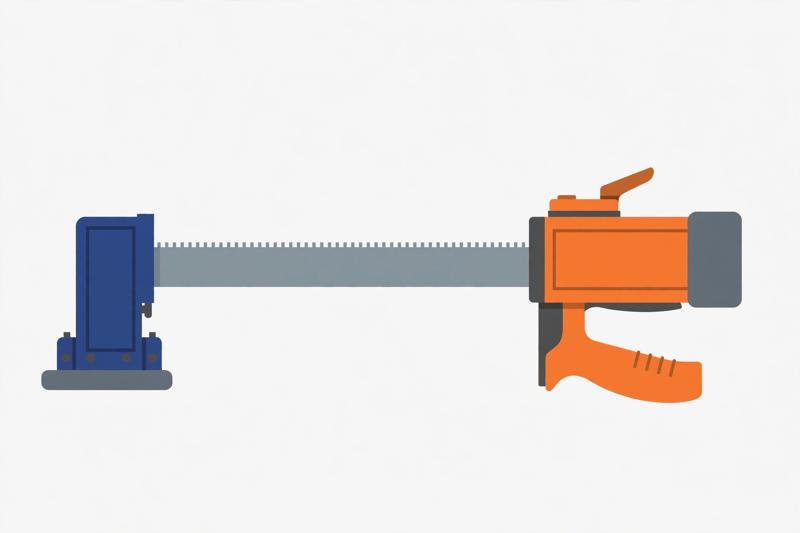
IRWIN QUICK-GRIP One-Handed Bar Clamp, Heavy-Duty, 12-Inch (1964712)
Strong one-handed clamping that holds glued rungs square while they cure.

Titebond III Ultimate Wood Glue 1413 (8 oz)
Water-resistant wood glue for strong joints — ideal for a bathroom piece that sees humidity.
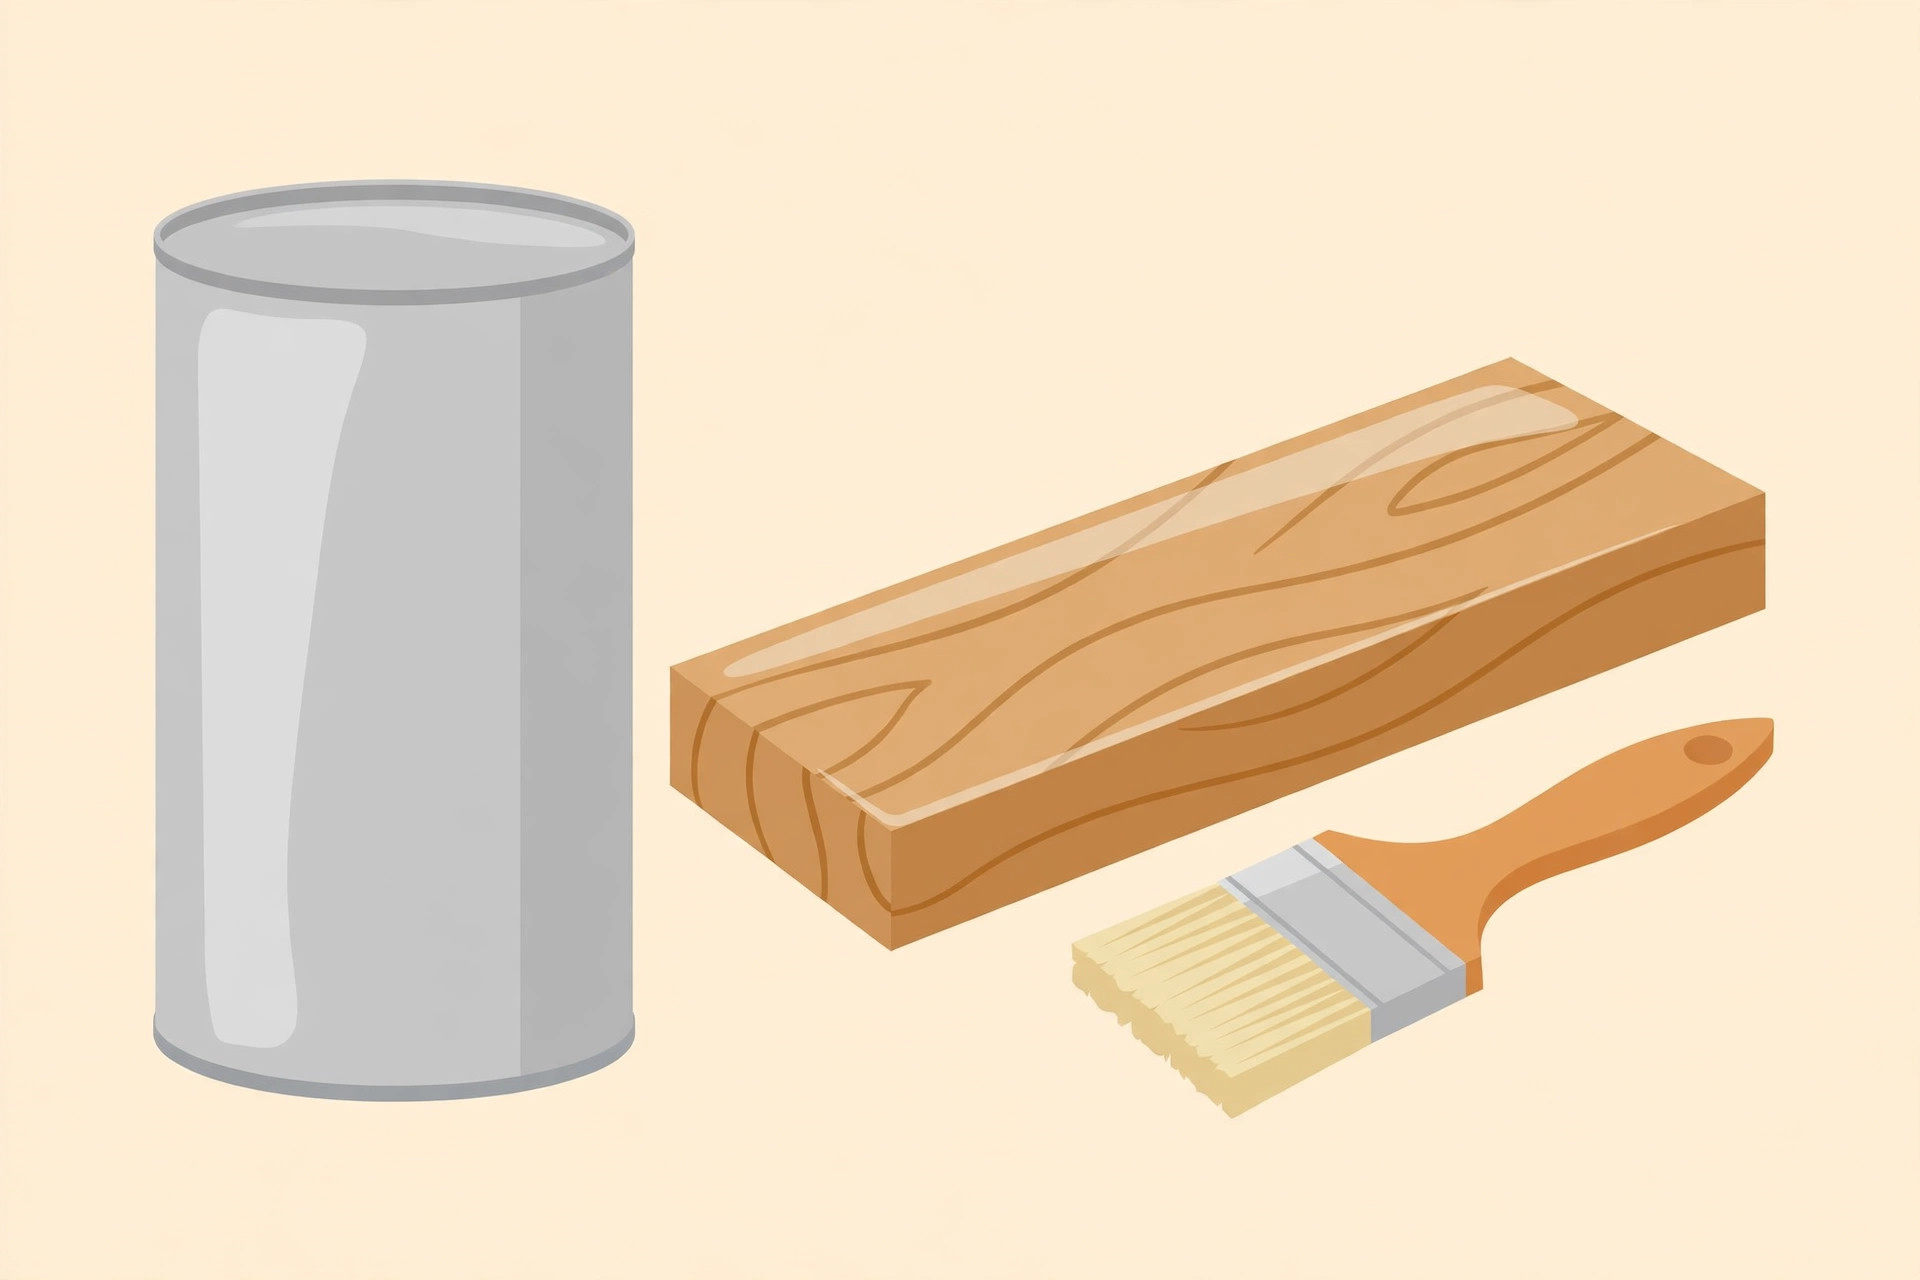
Minwax Water Based Helmsman Spar Urethane, Gallon, Gloss (710500000)
Clear moisture-resistant finish that protects a bathroom towel ladder from steam and splashes.


