
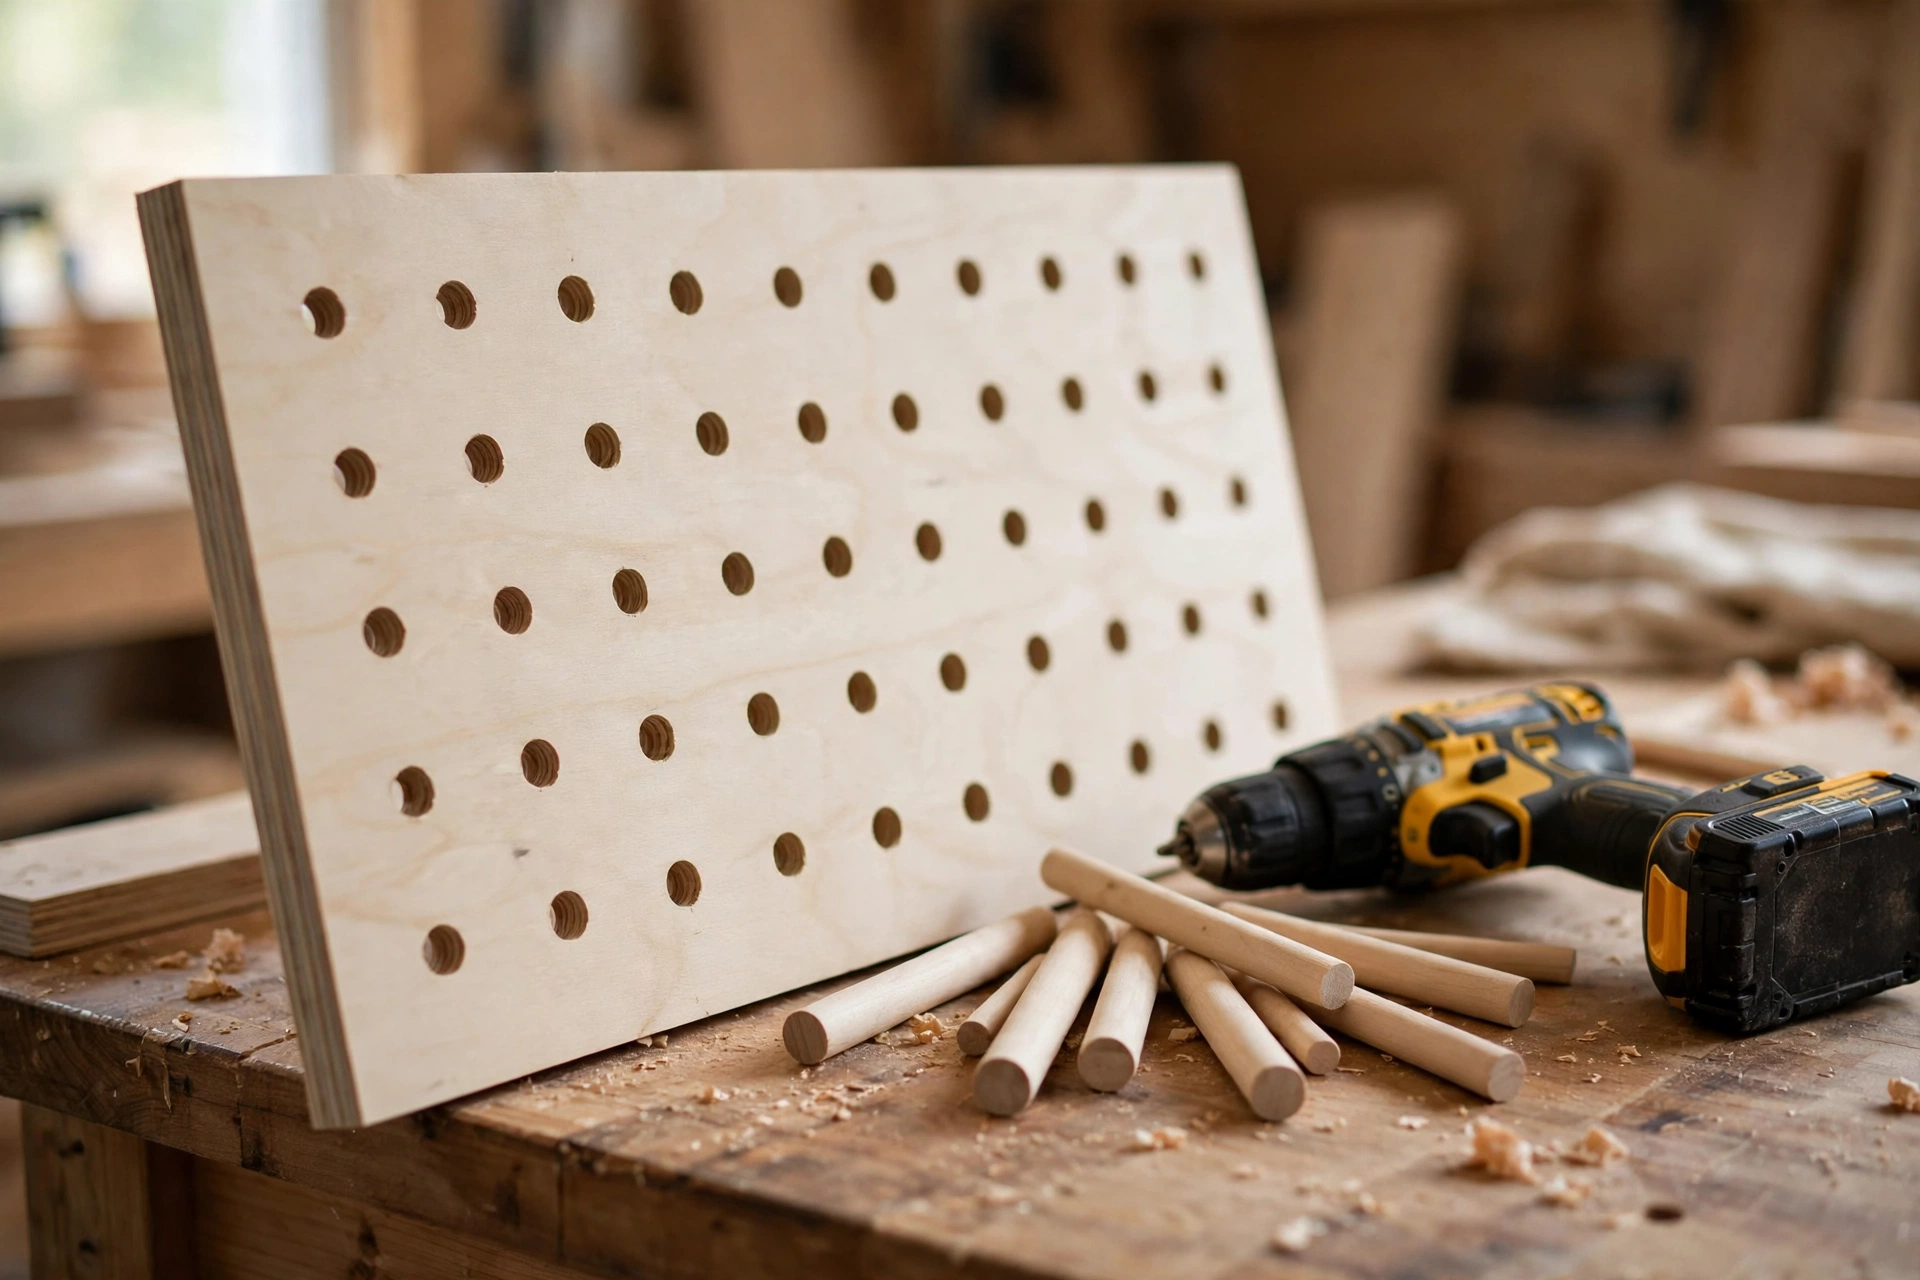
A tidy workshop starts with a wall that works as hard as you do. If your tools live in a pile on the bench, you lose time hunting for them and you lose bench space to clutter. Learning how to build a wooden pegboard for beginners solves both problems in a single weekend afternoon: one plywood panel, a grid of holes, and a set of wooden dowel pegs turn a blank wall into flexible storage that grows with your tool collection.
This project is one of the friendliest first builds in woodworking. There are no complicated joints, no expensive hardwood, and no precision machinery. If you can measure, drill a straight hole, and drive a screw into a wall stud, you can build a pegboard that looks like it came from a professional workshop. This guide walks you through every step — choosing the plywood, laying out the hole grid, drilling clean holes, making dowel pegs and shelves, mounting the board safely, and avoiding the mistakes that make a pegboard wobble or sag.
What Is a Wooden Dowel Pegboard?
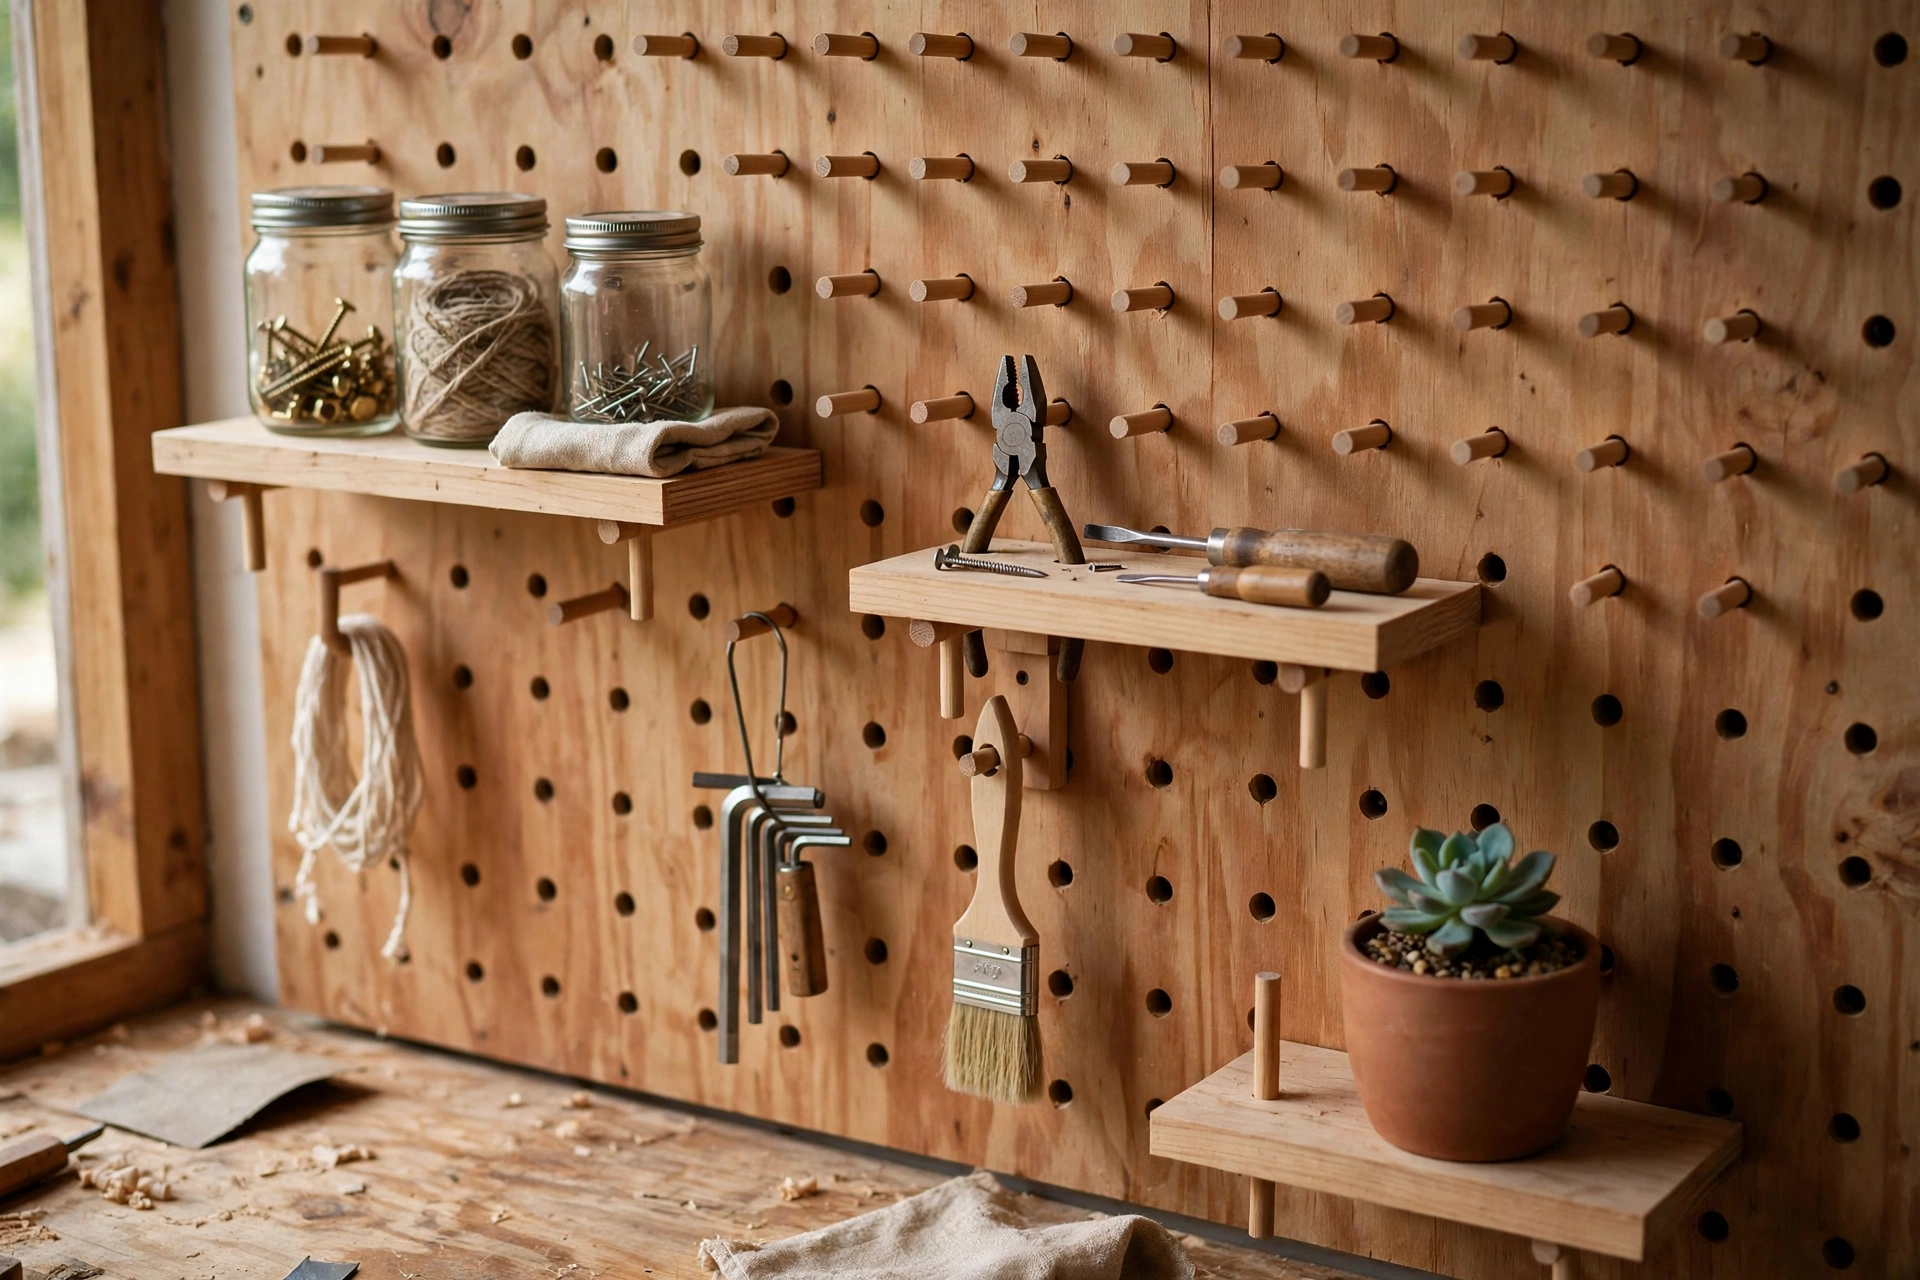
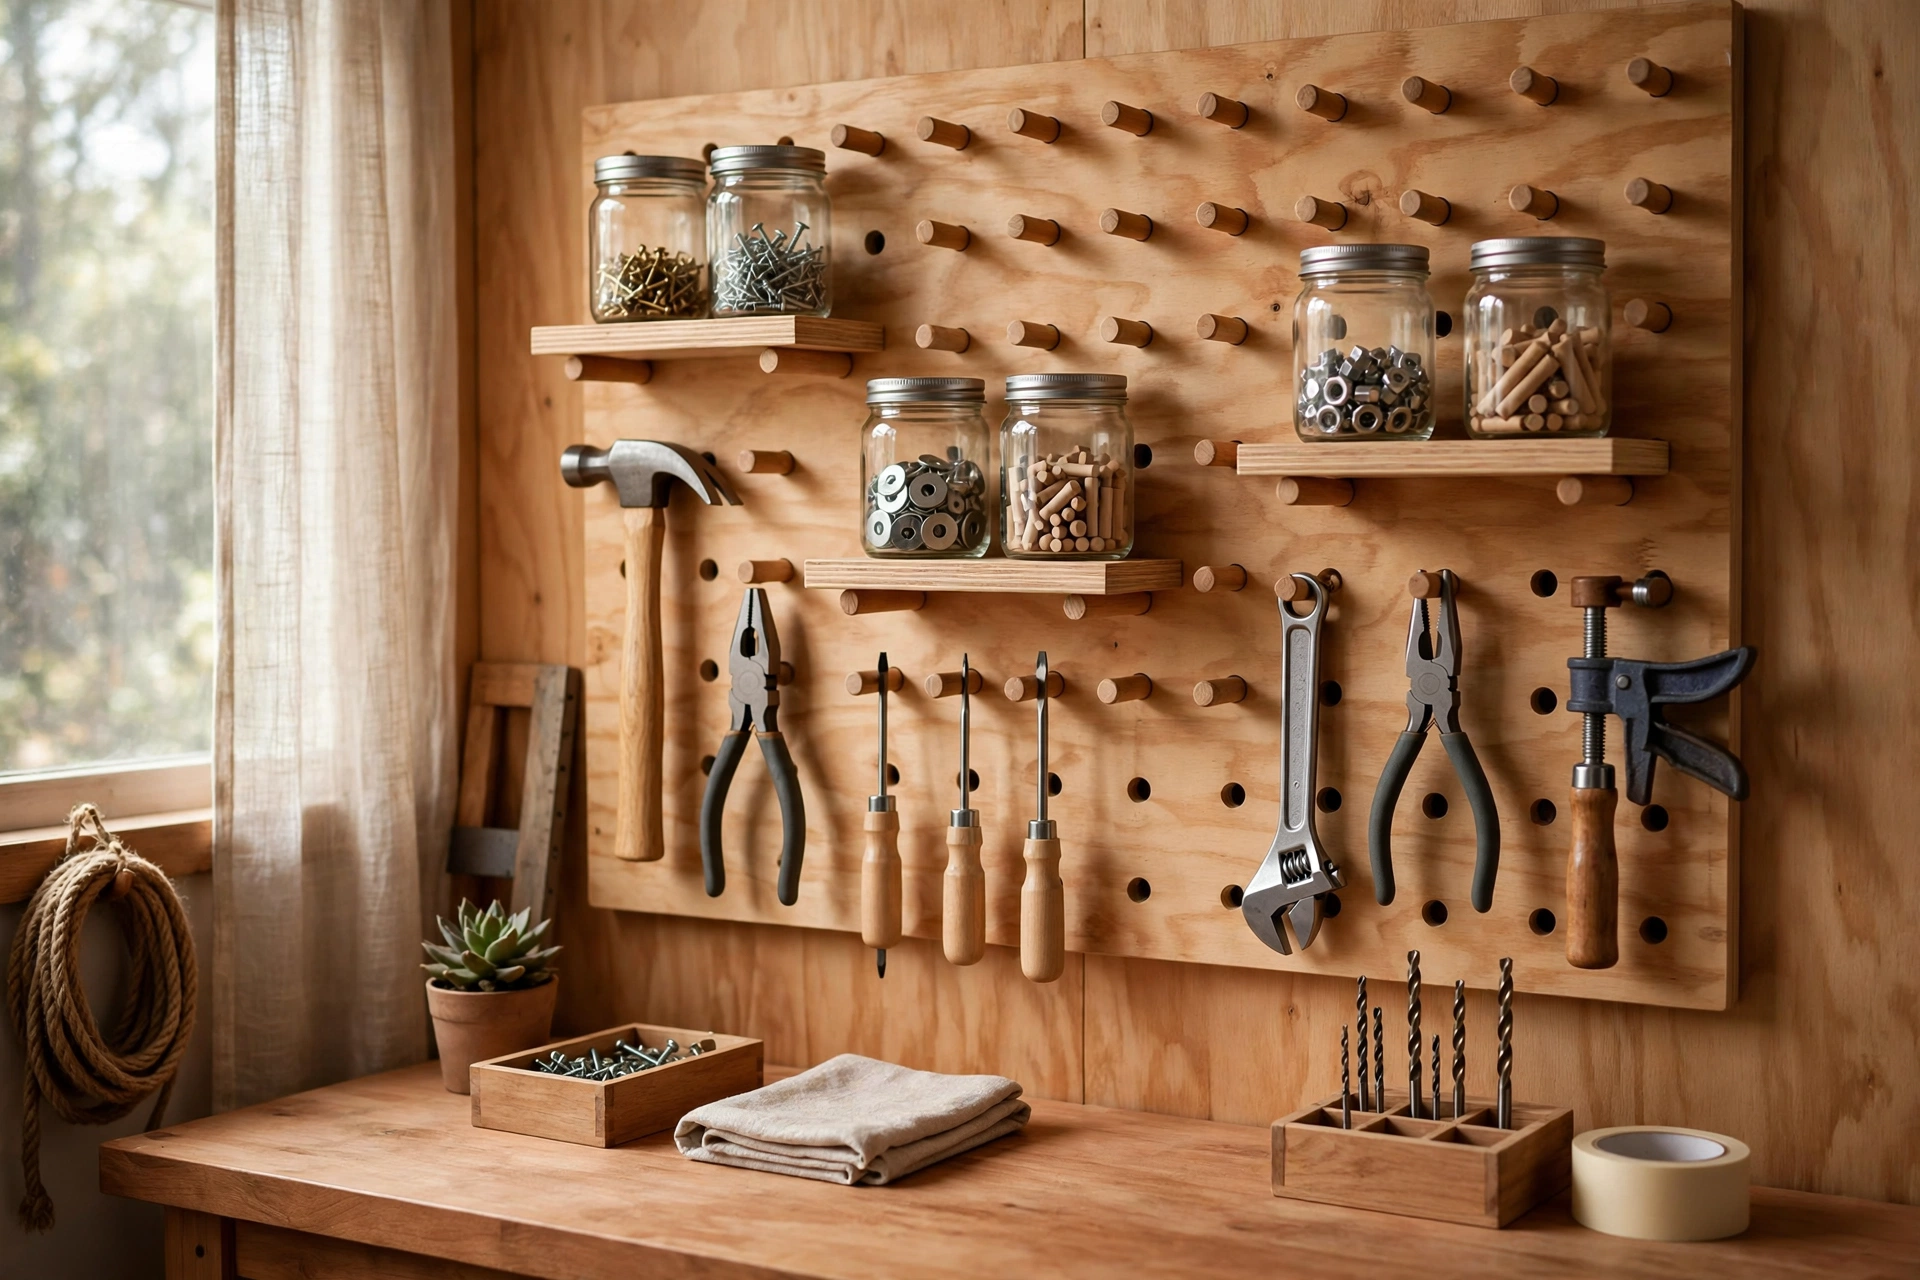
A wooden dowel pegboard is a plywood panel drilled with a regular grid of holes. Short wooden dowels slide into the holes and stick out from the face of the board, acting as pegs. You hang tools from the pegs, rest small shelves on pairs of pegs, and hook baskets, clamps, and cords onto them. Because nothing is fixed in place, you can rearrange the whole layout in minutes whenever your tools or your workflow changes.
Unlike the brown hardboard pegboard panels sold in hardware stores, a wooden dowel pegboard is built from real plywood, so it is stronger, better looking, and easy to customise. You choose the size, the hole spacing, the wood species, and the finish. A store-bought panel forces you to buy their hooks and accessories; a dowel pegboard lets you make your own pegs, shelves, and holders from offcuts for almost nothing.
If you are just starting out in woodworking, this is an ideal second or third project after a simple box or shelf. It teaches the core beginner skills — measuring and marking accurately, drilling clean holes, cutting to a list, and mounting something level on a wall — and it leaves you with a piece of workshop furniture you will use every single day. It also sits naturally alongside other beginner builds: once your pegboard is up, you will want somewhere to put the things that do not hang well, which is why many beginners pair it with a project like how to build floating shelves for beginners.
Wooden Pegboard vs Store-Bought Pegboard Panel
Before you buy materials, it helps to know exactly what you gain by building your own board instead of buying a ready-made hardboard panel.
| Feature | Wooden Dowel Pegboard (DIY) | Store-Bought Hardboard Panel |
|---|---|---|
| Material | 18 mm plywood — strong and rigid | Thin hardboard — flexible and brittle |
| Hole size | Your choice, usually 20 mm for dowels | Fixed small holes for metal hooks |
| Load capacity | 2–5 kg per peg pair, 15–20 kg total | Light tools only, sags under weight |
| Customisation | Any size, spacing, wood, and finish | Fixed sizes, brown or white only |
| Accessories | Homemade dowels, shelves, hooks | Must buy matching metal hooks |
| Cost (120 × 60 cm) | About $25–40 in materials | About $15–30 plus hooks |
| Looks | Warm, natural wood, workshop-proud | Plain, utilitarian, office-like |
| Durability | Lasts years, holes stay tight | Holes wear loose and tear out |
The store-bought panel is cheaper up front, but the wooden version wins on strength, looks, and long-term value. For a workshop wall that will hold hammers, saws, and clamps, the DIY board is the better investment.
Choosing Plywood and Dowels
The two material choices that matter most are the plywood for the panel and the dowels for the pegs. Get these right and the rest of the build is straightforward.
Plywood
Use 18 mm (3/4 inch) plywood — birch plywood is the best choice, with a smooth face and strong plies that drill cleanly, but standard pine plywood works well too and costs less. Avoid MDF: it is heavy, it dulls drill bits, and its holes crumble under load. Avoid thin 12 mm plywood for a large board, because it can flex between the mounting screws.
For a first board, a panel of 120 × 60 cm (about 47 × 24 inches) is a good size. It holds a useful set of hand tools without dominating the wall, and it fits easily on a workbench for drilling. If your wall is small, 90 × 60 cm works too; if you have a full workshop wall, build two 120 × 60 cm panels side by side instead of one giant board, because a single huge panel is awkward to drill and heavy to lift into place.
Check the plywood sheet before you buy it. Sight along the edges for warping, and run your hand over the face for splinters and voids. A flat, clean sheet drills far better than a warped one, and it will sit flush against the wall.
Dowels
Use hardwood dowels — beech, oak, or maple — in 20 mm (3/4 inch) diameter for the main pegs. Hardwood dowels are stiff, they do not snap under a hammer’s weight, and their ends sand smooth. Softwood dowels are cheaper but bend and can break when loaded. Buy dowel rod in 1-metre lengths and cut your own pegs; it is much cheaper than buying individual pegs.
Cut pegs in two lengths: short pegs of 10 cm (4 inches) for hanging tools, and longer pegs of 15 cm (6 inches) for supporting shelves. A gentle taper on the end that goes into the hole — sanded or cut with a pencil sharpener style chamfer — helps the peg slide in without force. The peg should be a snug push fit: tight enough that it does not fall out, loose enough that you can move it by hand. If a peg is too tight, sand it lightly; if it is too loose, a single wrap of masking tape around the end fixes it.
Tools and Materials
You do not need a workshop full of machinery for this project. The whole build is possible with a drill, a saw, and a handful of hand tools — which is exactly why learning how to build a wooden pegboard for beginners is such a good starting point.
Tools you will need: cordless drill or drill press with a 20 mm brad-point or Forstner bit; circular saw or jigsaw (or have the store cut the panel to size); tape measure, pencil, combination square, and spirit level; clamps (at least two); sandpaper in 120 and 220 grit, plus a sanding block; stud finder; safety glasses and a dust mask.
Materials for a 120 × 60 cm board: 1 sheet of 18 mm plywood, 120 × 60 cm; 2 metres of 20 mm hardwood dowel rod; 2 battens of 45 × 20 mm pine, 120 cm long; wood screws: 4 × 70 mm for wall mounting, plus 8 × 40 mm for the battens; wood glue (optional); Danish oil, hardwax oil, or clear varnish; offcuts of 18 mm plywood for small shelves.
If you are unsure which drill to buy for this kind of work, read our guide to the best drill for woodworking beginners before you start — a decent drill with a sharp brad-point bit is the difference between clean, round holes and ragged, torn ones.
Cut List
Measure twice and cut once. This cut list is for the standard 120 × 60 cm board described in this guide. If you change the board size, recalculate the hole grid first and then adjust the battens to match.
| Part | Quantity | Size (cm) | Size (inches) | Material |
|---|---|---|---|---|
| Pegboard panel | 1 | 120 × 60 | 47¼ × 23⅝ | 18 mm plywood |
| Rear batten (top) | 1 | 120 × 4.5 | 47¼ × 1¾ | 45 × 20 mm pine |
| Rear batten (bottom) | 1 | 120 × 4.5 | 47¼ × 1¾ | 45 × 20 mm pine |
| Dowel pegs, short | 12 | 10 long | 4 long | 20 mm hardwood dowel |
| Dowel pegs, long | 8 | 15 long | 6 long | 20 mm hardwood dowel |
| Small shelf | 2 | 30 × 12 | 12 × 4¾ | 18 mm plywood offcut |
| Shelf support pegs | 4 | 15 long | 6 long | 20 mm hardwood dowel |
Have the hardware store cut the plywood panel to size if you do not own a circular saw — most stores do a couple of cuts free. Cut the dowels yourself with a handsaw and a simple stop block so every peg comes out the same length.
Hole Spacing: Picking Your Grid
The hole grid is the heart of the pegboard. The spacing between holes decides how flexible the board is and how much weight it can carry. A tight grid gives you more layout options; a wide grid is faster to drill and leaves more wood between holes, which makes the board stronger.
| Grid spacing | Holes on a 120 × 60 cm board | Best for | Drilling time |
|---|---|---|---|
| 5 cm (2 in) | About 11 × 23 = 253 holes | Maximum flexibility, small tools | 60–90 minutes |
| 7.5 cm (3 in) | About 7 × 15 = 105 holes | Good balance, most workshops | 30–45 minutes |
| 10 cm (4 in) | About 5 × 11 = 55 holes | Fast build, large tools only | 15–25 minutes |
For most beginners, the 7.5 cm (3 inch) grid is the sweet spot. It gives you plenty of positions to arrange tools, it keeps enough wood between holes for strength, and you can drill the whole board in under an hour. Leave a 5 cm margin around all four edges so the holes never sit too close to the edge, where the plywood can split.
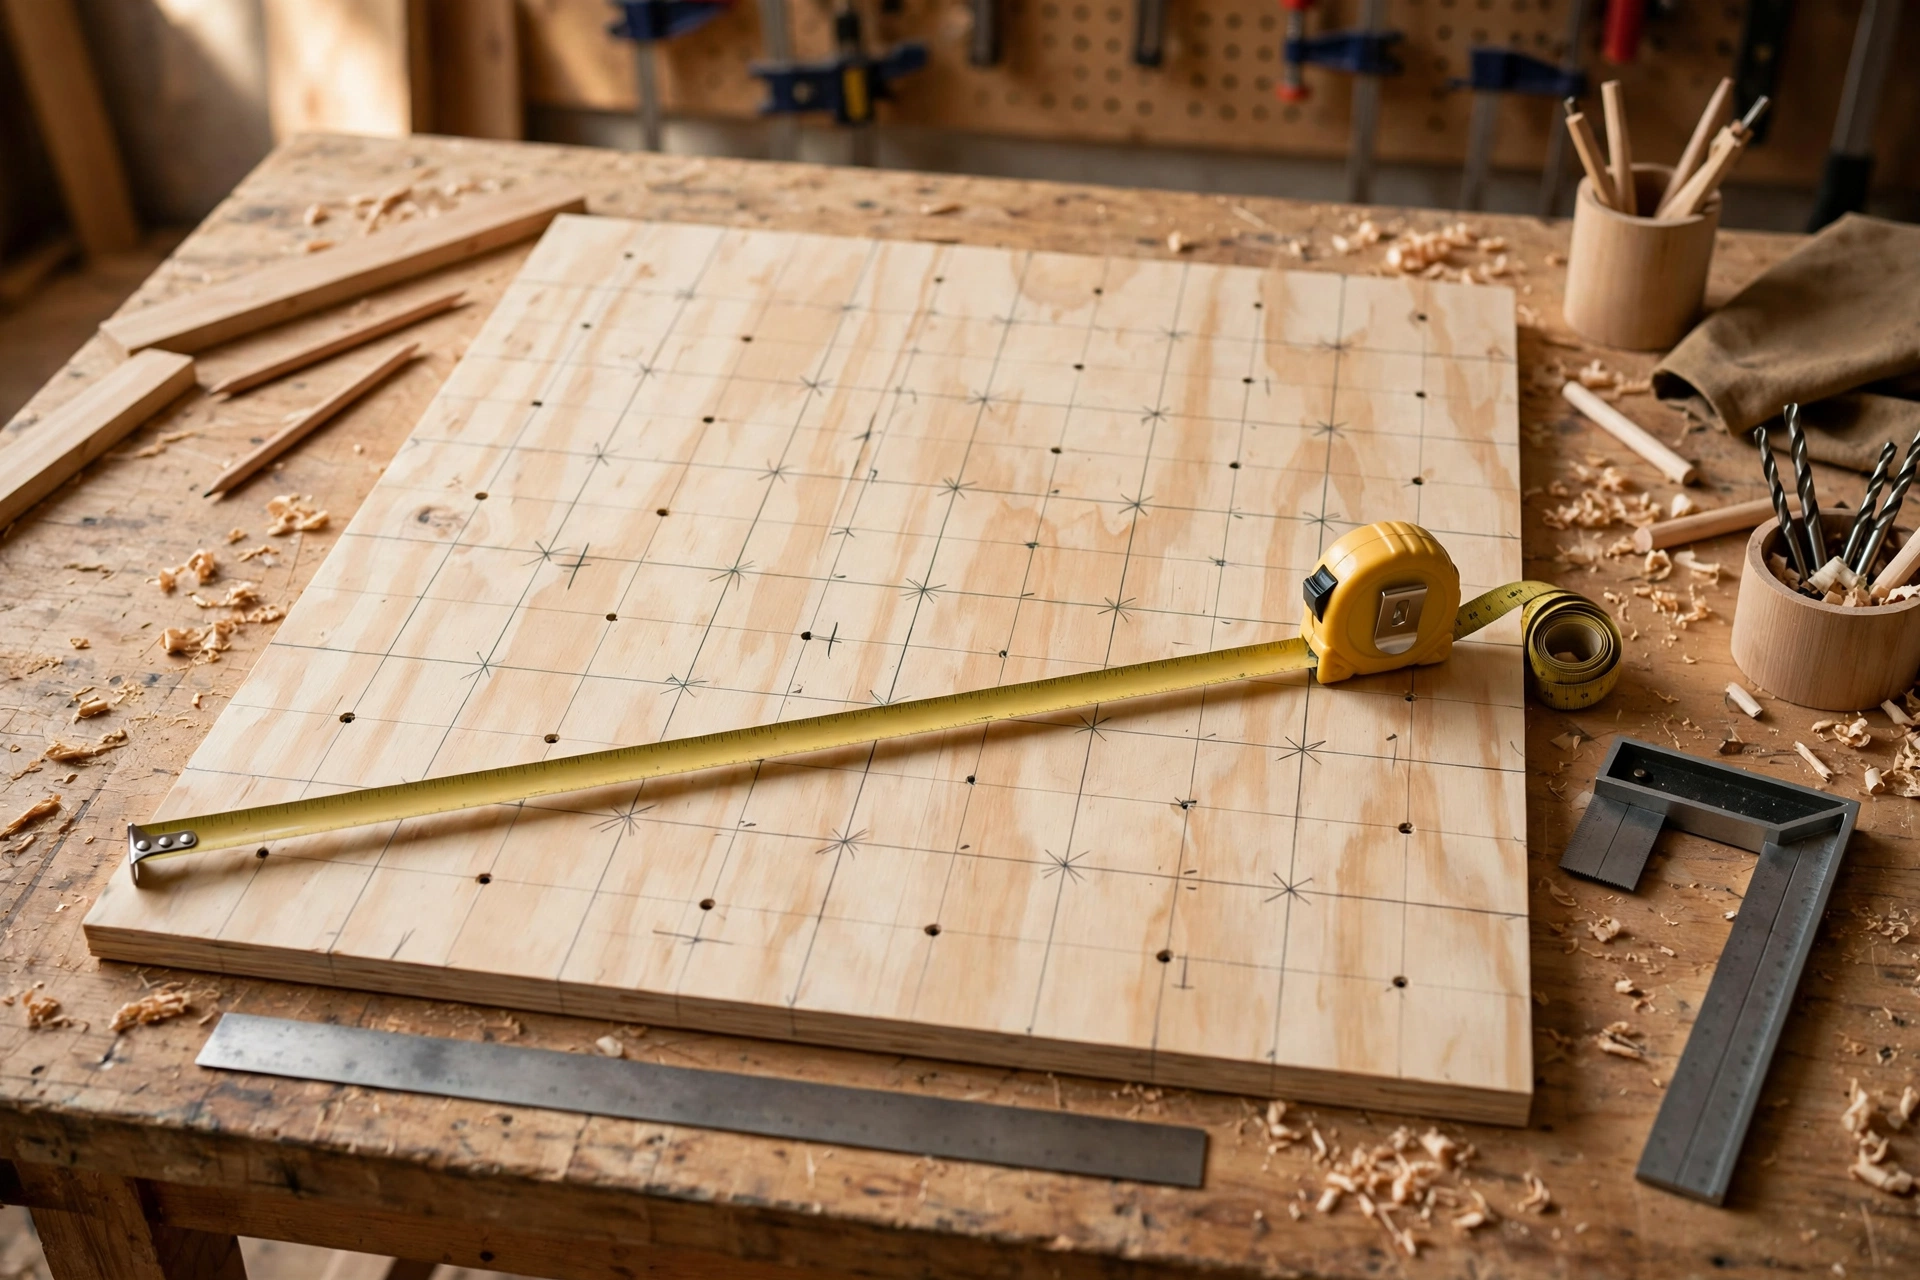
Mark the grid with a pencil, a tape measure, and a square — not freehand. Draw one full row and one full column first, check they are square to each other, then mark the rest. A quick trick is to make a simple spacing jig from an offcut: drill two holes in it at your chosen spacing, then use it as a guide to step across the board, marking each hole as you go.
Step-by-Step: How to Build a Wooden Pegboard for Beginners
Step 1 — Cut and Sand the Panel
Cut the plywood to 120 × 60 cm and check the corners are square. Sand the face and edges with 120-grit paper, then finish with 220-grit for a smooth surface that will not snag your hands or your tools. Round the front edges slightly — a soft edge looks better and is kinder to your knuckles when you reach for a tool. Wipe the dust off with a tack cloth or a damp rag and let it dry.
Step 2 — Mark the Hole Grid
Lay the panel face up on your workbench. Measure in 5 cm from each edge and draw a light border line. Inside that border, mark the hole positions on your chosen grid — 7.5 cm apart is recommended. Mark each position with a small cross, and double-check the first row and first column before marking the rest: a mistake repeated across the whole board is hard to undo. Use an awl or a nail to make a tiny dent at each cross so the drill bit does not wander when you start drilling.
Step 3 — Drill the Holes
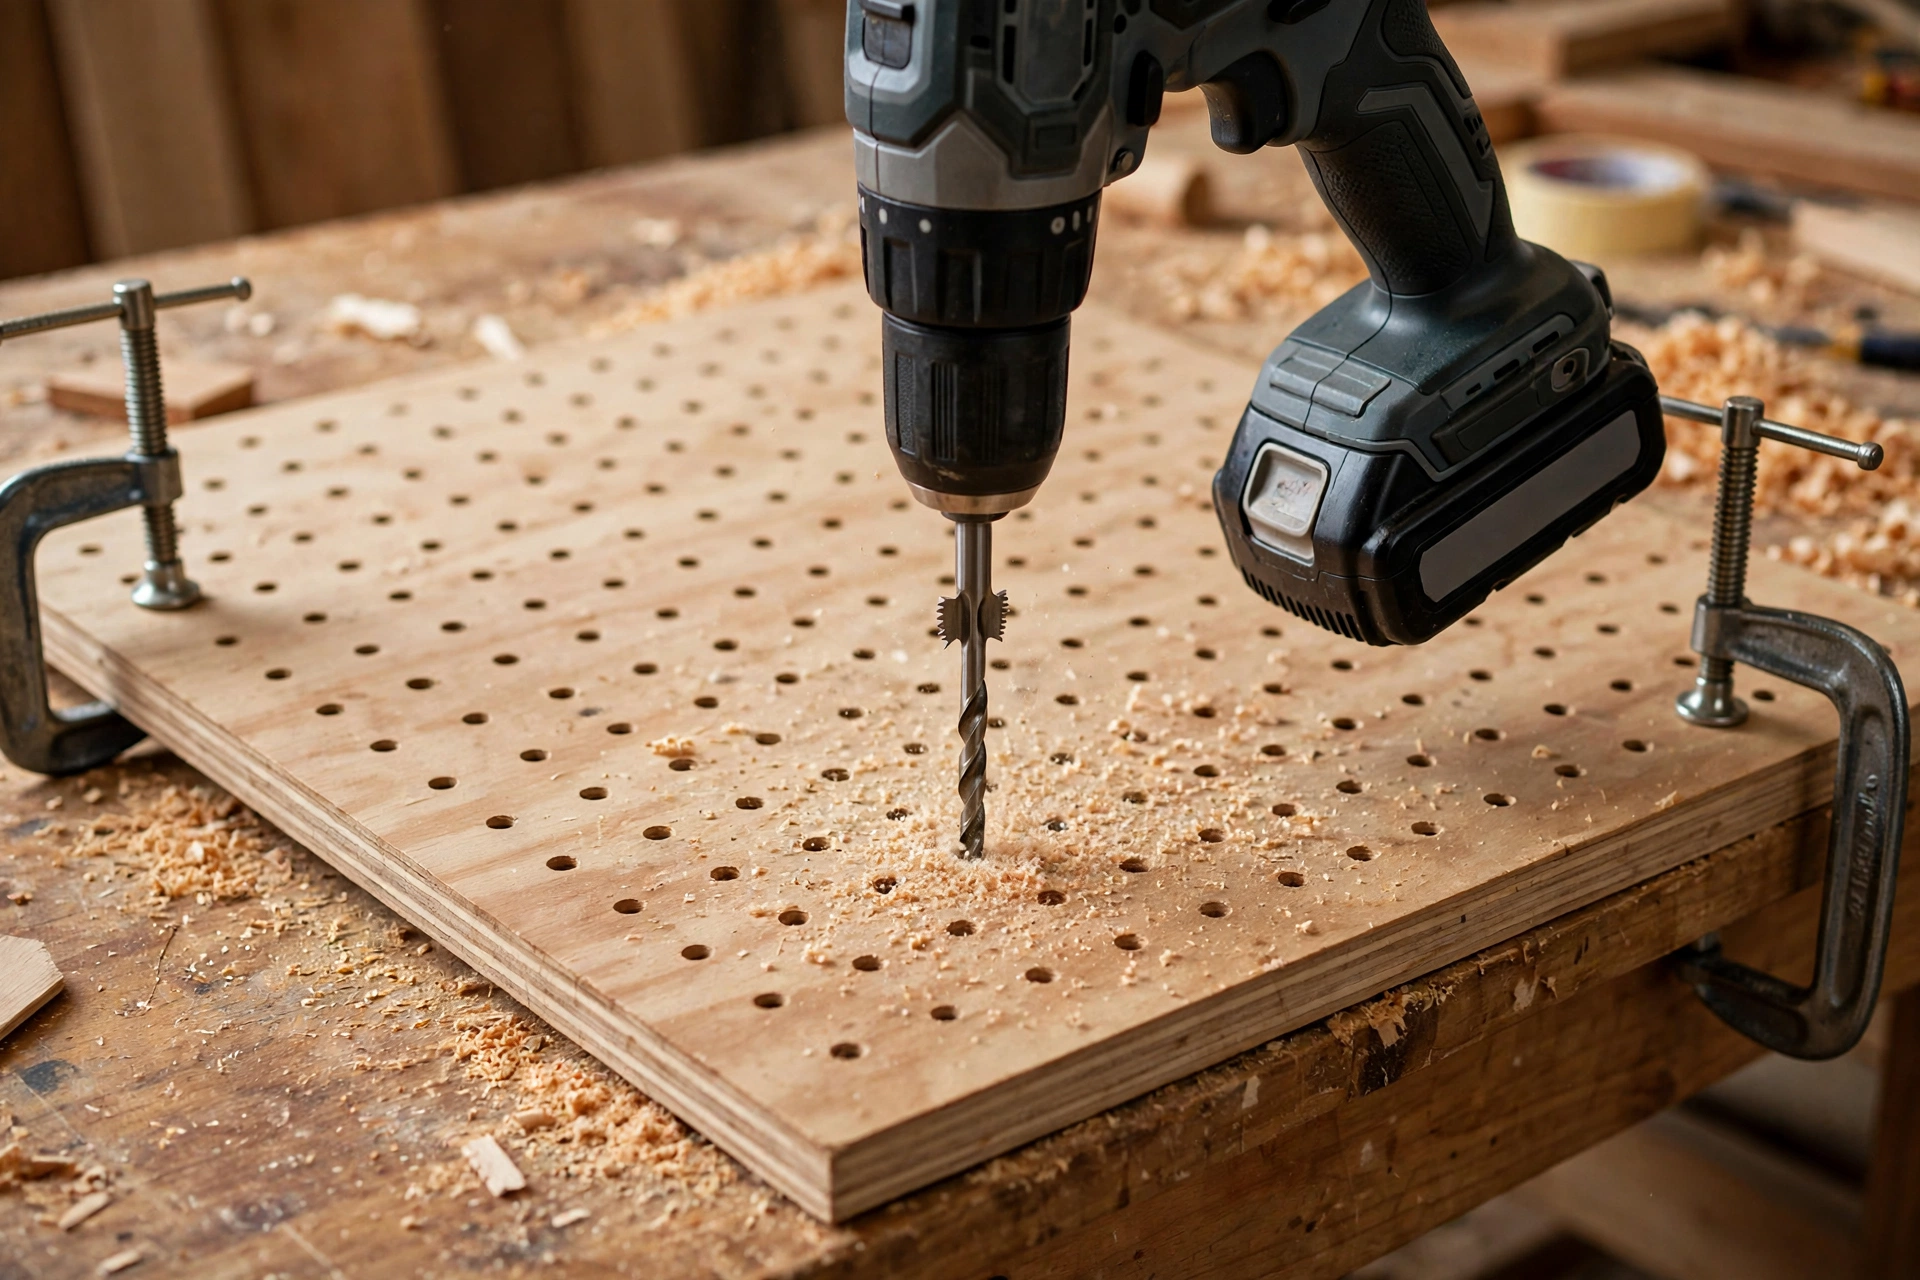
Clamp the panel to your bench with a sacrificial board underneath — a scrap of plywood or MDF that the drill bit can pass into. The sacrificial board stops the back of the holes from tearing out and keeps your bench safe. Fit the 20 mm brad-point bit, set the drill to a medium speed, and drill straight down at each mark. Let the bit do the work; pushing hard causes tear-out and overheating. Drill every hole in one pass, then flip the panel and lightly sand the back to remove any burrs.
If you own a drill press, use it: it guarantees perfectly vertical holes, and vertical holes hold pegs far better than holes drilled at a slight angle. If you are drilling freehand with a cordless drill, a simple drill guide or a square held against the bit helps you keep it upright.
Step 4 — Cut and Fit the Dowel Pegs
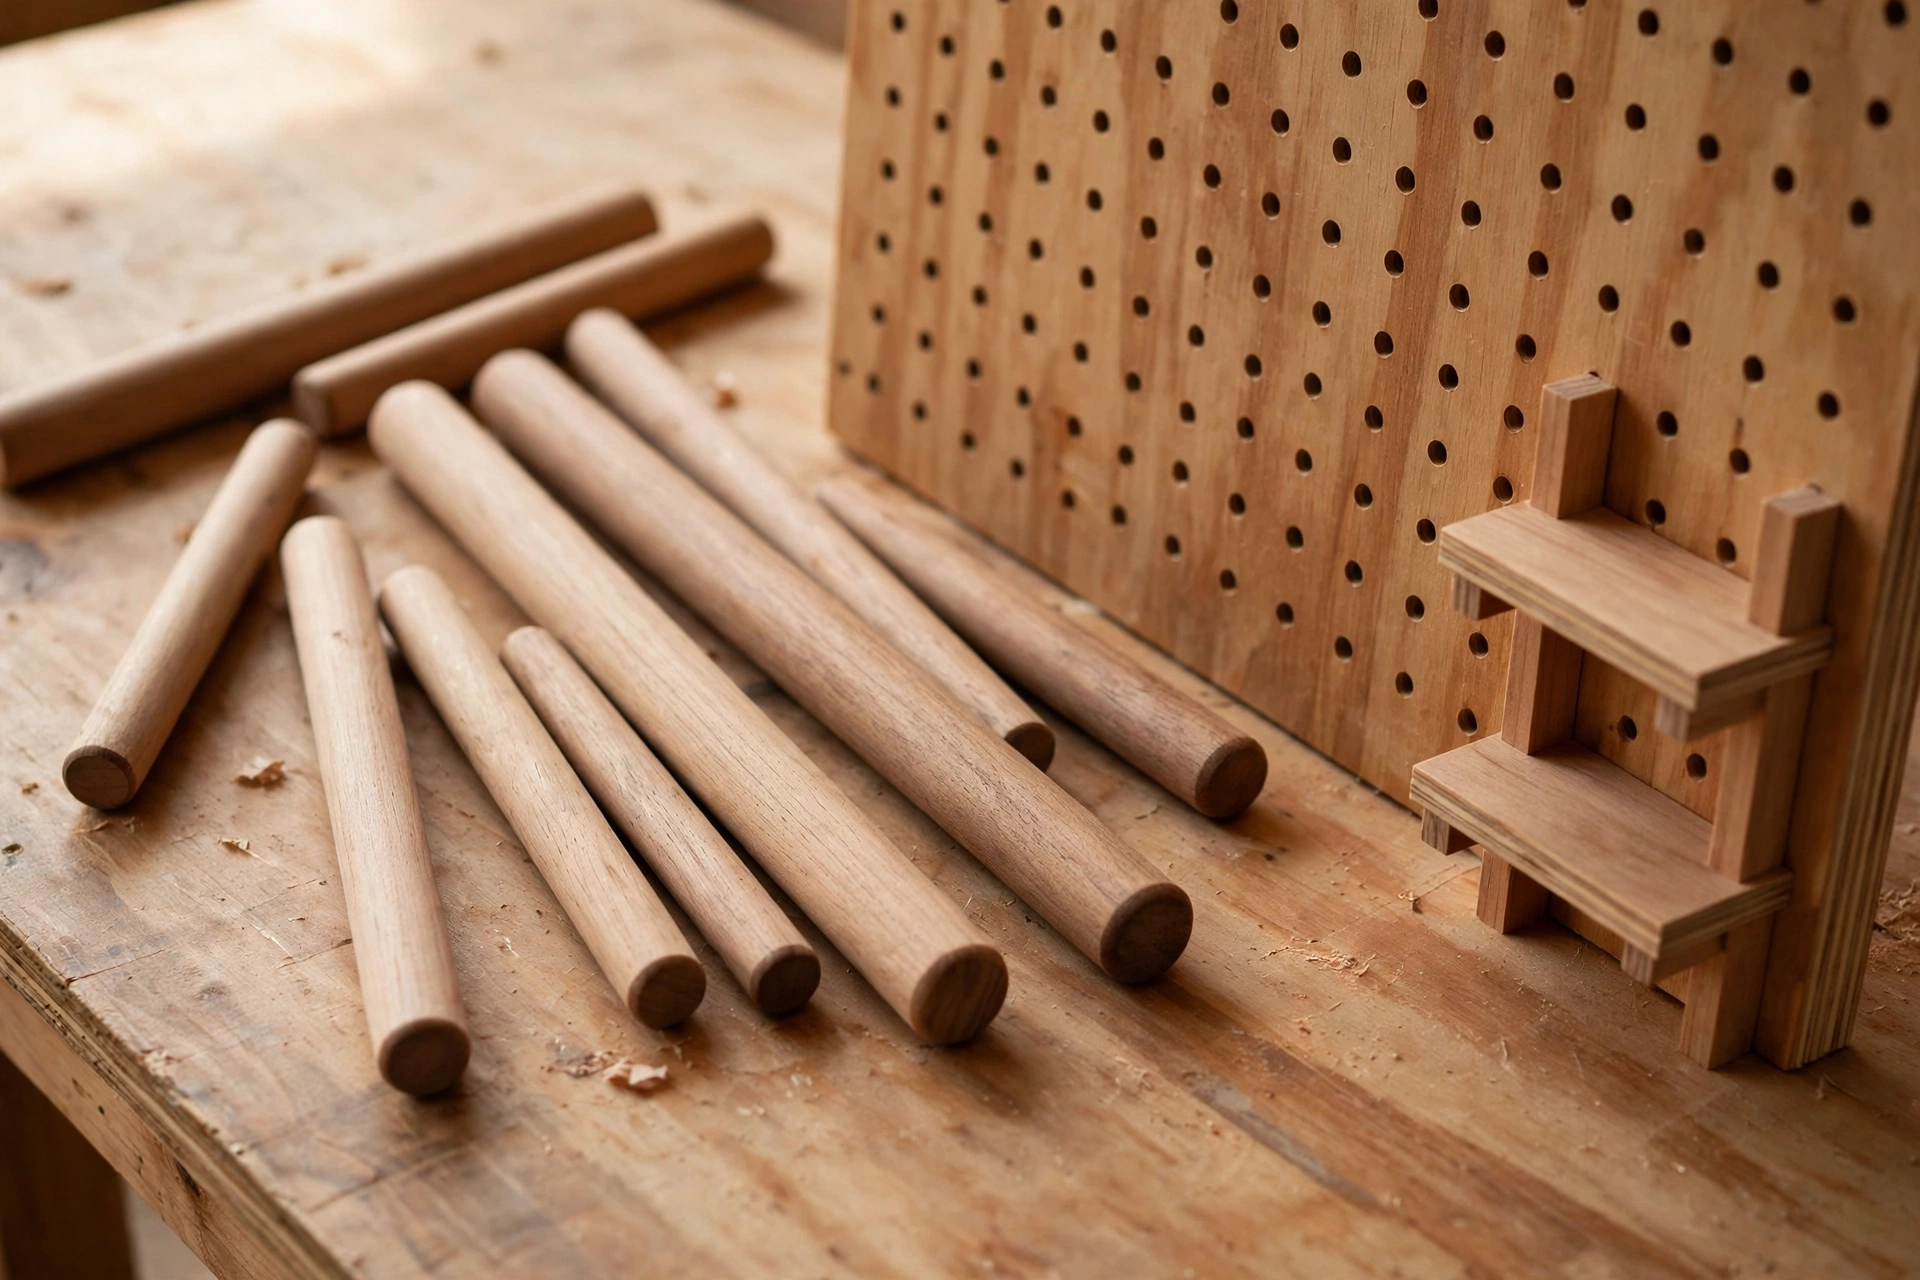
Cut the dowel rod into pegs — twelve at 10 cm and eight at 15 cm for the standard board. Sand the ends smooth and chamfer the end that enters the hole. Test-fit a peg in a few different holes: it should push in with light hand pressure and stay put when you let go. If a peg wobbles, it is too loose for that hole; try it in another hole or add a wrap of tape. Set the pegs aside for now — you will arrange them after the board is on the wall.
Step 5 — Add the Rear Battens
The battens are two strips of pine fixed to the back of the panel, one near the top and one near the bottom. They serve two purposes: they hold the board away from the wall so the pegs can pass through the holes, and they give the mounting screws something solid to bite into. Without battens, the pegs would hit the wall and the board would sit tight against it, which defeats the design.
Screw the battens to the back of the panel with 40 mm screws, two screws per batten end and two in the middle. Pre-drill the battens so they do not split. The battens sit about 10 cm in from the top and bottom edges of the panel.
Step 6 — Make Shelves and Hooks
Small shelves are the most useful accessory on a pegboard. Cut two shelves from 18 mm plywood offcuts, 30 × 12 cm each, and sand them smooth. Each shelf rests on two long pegs pushed through the board, so no brackets are needed — gravity and friction do the work. For extra security, you can glue a small wooden stop under the front edge of each shelf, or drill a shallow notch that sits over the peg.
For hooks, cut short dowels and drill a small hole near the tip, then thread a piece of cord or a bent wire through it — or simply use a short peg on its own as a hook for hanging a coiled tape measure or a pair of safety glasses. A simple dowel hook holds more than it looks like it should.
Step 7 — Finish the Wood
Finish the panel, pegs, and shelves before mounting — it is much easier to oil or varnish a flat board on a bench than a board on a wall. Two coats of Danish oil or hardwax oil give a warm, natural look and protect against workshop grime. Let each coat dry fully, following the product instructions, and lightly sand with 220-grit between coats if the grain raises. Avoid thick glossy varnish on the pegs themselves, because it can make them slippery in the holes; a single thin coat of oil is enough for the dowels.
Step 8 — Mount the Board on the Wall
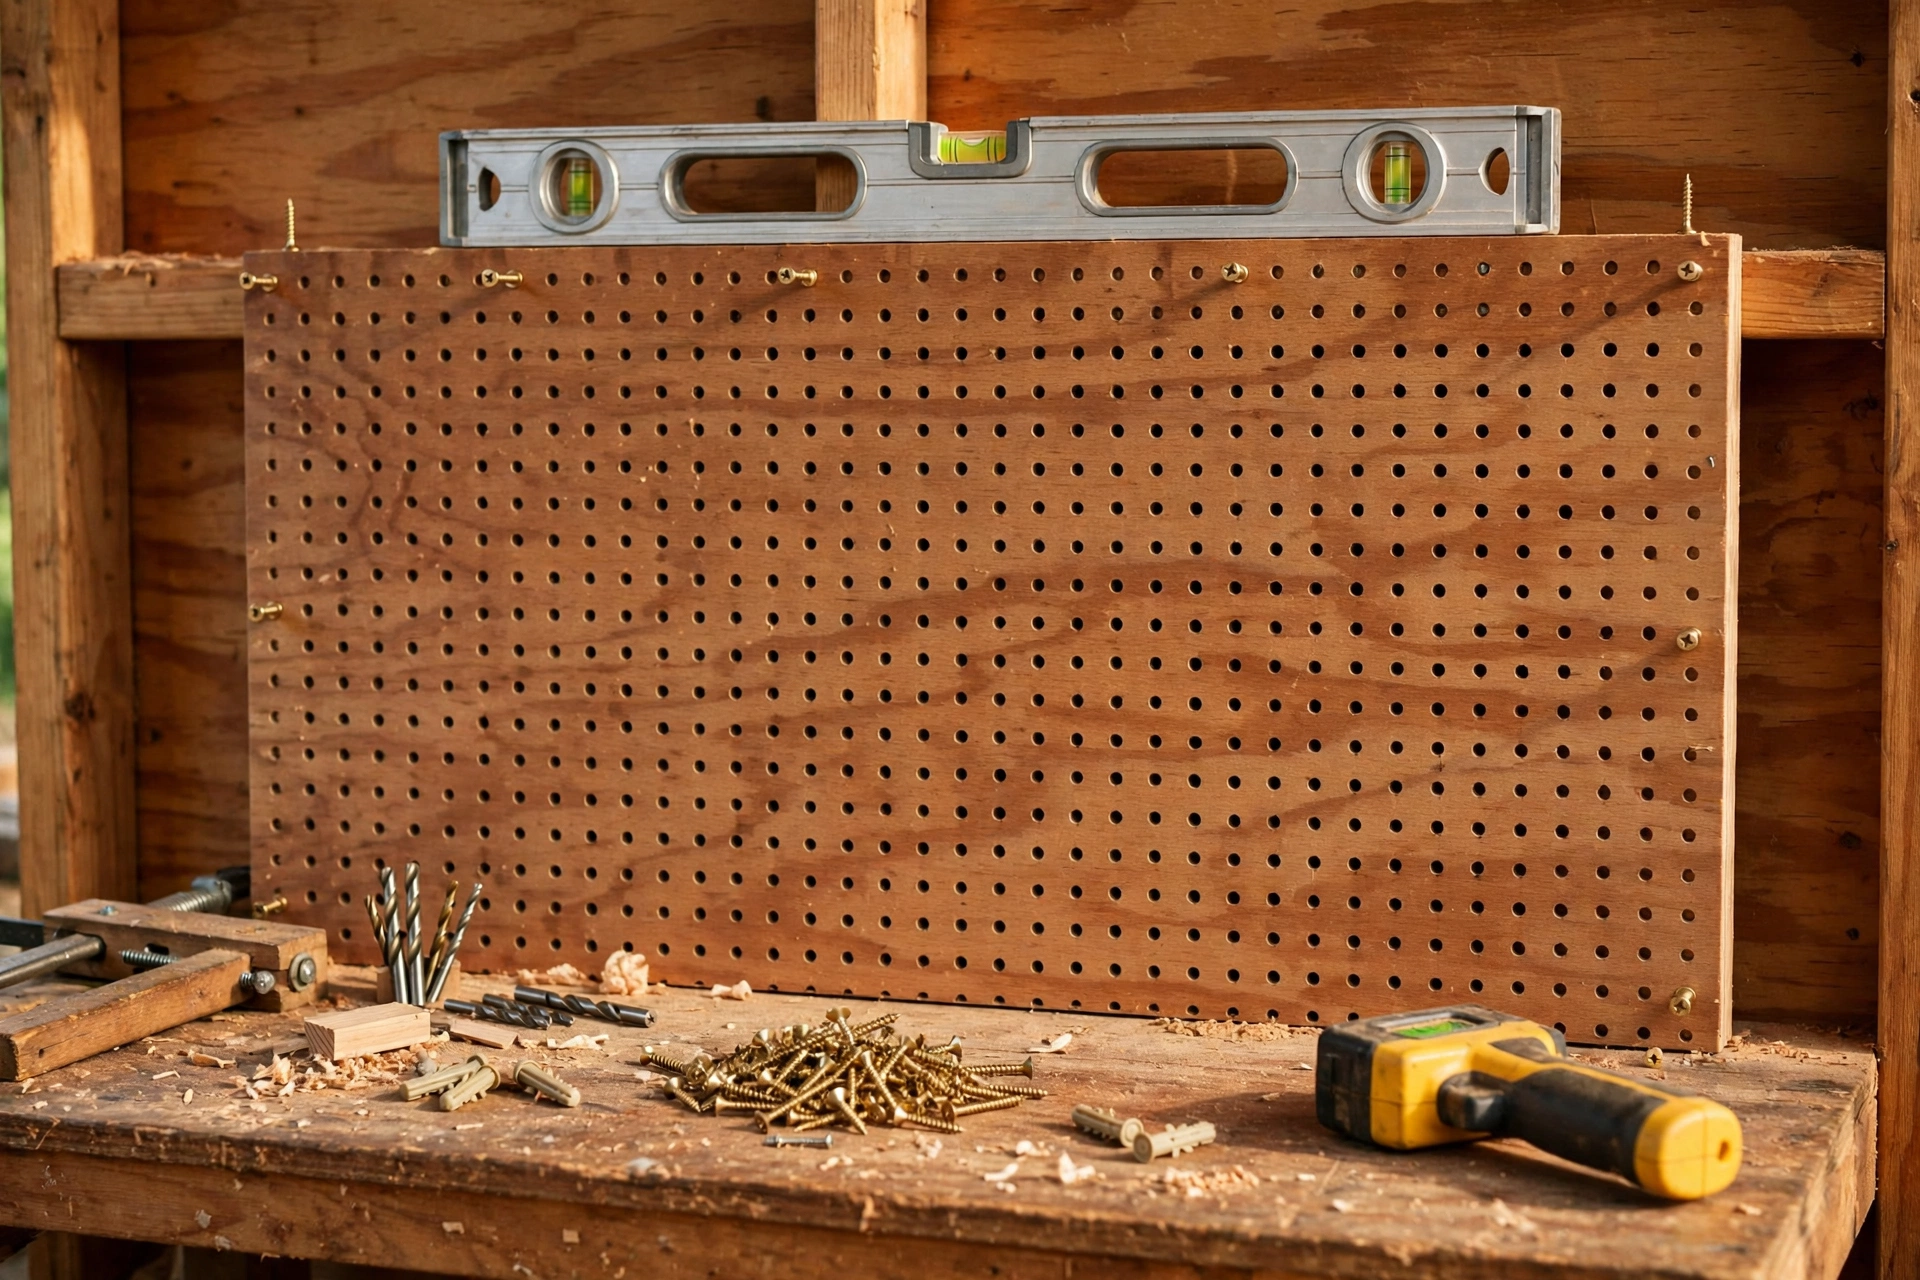
Find the studs with a stud finder and mark them with painter’s tape. Hold the board against the wall, check it with a spirit level, and mark the screw positions through the battens into the studs. Pre-drill through the panel and battens, then drive 70 mm screws into at least two studs — four screws total, two per batten, is the minimum for a 120 cm board. Check the level again after the first two screws, then drive the remaining screws and give the board a firm tug to confirm it is solid.
Mounting Hardware by Wall Type
Not every wall has wooden studs. The right fixing depends on what your wall is made of — using the wrong one is the most common reason a pegboard ends up on the floor.
| Wall type | Fixing to use | Screws per batten | Notes |
|---|---|---|---|
| Timber stud / drywall | 70 mm wood screws into studs | 2 per batten | Strongest option, always preferred |
| Drywall, no stud | Toggle bolts or snap toggles | 2 per batten | Rated 20–30 kg each, drill a clean hole |
| Brick or block | 8 mm wall plugs + 70 mm screws | 2 per batten | Drill with a masonry bit, no hammer setting on brick |
| Concrete | 8 mm concrete screws or plugs | 2 per batten | Use an SDS drill if available |
| Plasterboard with adhesive | Heavy-duty plasterboard anchors | 3 per batten | Keep total load under 10 kg |
If you cannot hit a stud, toggle bolts are the safe choice for drywall — never rely on simple plastic plugs in hollow drywall for a loaded board. When in doubt, add an extra batten in the middle of the board and an extra pair of fixings; the cost is a few screws, and the peace of mind is worth it.
How Much Weight Can a Wooden Pegboard Hold?
A well-built 18 mm plywood pegboard mounted into studs can hold 15–20 kg (33–44 lb) of tools in total. Each pair of 20 mm hardwood pegs comfortably carries 2–5 kg, which covers hammers, hand saws, squares, and clamps. A small shelf on two long pegs holds 3–5 kg of jars, glue bottles, and small parts.
Keep the heavy items low and near the battens, where the board is stiffest. Hang your heaviest tools — a hand plane, a large mallet — on the lowest rows, and keep light items like pencils, tape measures, and safety glasses up high. Never hang a heavy power tool from a single peg; use two pegs and a hook, or store it on a shelf or a simple workbench for beginners instead. If the board flexes or the pegs droop, you are overloading it — move weight off and spread the load across more pegs.
Cost Breakdown
One of the best things about learning how to build a wooden pegboard for beginners is how cheap the project is. Most of the cost is the plywood sheet, and the dowels and screws are inexpensive. Expect to spend roughly $15–20 on the 18 mm plywood panel, $5–7 on hardwood dowel rod, $3–4 on pine battens, $3–5 on screws, glue and sandpaper, and $5–8 on Danish oil or hardwax oil — a total of about $31–44. Prices vary by region and by store, but a first pegboard almost always comes in under $50. If you already have plywood offcuts and a tin of oil in the workshop, the out-of-pocket cost can drop below $15 — just the dowels and screws. Compare that with a commercial wall storage system, which can easily cost three or four times as much for the same storage.
Common Mistakes to Avoid
Drilling holes too close to the edge. Keep a 5 cm margin all round, or the plywood can split when a loaded peg pulls on it.
Skipping the sacrificial board. Drilling without backing tears out the back face of the panel and leaves ragged holes that grip pegs poorly.
Using softwood dowels. Pine dowels bend and snap under a hammer’s weight. Hardwood dowels cost a little more and last far longer.
Forgetting the rear battens. Without battens, the pegs hit the wall and the board sits flat against it. The 20 mm gap is essential.
Mounting into drywall with no fixing. Screws driven into bare plasterboard will pull out. Always hit a stud or use proper toggle bolts.
Drilling at an angle. Angled holes make pegs droop and shelves sit crooked. Use a drill press or a guide, and check your angle often.
Overloading the top rows. Heavy tools belong low and near the battens. A top-heavy board pulls on its fixings and feels unstable.
Finishing after mounting. Oil and varnish are far easier to apply on the bench. Finish first, mount second.
If your workshop is still taking shape, a pegboard pairs well with a proper storage plan. See our small garage workshop setup ideas for laying out benches, storage, and wall space so every tool has a home.
FAQ
How long does it take to build a wooden pegboard for beginners?
About 2–3 hours of active work, plus drying time for the finish. Marking and drilling the grid takes the longest — roughly 30–45 minutes for a 7.5 cm grid. Allow the oil or varnish to dry overnight before mounting if you want a hard-wearing finish.
What size dowel should I use for a wooden pegboard?
A 20 mm (3/4 inch) hardwood dowel is the standard choice for a beginner pegboard, paired with a 20 mm brad-point or Forstner bit. It is strong enough for hand tools and shelves, and the holes are easy to drill accurately. Smaller 12–16 mm dowels suit light craft storage; larger 25 mm dowels suit heavy tools but need a bigger panel.
Can I build a wooden pegboard without a drill press?
Yes. A cordless drill with a sharp 20 mm brad-point bit and a simple drill guide works well. Take your time, keep the drill vertical, and use a sacrificial board underneath to prevent tear-out. A drill press only makes the job faster and the holes more consistent.
How do I stop the dowel pegs from falling out?
Pegs should be a snug push fit in the holes. If a peg is loose, wrap one layer of masking tape around the end that goes into the hole, or rub a little beeswax on it for extra grip. A small wedge tapped into a saw kerf in the end of the peg also expands it slightly for a tighter fit.
What is the best plywood for a wooden pegboard?
18 mm birch plywood is the best choice: it is flat, strong, and drills cleanly. Pine plywood is a good budget alternative. Avoid MDF, which is heavy and crumbles around the holes, and avoid plywood thinner than 15 mm for a board wider than 90 cm, because it can flex under load.
Can I hang power tools on a wooden pegboard?
Light power tools like a cordless drill or a jigsaw can hang from two pegs with a sturdy hook, but heavy tools such as a circular saw belong on a shelf or a bench. Keep the total load under 15–20 kg for a stud-mounted 120 × 60 cm board, and always put the heaviest items low and near the mounting battens.
Final Thoughts
Learning how to build a wooden pegboard for beginners is one of the highest-value projects a new woodworker can take on. For under $50 and a single afternoon, you get a custom storage wall that makes every future project faster and more enjoyable — no more hunting for the square, no more cluttered bench, no more tools lost in a drawer.
Start with the standard 120 × 60 cm board, the 7.5 cm grid, and a set of hardwood pegs. Get the board level, get it solidly fixed into the studs, and then arrange your tools the way you actually work. You will rearrange it a dozen times in the first month, and that is the point: a pegboard is never finished, it just keeps getting better. Once your wall storage is sorted, your next beginner build could be a bigger piece of workshop furniture — our roundup of easy woodworking projects for beginners that sell is a great place to pick the next project, and it includes several ideas that make good use of the pegboard skills you have just learned.
Recommended Products for This Project
As an Amazon Associate, I earn from qualifying purchases.

DEWALT 20V MAX Cordless Drill/Driver Kit (DCD771C2)
A cordless drill for boring the pegboard’s hole grid cleanly and driving the wall-mount screws.
Amazon Basics 8-Piece Wood Chisel Set with Honing Guide and Sharpening Stone
Sharp chisels for cleaning up peg holes and trimming dowel pegs flush with the board face.
IRWIN QUICK-GRIP Mini Bar Clamp 4-Pack, 6-Inch (1964758)
Small clamps to hold the pegboard frame square while the glue sets — sized right for a frame this size.

Titebond III Ultimate Wood Glue 1413 (8 oz)
Water-resistant glue for the pegboard frame and dowel joints, so pegs stay put under load.

3M Aluminum Oxide Sandpaper, Assorted Grits, 9-in x 11-in Sheets (9005NA)
Assorted 100/150/220-grit sheets for smoothing the pegboard face and easing hole edges before finishing.


